


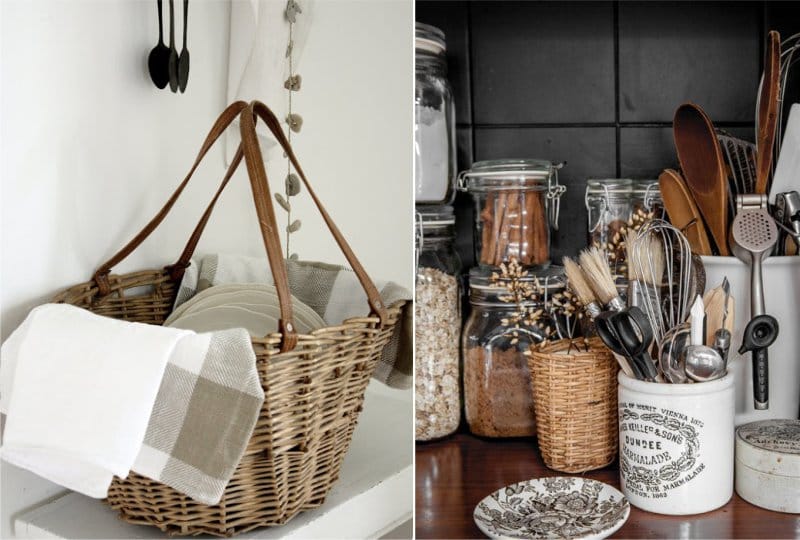
In the past, baskets were used in everyday life to go shopping for food or fruit. But in the modern world, their purpose is much broader. For example, they can store different stuff, materials for sewing or use as a decorative element. And it is not at all necessary to buy a basket, because you can make it yourself.
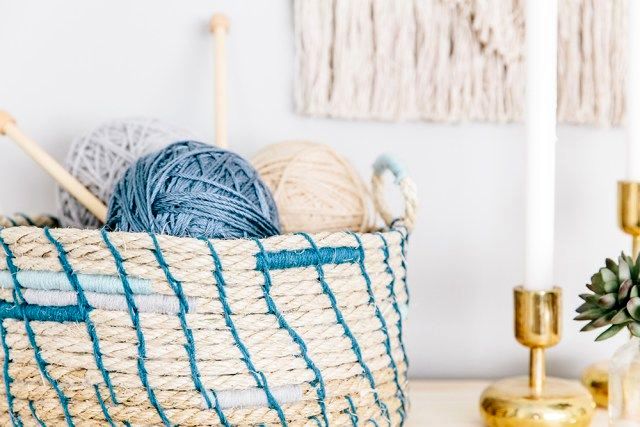
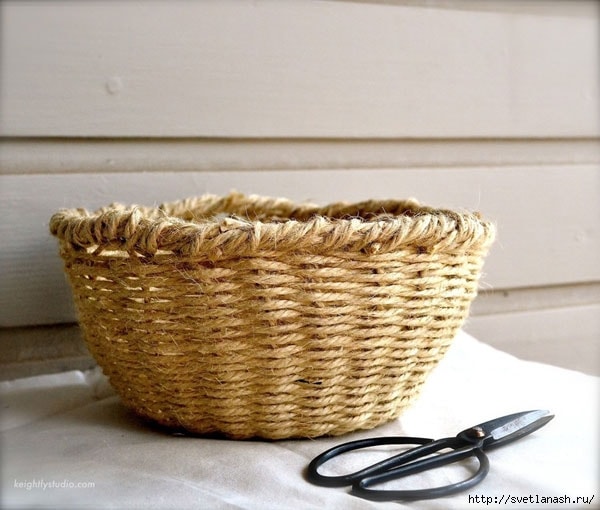
Rope baskets
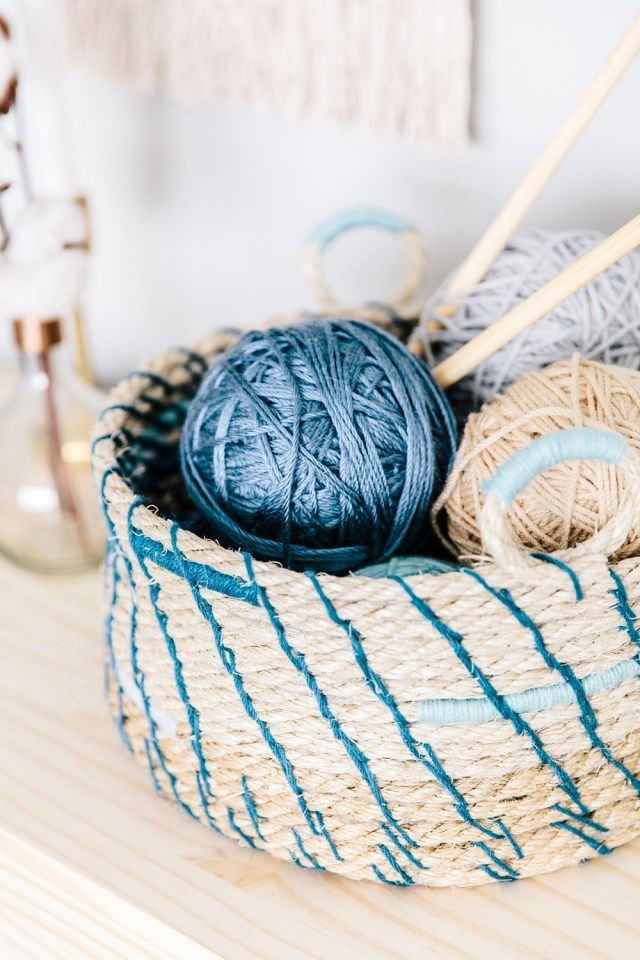
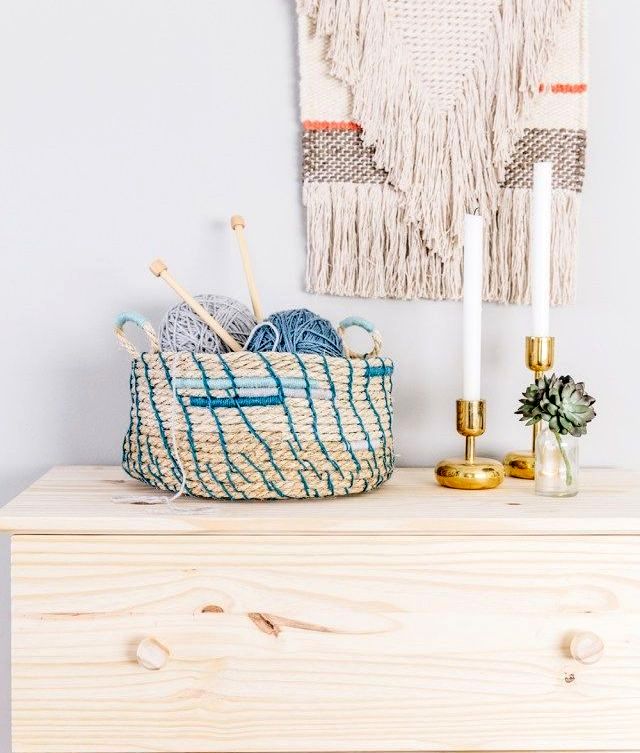
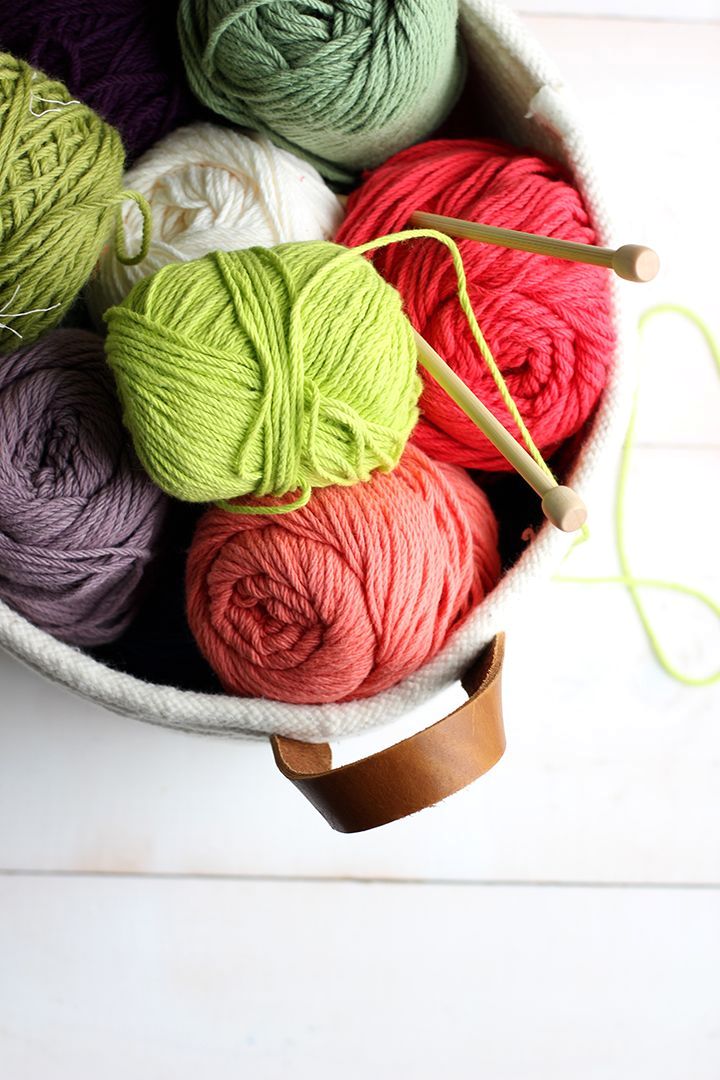
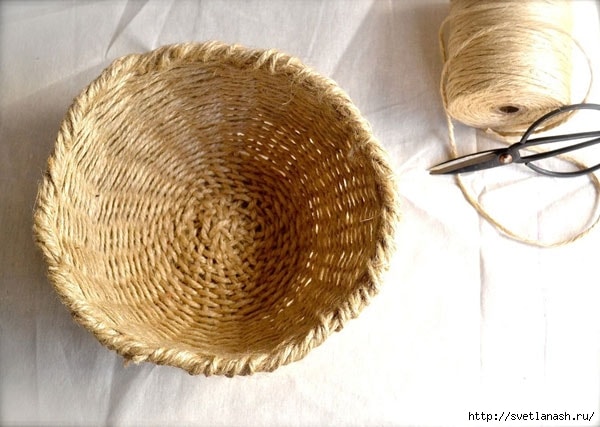
A lovely basket of rope is an indispensable thing in the house. It will complement the interior and make the room especially comfortable and homely.
To make such a basket, prepare the following materials:
- natural rope;
- yarn for knitting;
- big scissors;
- glue or special glue gun;
- needle.
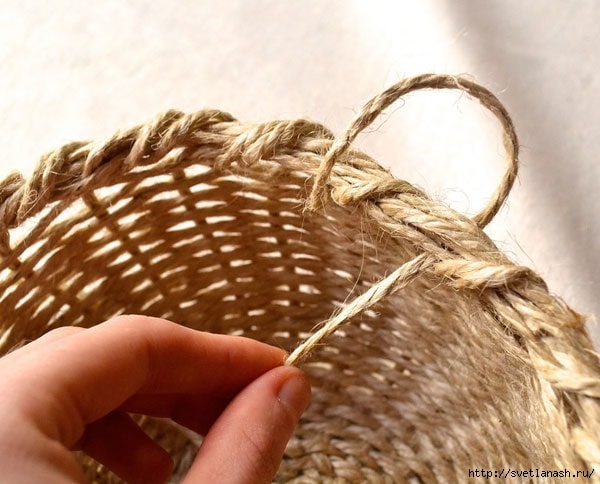
First we tie colored yarn around the end of the natural rope, we wind it by several centimeters. This will be the bottom of the basket.
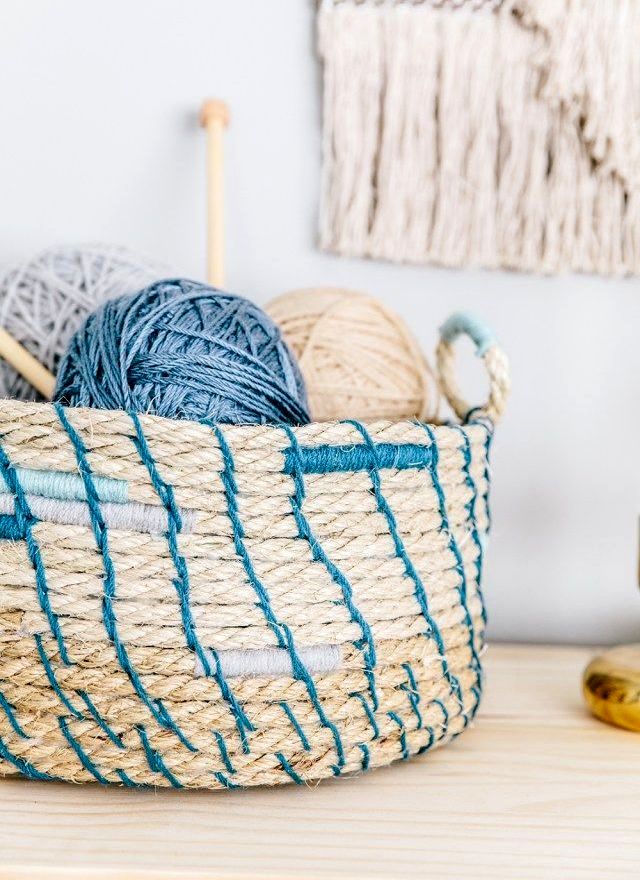
Using glue, wind the rope around the bottom. Colored thread make additional fixation. After the bottom is ready, we continue to do the same, building up the walls of the basket. Pens can be made in the form of loops. Fix them with glue.
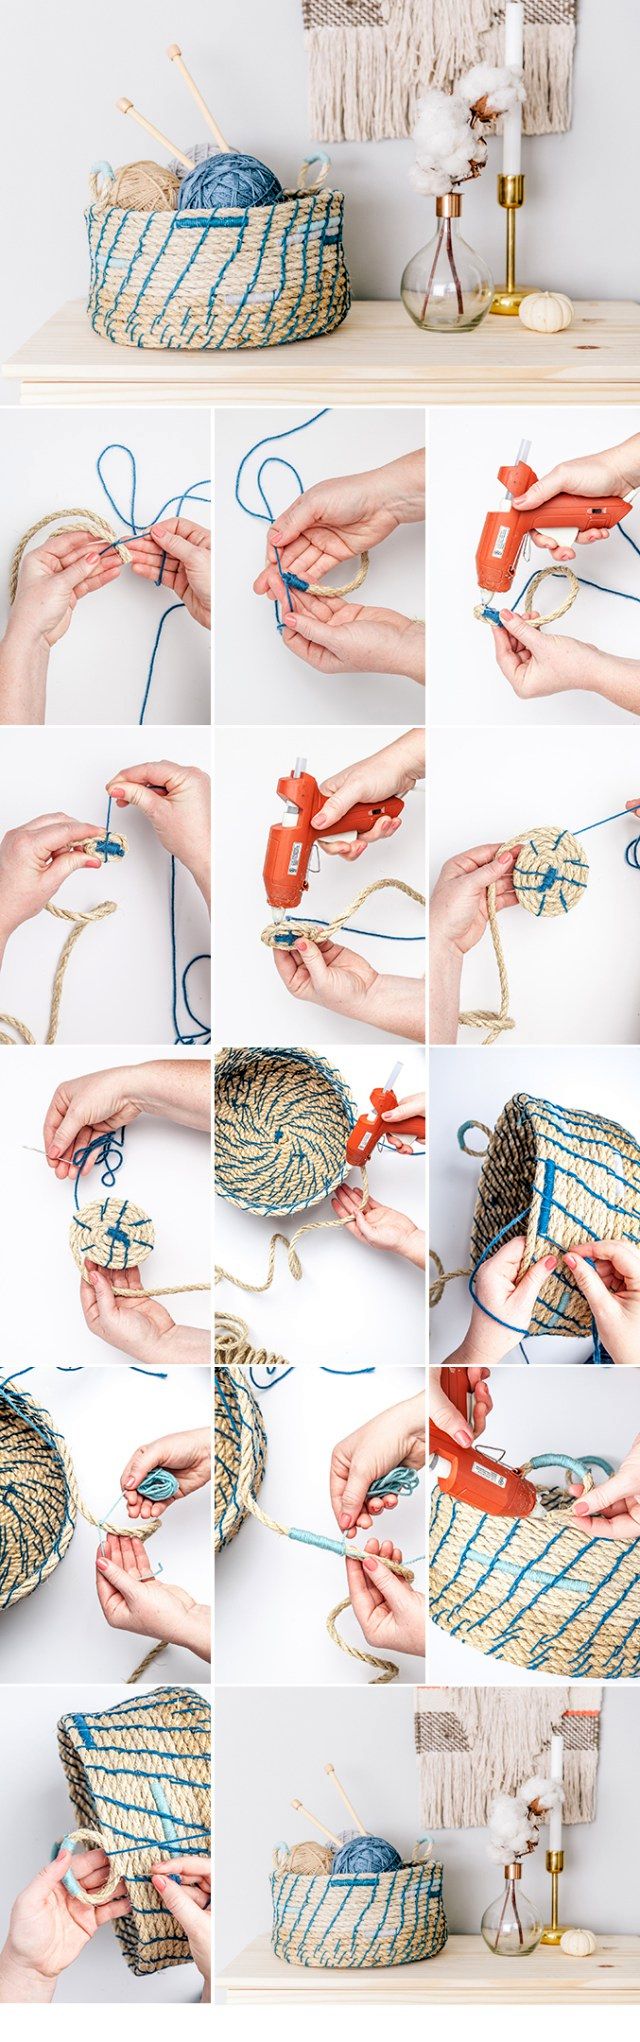
As an additional decor, we use a colored thread, which can be wrapped several times around the handles.
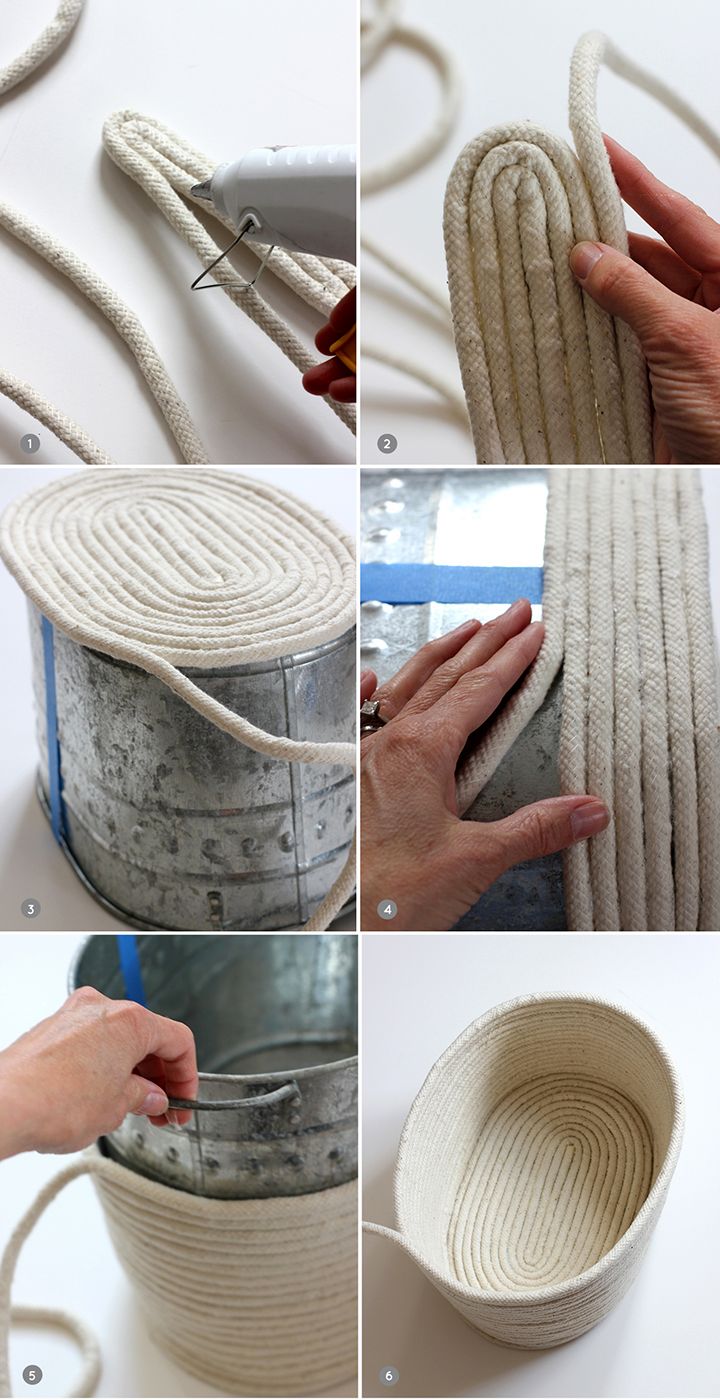
Another version of the basket of rope looks completely different. And all because the bucket is used as the basis for its creation.
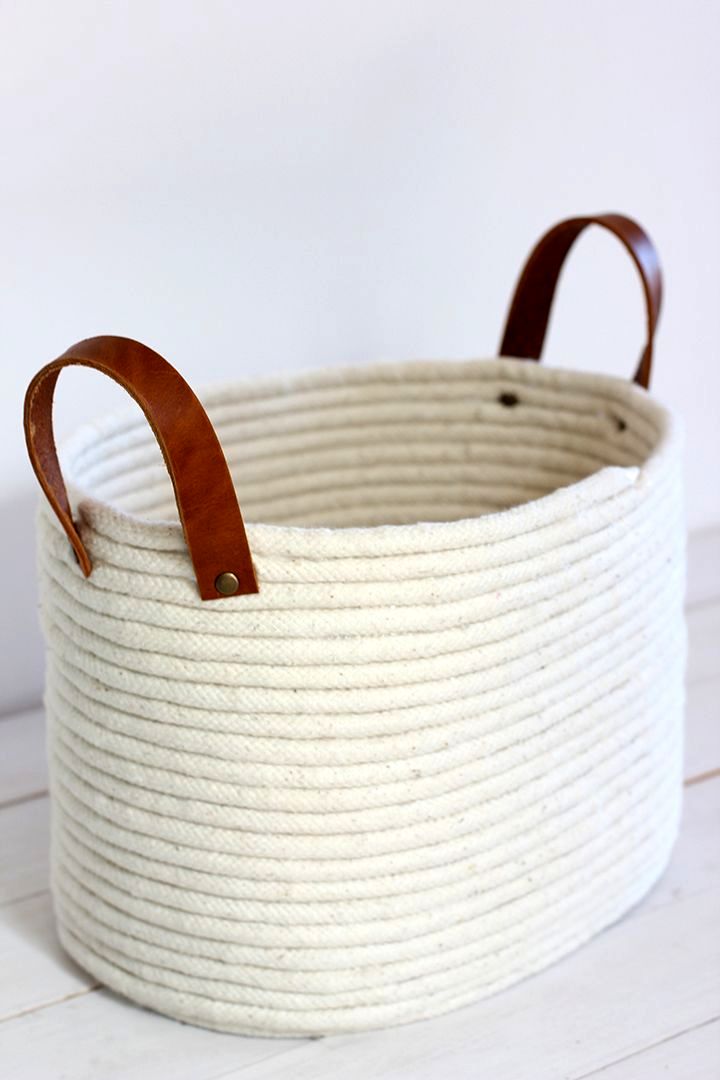

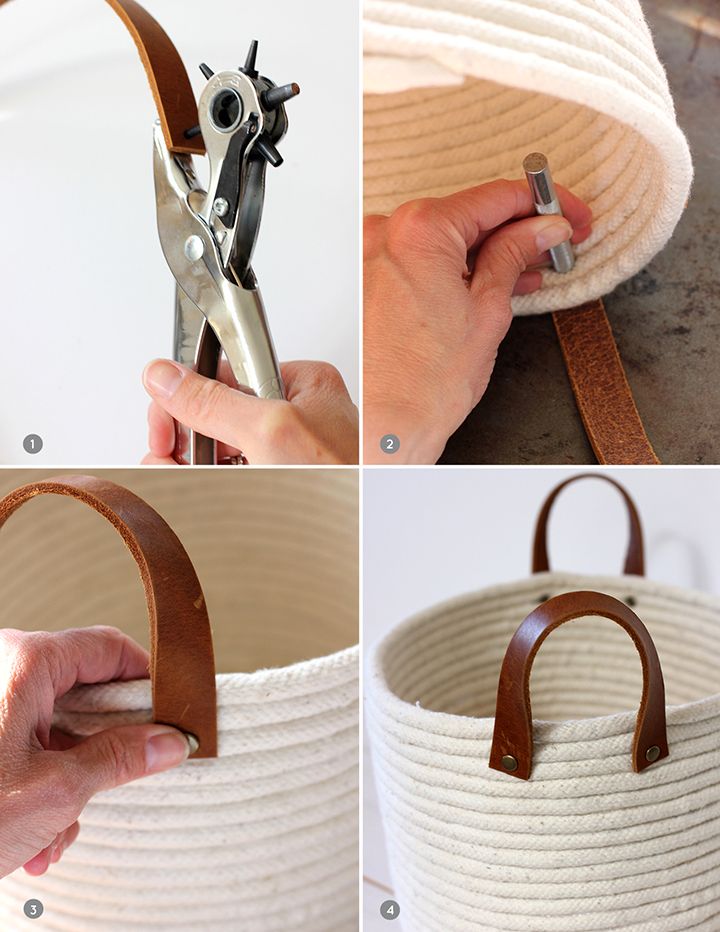
Create the bottom of the basket, folding the rope in a certain shape. Fix it with glue. When the bottom is ready, gradually shift the rope so as to cover the walls of the bucket. As a result, we take out the bucket, and fix the end of the rope with glue.
We make handles from strips of leather or from tape, contrasting rope.
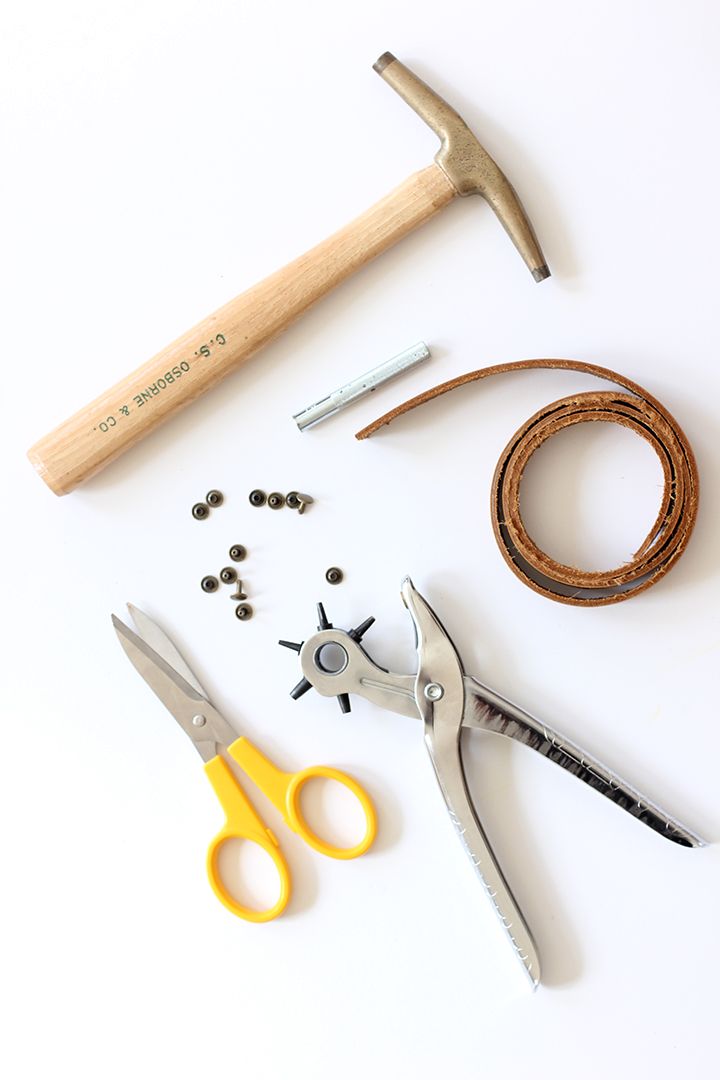
We attach them to the basket and use it with pleasure!
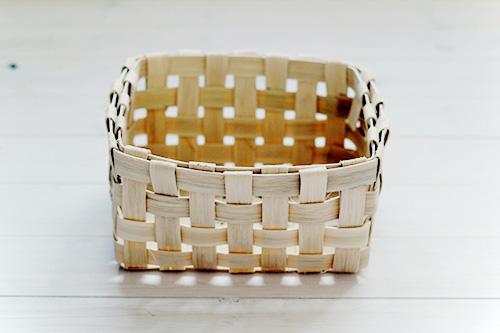
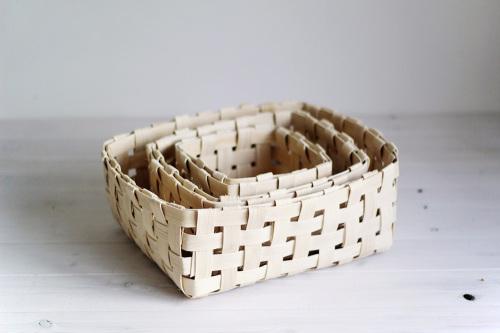
Decorative veneer basket
A small basket of veneer is the perfect solution for storing various materials, small items and even fruit.

For weaving you need:
- veneer
- scissors
- clothespins
- metal ruler.
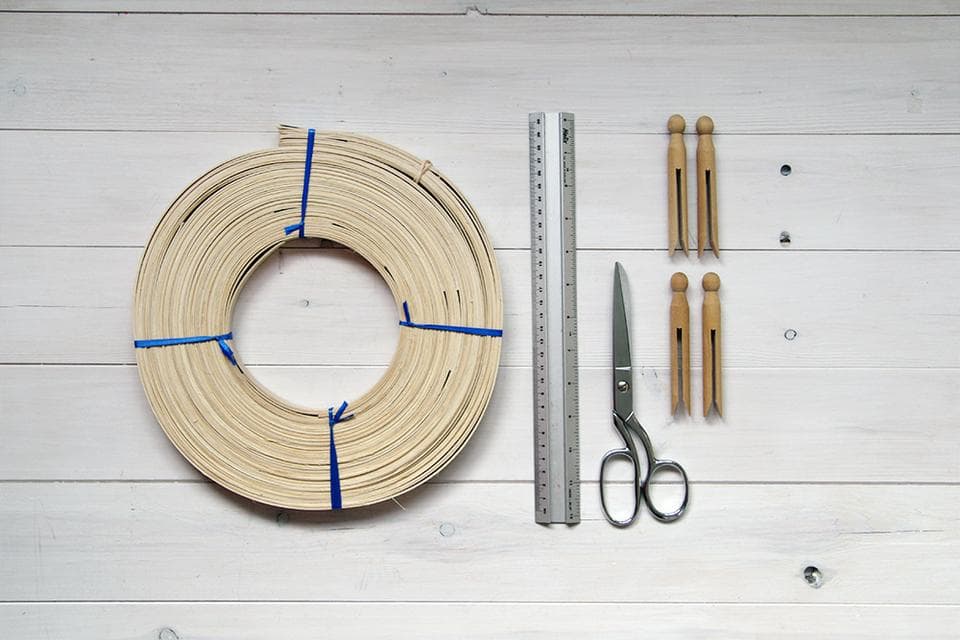
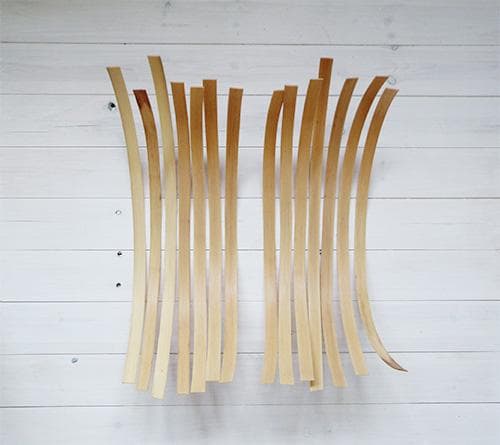
Put the veneer in room temperature water for an hour. After that, hang, to glass the excess water. When moisture does not remain, we cut approximately identical strips. Their length and quantity depends on what size basket you want.
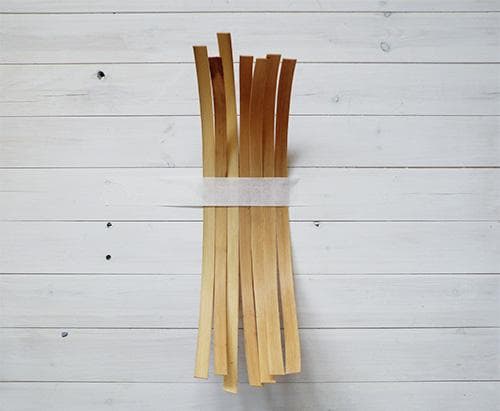
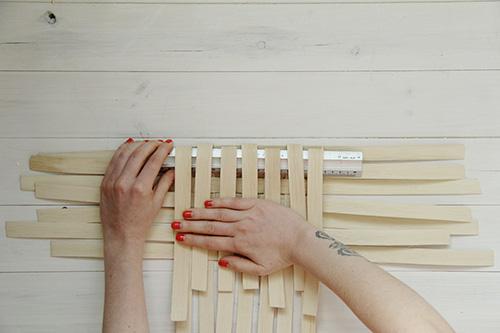
We lay half of the blanks on the table and fix it with a book or scotch tape.
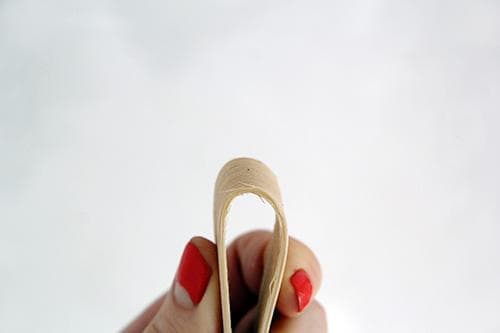
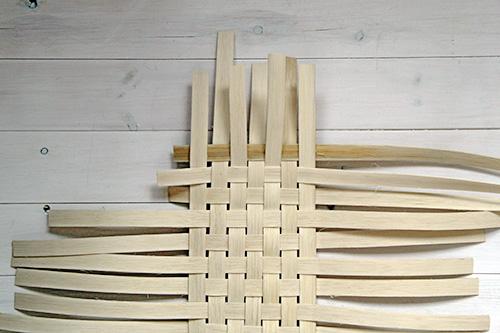
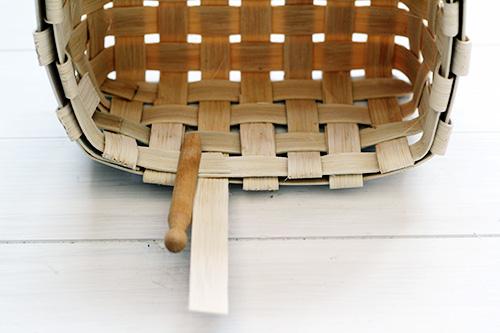
We weave the first strip in such a way that the edges are bent as shown in the photo.
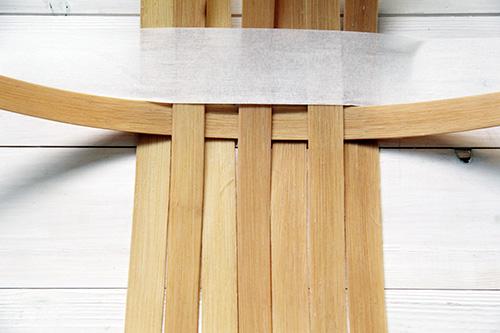
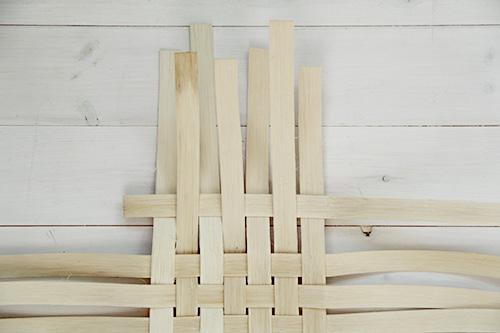
We interweave the next strip according to the classical weaving pattern.
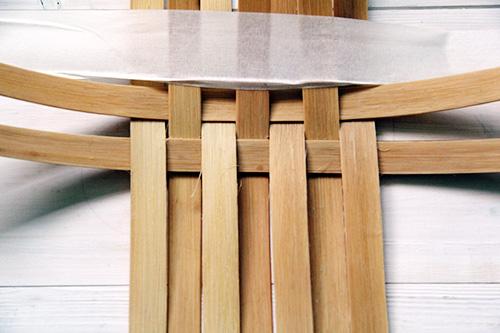
When all the remaining strips are woven, you should get a square.
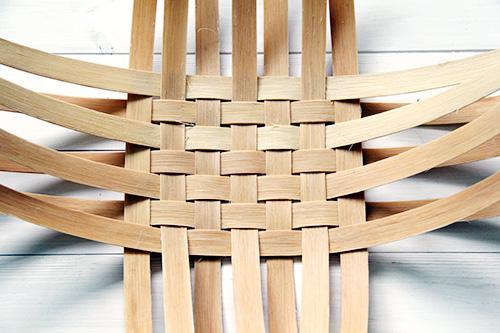
Check in which direction it is worth bending the veneer. The fact is that in one of the sides it will be smooth, and in the other - it may be exfoliated.
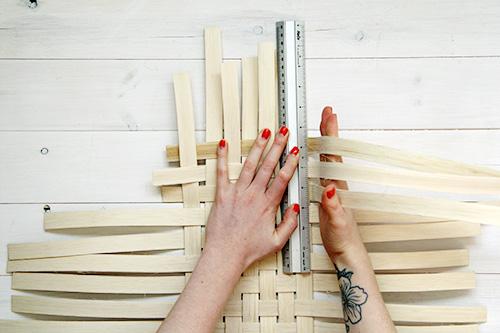
We place the blank with such a side so that it does not separate. Fold all the stripes along the edges of the resulting square. Make it much easier using a ruler.
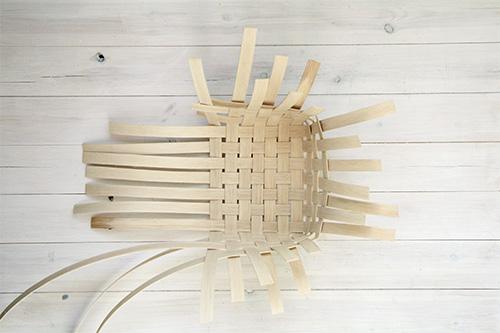
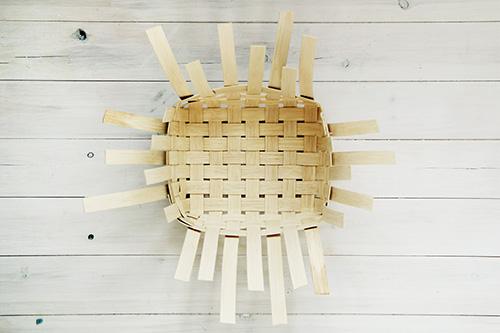
Align the workpiece along one side and weave a long strip. It must be long, as it should be enough for all sides of the basket.
In the same order we weave two more strips.
Bend all the strips along the intersection line.
We interweave three long stripes along the side of the square.

We continue to do the same along the third and fourth sides.
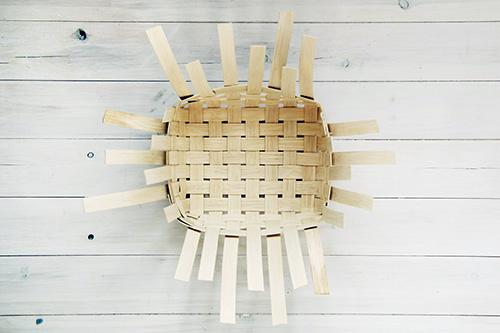
We cut off the remnants of interwoven bands and leave a margin of 3-5 cm.
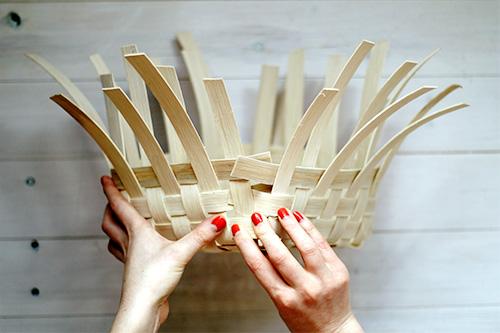
The basket is almost ready, so you can also weave bands at will to make it taller.
Bend the vertical stripes inside the basket and weave them under the third from the top. Before that, you can trim them a bit.
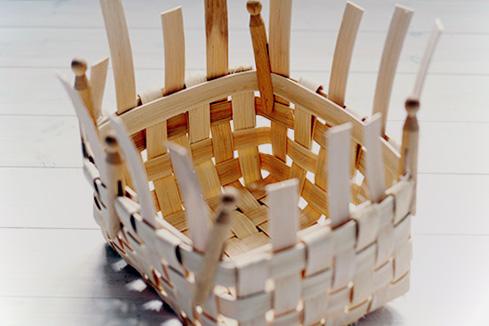
Do the same with the rest of the stripes. As a result, not all of them will remain woven. To do this, along the perimeter of the last strip, we fix another segment of veneer. You can fasten it with clothespins.
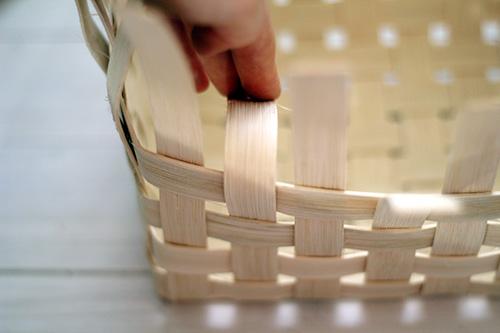
Bend all the remaining bands on top of the last segment and weave them into the second strip from the top.

Cut the strips to the desired length.
A lovely decorative basket is ready!
Twine Basket
To make such a nice basket you will need:
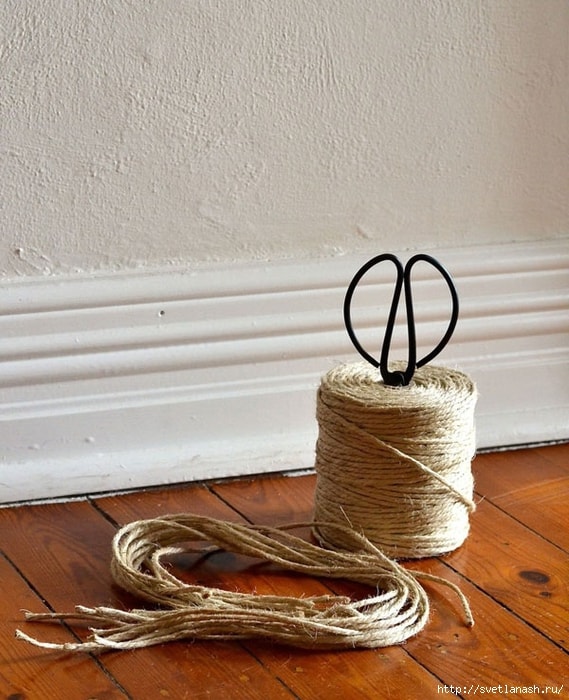
- about 25 meters of twine
- scissors
- the form.
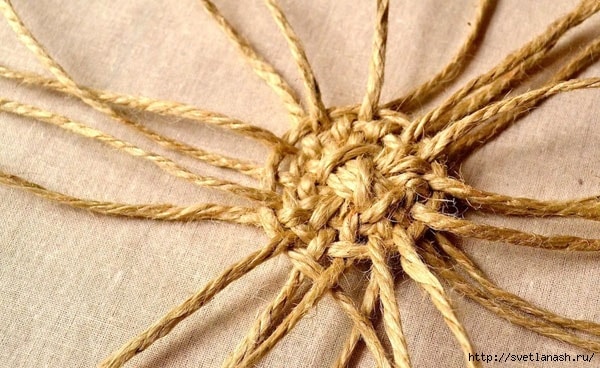
First we make 12 pieces of twine 65 cm each.
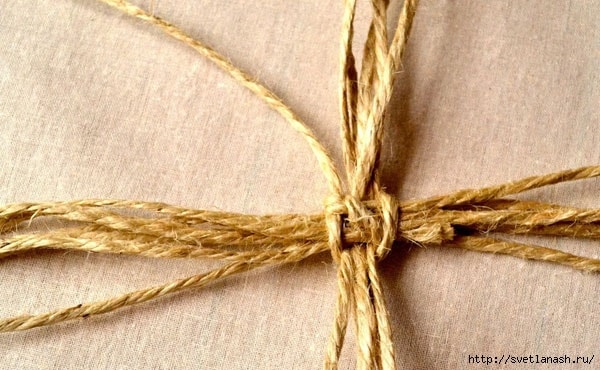
Lay the ropes perpendicular to each other: six - vertically, five - horizontally. The last segment we fix the basket. That is what will be the basis of the whole basket.
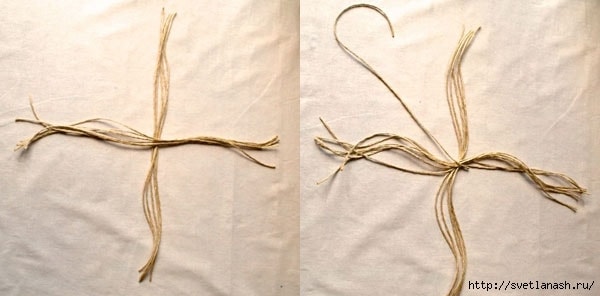
We begin to weave the last segment from the middle and in a circle between the ropes.
To create a specific shape of the basket, use the capacity and weave on it.
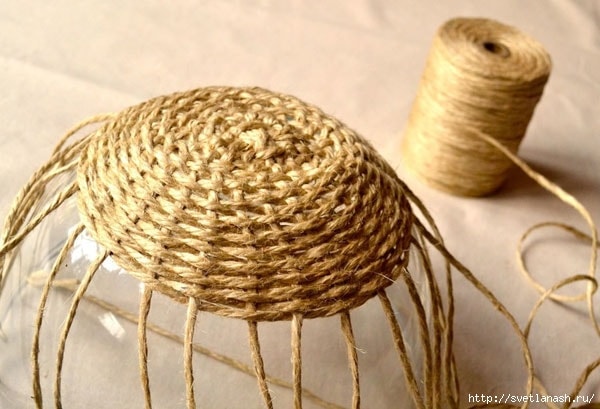
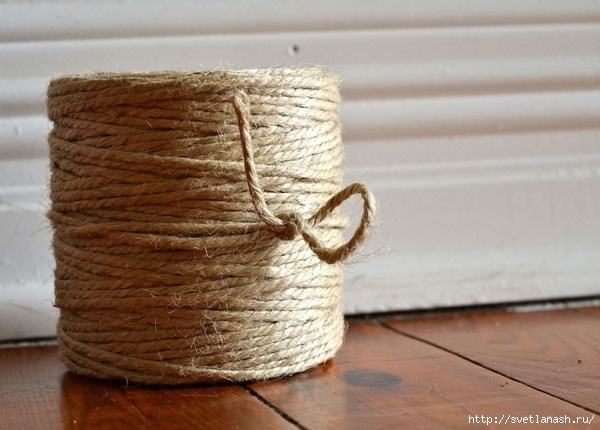
Fix the main rope when the desired height is reached.
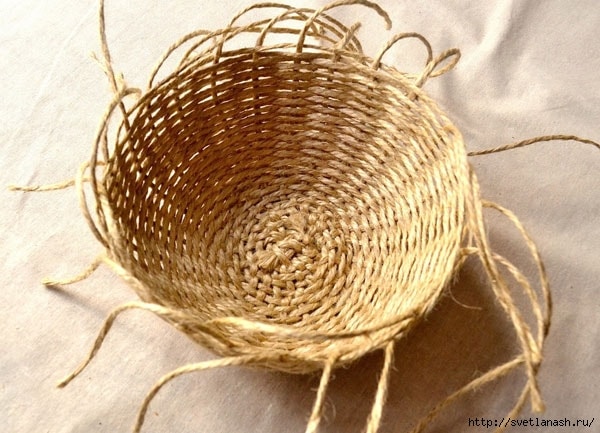
The rest of the thread is fastened, wrapping them around the last rows.
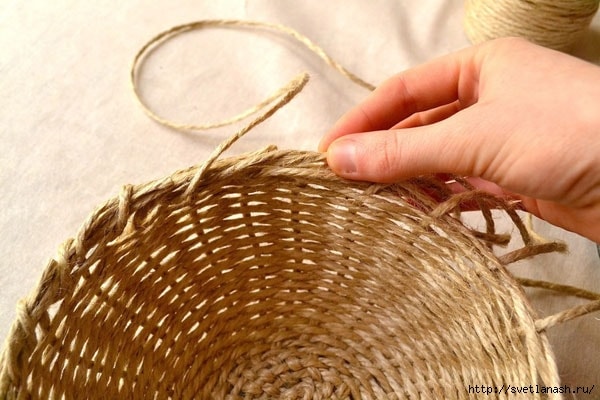
The basket of twine looks great as a decorative element in the kitchen or in the room.
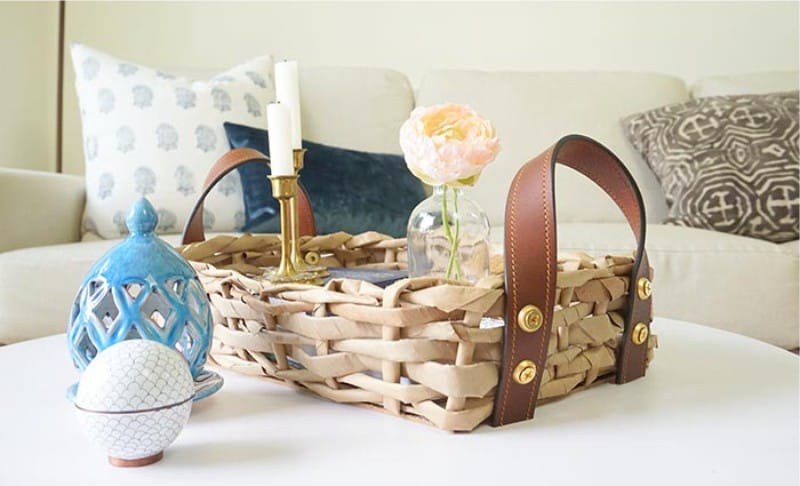
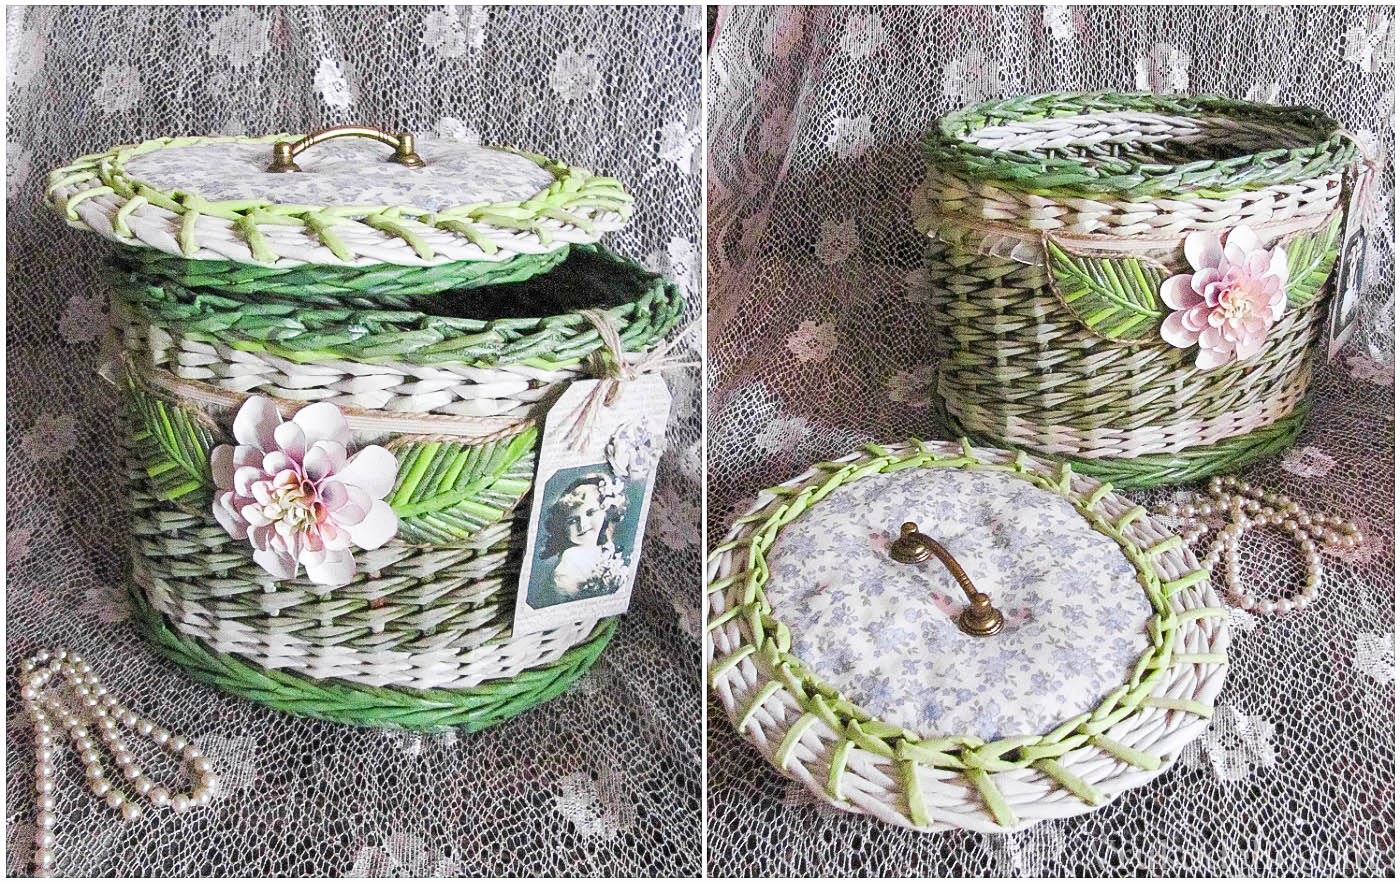
Chic paper basket
You can't buy such a basket in the store, because here everything is thought out to the smallest detail. The perfect combination of the delicate color of the basket with contrasting handles makes it truly unique.

We will prepare the following materials:
- bakery or craft paper
- two cardboard or fiberboard bases of the same size
- skewers
- scissors
- glue
- acrylic lacquer or paint
- leather belt
- set of fasteners, consisting of nuts, screws and washers
- awl or drill
- marker.
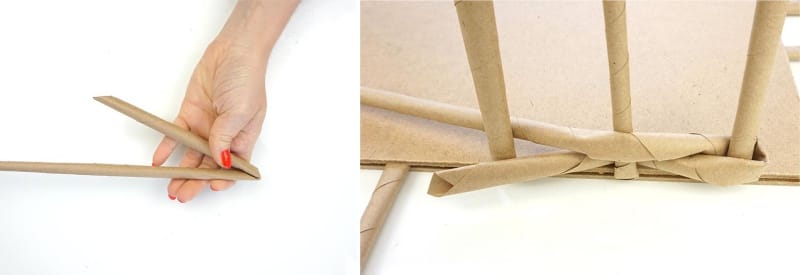
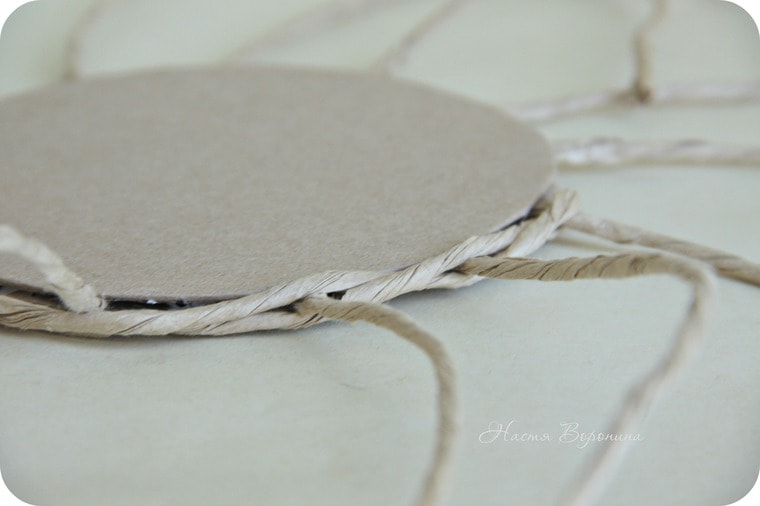
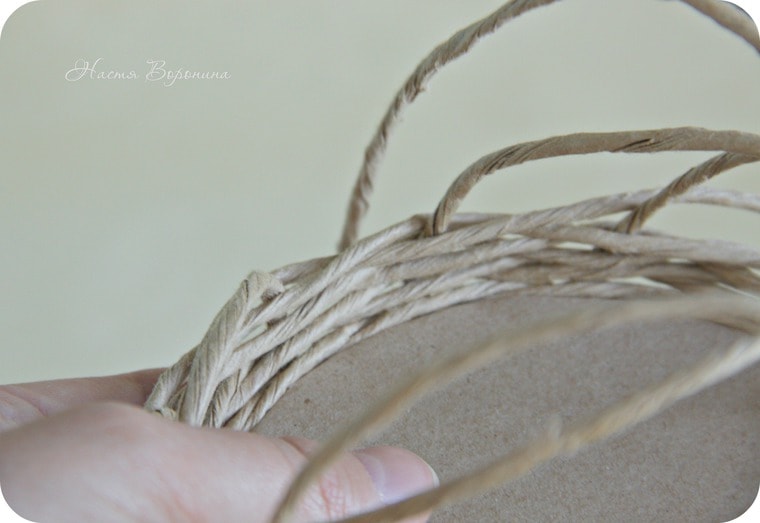
We begin to make thin strips for paper and twist it as shown in the photo.Lubricate the tip of the tube with glue to fix.
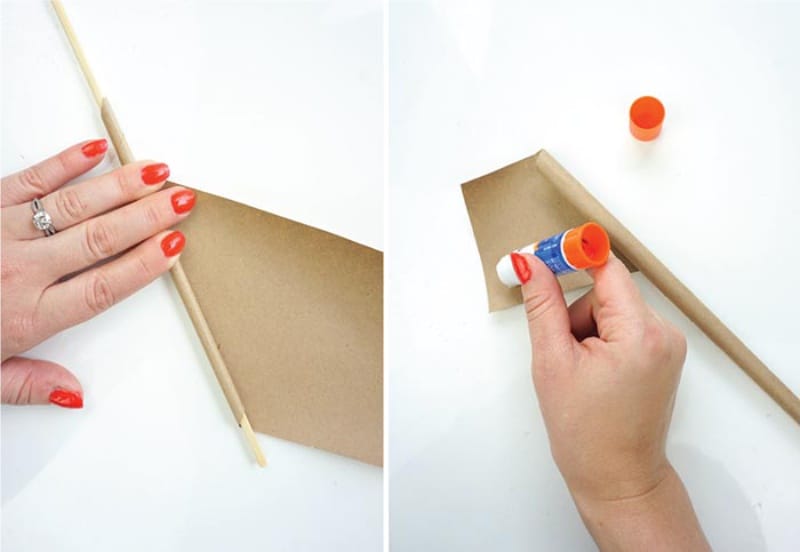
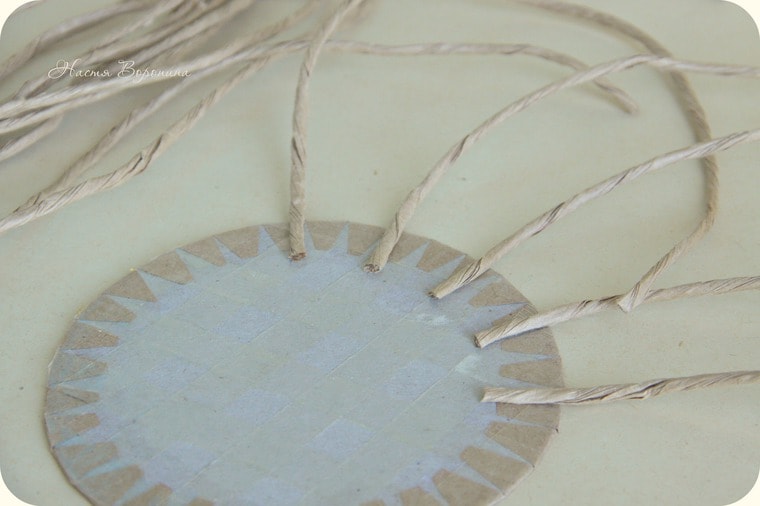
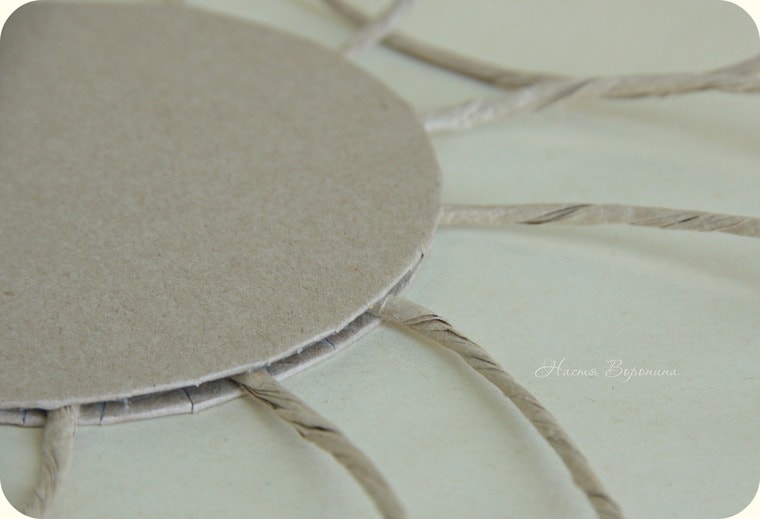
We take the basis of cardboard and glue the tubing to it at intervals of 3-5 cm. In the end, you should get such a design as in the photo.
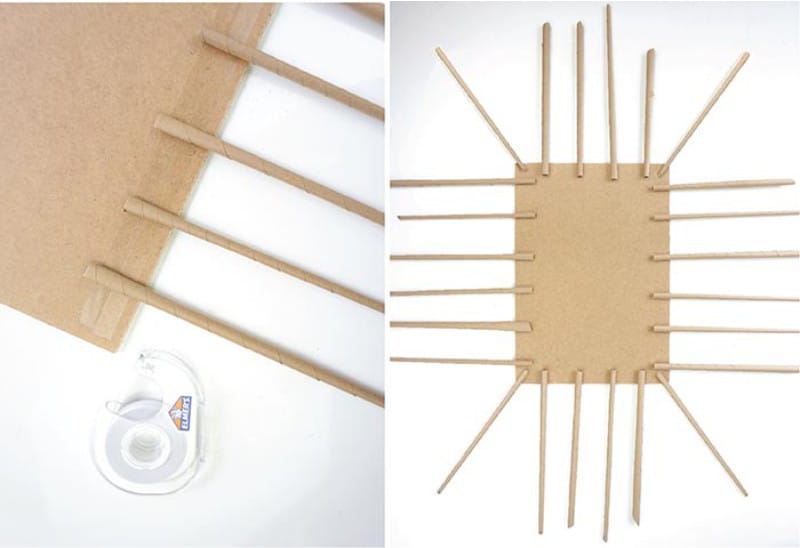
Glue on top of the second piece of cardboard and strongly live on. Leave to dry for several hours.

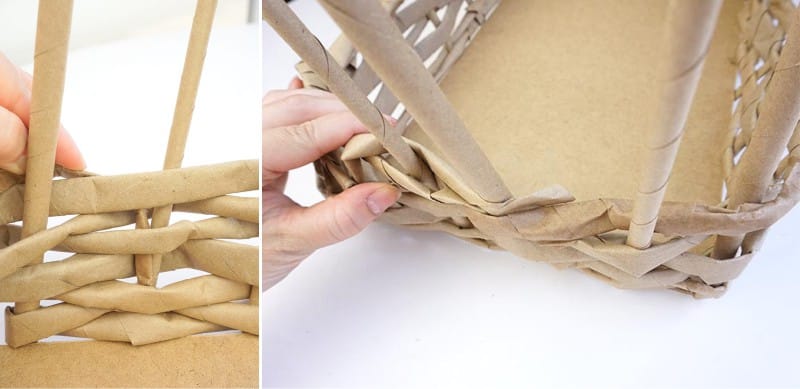
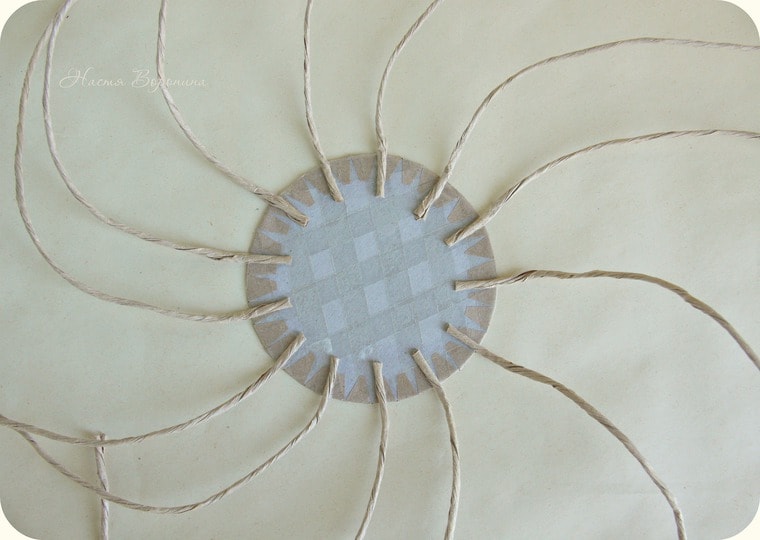
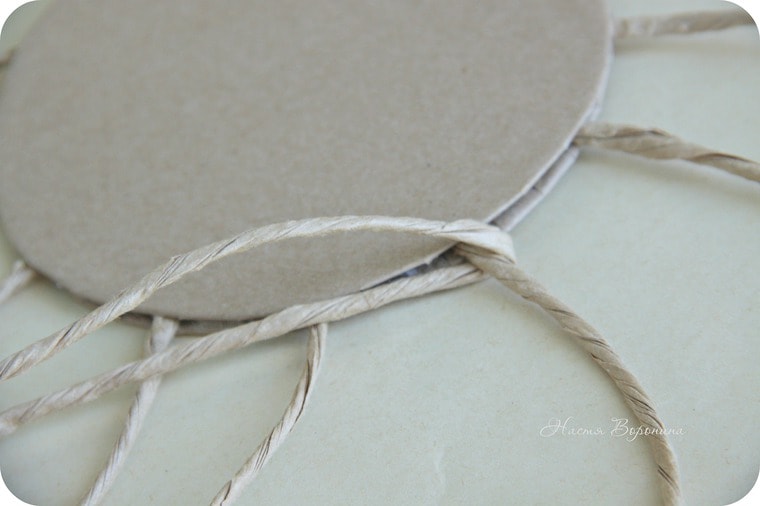
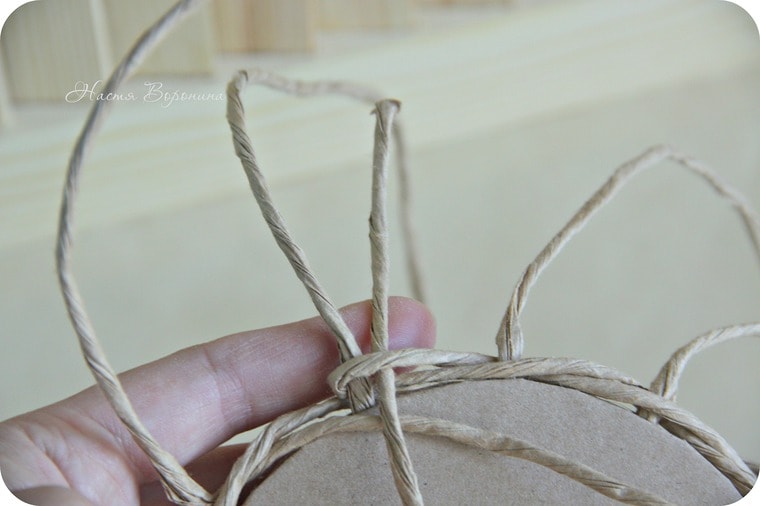
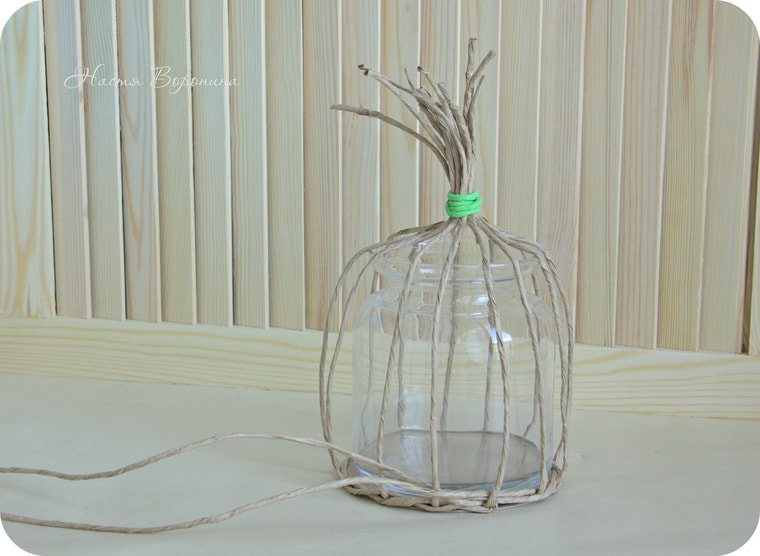
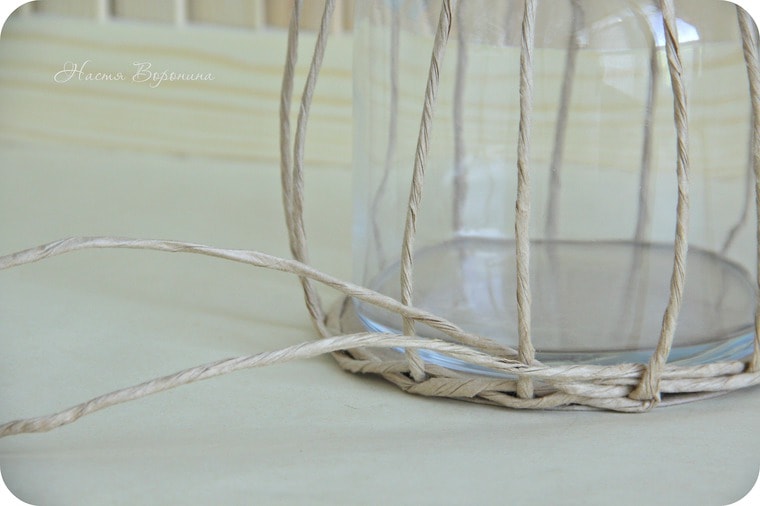
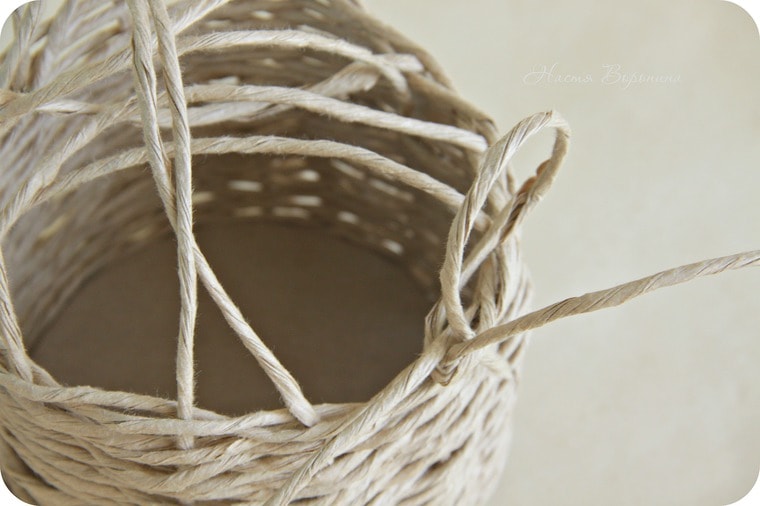
We begin to weave, for which we bend the tube and wrap any vertical tube. We cross the ends, as shown in the photo. We continue to do the same with the rest of the vertical tubes. When the horizontal tubes end, fasten them with glue.
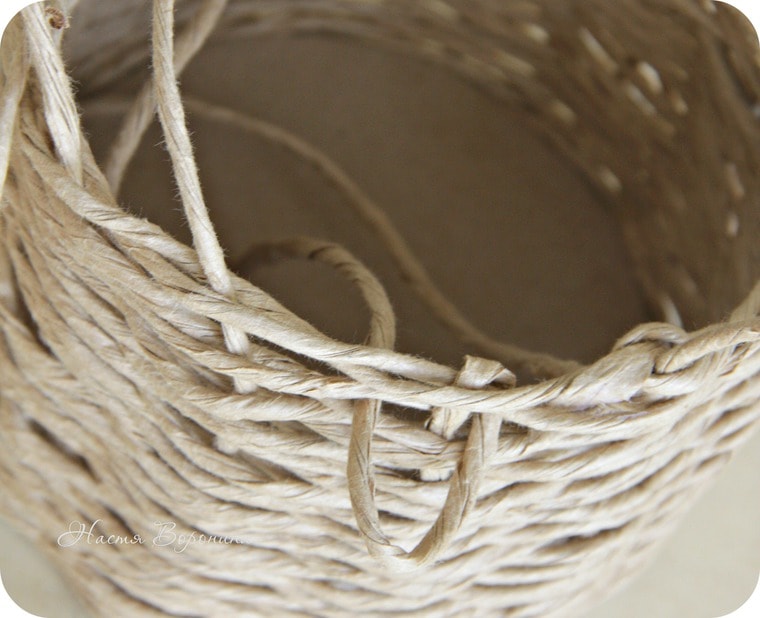
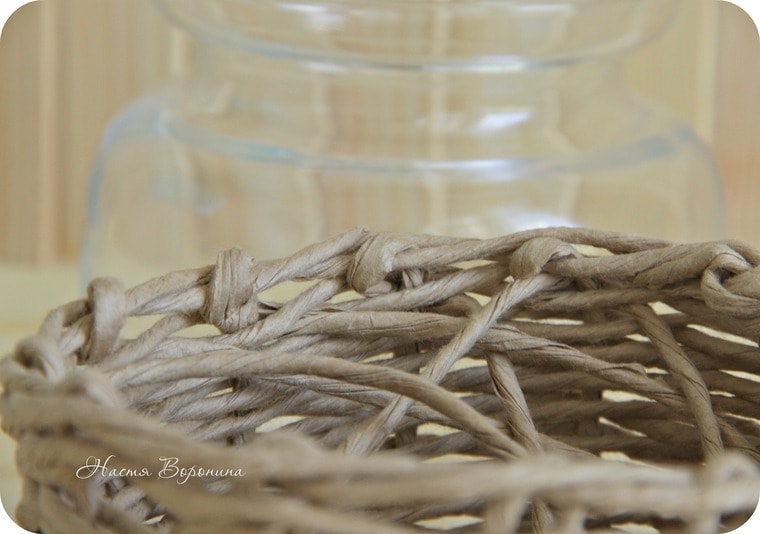
When the required height is reached, we finish the weaving. To do this, cut the horizontal tubes, retaining about 5 cm. We remove them inside and do the same with the vertical ones.
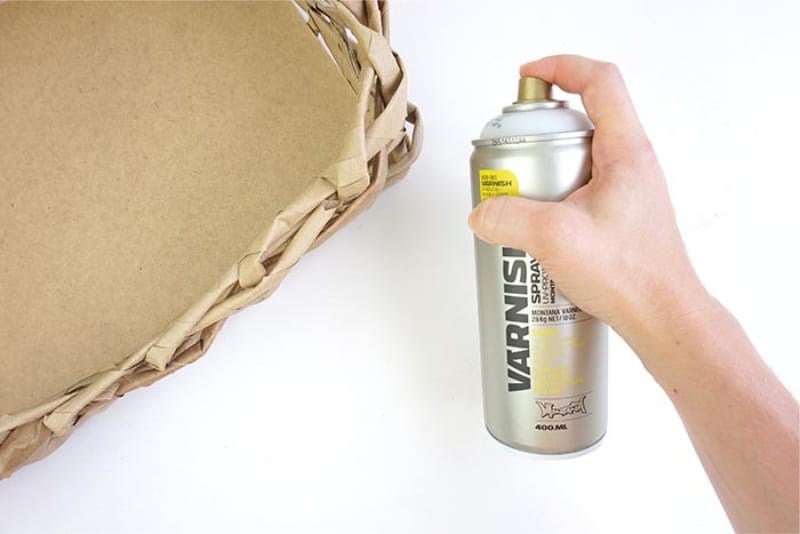
Paint the basket with acrylic spray or paint.
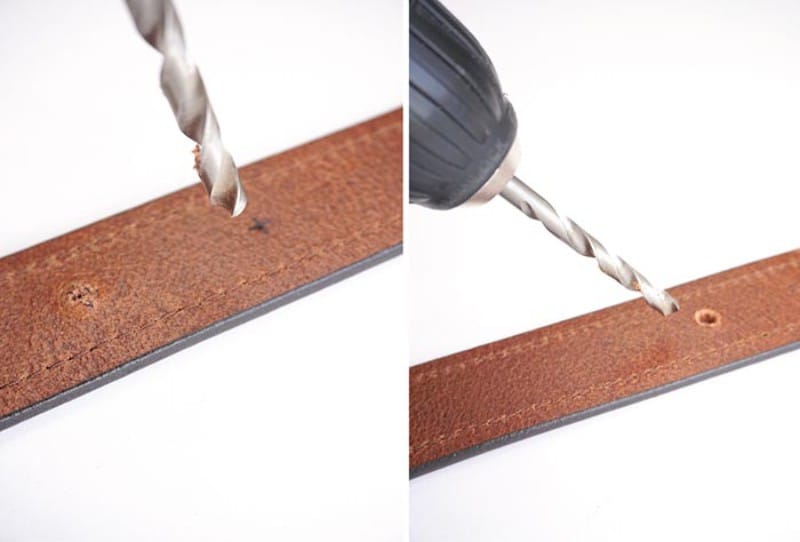
To make beautiful handles, cut off the belt buckle and part with holes. Then cut it into two identical ones.

On the inside, mark the location of the latches.
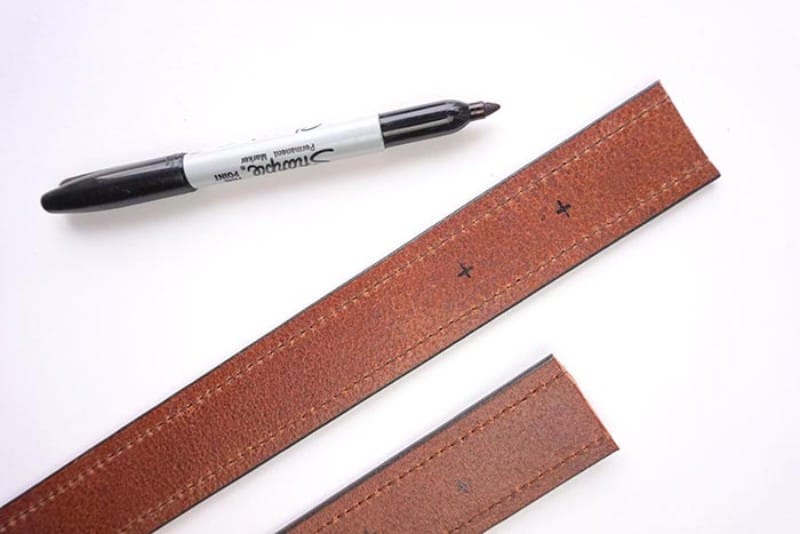
Making holes with an awl, nail or drill.
Connect handles with washer and screws with a screwdriver.
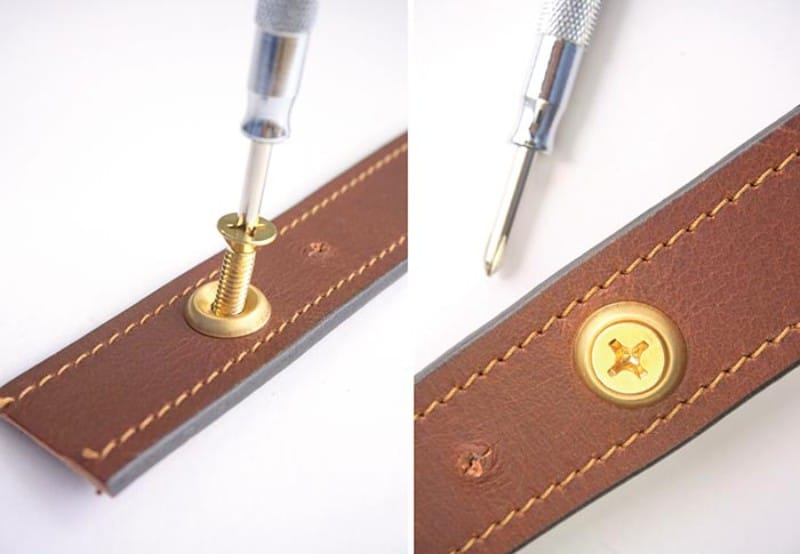
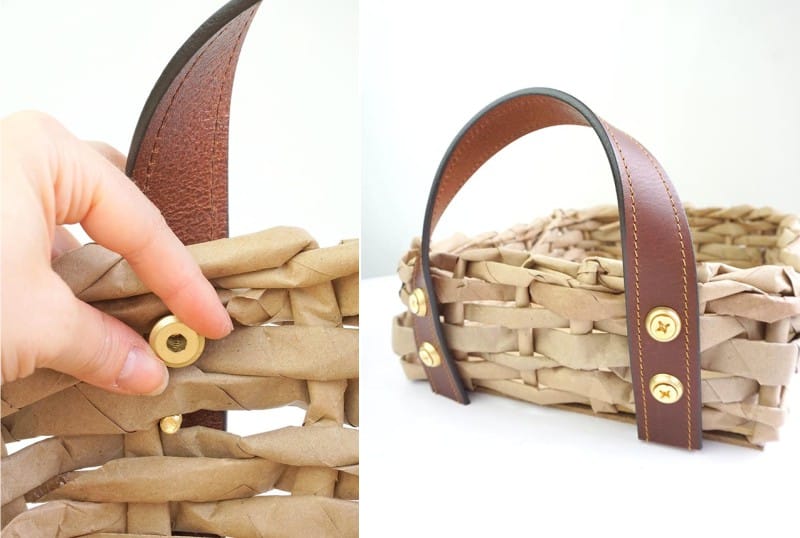
Fasten the handles to the basket so that the screw is inserted between the rows of weaving. Fasten each of the screws from the inside.
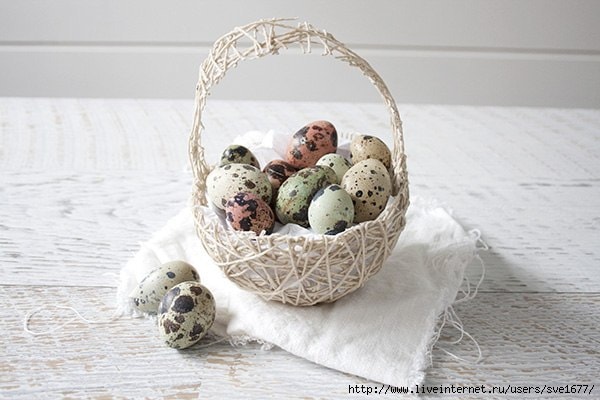
Easter basket
A cute Easter basket is perfect for kids. Be sure that they will take it with pleasure.
Necessary materials:
- PVA glue
- Balloon
- scissors
- thick thread
- tassel.
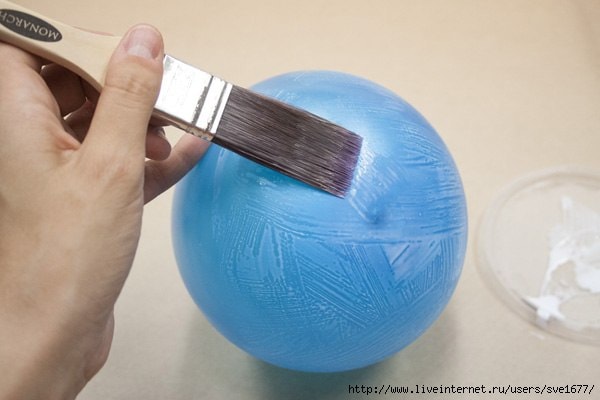
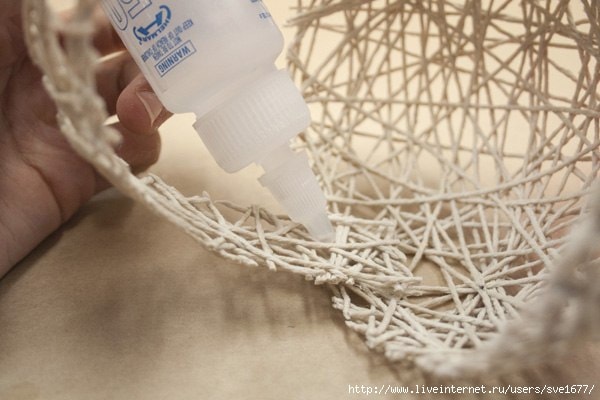
Inflate the balloon to the desired size and fix. Cover it with glue with a brush.
Wrap the ball with the thread until the glue is dry. We do it quite tightly, from different sides.
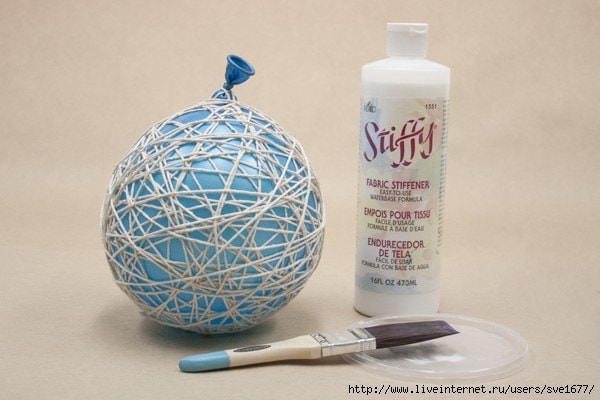
Apply another layer of glue on top of the thread.

When everything is well dried, we pierce a ball with a needle and remove it.
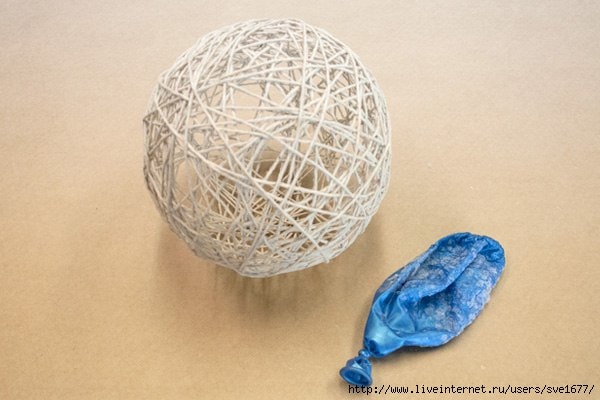
Cut it in half with scissors and cut the handle separately.
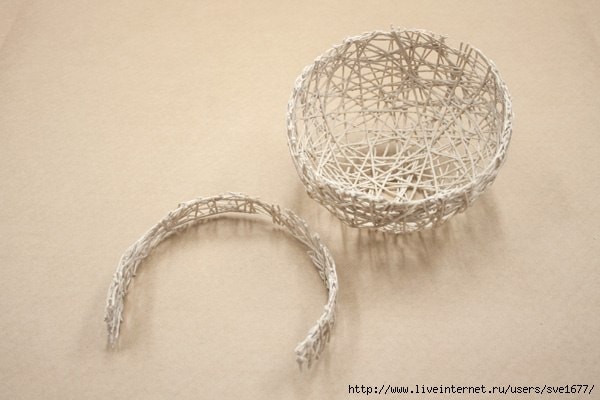
Glue it to the half of the product. A lovely baby basket is ready.
Paper basket
Necessary materials:
- large quantities of wrapping paper
- glue
- paper clips
- sewing machine.
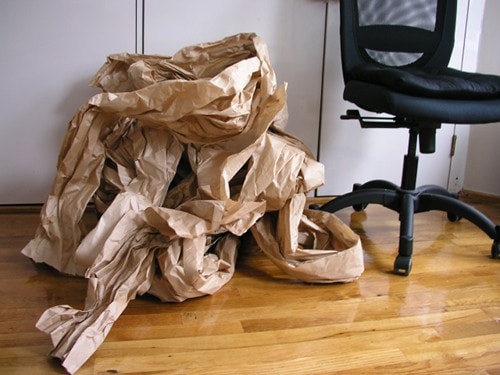
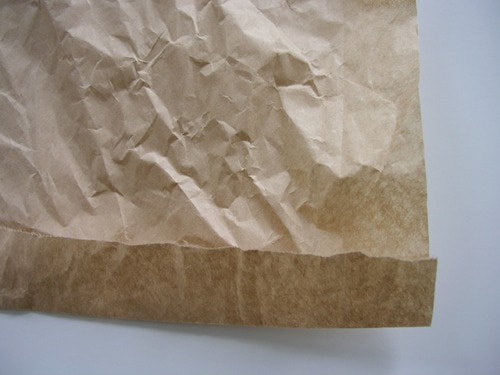
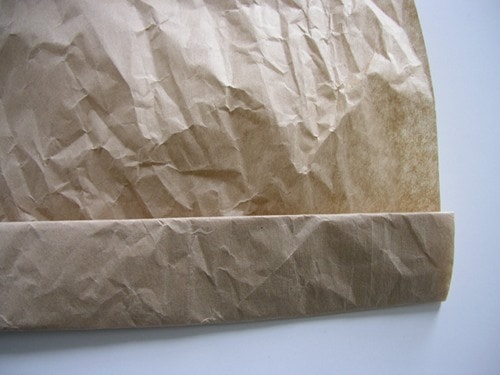
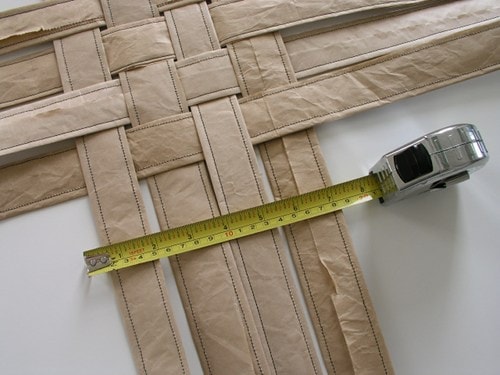
Fold a sheet of paper several times, if it is quite thin. Cut off the rest, which can be used for other parts. We form eight strips 5-7 cm wide.
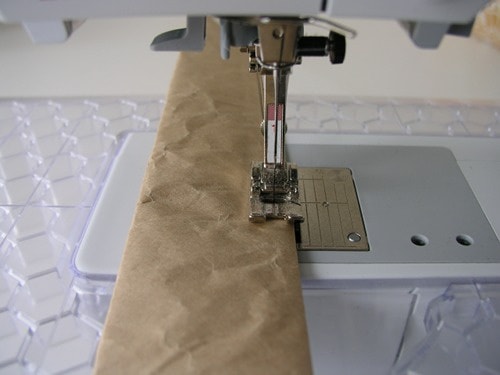
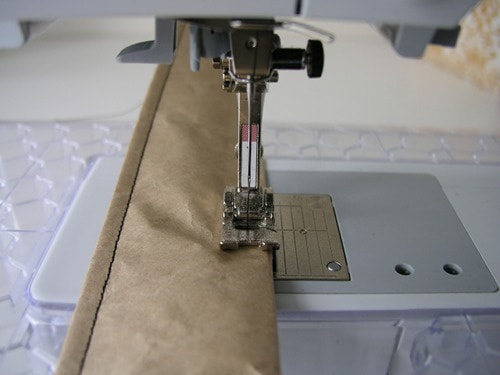
Sew each strip on both sides.
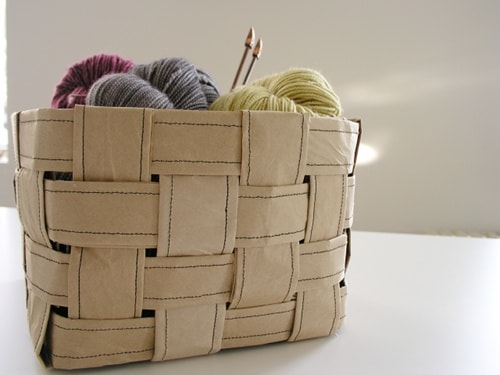
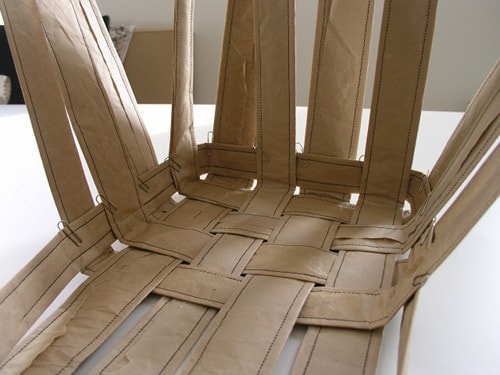
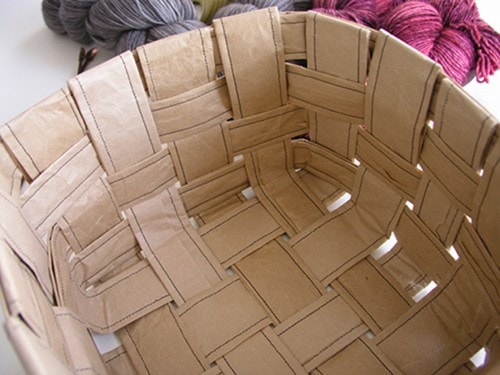
Weave the bottom of the basket in the form of a square. As a result, it should look like in the photo.
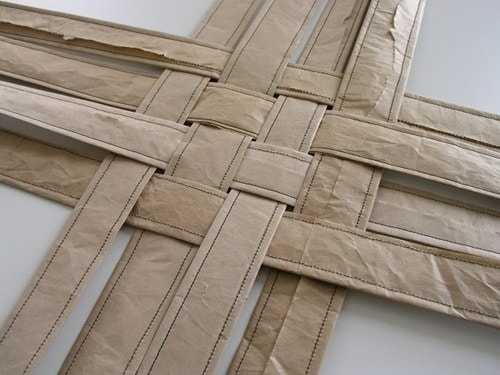
Fix the corners with glue.
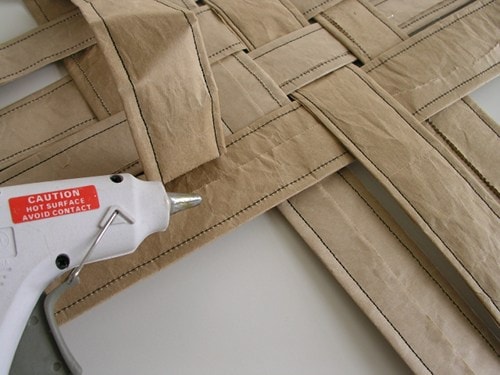
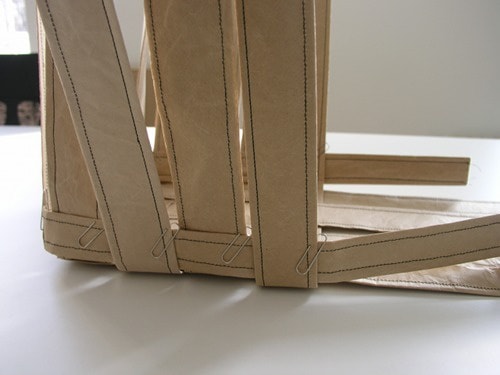
We form the walls of the basket and weave in a new strip. We fasten them with clips to keep the product in shape.
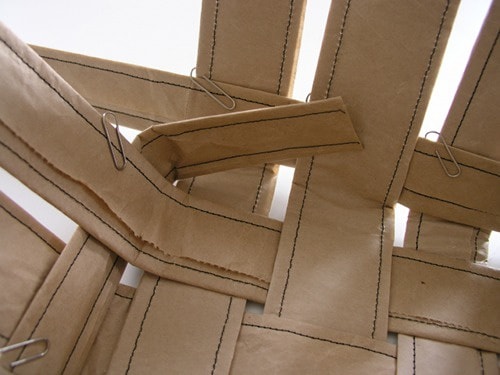
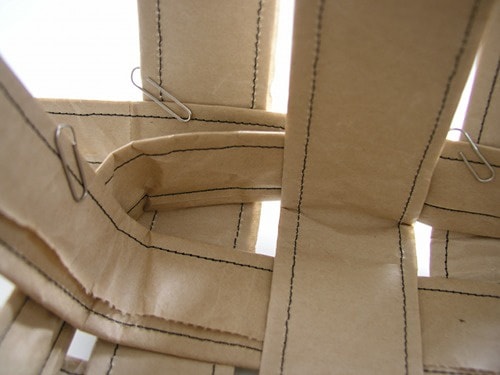
When the first circle of strips closes, seal the ends with glue. We interweave new stripes and continue to form the walls.
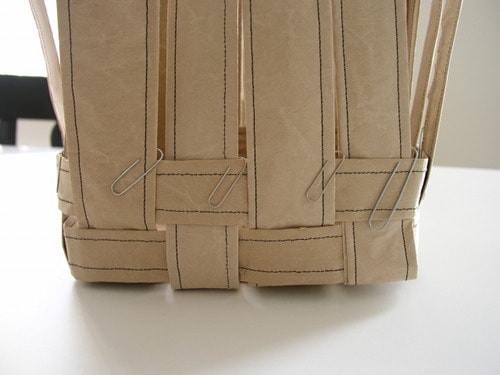
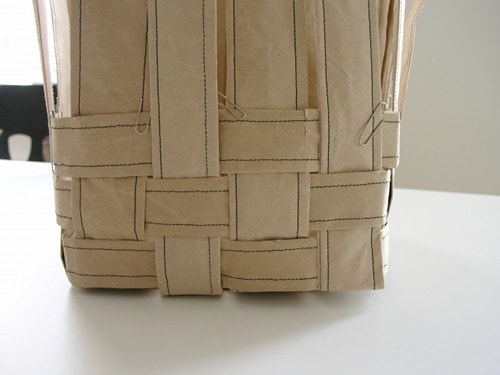
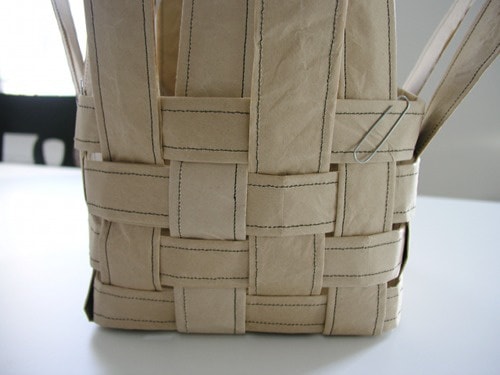
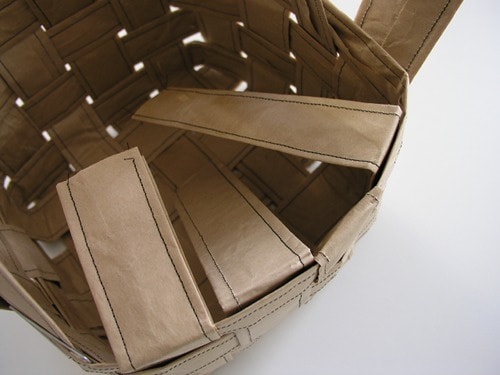
Bend the stripes when the required height is reached.

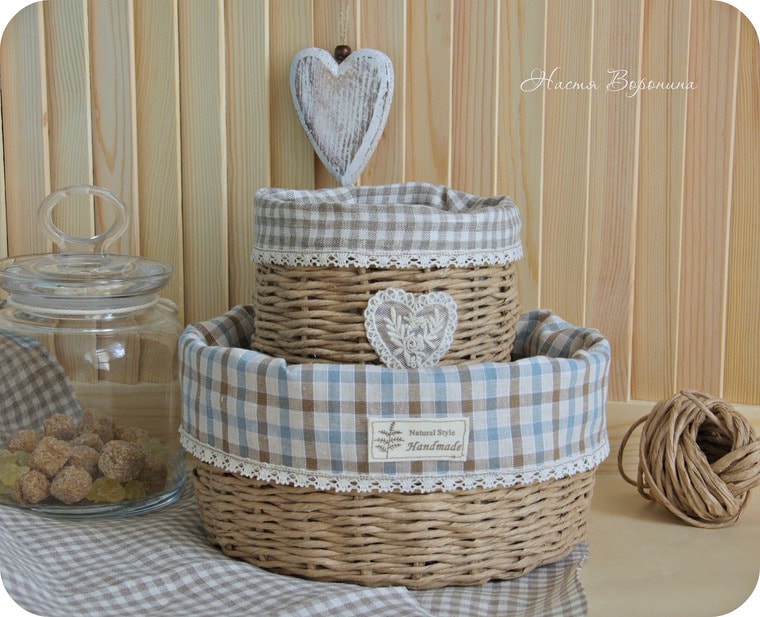
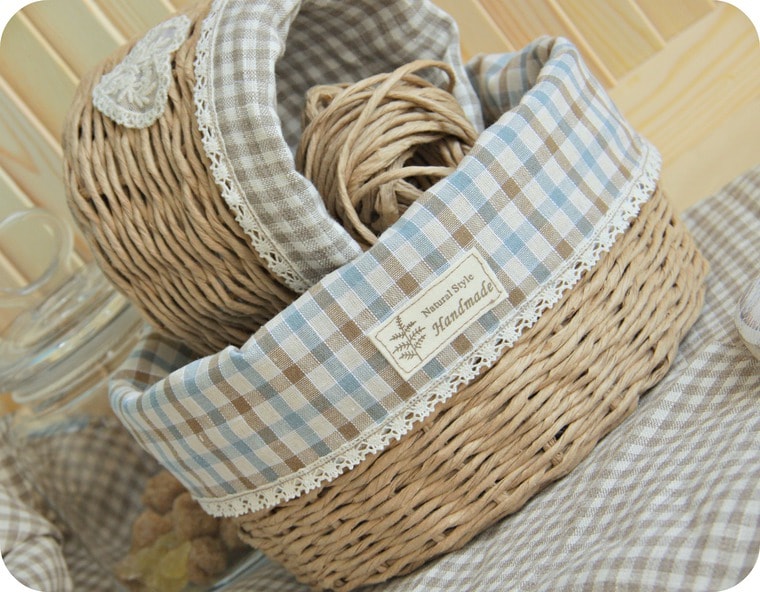
Basket in the style of "Provence"
This basket is perfect for the decoration of the kitchen and dining table.
For work you will need:
- twine;
- high density cardboard;
- kraft paper;
- the form;
- glue and double-sided tape;
- scissors;
- pins;
- lace and fabric;
- stripes.

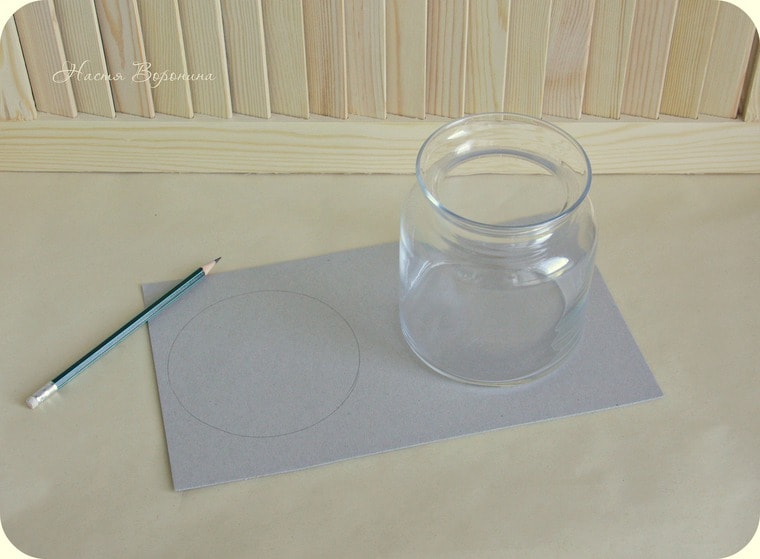
We outline the bottom of the form and cut out two circles from the cardboard.
Glue them to Kraft paper as shown in the example.
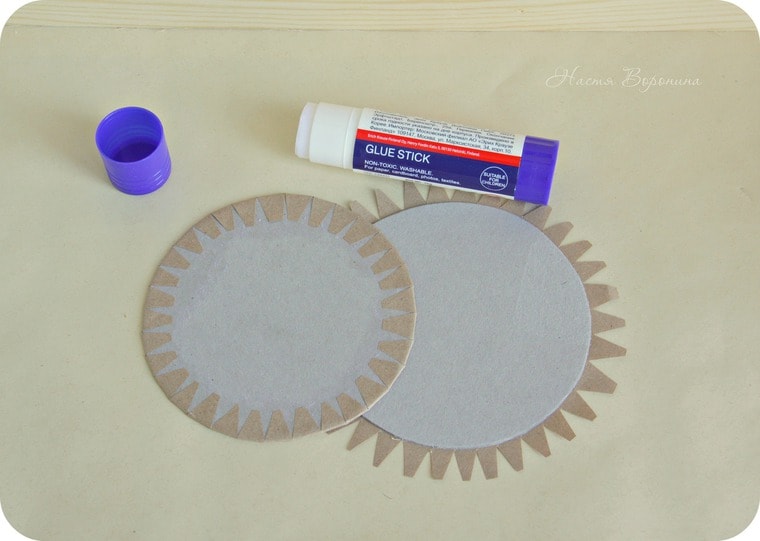
From the seamy side we glue double-sided tape.
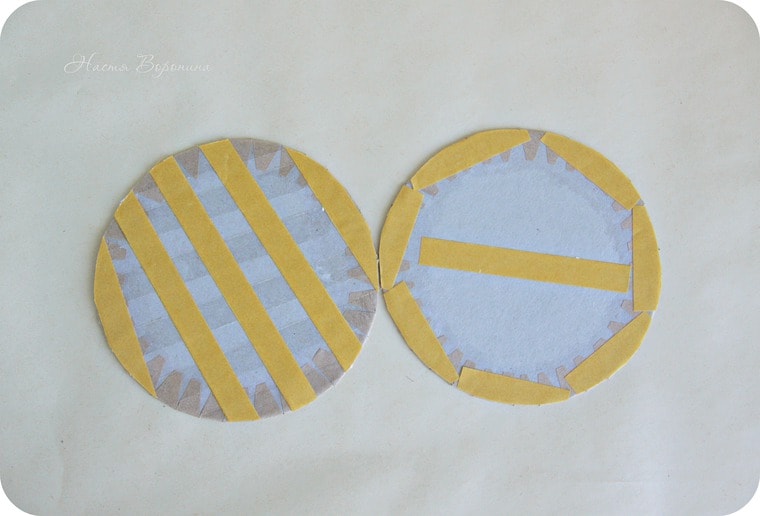
Depending on the required height of the basket, cut the twine pieces. Glue them at a short distance.
Glue the second circle and strongly press.
We take a very long piece of twine and begin to weave. To do this, make a loop around one of the segments.
Twist them in the form of eight and connect with the next segment.
Concluding the first round, we skip the main thread in the first loop.
We put on the bottom of the form around which we will weave a basket.
We press the rows to each other so that unnecessary cracks do not arise.
When the height is already suitable, we make peculiar loops from the ends of the twine.
Wrap them inside and cut them off. To keep them tight, it is better to lubricate them with glue.
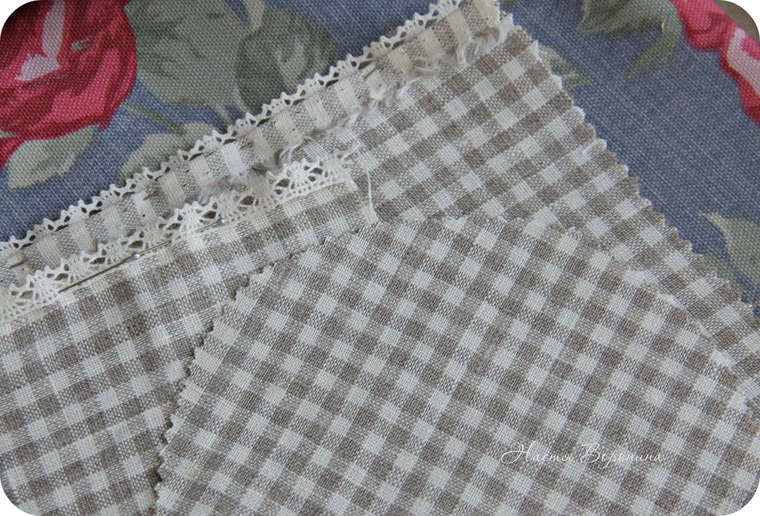
Cut a piece of cloth that will be slightly wider than the basket itself. Fasten the lace with pins along the entire length.
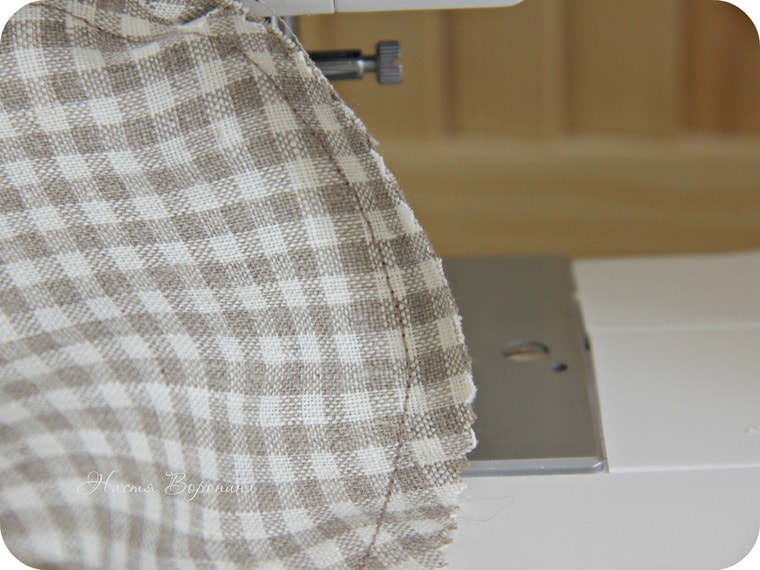
We sew with the help of a sewing machine.

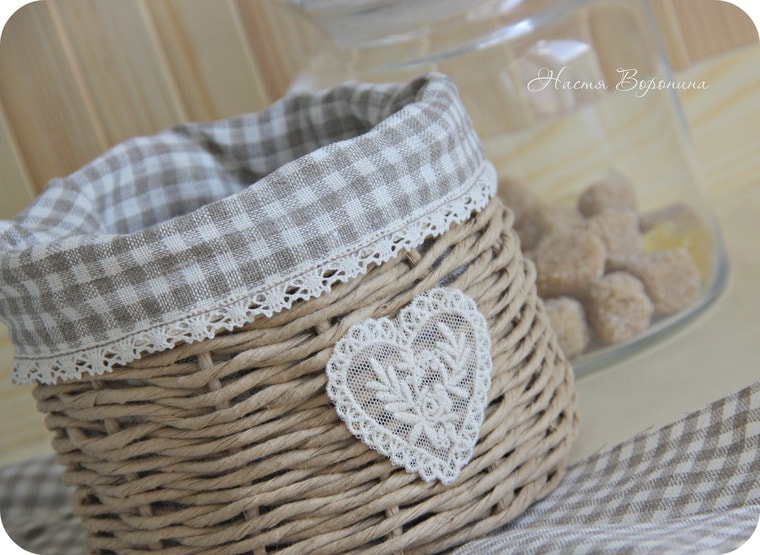
We insert the resulting fabric in a basket and decorate it with a patch.
Making a basket with your own hands is a really exciting experience.Moreover, as a result you will get a wonderful product that will be an excellent element of decor or even a gift.
Have you tried to weave baskets or prefer to use ready-made products from stores?


