


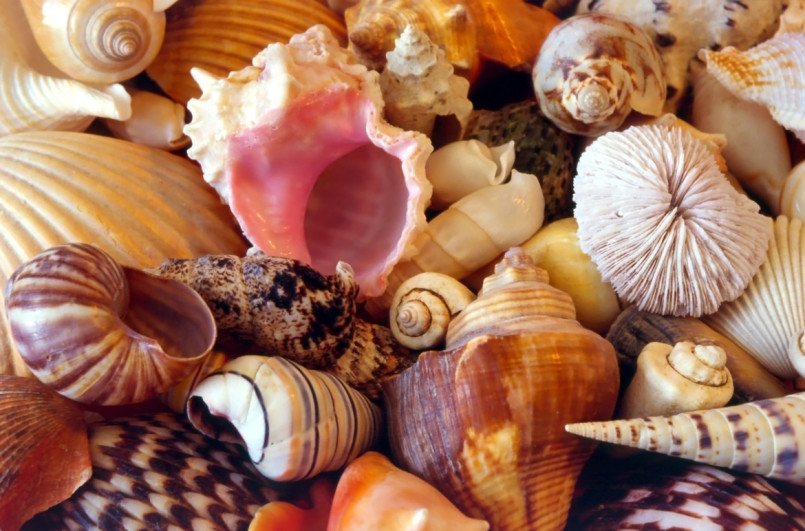
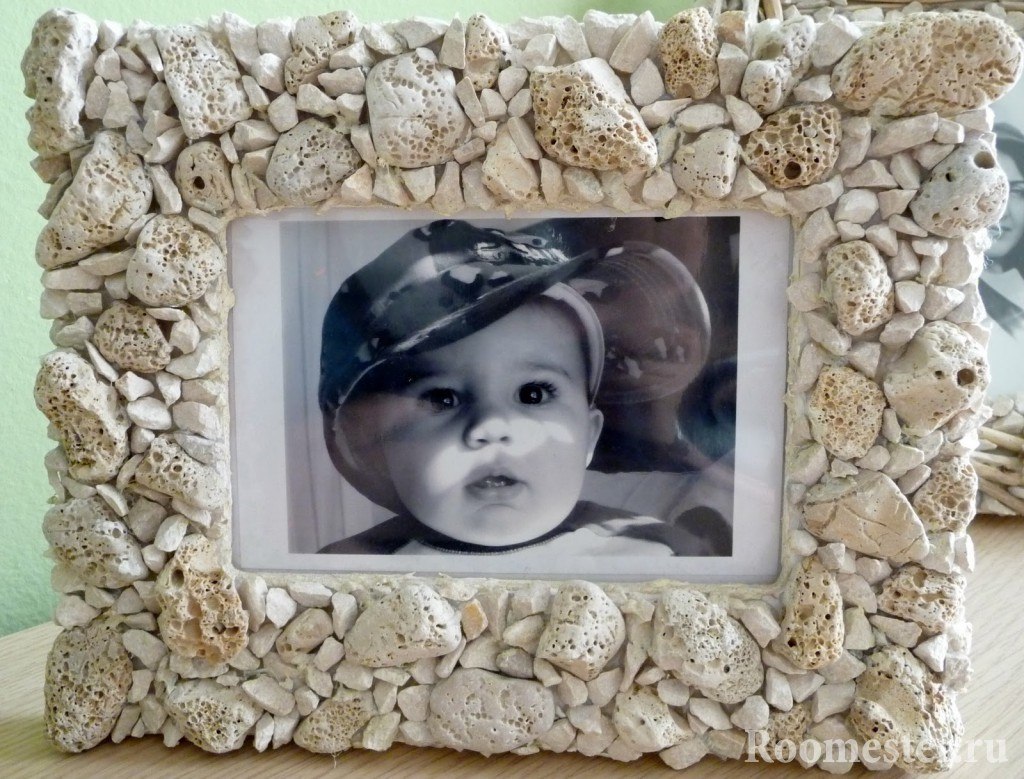
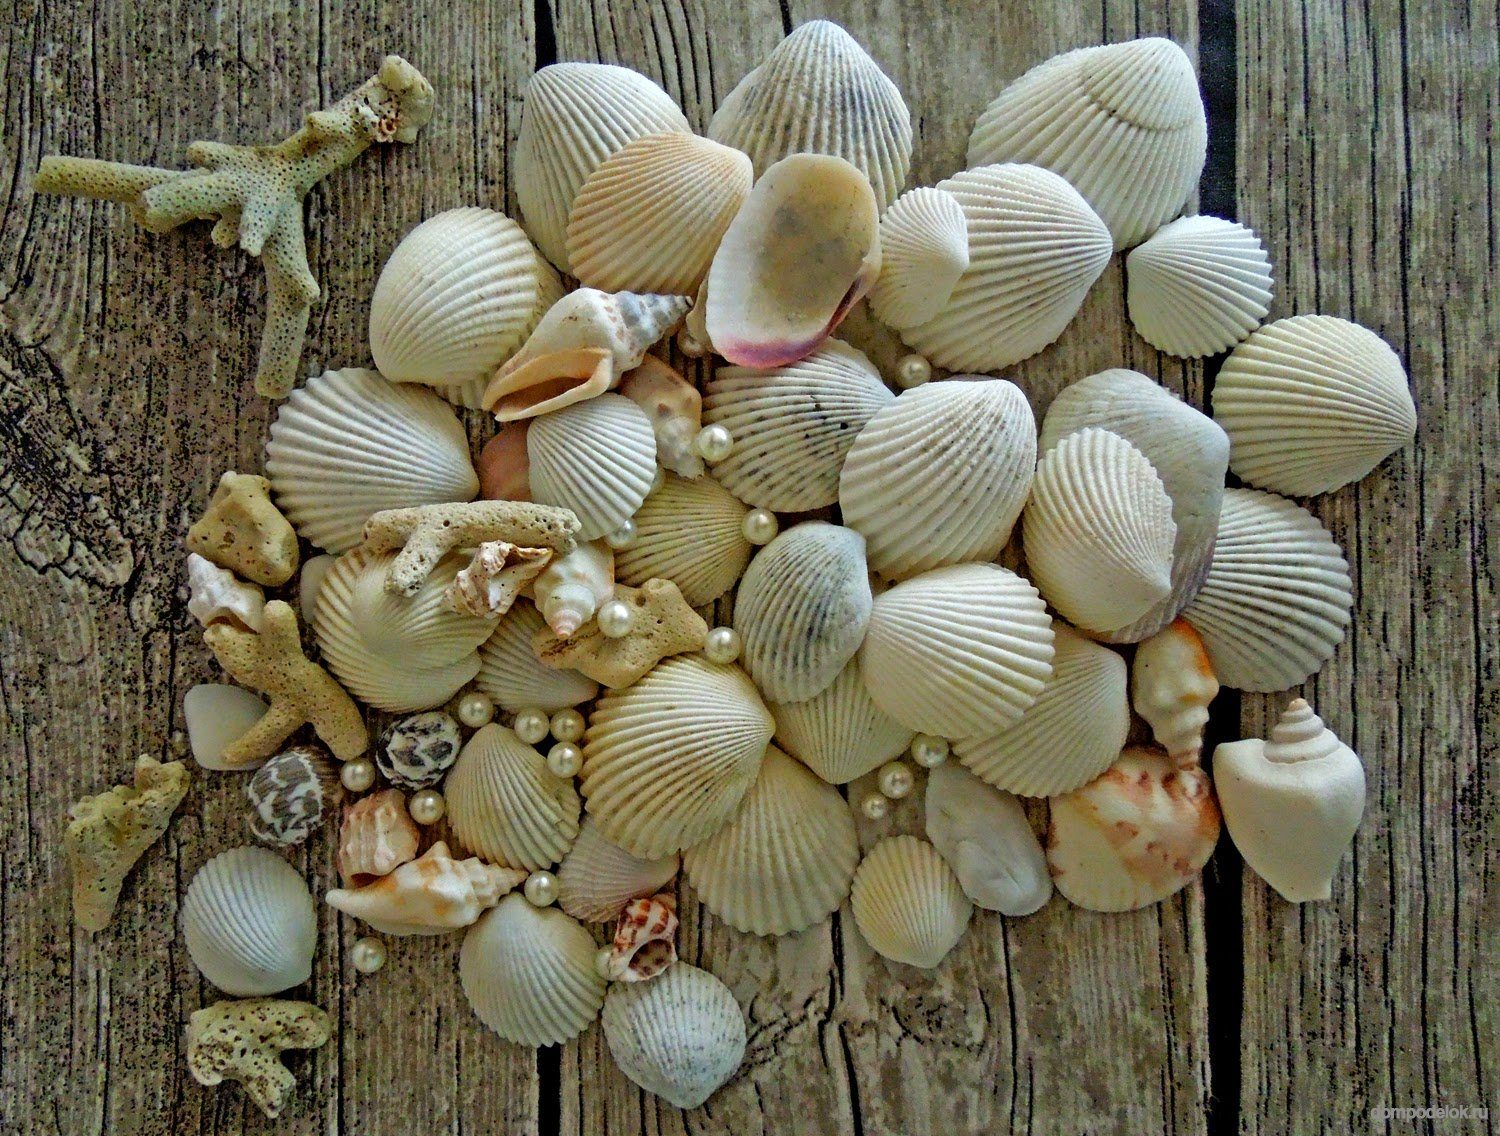
No trip to the sea is complete without small pleasant souvenirs - beautiful pebbles and various shells collected on the seashore. Unfortunately, the pebbles are not particularly valuable for the "handmade", so the best thing you can do with them is to decorate a glass vase or an aquarium with fish. The situation is different with the shells, which, thanks to the winding structure and interesting colors, make it possible to create wonderful crafts. We offer you 6 workshops with shells, which will breathe a second life into them.
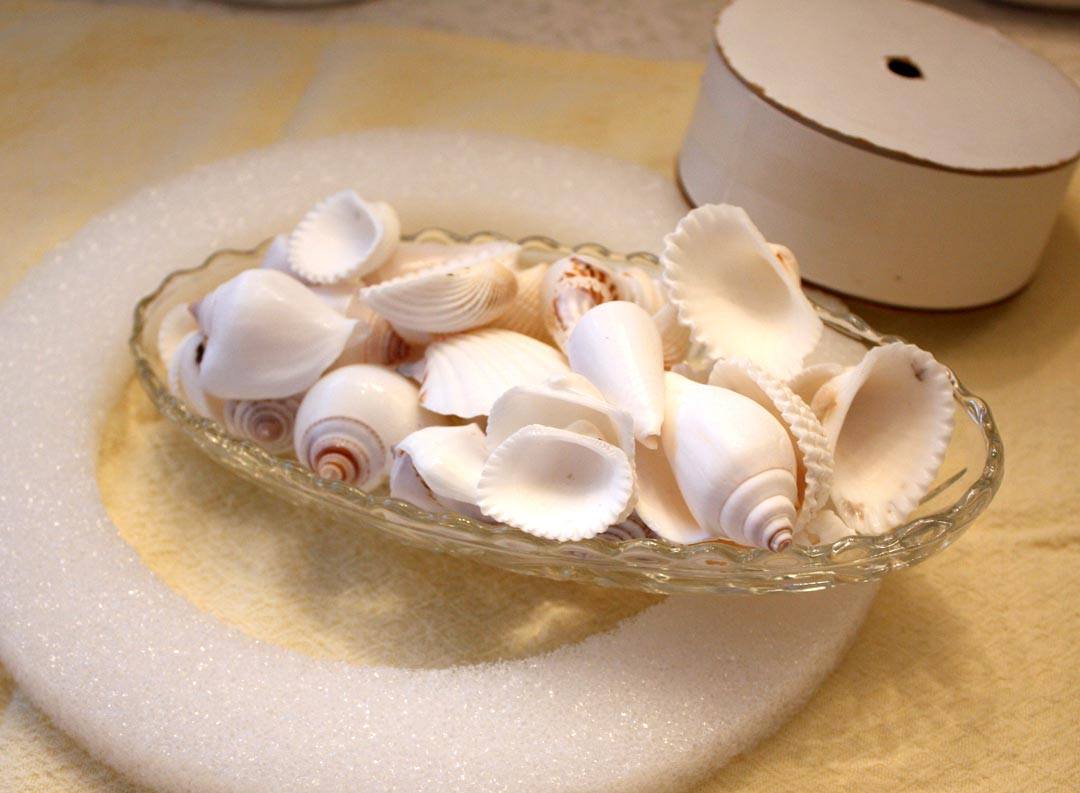
Preparing shells
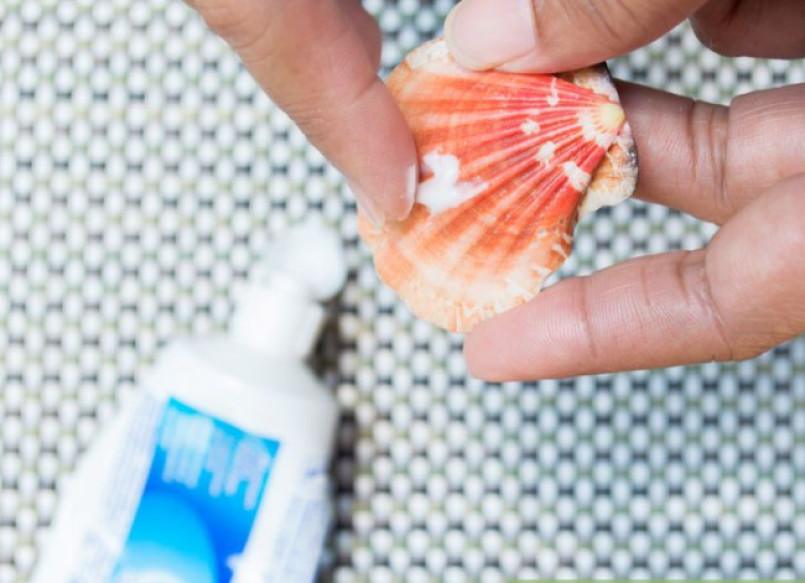
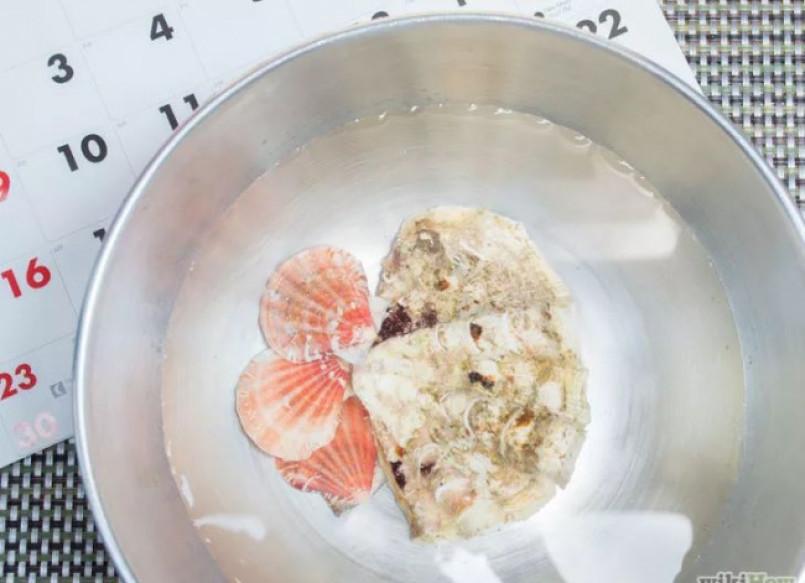
First, you need to thoroughly clean the shells from foreign particles, remains of tiny pieces and mud.
To do this, it is better to use a chlorine-containing solution, bleach or any detergent.
For complete removal of minor deposits, it is enough to place the shells in a solution with a cleansing agent. To clean more severe dirt you have to walk on the surface with a sponge or a regular toothbrush until it is completely cleaned.

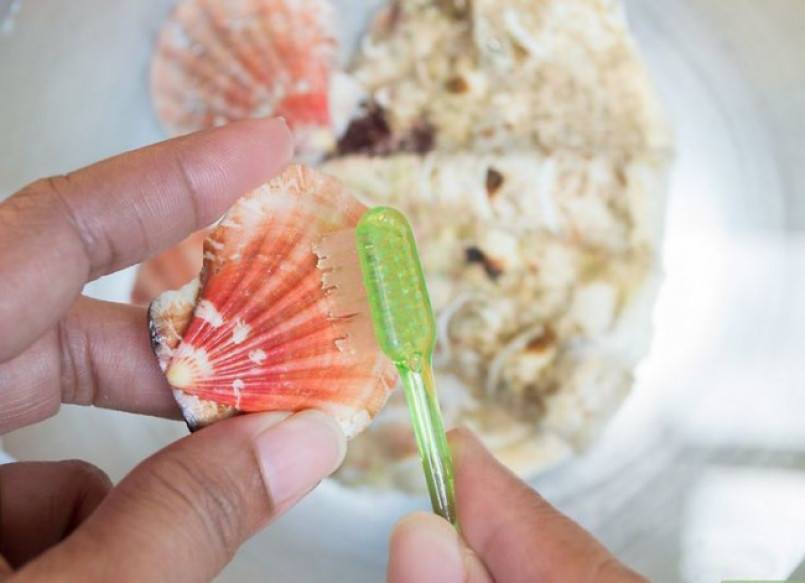
To process the shells from live mollusks or the remaining fresh particles, boil them for 5-10 minutes and remove the insides with forceps.

If your shells do not want to part with adhering contaminants, you should repeat the procedure several times until complete purification.
The cleaning stage is completed by rinsing the shells in water diluted with chlorine.
We remove chips and cracks
It is difficult to find perfect shells, even the most beautiful and multi-layered have small cracks, spoiling the overall look of the final product.
To get rid of chipping, you must polish the shell with emery paper or a grinding bar.
After polishing, you can cover the shells with clear nail polish or regular furniture stain. This will make them more beautiful and shiny, hide microscopic cavities and cracks.
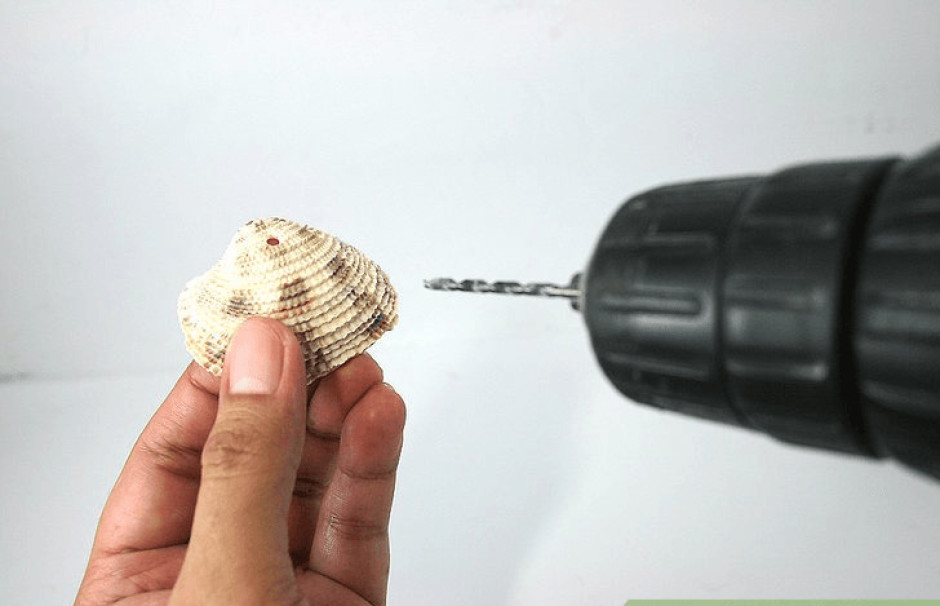
Making holes
To create a necklace, a dream catcher or a bracelet, you will need to drill small holes in the shells.
In order not to damage the shell and do not split it, use it:
- drill or screwdriver - take the thinnest drill with a sharp tip. Put the workpiece on a flat wooden board, secure it with tape and drill a hole in the right place.
- nail and hammer - fasten the shells on a flat surface, fixing with tape. Place a small carnation in the place where the hole should be and gently hit it with a hammer. The main thing to calculate the force of impact and not to damage the surface of the shell.

The shell structure is very fragile, so keep in mind the main rule: the thinner the material, the sharper the drill or nail should be.
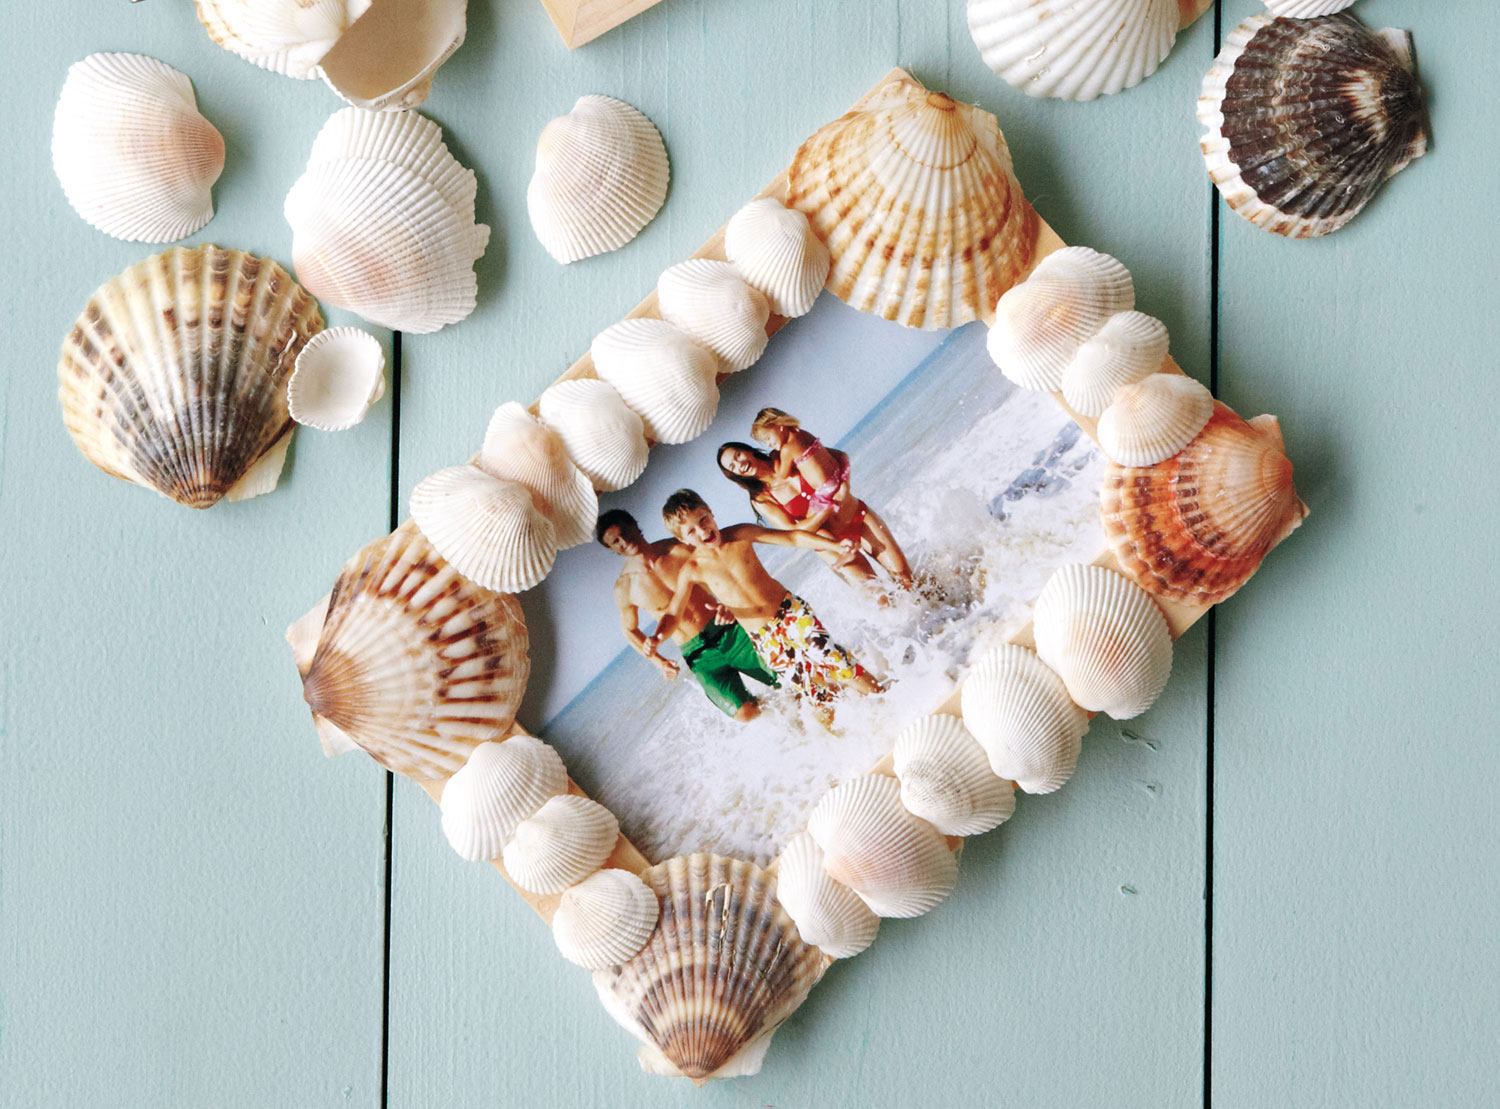
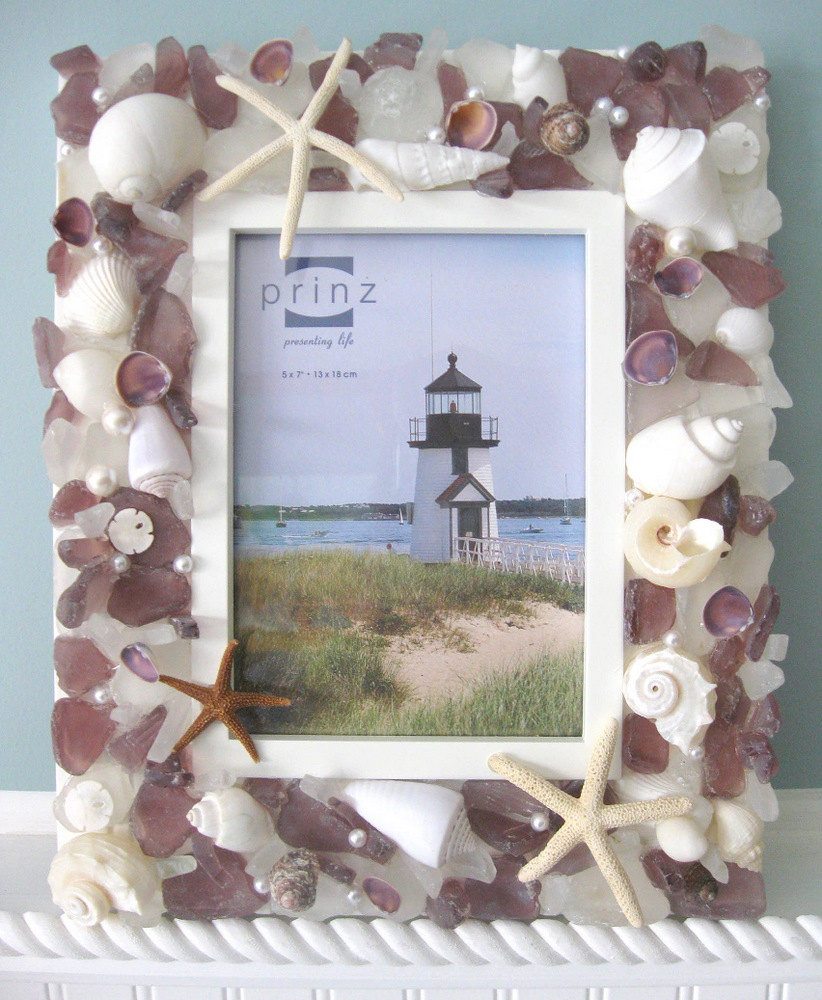
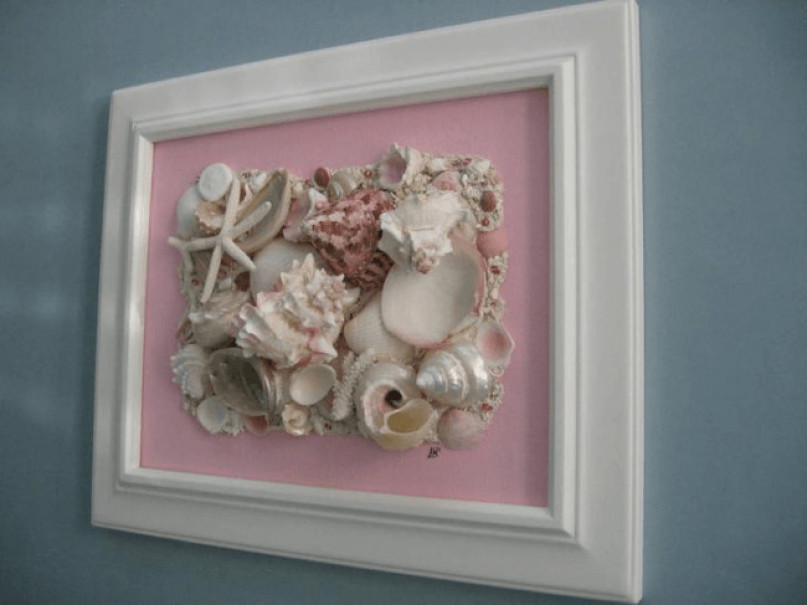
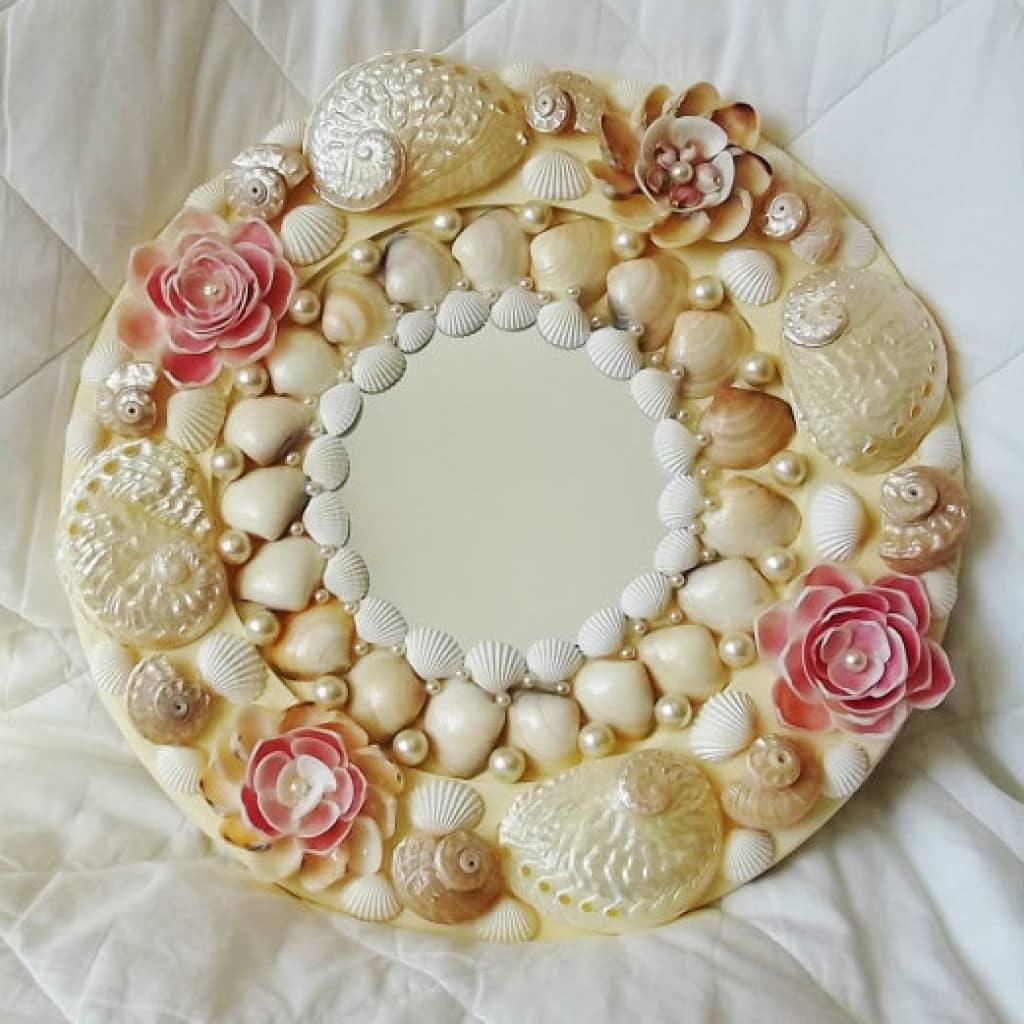
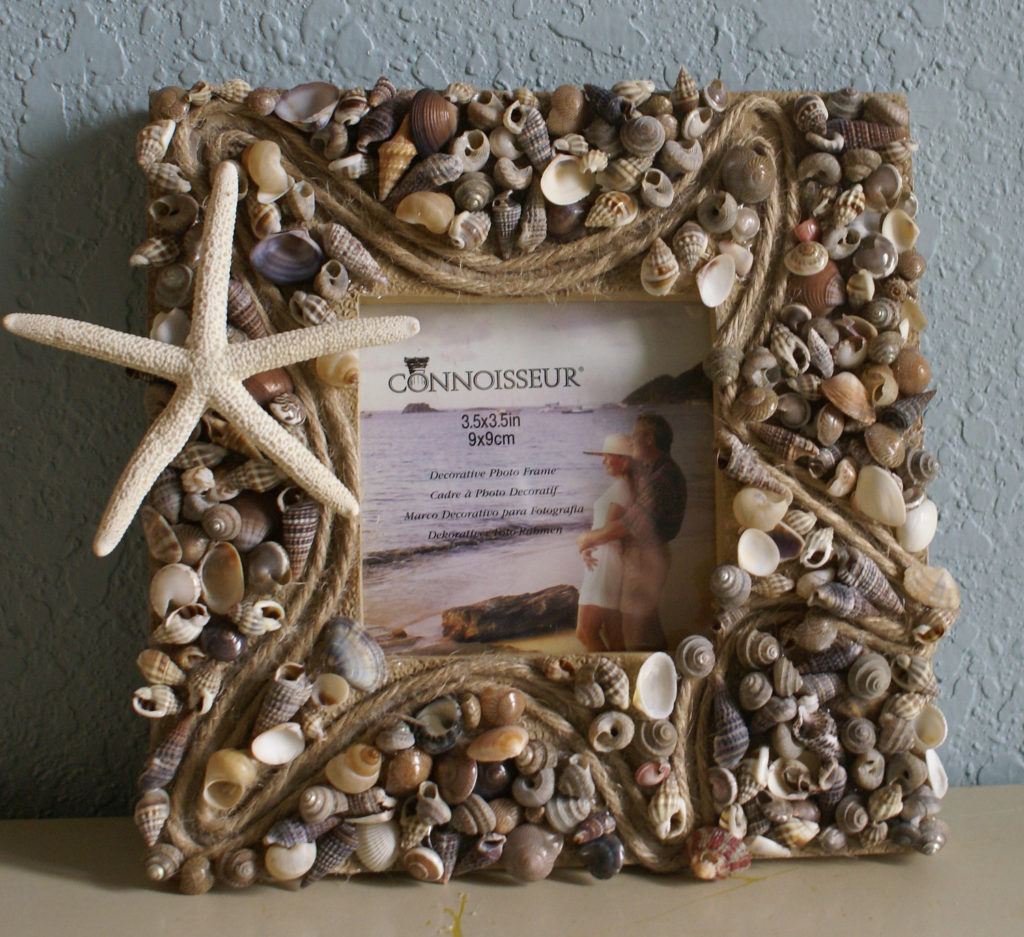
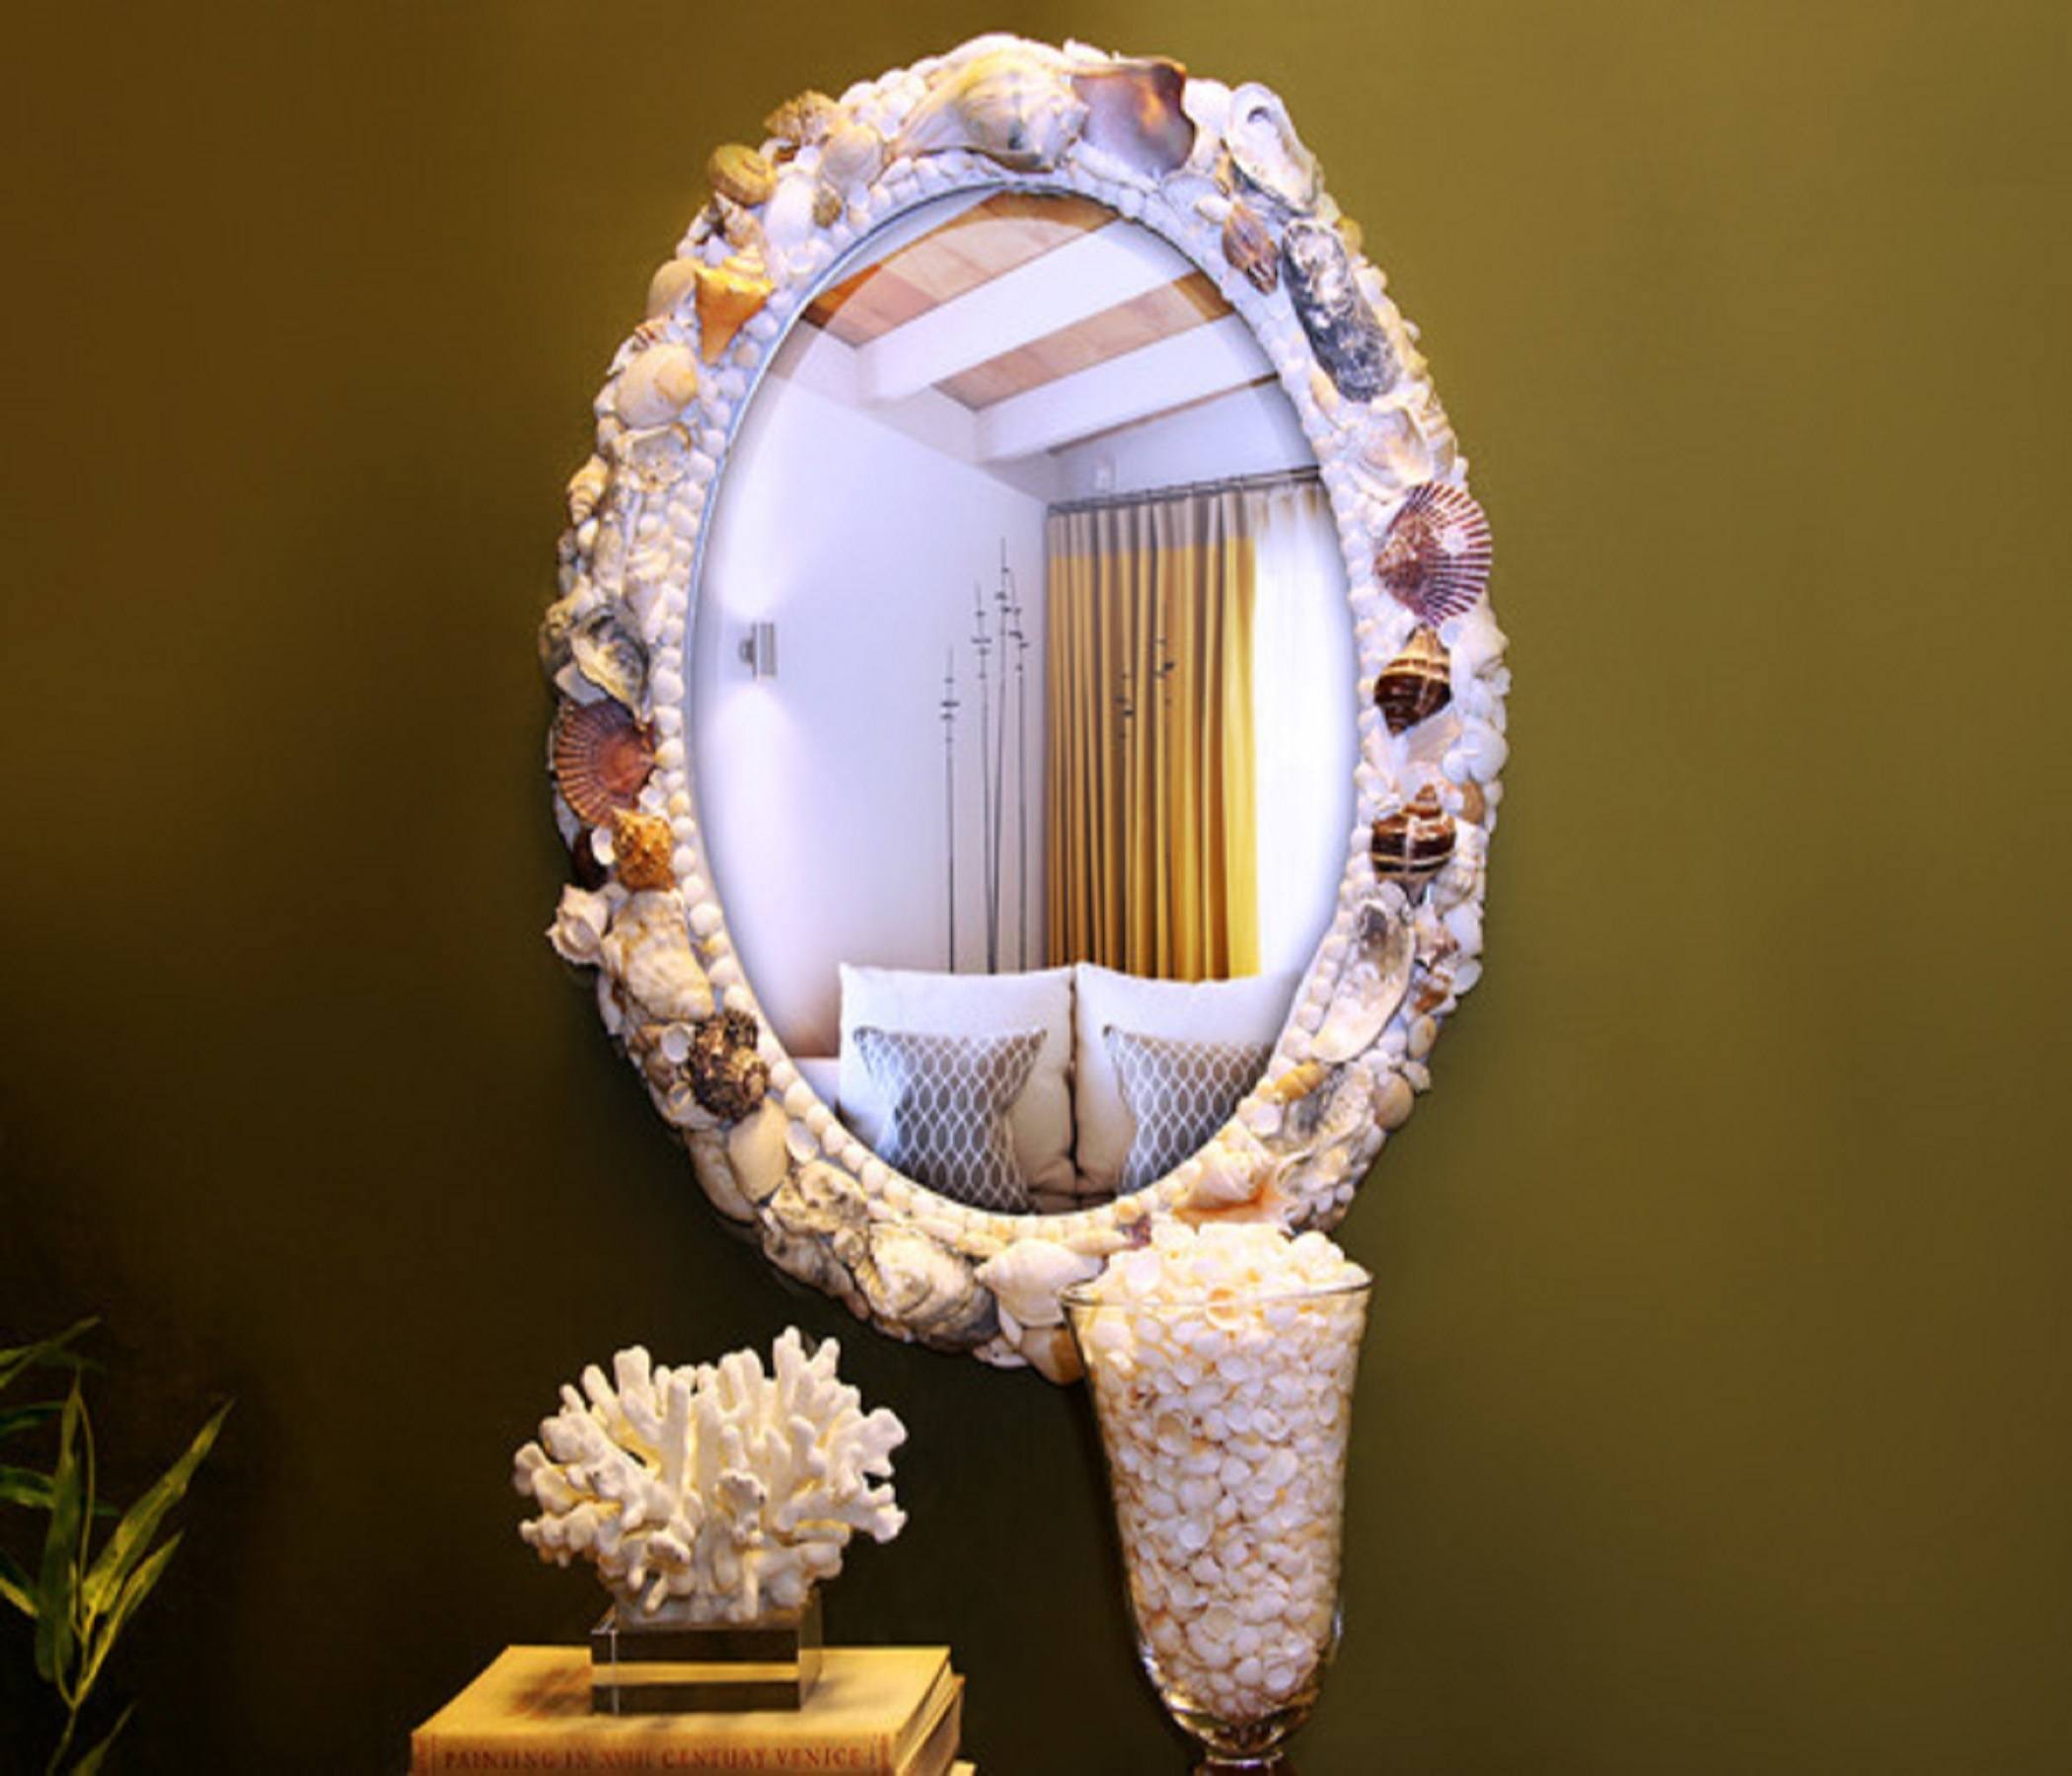
Master class 1: Frames of sea shells with their own hands
Creating crafts with shells is not complicated, but it requires a special and careful attitude process.
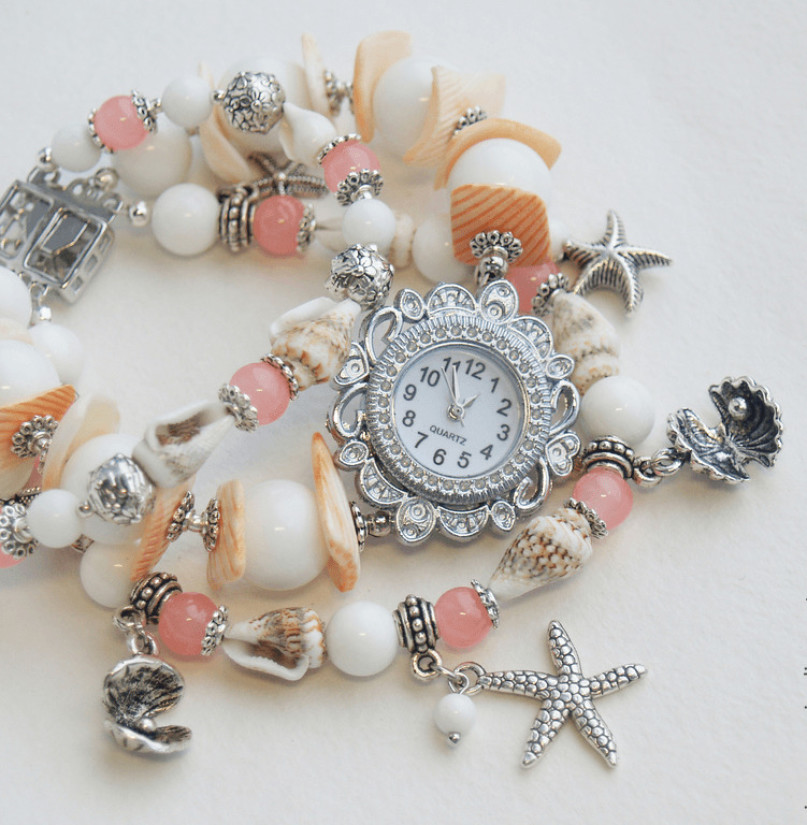
Even children are able to make bracelets and beads from shells, so we suggest you make more interesting crafts.
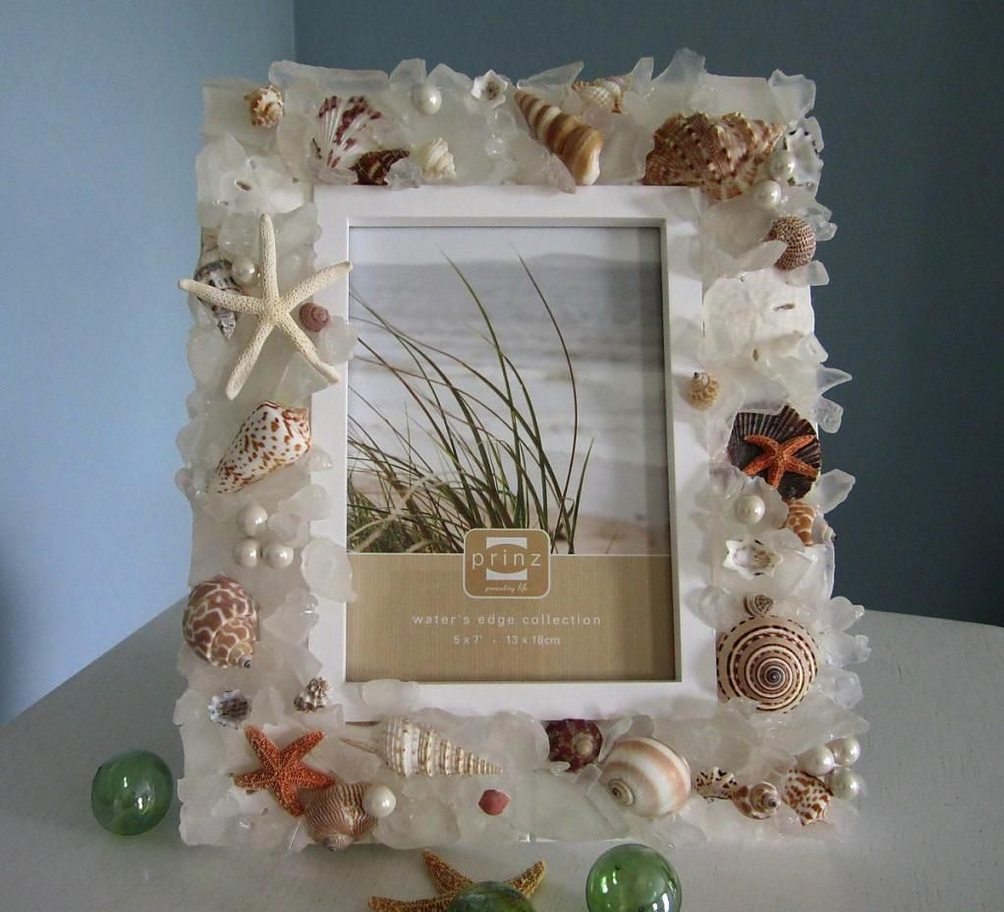
The usual photo frames will look much more interesting if you decorate them with sea shells.
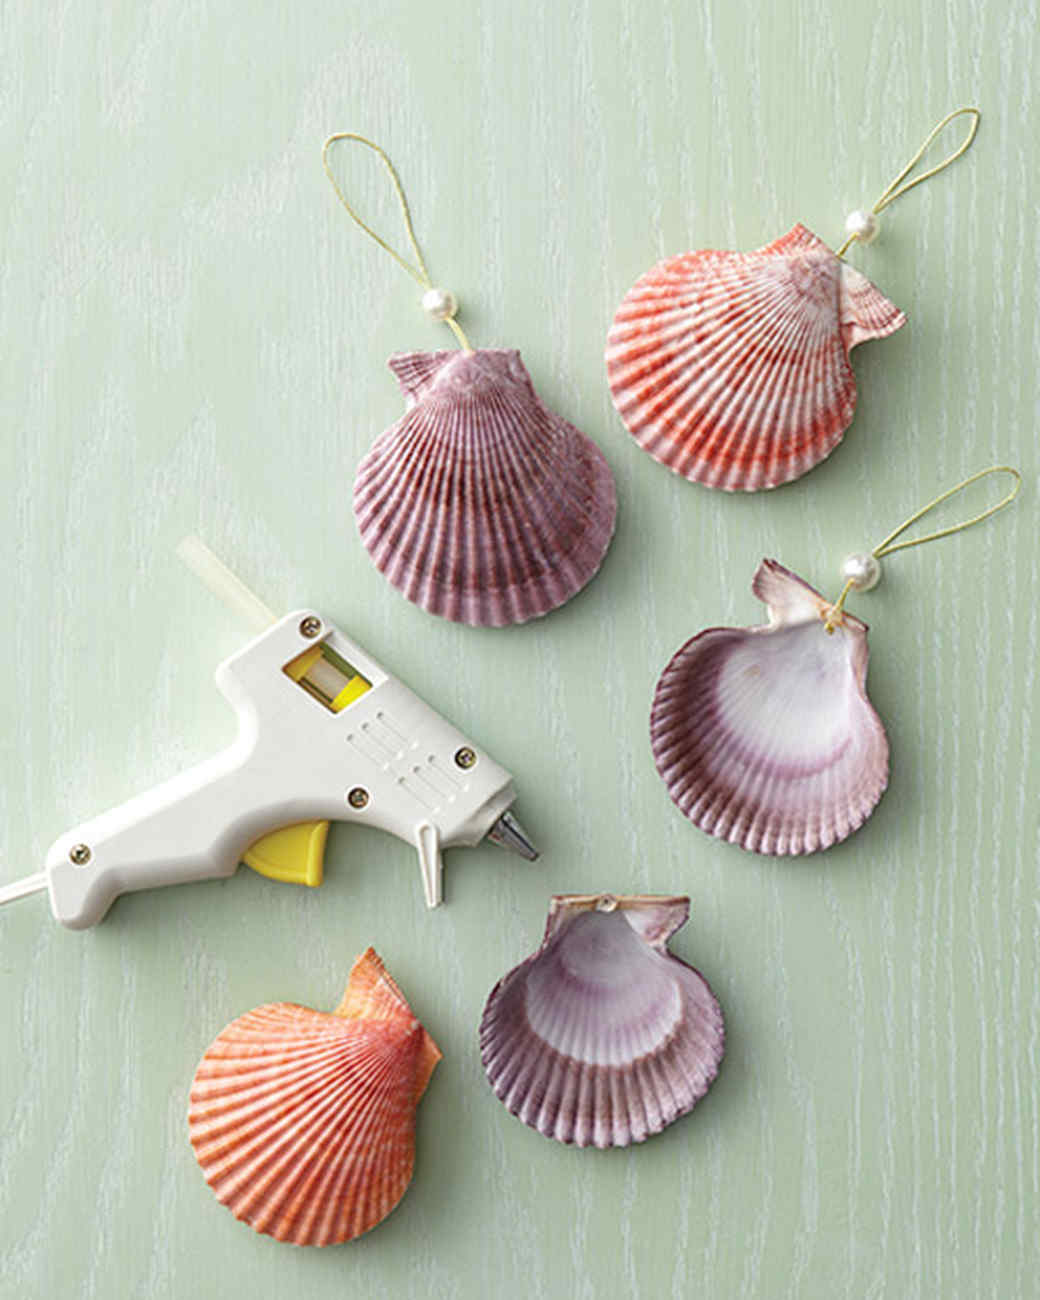
We will need:
- shells of different sizes
- Moment glue or heat gun
- consumables - newspapers, paper
- Scotch
- decorative items for decoration - beads, figures on the marine theme
Frame creation order:
- Prepare a place to work - cover the surface of the table with a paper or newspaper, fasten it with scotch tape.
- Sort the sinks by size.
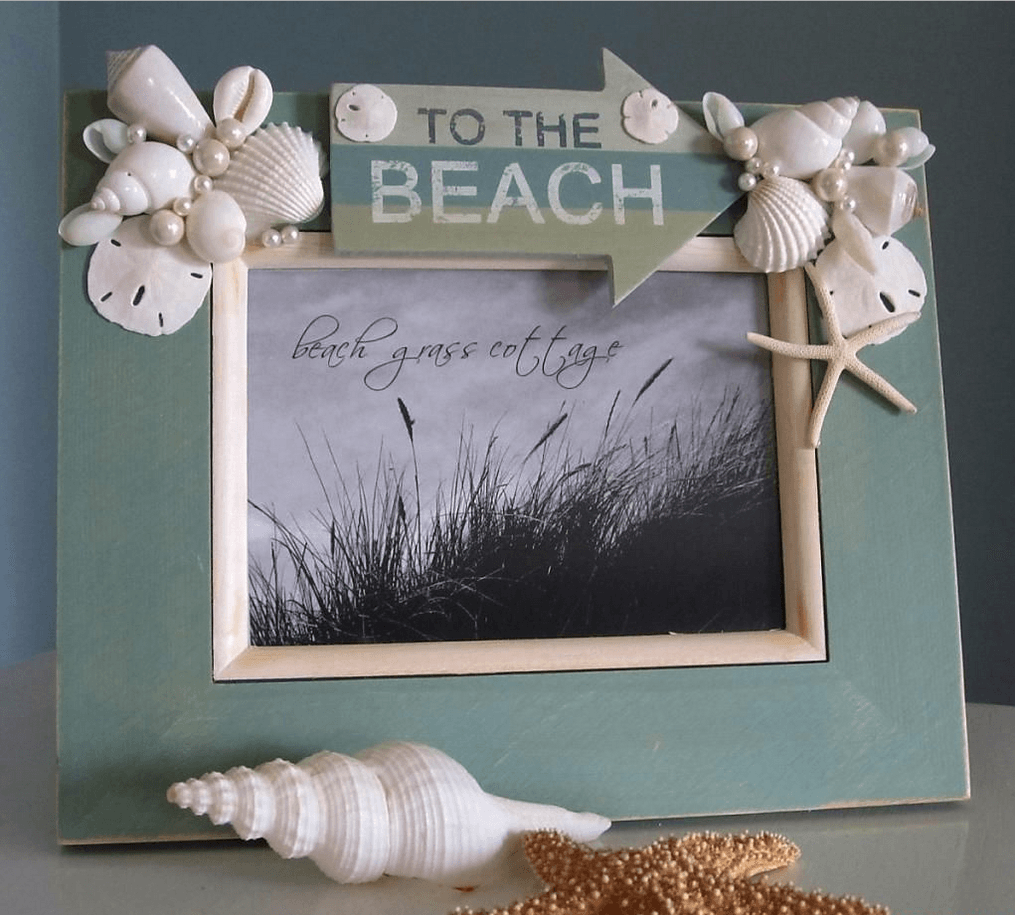
3. We decorate the first row of the frame with the help of large sinks, using the medium-sized material as the second row. The smallest shells decorate the top layer of the photo frame.
4. Decorate the remaining space between the shells with decorative figures - starfish, anchor, sun, colored sand.

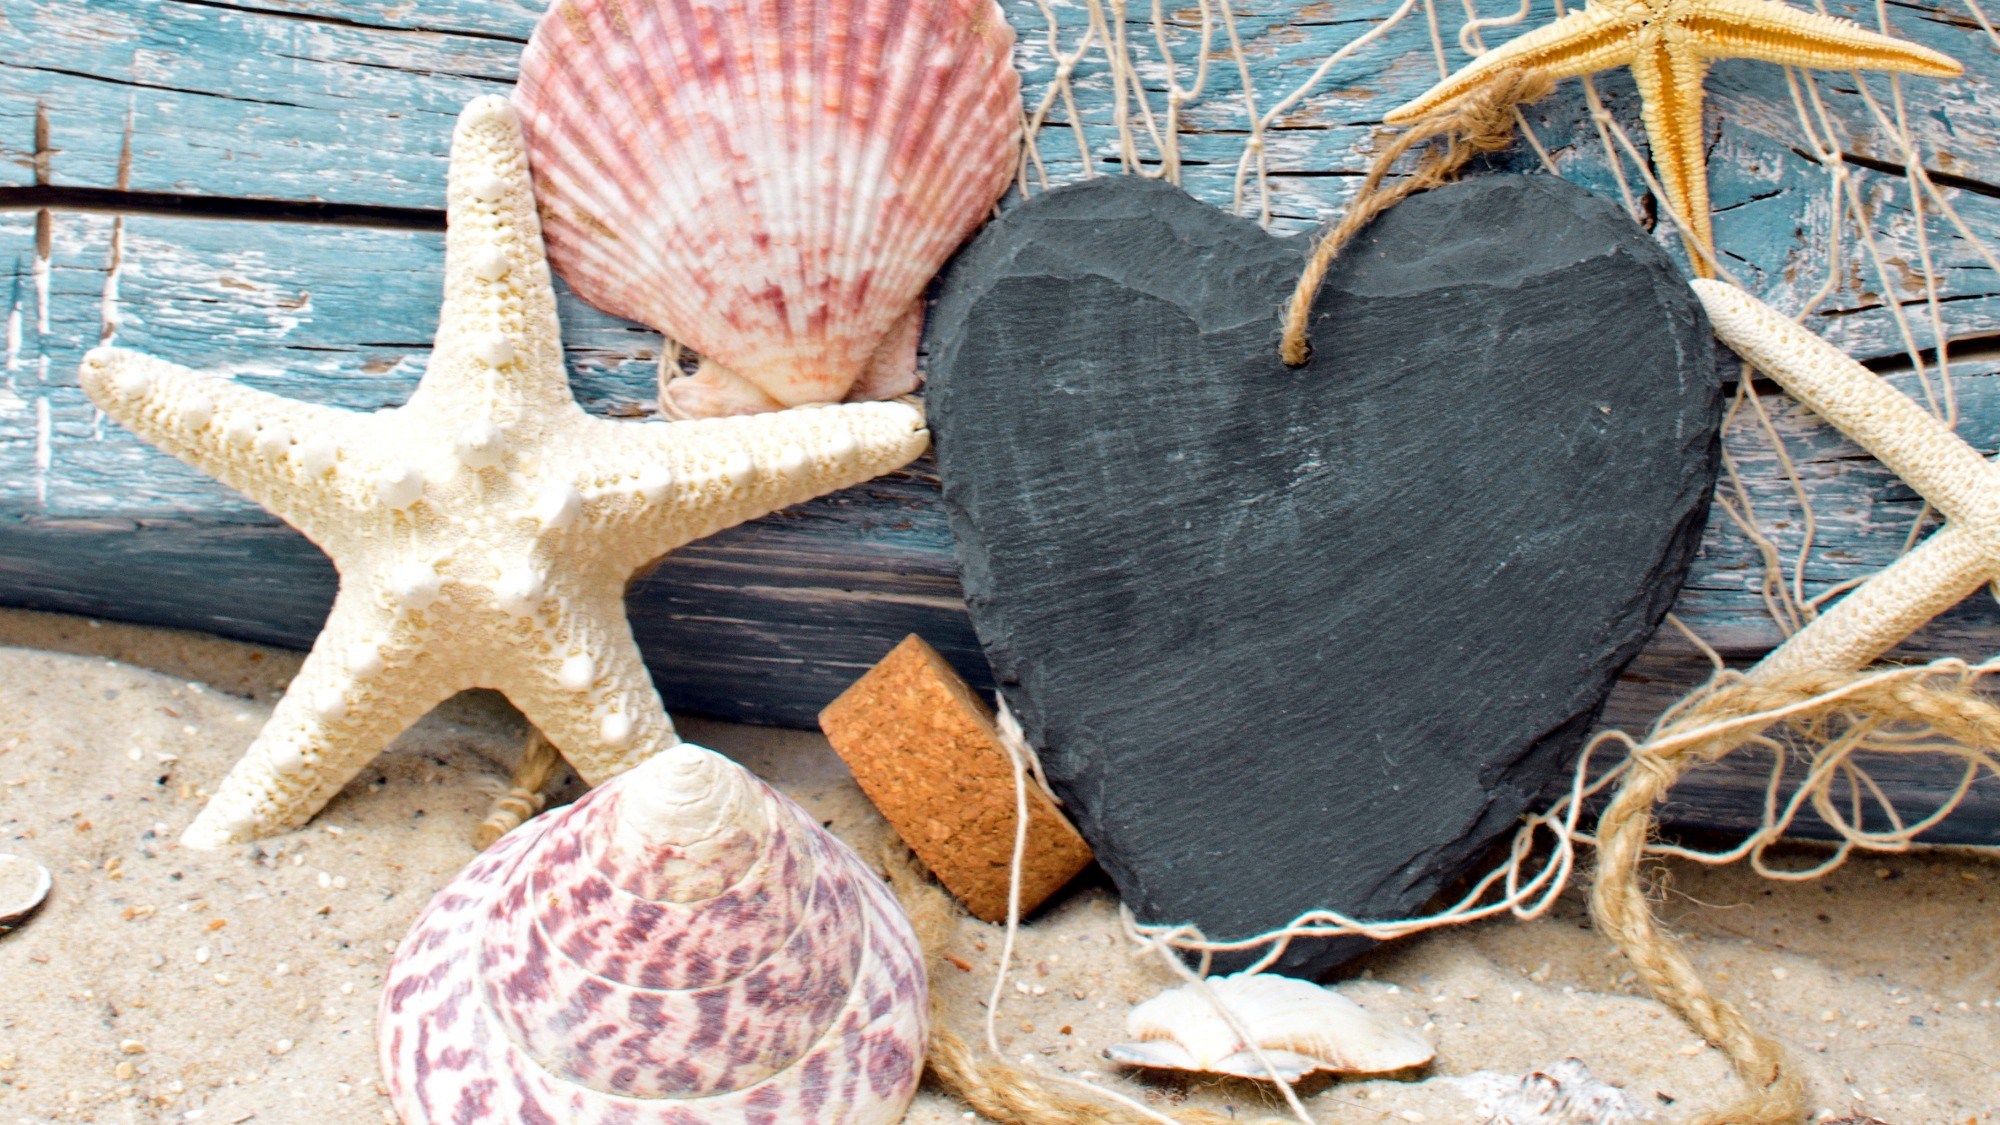
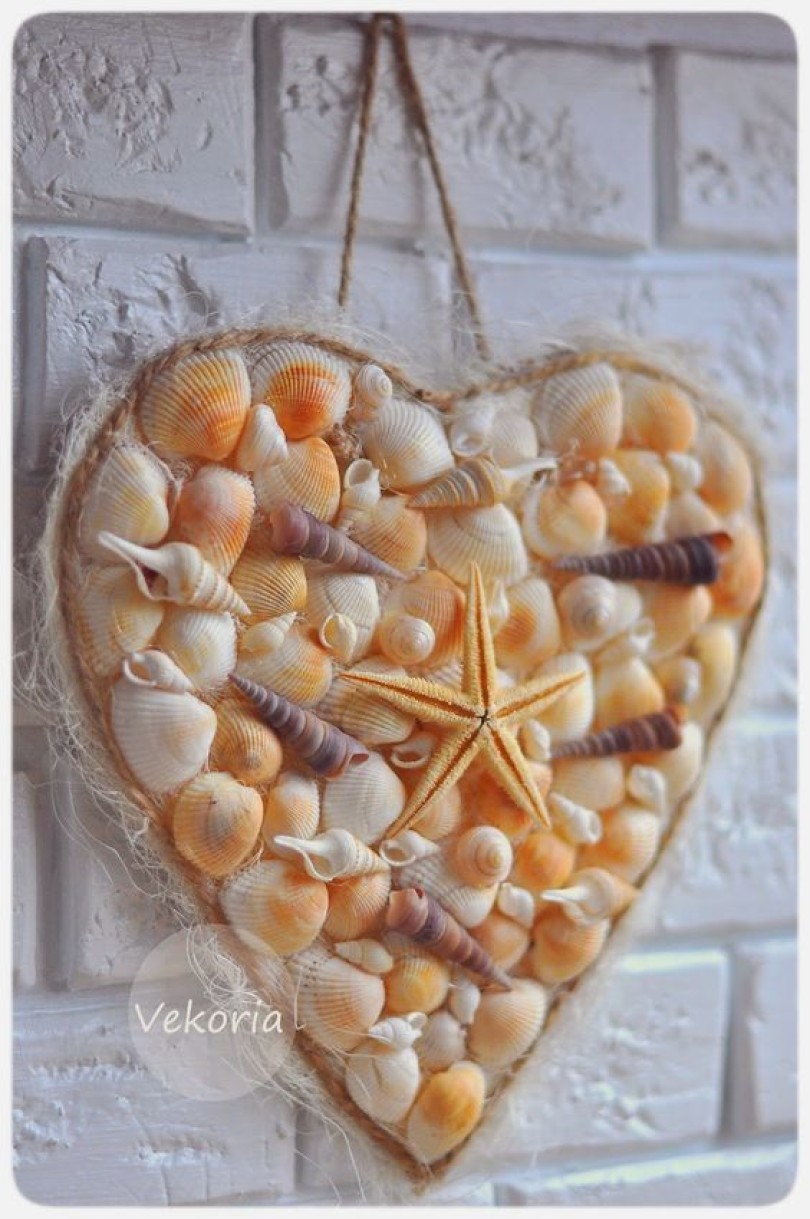
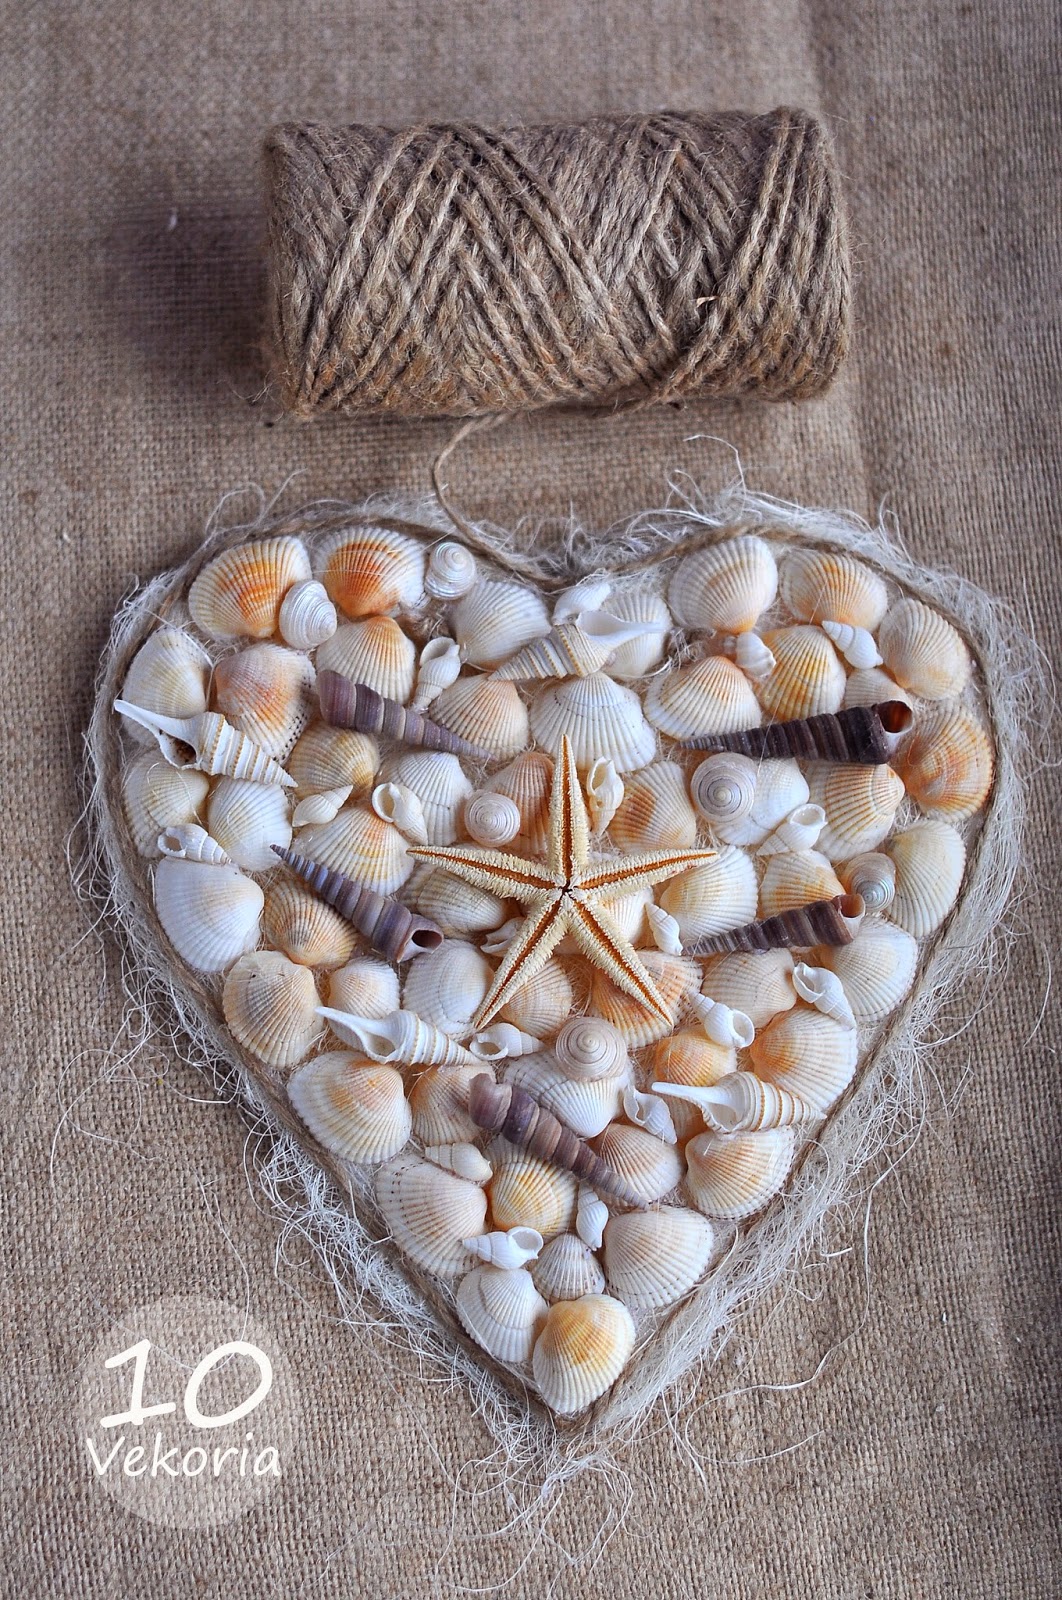
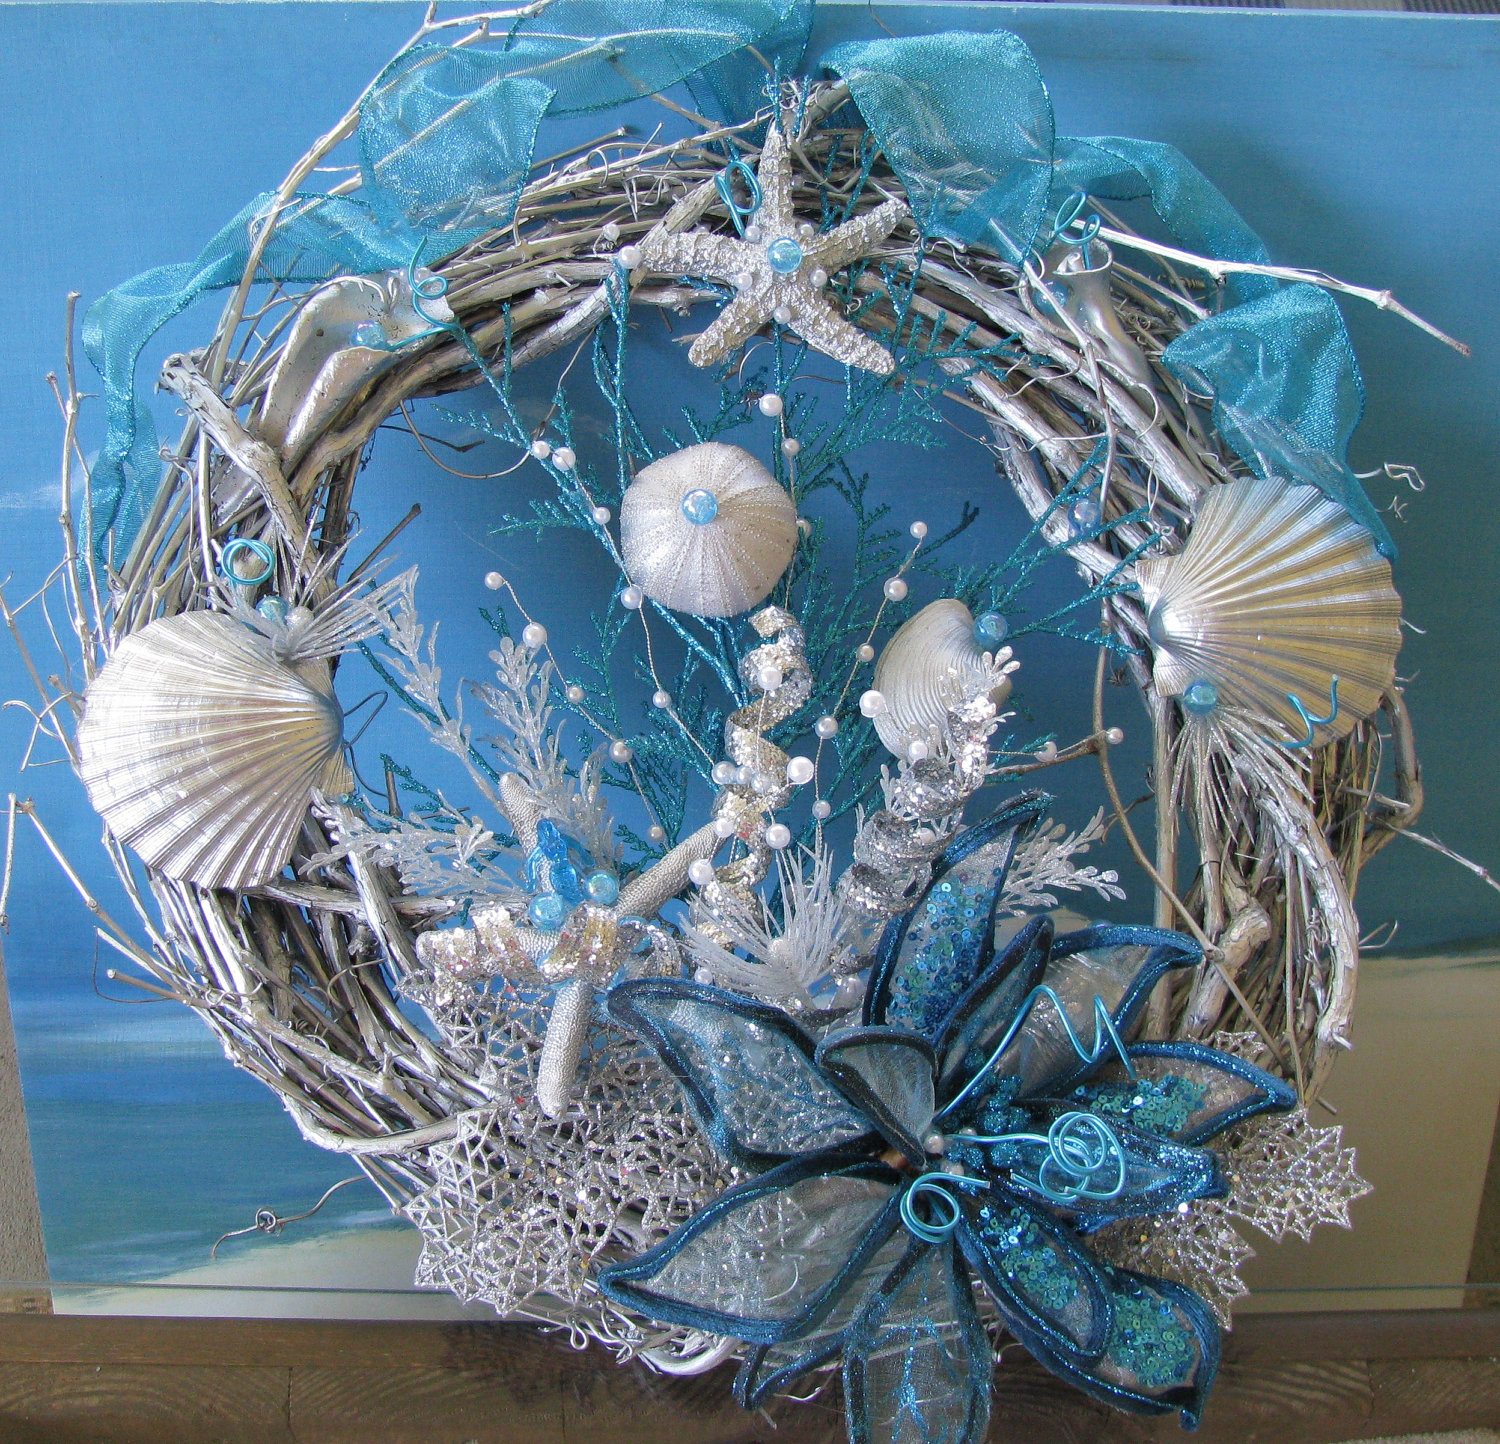
Master class 2: Do-it-yourself shell panel
The panel on the marine theme with shells created with shells, starfish, pebbles will be the best decoration of your home, reminiscent of a past holiday.
To create a panel will need:
- thick cardboard of any shape
- sea shells, stars, pebbles
- decorative items for decoration

Stages of decoration:
- Cut a rectangle out of cardboard or any other shape as desired.
- Tape the surface of the cardboard with plain paper, decorative film with a thematic print, or decorate with a marine-themed pattern.
- Using hot melt or white glue, glue the shells and other material onto the surface of the cardboard in any order.
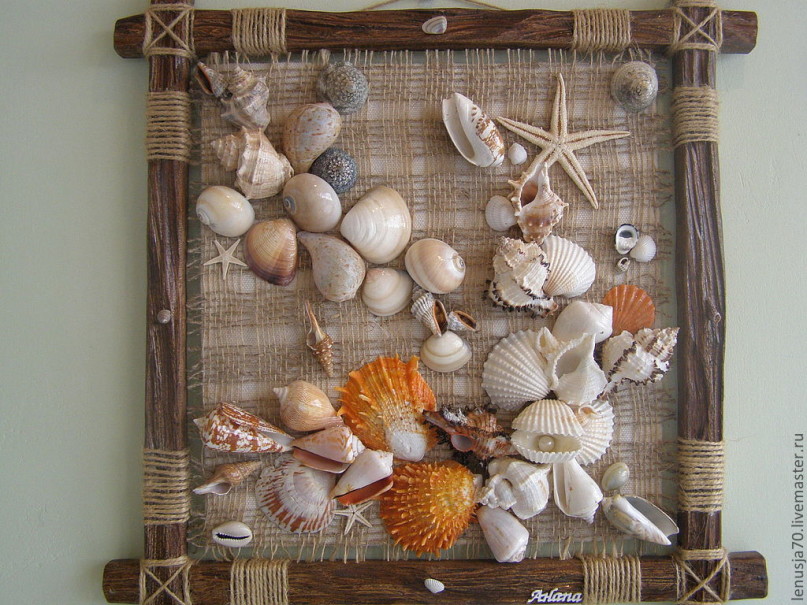
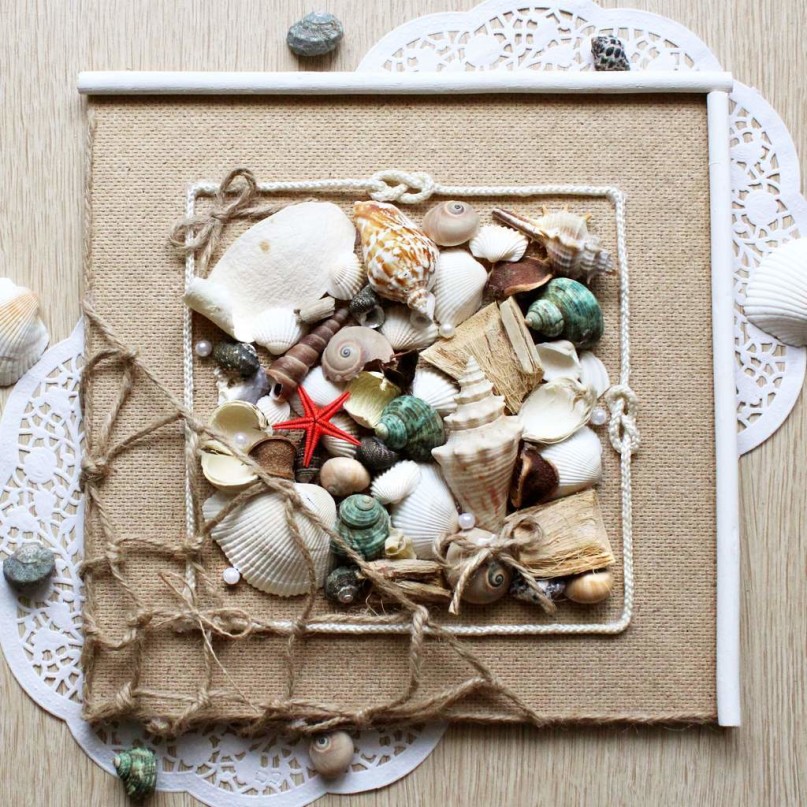
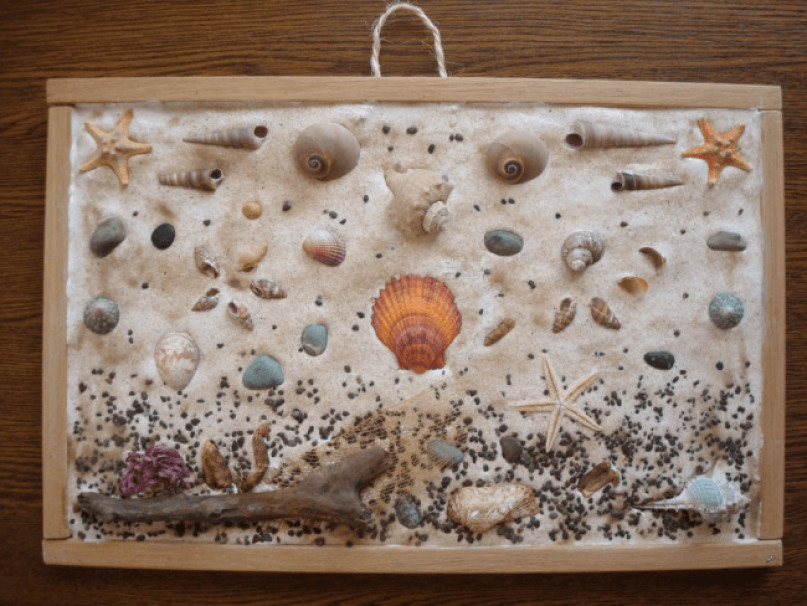
Decorate the gaps between the shells with beautiful knots of dense twine or decorative ornaments.
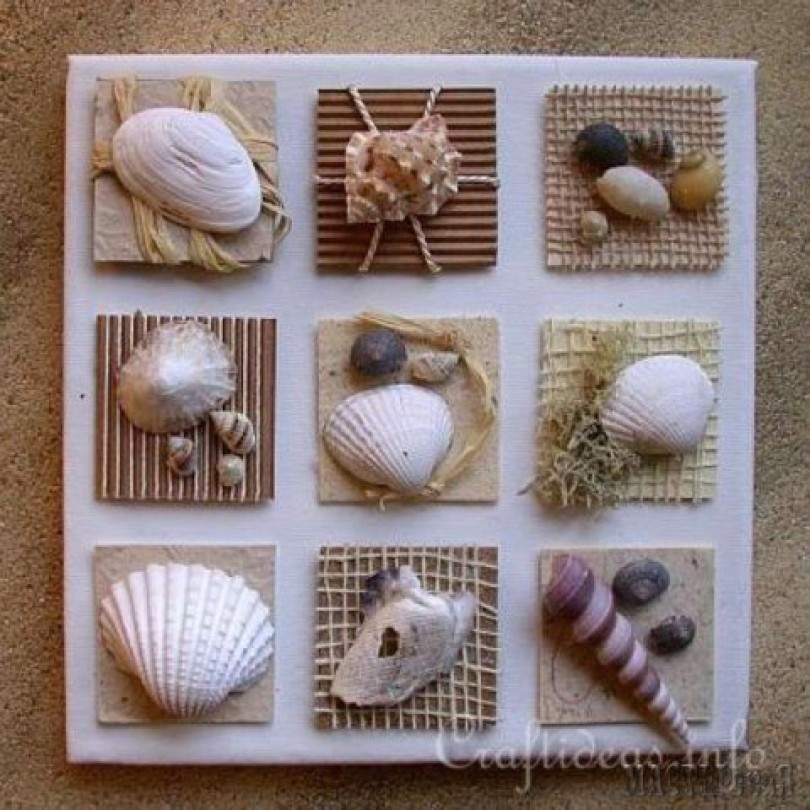
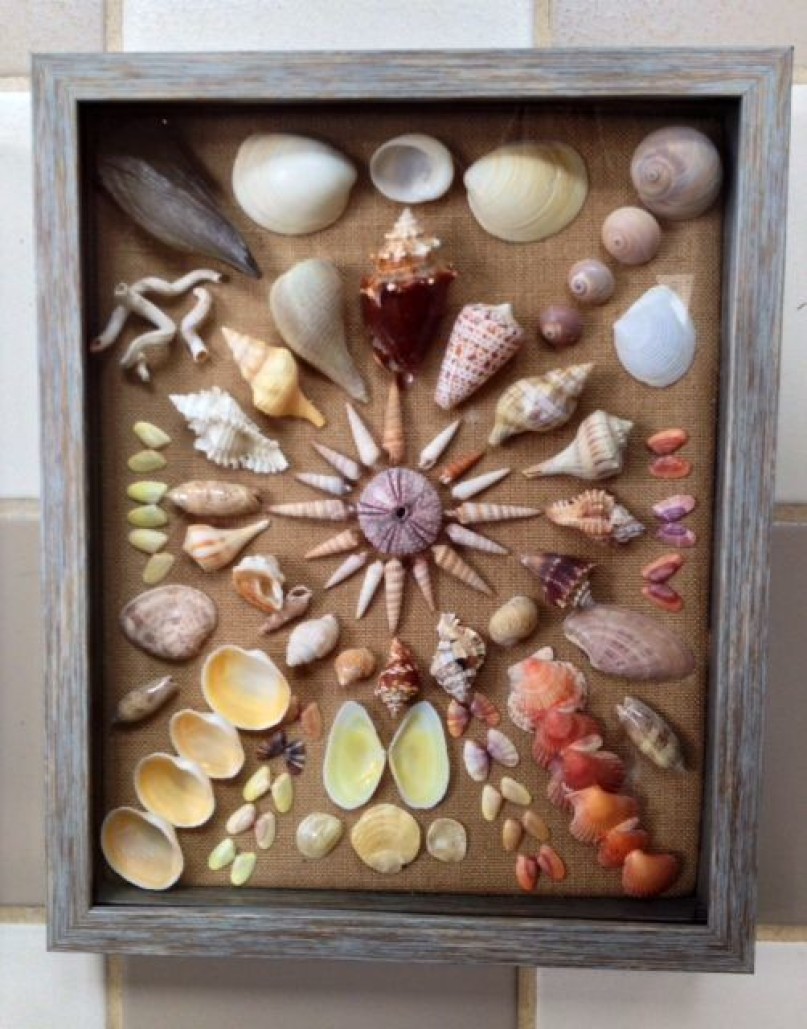
Master class 3: Do-it-yourself painting of shells
Seashells can be a great addition to the already finished canvas. To create a picture with sea elements, take a picture and use super-glue to glue it with shells or pebbles.

If you have artistic abilities, you can draw a picture under the shells from scratch, focusing on the places where the sea elements will be located.

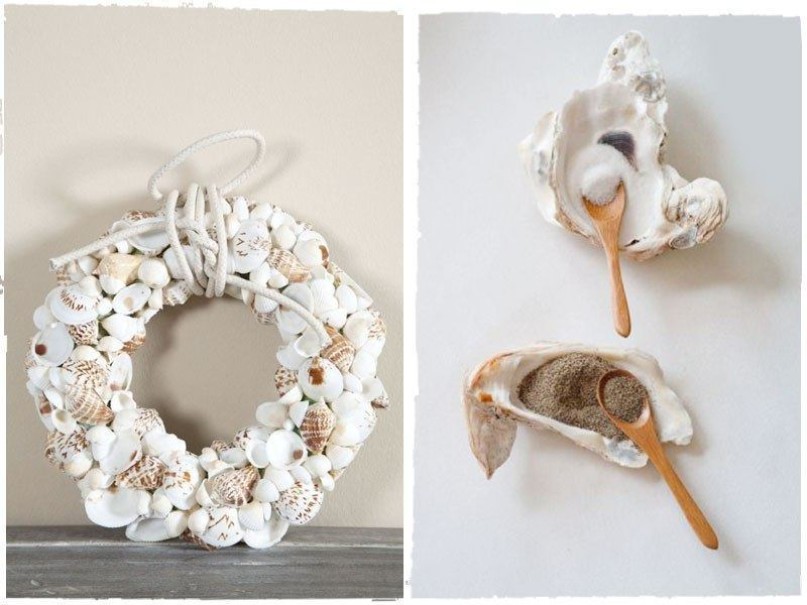
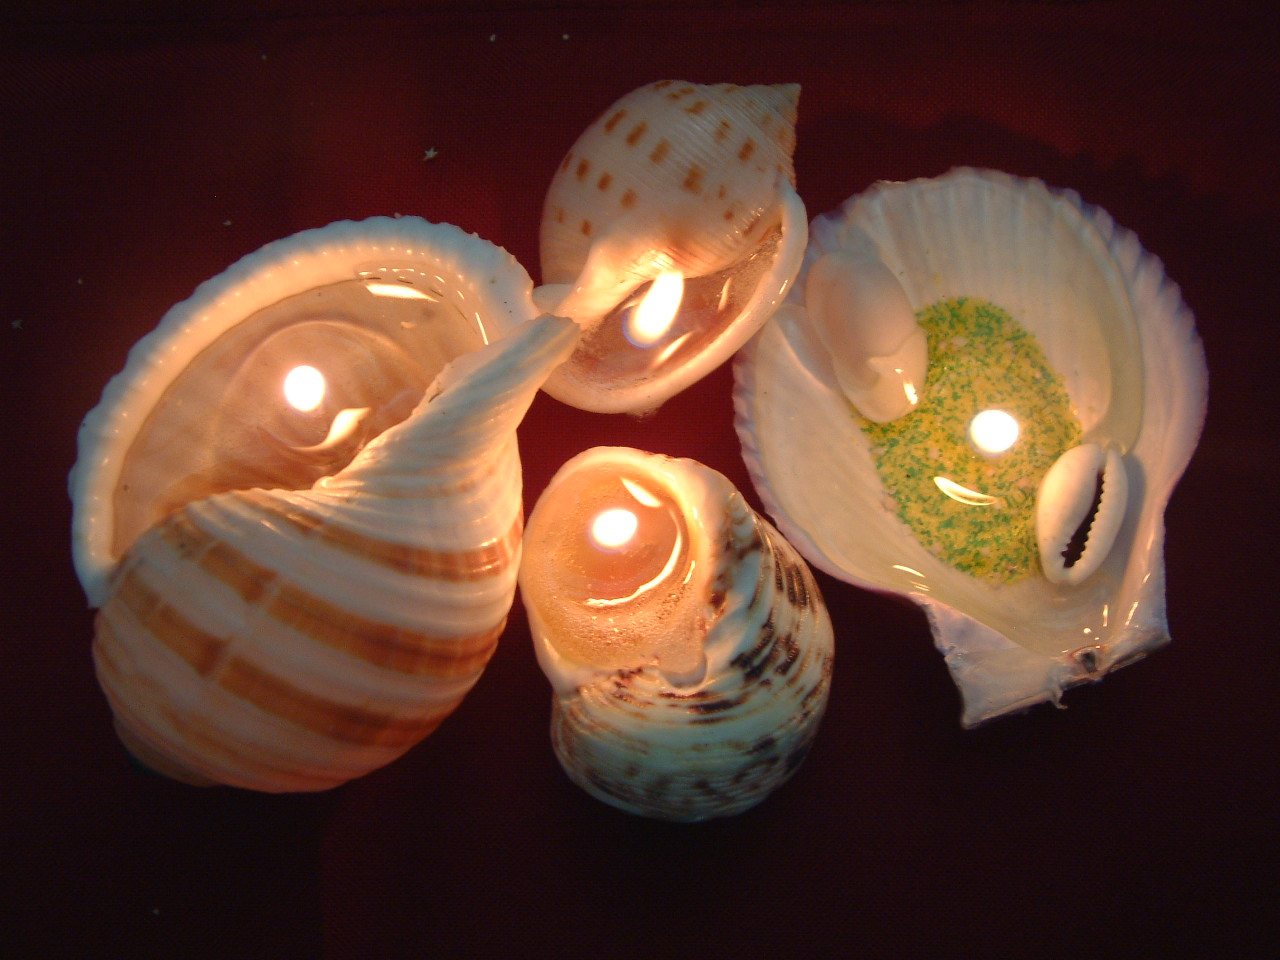
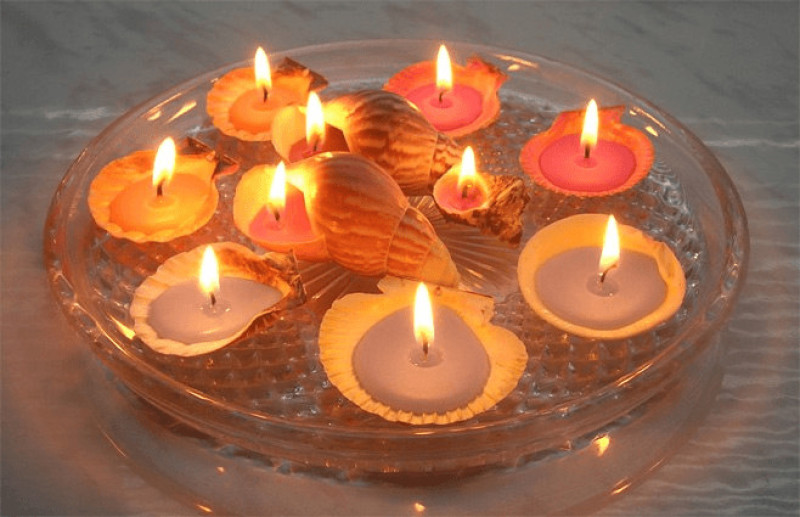
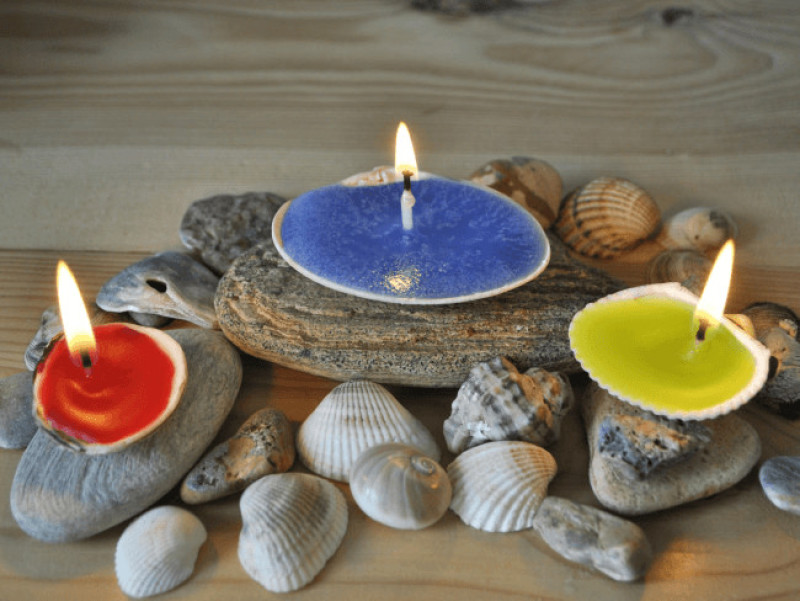
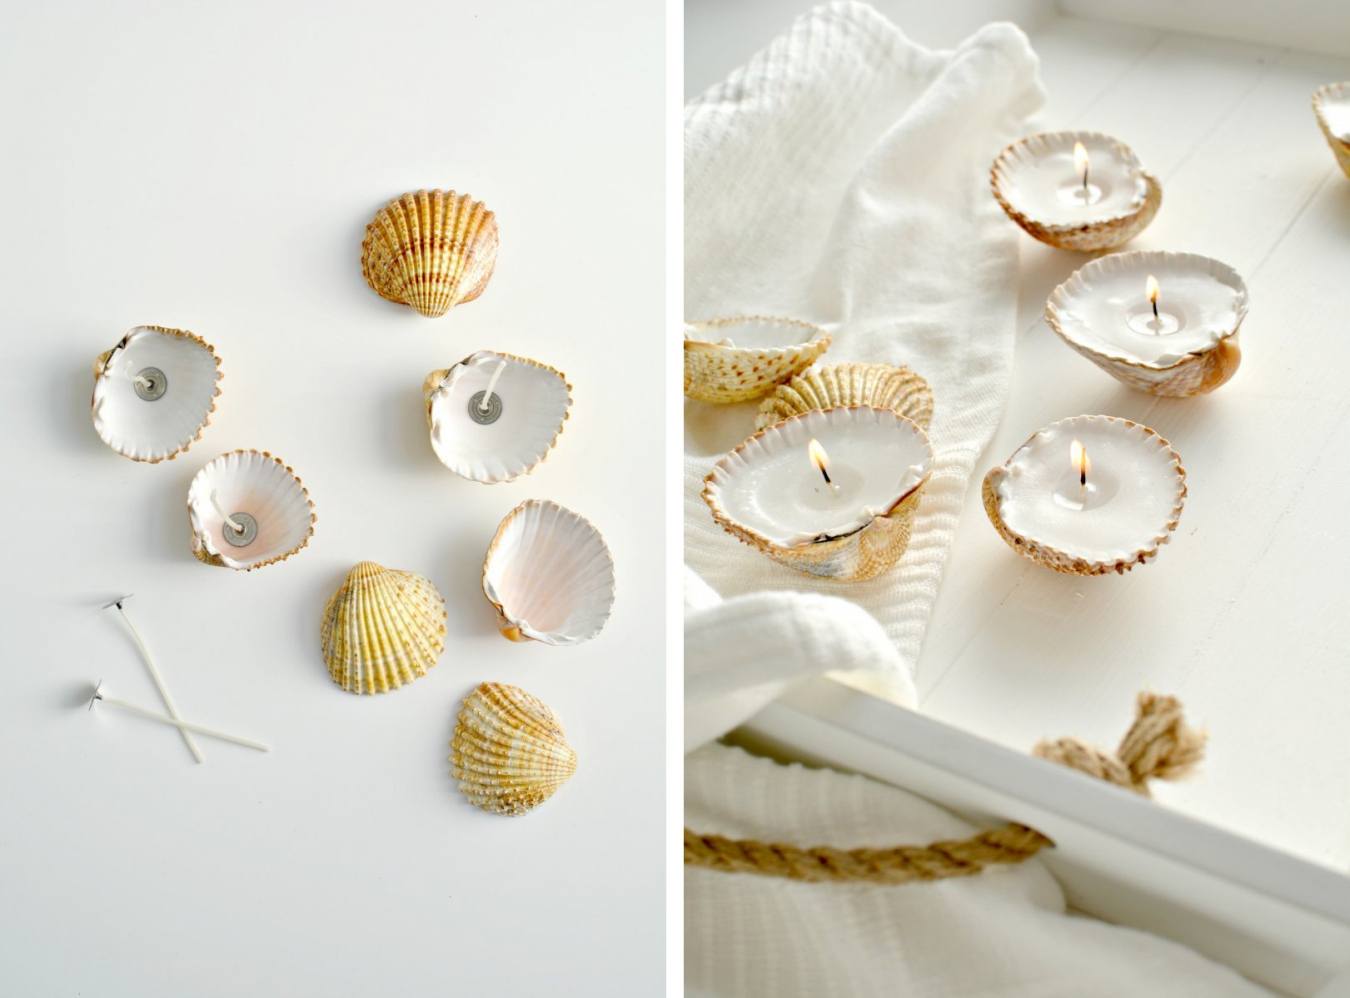
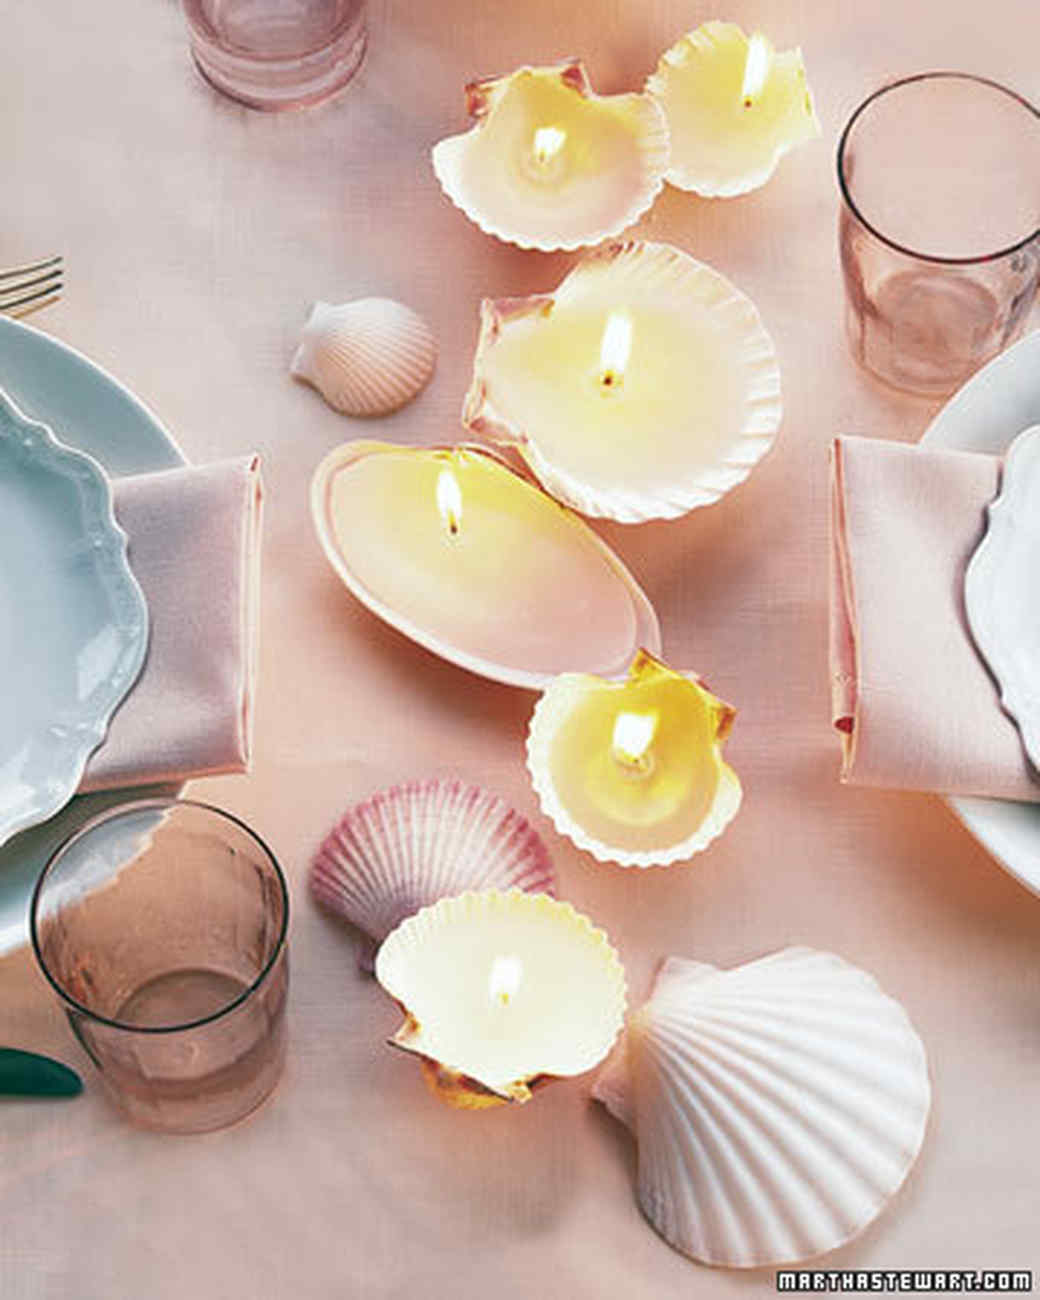
Workshop 4: Sea shell candlestick
To create such crafts will need large shells and candle-tablets (possible aromatic).
Place the candles without the metal base in the center of the sinks and place them on the surface of the pan. Turn the stove on a small fire. Paraffin shells will begin to melt, penetrating into every free space.
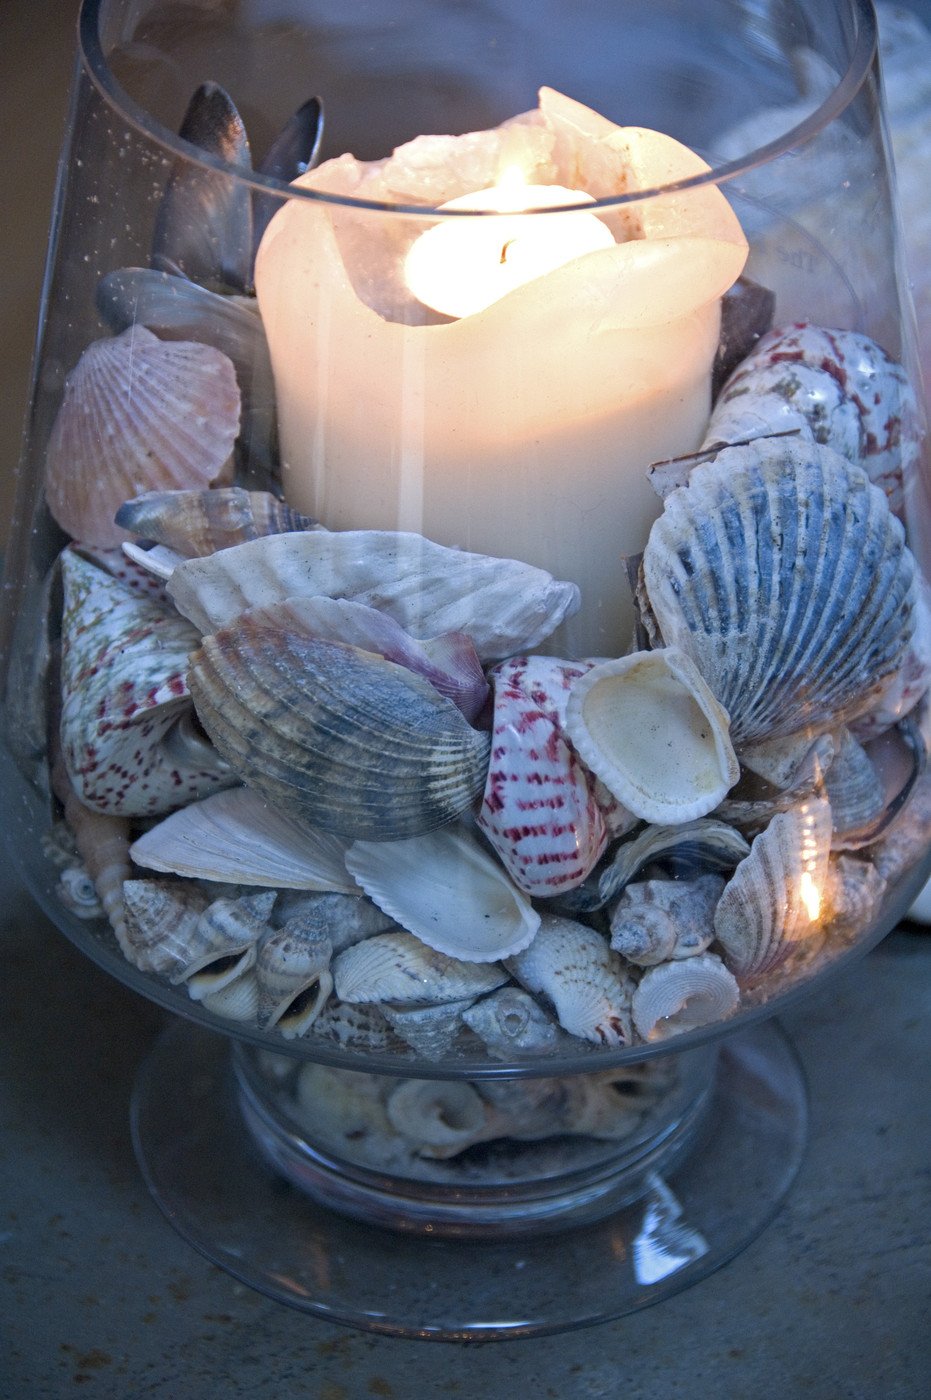
After the candle has melted, adjust the wicks so that they can be easily lit. Using forceps, remove the shells from the fire and allow it to cool completely. The original sea shell candlestick is ready.
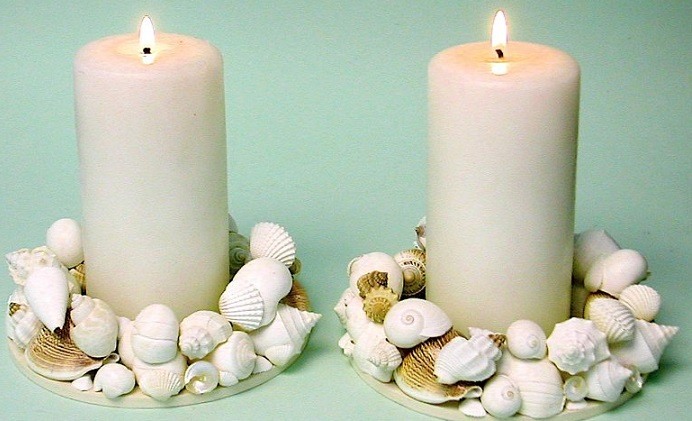


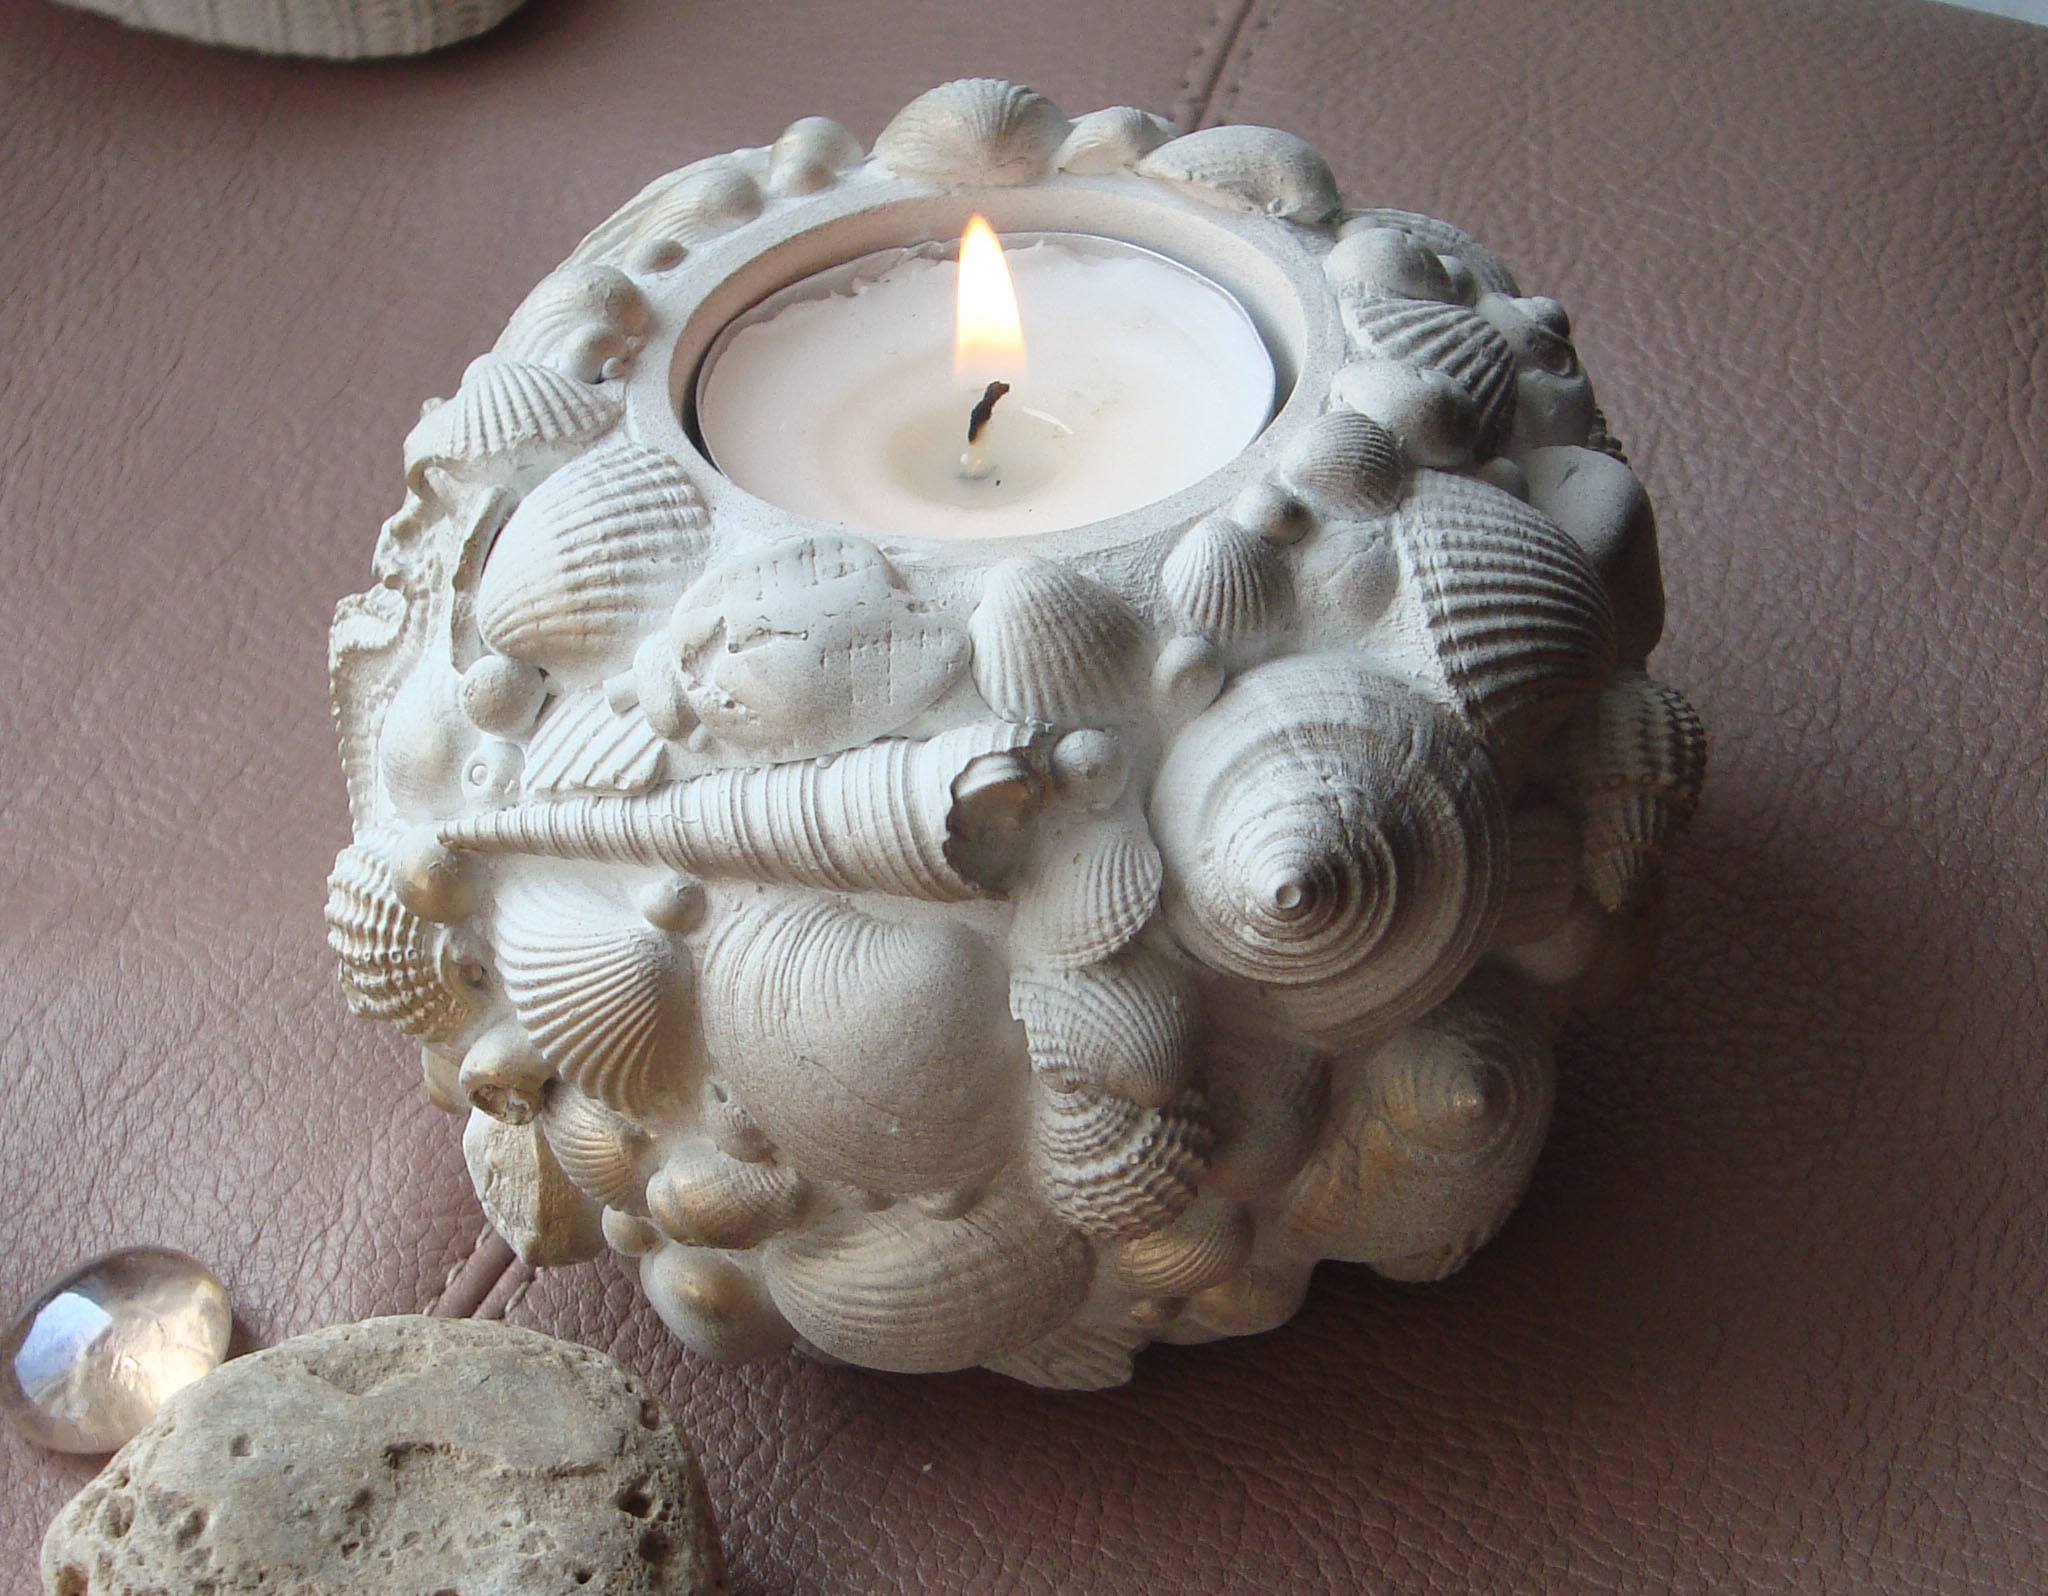
Double Candle Holder
Flat shells, which at first glance do not represent special value, but with the help of them you can create an original multi-layered candlestick.
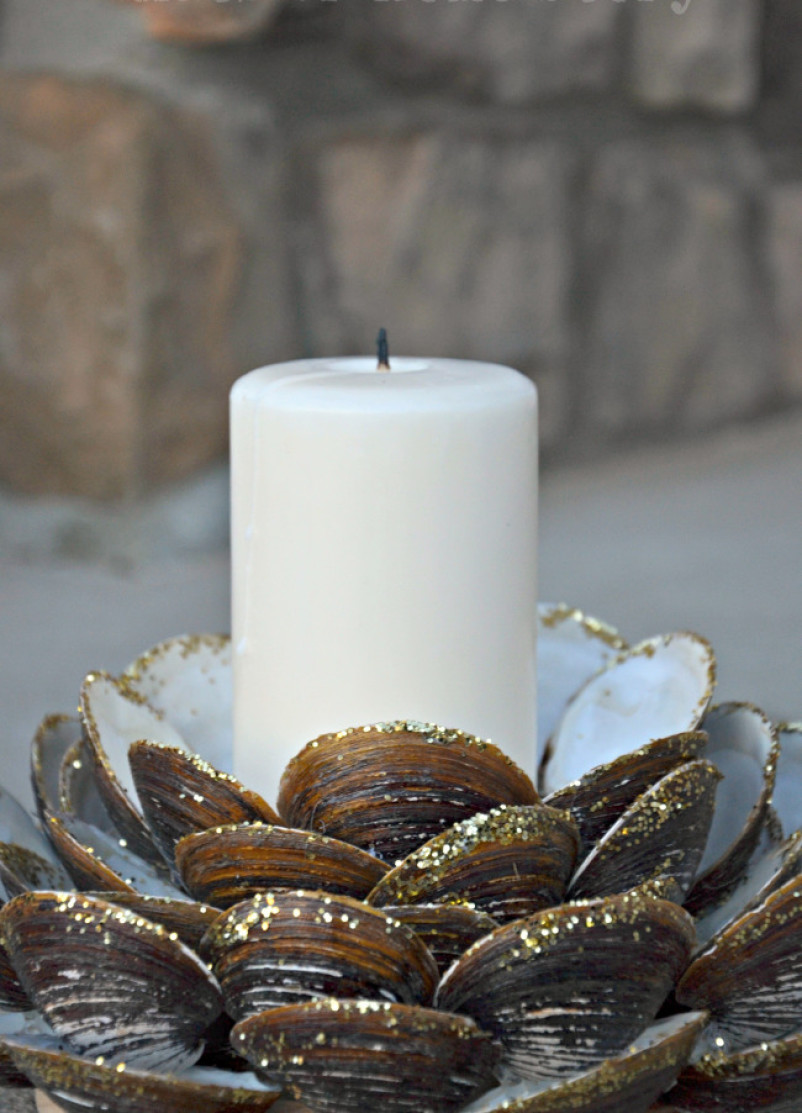
Stages of work:
- Clean the sinks in the manner given at the beginning of the article.
- Spread the material in size
- Take a round base - a metal lid, a flat glass plate.
- Glue the first layer of shells to the base with a thermogun. Use the largest material.
5. Gradually add tiers over the bottommost one, placing the overlapping sinks.
6. Chips, cracks or gaps between the shells cover with decorative elements - beads, figures of marine subjects, etc.

The result should be a candlestick in the shape of a lotus. The product can be coated with clear lacquer or white paint to give greater similarity with the flower.
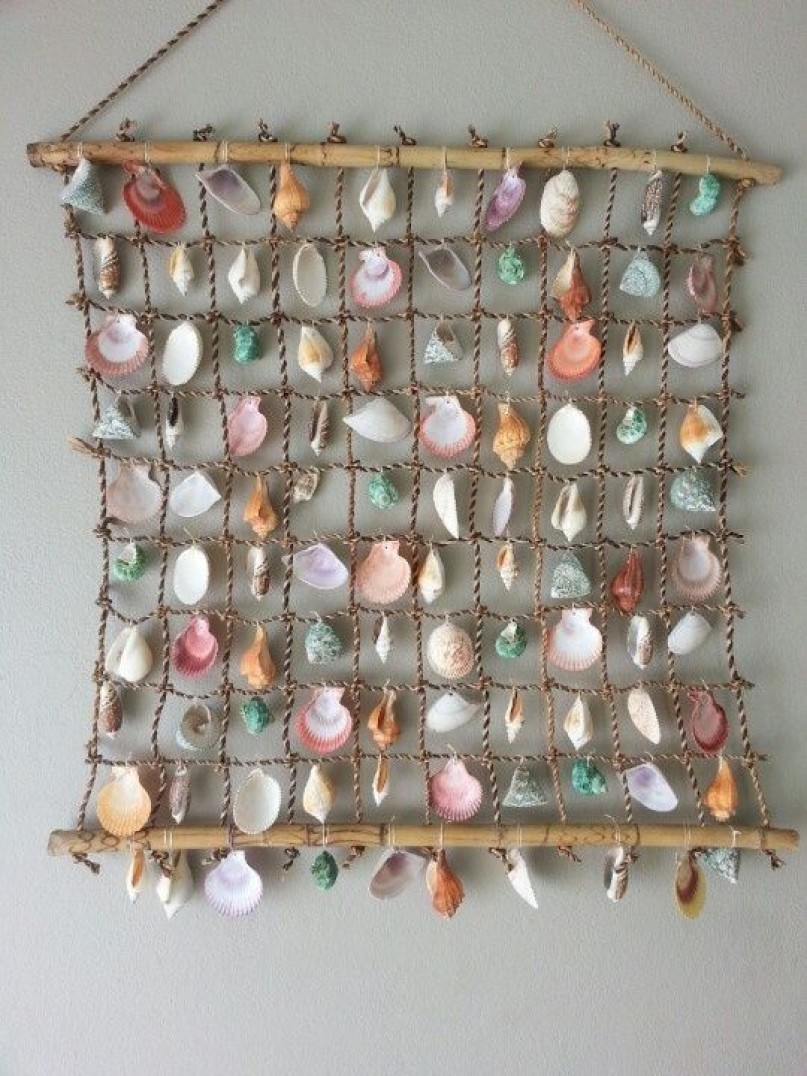
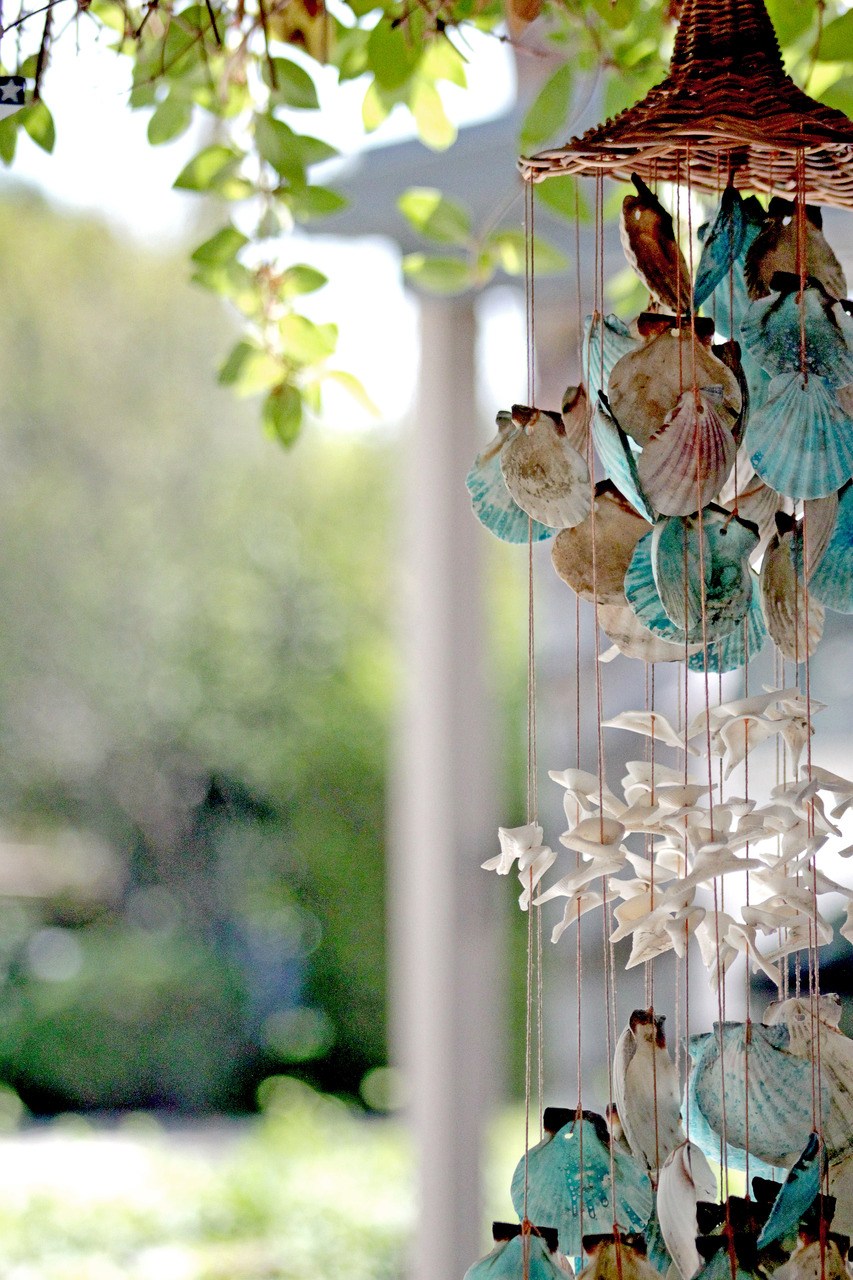
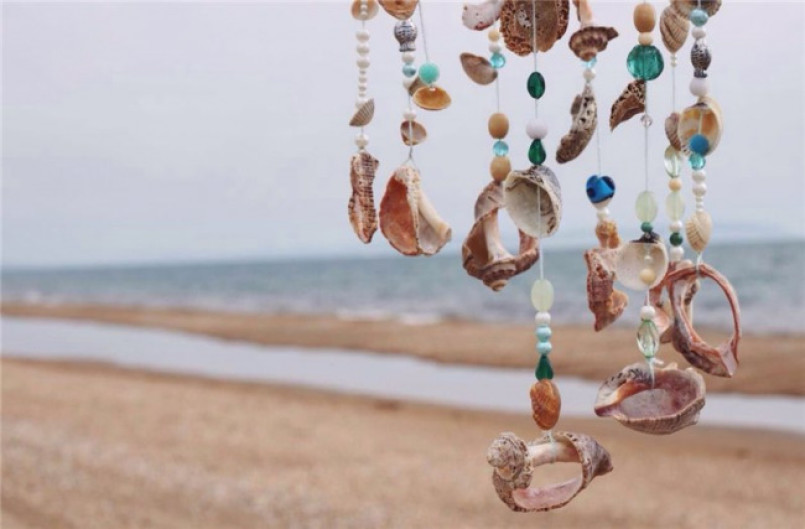
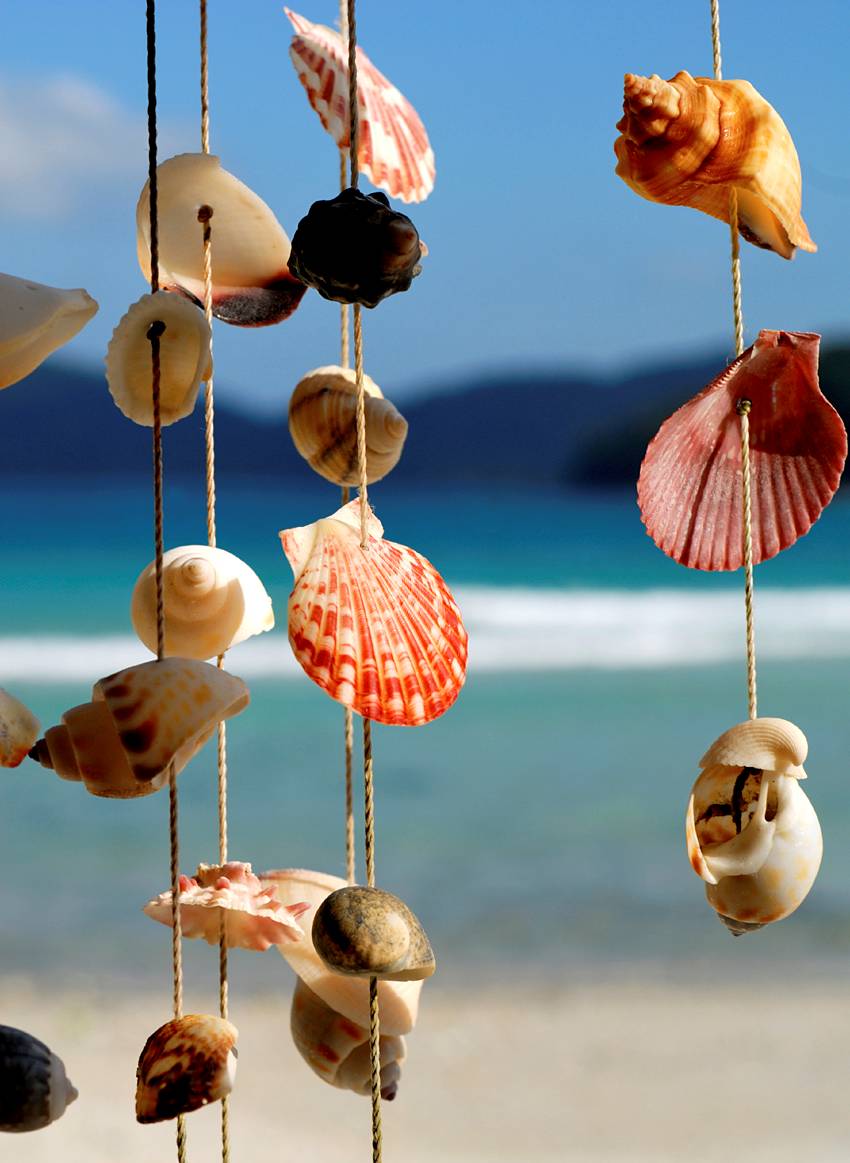
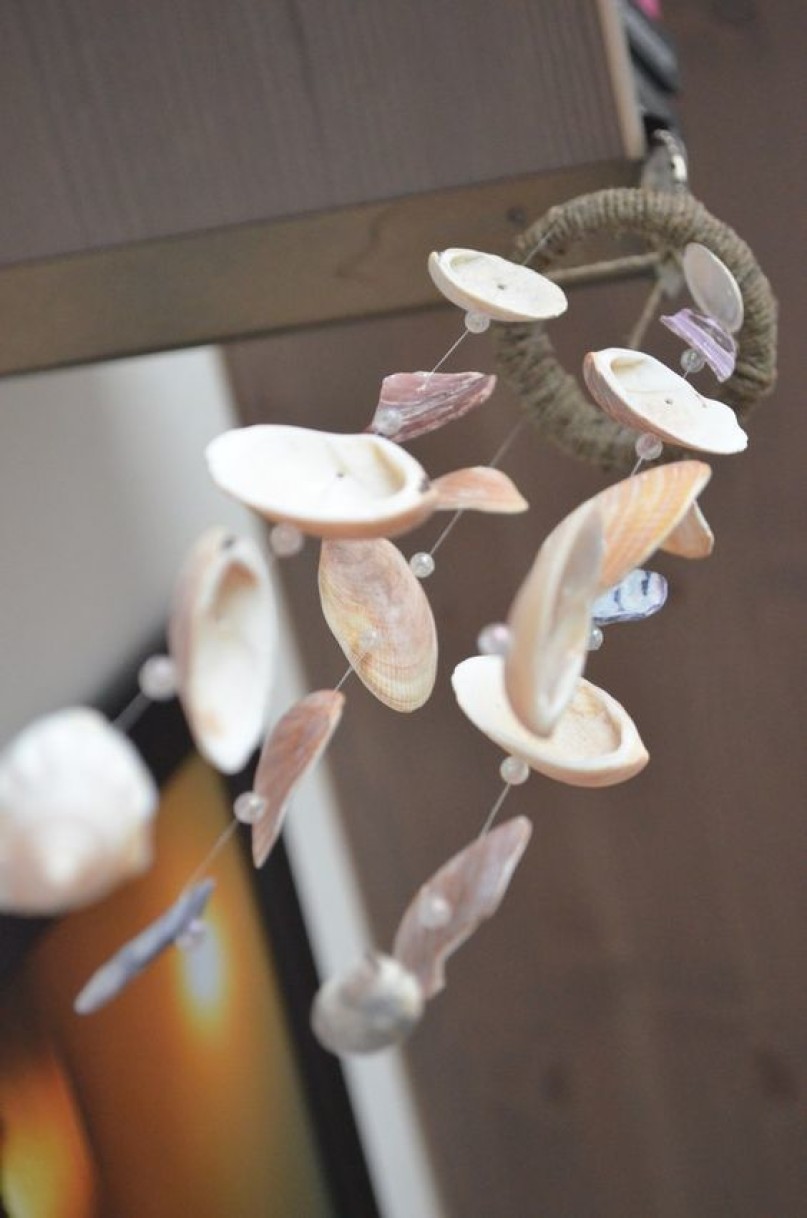
Master Class 5: Music of the Wind from Sea Shells
Wind music is a unique talisman for a home or garden that transforms negative energy into positive energy and helps get rid of unpleasant thoughts.
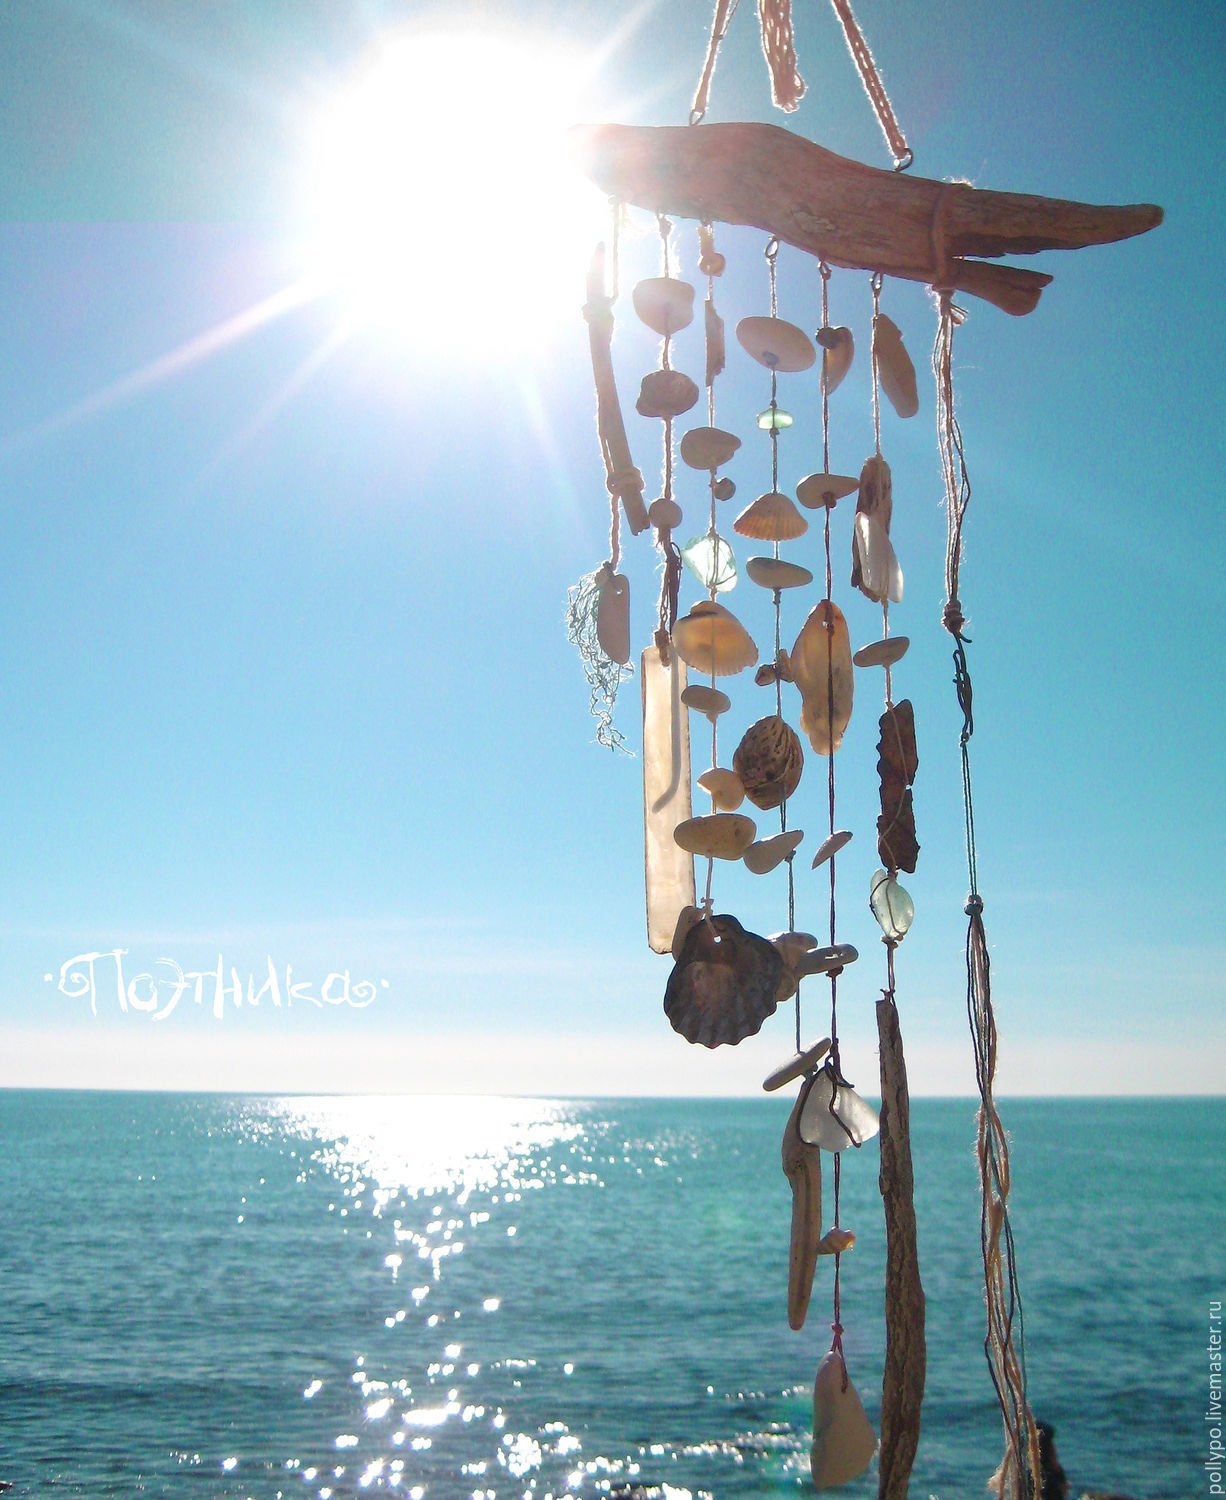
Creating a wind music with your own hands, you will add to this talisman even more pure energy that will fill your home. Everybody can create this amulet with his own hands.

We will need:
- shells of different sizes
- strong thread or twine
- beads, stones, decorative items
The stages of the mascot assembly:
- Prepare the shells — clean them with a chlorine-containing fluid and drill small holes in them.
- Prepare several pieces of swords of different lengths.
- String shells on twine, alternating them with beads, figurines or stones drilled in the middle.
You can add small bells to each branch of wind music.
Just imagine how the chime will be filled with your home with such an original talisman made with your own hands.
Master class 6: A ship of the shells with their own hands
How often on vacation we are tempted by beautiful snow-white ships from shells. Such a souvenir is not cheap, but it’s not at all necessary to part with money in order to become the owner of a real frigate of seashells.
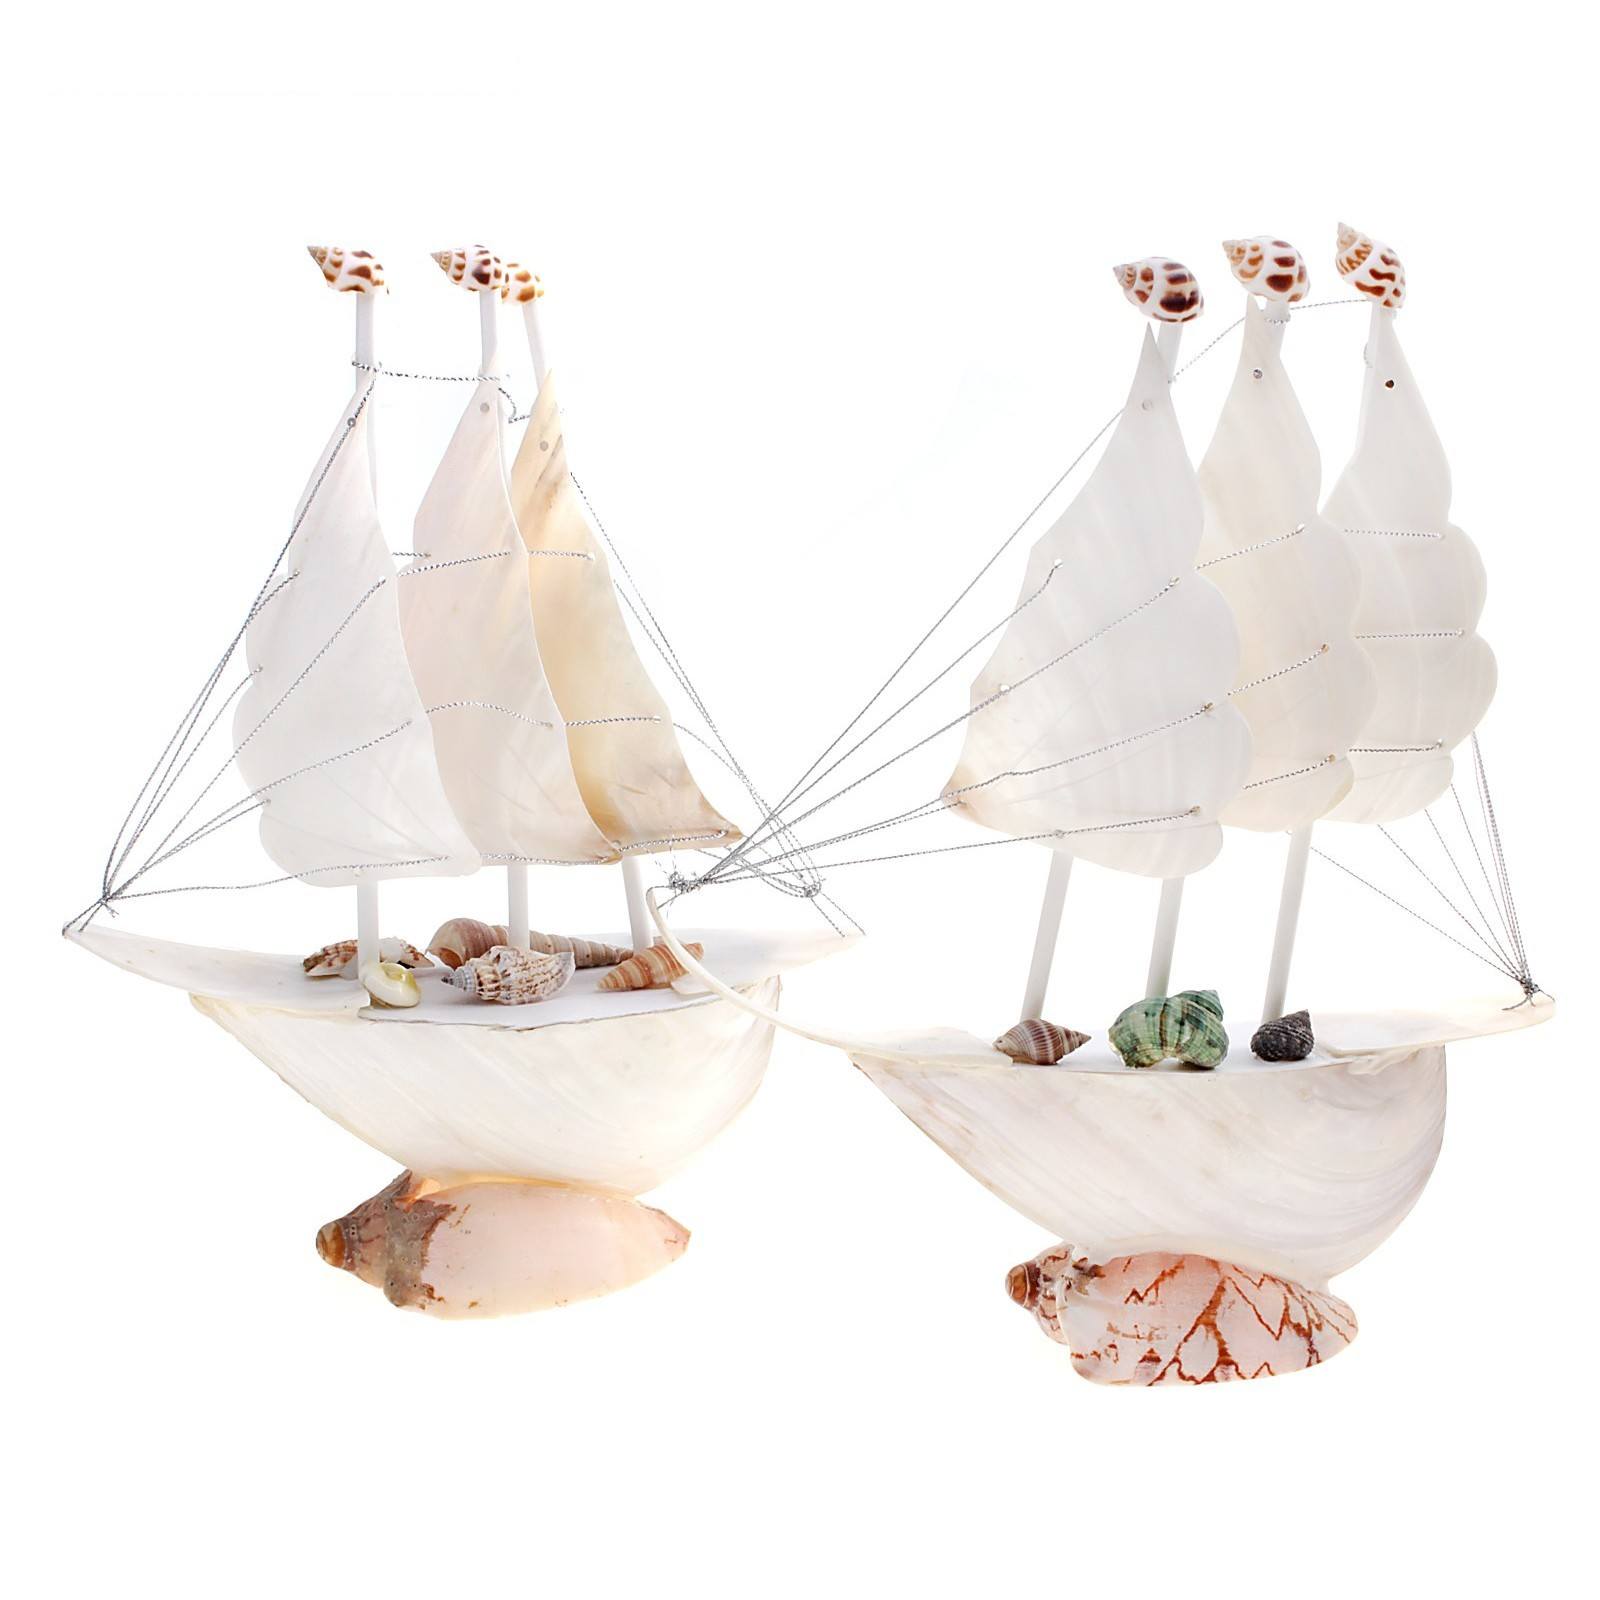
With the help of our master class, you can create such a ship yourself.
Prepare:
- medium sized rapan which will serve as the basis for the hull
- matches - we will use them for future yards
- 10-15 sail shells
- thin sticks - you can take the usual pastry skewers
- a large scallop shell is a ship stand
- strings
- glue, knife

Stages of ship design:
- Prepare skewers of the same size.
- With the help of the glue of the moment, we glue matches to the masts of the match (y-ray) across the cuts. Match the ends of the matches with twine or thread.
- Glue to the lattice of the future sink sinks, starting with the largest.
- In the holes of the base drip glue and install the finished mast. We wait until the glue dries.

5. With the help of threads create rigging. To do this, we wind them between the upper and lower yards. So the design will hold tight.
6. All elements of the ship must be glued together with glue Moment, additionally securing them on the product. Decorate your miracle ship with decorative elements in the form of an anchor or flags.

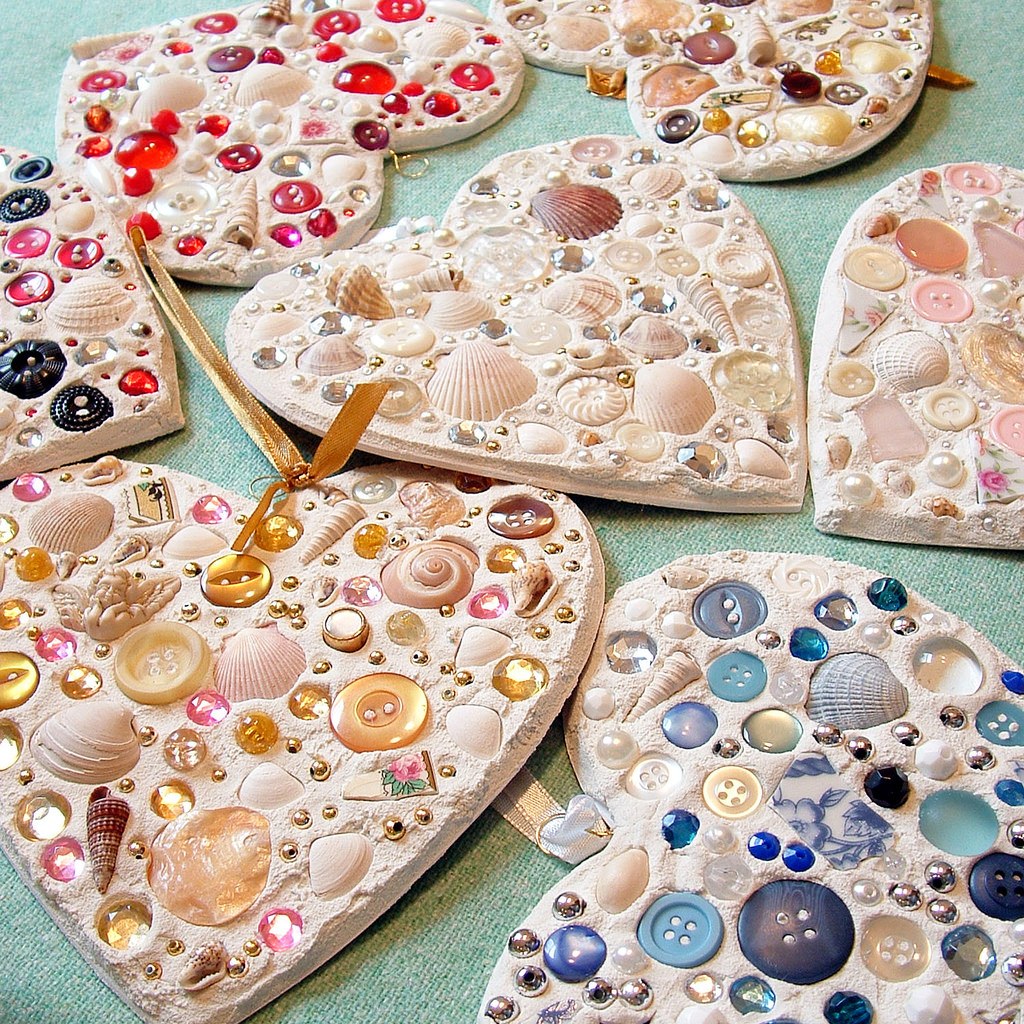
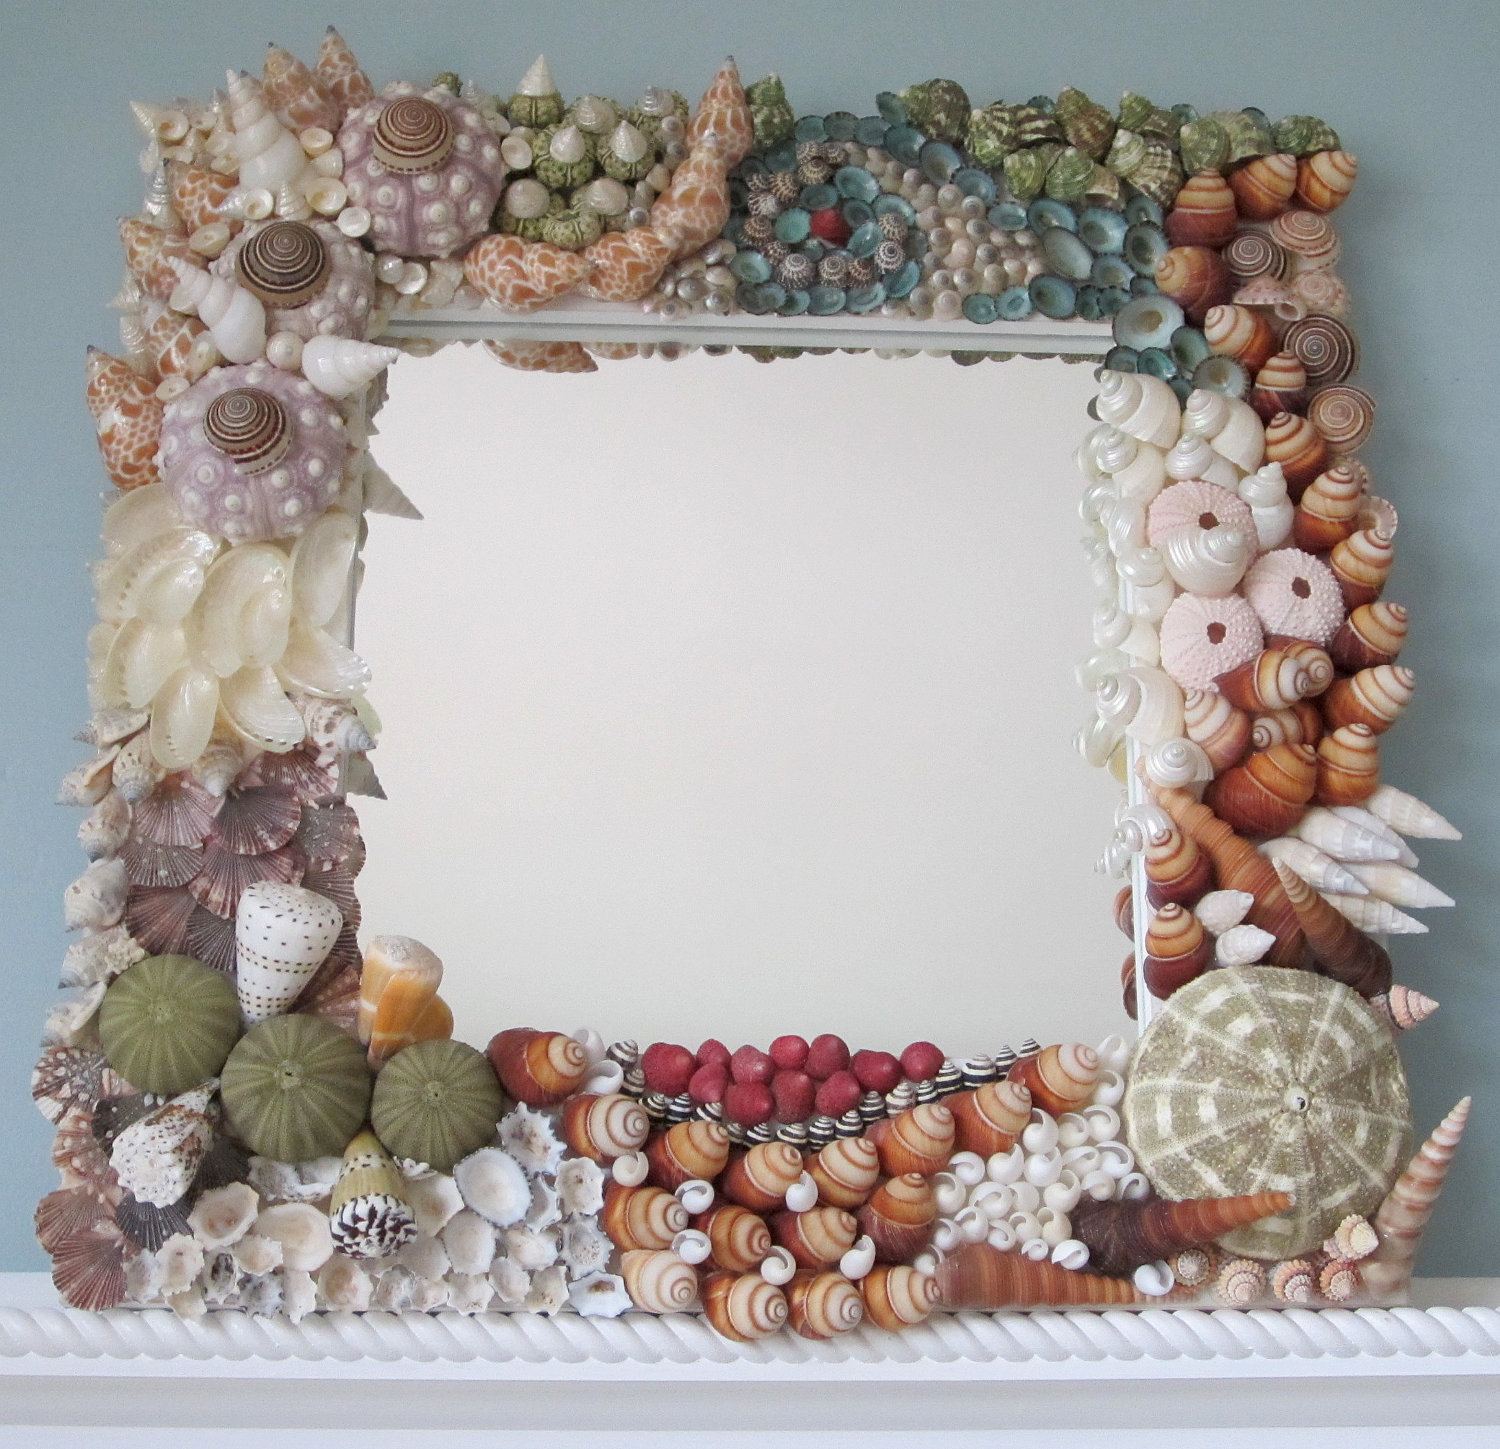
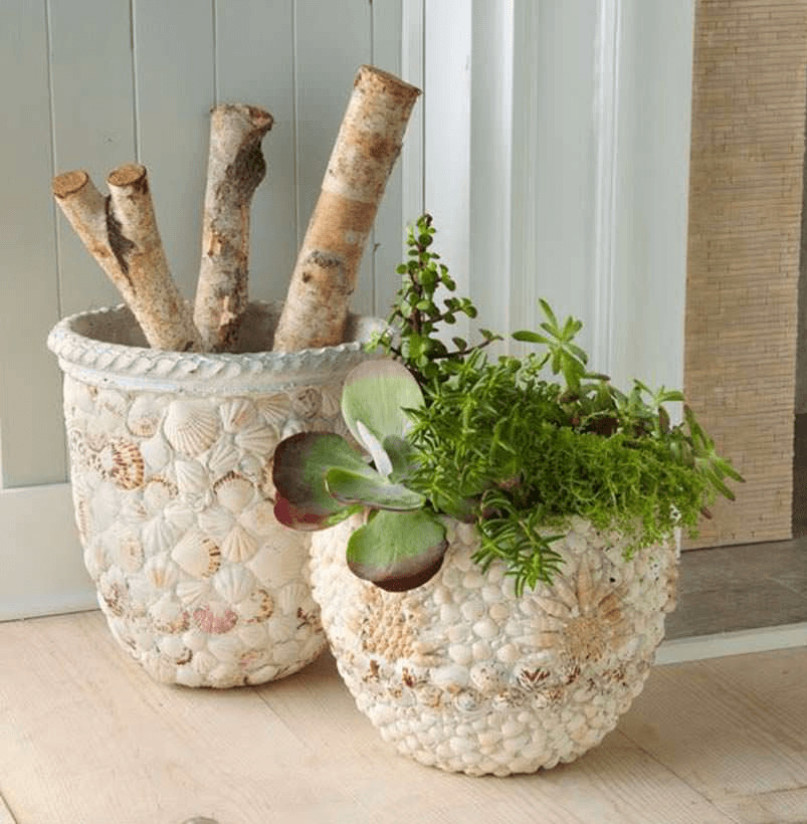
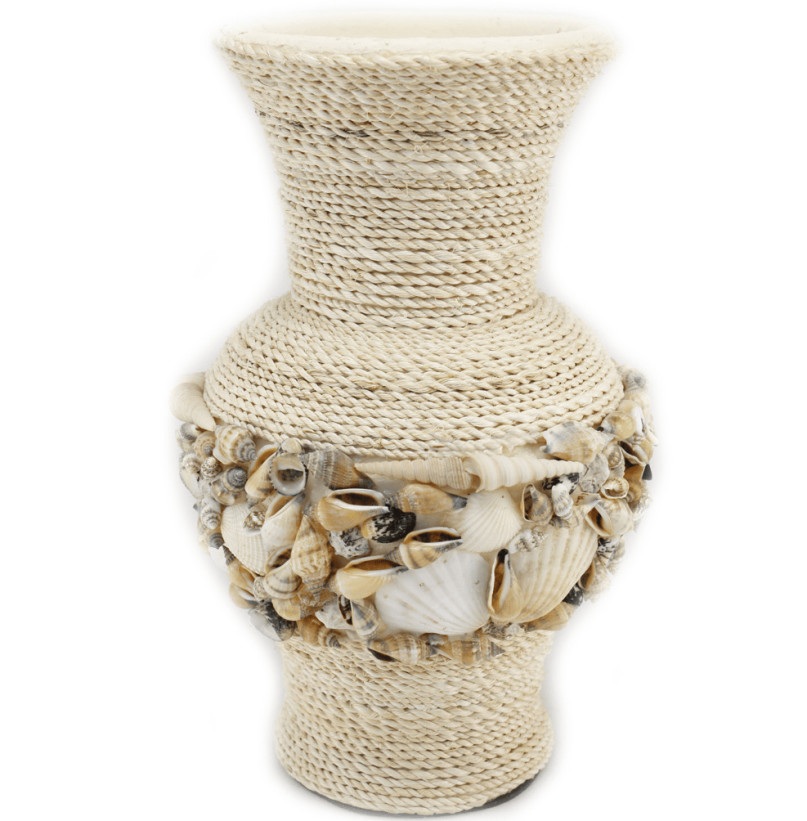
The versatility of natural forms can be easily used to create unique and unique decorations.

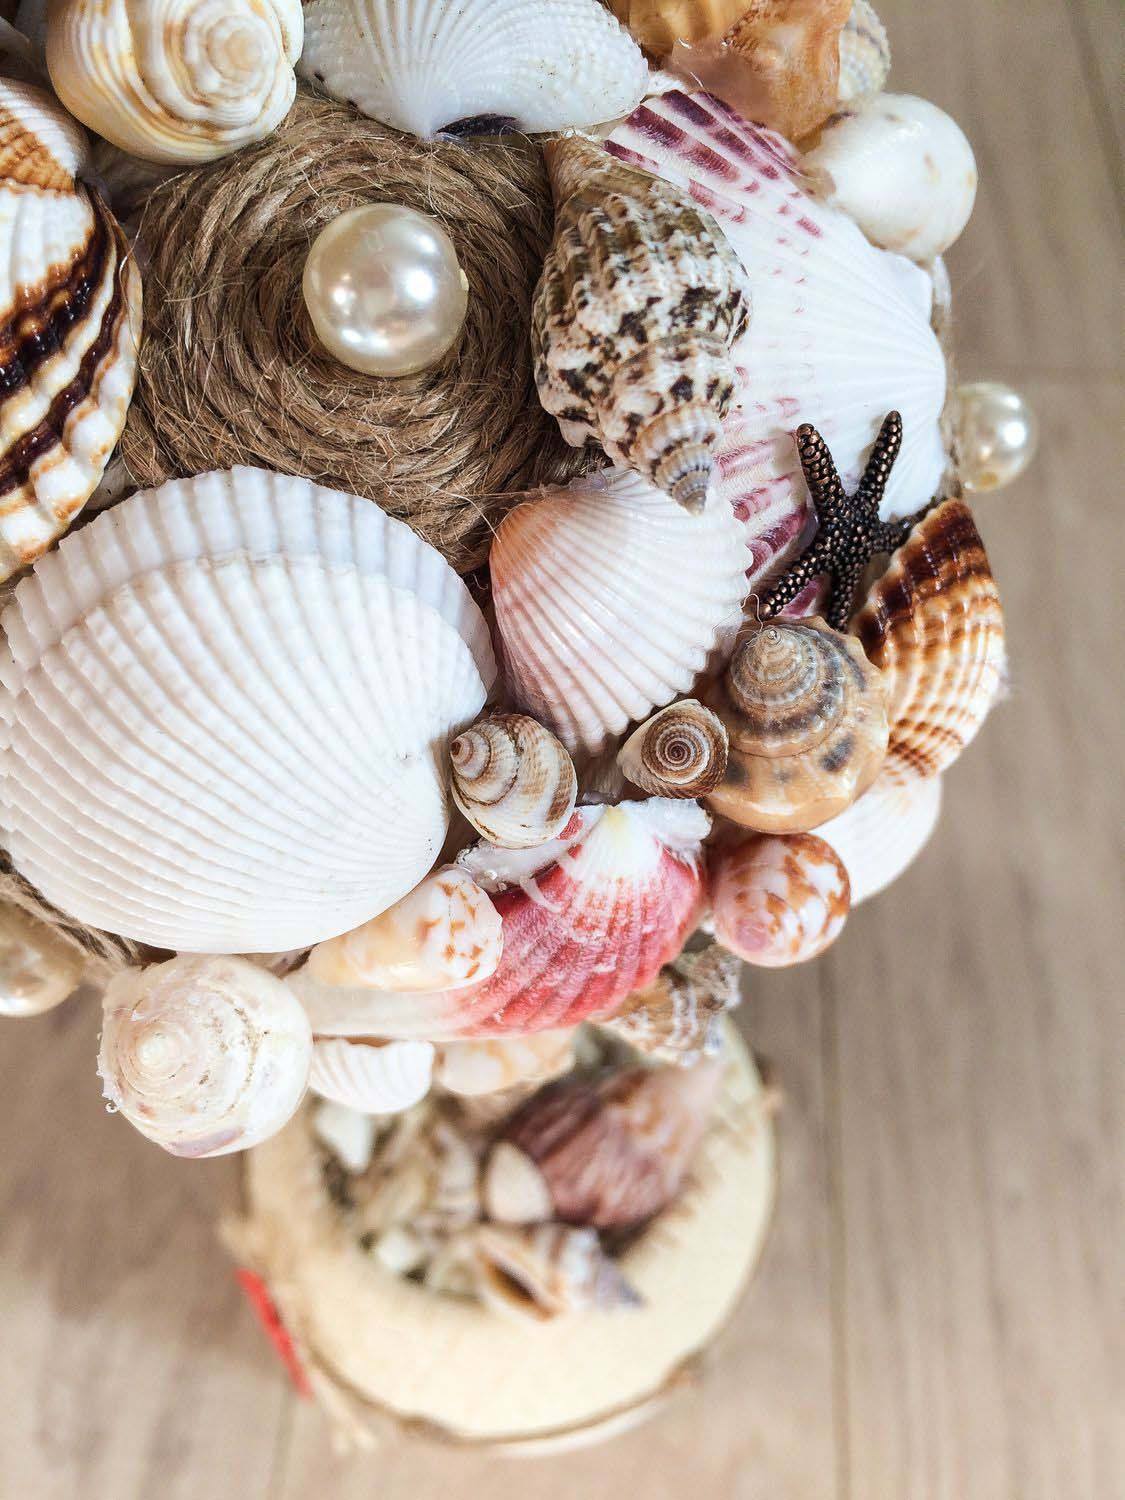

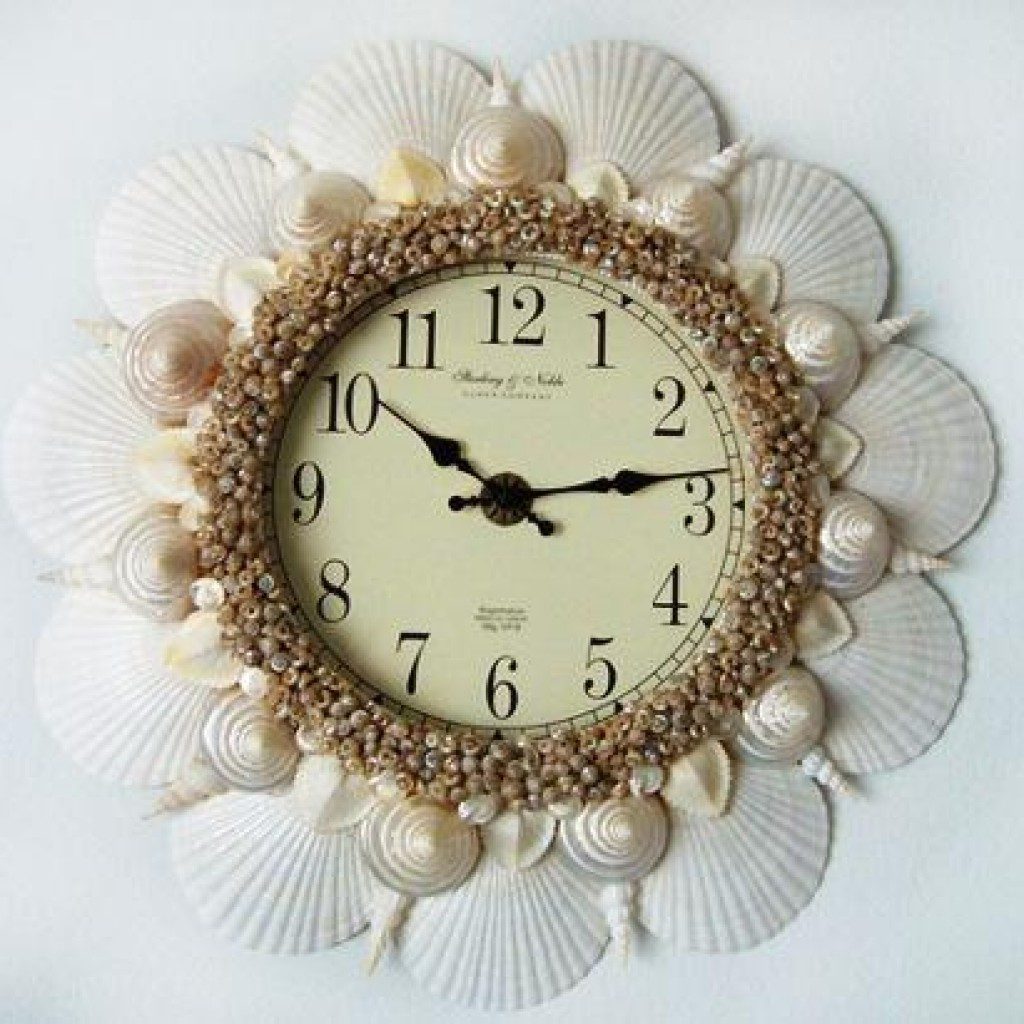
More ideas for creating real masterpieces from seashells can be seen in the following photos.
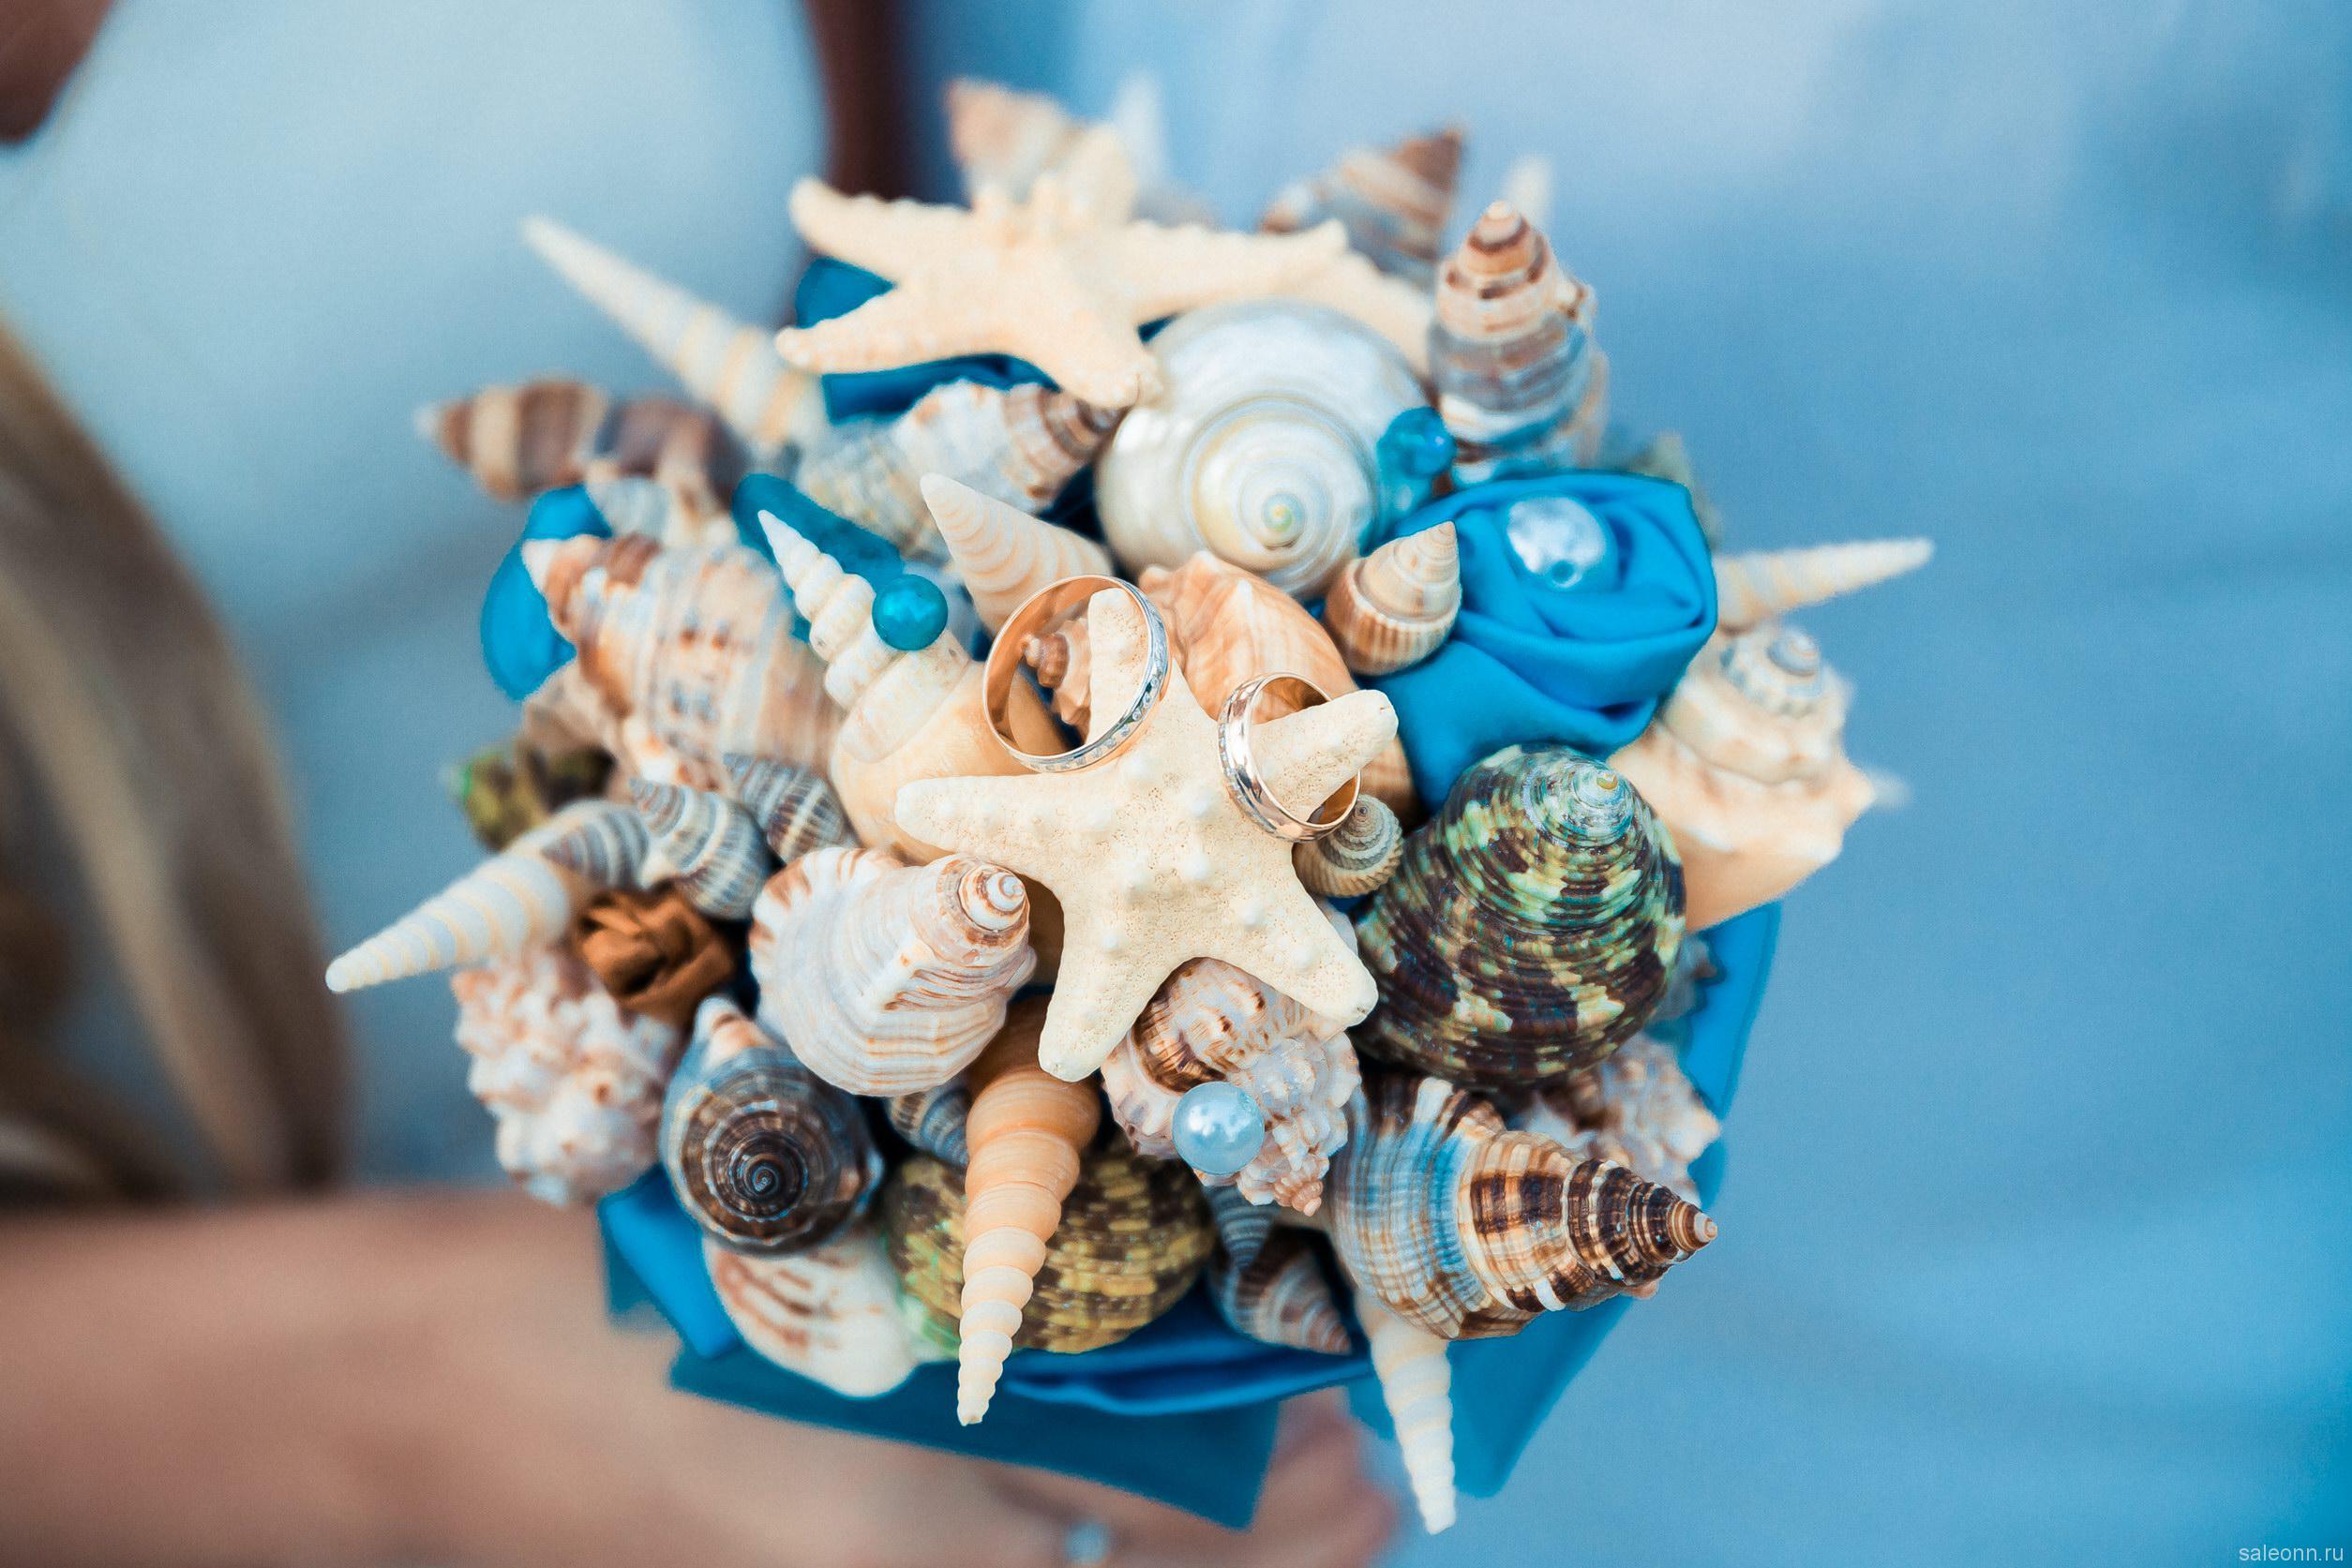


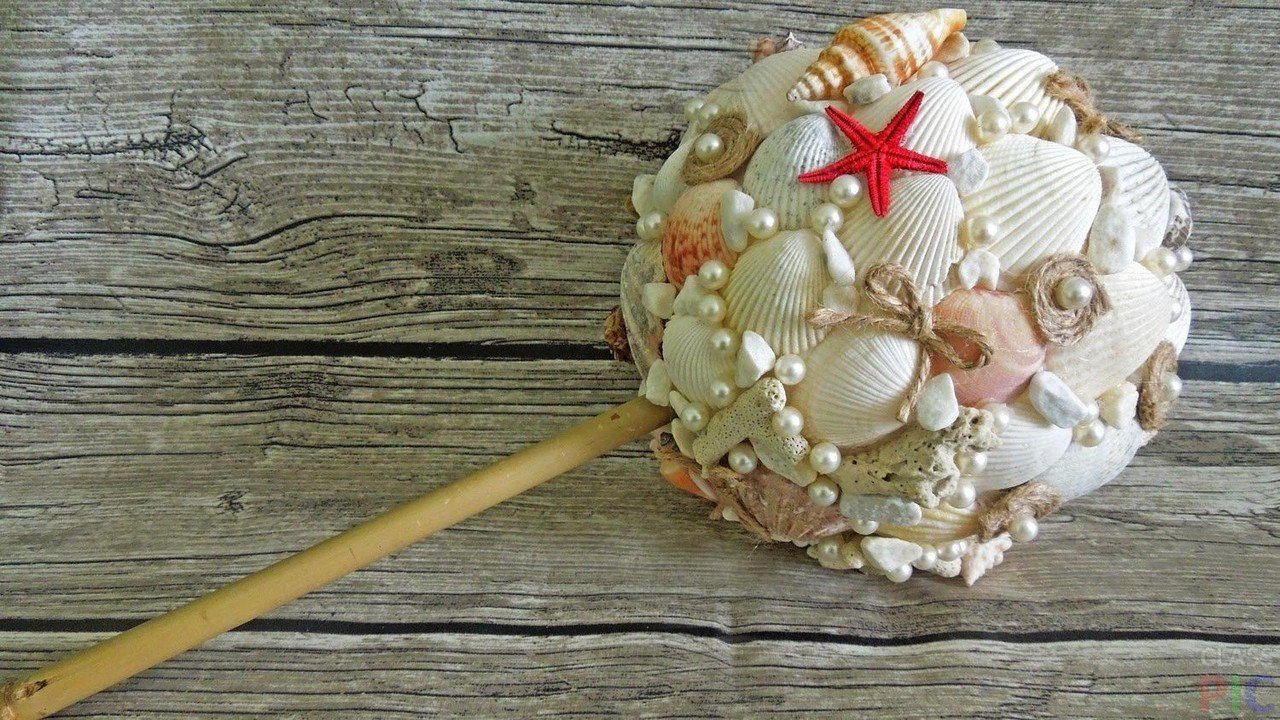

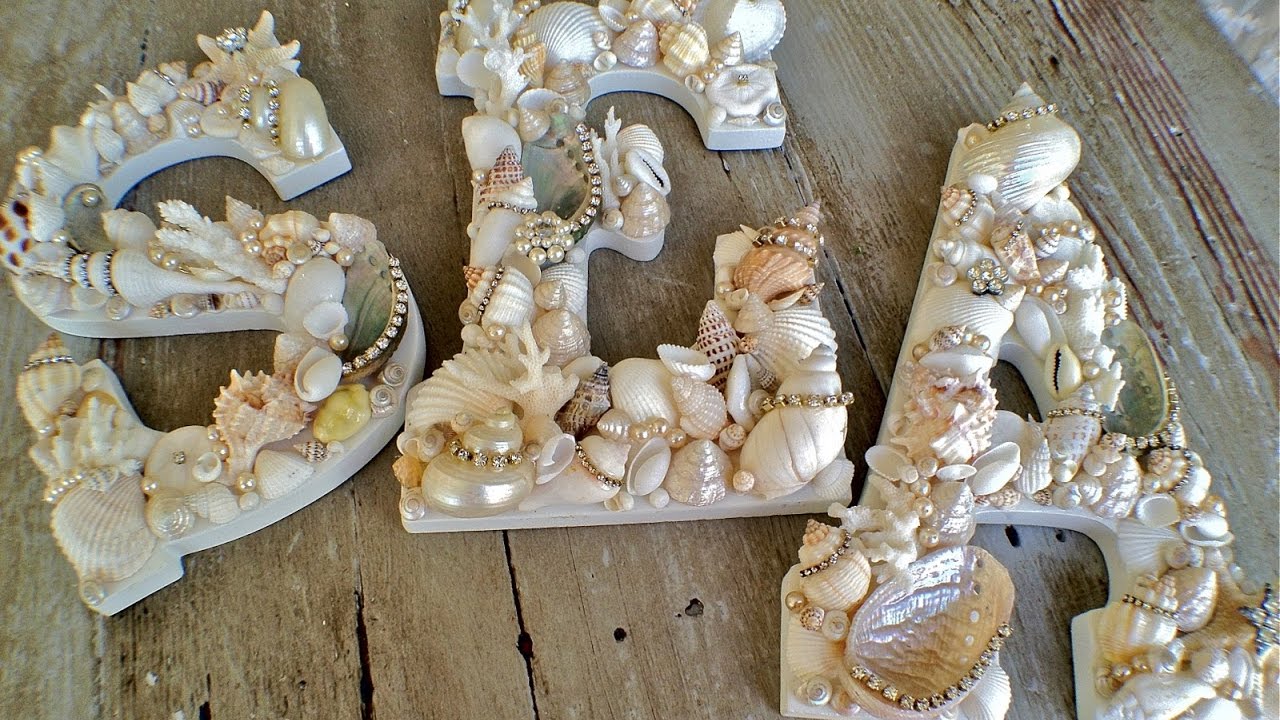
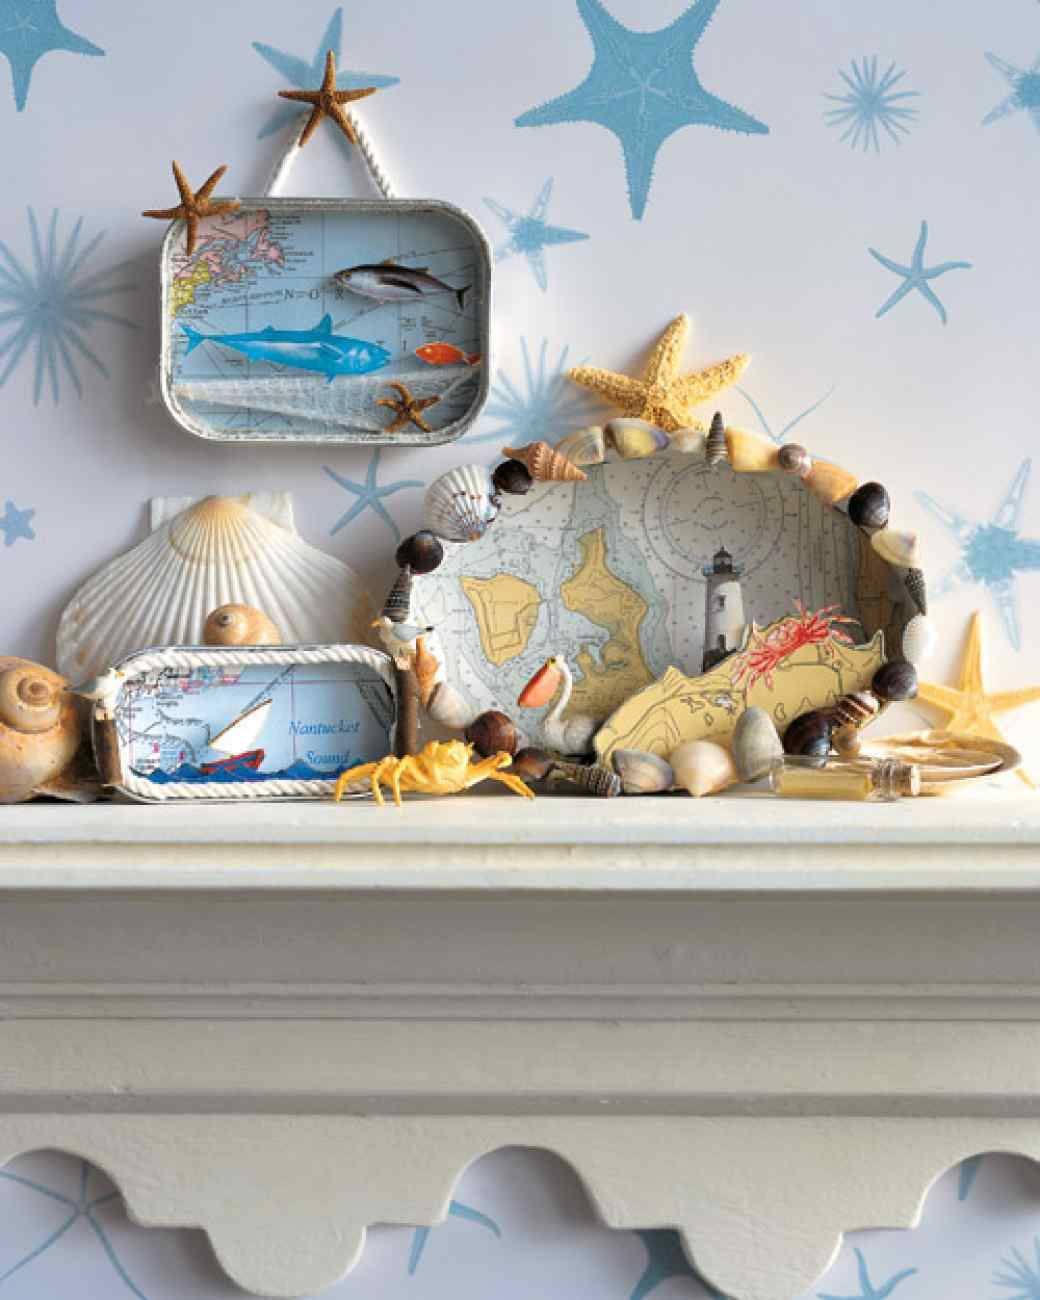
In the hands of creative people, sea shells acquire a second life.It is enough to show imagination and the old dwelling of mollusks will turn into beautiful sea compositions or panels, which will be a wonderful decoration of your home or will serve as an original gift to friends and family.


