


A variety of types of needlework is designed to satisfy the most demanding requests of craftswomen. But if simple knitting and embroidery is not for you, then we suggest mastering a completely new technique - izon or string-art. To create paintings in this technique does not require special knowledge: everything you need to know to master this type of needlework is given in our article.
What is string art
String art - as a way to create compositions was invented in England in the 16th century. From ordinary nails and threads weavers created stunning decorative drawings on the plates that served as decoration for the home. Gradually, the technique became more complicated and processed, eventually becoming a popular type of needlework that craftswomen of all ages carried away.
Thanks to the English researcher Mary Buhl, who used threads and nails to teach children algebra and geometry, gained her unparalleled popularity of the izon technique.

Tools for creating paintings in the technique of string art
Izonite is one of the most low-cost techniques. To create your first composition you only need nails and threads. A set of studs can be purchased at any hardware store, choosing the appropriate length and width of the cap. Threads for string art can be found in every needlewoman. You can use thick yarn for knitting, floss or silk, thick sewing thread.


In addition, you will need:
- board or piece of plywood
- thick cardboard - used as an alternative to plywood for creating cards
- scheme or finished image
- paint to accent individual parts of the composition
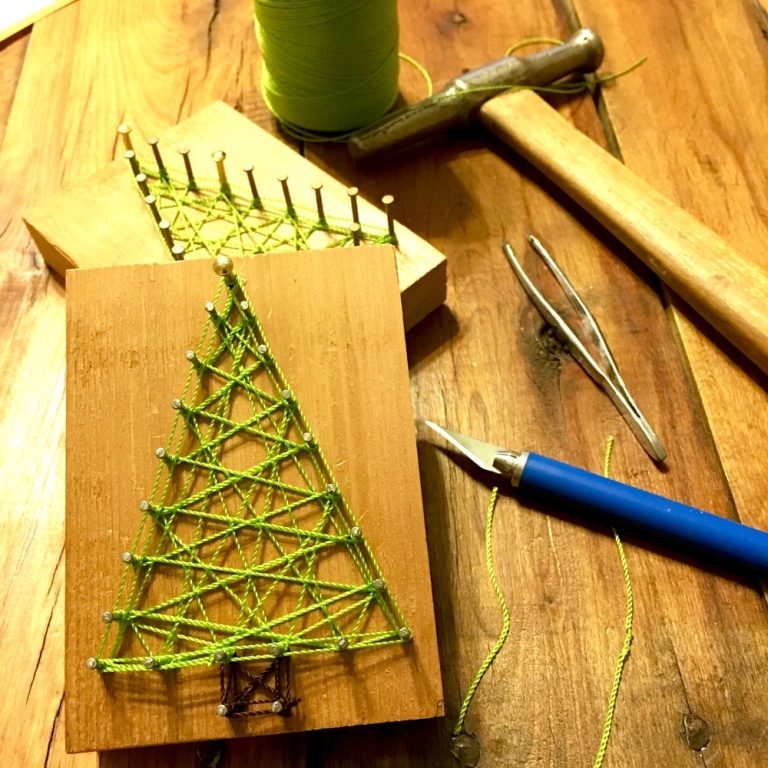
- hammer or awl

String art: the first steps to mastering technology
If you have never encountered the technique of izonit, then you should not immediately take on complex images. Start with the basics, with the most simple monophonic schemes. Beginner needlewomen very much help out schemes with numbers, where all the movements of the thread and the type of their connection are indicated by arrows.
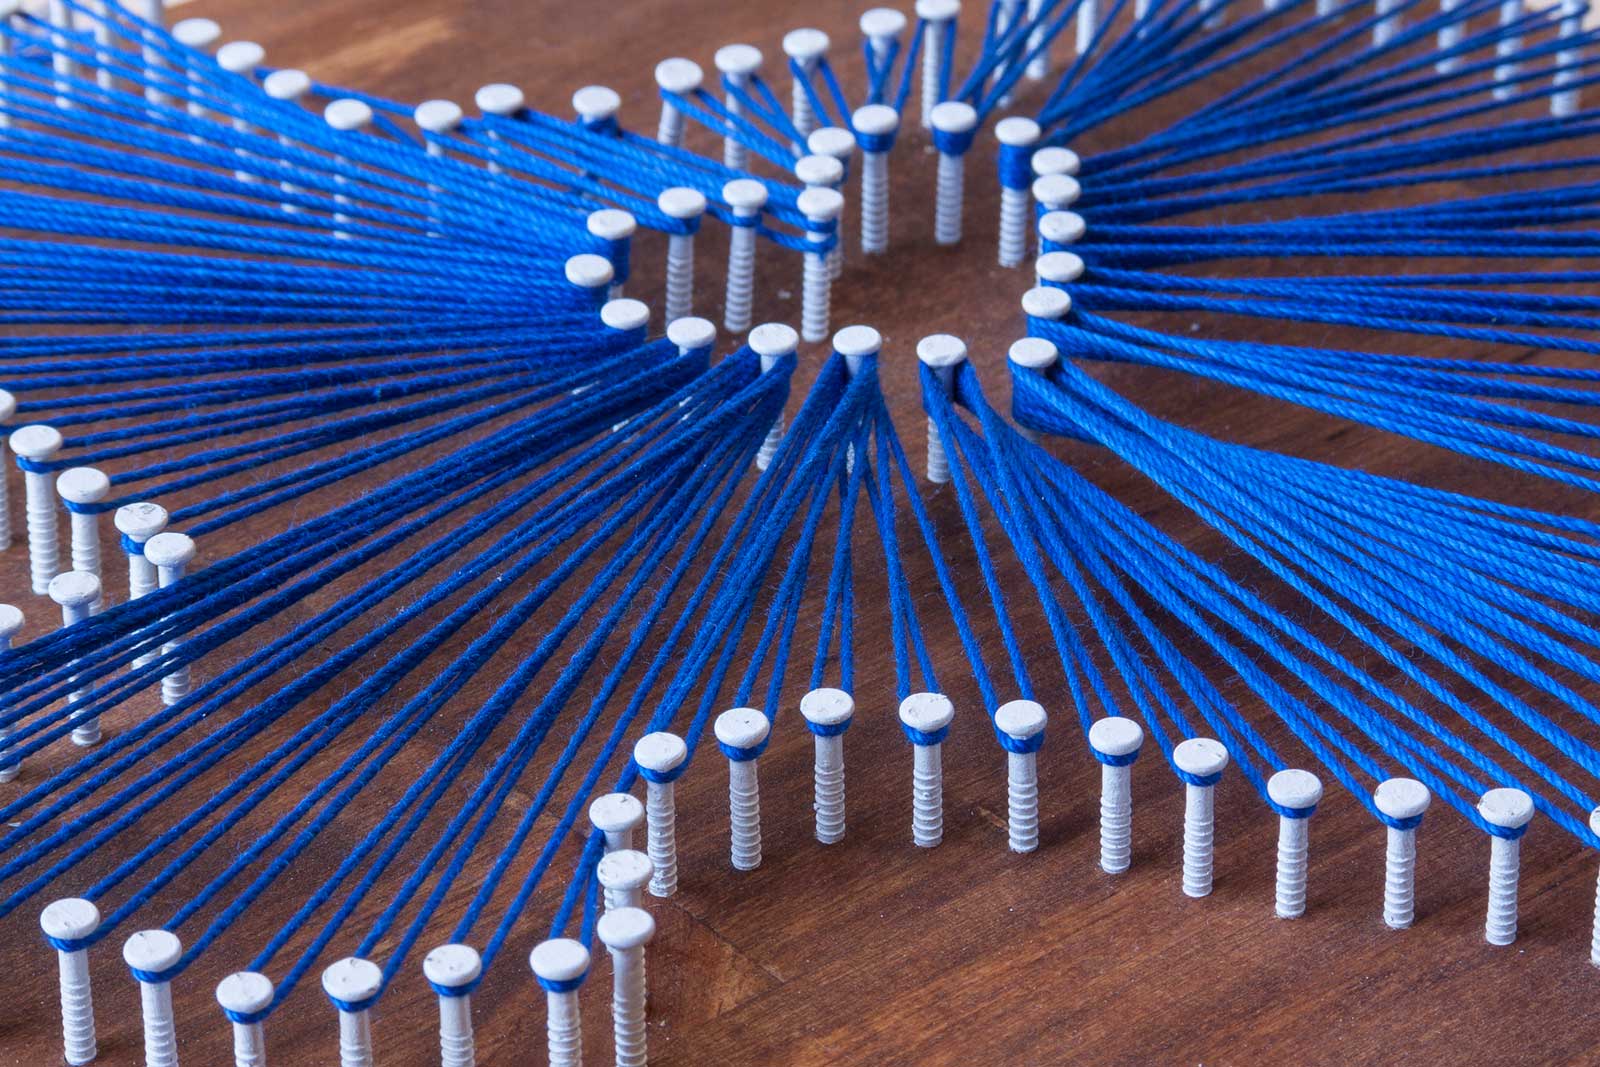
To begin to master the technique you need to study the principles of filling corners and circles. The remaining forms: square, oval and letters are derived from the basic elements, so it is much easier to master them.
It would seem that difficult to create a picture of such familiar tools as nails and thread. In the technique of izon it is very important to properly weave the threads, having mastered that you will be able to create stunning three-dimensional paintings.
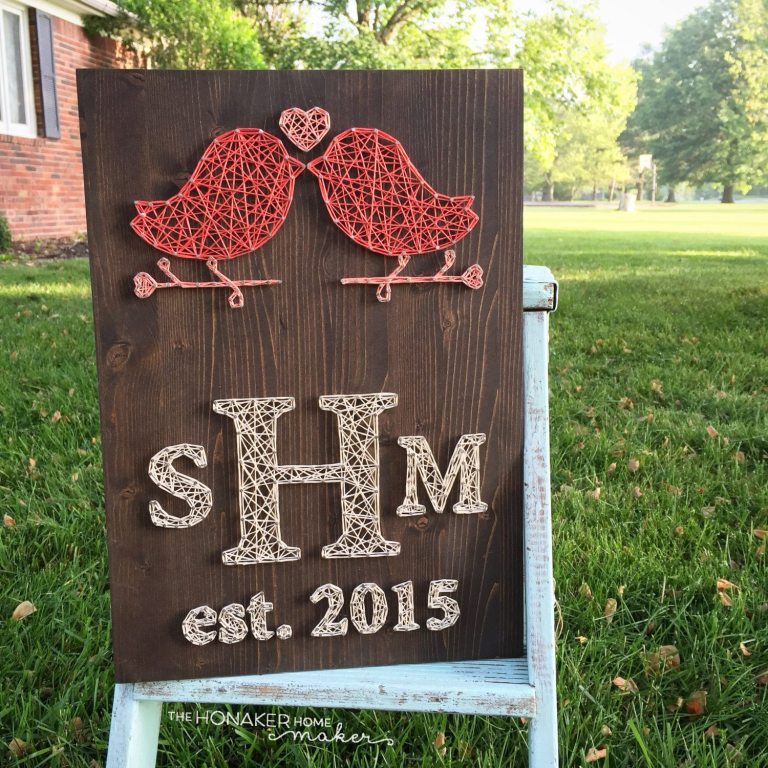

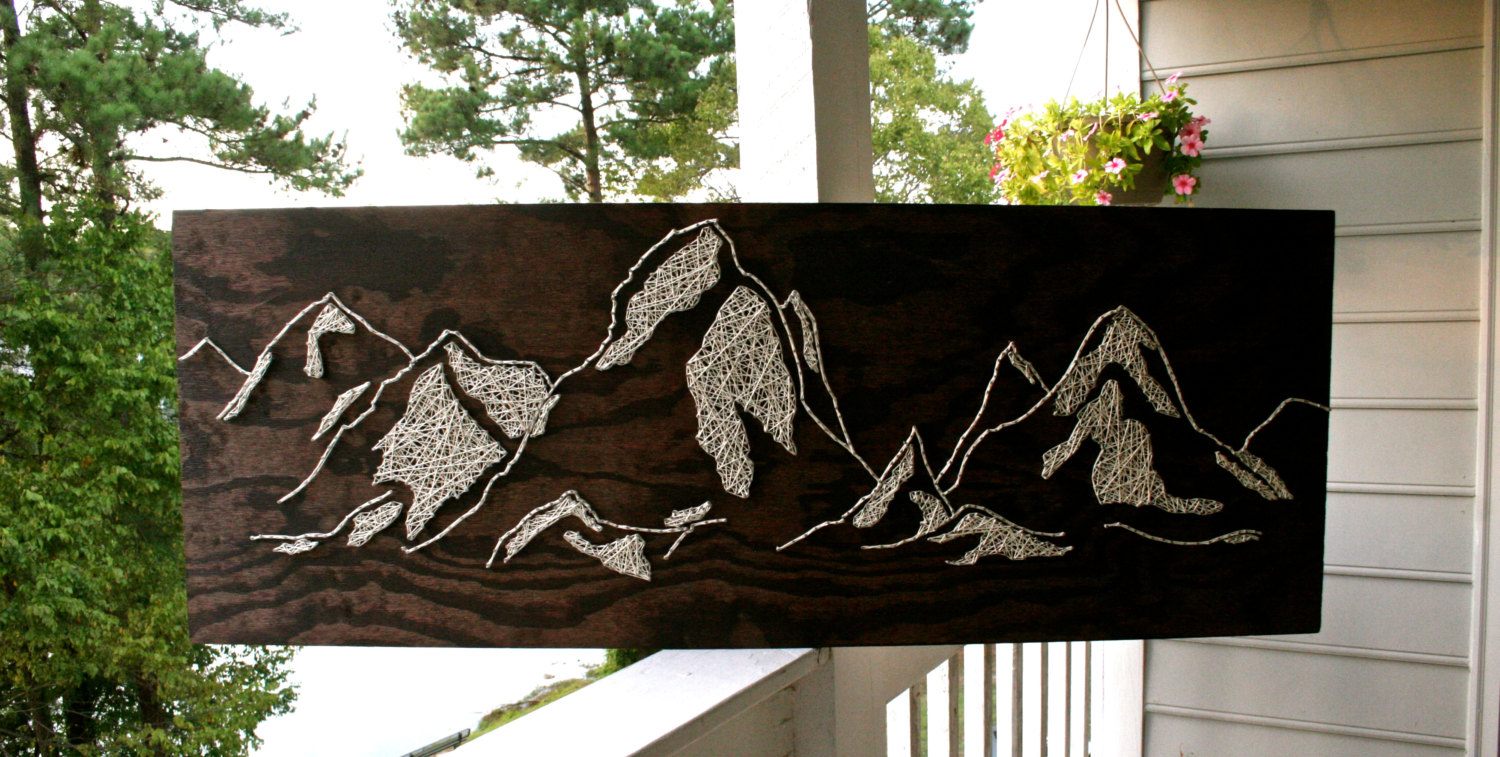
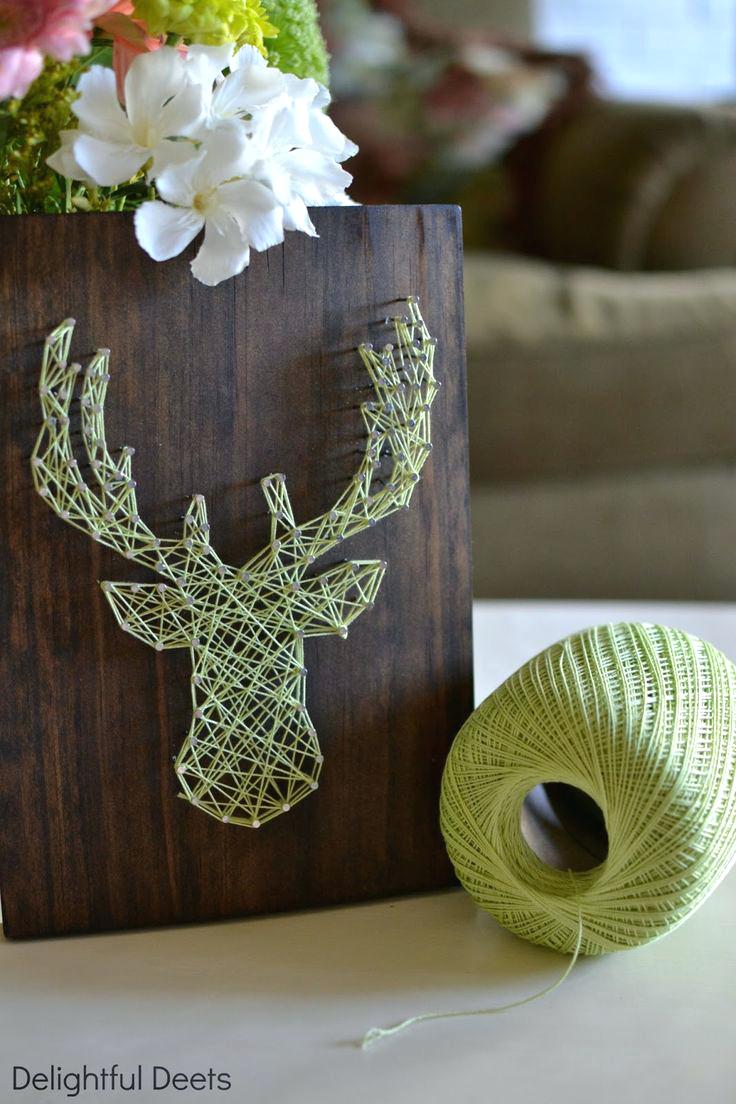
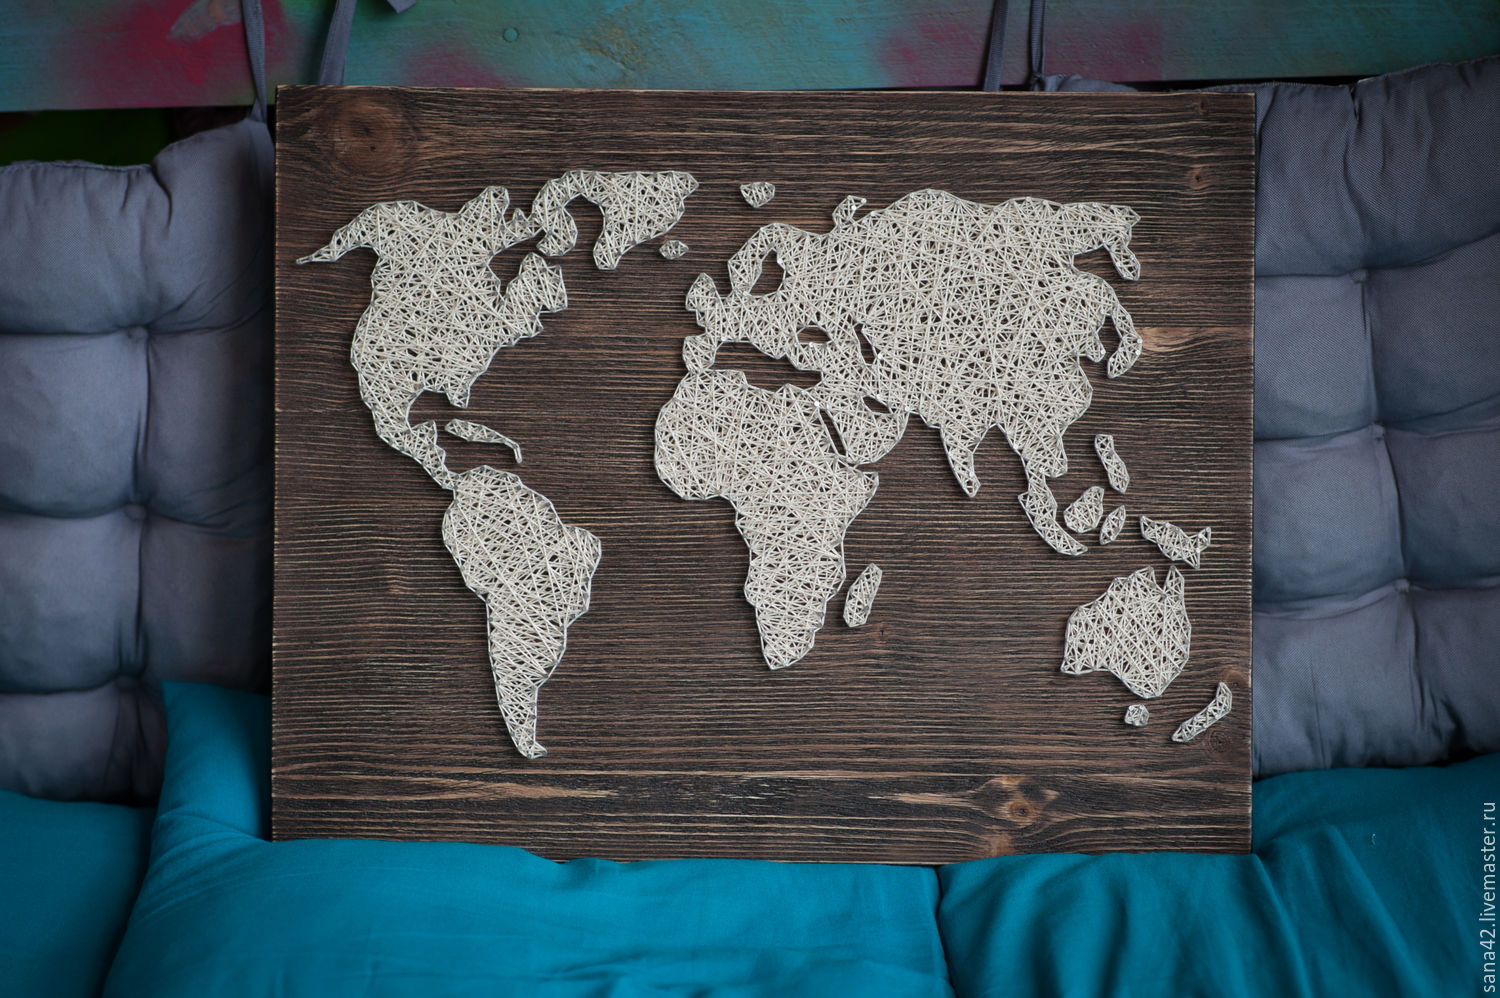
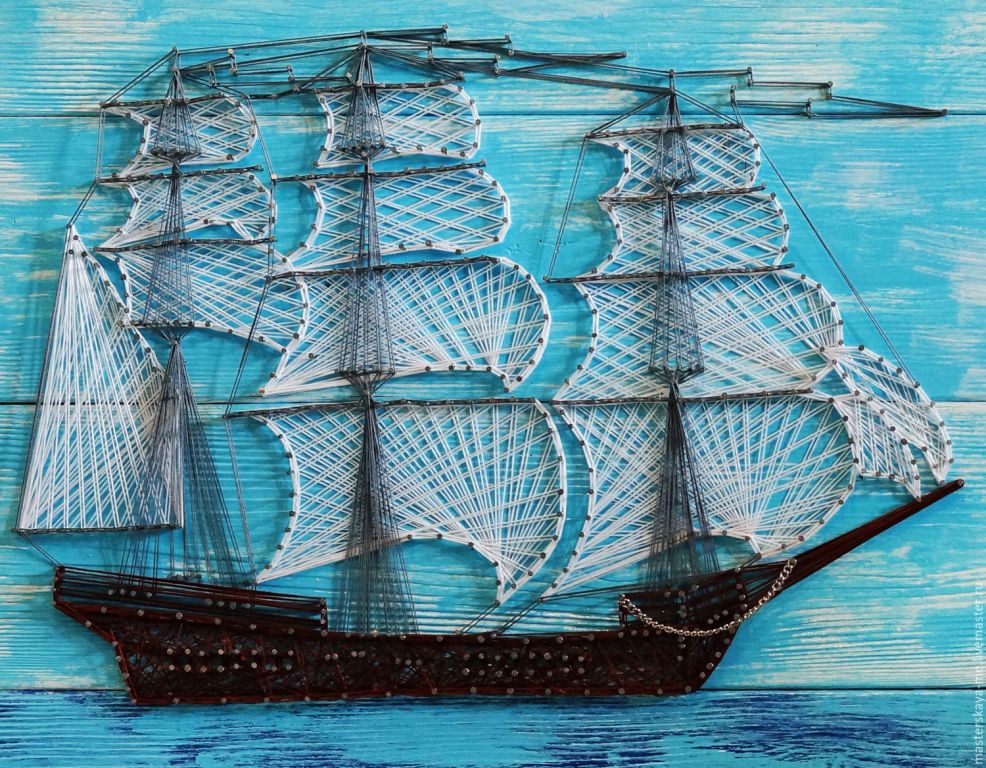
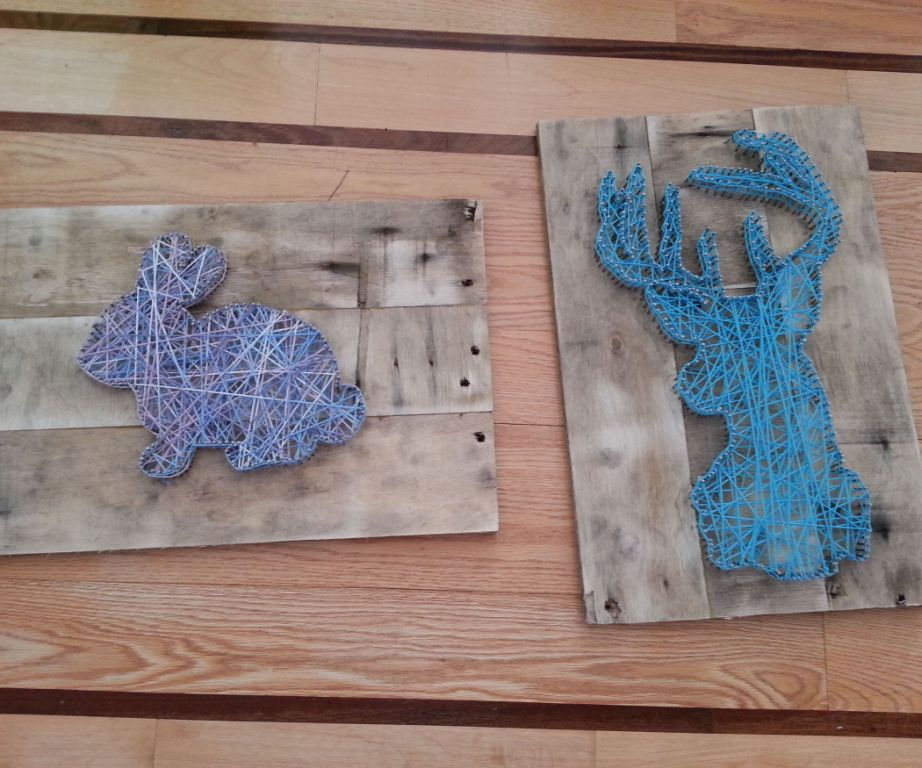
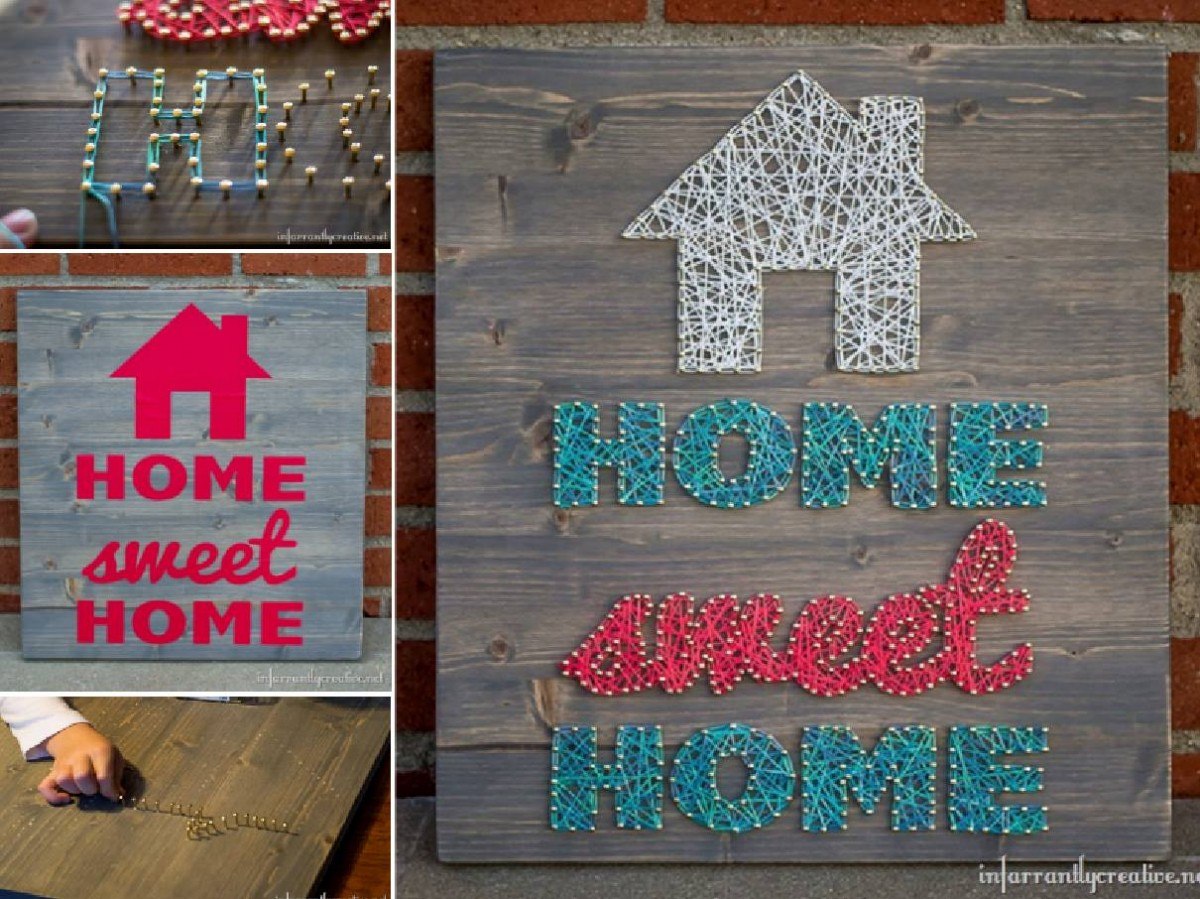
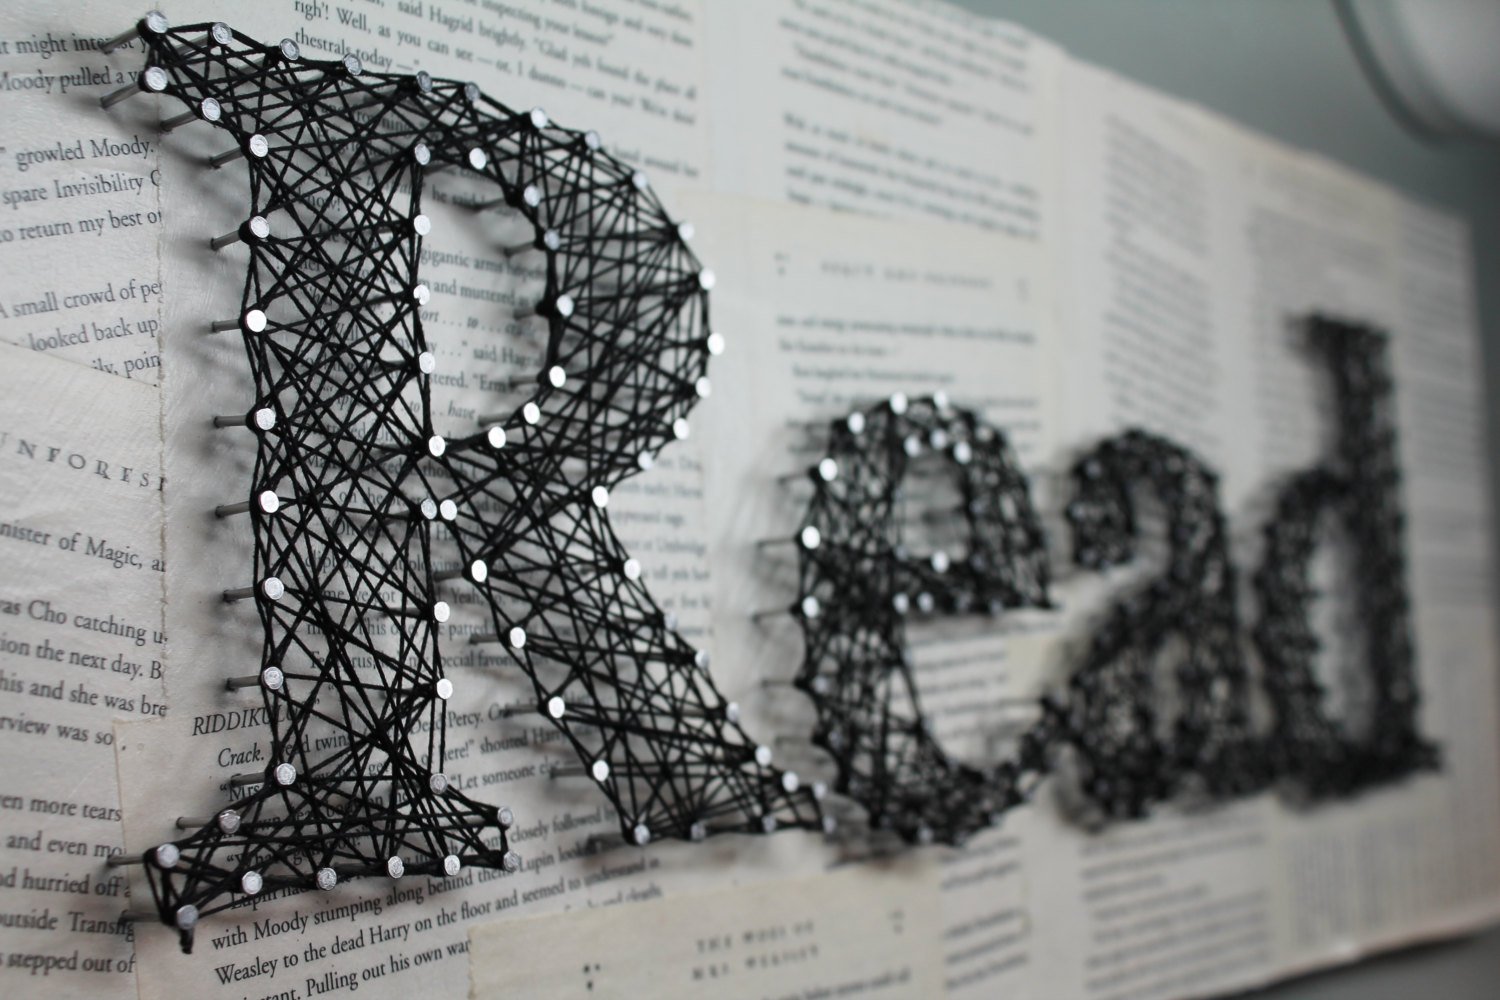
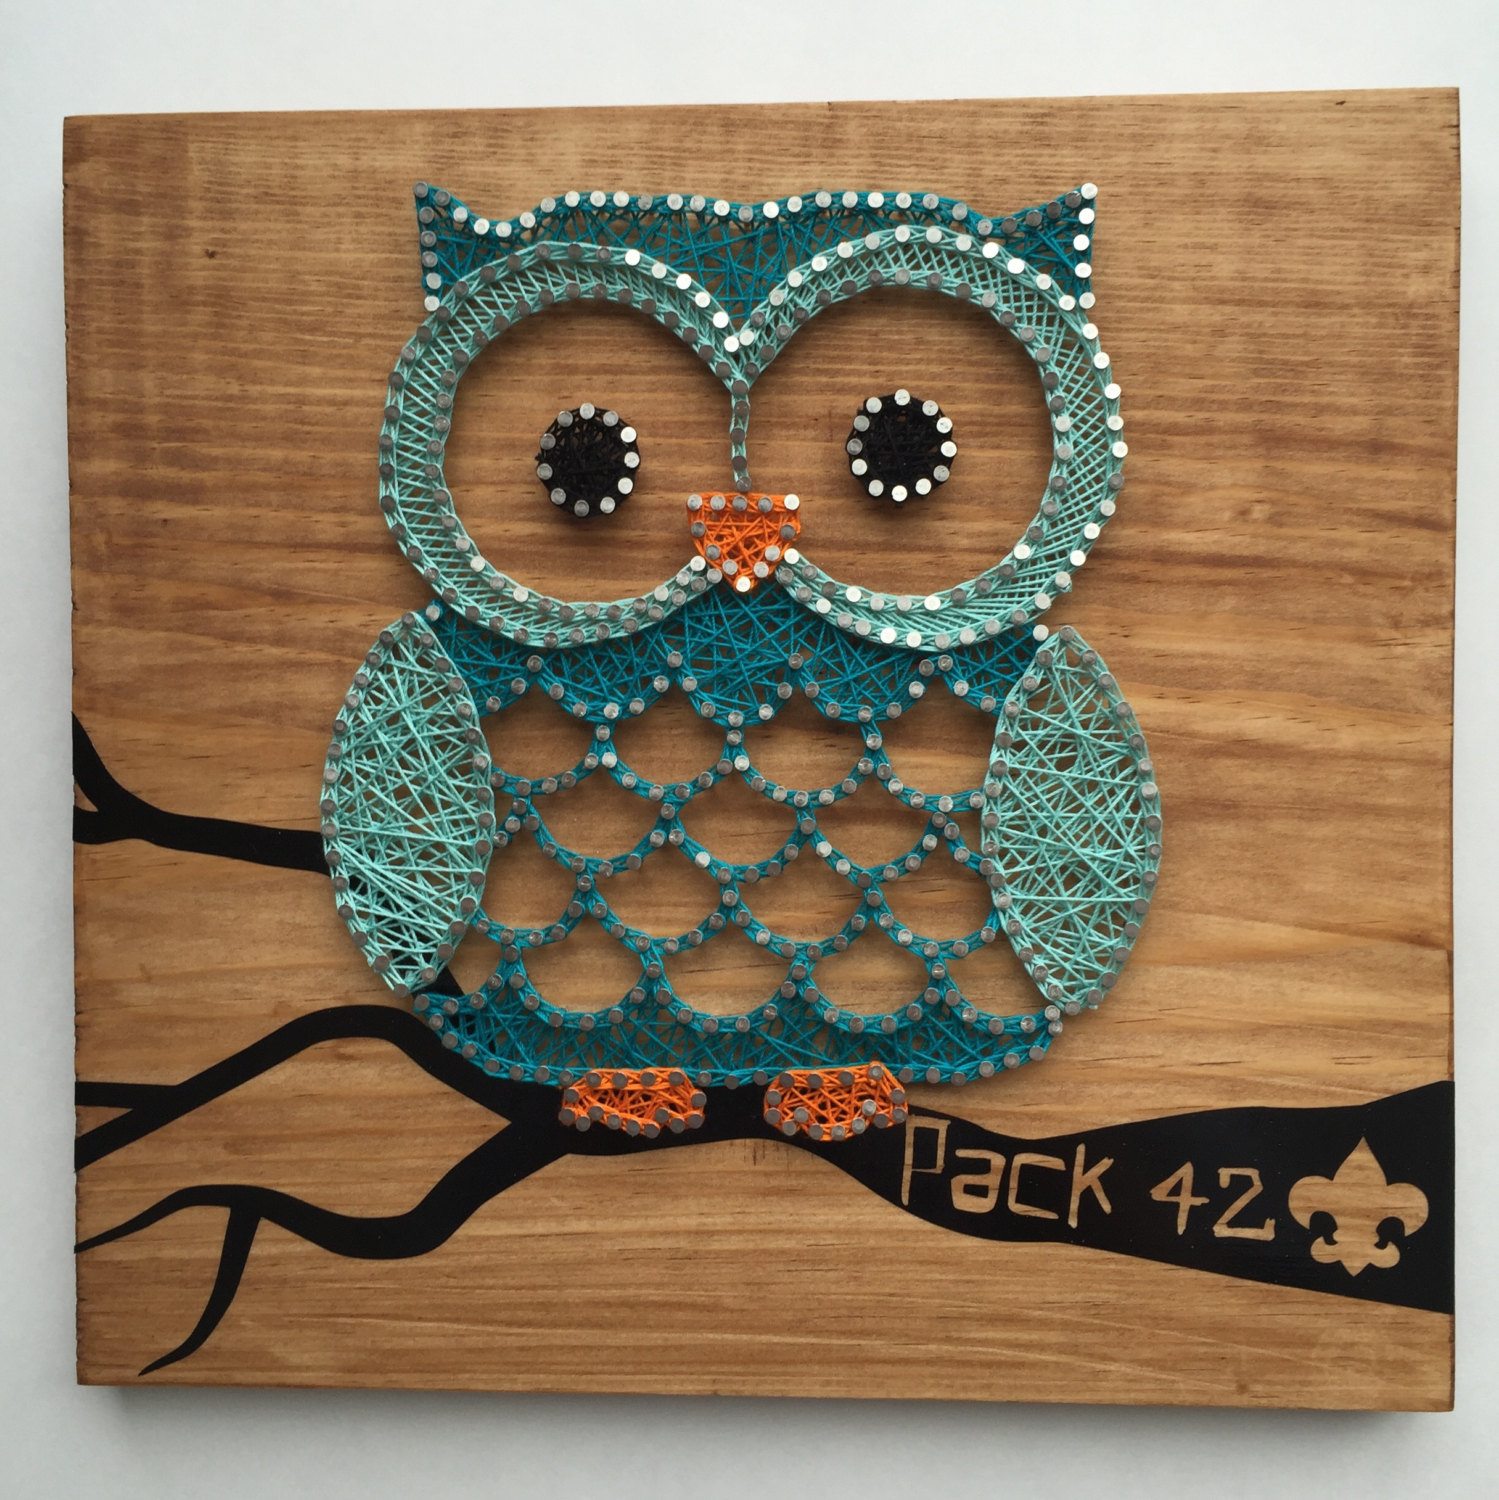
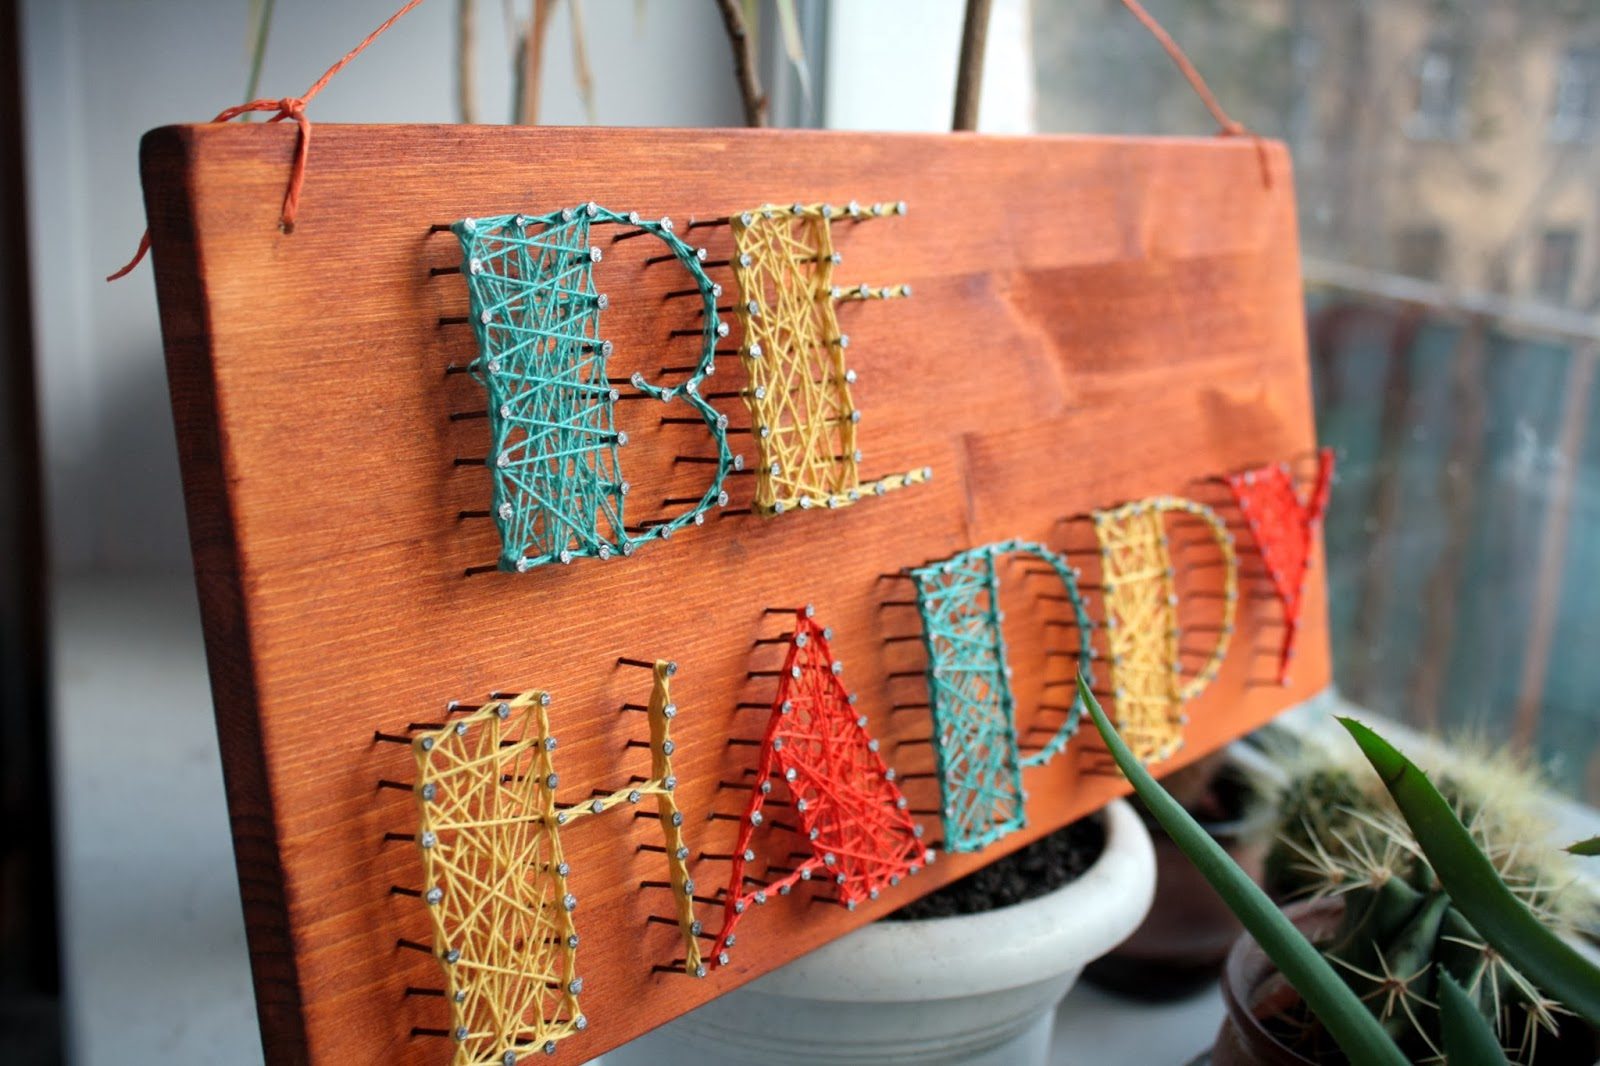
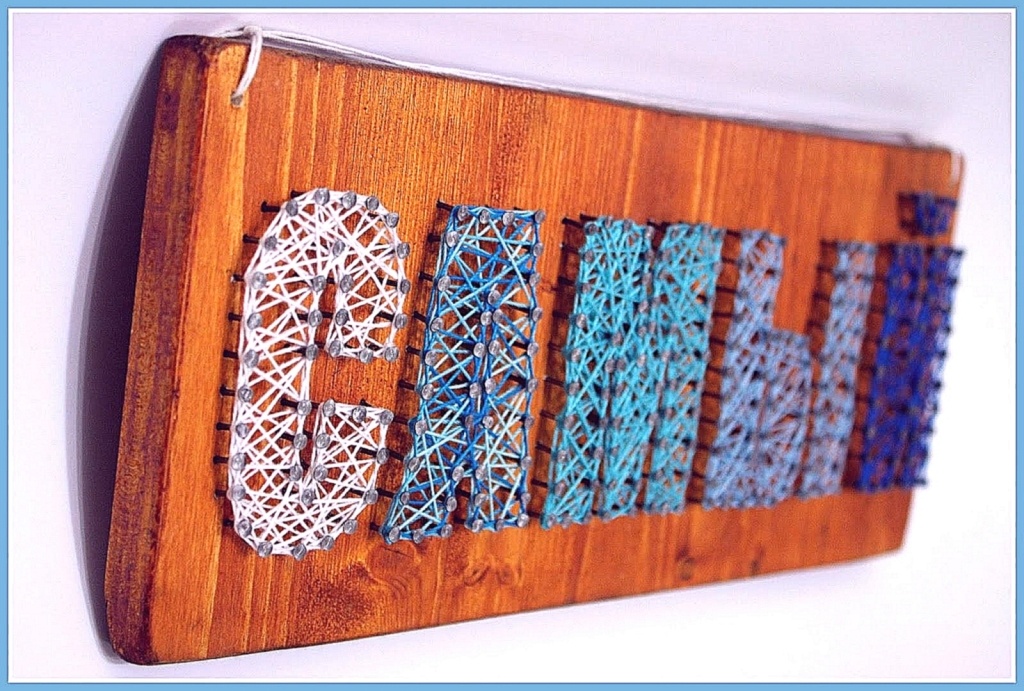
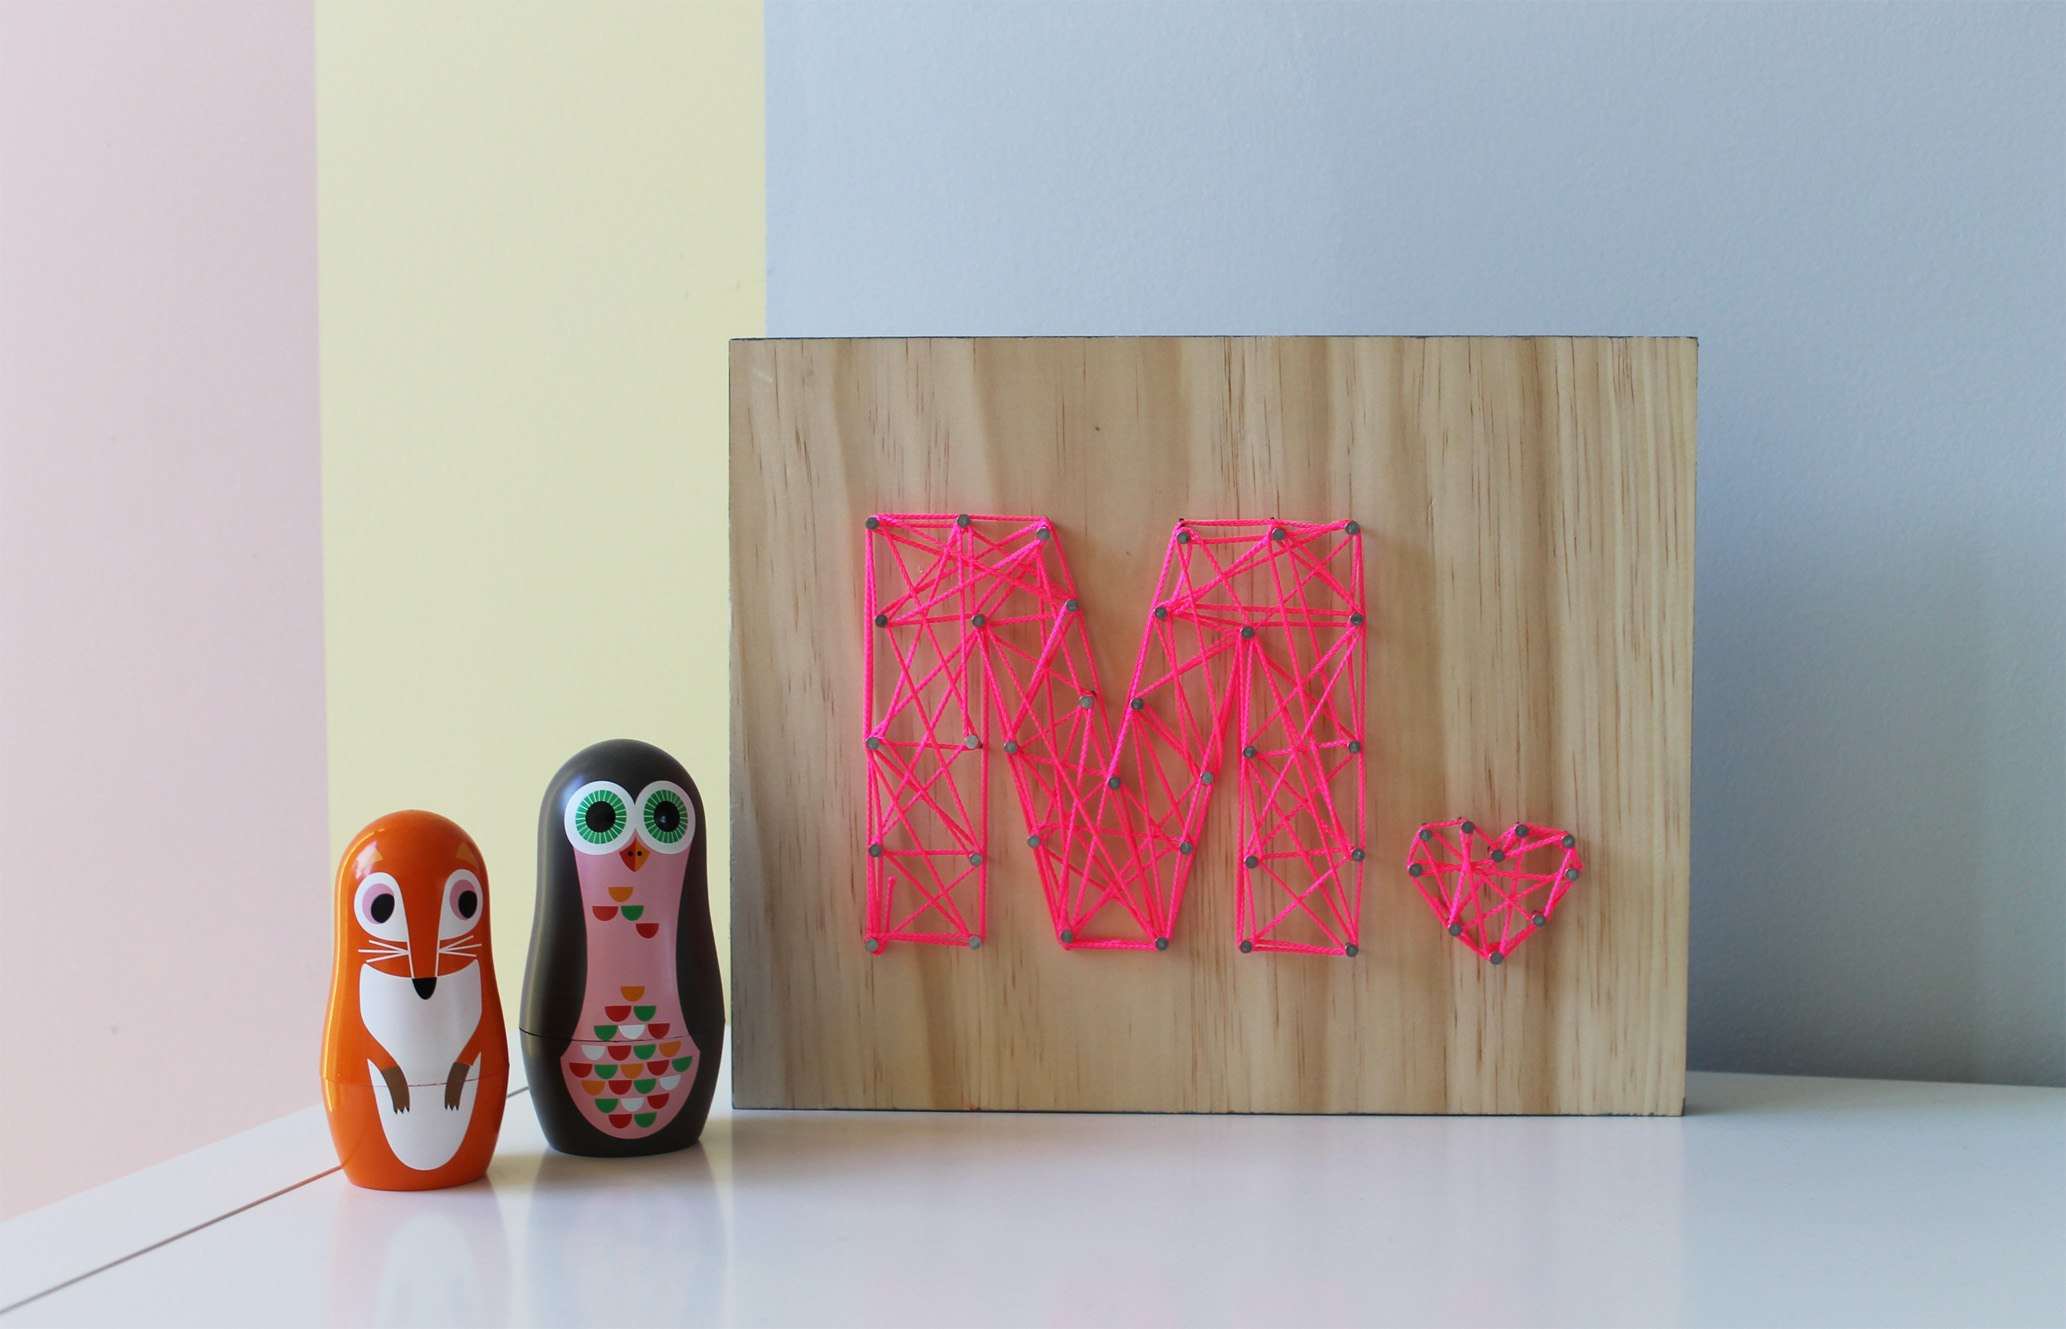
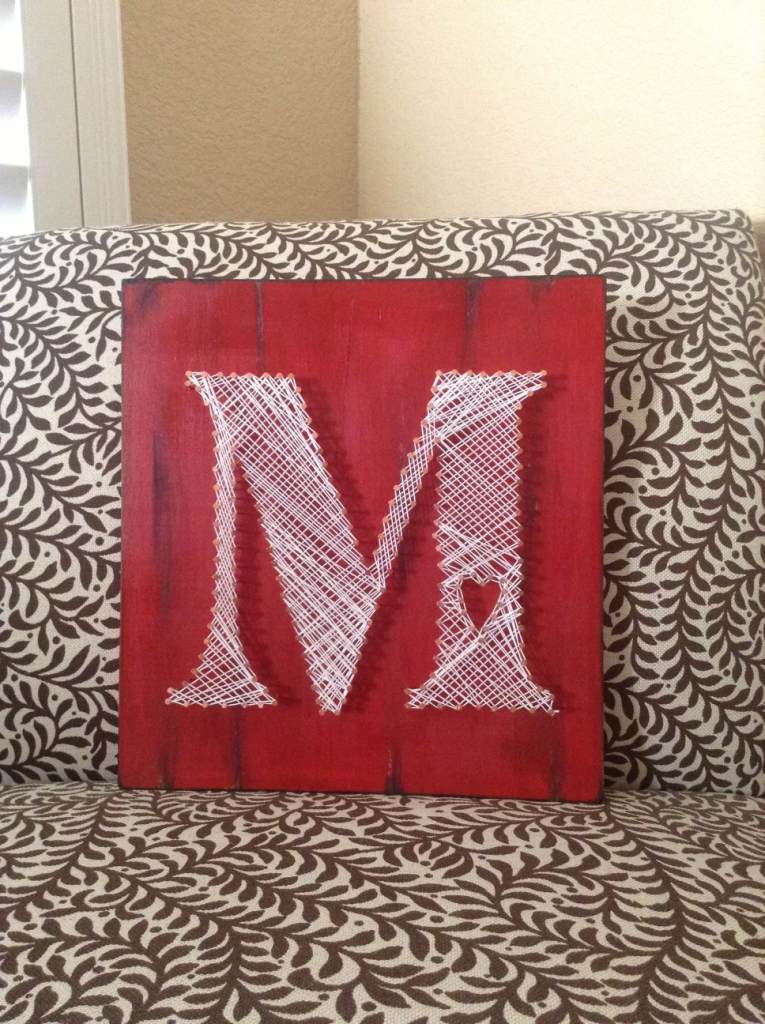
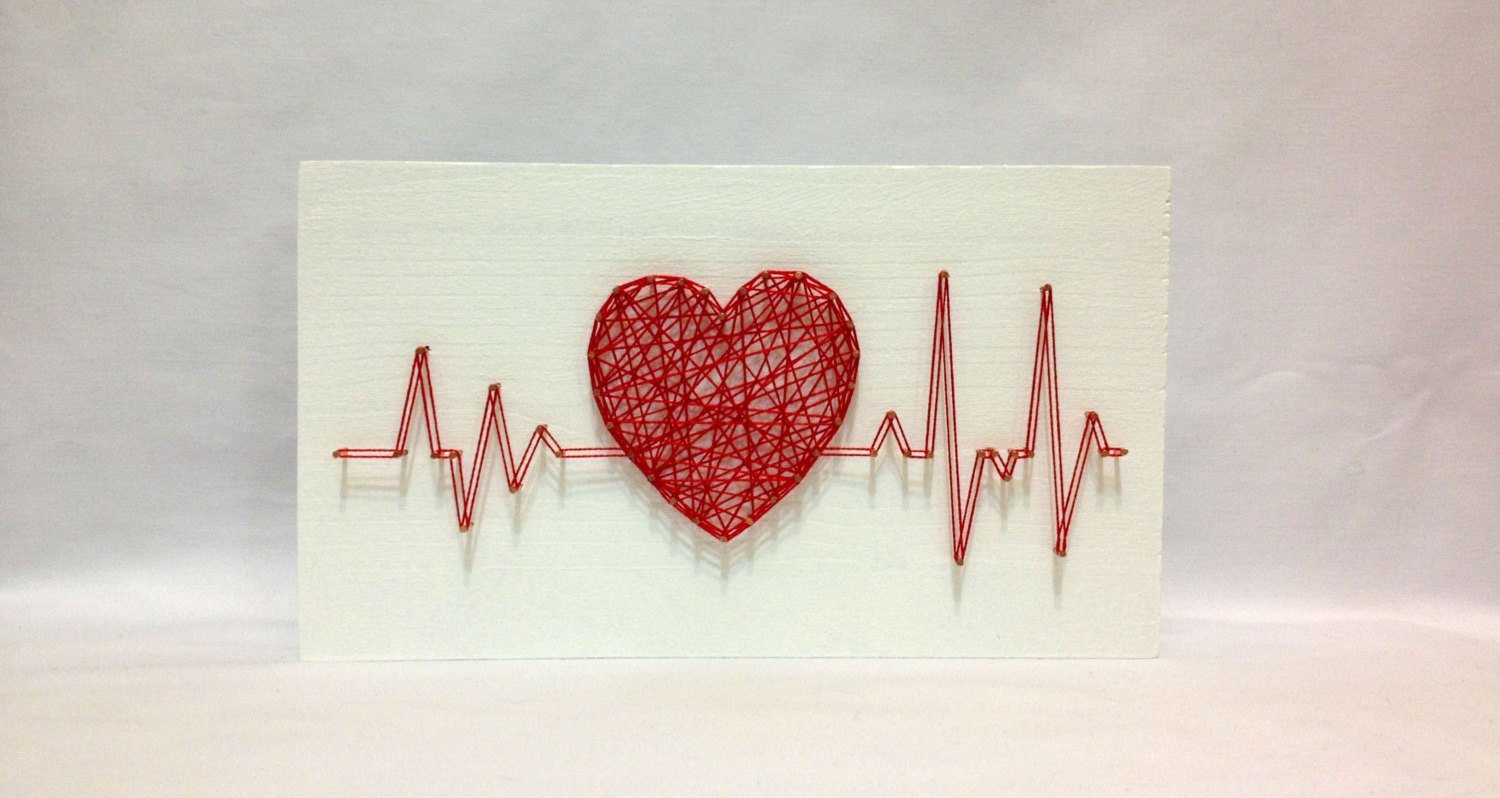
The big advantage of string art is that you can choose absolutely any sketch to create a picture. It helps when you need to create a unique picture with a portrait of a particular person, numbers or words.
In the first stages, use plain threads for string art. In the future, replenish the color scheme with additional shades, creating multi-colored panels.
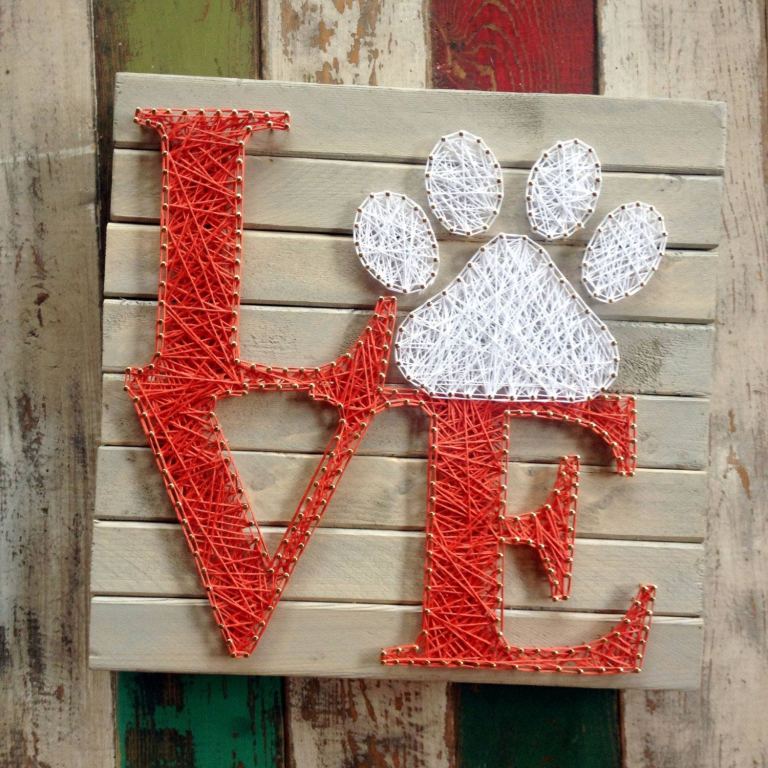
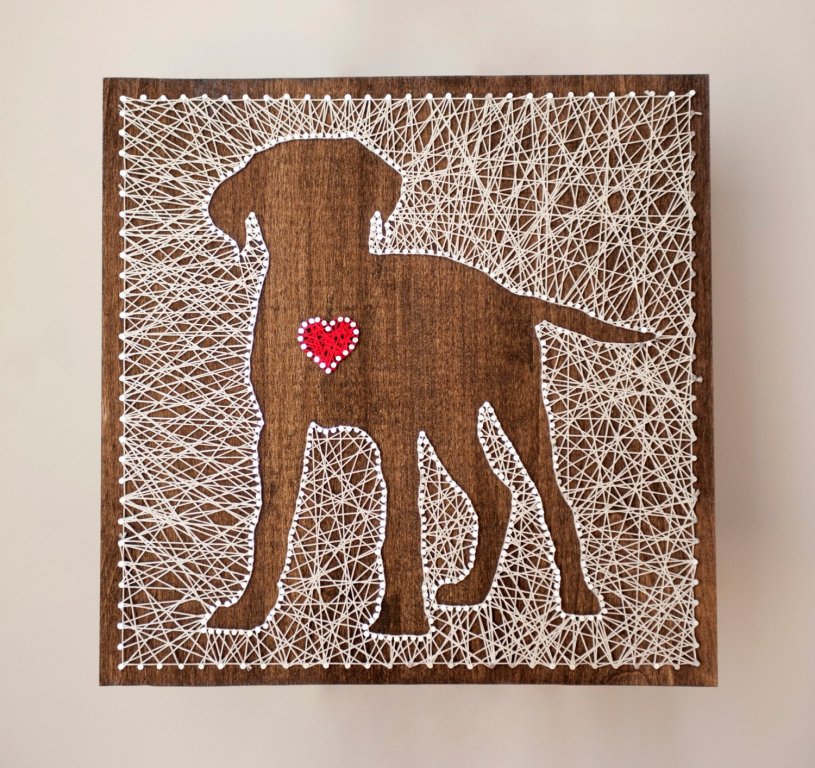
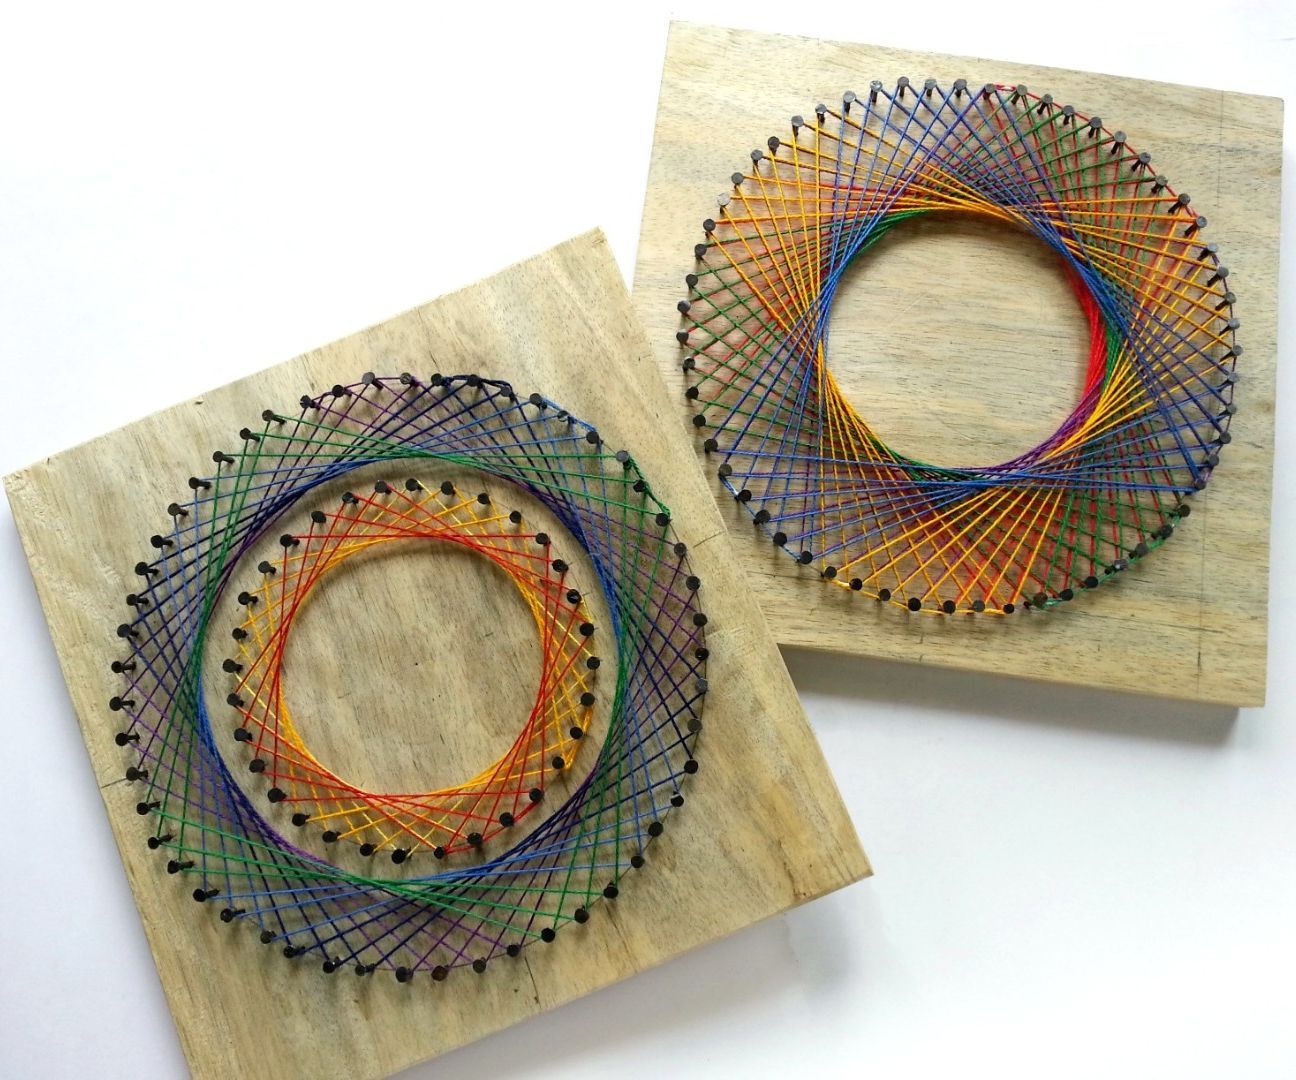
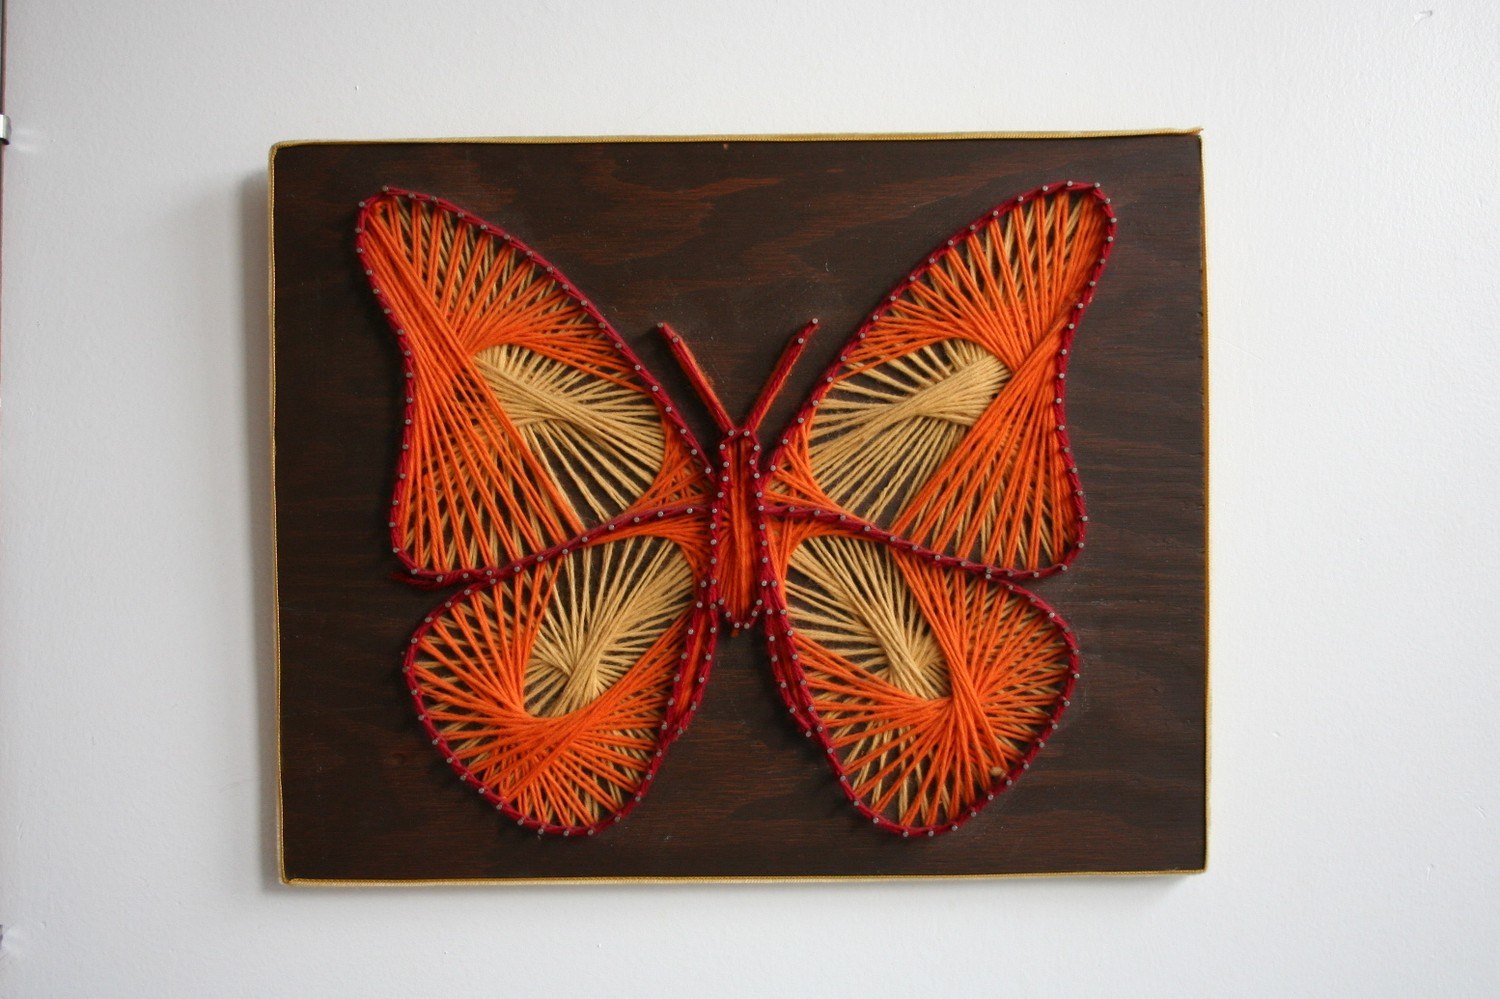
Many believe that the correct geometric lines are not appropriate in images with flowers, insects, wildlife or portraits, where smooth transition and the absence of obvious angles are important. But string art perfectly copes with this task, conveying the depth of color through the use of threads of several shades or nails of various lengths.


String art: master classes in creating compositions
So, all the necessary tools for string art have already been acquired. So where to start? Take as a basis the simple schemes with tips, and better use the tips of experienced needlewomen. In our article we will present 3 master classes, from the simplest to the most complex, and we will tell you how to create incredibly beautiful patterns and images in the izon technique on your own.

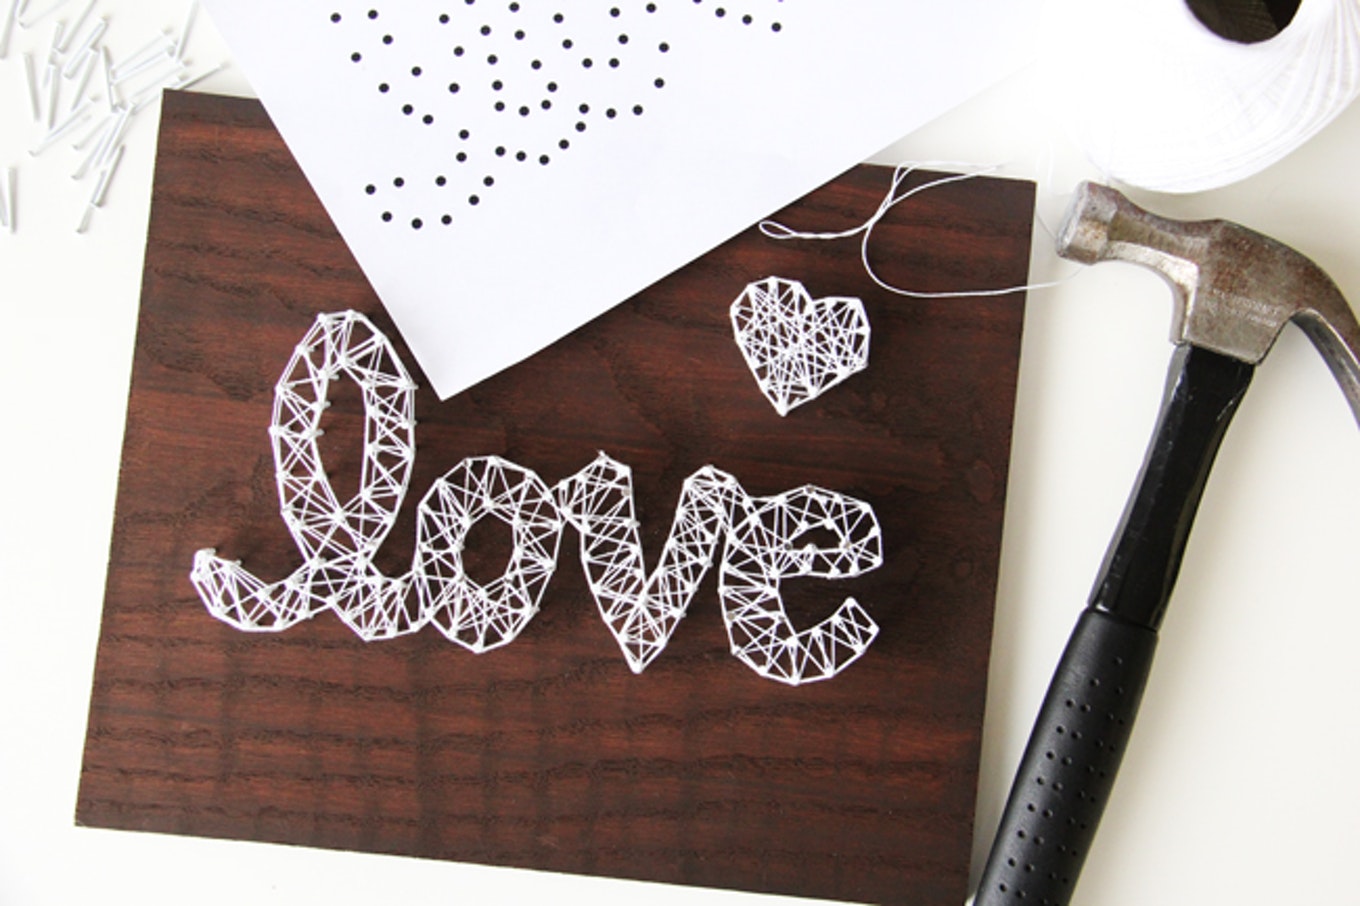
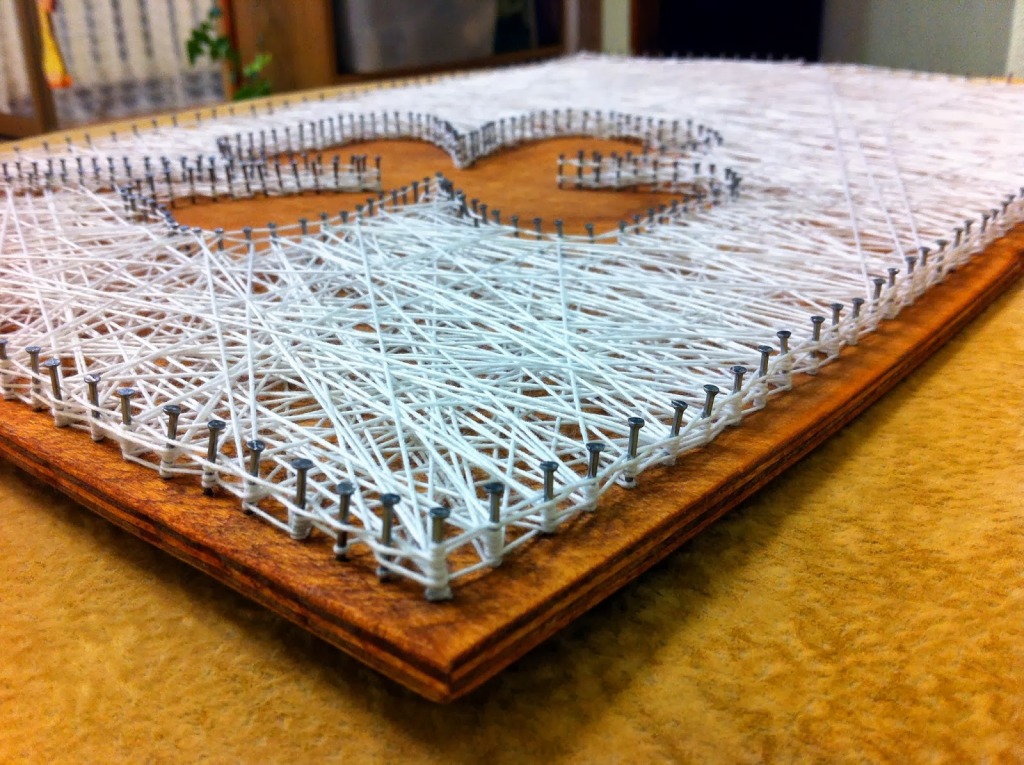
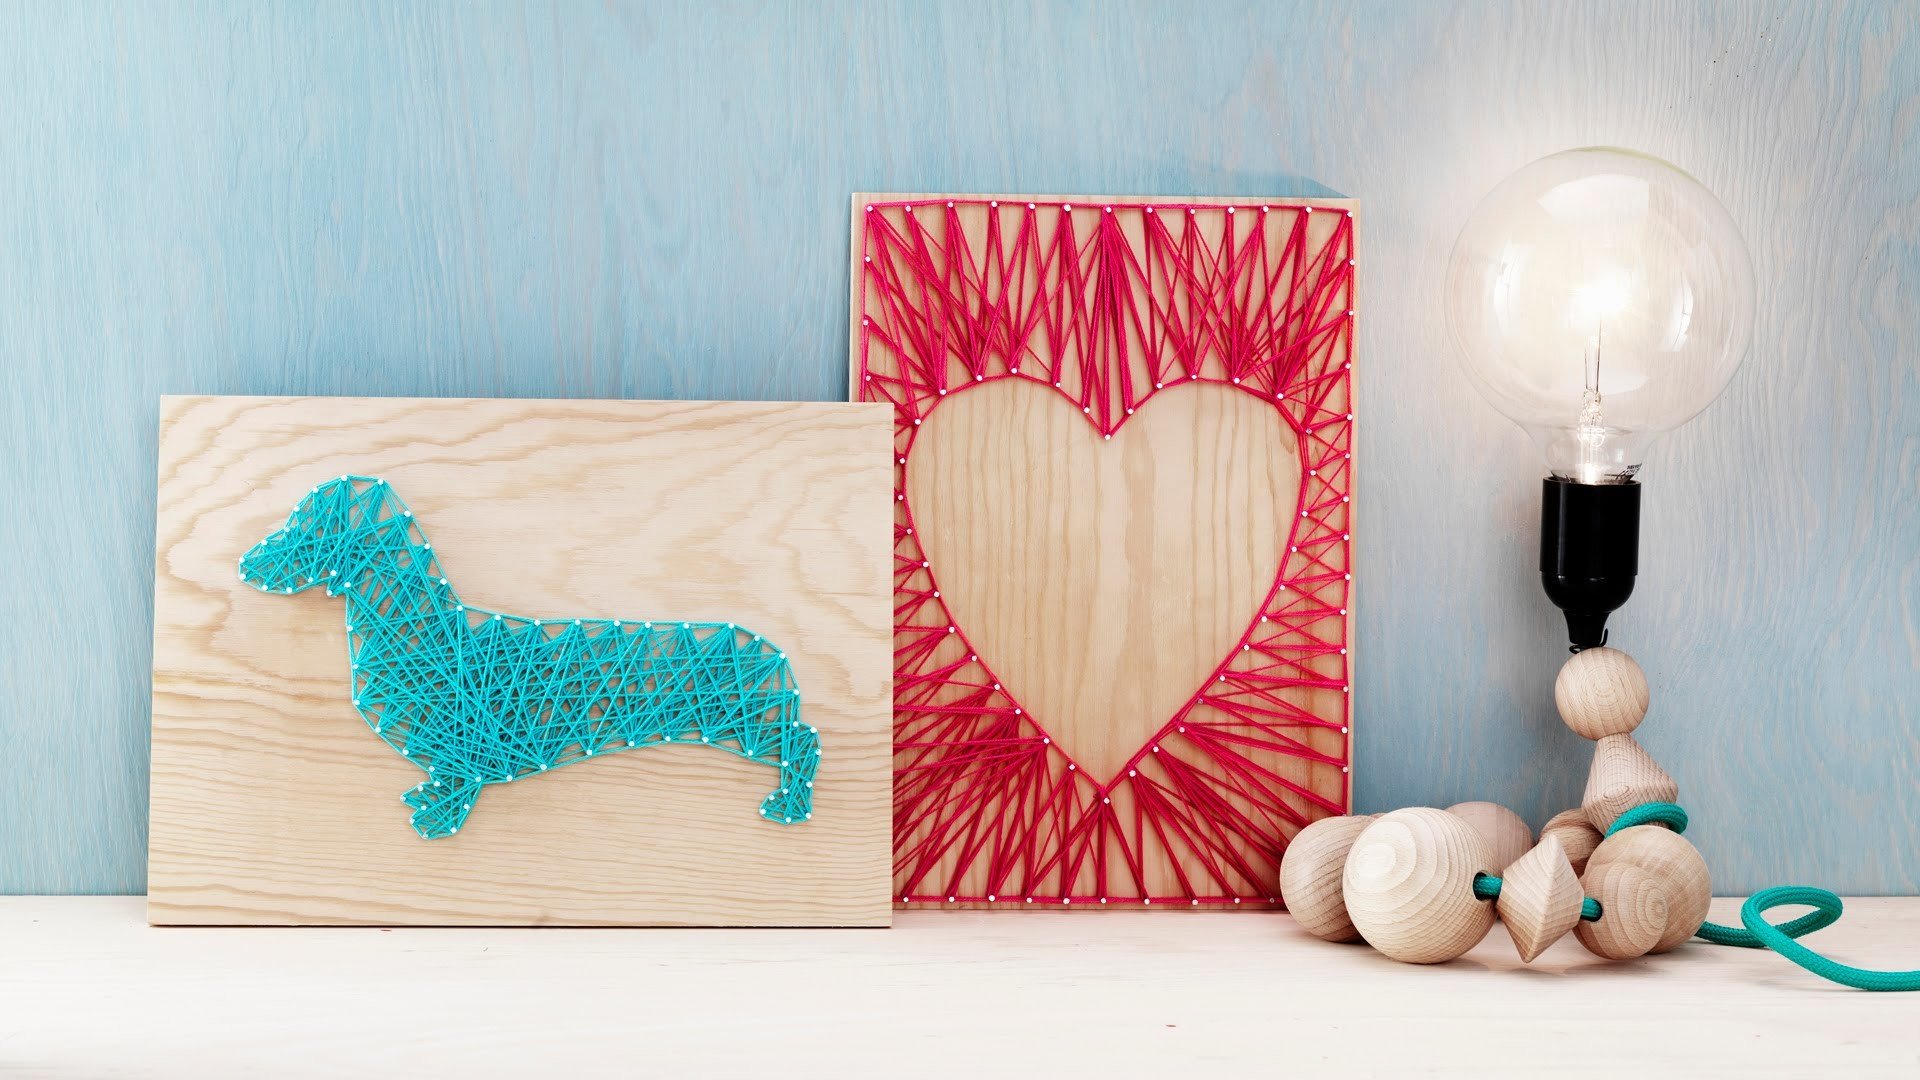
Ione heart in technique
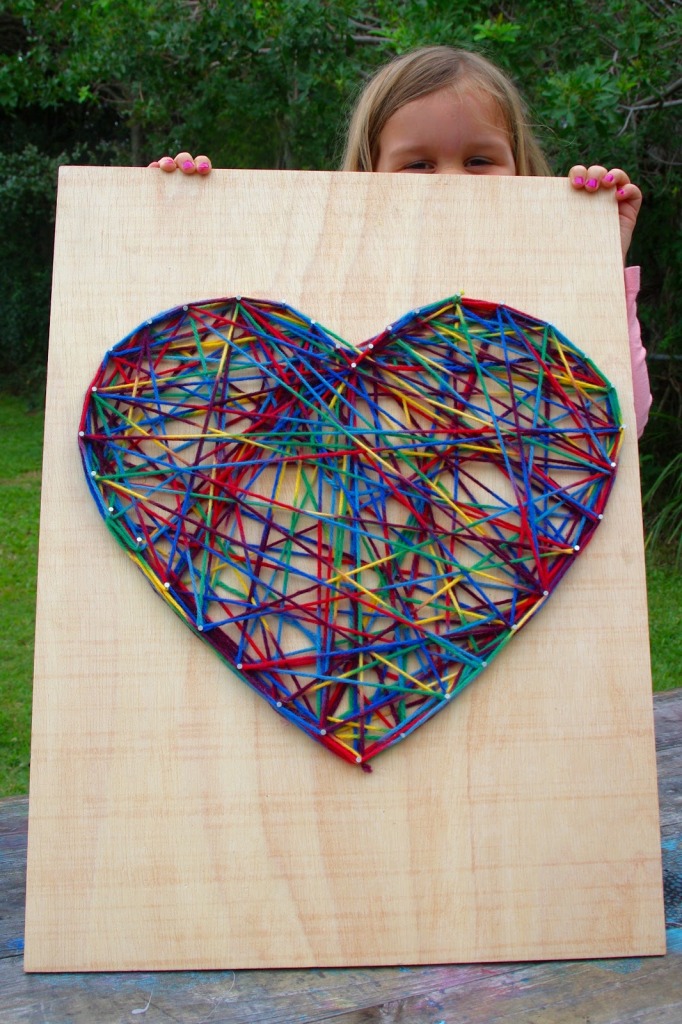
One of the simplest images that can be done by novice masters is the heart. Even a child can cope with such a composition, provided that the adults enter a carnation on the plank. This craft will be a great gift or just decorate the wall in your living room.

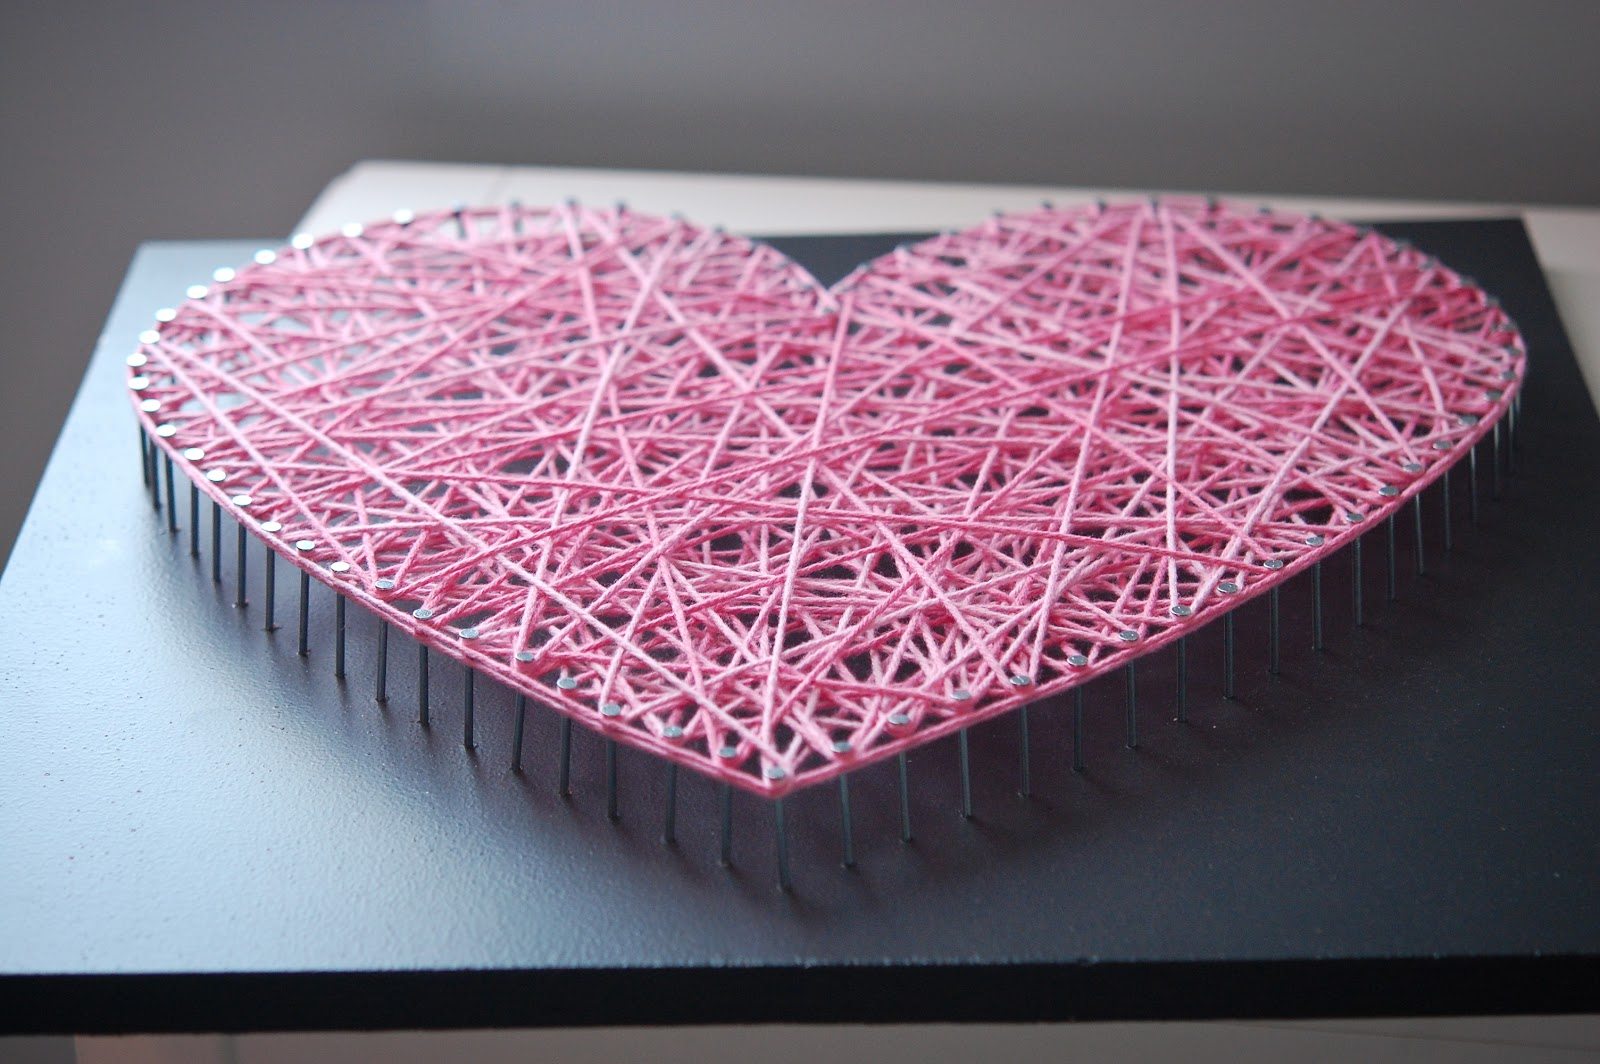
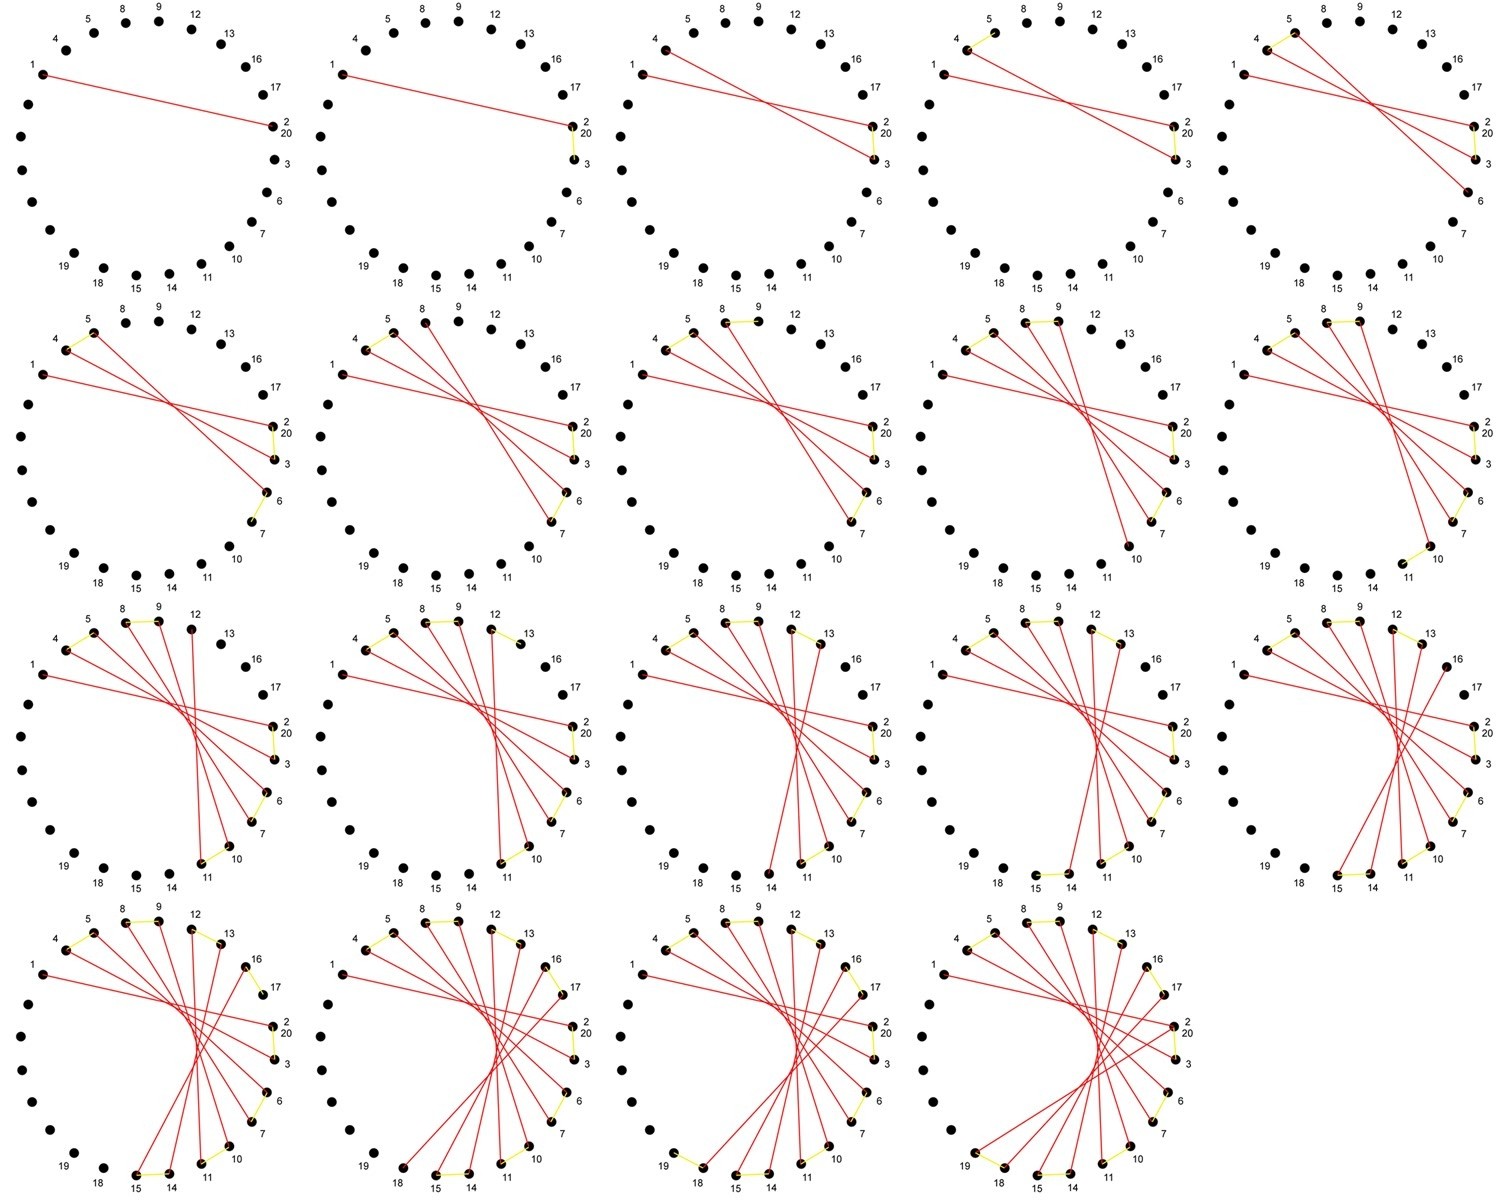
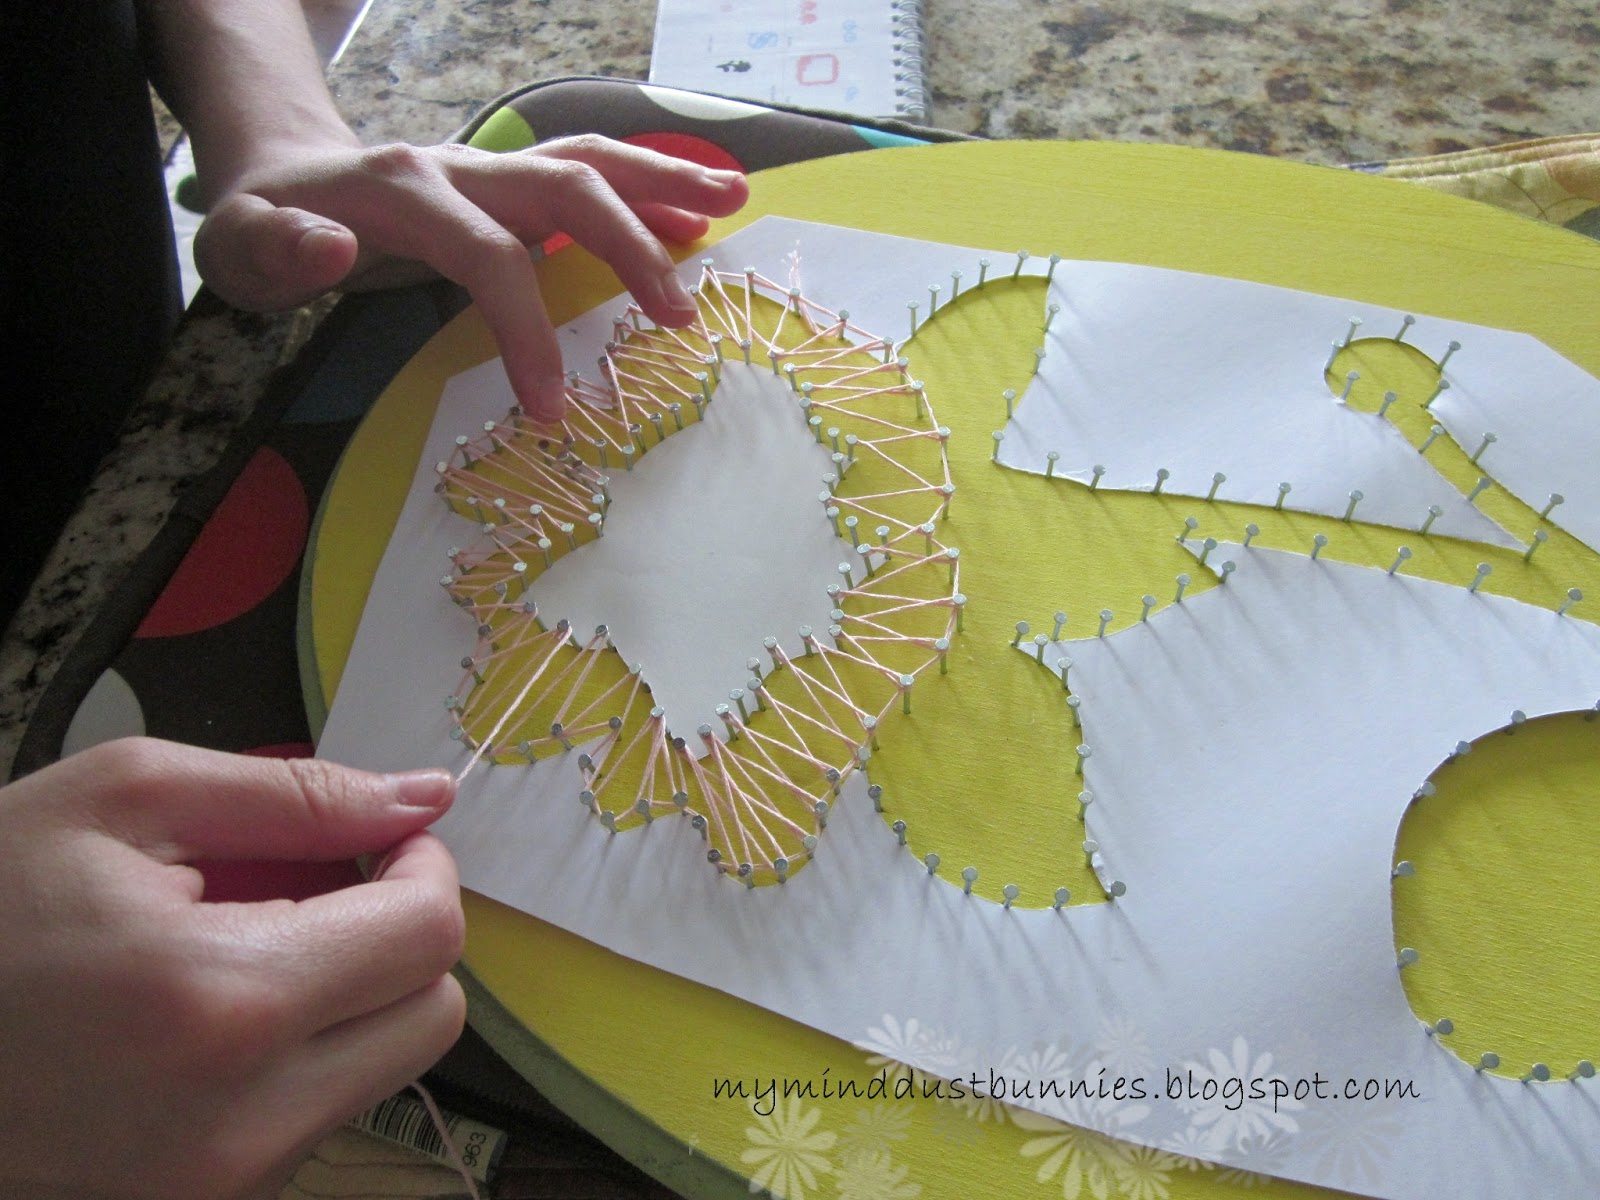
Draw a neat heart on a clean sheet of paper or print the finished image on the printer. Arbitrarily place in the picture the point where the nails will be nailed. Place the marks at the same distance, the final appearance of the product will depend on it.
Put a piece of paper on the plywood and nail it in the places marked by carnations. Carefully remove the sheet from the plywood.
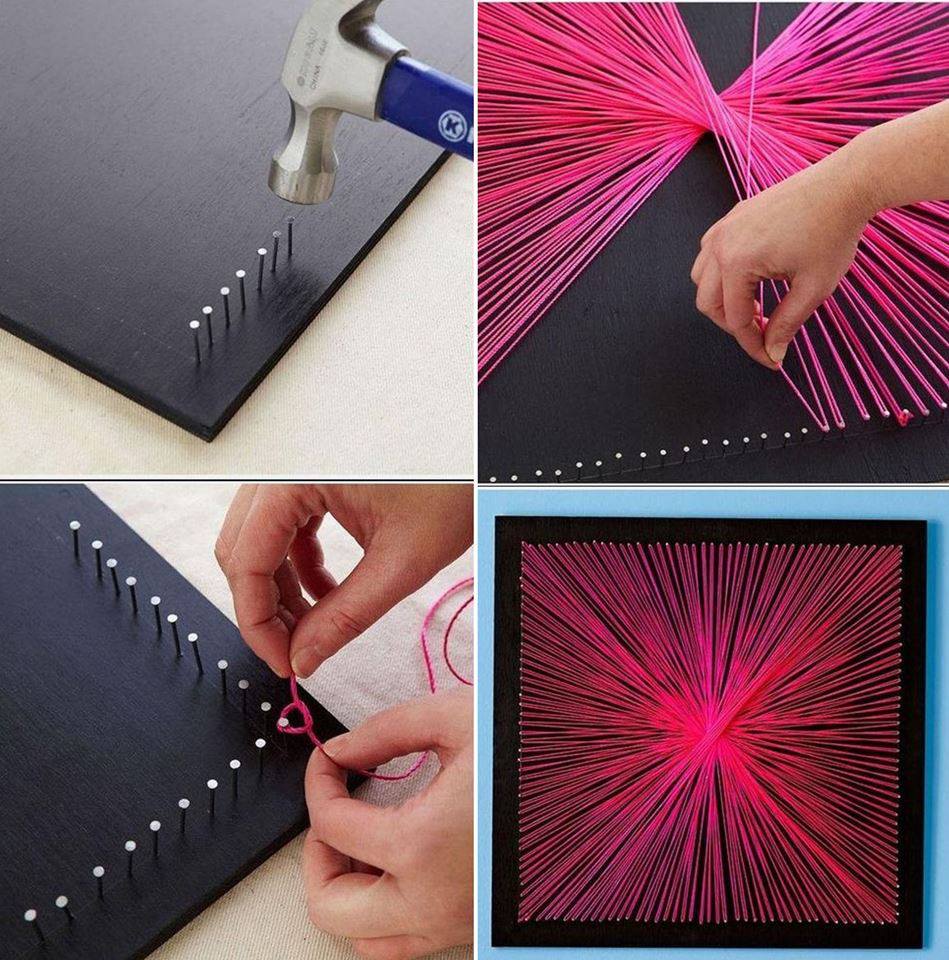
Next, proceed directly to work with threads. Make a neat knot on the central top nail, stretch the tip diagonally. Pull the thread to each stud so that a sharp angle forms each time.
Once all the studs are wrapped with thread, fix it and carefully cut off the tip.
![]()
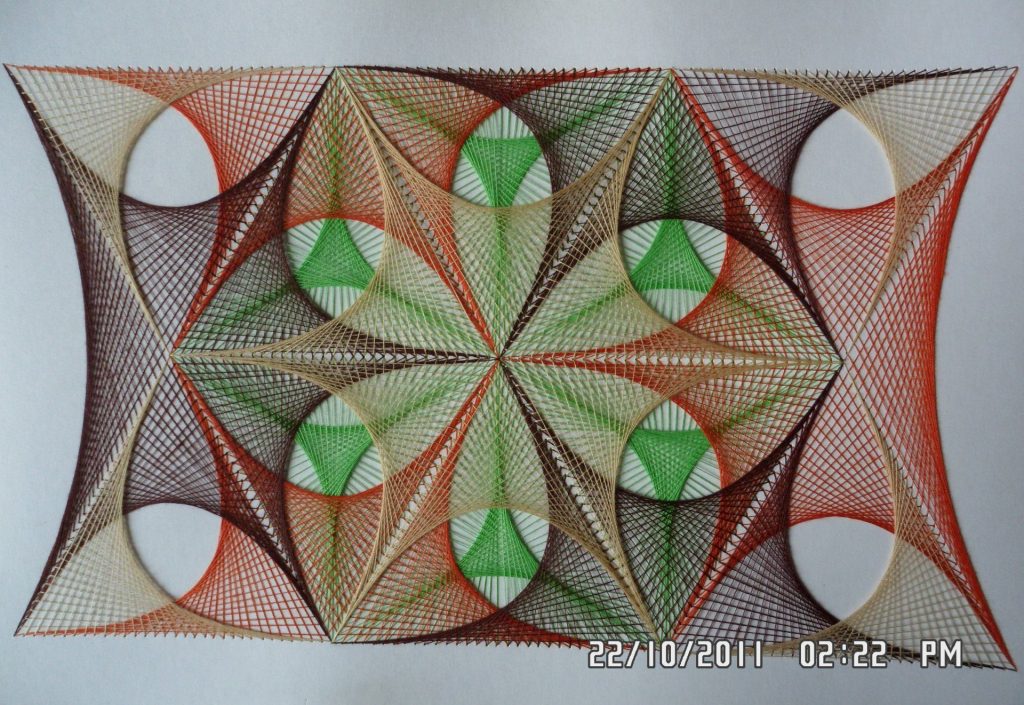
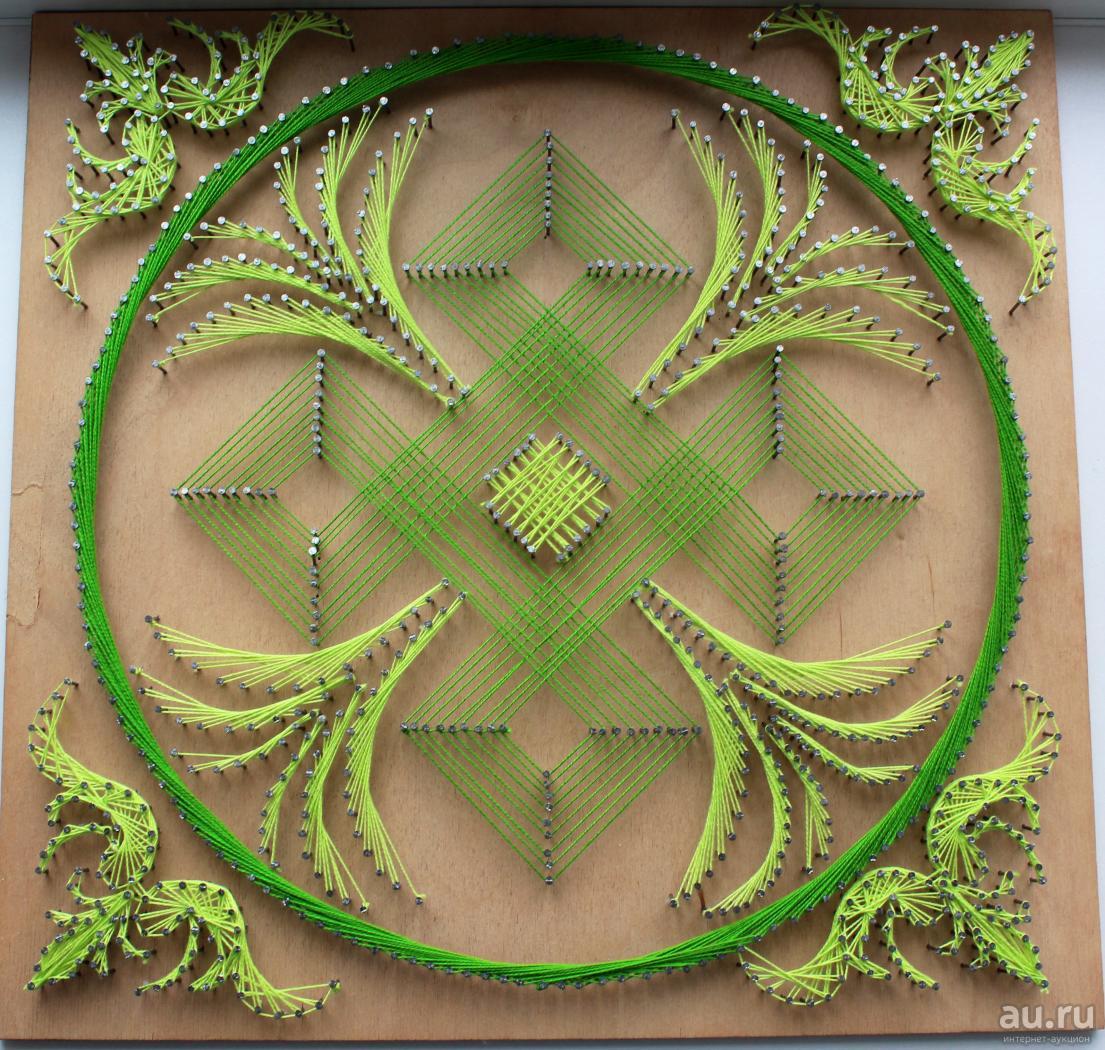
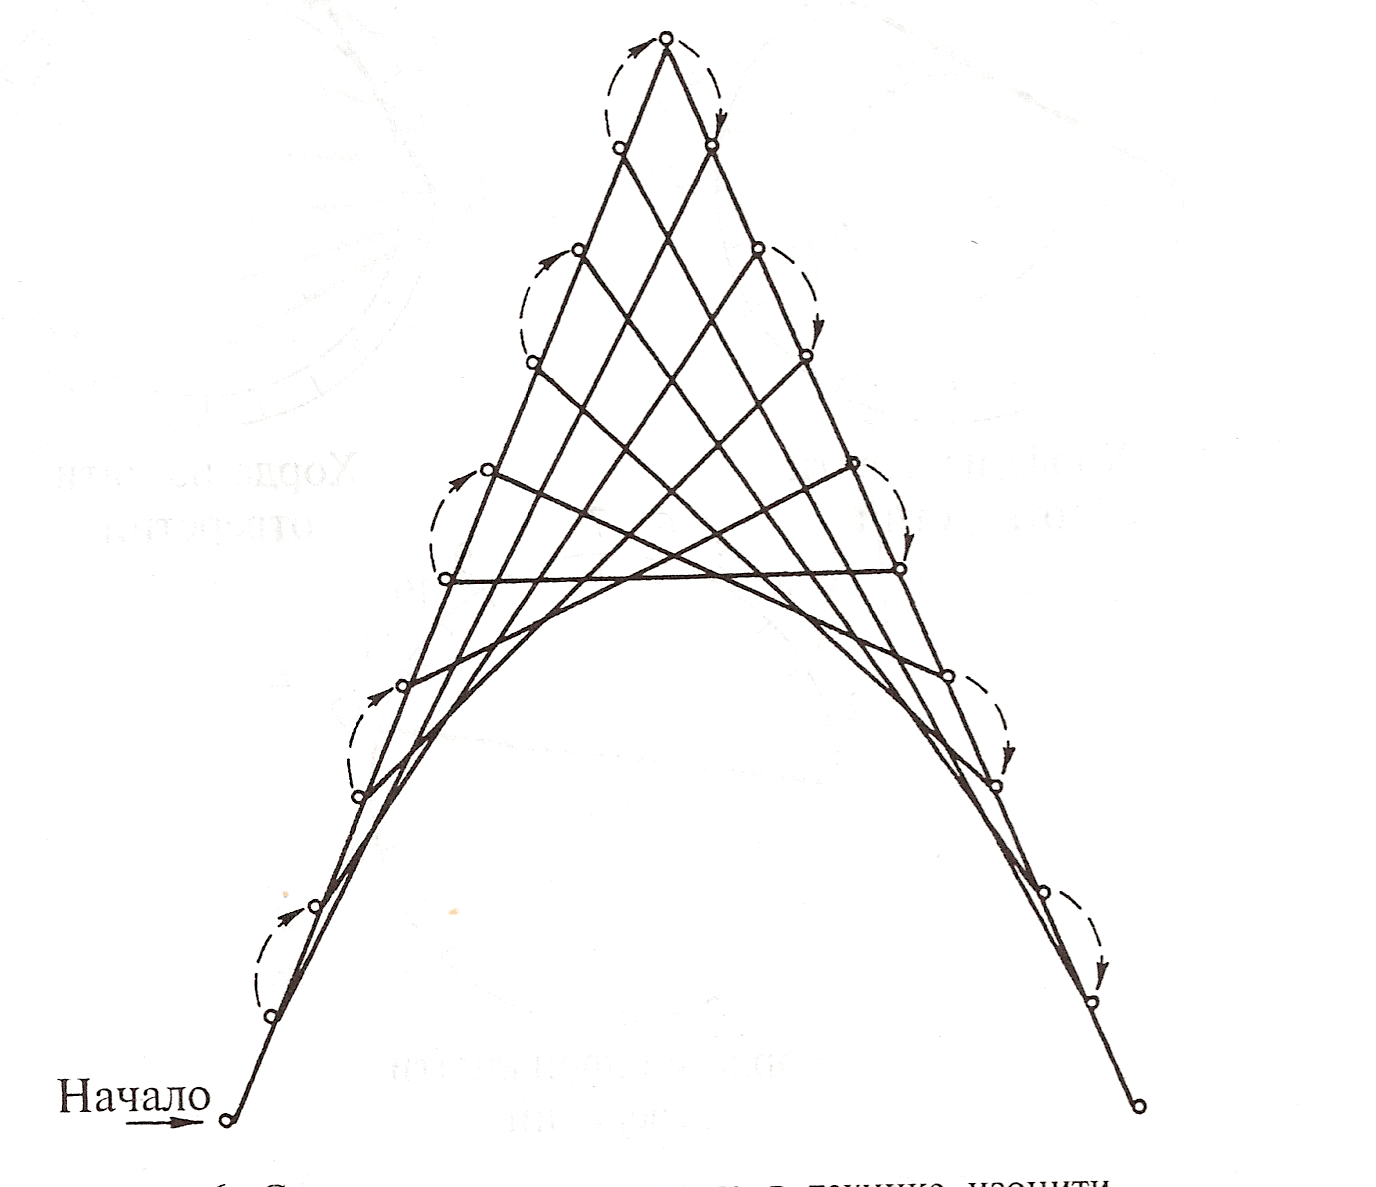
Below are the main schemes for creating corners and circles using the string-art technique. Having mastered them, you can perform simple, but at the same time, spectacular and voluminous compositions.


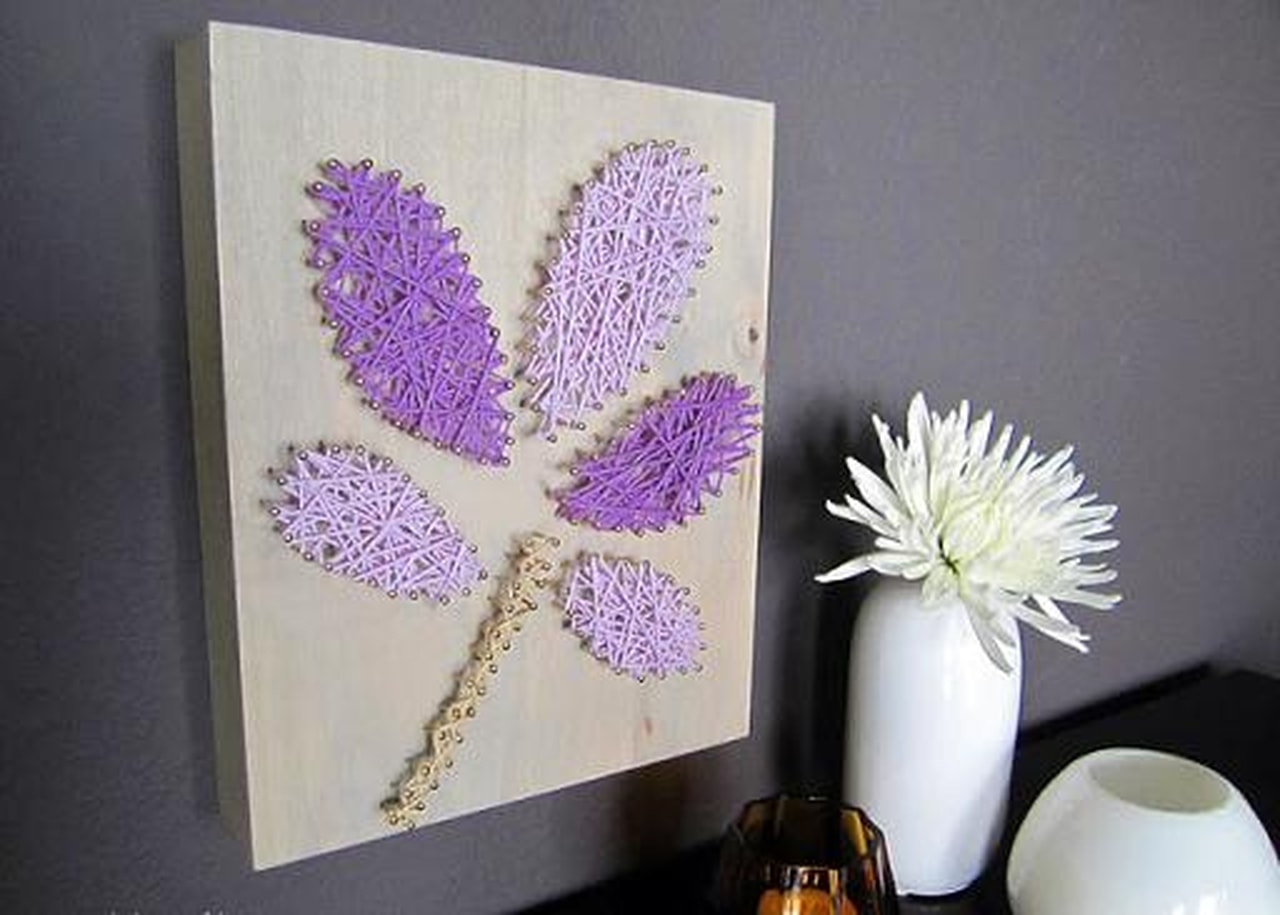
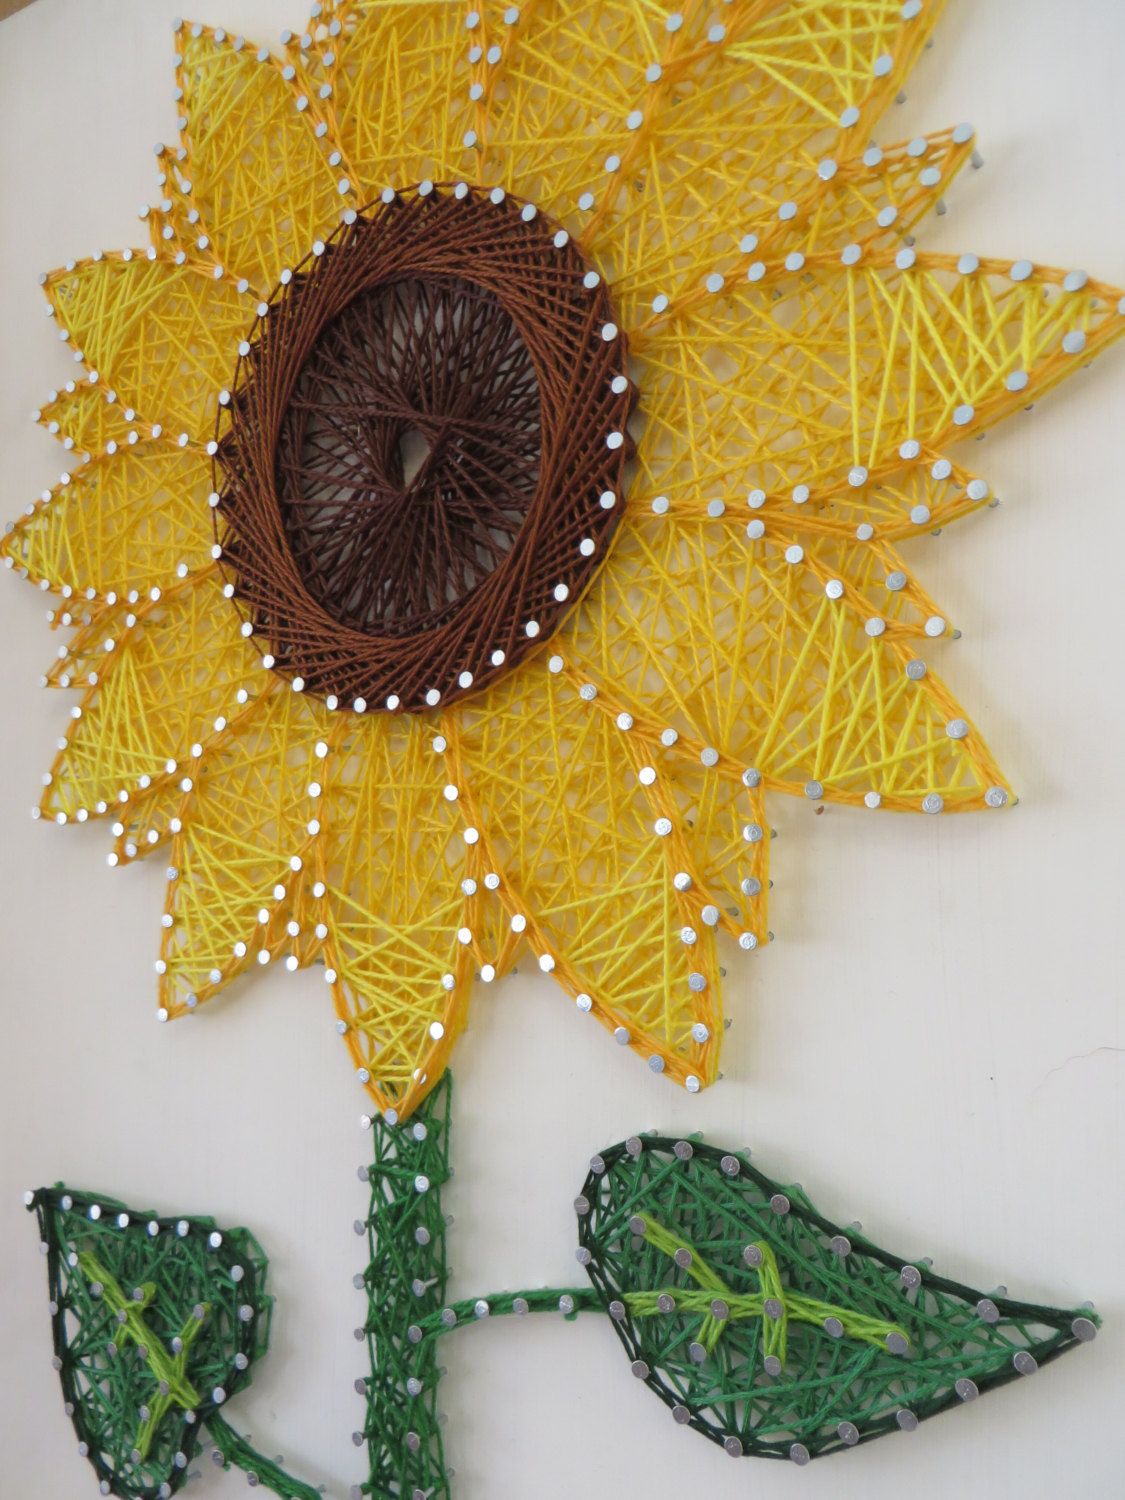
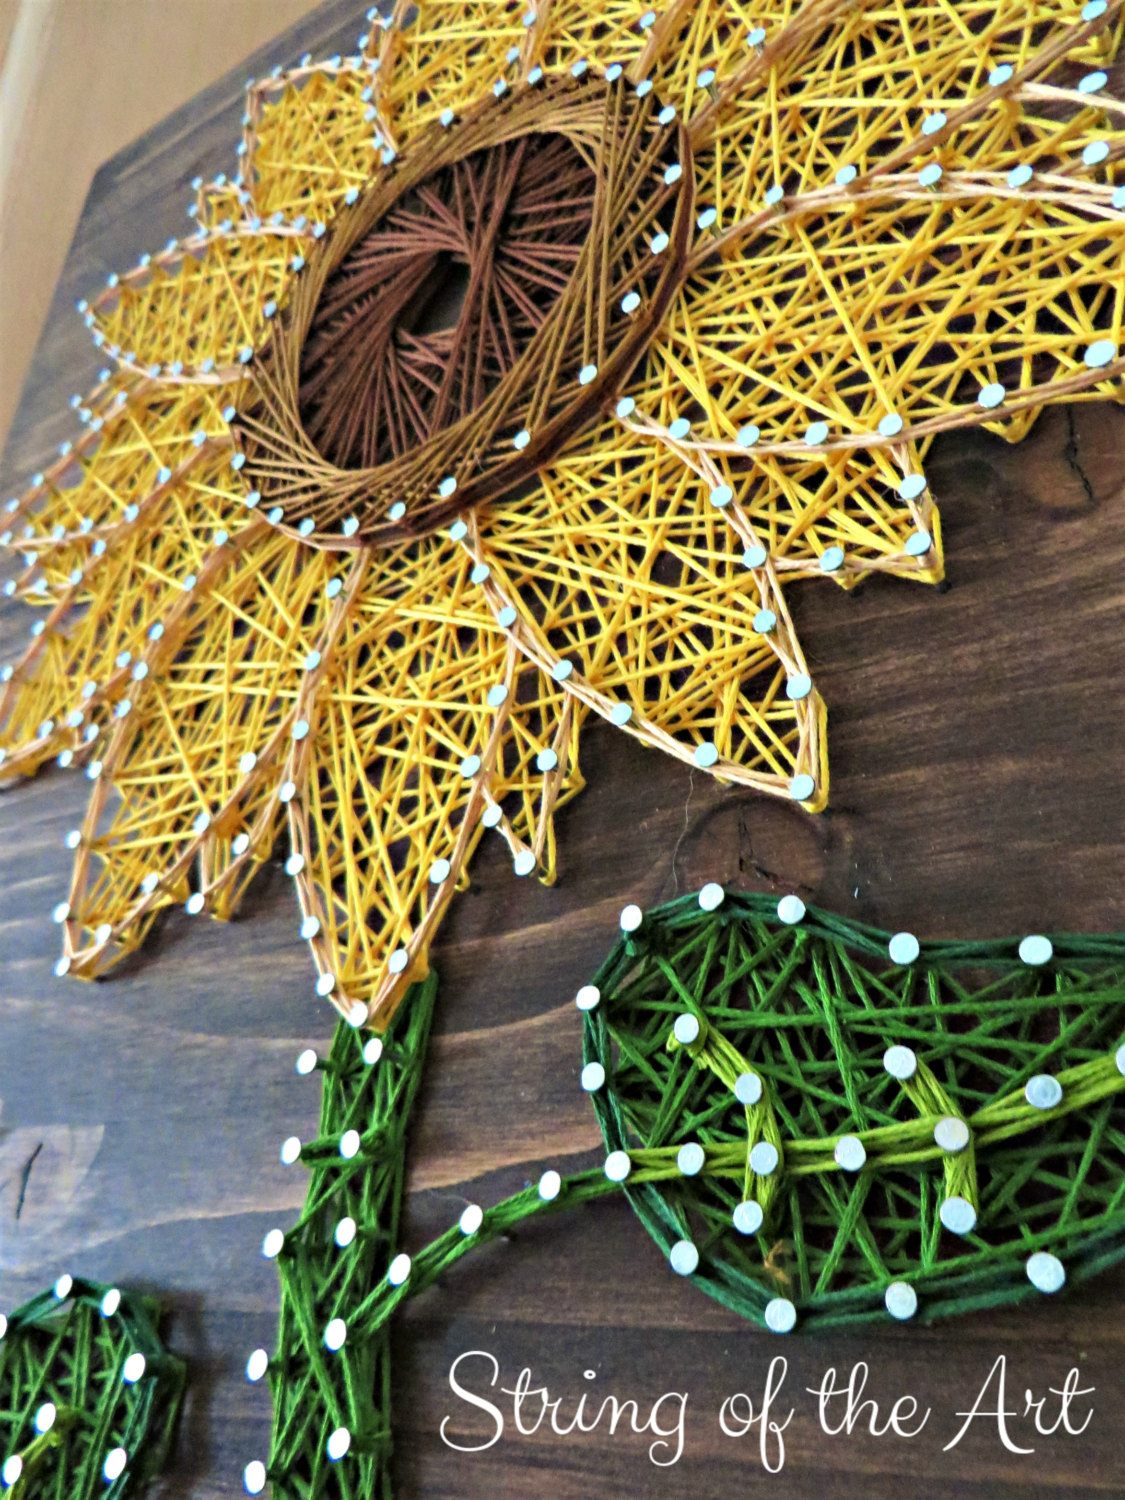
Flower in the art of string art
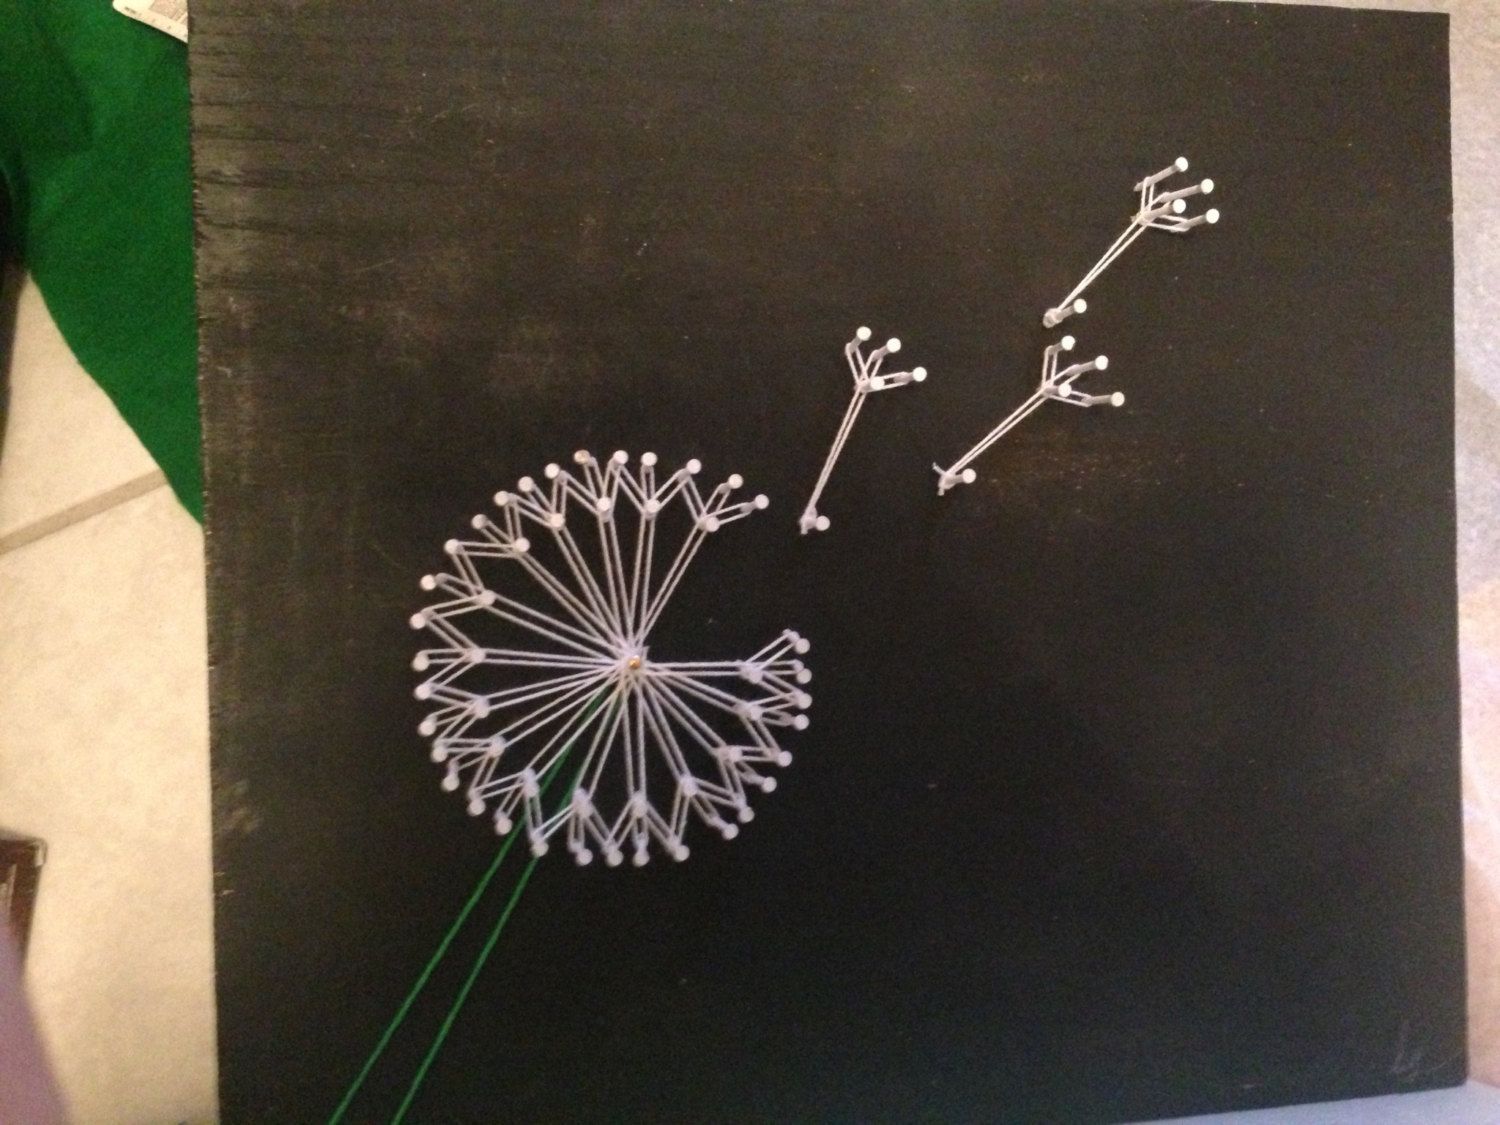
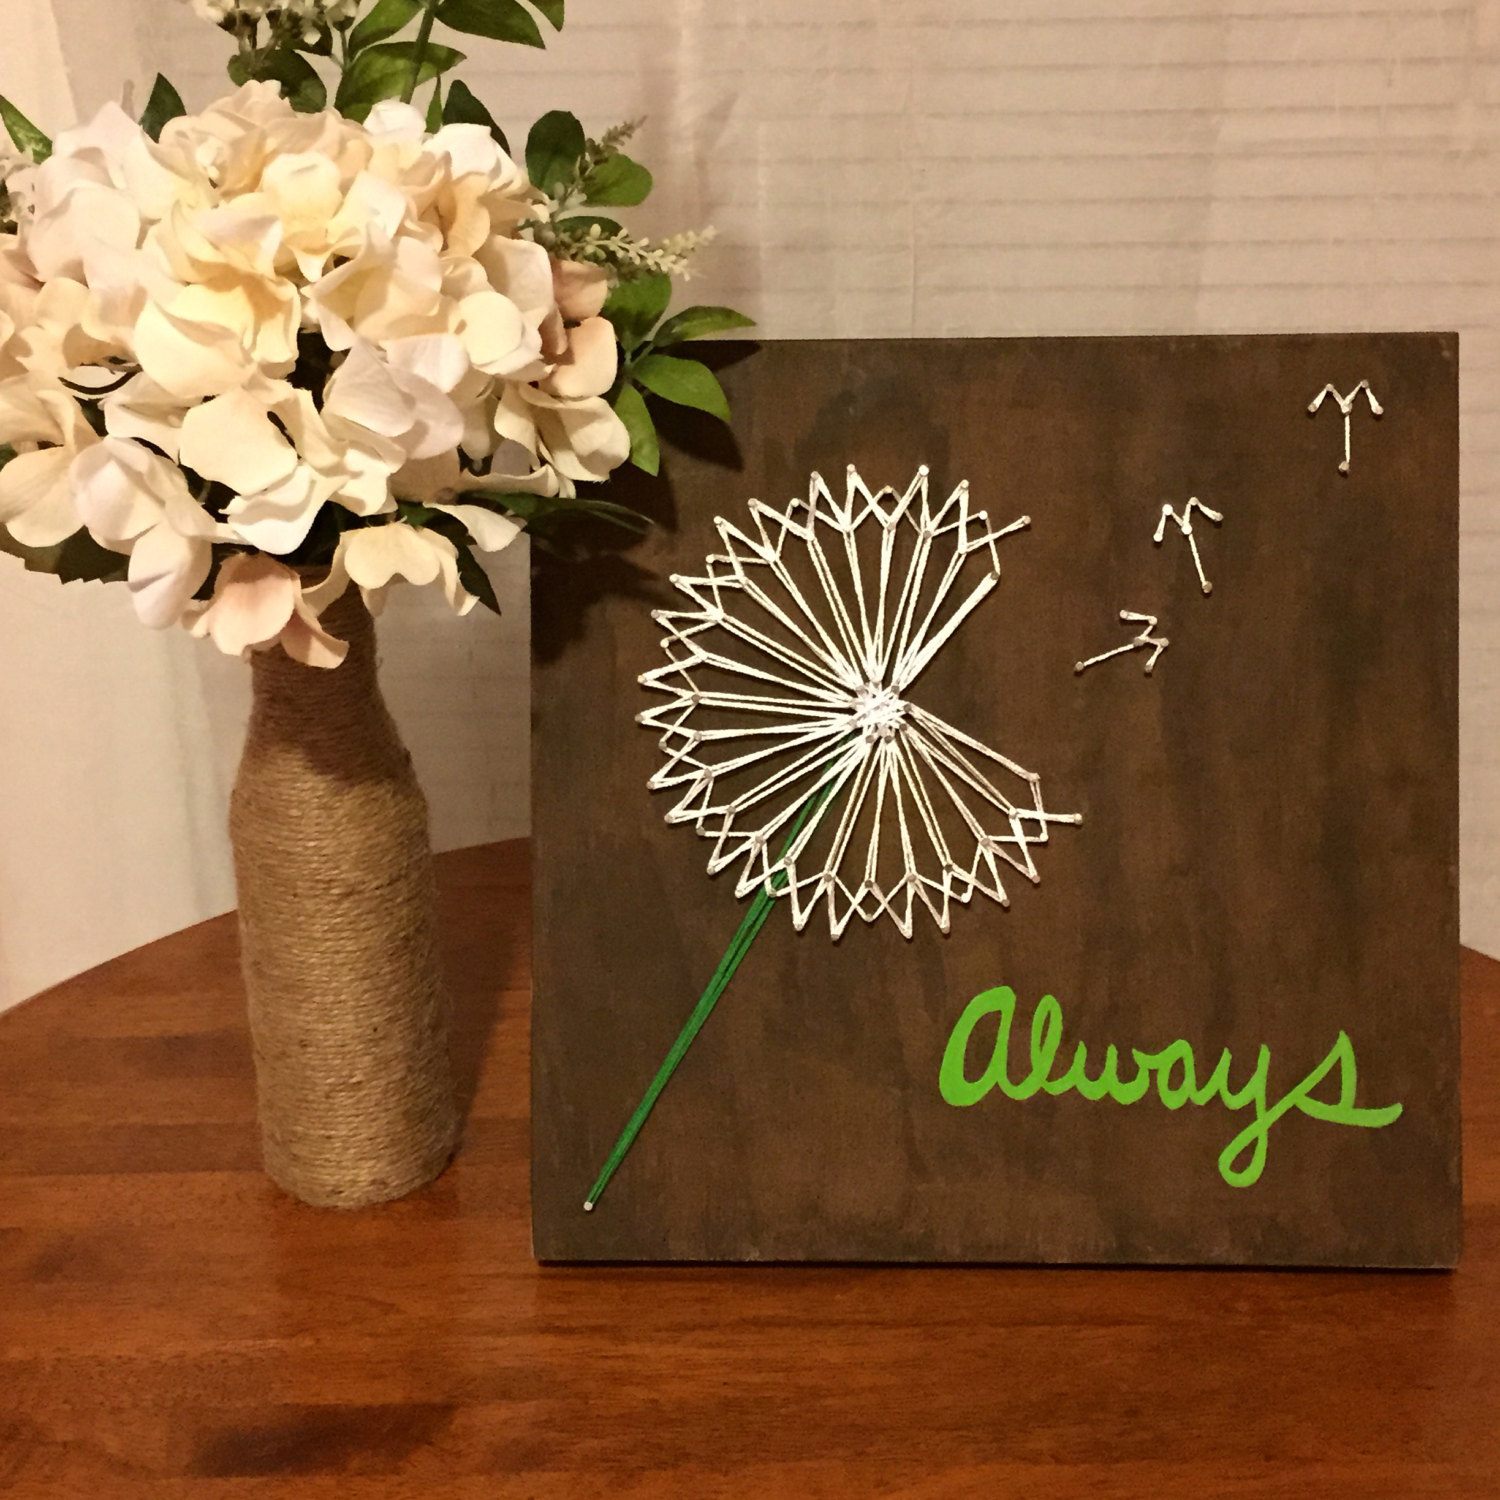
Having learned to perform a circle and a corner in the technique of izon, you can start creating simple compositions with flowers. Incredibly soft and beautiful dandelions look in the technique of string art. In addition, to perform such a composition is very easy.
To create a picture you will need:
- paper
- pencil
- white and green
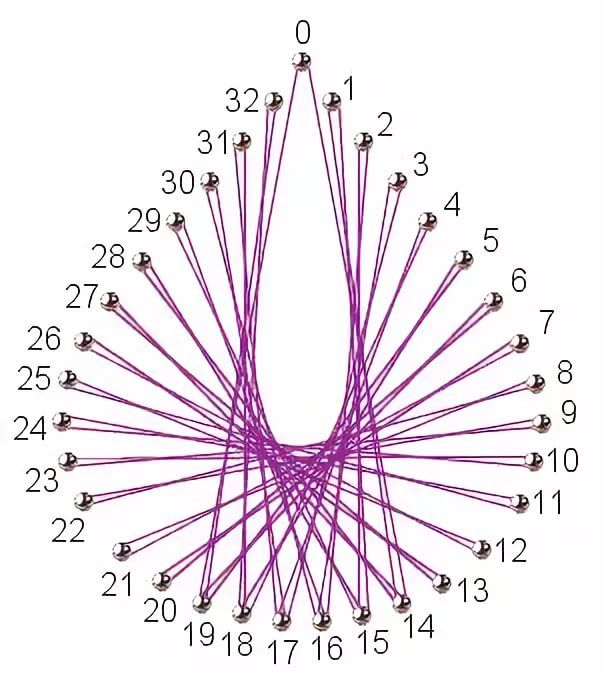
Draw three circles on a piece of paper in random order. It will be dandelions themselves. Also depict the leaves and stems of the flower. As in the previous workshop, mark the points of nails on the sheet with dots.
Attach the sheet to the plywood and nail the nails at the previously noted points.

With the help of white threads, embroider dandelion inflorescences on the principle of circumference. To do this, fix the edge of the thread on the center of the stud and lead it to the other points, forming sharp corners. The scheme of work is presented below.
To achieve the bulkiness of dandelion leaves, divide them into several triangles and embroider each of them according to the angle principle.


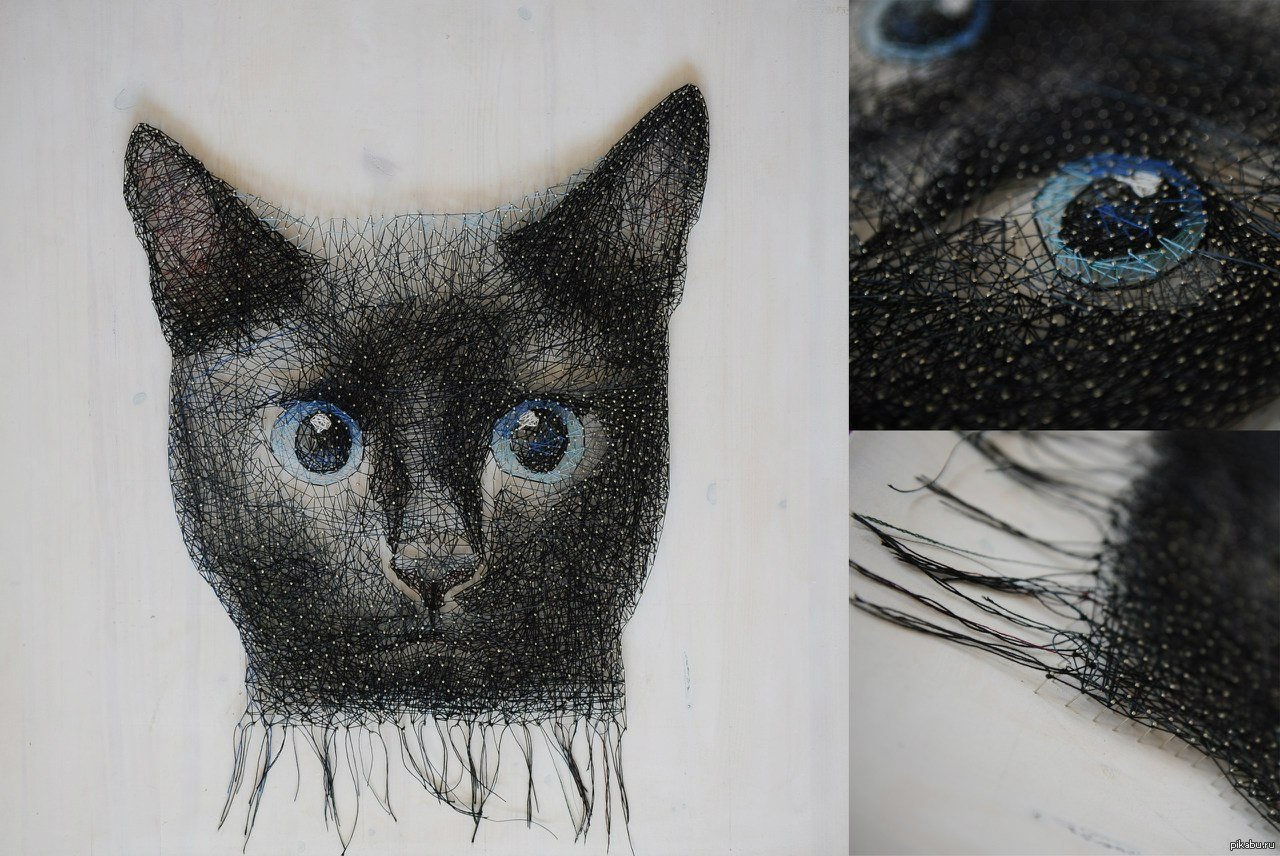
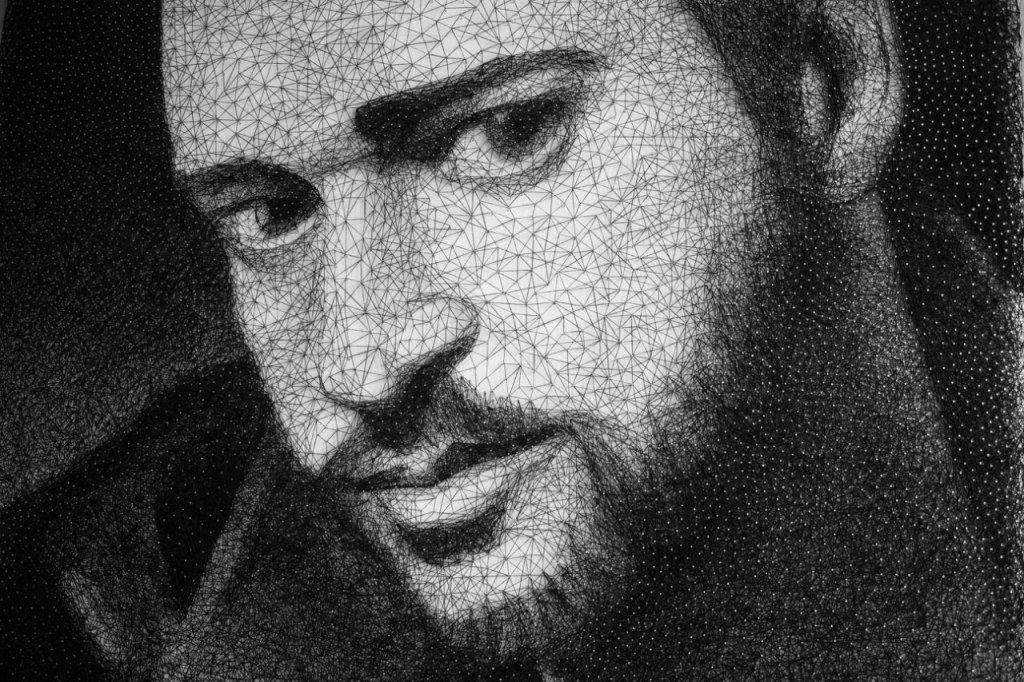
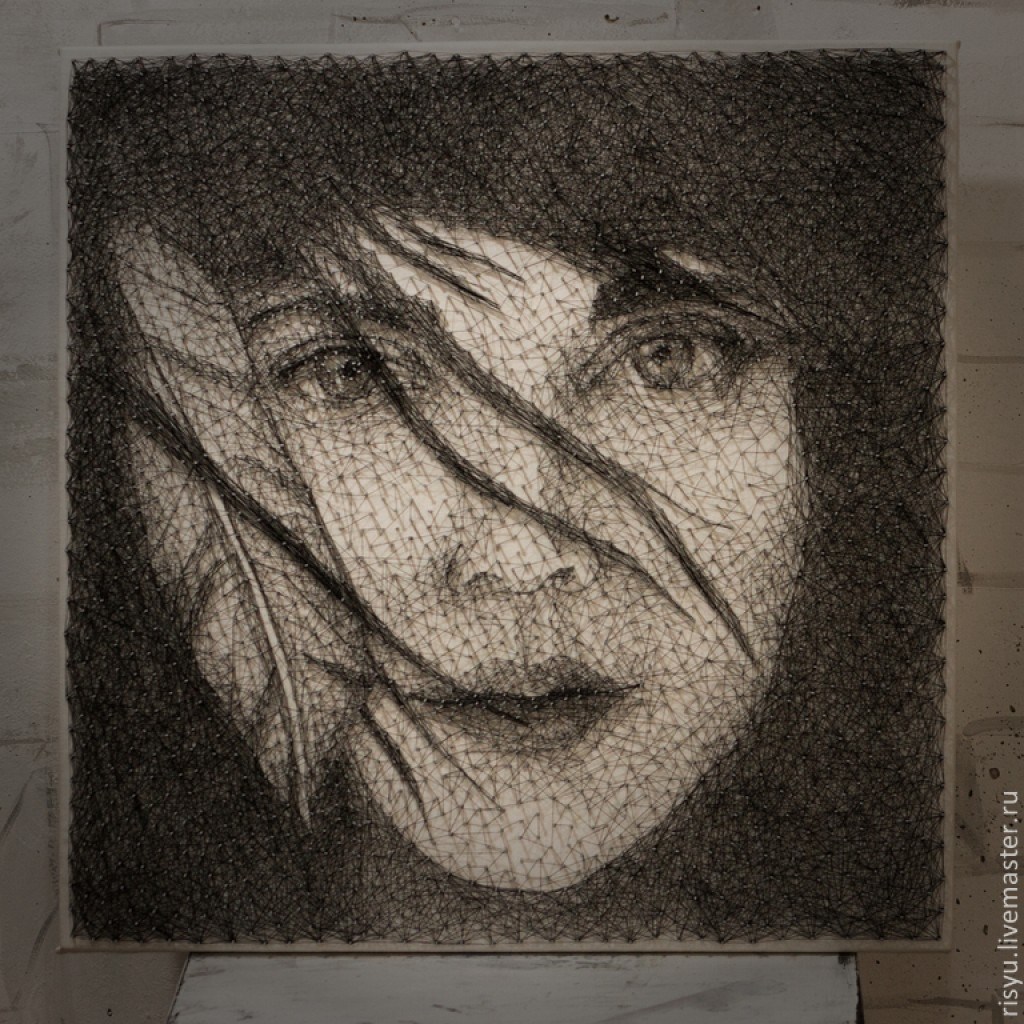
Portrait in the art of string art
If you have already mastered the technique of izoit and are confident in your abilities, then it's time to start creating spectacular portraits of nails and threads. As a basis, take a portrait of a loved one, a famous person, a pet.
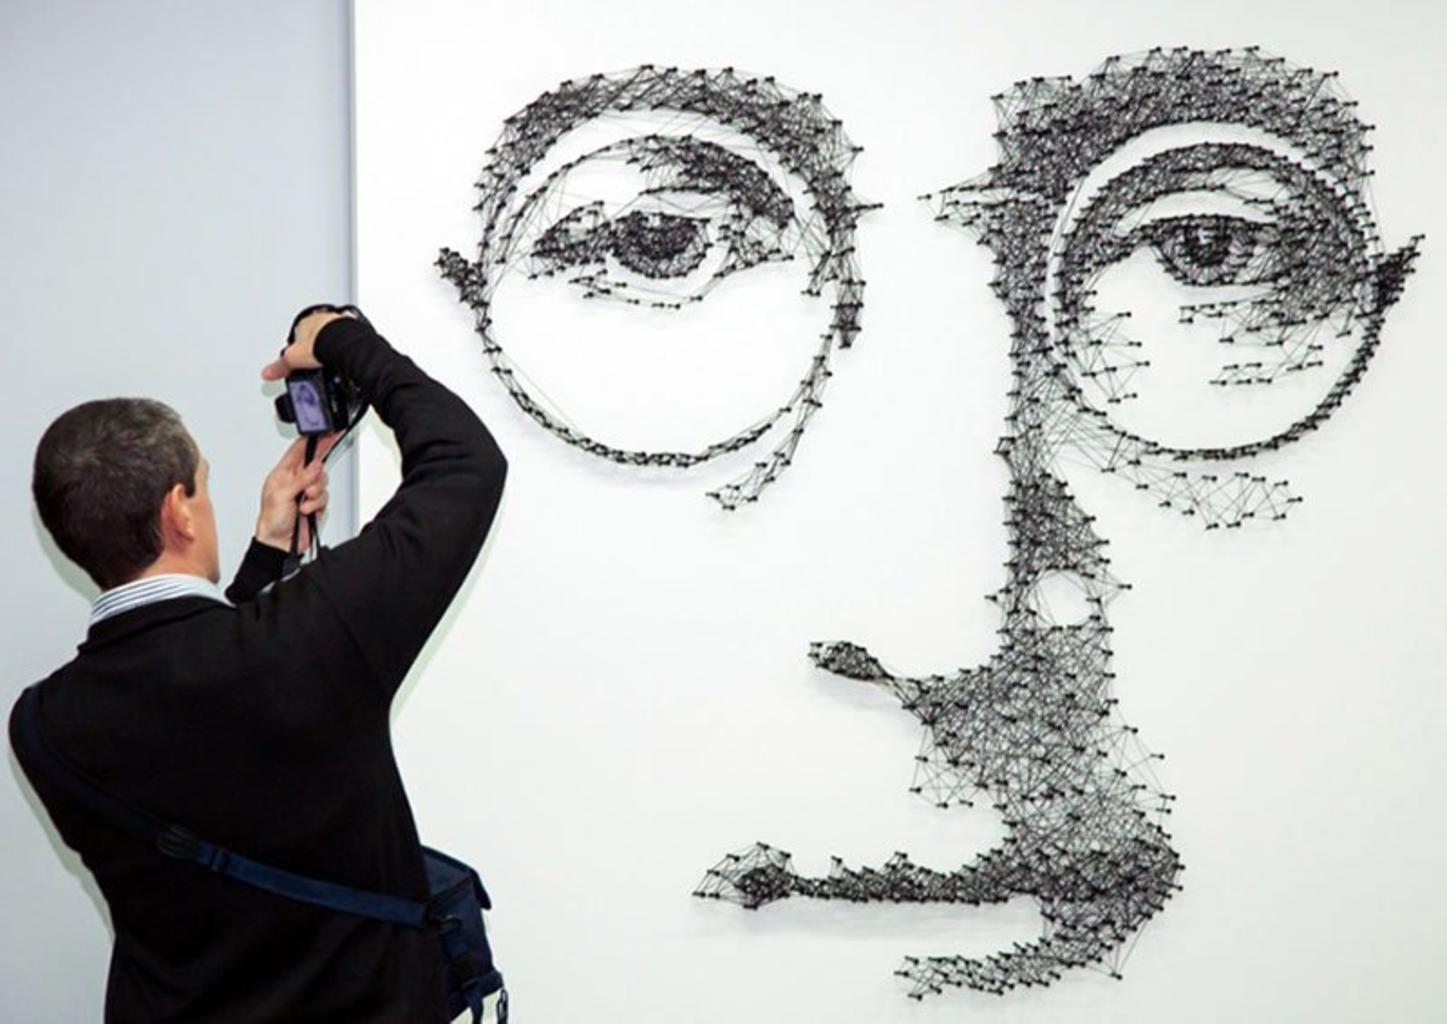
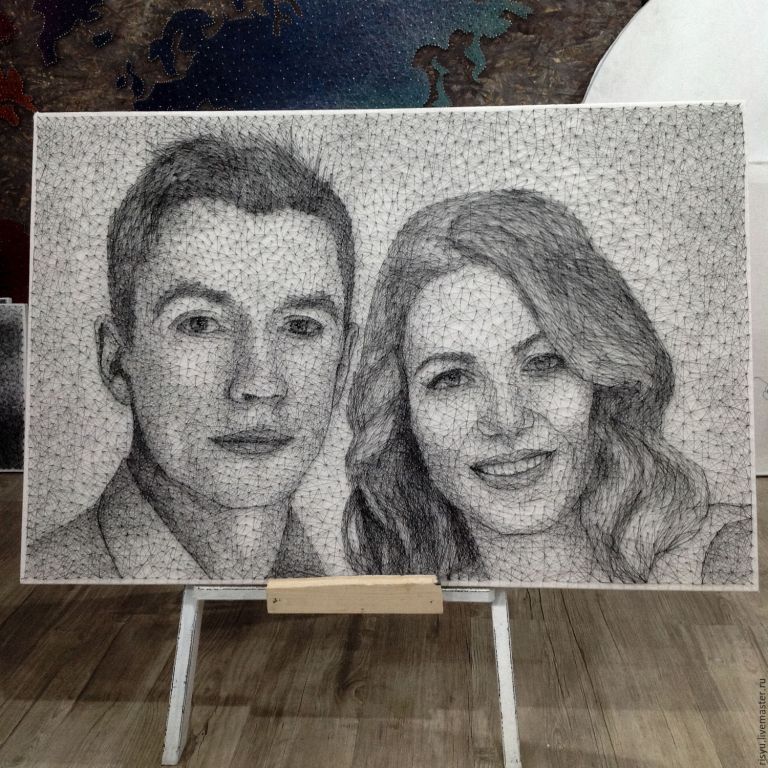
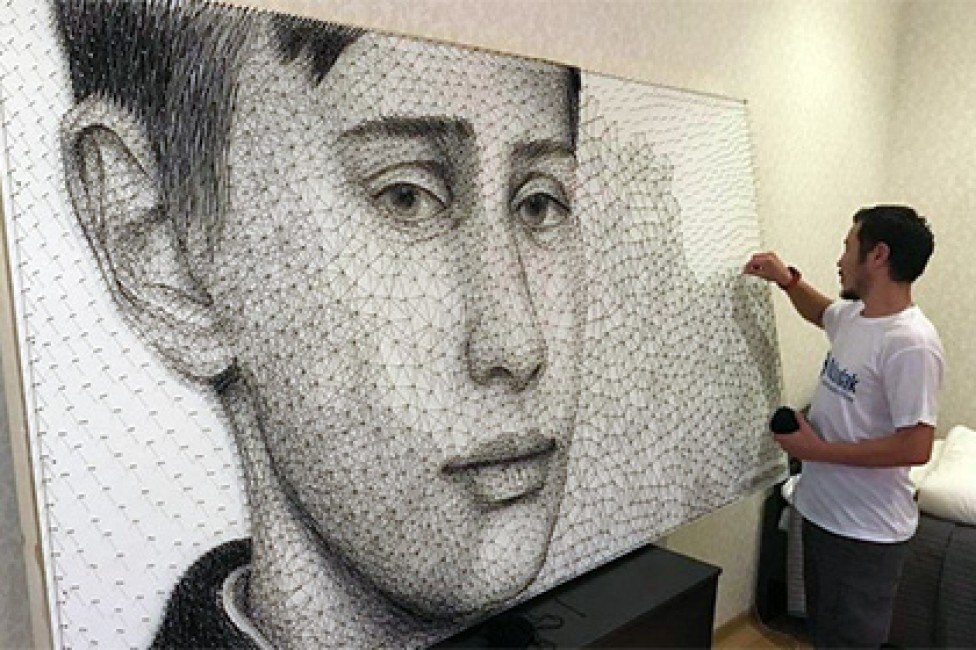
Creating such a complex image does not begin with the central part, as it was in simple workshops, but with filling the background. That is, first of all, the denser parts of the image with a shadow or clothing are covered with threads. After that, the remaining parts are filled, such as face, hands, etc.
Even professional masters use ready-made schemes in their work, since one incorrectly chosen direction of the thread can spoil the perception of the picture.

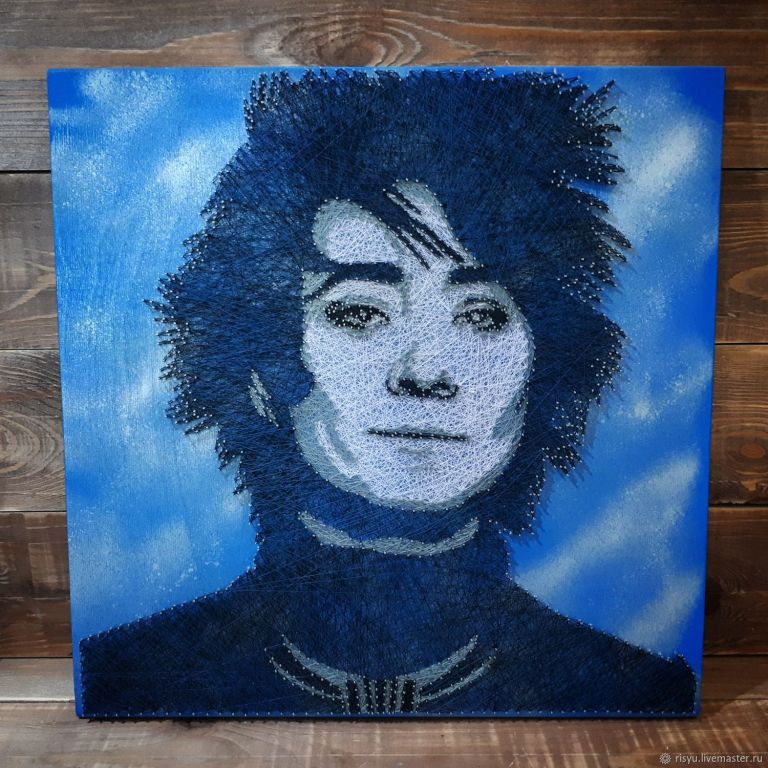
Try to make as few knots as possible that you simply can't hide. The tension of the thread should be maximized so that the pattern subsequently does not loose and does not lose attractiveness.
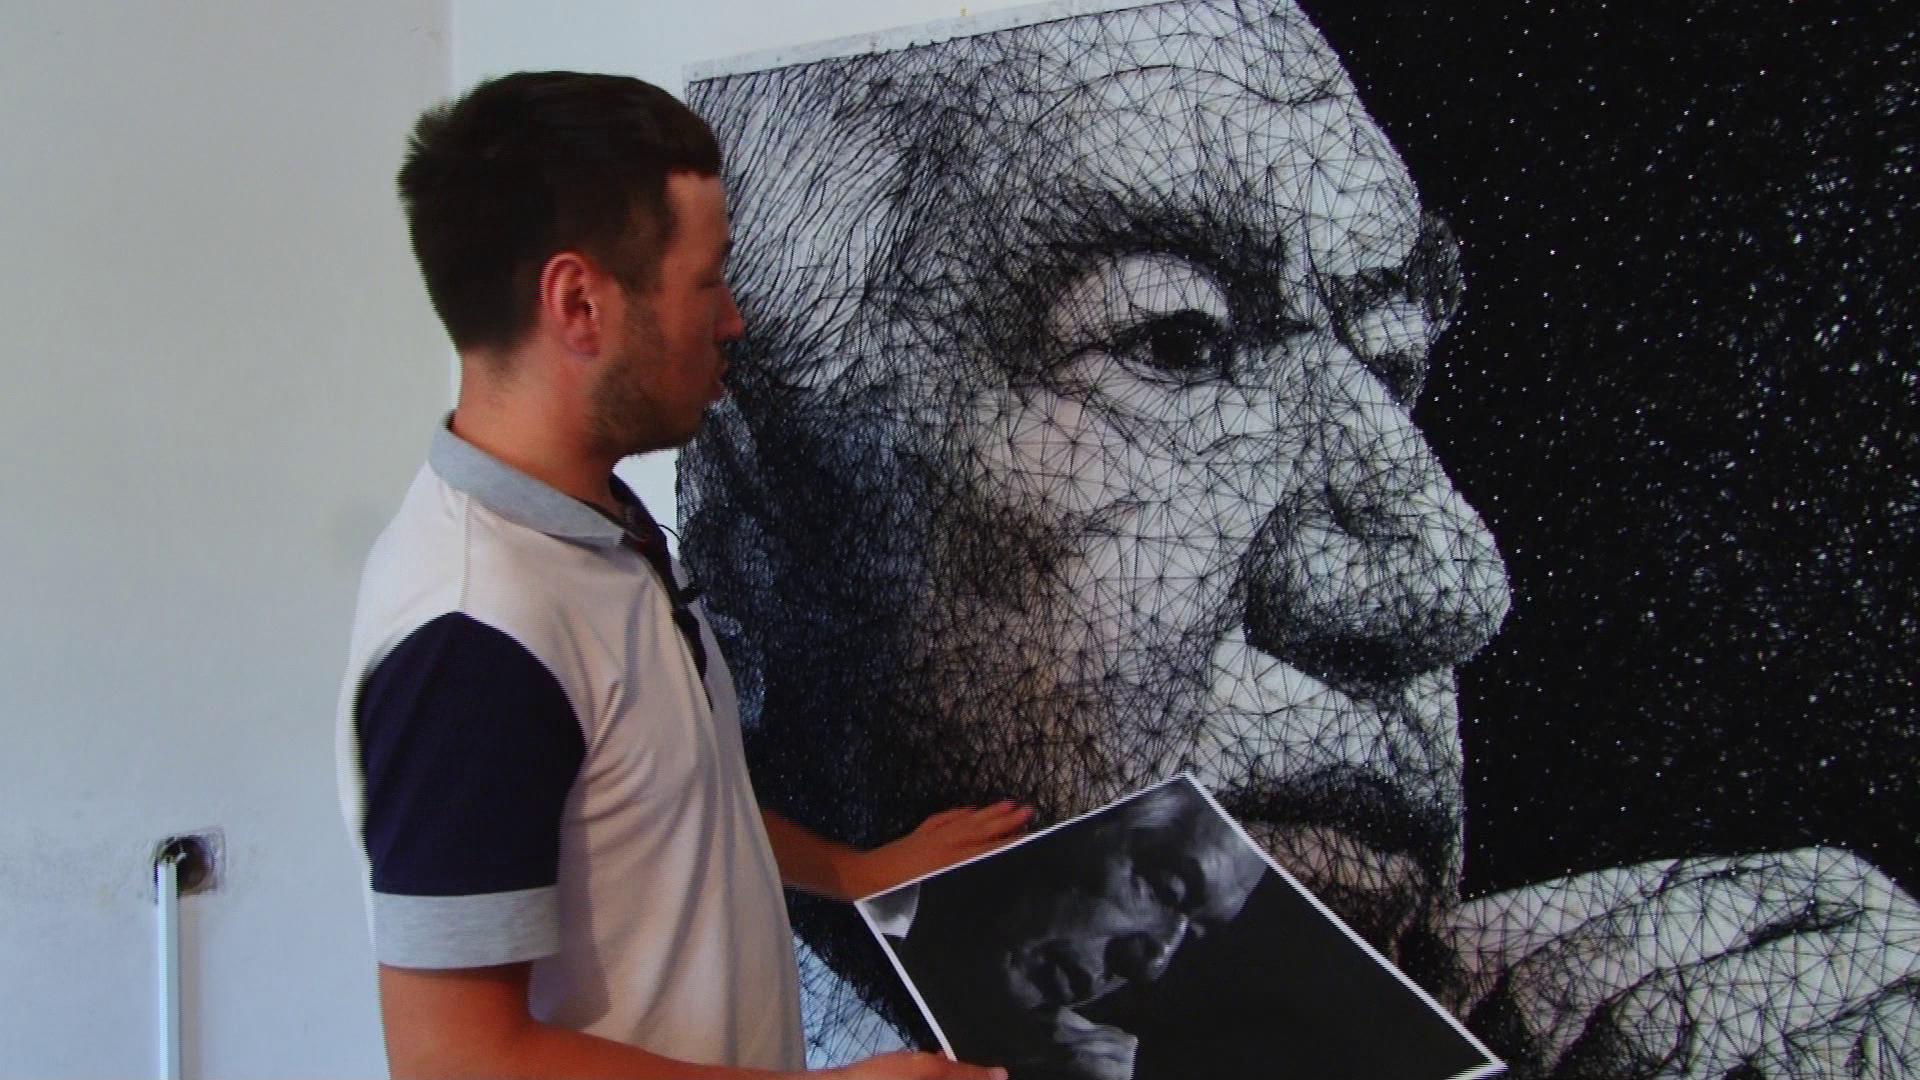
The string-art technique is a rather new direction that is only being mastered by needlewomen. Believe even a small plywood, decorated with an image of nails and thread, will impress friends and relatives. Professional masters who have thoroughly mastered the technique of izoin earn good money by creating unique portraits and three-dimensional paintings for sale.


