


A beautiful doll can be not only a favorite toy of a little girl, but also an original decor item. In this case, it is not at all necessary to acquire a ready-made version, because you can make it yourself, taking into account your own preferences.
Doll from Sailor Moon felt
Many girls are still crazy about the famous cartoon "Sailor Moon." Therefore, we propose to make the main character out of felt.
For work you will need:
- white, yellow, red, beige, blue and black felt;
- filler;
- scissors;
- threads;
- glue;
- acrylic paint white and black;
- gum white and red;
- needle;
- brush;
- marker disappearing;
- rhinestones and semi-beads;
- pencil;
- paper.
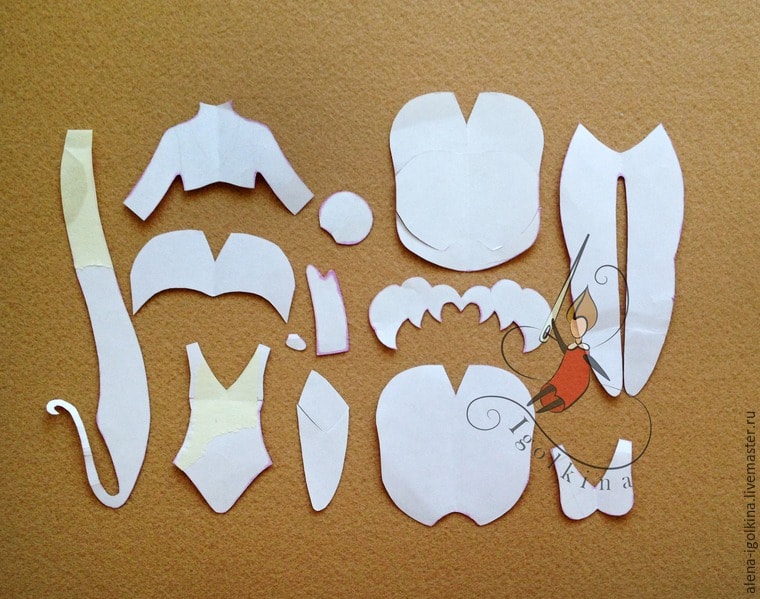
To begin with, draw on paper the elements that will make up the doll and cut them.
We transfer the contour of each blank to the felt of the corresponding shade. 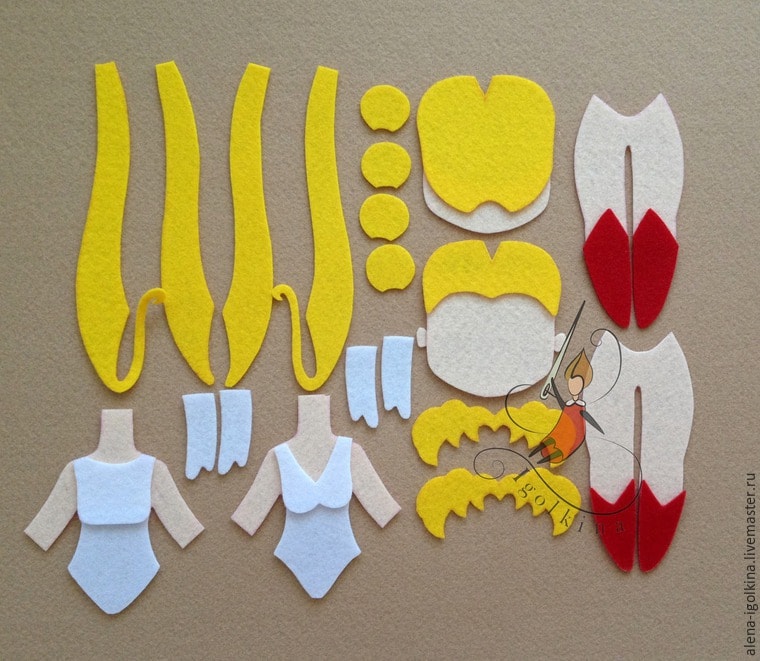
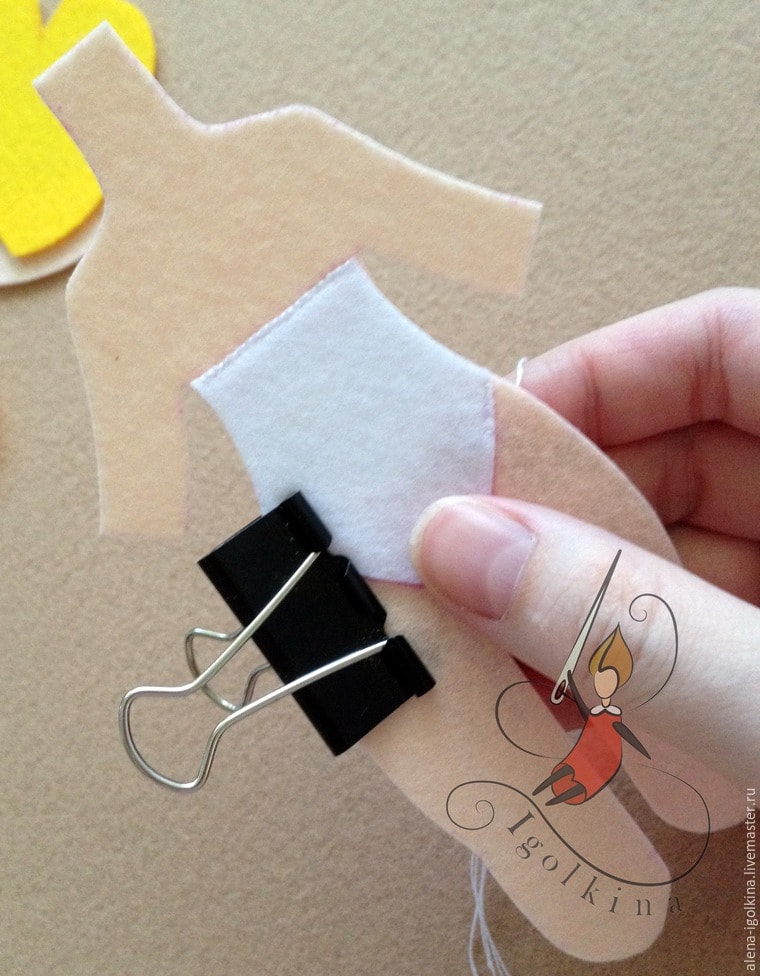
Carefully sew a swimsuit, gloves and boots to the body. To fix the felt in a predetermined position, you can use a clip or a clothespin.
Sew the front and back of the torso, gradually stuffing the toy with filler. When the glove is full, insert a red gum into the seam. We wind it around the arm three times, fixing it with glue and also insert the second tip into the seam. 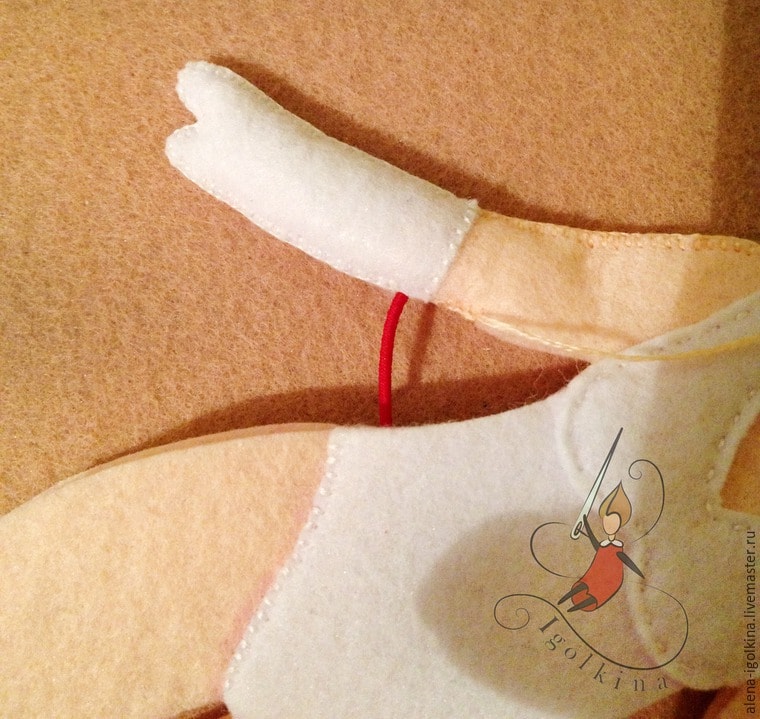
Repeat the same on the second hand. 
Getting to the creation of the head. First we sew the hair, mark the vanishing marker where the eyes will be located and embroider them with white threads.

Partially paint the eyes with white paint. 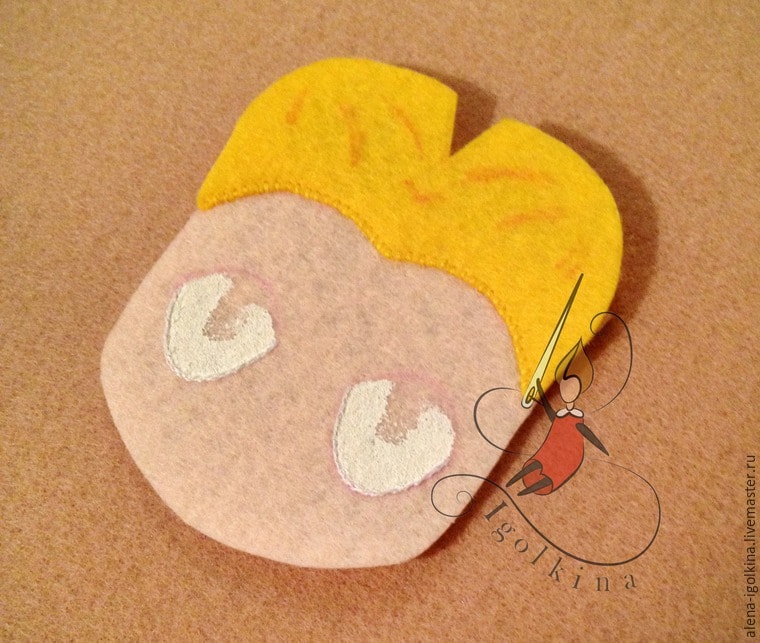
We sew blue iris to eyes. From above we draw pupils with black paint. Glue eyelashes, highlights and cheeks, which are made of felt. Embroider lips and eyebrows with threads of the corresponding color. 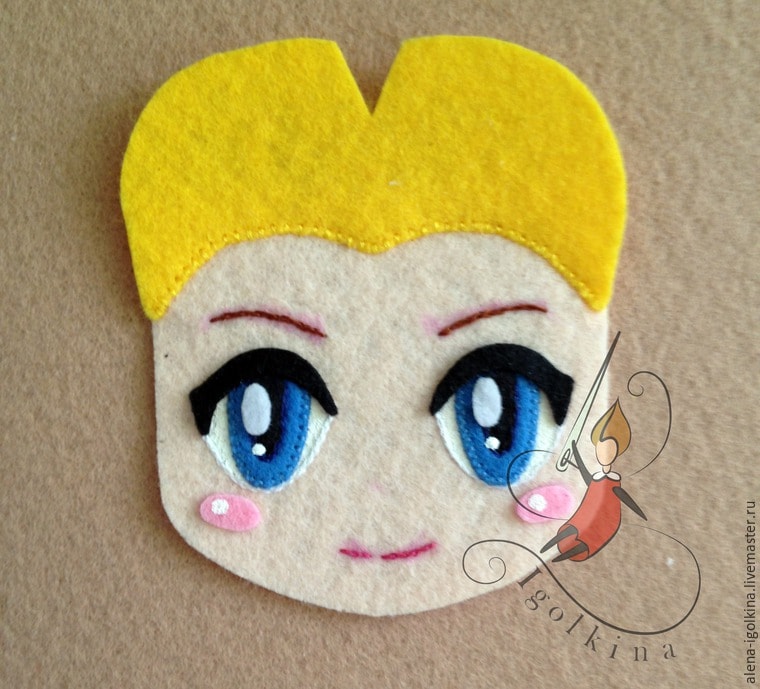
On the back of the head we embroider several stripes with yellow threads. We sew the parts together. 
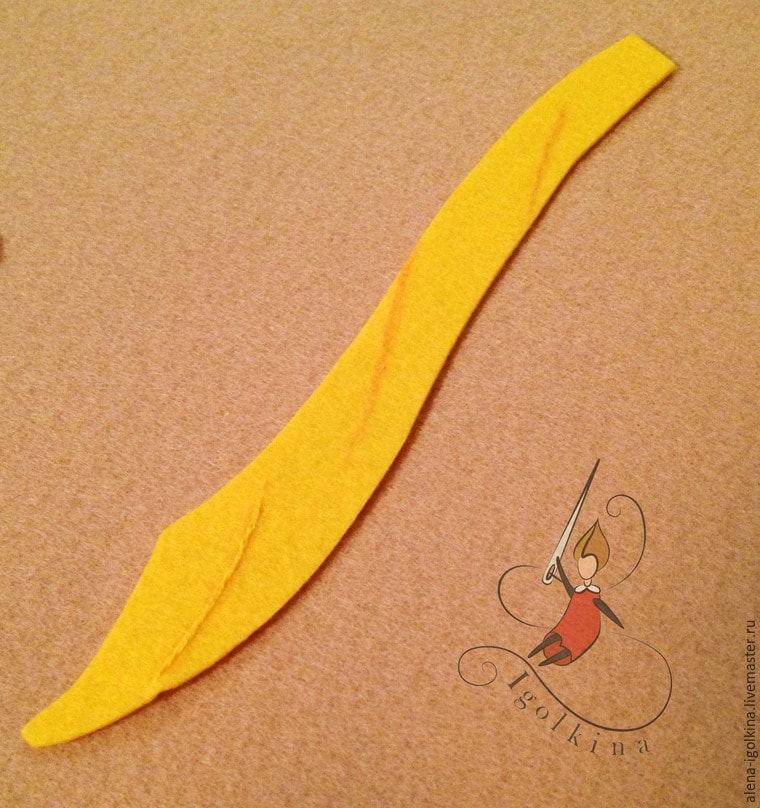
We embroider several stripes on tails. Sew the parts together, gradually filling the filler.
Sew a small strip to the tail and curl it. 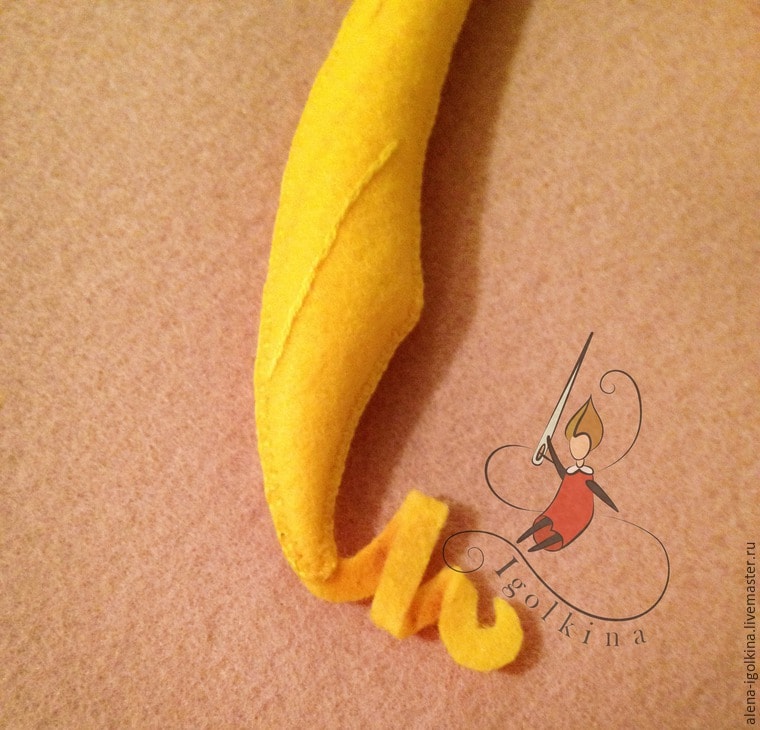
To circles sew elements of red and white rubber around them. 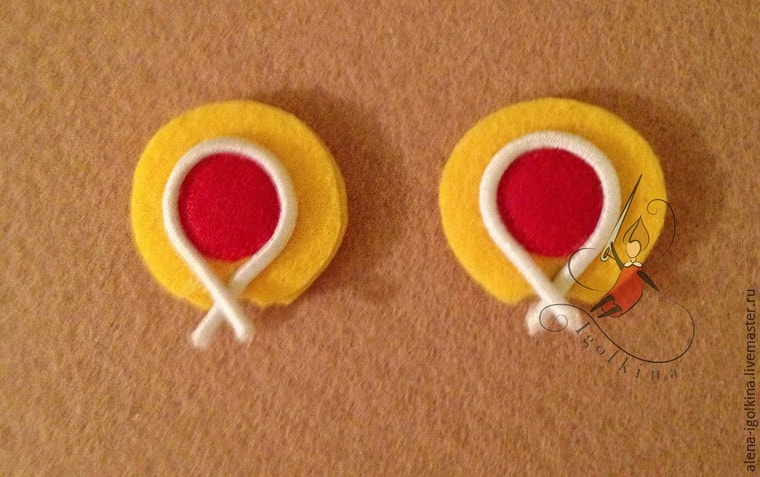
We connect parts of tails among themselves and sew to the head. 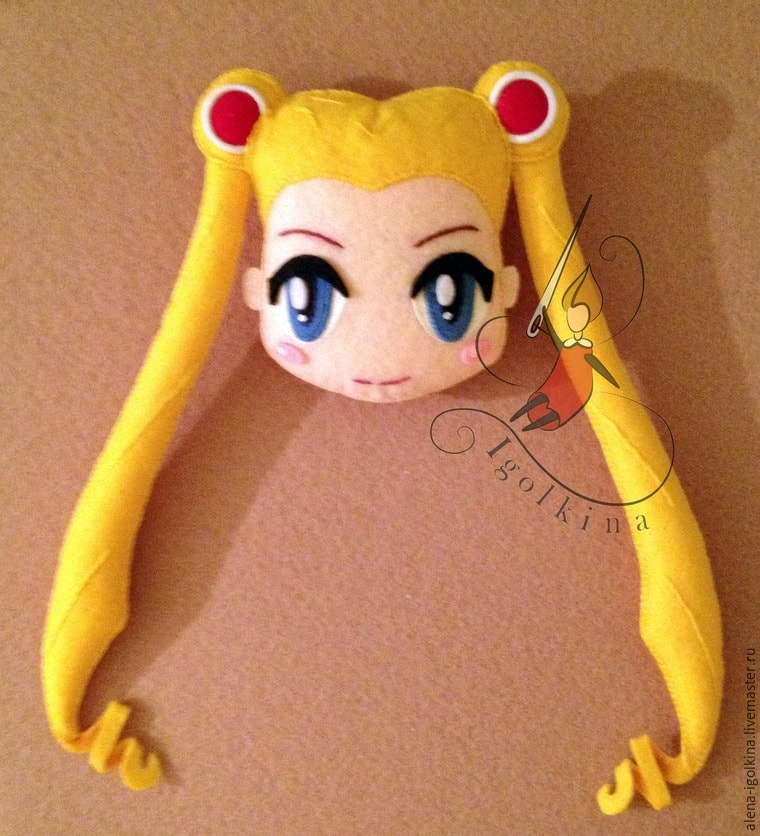
On the part of the body we make a small incision and insert the neck there. Gently sew together the parts.

So the doll should look at this stage. 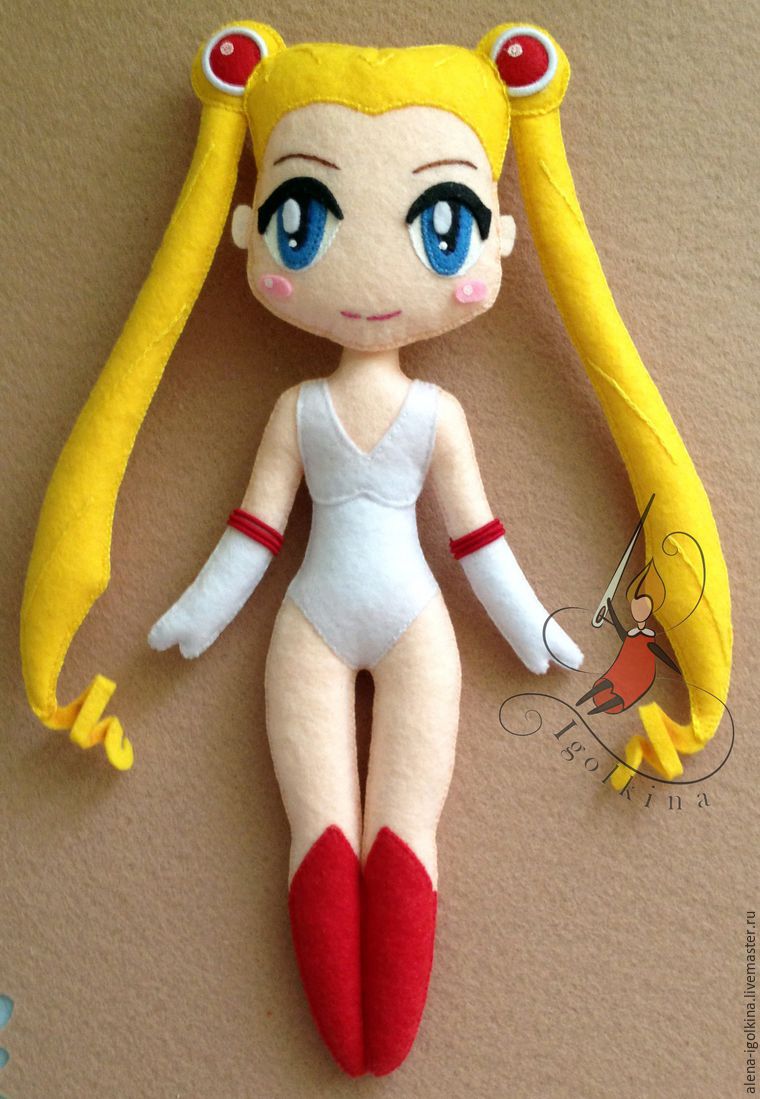
We fill the bang with filler and sew. 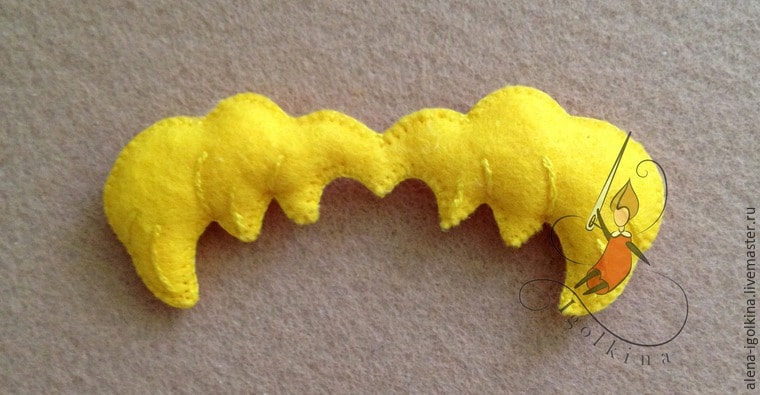
Attach it to the head and sew a diadem. If you wish, you can decorate it in the center with a semi-bead. 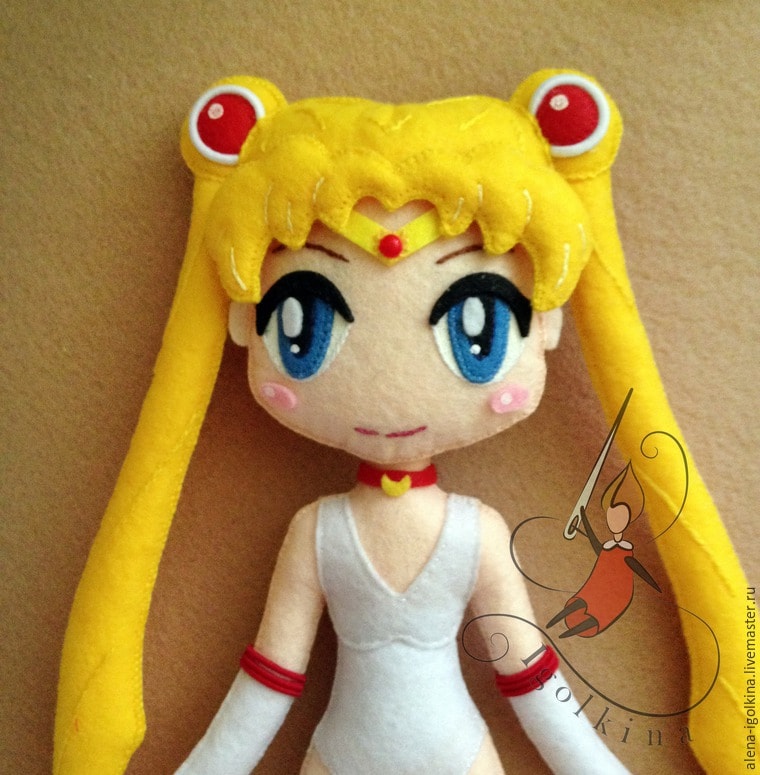
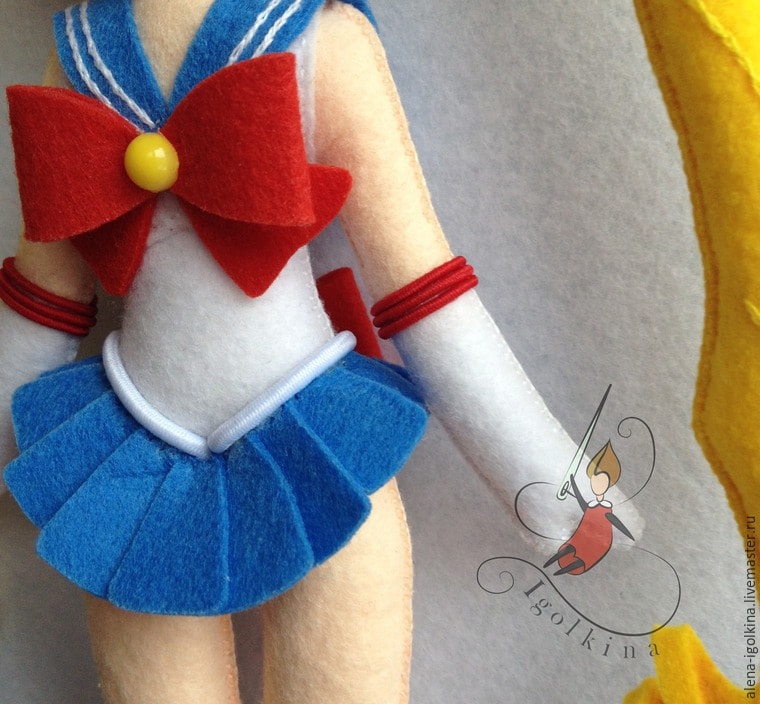
Cut out a few more details from paper. We transfer to the felt and cut. Sew on the sailor's chest and bulk bow. In the center we glue the half bead. We decorate the boots with yellow details. 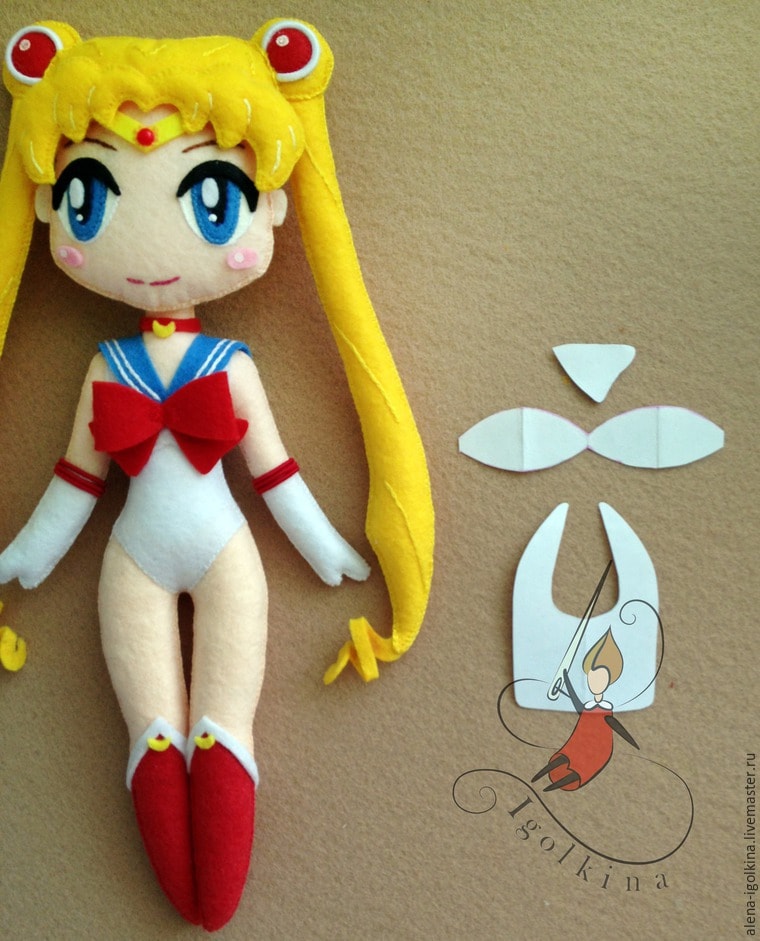
Cut out rectangles of blue felt. Sew them overlap, forming a doll skirt. Close the seam with a rubber band in white. Beautiful doll Sailor Moon is ready! 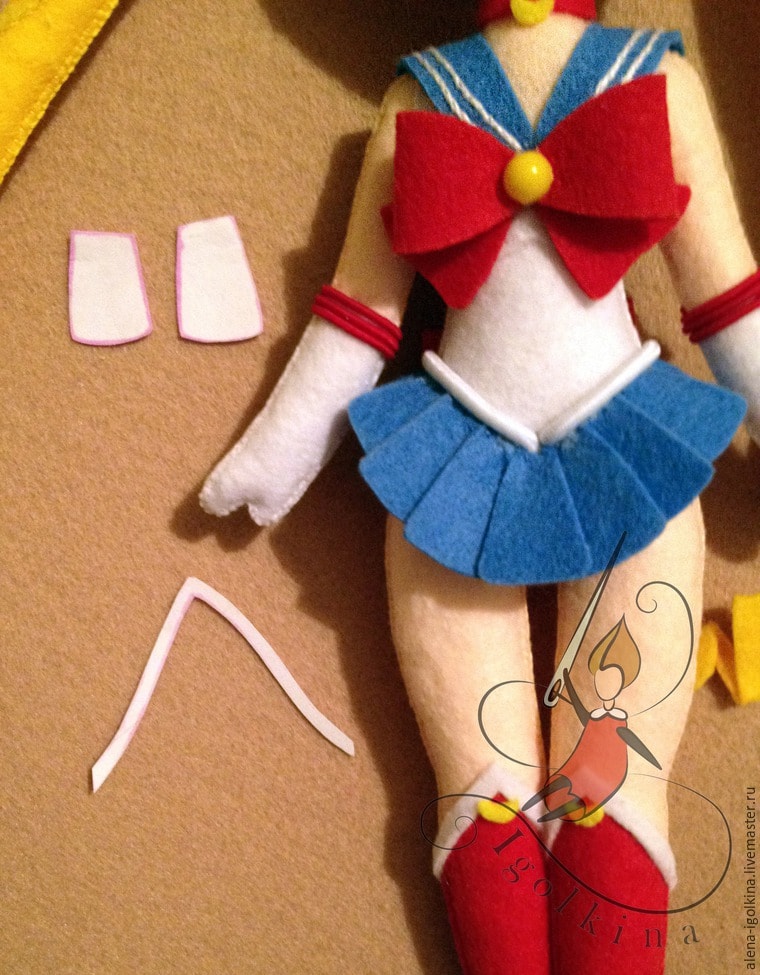
Christmas tree toy in the form of a doll
Of course, in specialized stores you can find a lot of a variety of Christmas-tree toys. We offer a little move away from the usual rules and make at least one toy by yourself. For example, a clown doll is a great option.

We will prepare such materials:
- crepe paper;
- cotton wool;
- wire;
- Moment glue;
- acrylic paints;
- starch paste;
- mass for modeling self-hardening;
- ruler;
- pastel pink;
- brush;
- threads;
- scissors.

Making a face out of self-hardening mass. This is a rather complicated process, so you can use a special mold or make an impression from a puppet face. After that, leave it to dry.


We paint the face with acrylic paint of a beige shade. 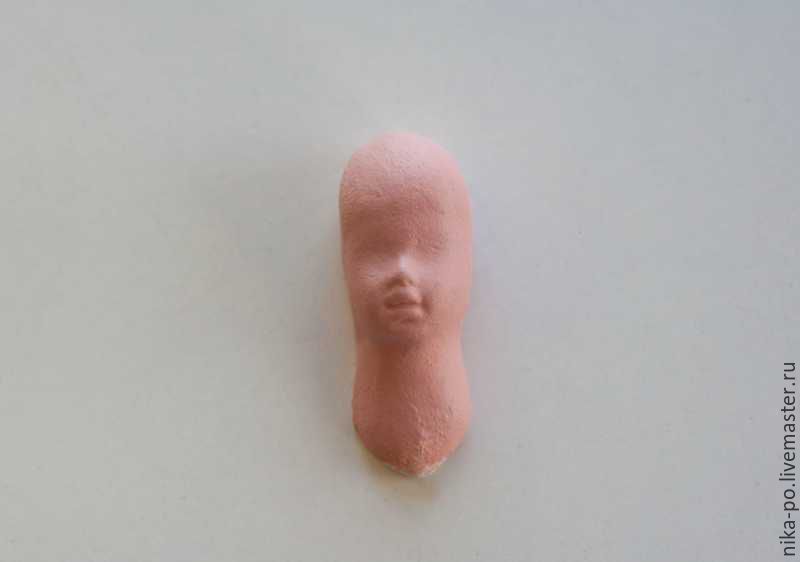
We paint the whites of the eyes with white paint. 
Pupils can be painted with a brush, dots or toothpick. 
Draw an eyelid with a thin brush or toothpick. 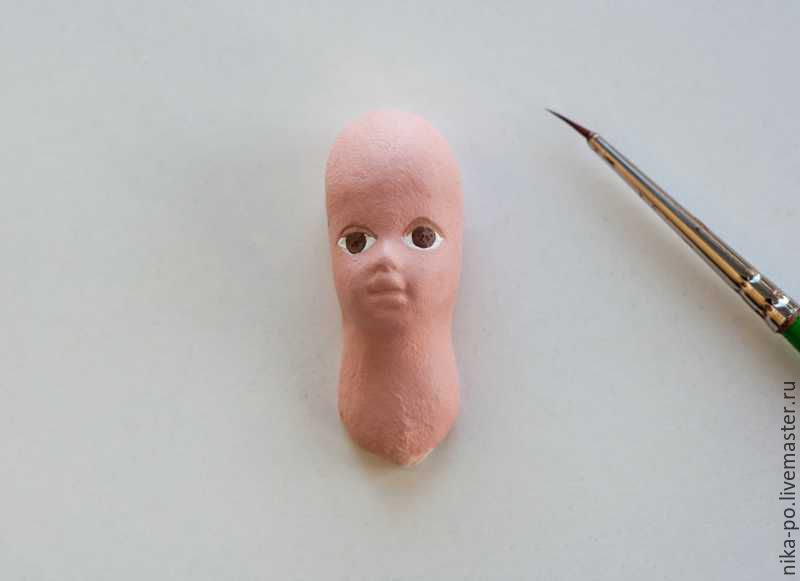
Brown paint draw a line of eyelashes. Using a toothpick, we depict pupils. 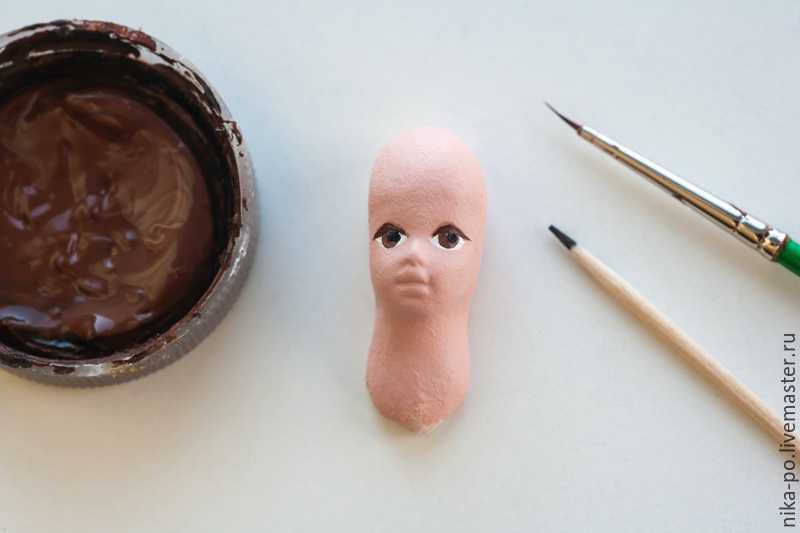
With a pin or toothpick make a highlight of white color. 
Gently draw lips pink or red. 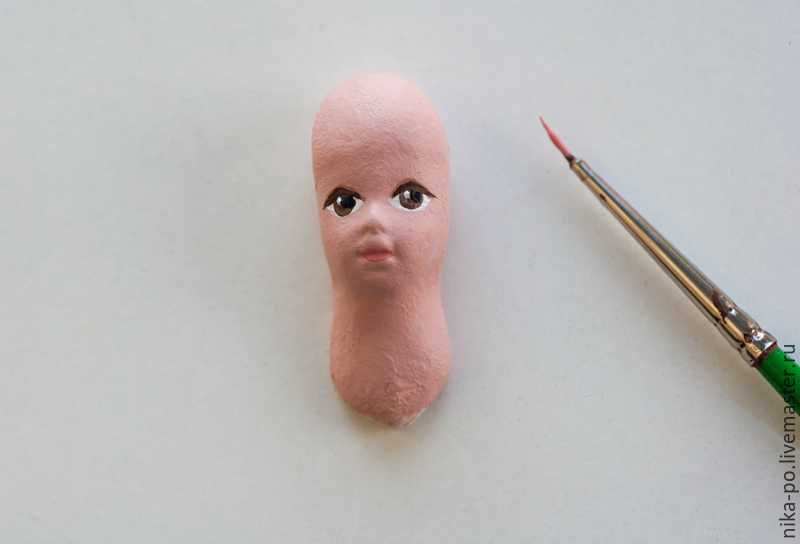
Draw hair brown paint. 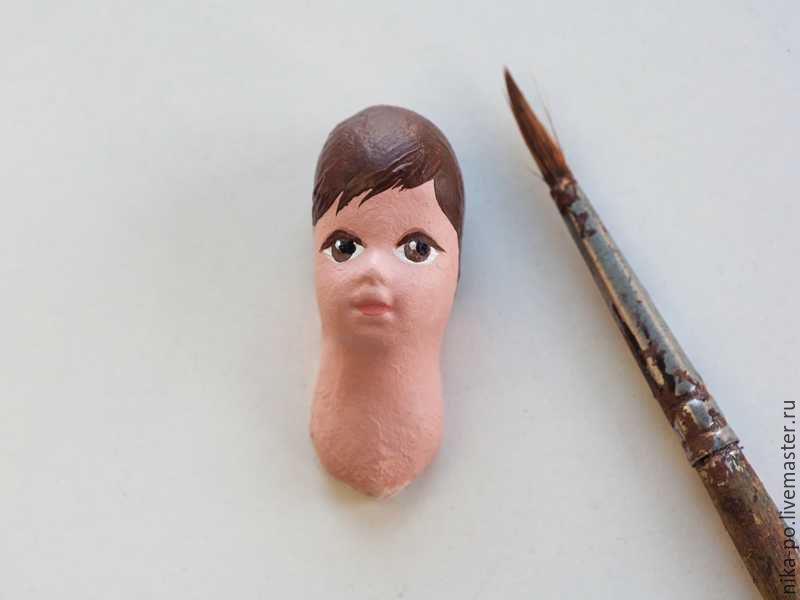
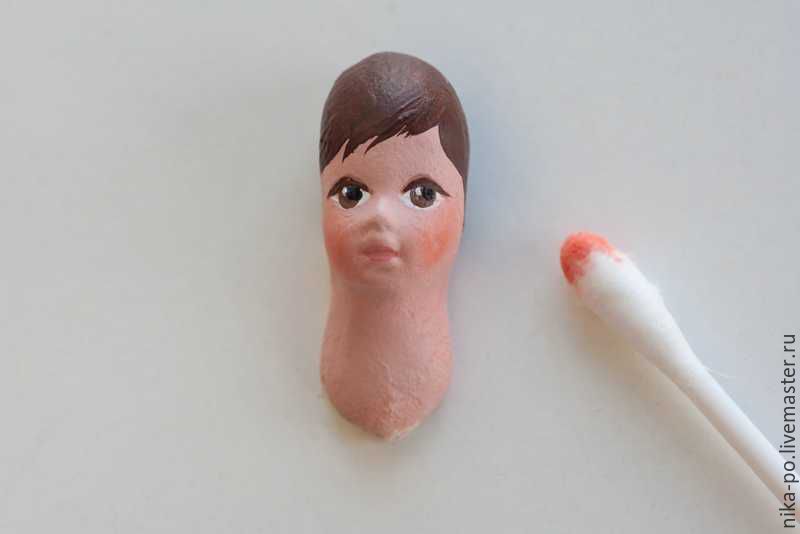
Grind the pastel pink and make a blush on the face. 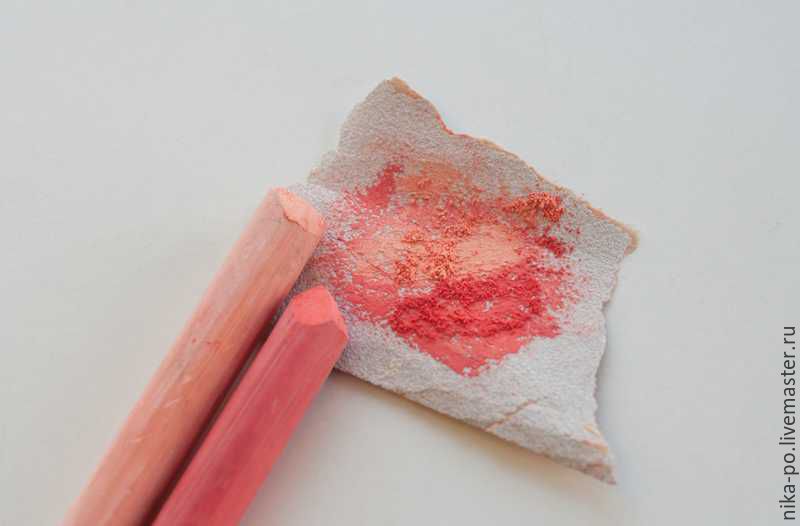
Apply paste on one end of the wire and wrap cotton wool. It does not have to be colored, standard white wool is fine. We wind it on both ends of the wire, lubricate with paste and leave to dry. 
We take another piece of wire from which we will make hands. We wind cotton wool in the same way. 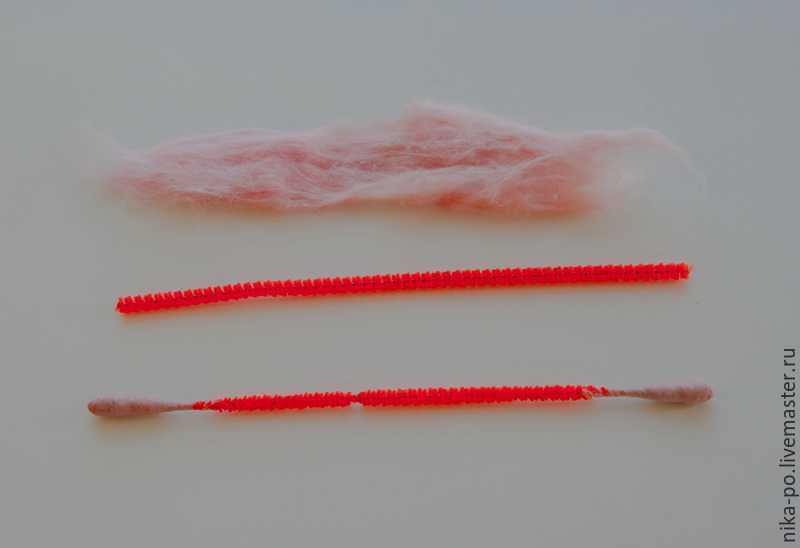
We take two pieces of crepe paper of any shades and stretch across the folds. 
Cut two squares - these will be the details for the sleeves and two rectangles - for the pants. 
Putting the bottom of the rectangles, as shown in the photo. 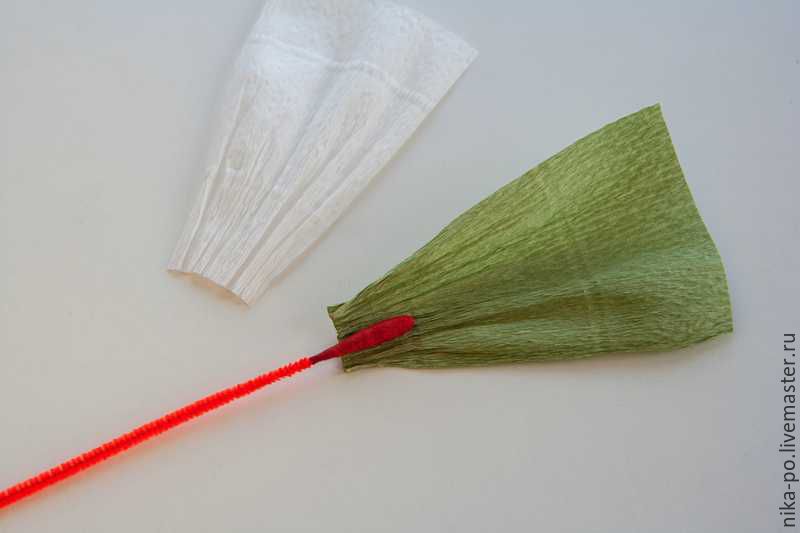
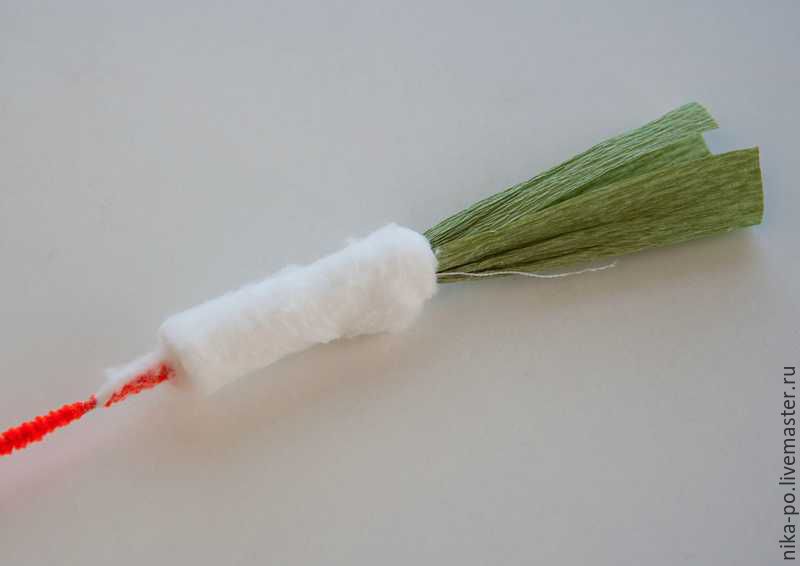
Alternately, we wrap each of them around the legs and wrap them with thread. 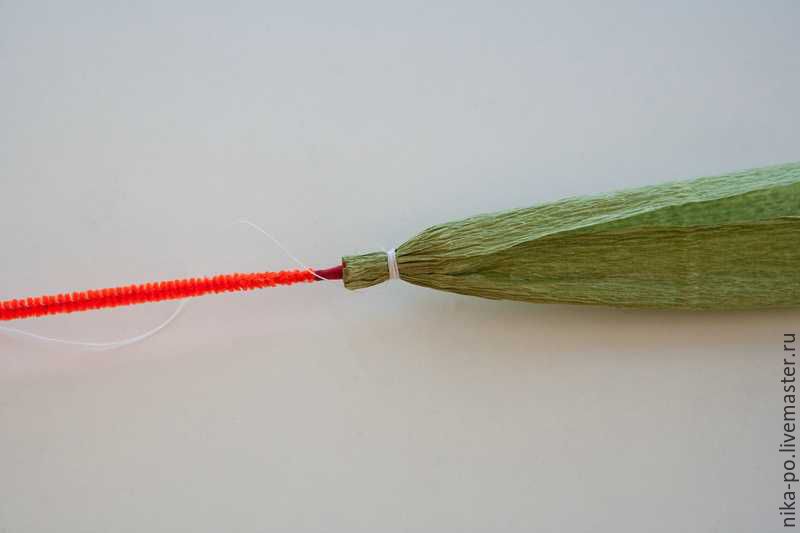
Cut rectangles from cotton wool shorter than the leg. 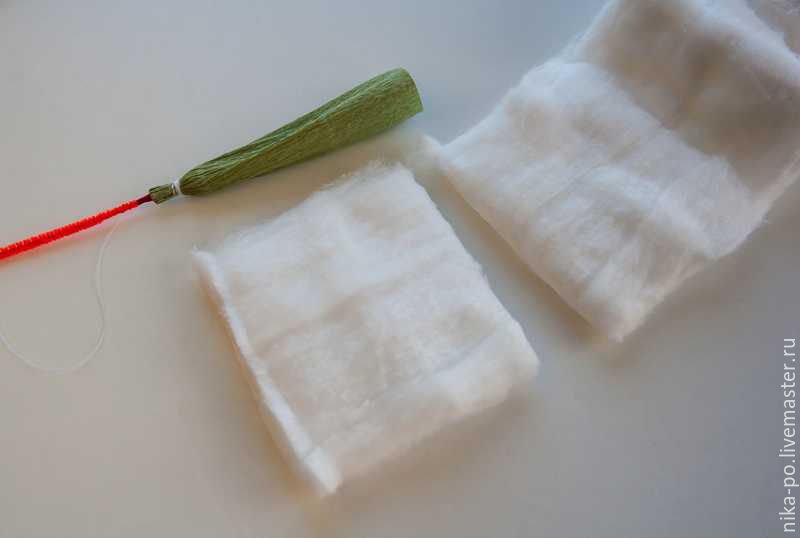
Wrap cotton wool around the wire. 
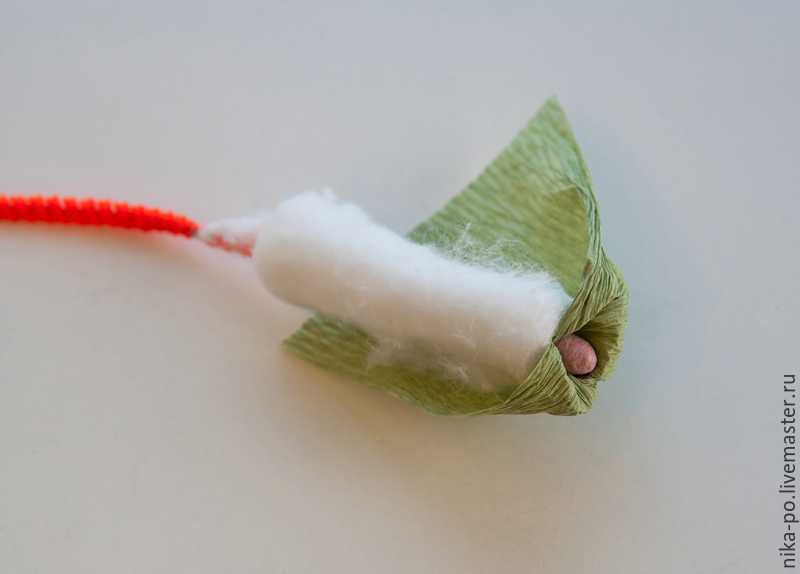
Carefully turn out the paper, as shown in the photo. In no case should it break. 
We glue the parts of the leg together. Repeat the same with the second leg. 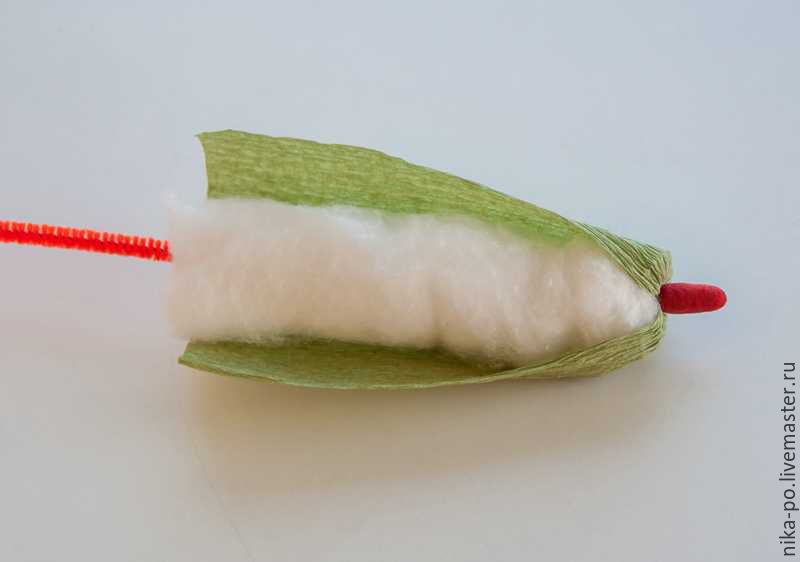
Do the same with the sleeves. 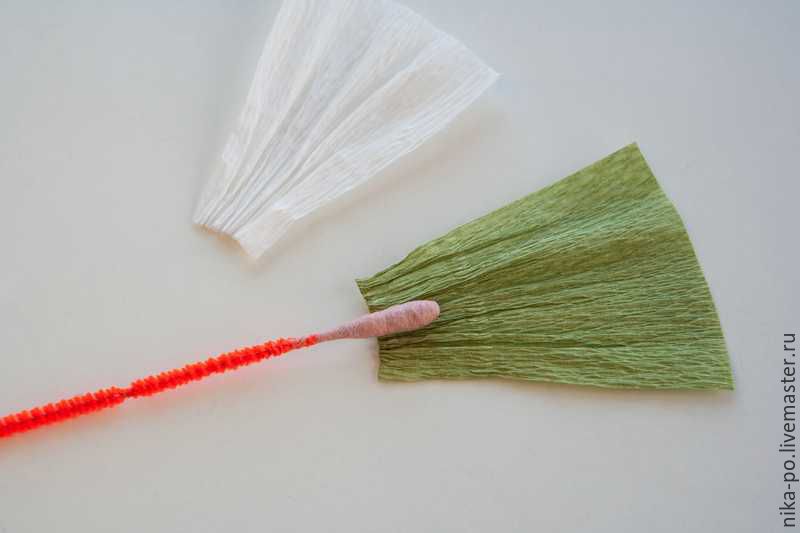

The upper sections are wrapped with thread. Such parts should be the result. 
Bend the wire with the legs and apply glue to the area of the seams, starting from the middle of the leg and to the open cut. 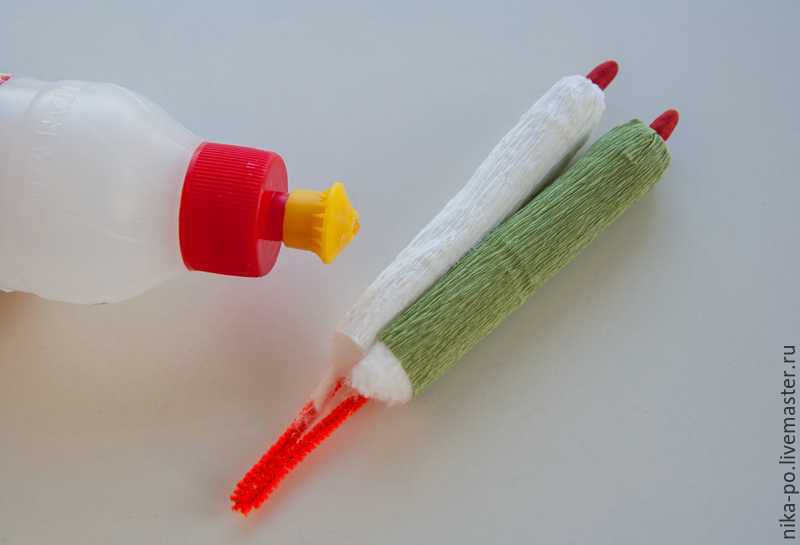
Bend the wire with handles, as shown in the photo. 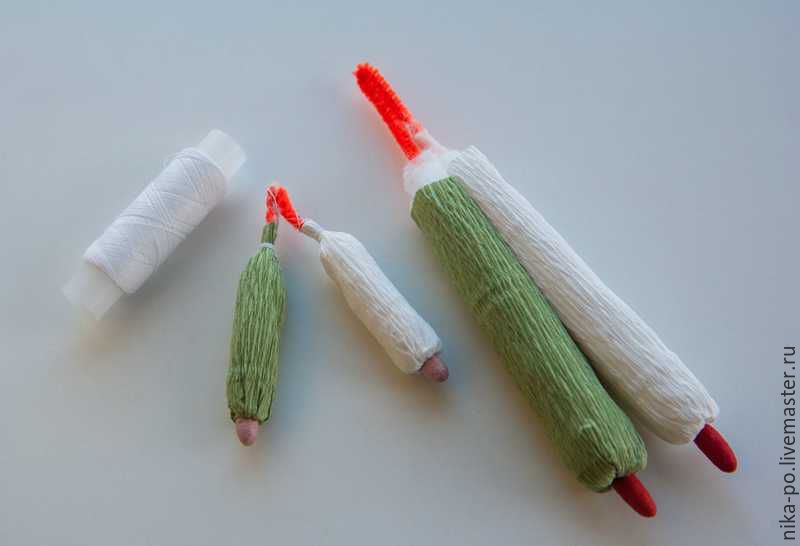
We wind one part to another with the help of threads. 
On a wire we wind cotton wool, as shown in a photo. 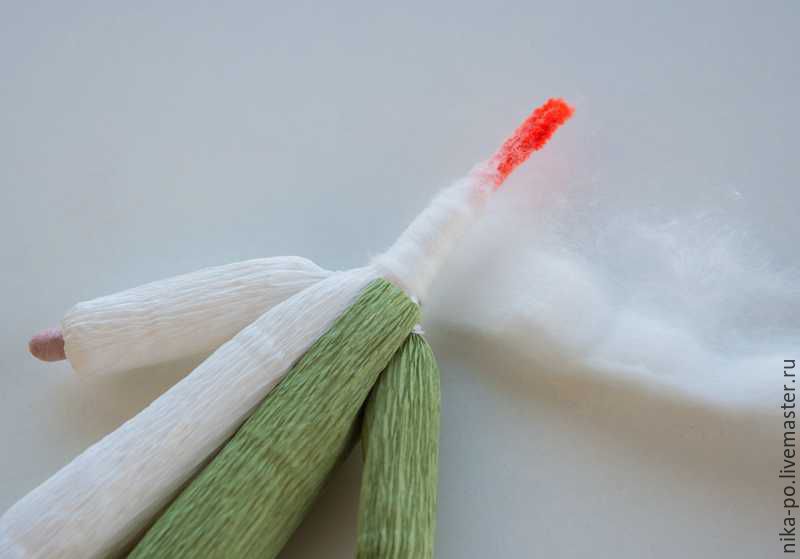
After that we put a little paste. 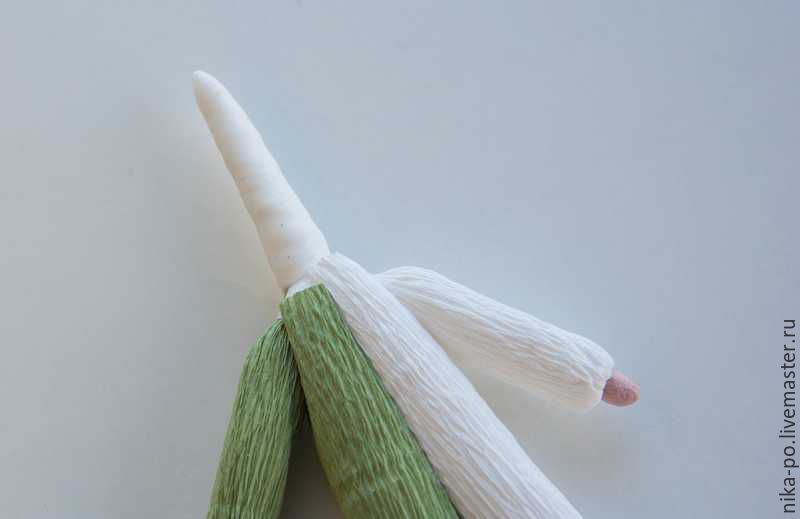
Glue the head to the body. 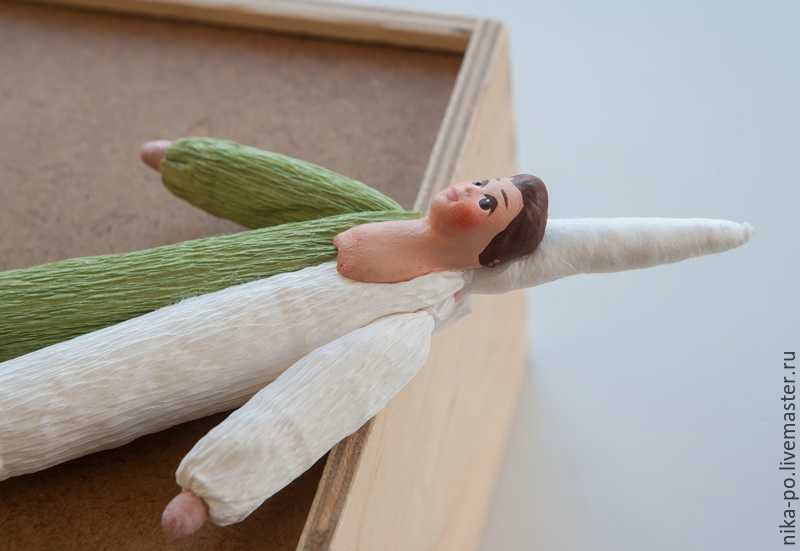
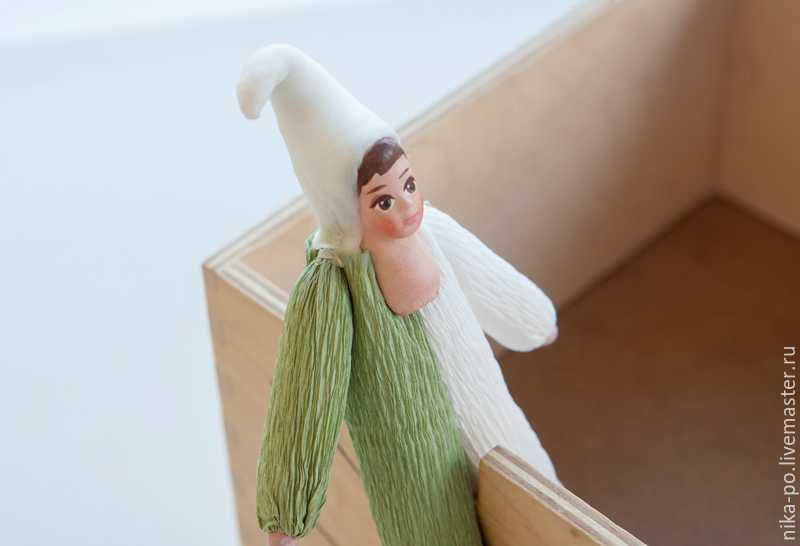
To make the doll look aesthetically pleasing, we wind the cotton at the place where the parts are glued together. 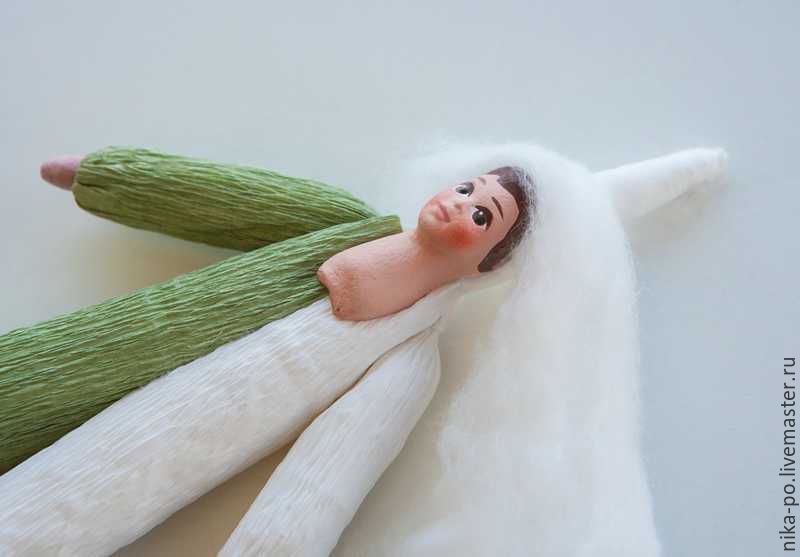
We form a cap and cover it with paste. 
 We make a collar of crepe-paper in a contrasting color. To do this, stretch it across the folds and bend in half. We sew it with a thread and shift it a bit, as in the photo.
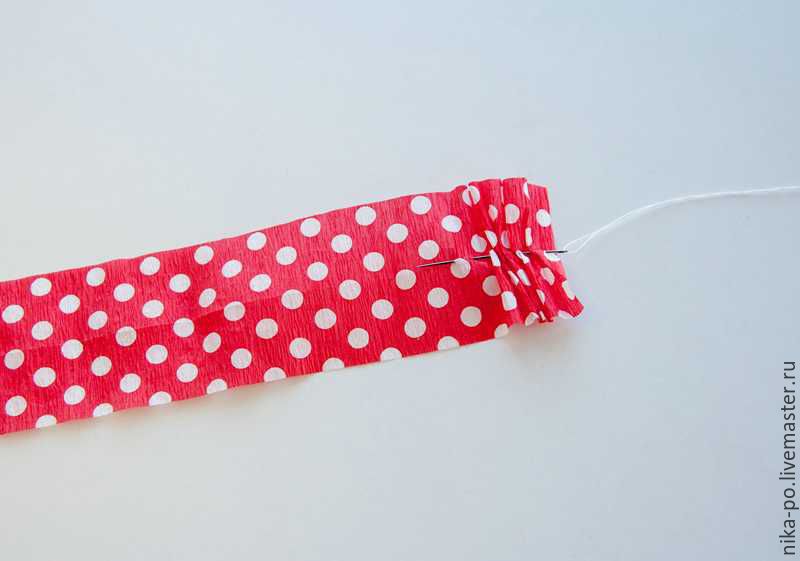
Wrap the collar around the neck and straighten the assembly. We wind it to the neck with a thread and fasten it. 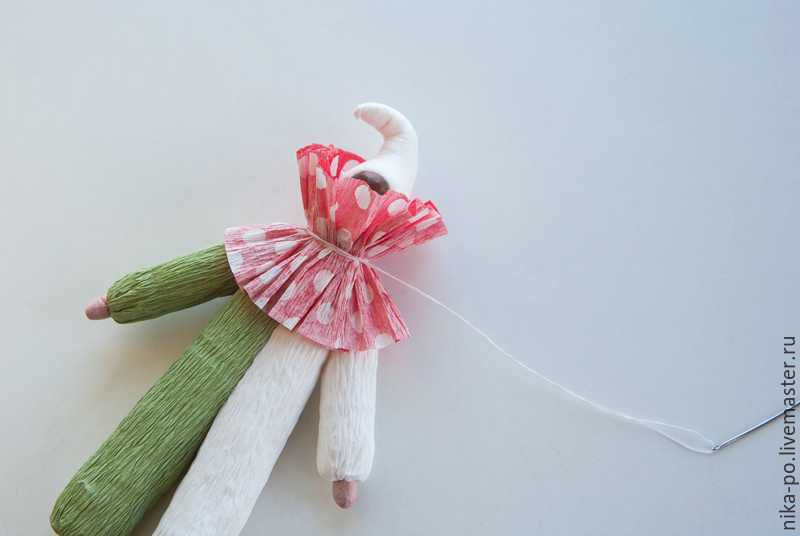
Apply glue under the collar and fix it. 
We twist cotton wool on a toothpick and give it a ball shape. Lubricate the workpiece paste and dry. Glue the ball to the cap. 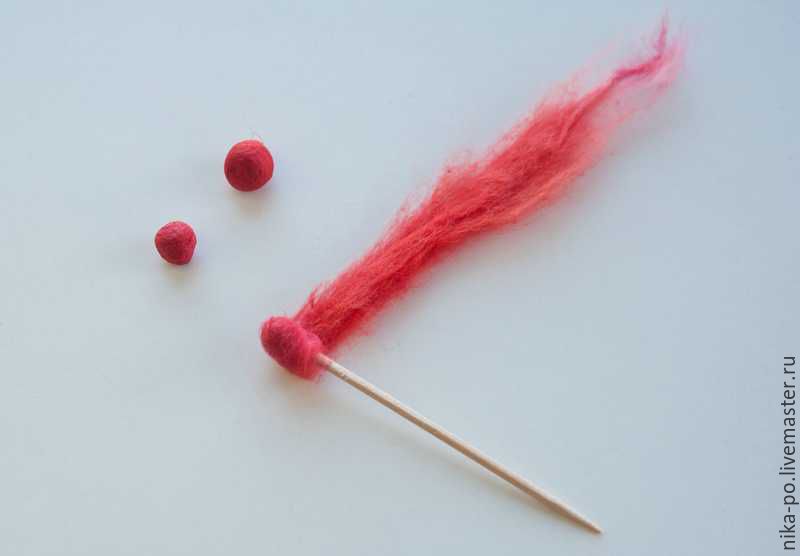
Bend your feet a little to make them look natural. 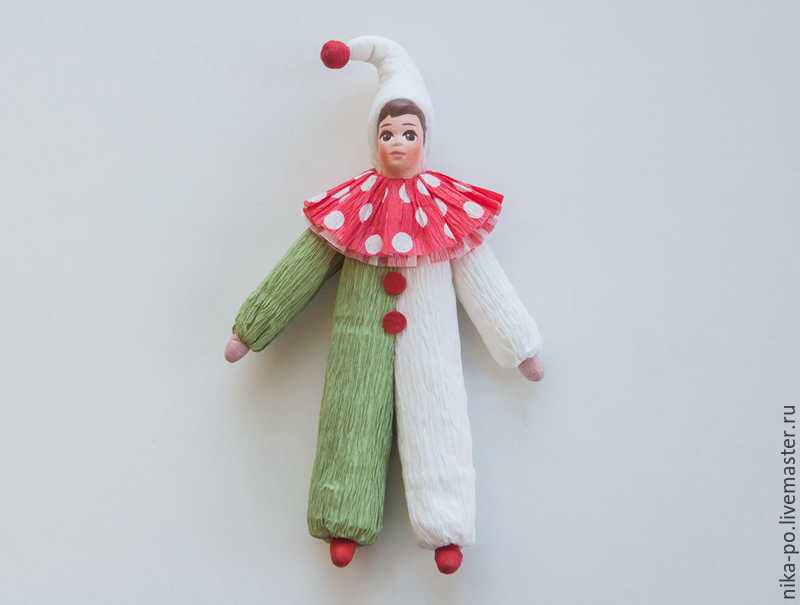
If desired, you can attach a thread to hang a doll on the Christmas tree. 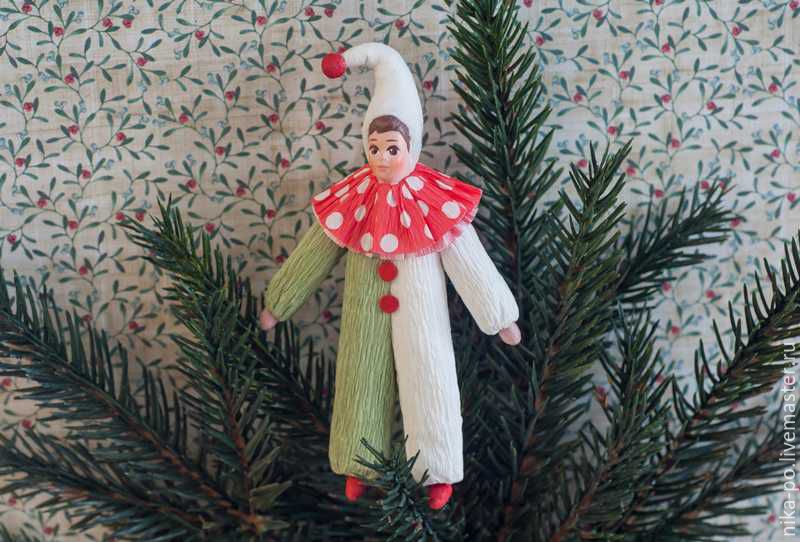
Cute moth doll
For those who are just trying to do various crafts with their own hands, this particular master class will do. It is quite simple and does not require much time.
To work prepare the following:
- white calico;
- striped fabric and white;
- cambric white;
- lace;
- tress;
- skewer;
- filler;
- scissors;
- acrylic paint purple and brown;
- a thread;
- needle;
- dry lavender (optional);
- pencil;
- paper
- pastel pink.

To begin with, we draw on paper the necessary details for a future doll. The dotted line denotes the places where it will be necessary to turn out the parts.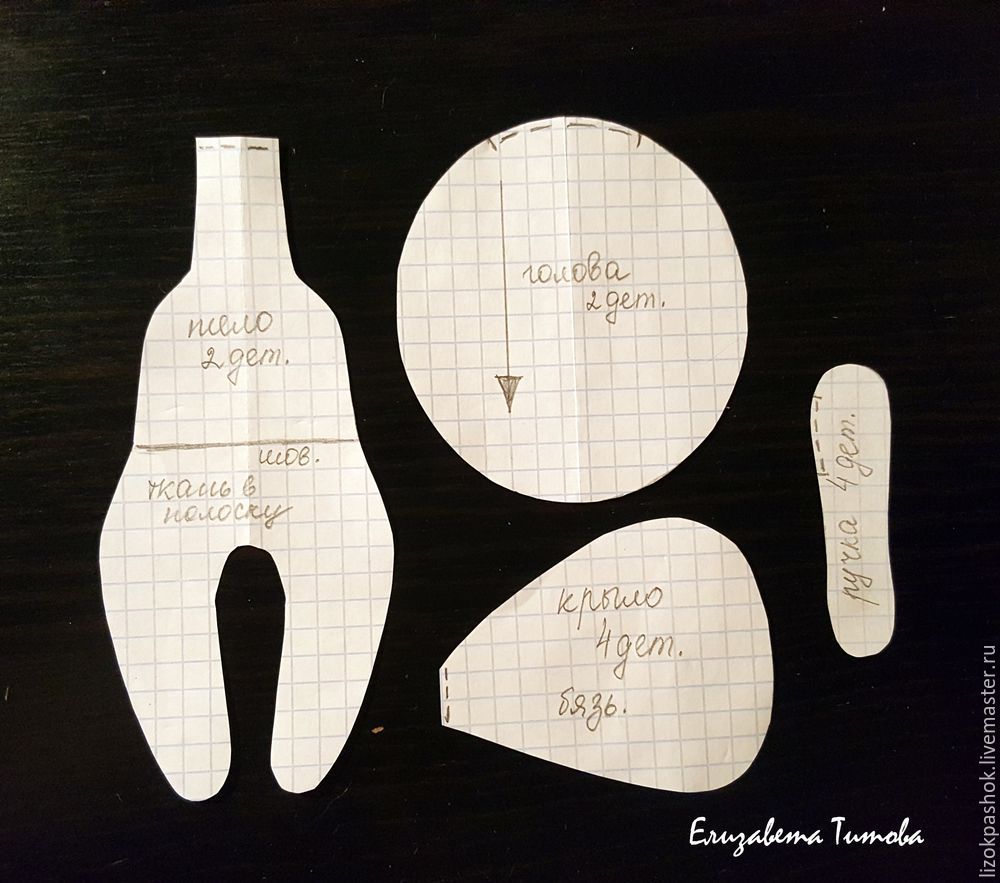
The fabric, which is chosen for the body, fold in half. Be sure to do this face up inside. Outline the details and cut them.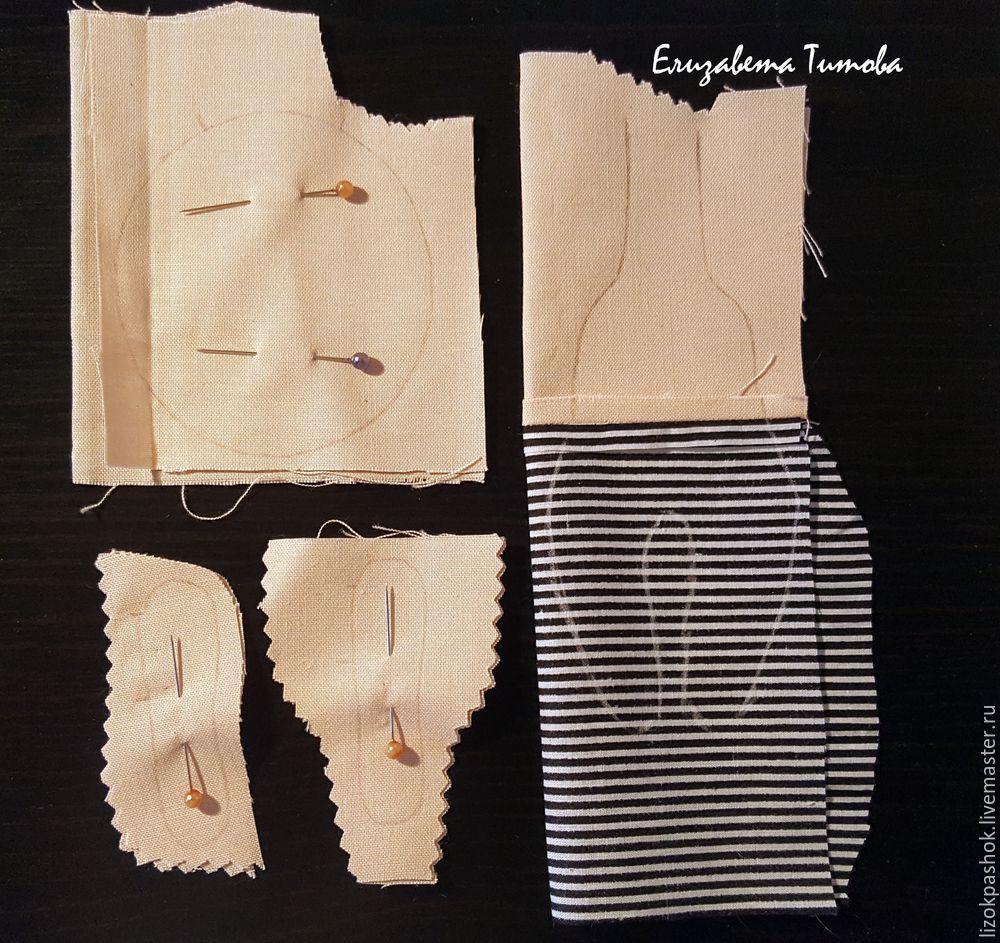
Sew fabric for the body with striped elements. We also sew parts, as shown in the photo, leaving a small space. We fill the parts with filler and sew the holes with a secret seam. In the body, insert the skirt to the waist and also tightly stuffed.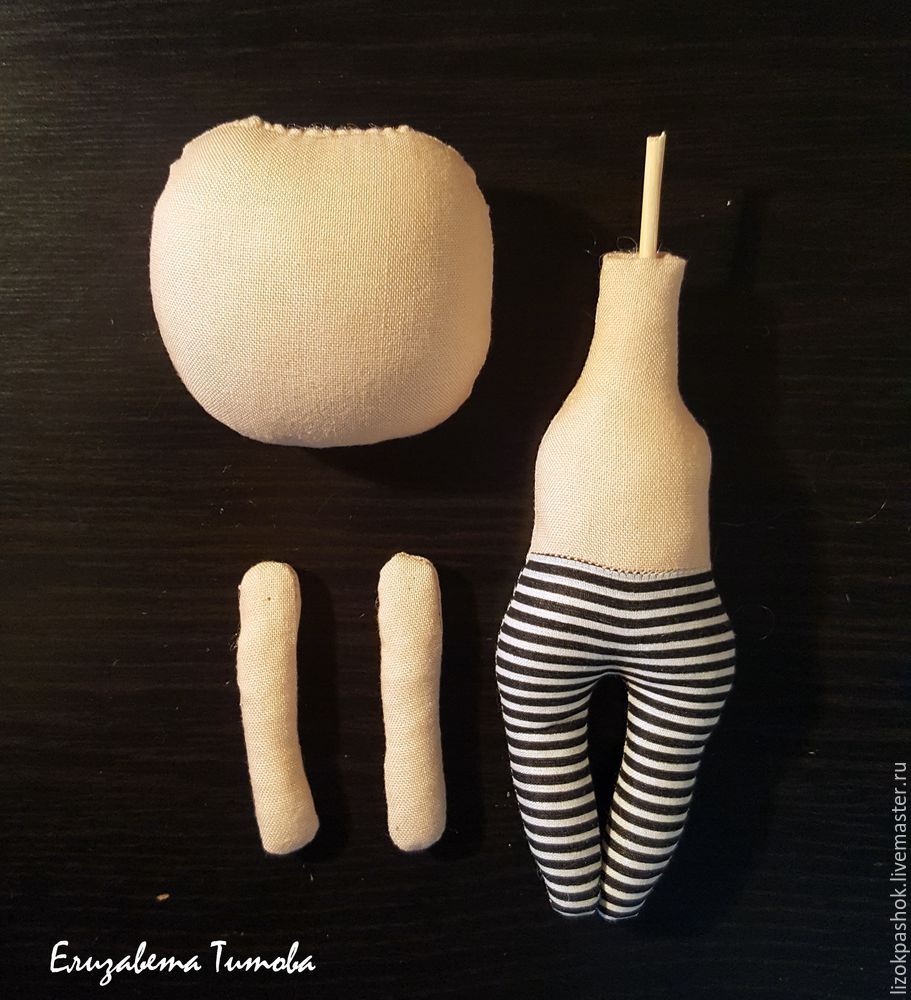
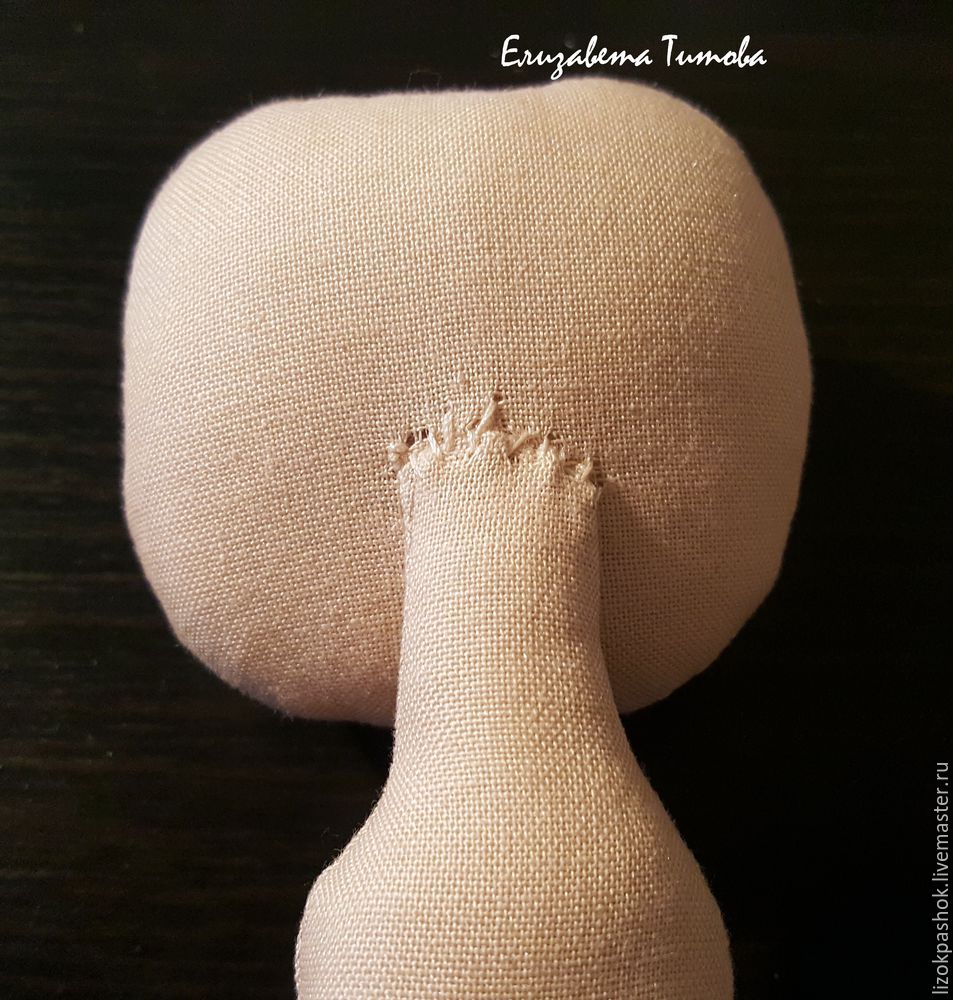
On the back of the head we make a small cut for the skewer. We connect the head with the body and sew them together.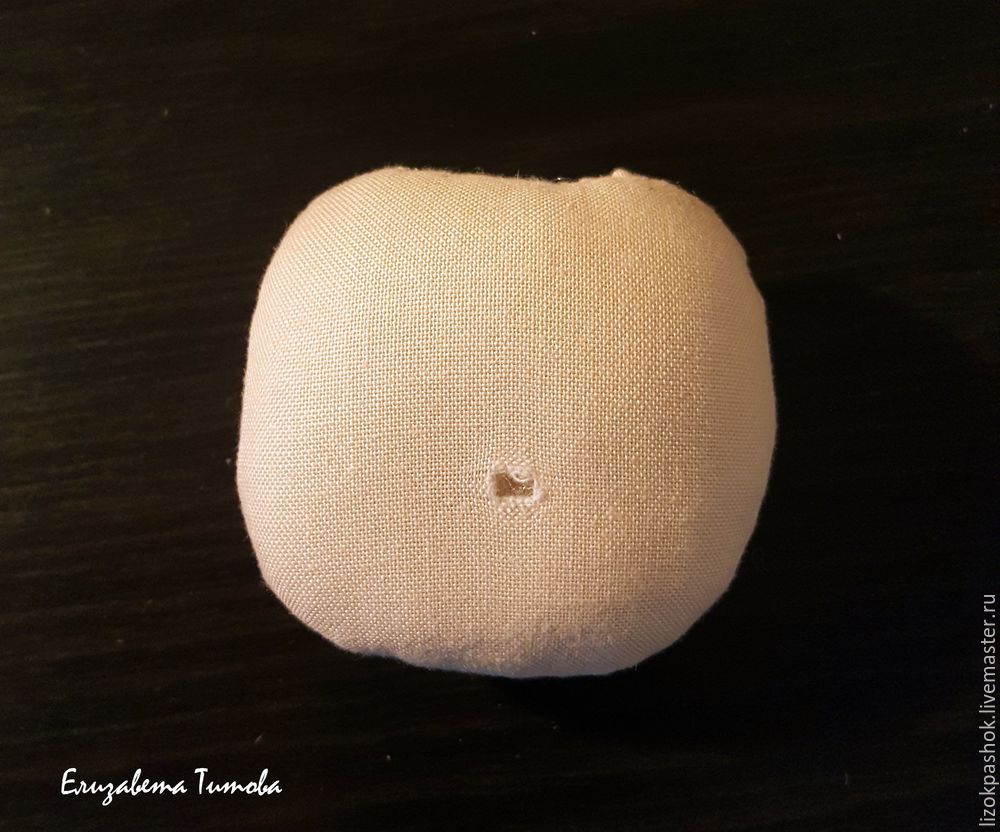
We draw a face with acrylic paint. Sew a piece of lace around the waist.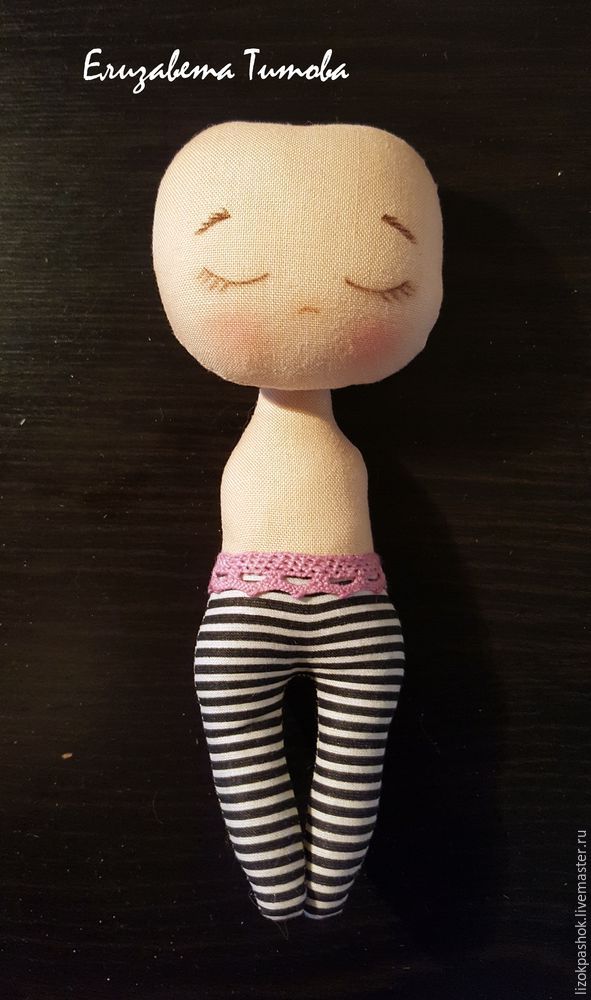 We take a piece of fabric for a dress and paint it with a violet paint. To get a more delicate shade, dilute it with water.
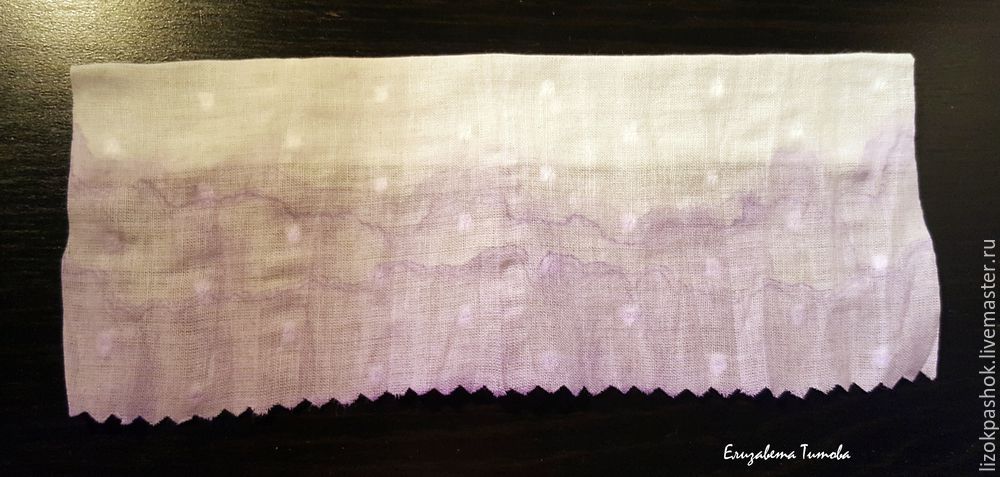
From the upper side we make an allowance, we collect a little fabric and sew, as shown in the photo.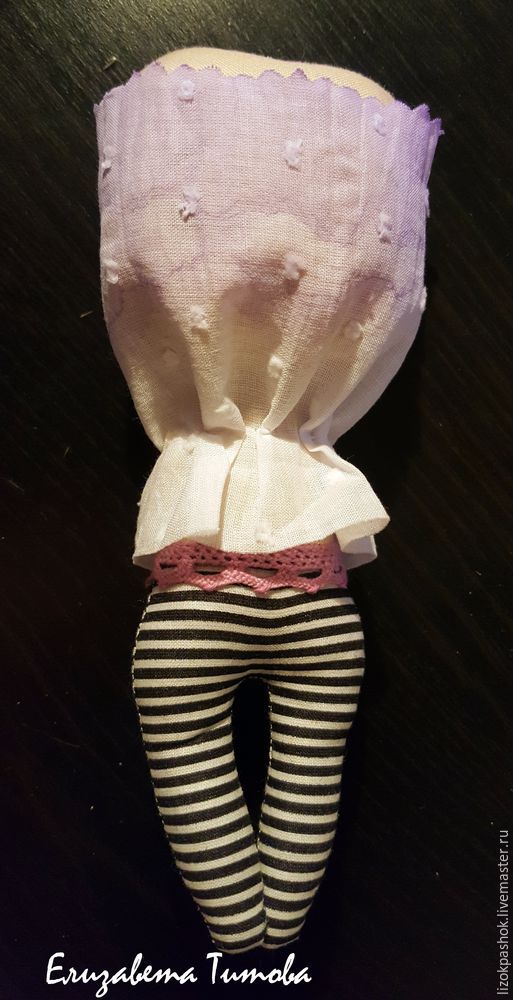
We turn away a dress. Sew on the body of the handle on the buttons.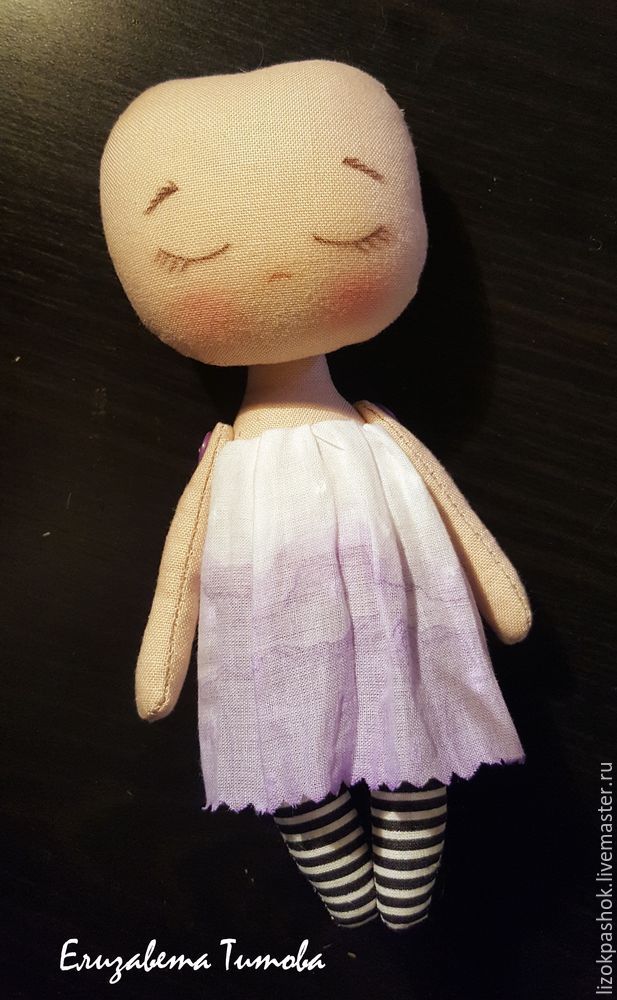
Sew on doll hair. If desired, you can tie the tails.
From sew coarse calico wings, as shown in the photo. Paint them with purple paint. Fill the wings with dry lavender.
Sew them back. If desired, you can make a small loop to put or hang a doll.
A charming, fragrant moth doll will be a great decoration for your home!
Everybody can make a beautiful and unusual doll with their own hands. Do not be afraid to try something new, show imagination, add interesting details, and the result will exceed all expectations!
Share your experience in the comments.


