


The decor plays a very important role in the design of the room. With it, you can create an atmosphere of comfort or to focus on the freshness, modern interior. For this can be used a variety of subjects, including paintings. We have selected several master classes for you, with the help of which you will be able to independently make a picture in a suitable color scheme.


Abstraction
Those who do not have special talents for drawing, we suggest not to be upset. Try to make an abstract picture. Believe me, the result will pleasantly surprise you.
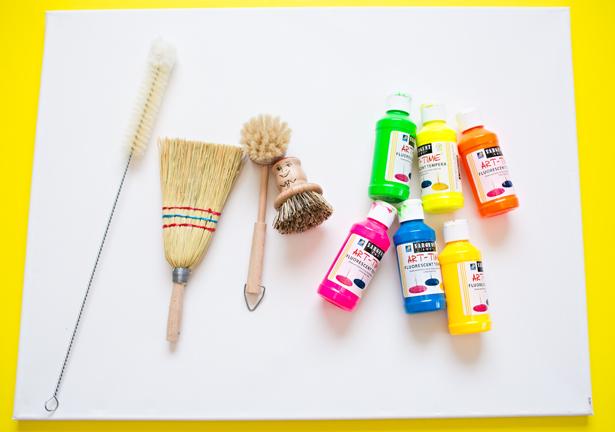
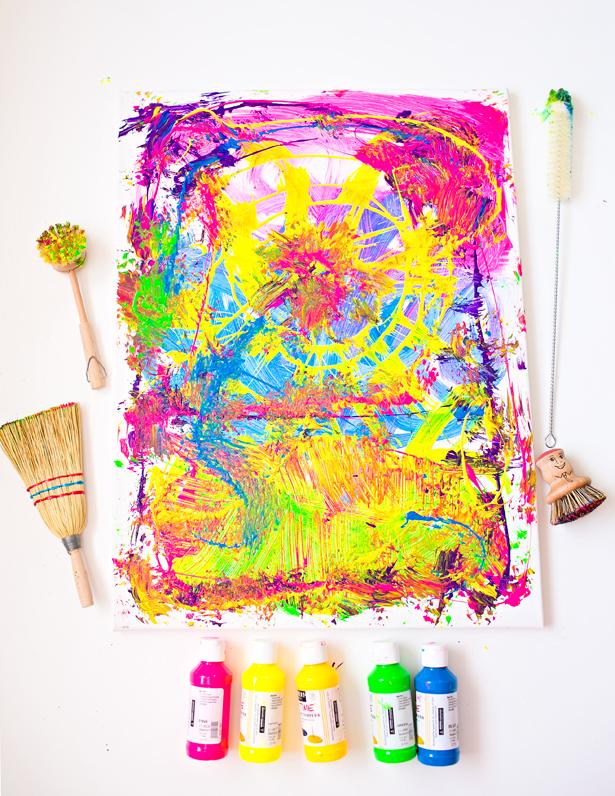
We will prepare such materials:
- canvas of the required size;
- liquid paints;
- brush;
- brush;
- brush;
- broom.
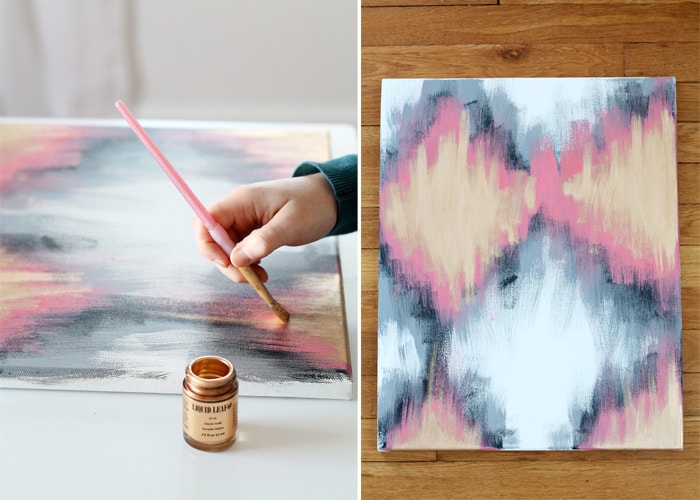
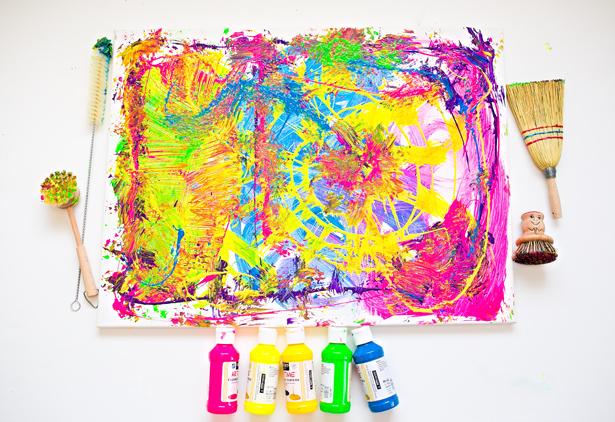
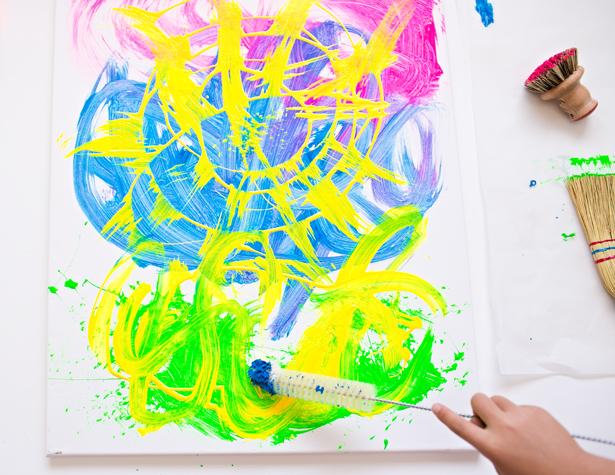
In random order, squeeze the paint on the canvas.
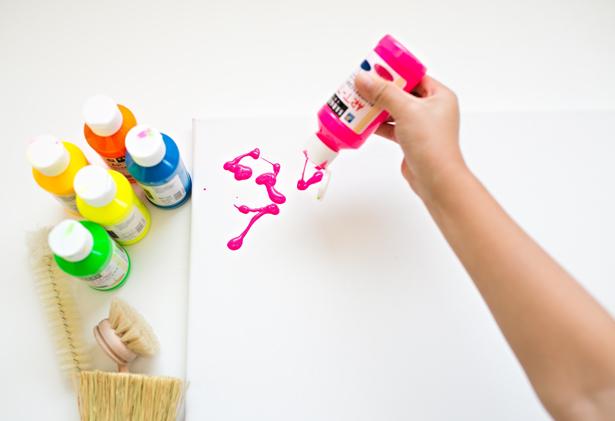
Any tool distributes paint. There are no specific rules here, just use fantasy.
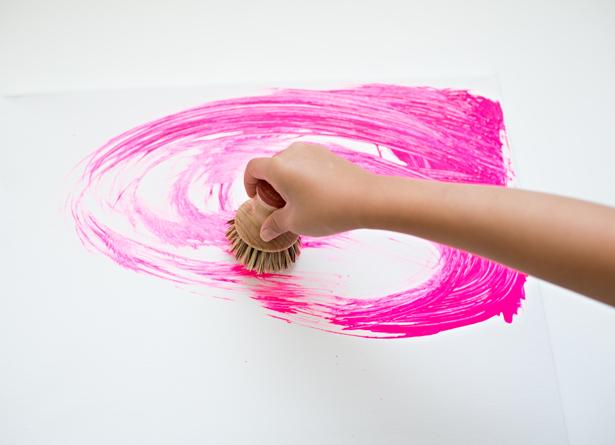
We mix different colors on the canvas and continue to distribute them with brushes or another tool.
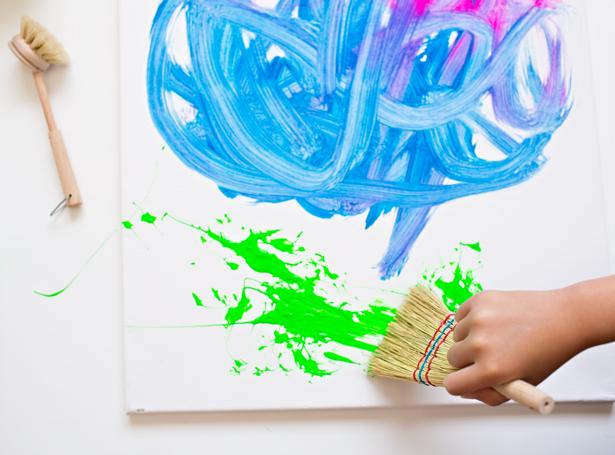
Leave the picture for a few minutes to paint a little dry.
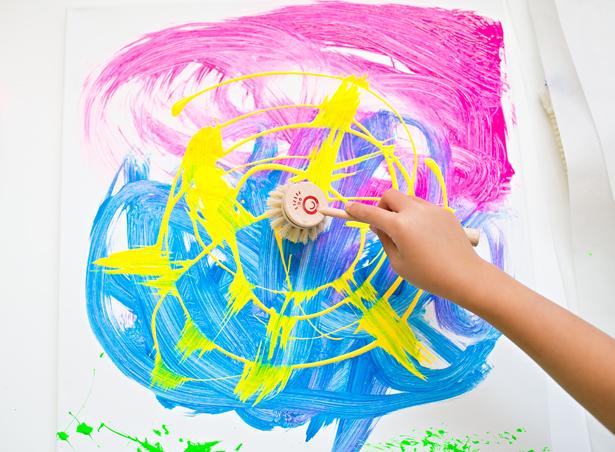
We continue to fill the canvas with paints to achieve the desired result.


We leave the picture until it is completely dry, after which you can hang it on the wall.
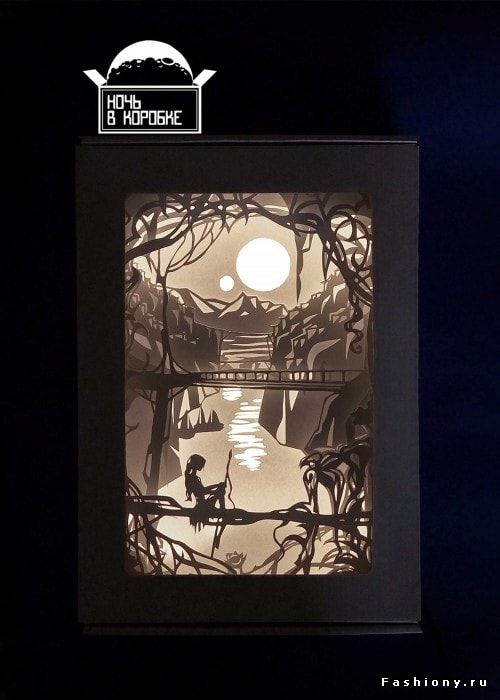
Light picture
It will take:
- sketch for the picture;
- paper or cardboard;
- frame for fixing sheets;
- knife;
- led tape;
- box frame.
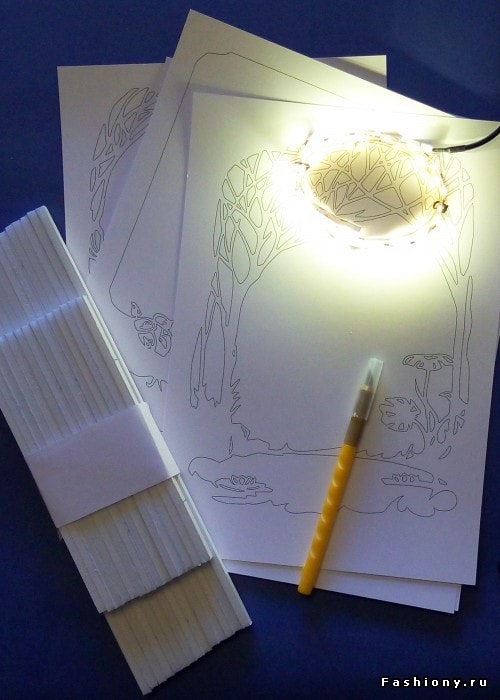

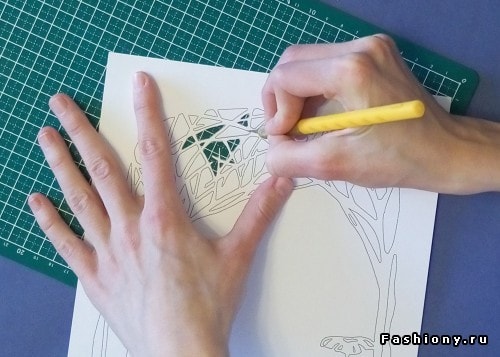
Sketch for such a picture is quite simple, because you can print it on a printer. Prepare the work surface. It is best to use a wooden board. Using a knife, carefully cut out the details on the sketch, as shown in the photo.

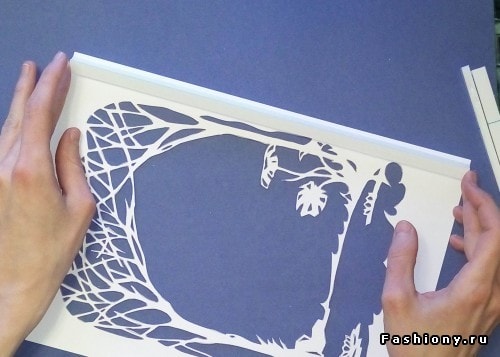
If only one picture is used to create a picture, then we fix it on each side.

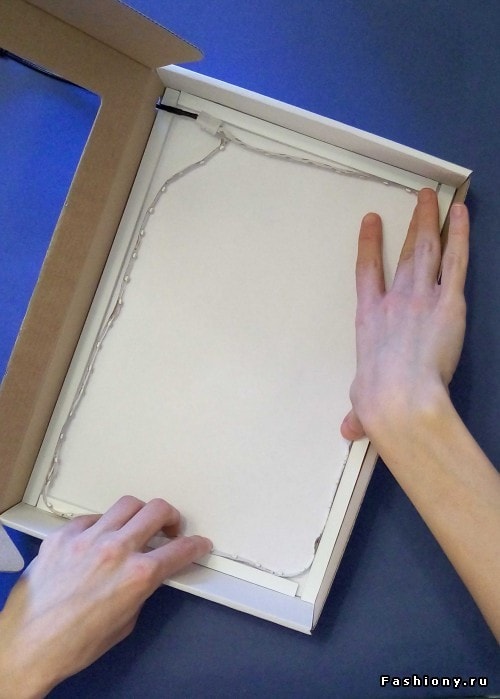
Set the backlight in the frame, and attach the top sketch.
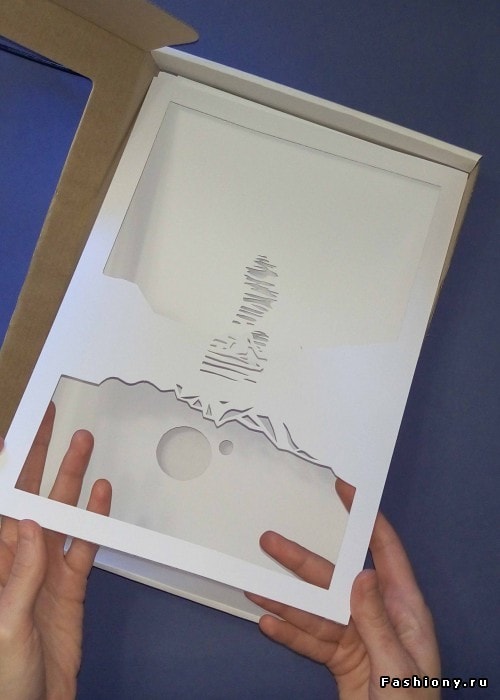
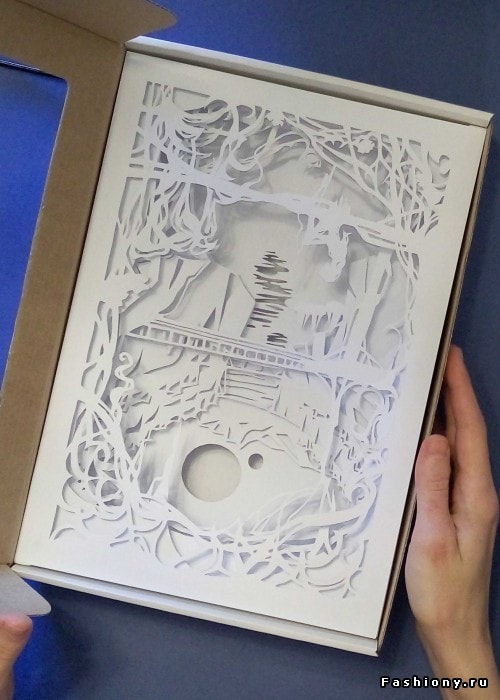
Close the box-frame and turn on the backlight. Beautiful light picture is ready!

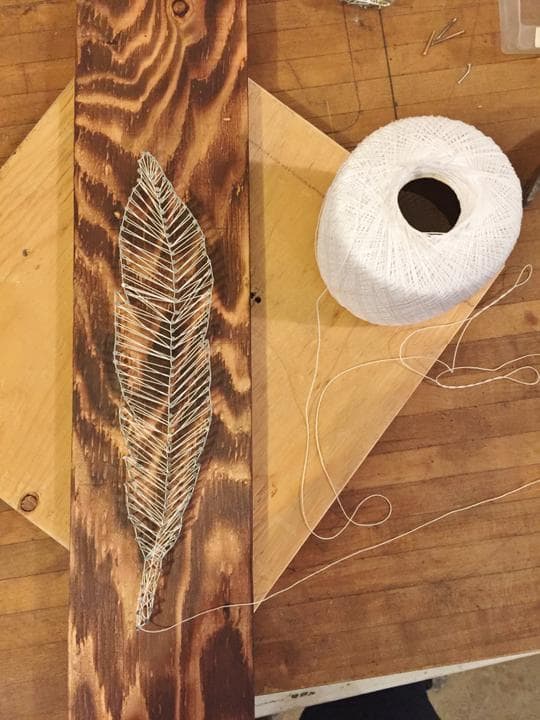
Picture of threads

Prepare materials:
- wooden plank;
- yarn or twine;
- big nails
- hammer;
- pattern with a pattern.
Put the template on a wooden board and drive nails around it.
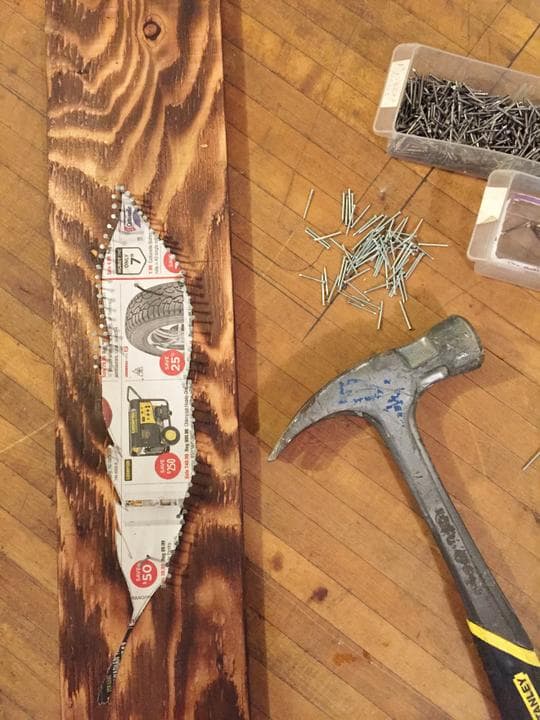
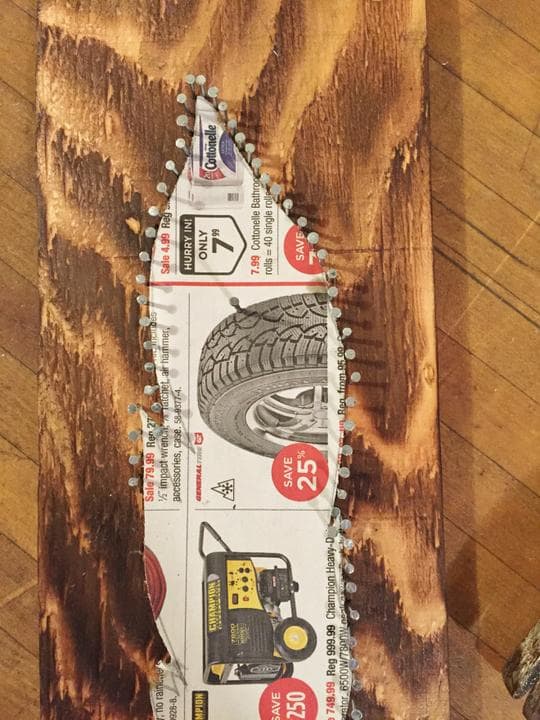
In this example, you need to use a few more nails in the central part of the picture.
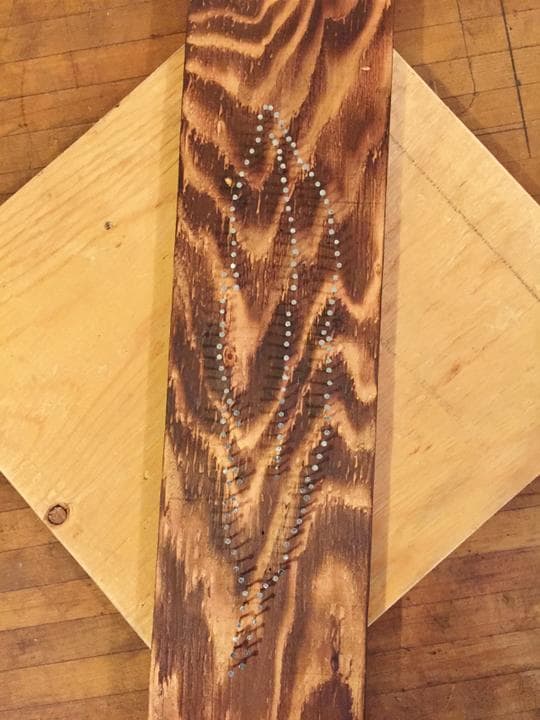
We tie the thread to the most extreme nail and begin to braid it around the caps.
When the picture is ready, fasten the thread, tying it to a nail.
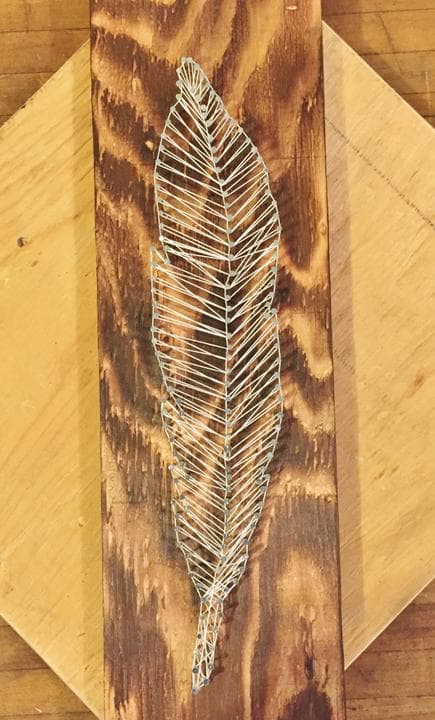
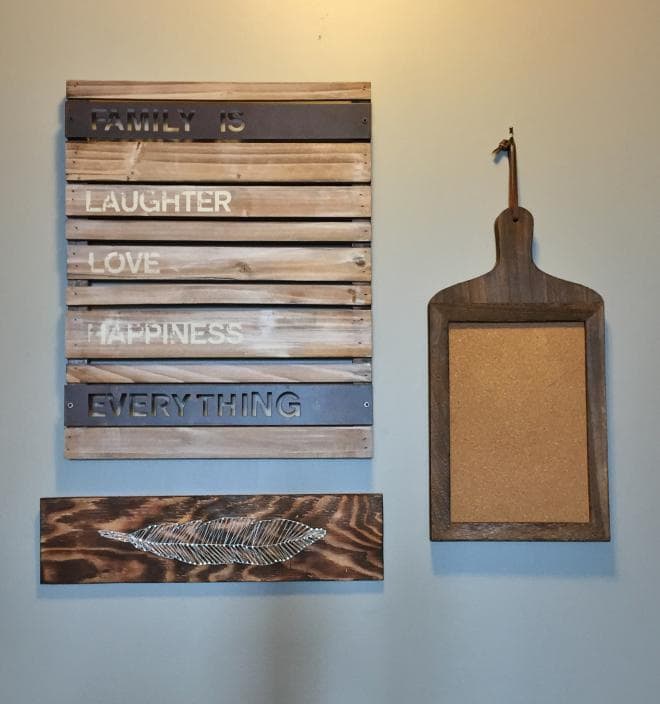
This masterpiece looks great as an independent element of the decor, and in combination with other objects.
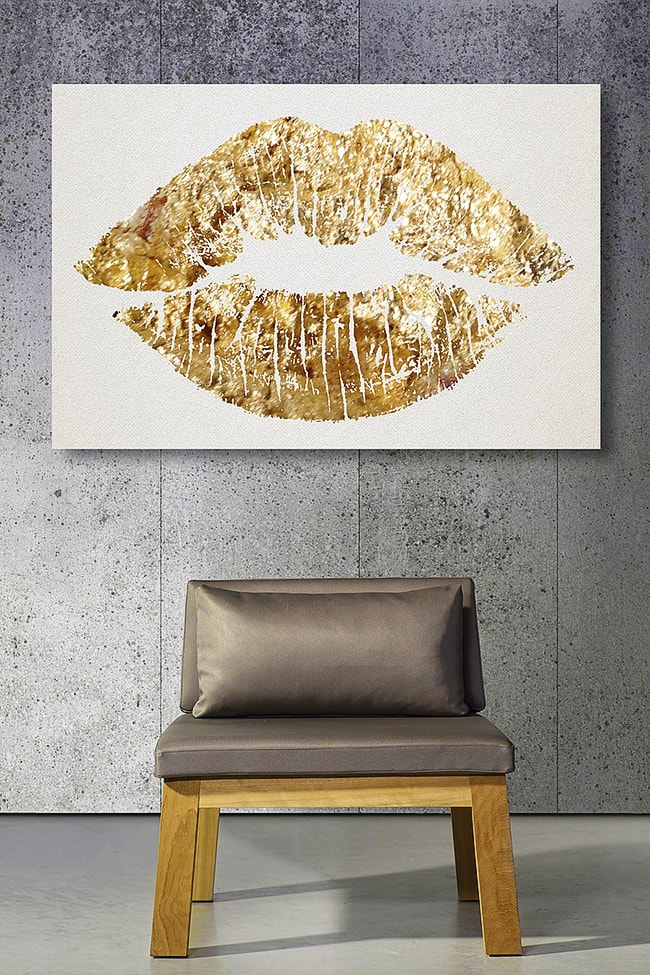
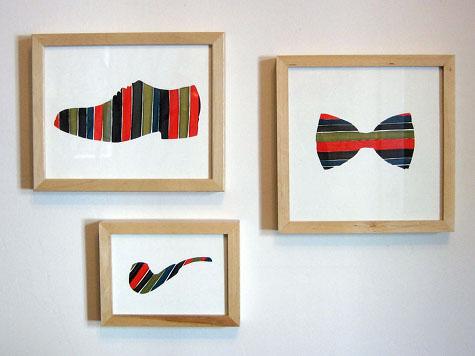
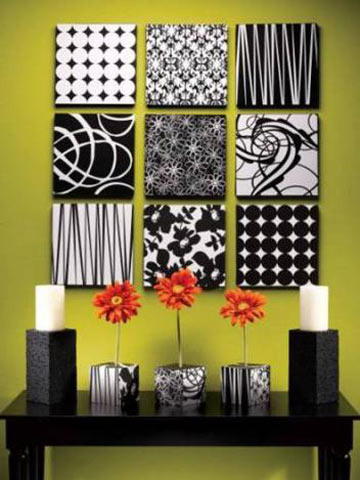
Stylish pattern-silhouettes
Of course, not everyone can boast of the artist's talent. But with a strong desire, you can make silhouette paintings that will be a stylish addition to your home.
You will need the following materials:
- acrylic paints;
- wax paper;
- black marker;
- stationery knife;
- brush;
- cardboard for the base;
- paper;
- an image of what you want to create;
- picture frame.
We print images on the printer.
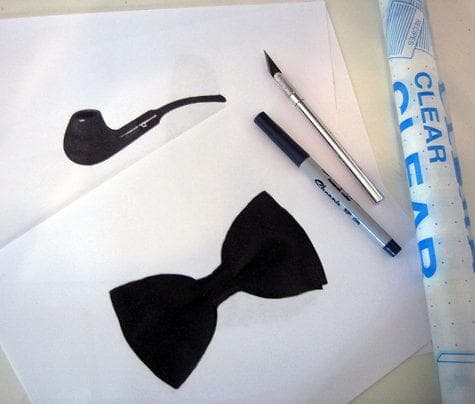
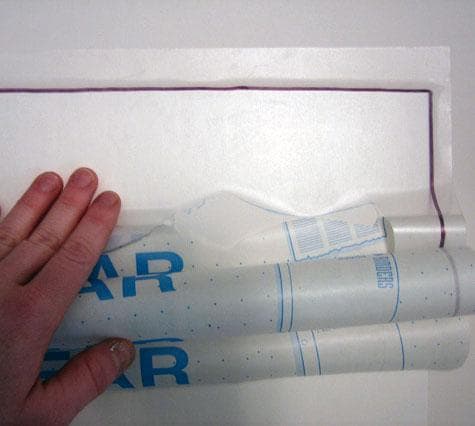
Outline the image with a black marker. Transfer it to wax paper. Cut out the silhouette of the transferred markup. We place it in the center of a sheet of paper and fix it in this position.
Paint over the surface, not covered with a stencil. At this stage, exercise your imagination to get a unique picture.
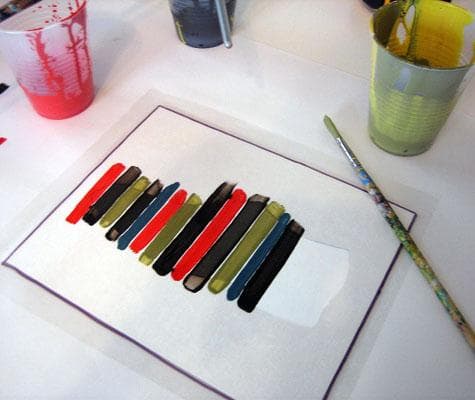
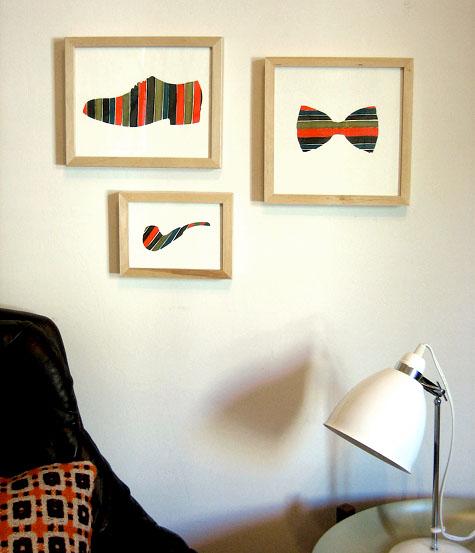
Leave to dry completely and remove the stencil. At will, it is possible to make some more such images. We place each of them in a frame.
Eco-paintings
Every year, the popularity of eco-themes is increasing. That is why we offer several variants of paintings using natural materials.

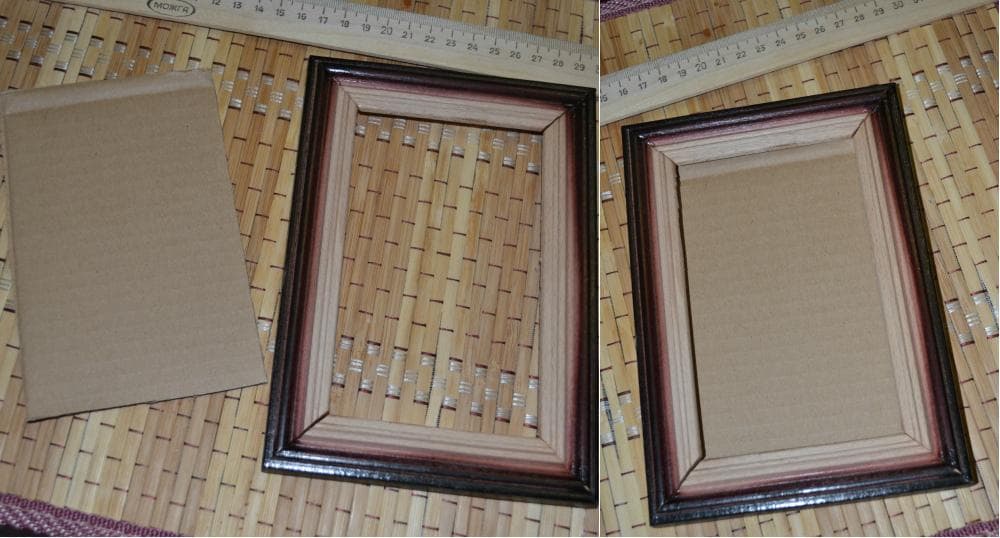
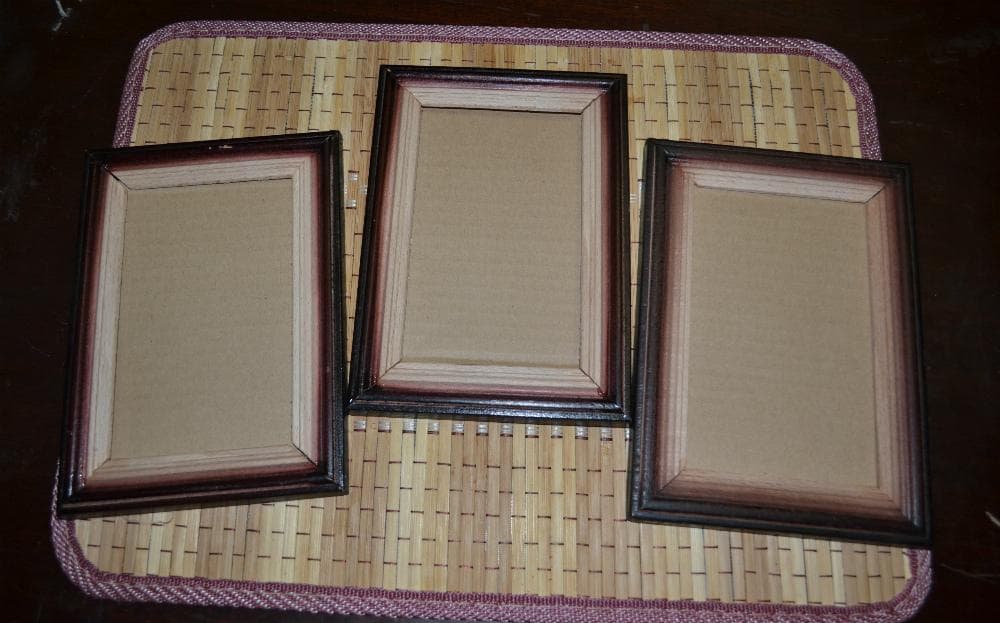
To begin with we prepare frames for pictures. We measure their size and transfer to cardboard.
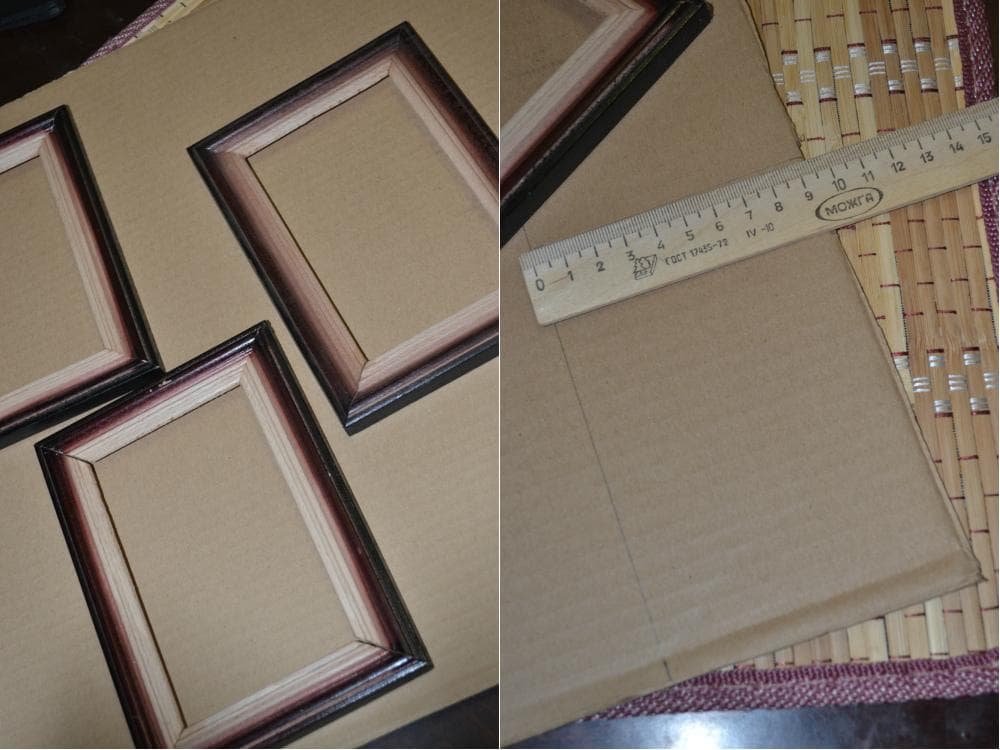
Cut the parts out of cardboard according to the measurements.
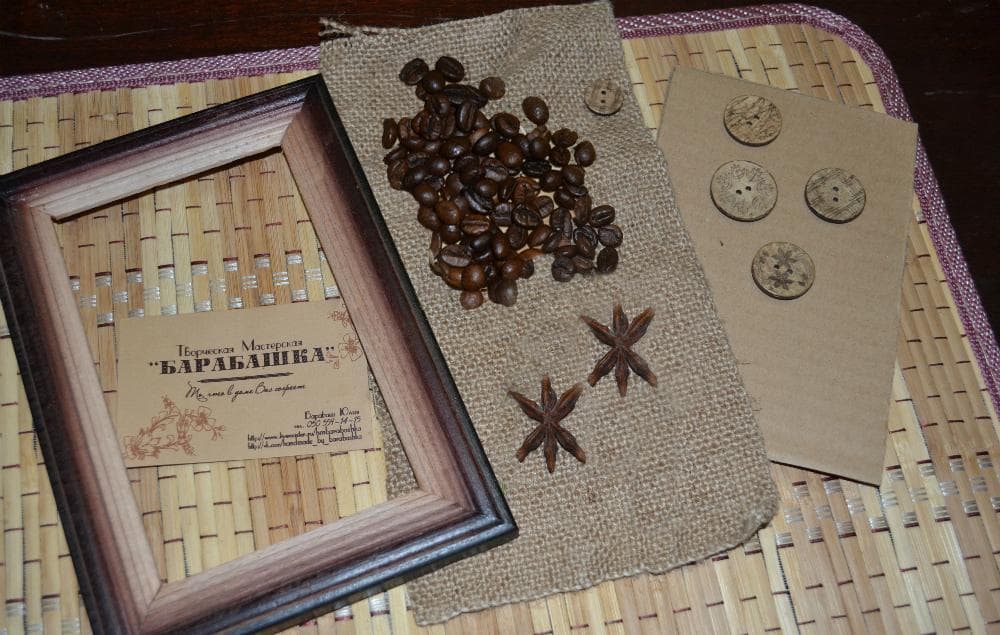
Picture of coffee beans
To create an aromatic picture you will need the following materials:
- wooden frame;
- cardboard;
- sackcloth;
- twine;
- scissors;
- wooden buttons;
- coffee beans;
- badyan;
- glue in the gun.
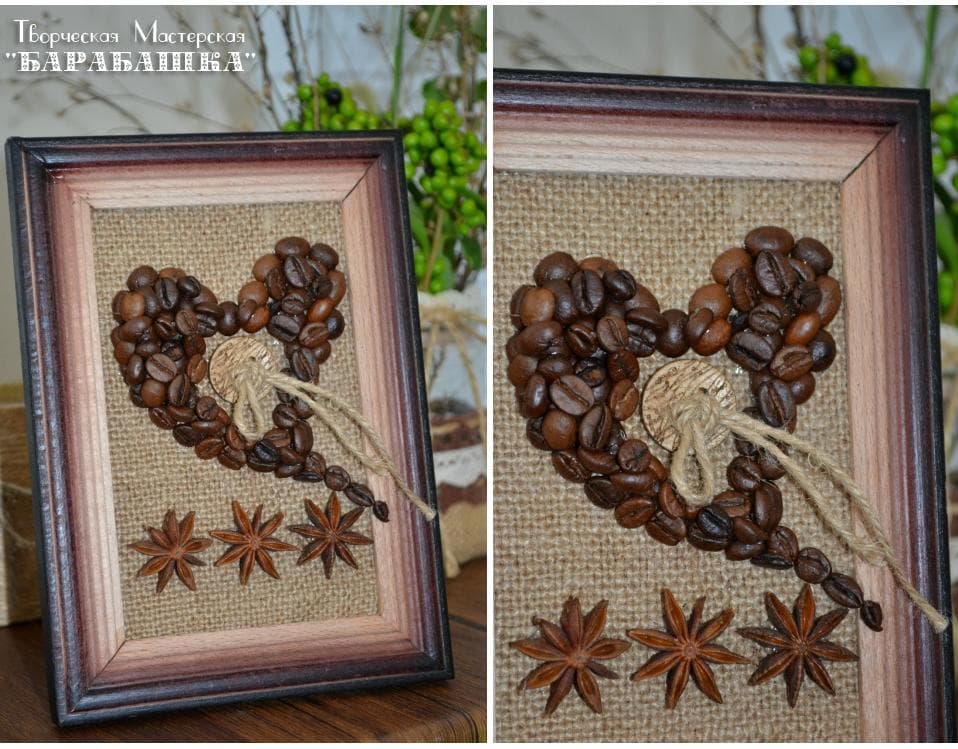
We take the cardboard prepared earlier and cut sacking by its size.
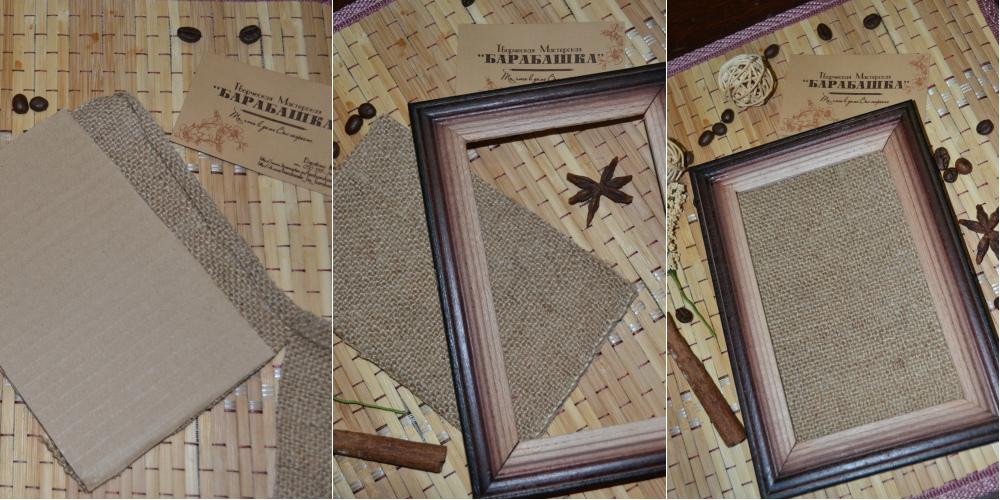
Glue the burlap on the cardboard and insert it into the frame.
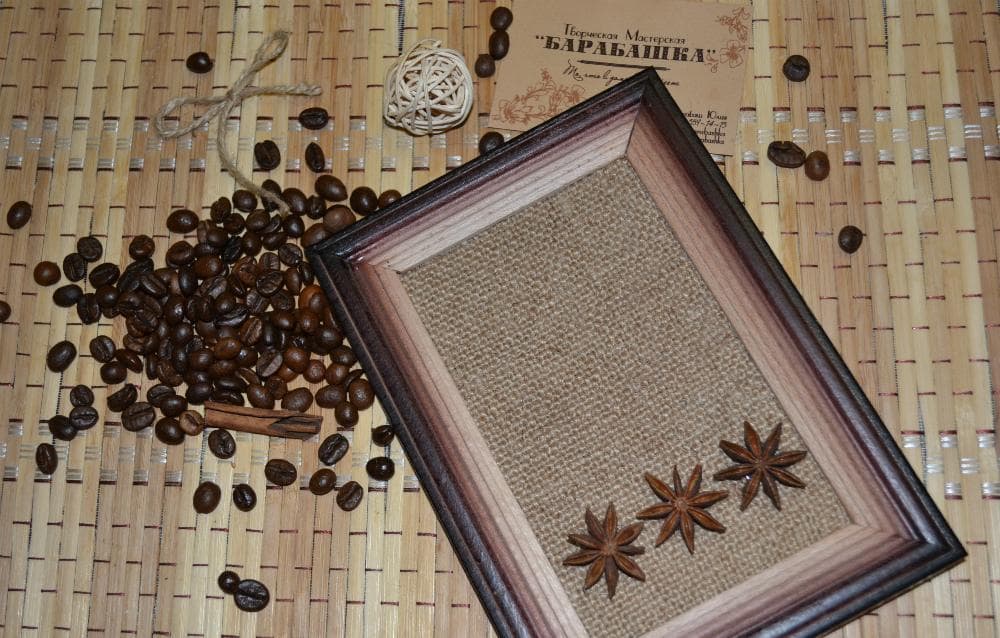
On the lower part we glue three pieces of badian. Above them, we begin to spread a beautiful heart of coffee beans.
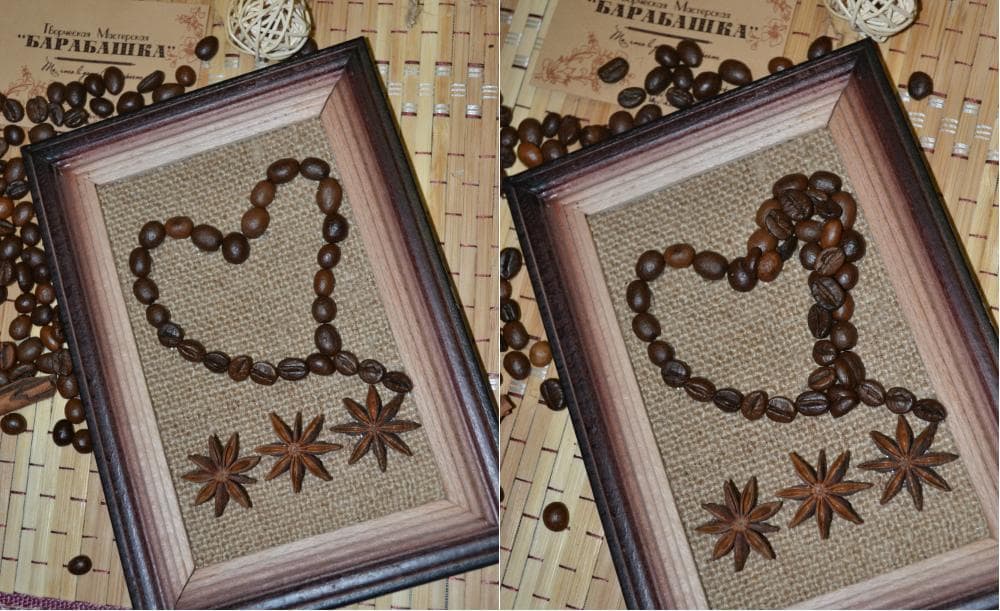
Glue every grain and make the heart more voluminous.
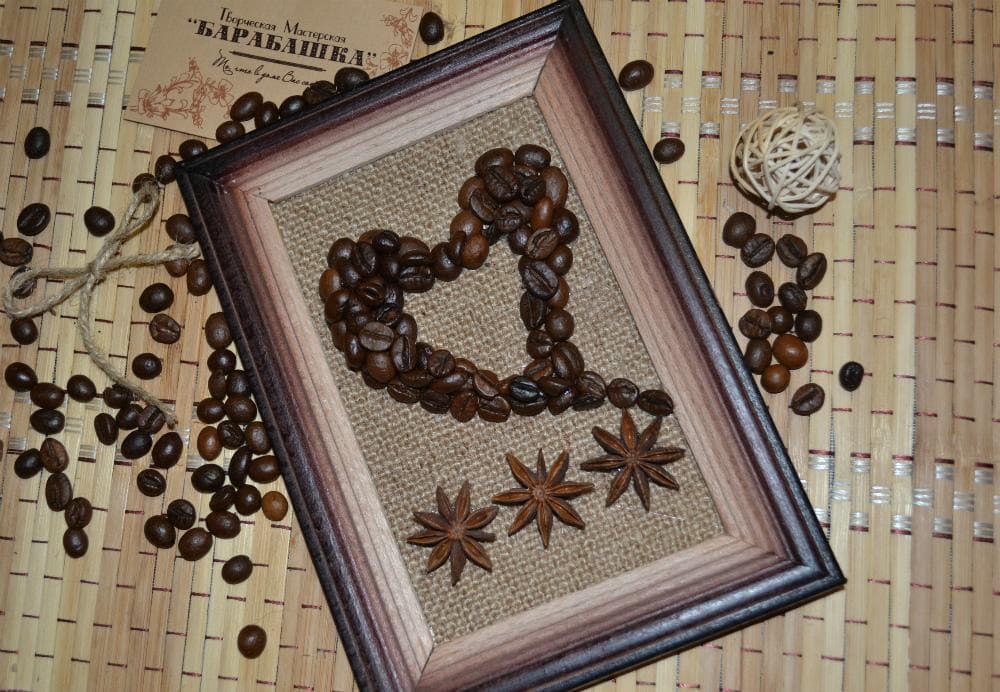
Glue the wooden button in the center of the heart.

At will, we make a knot from a twine in a button.
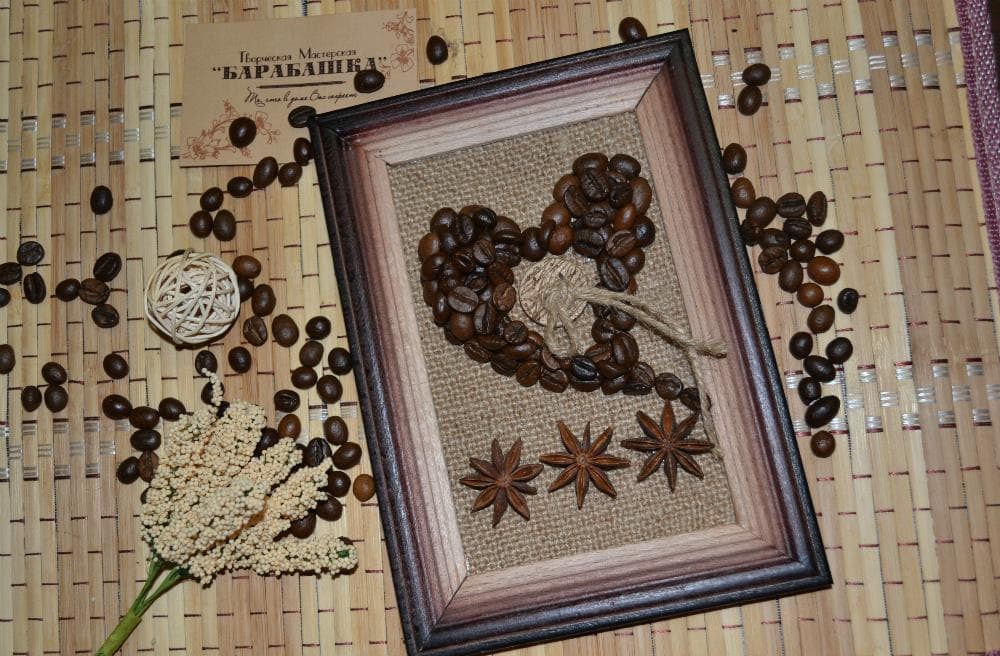
Show imagination, use additional accessories and then your picture will be really unique.

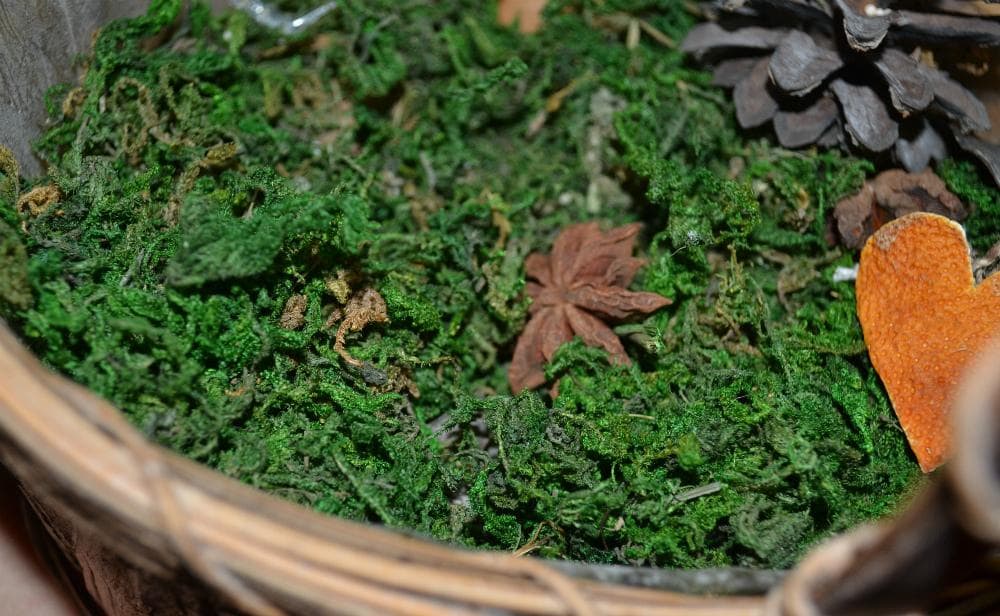
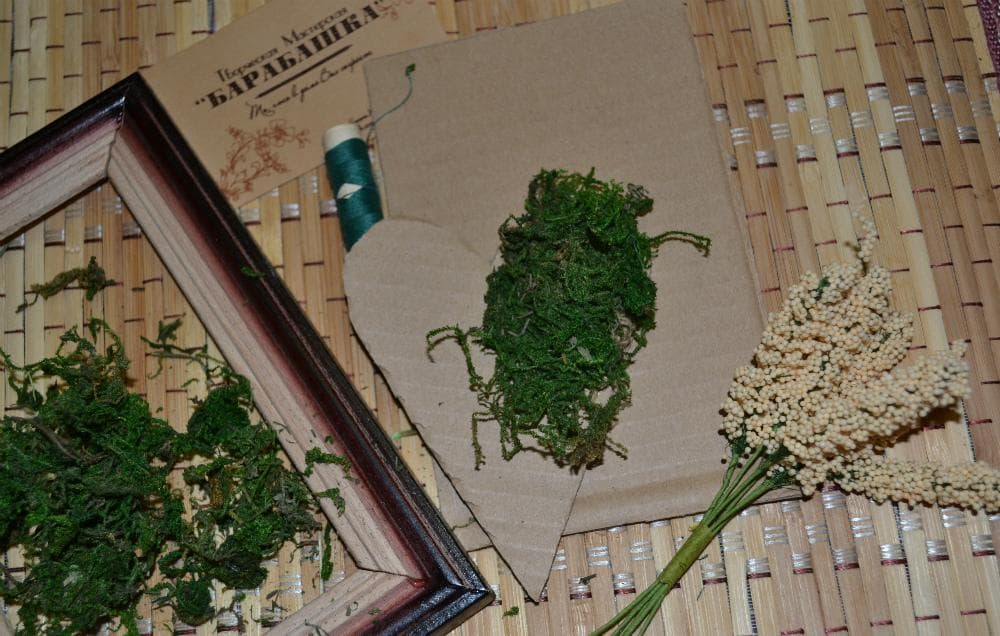
Picture of moss

To make such a picture, prepare the following:
- wooden frame;
- cardboard;
- scissors;
- a thread;
- moss;
- buttons;
- cinnamon;
- glue in the gun.
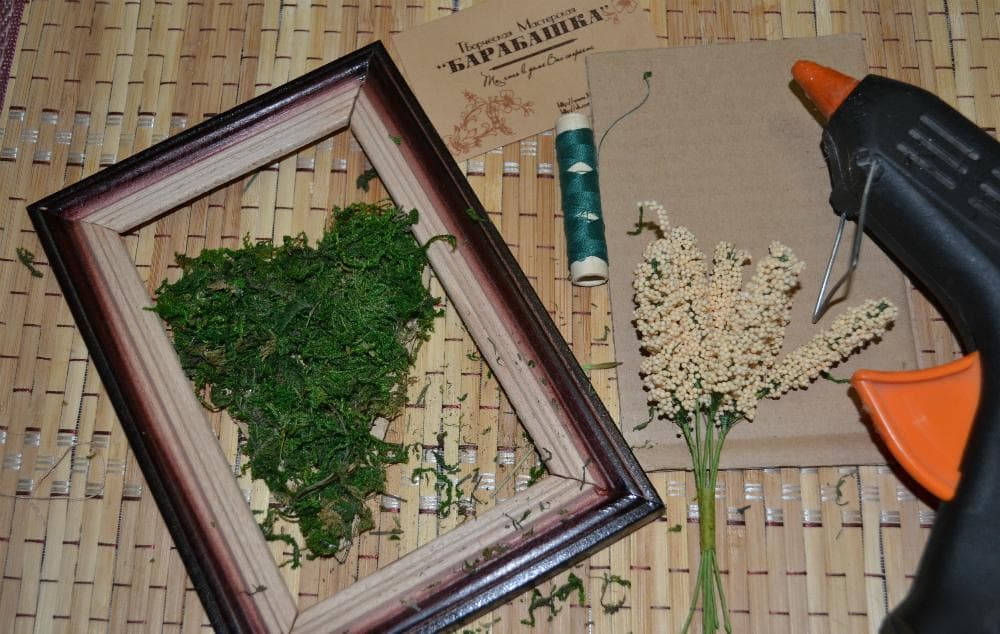
We draw on the cardboard a beautiful heart and cut it out.
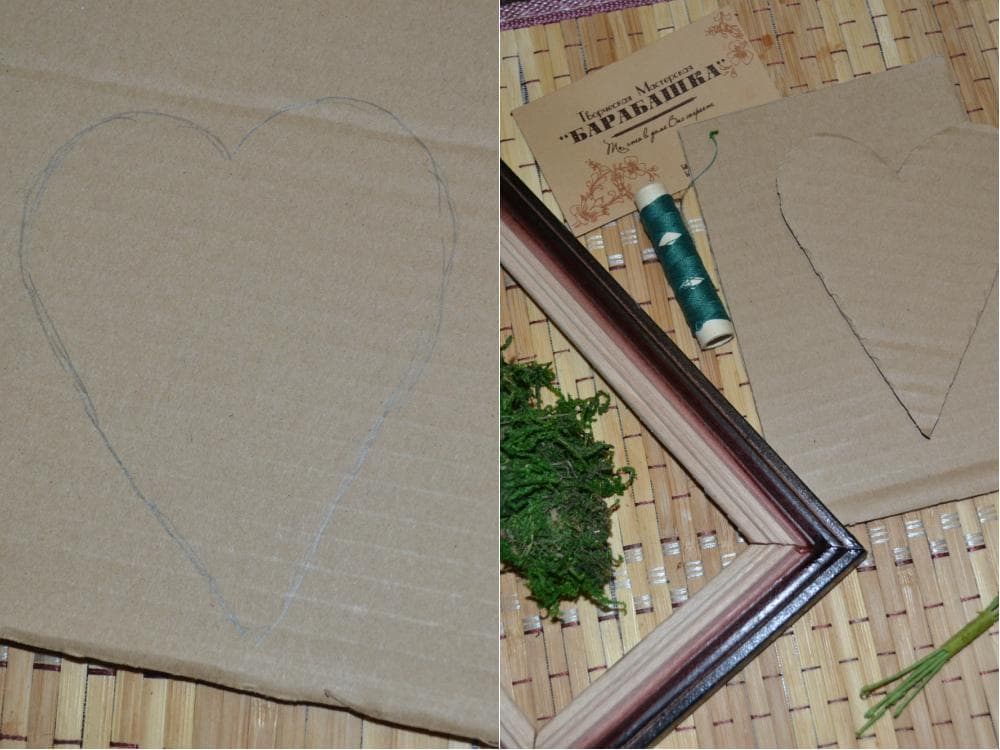
Glue moss to it.
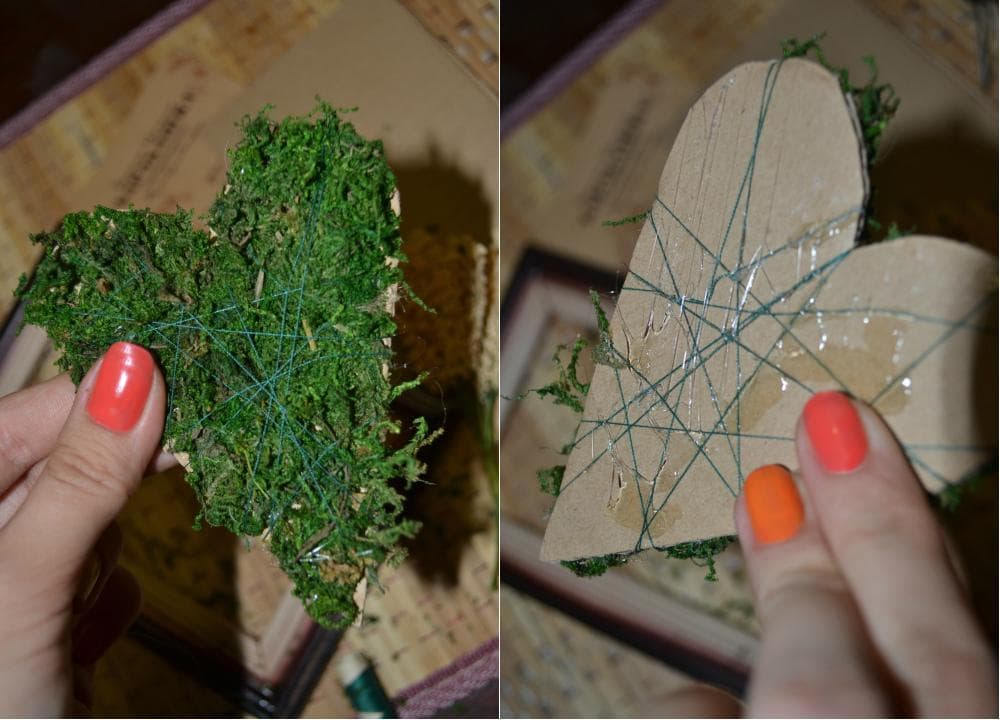
We wind the heart with moss thread for better fixation.
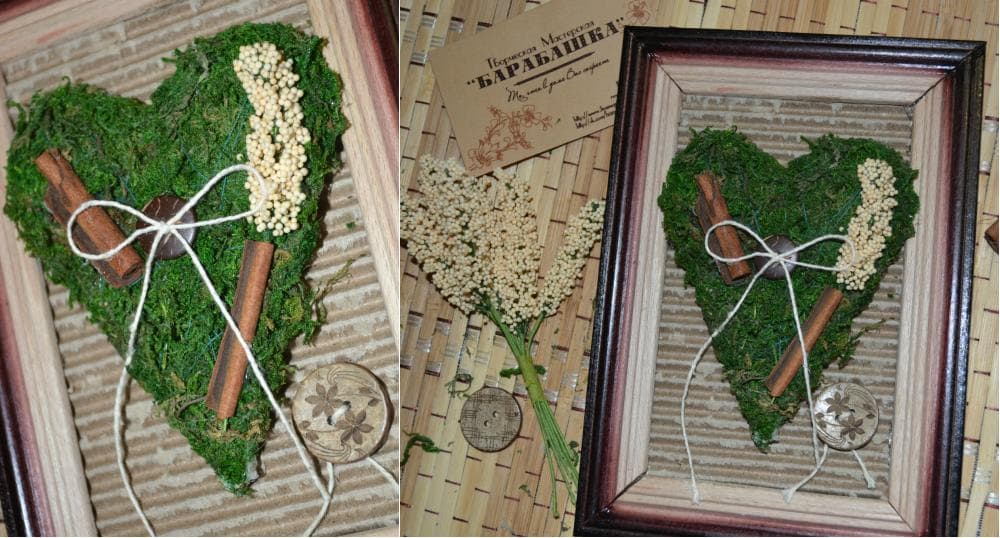
We take the cardboard blank in the form of a frame and tear off the top layer. We leave only the corrugated part.


We place it in a frame and glue it to the back wall for reliability.

Glue the heart to the cardboard. We decorate it with cinnamon sticks and other additional decorations.

To make the picture even more beautiful, we attach a button with a twine knot.
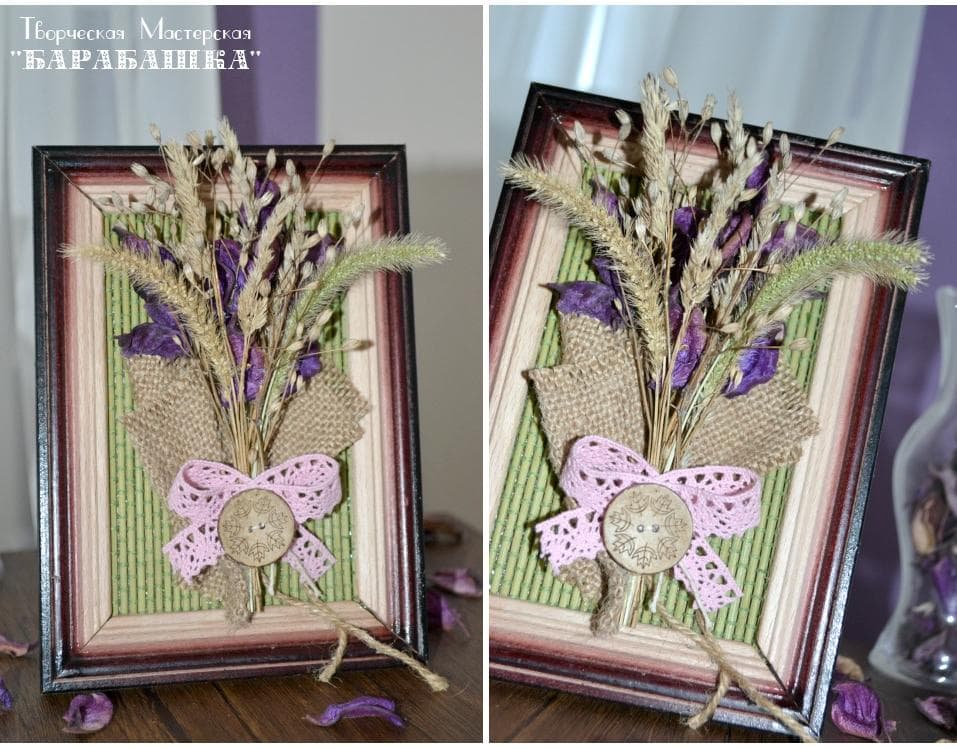
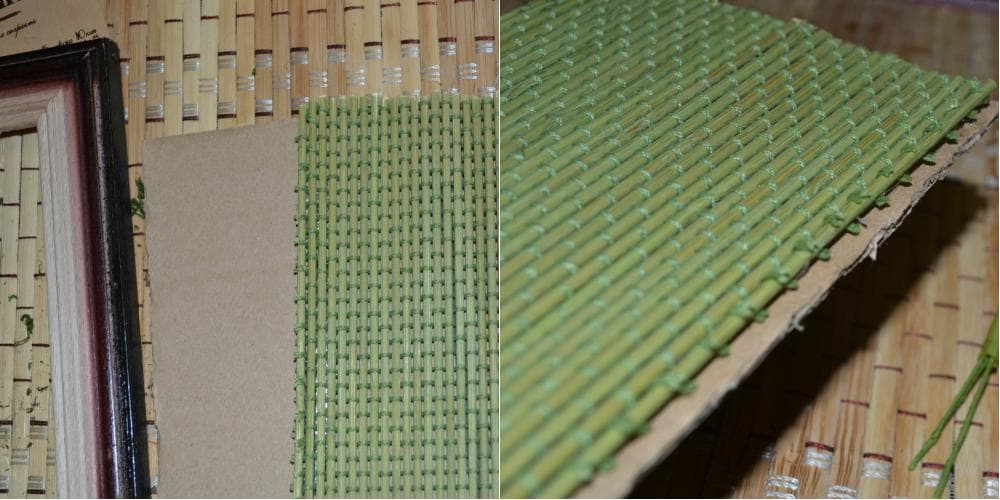
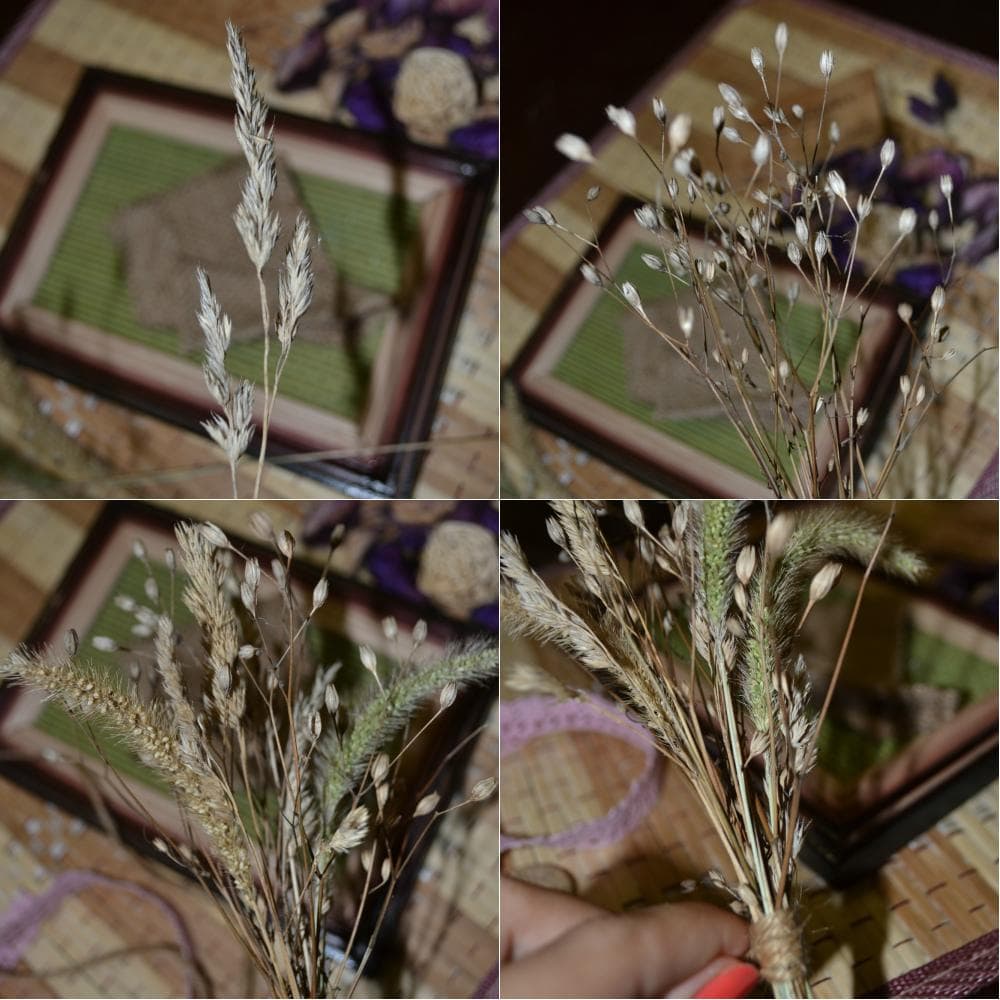
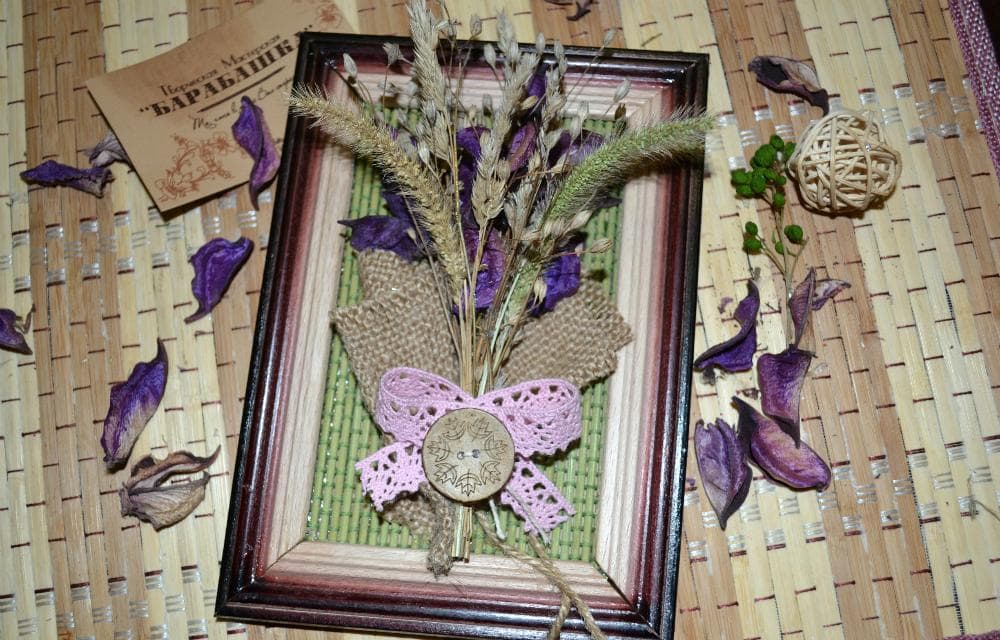
Picture of dried flowers
It will take:
- wooden frame;
- cardboard;
- bamboo mat;
- scissors;
- dried flowers;
- twine;
- sackcloth;
- wooden buttons;
- lace;
- glue in the gun;

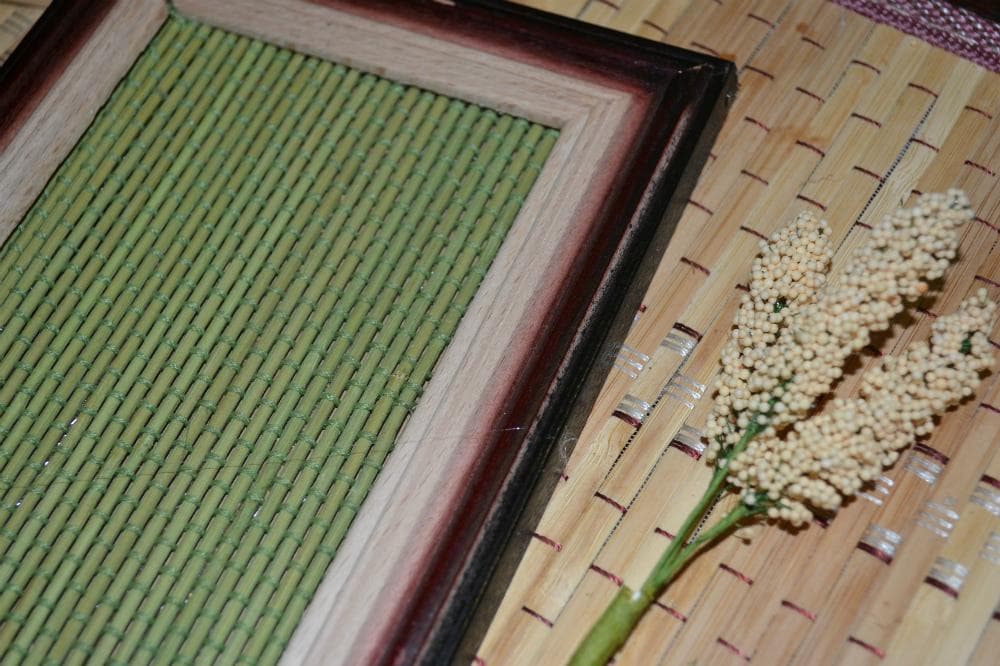
By the size of the blank cardboard cut out a piece of bamboo mat. Glue the two parts together.
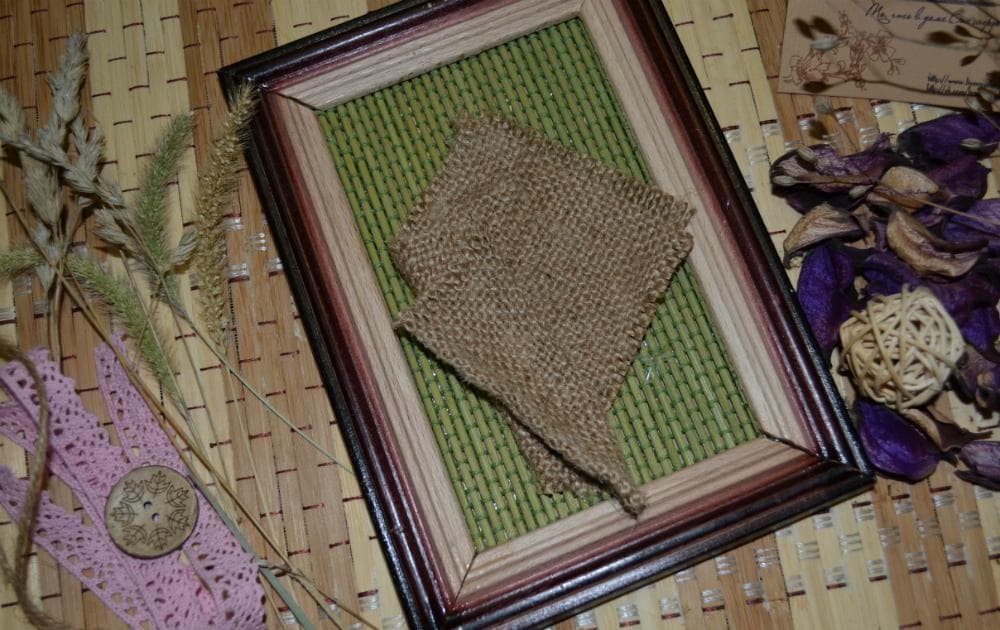
Insert the blank into the photo frame.
Glue a small piece of burlap in the shape of an envelope to the mat.
We collect a bunch of dried flowers and tie it with a string.
Glue the bouquet to the burlap.
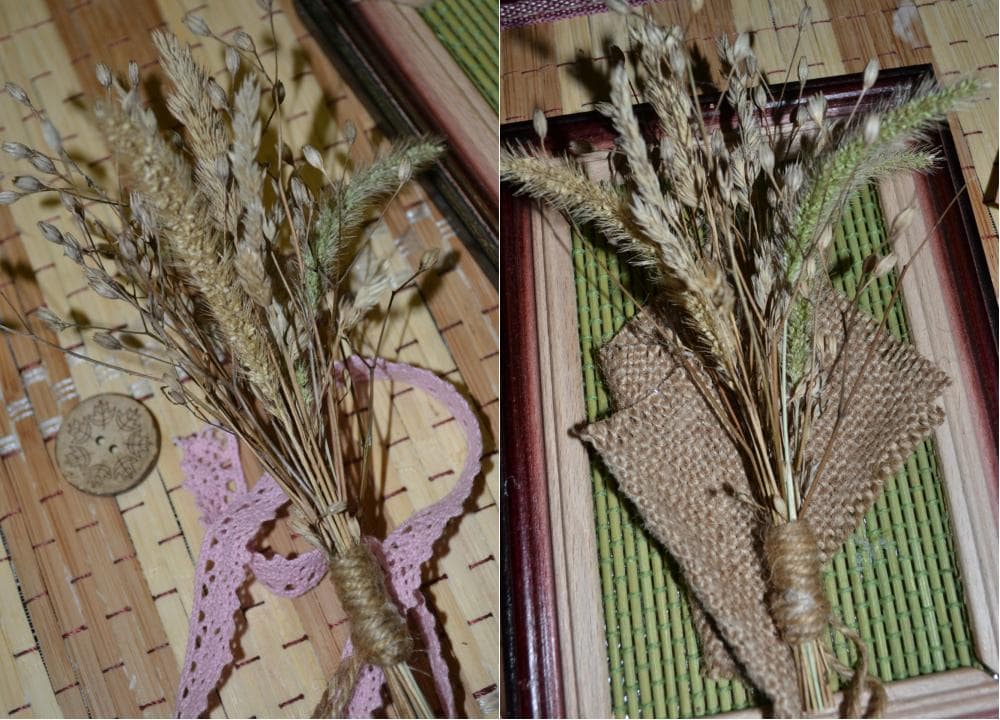
From the lace we make a bow and combine it with a bouquet.

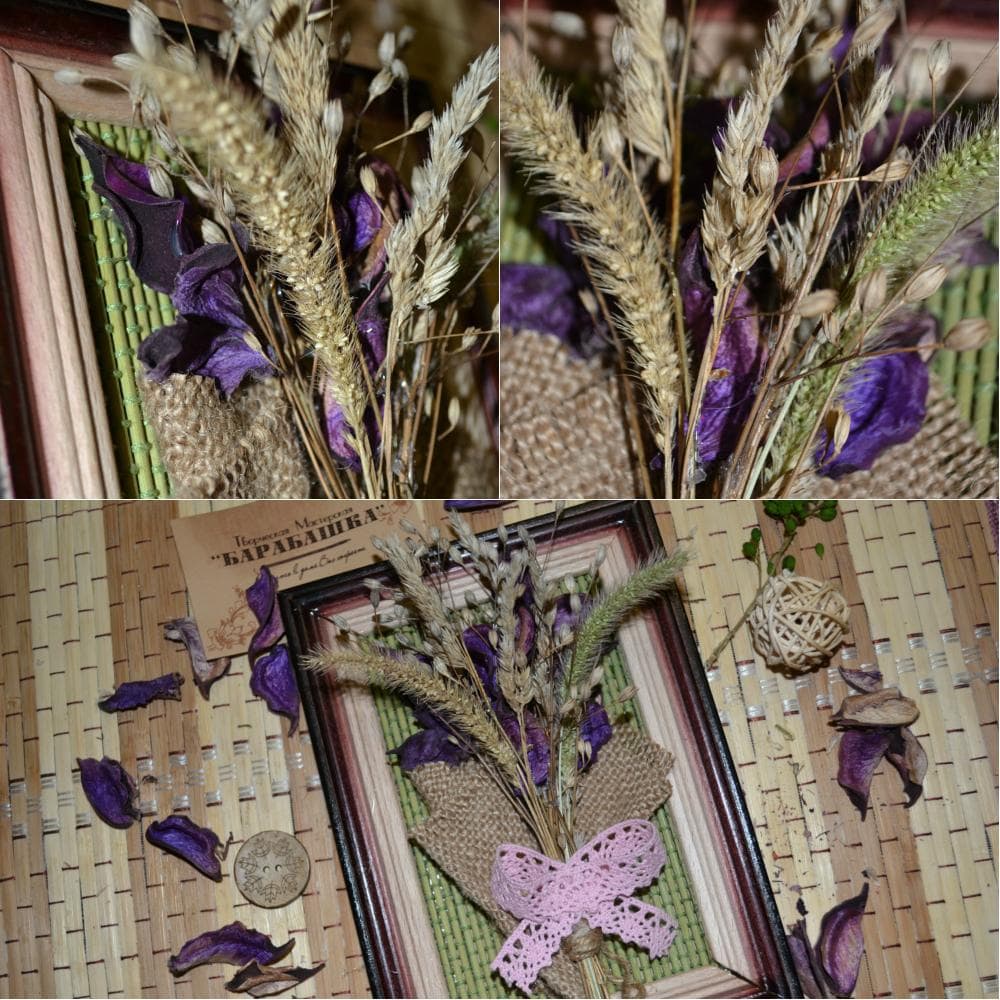
Glue the wooden button over the lace.
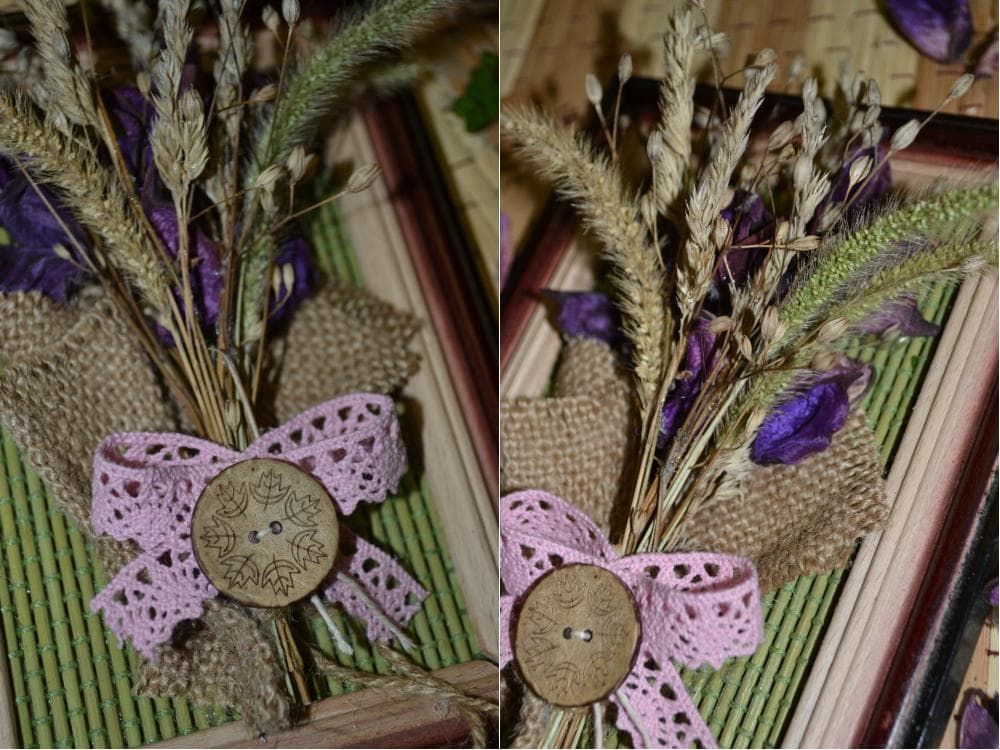
Stylish eco picture is ready!
Paper picture

You will need the following materials:
- wooden frame;
- metal grid;
- color paper;
- white spray paint;
- drill;
- stapler;
- mounting screws;
- wire cutters.
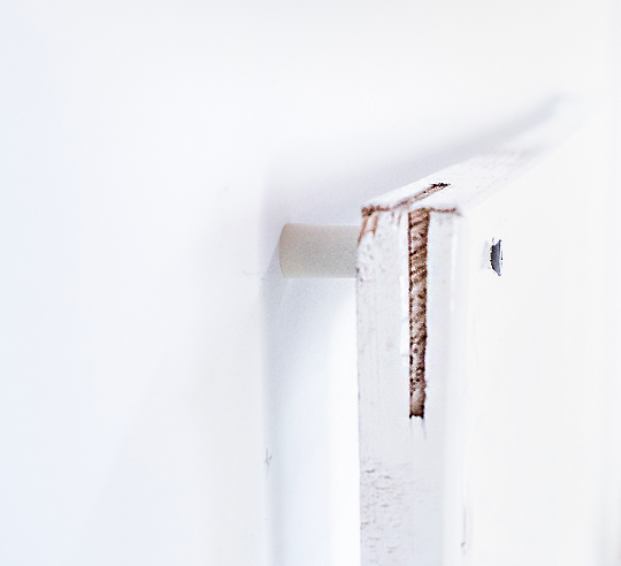
Attaches the net to the frame with a stapler. The remains of the grid cut off with pliers. Paint the frame with the grid in white and leave to dry completely.

Using a drill and screws, we attach the frame to the wall.
Cut colored paper strips. Alternately, each of them is twisted into a tube and inserted into the mesh holes.
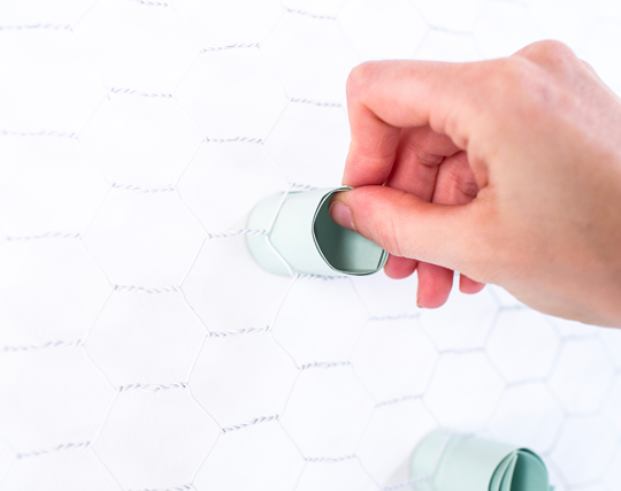
Optionally, you can add to the composition of various shades.
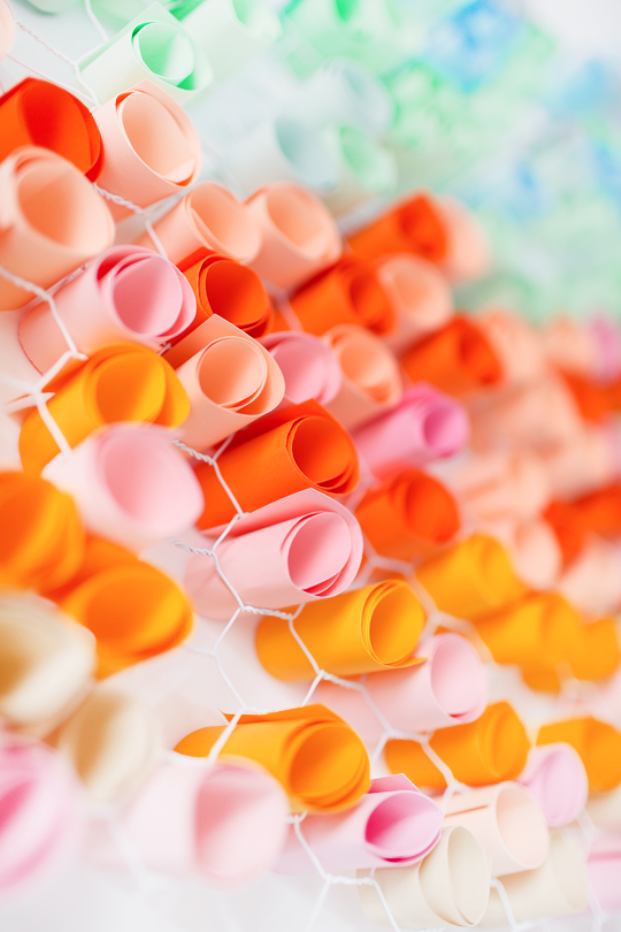
Show imagination so that the picture better emphasizes the interior of the room.


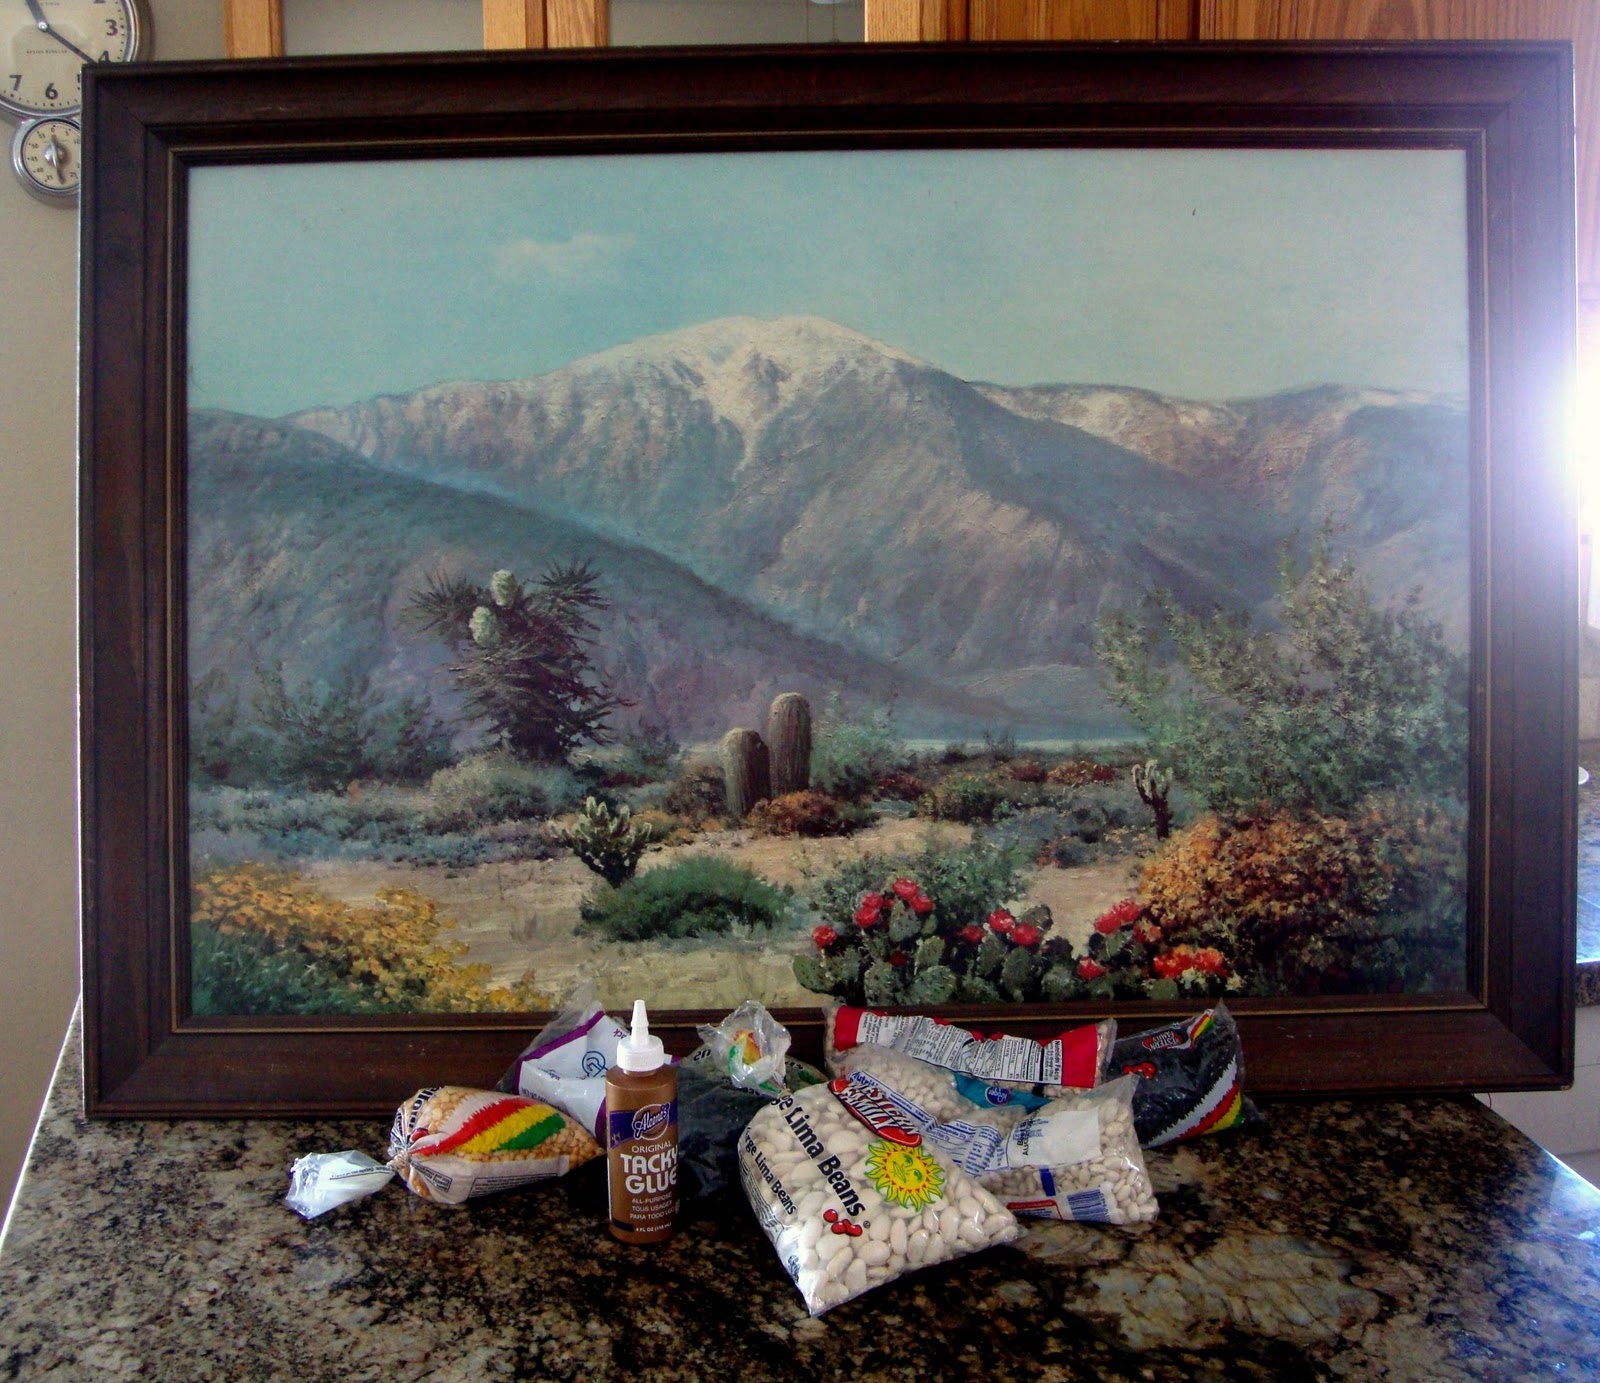
Picture of legumes

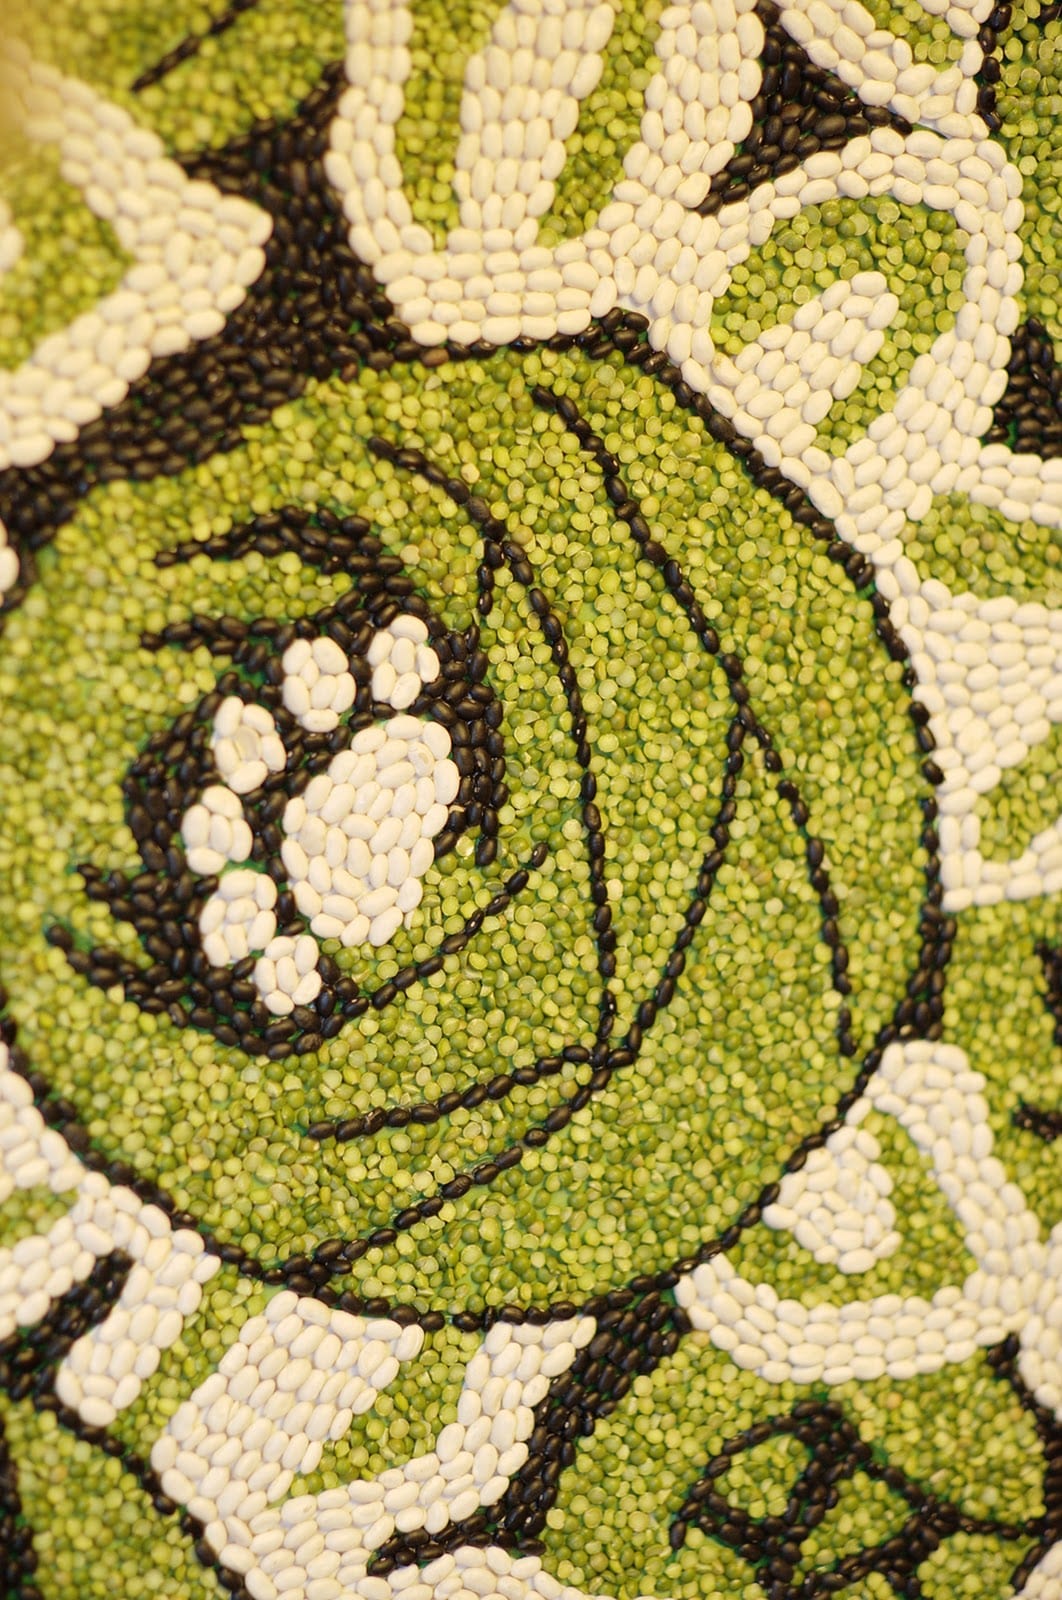
You can repeat this picture using the following materials:
- legumes (lentils, beans, beans, soybeans);
- printed picture;
- glue in the gun;
- frame.
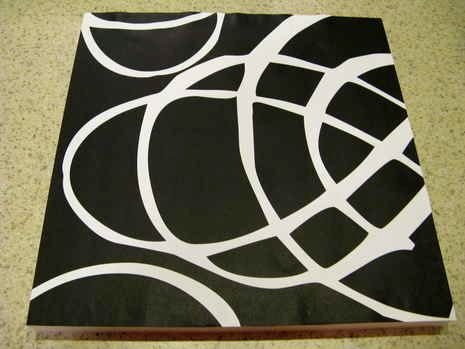
On the inside of the frame we paste the printed picture or draw it ourselves.
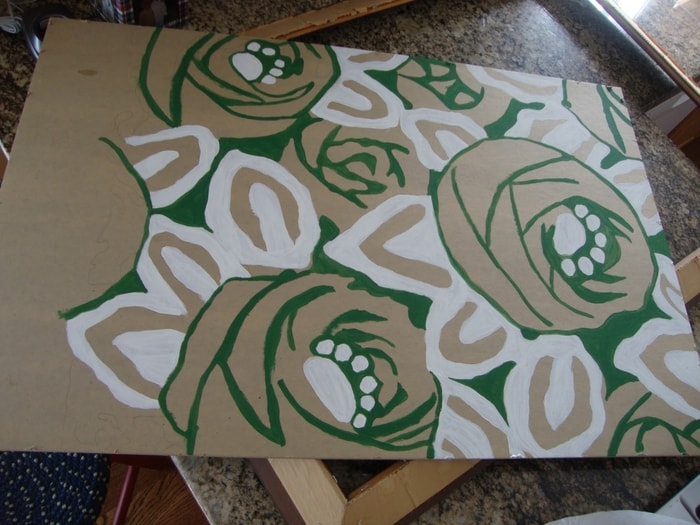
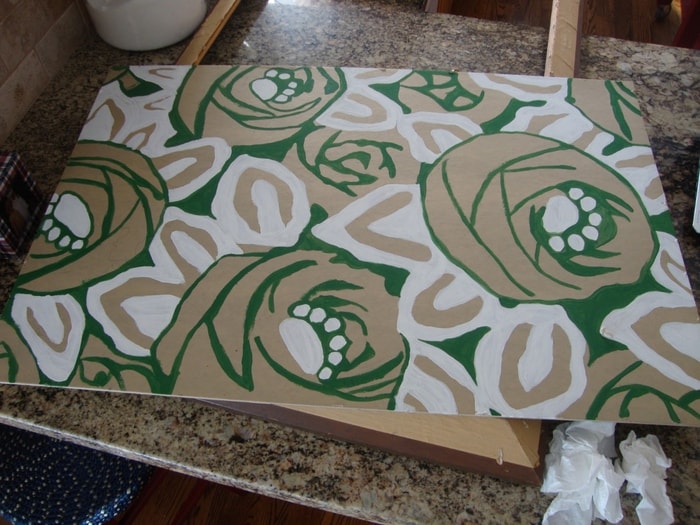
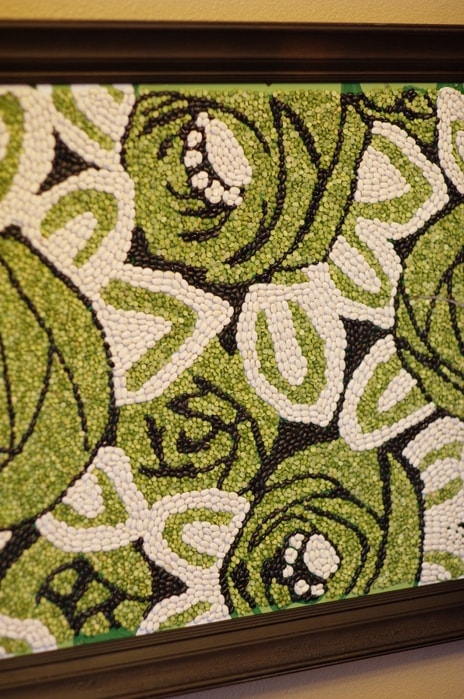
Glue alternately each grain. When the picture is ready, leave it until dry.
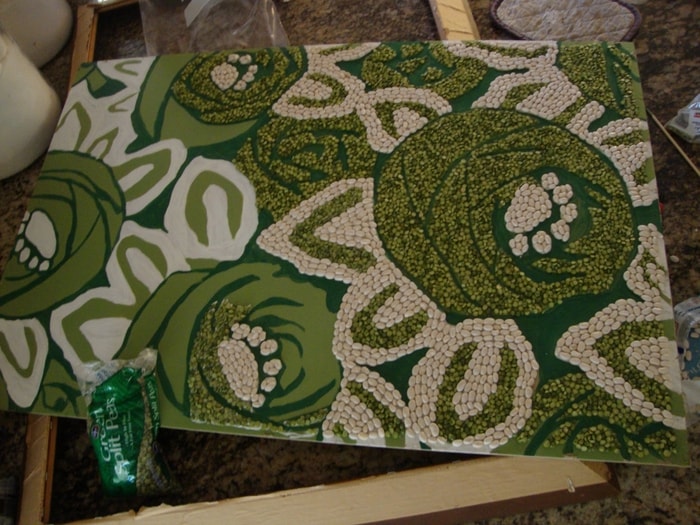
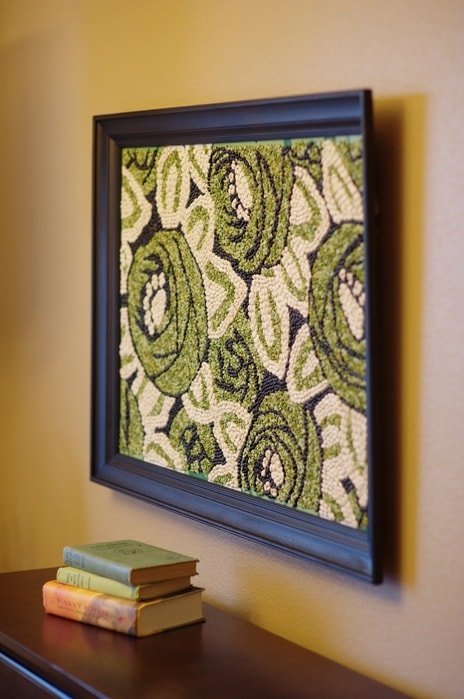
We insert it into the frame and hang it on the wall.
Foam painting
It will take:
- wooden frame;
- Styrofoam;
- the cloth;
- ribbon matching color;
- glue;
- scissors.

Cut off the necessary piece of foam and glue the fabric to it.
We decorate the side parts with a ribbon that matches the color.

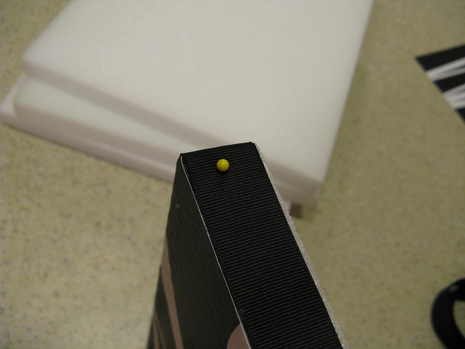
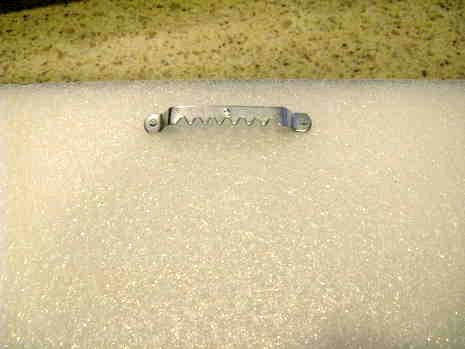
Leave the picture until dry. Attach a bracket or eyelet on the inside and decorate the wall.
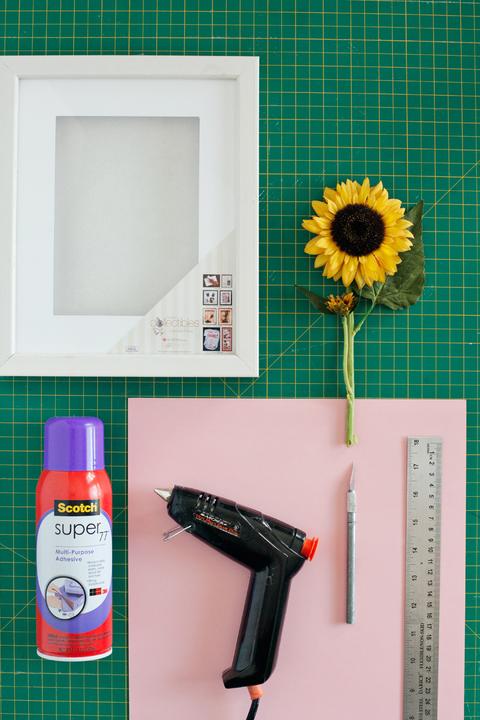
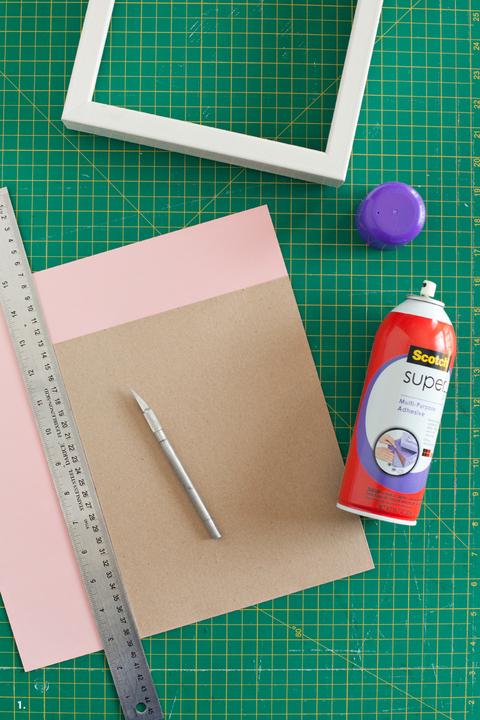
Bulk picture

We will prepare the following materials:
- frame;
- colored cardboard;
- cutting pliers;
- artificial flowers;
- glue in the gun and spray;
- ruler;
- stationery knife.
To the back of the frame we glue colored cardboard with aerosol glue.
We cut the stems of flowers with nippers so that they look beautifully in a frame.
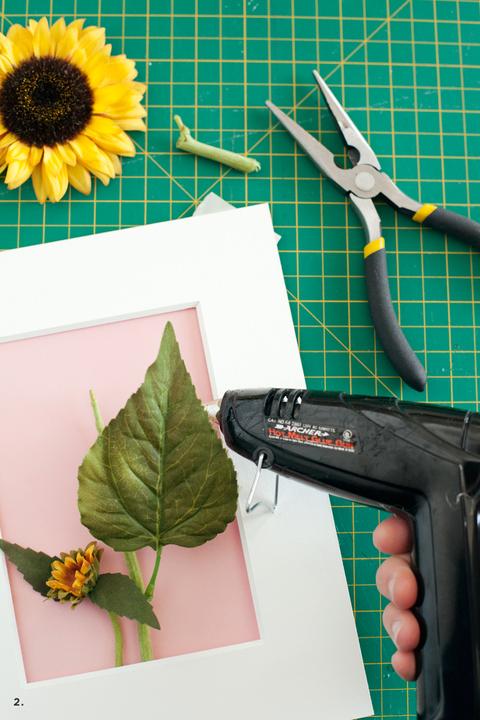
Gently glue the flowers to the cardboard, creating a beautiful composition.
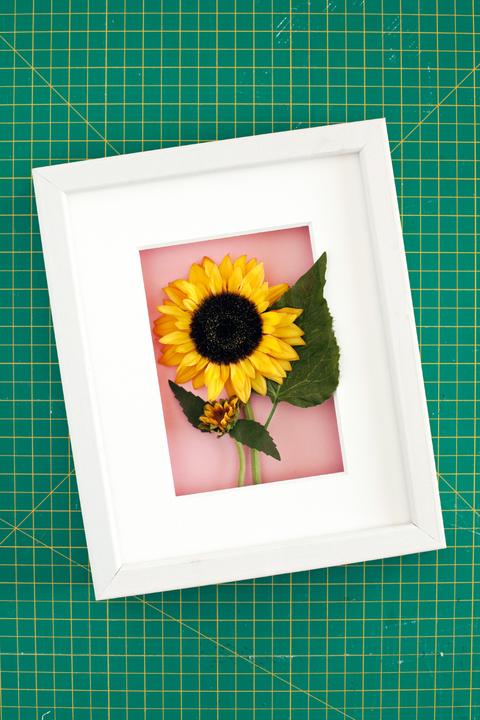
If desired, you can make a variety of three-dimensional paintings that will precisely decorate any room.

Make an amazing picture with their own hands everyone can! You do not need to have special knowledge or skills. Repeat all the steps of the master class and the result will surely please you.


