


Content:
Who else but you know all about your nails: what kind of manicure suits them best, what color gel polish is in harmony with your usual wardrobe, what designs to use to decorate the nails. If you want to do it perfectly, do it yourself - this expression refers to any life situations, and manicure is no exception. In our review, we have prepared for you a complete list of tools needed for an independent manicure, and the main steps in creating the perfect nail design.
The benefits of manicure itself
Undoubtedly, a trip to the manicure master is a rest and a real pleasure for every girl. Nothing cares about you these minutes, you give your nails to professional care. As a result, you get perfectly groomed nails and an attractive design.
But in manicure itself has its advantages.Firstly, you do not have to pay for this procedure, and secondly, you yourself decide for yourself the complex of procedures that your nails will undergo. In addition, no one limits you in time and you can spend as many hours on your appearance as you wish.
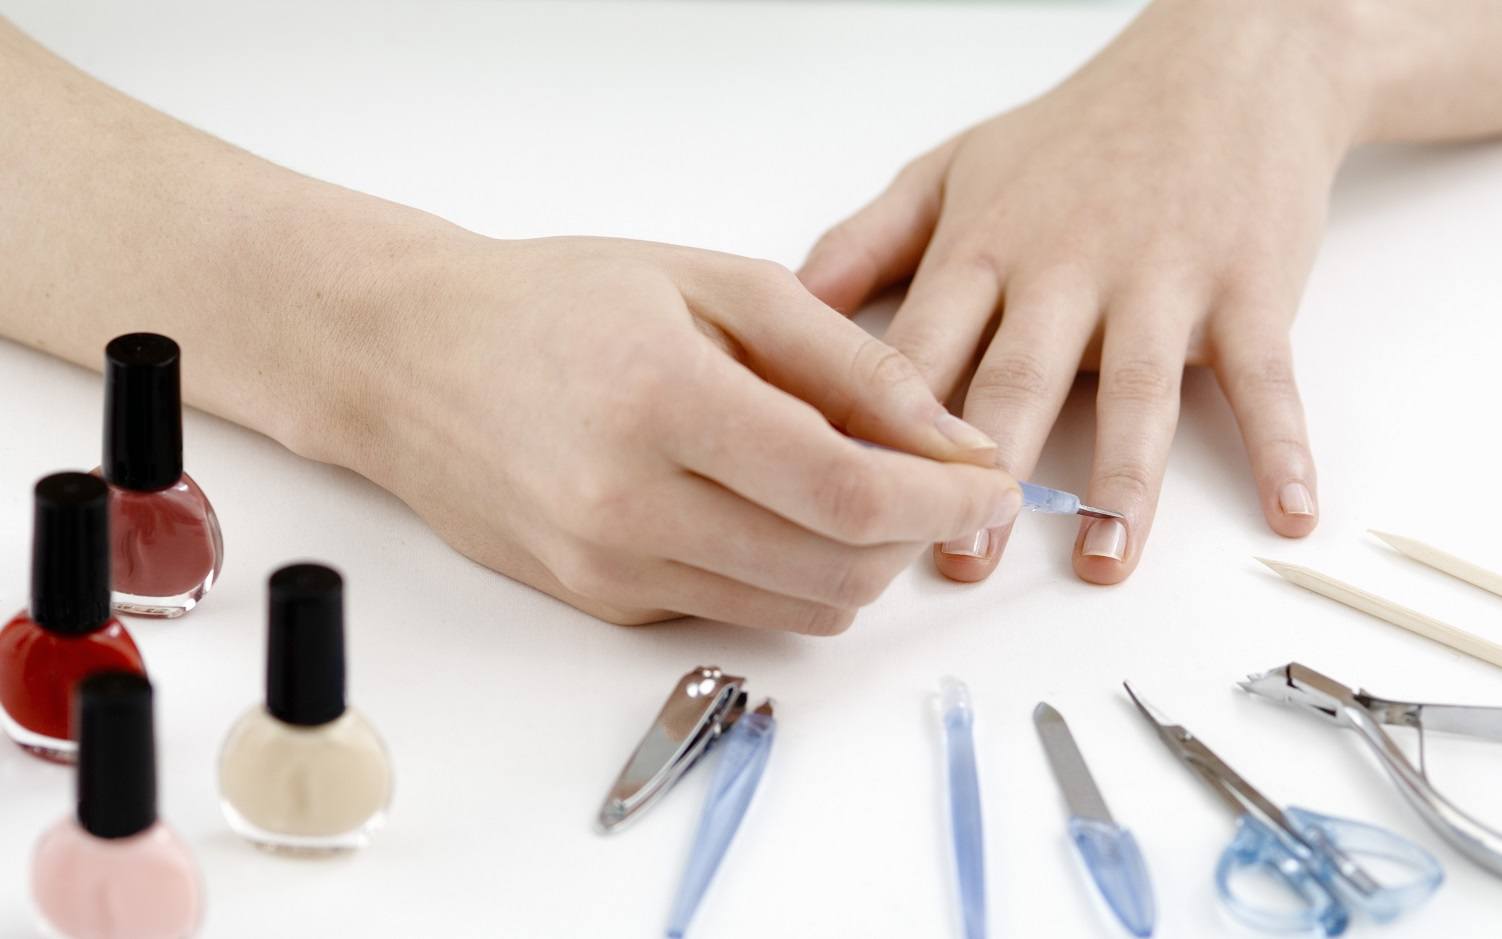
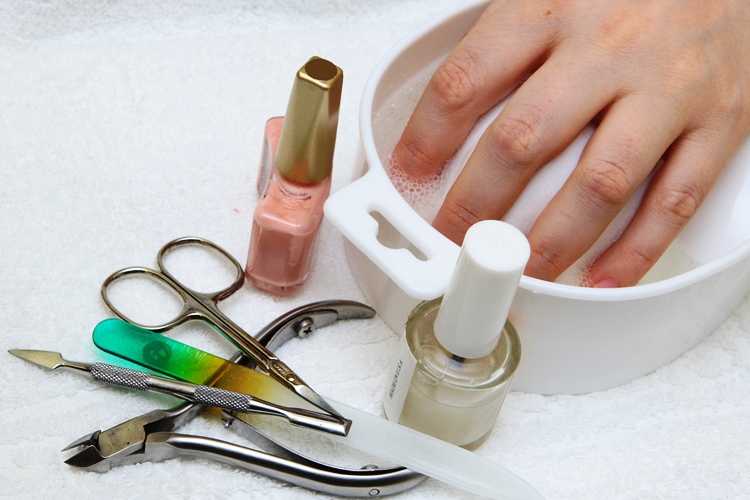
What you need to manicure itself: a complete list of tools
Before you start applying a bright gel polish and the subsequent decoration of nails with complex decor, you need to prepare the appropriate soil, and simply put, make a basic manicure.
The choice of tools depends on what type of manicure you prefer: edged or unedged. The standard list of tools includes:
- gel polish remover
- cotton pads or lint-free wipes
- scissors, nail clipper
- orange stick
- remuver or cuticle softener
- nail files of different abrasiveness to give the nails the necessary shape
- nail polish buff
- gel varnishes different shades
- base and top nail cover
Unedged manicure itself: step by step instructions for implementation
The technique of performing manicure itself practically does not differ from the salon version. Use the same steps that the master applies when caring for your nails.
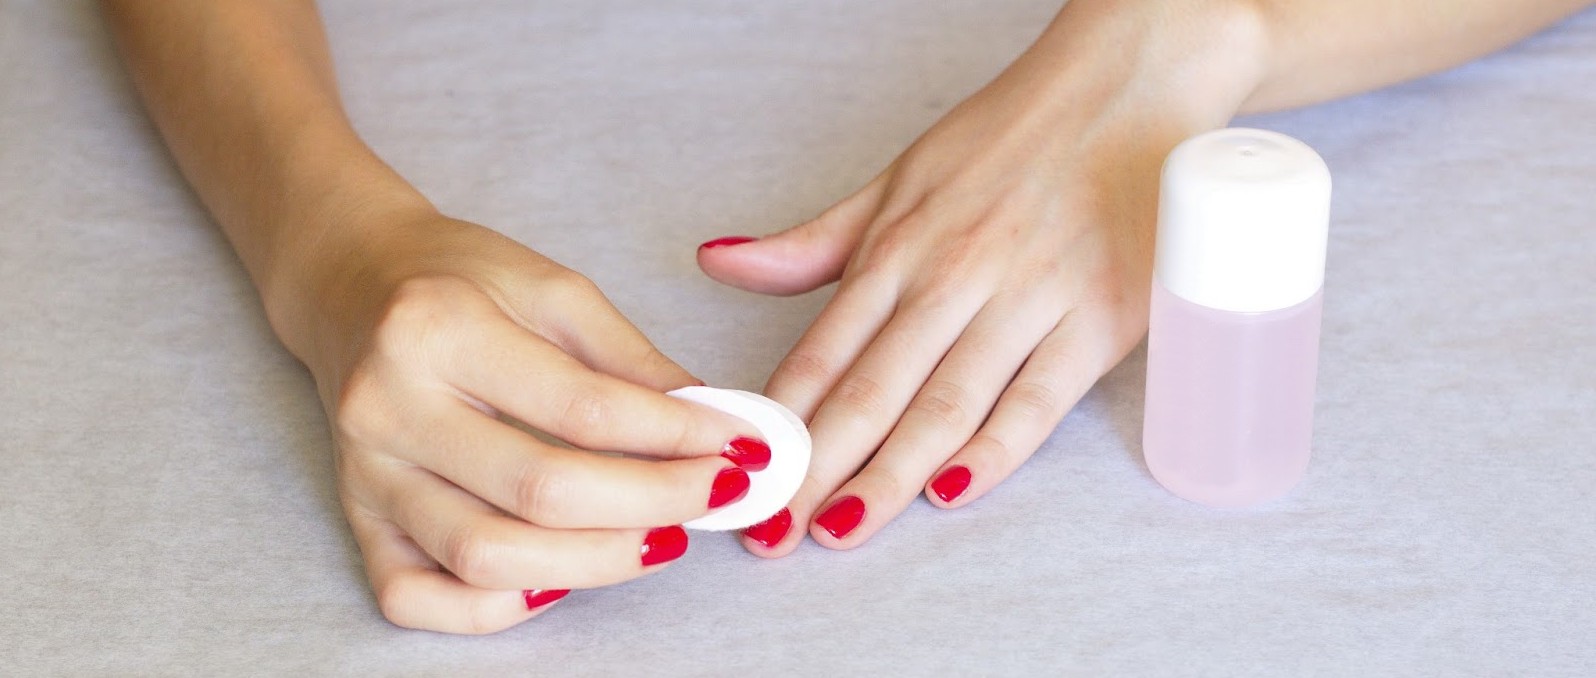
Remove the old coating with nail polish remover
If you used a usual varnish for decoration, then just rub your nails with a cotton pad or lint-free cloth moistened with liquid. To remove the gel polish will require foil. She needs to wrap each nail with cotton pads attached to them with nail polish remover.
Even if your nails do not have lacquer, then still wipe the nail plate with nail polish remover. This will degrease the nail and prepare it for further manipulations.
Trim excess nail length
This can be done with scissors or nippers. If the nails are not too long and you do not plan to shorten them, you can skip this step.
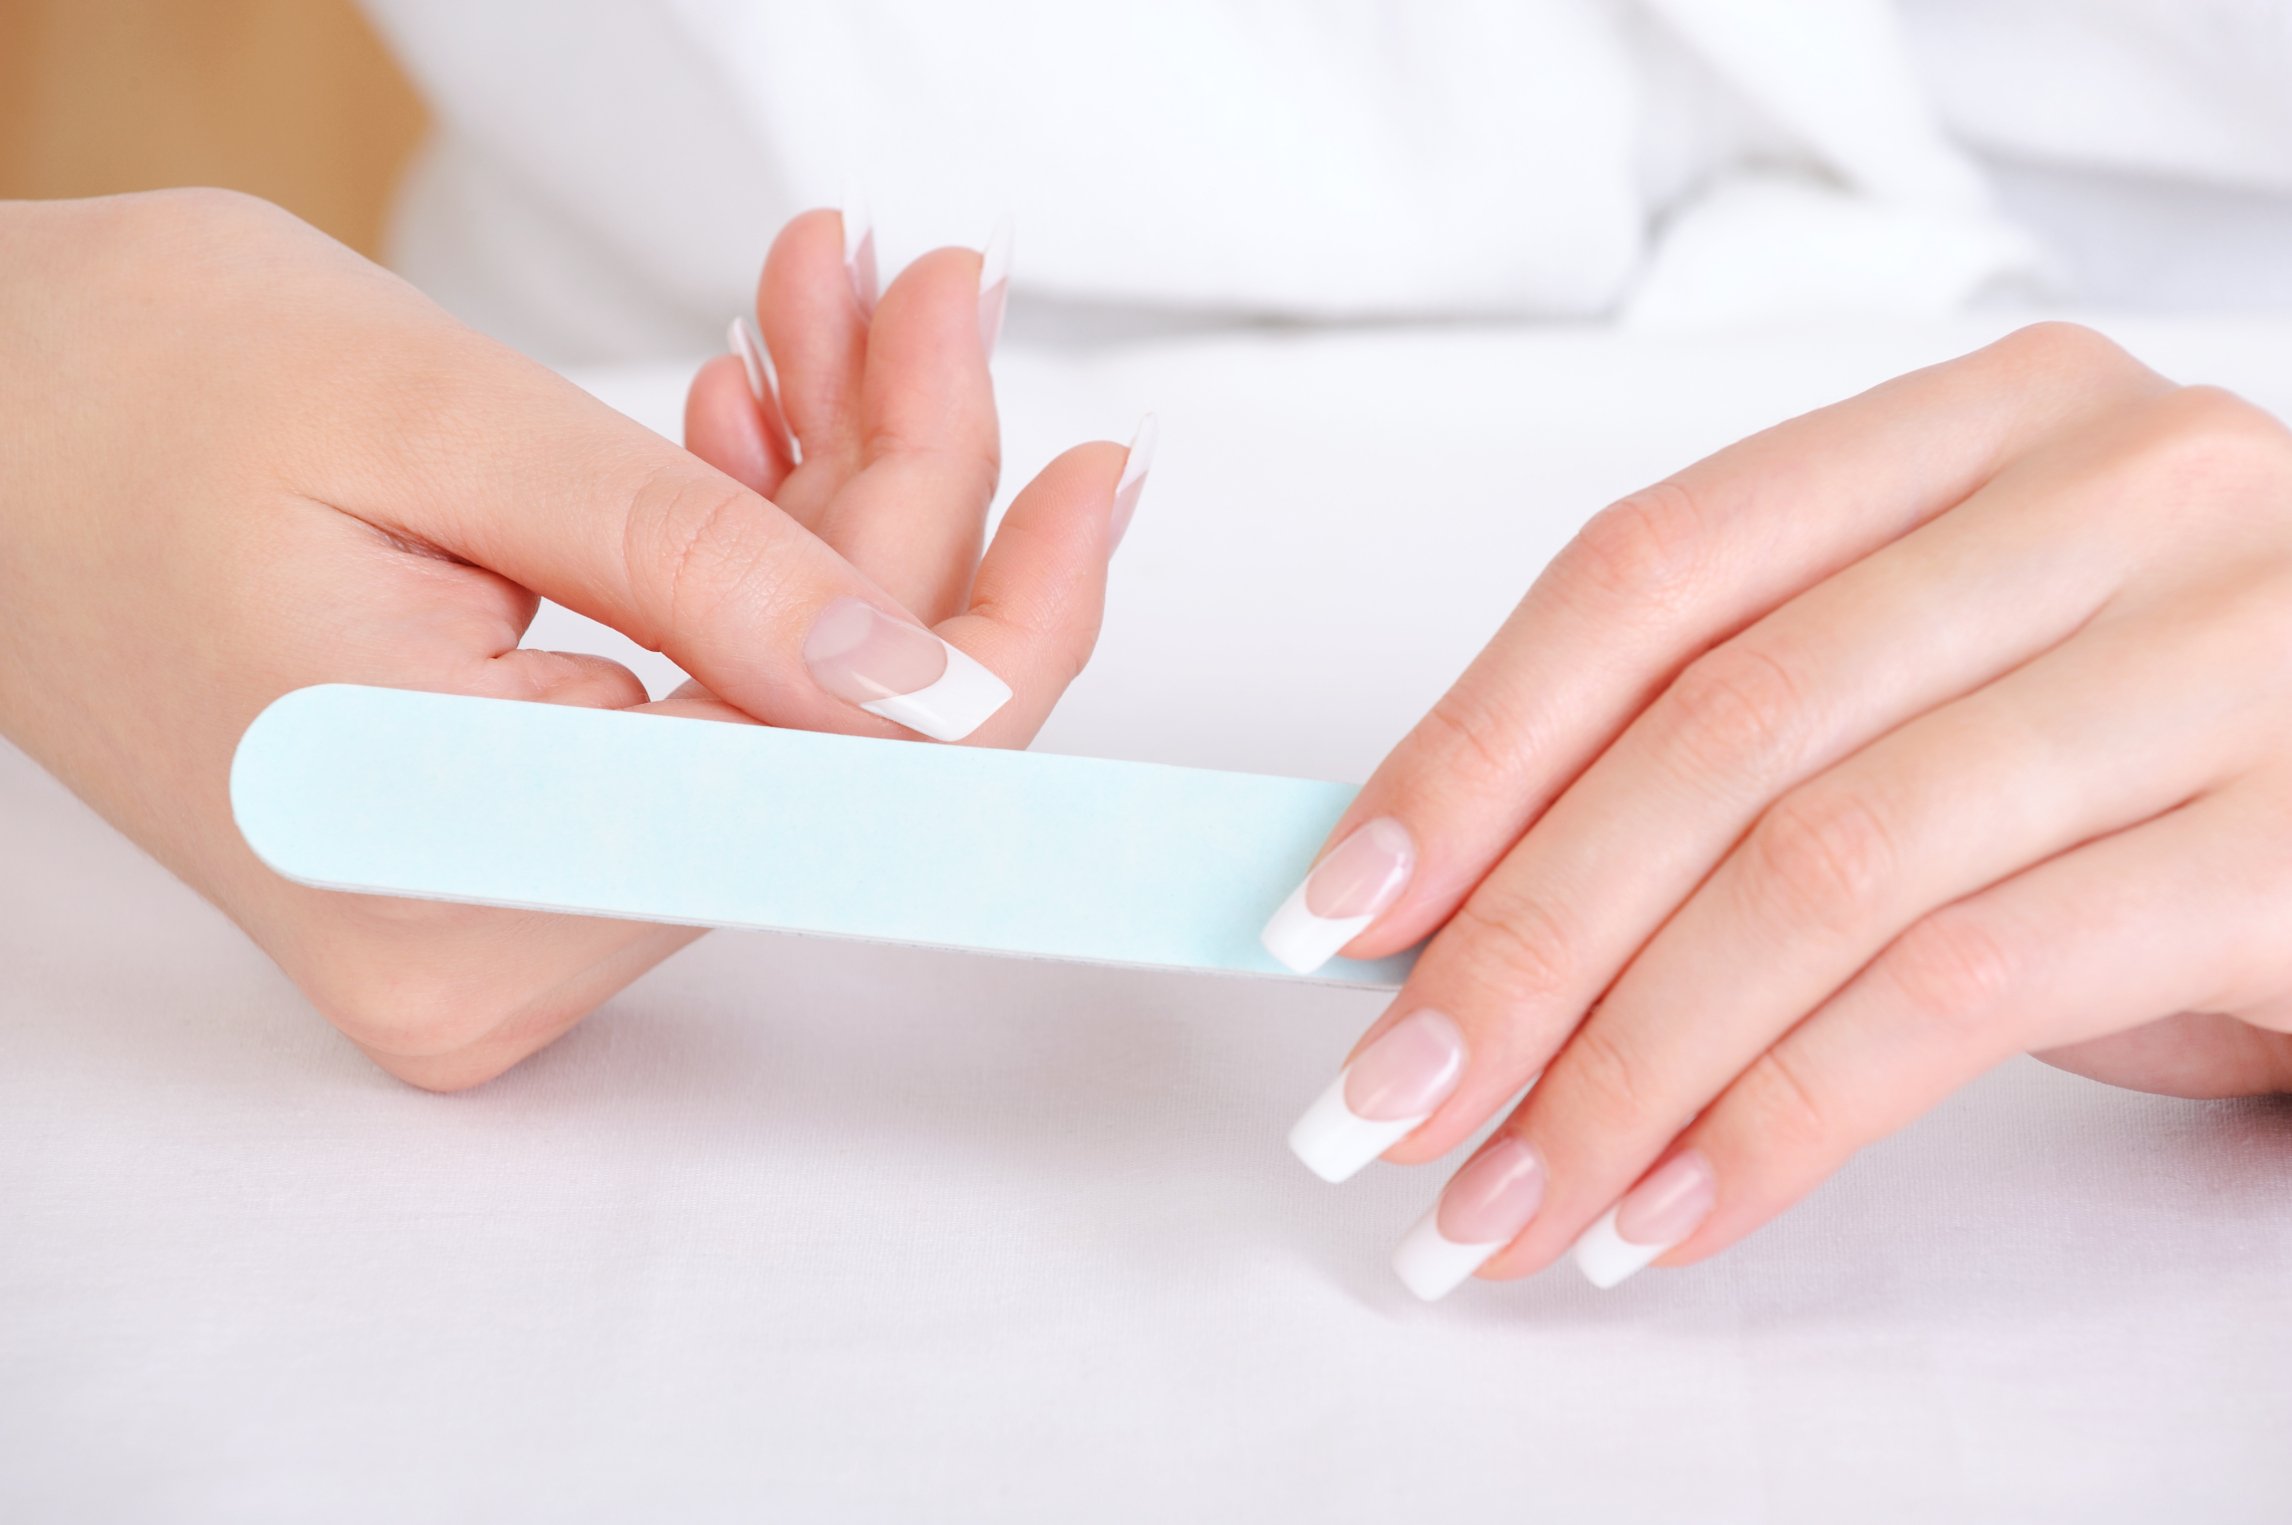
File nails
Use nail files with an abrasiveness of 180-200 grit to correct the nails. To avoid stratification of nails, move the nail file in one direction, with smooth movements. Round the nails very carefully, do not file the nails on the sides. This can lead to their separation.
In no case do not use a nail file immediately after water procedures. The nail plate must be completely dry.
Sand the edges with a buff
Baf helps to polish the edge of the nail and polish its surface. Again, do not overdo it. It is not necessary to polish the nails to a mirror shine, otherwise gel polish will be difficult to gain a foothold on such a surface.
Remove cuticle
Using a special pusher or orange stick, gently push the cuticle and pterygium (the bottom layer of the cuticle, which looks like a film).
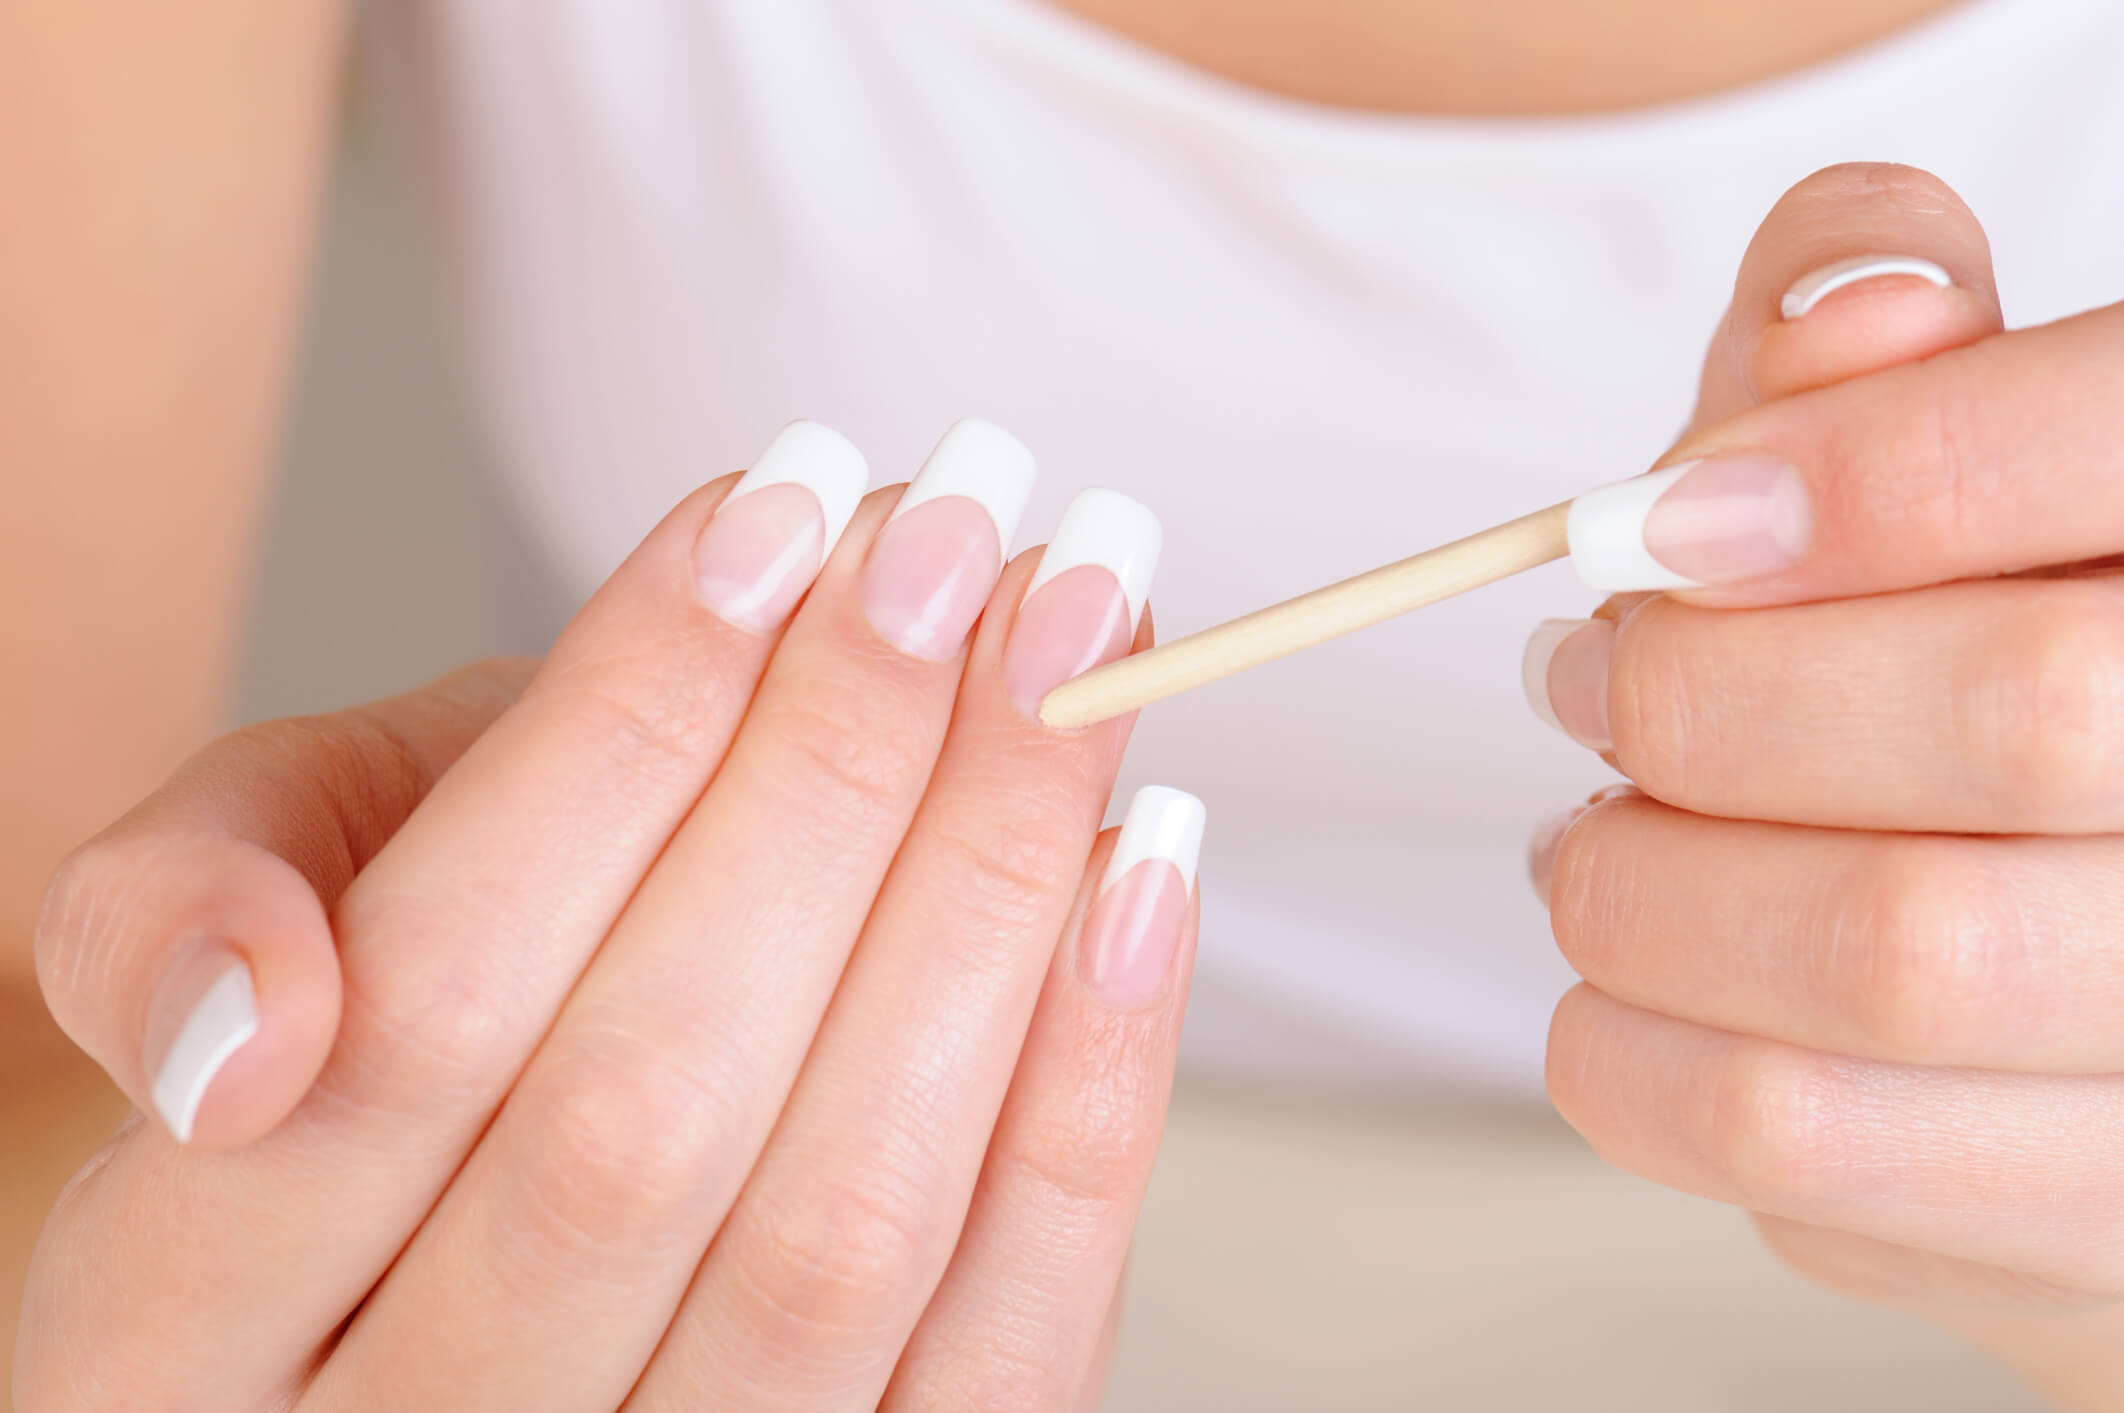
Apply remuver
Remuver - a softening carer for the cuticle. With him, the cuticle is easy to separate from the nail plate and skin. The procedure takes only 20-30 seconds.
After using the remuver, once again move the cuticle and remove it with an orange stick. Use a nipper or scissors to remove burrs. Treat your skin with a cream.
Wipe nails with nail polish remover
After using the remover, it is necessary to treat the nail plate with alcohol-containing liquid. This will degrease the surface of the nail.
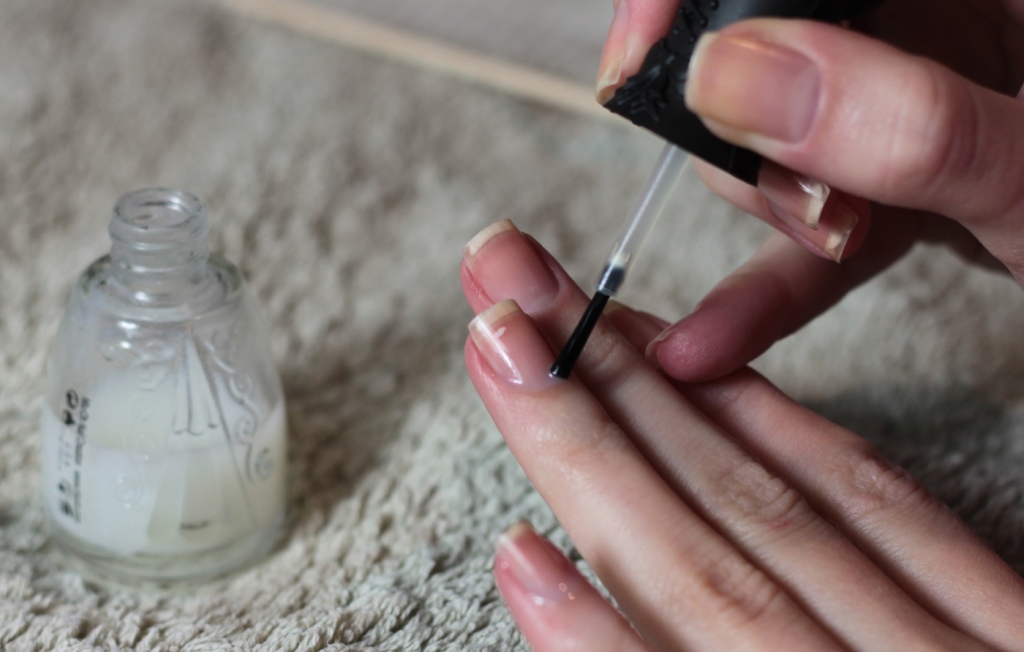
Apply a base coat for nails.
The base coat helps protect the nails from the negative effects of gel polishes, provides better adhesion of the nail plate and nail polish. Apply the base with a thin layer, stepping back a little from the cuticle.
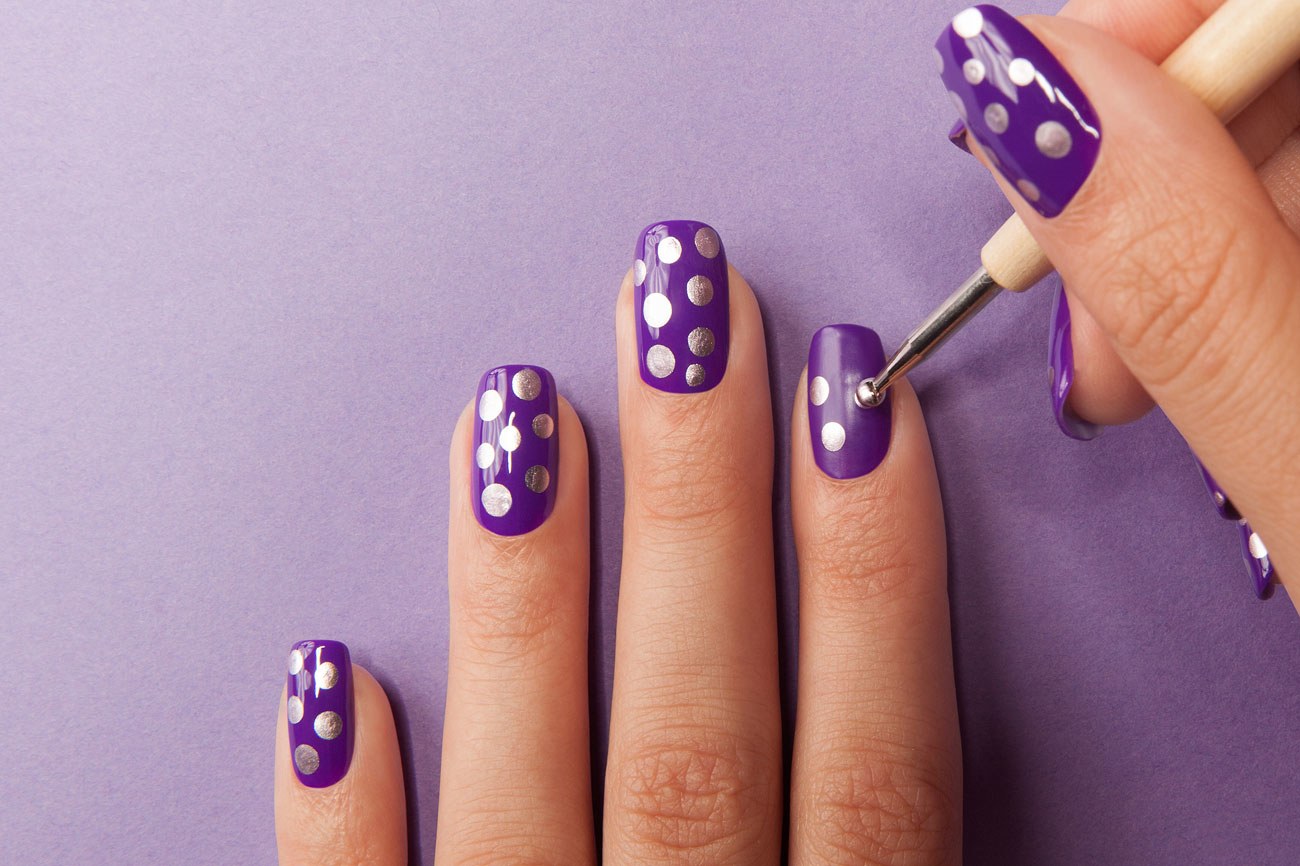
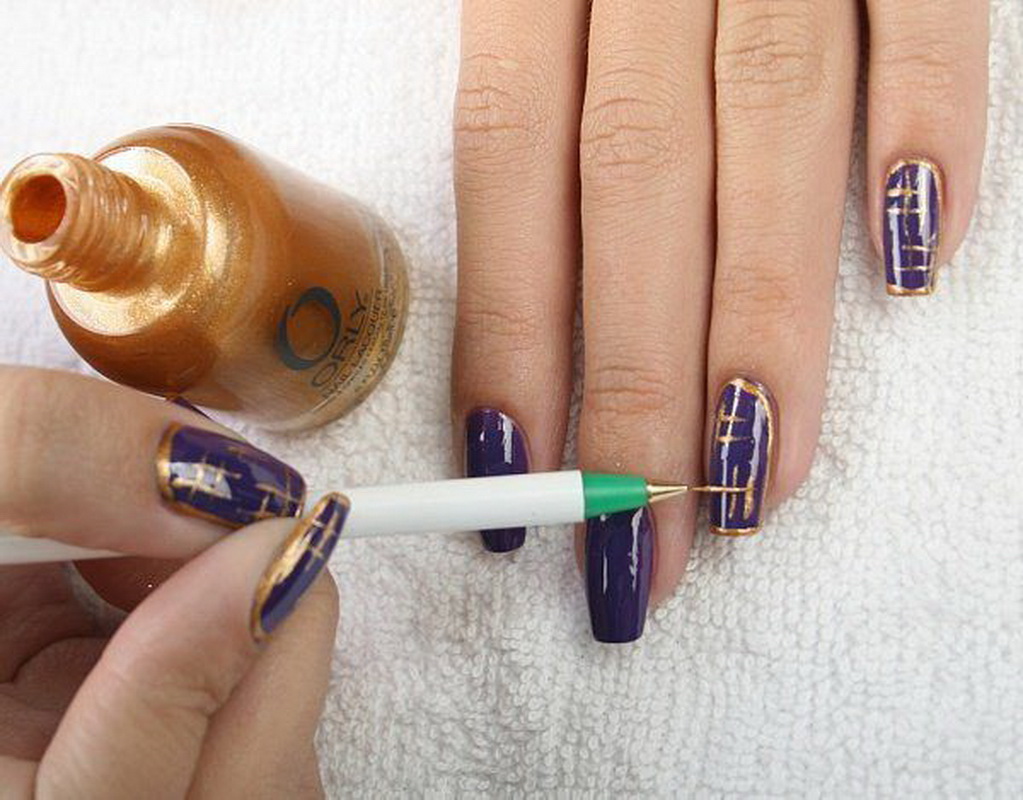
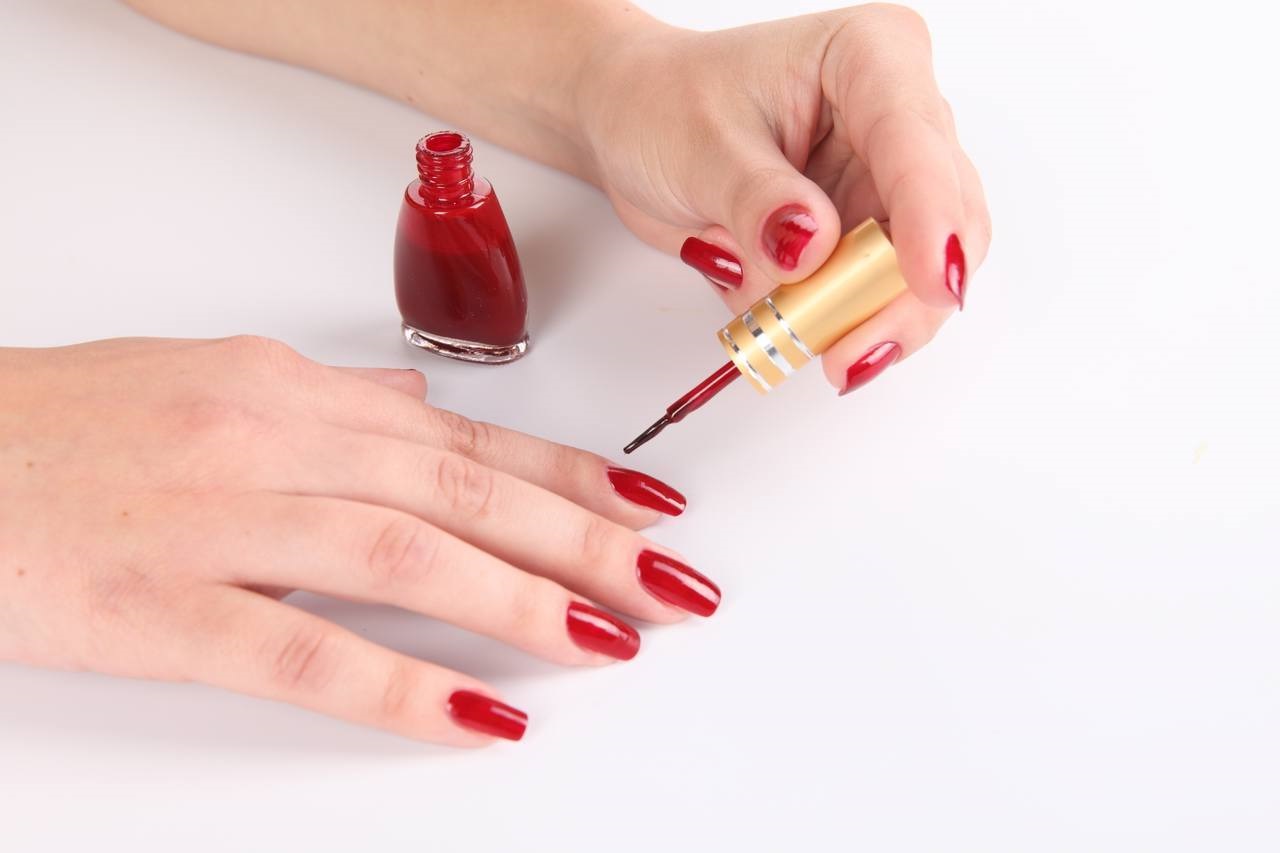
After this step, you can start applying color gel polish and decorating nails with rhinestones, acrylics, sliders, etc.
Manicure yourself: whether to do
Today, unedged (European) manicure is very popular, the creation scheme of which we cited above. In such a manicure, the cuticle is not trimmed with scissors, but gently softens with a remuver, and then moves away.
If you are accustomed to unedged manicure, then you should not experiment with the cuticle. The more often you cut the cuticle, the rougher it becomes. In addition, inexperience in performing a cut manicure can result in injury to the nail and skin around.
The cuticle serves as a barrier that protects the skin from infections. Replenish your manicure set with a remover and you will not have problems with the removal of the cuticle.
The cut manicure differs from not edging only in the way of a cuticle removal. Otherwise, all stages of the caring procedure are repeated.
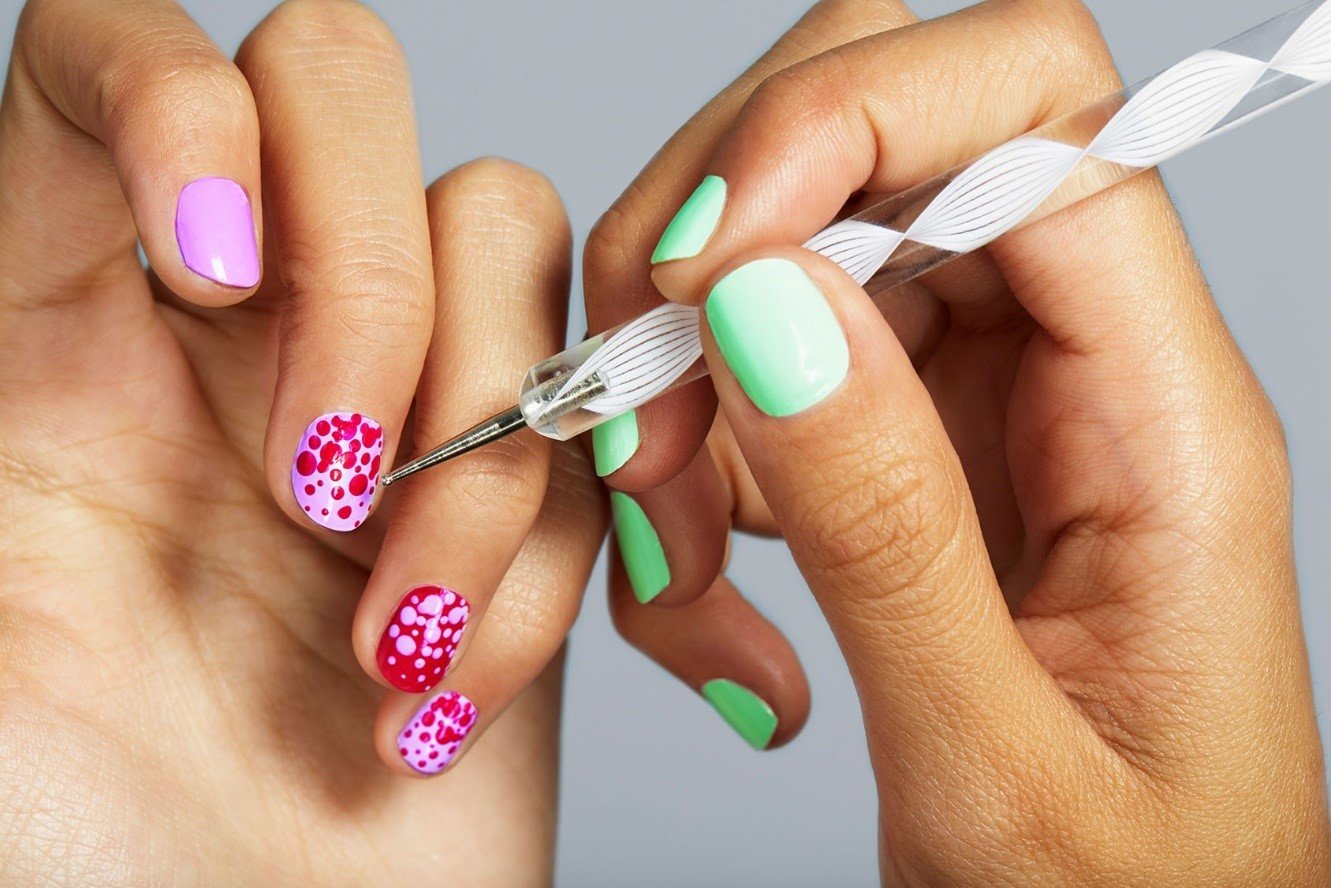
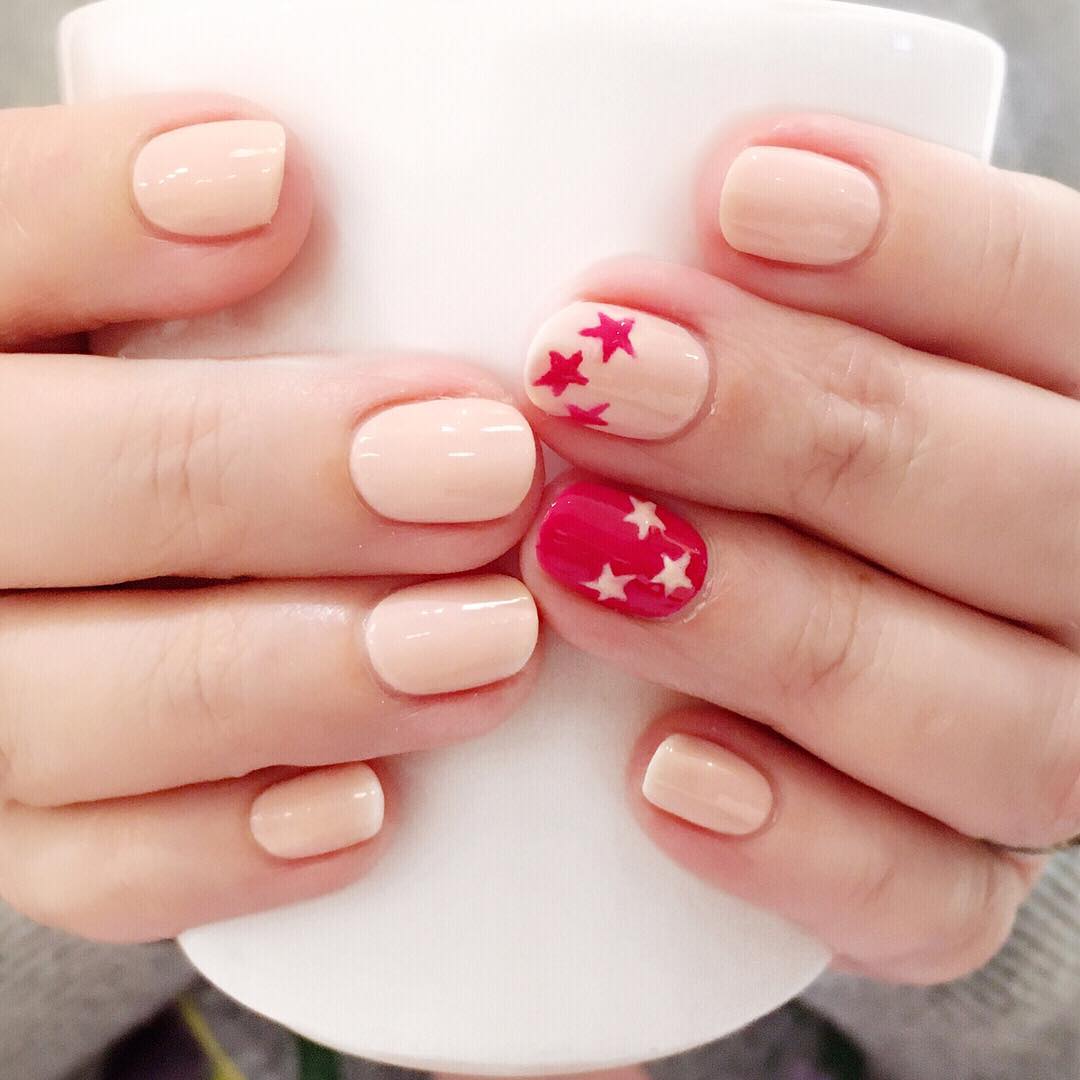
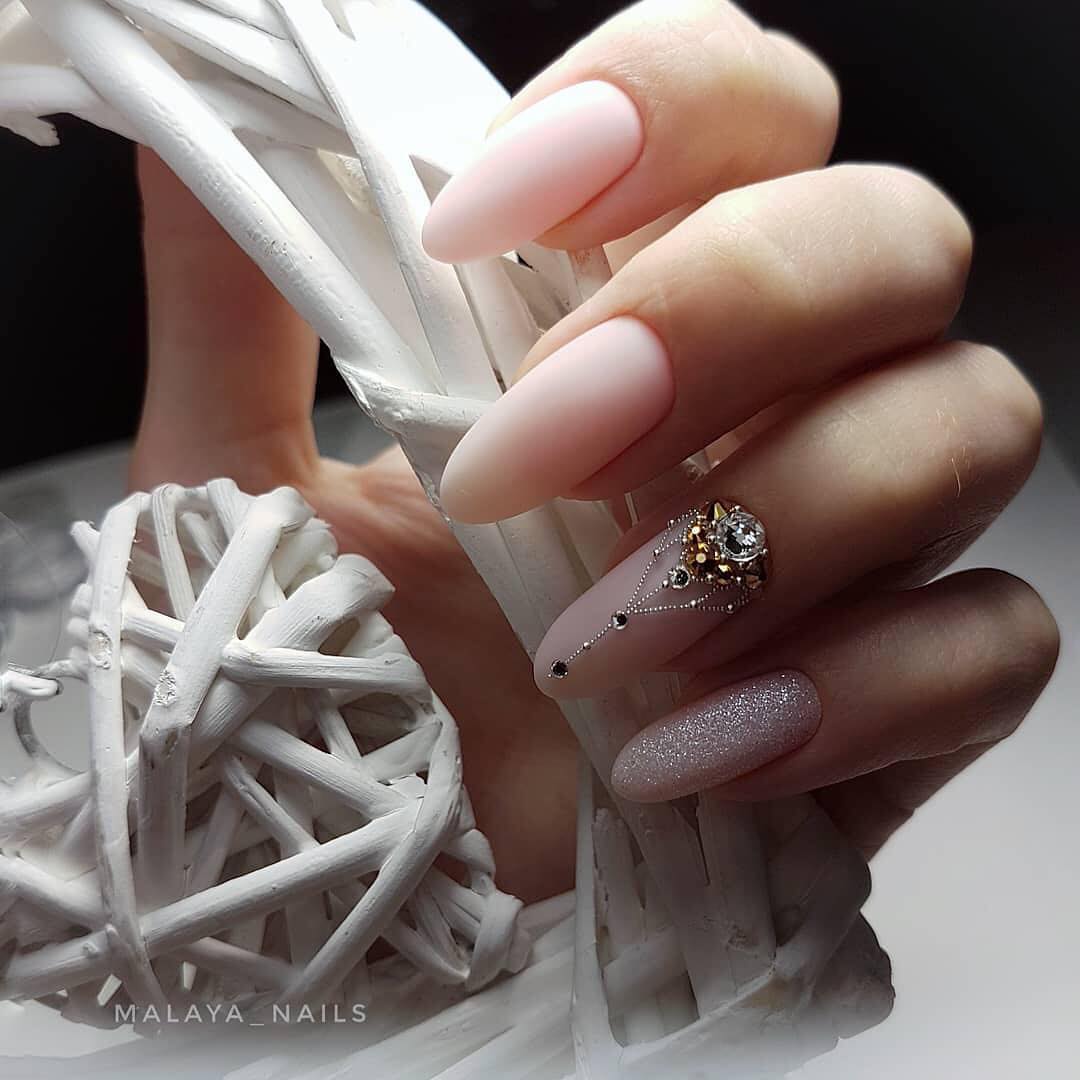
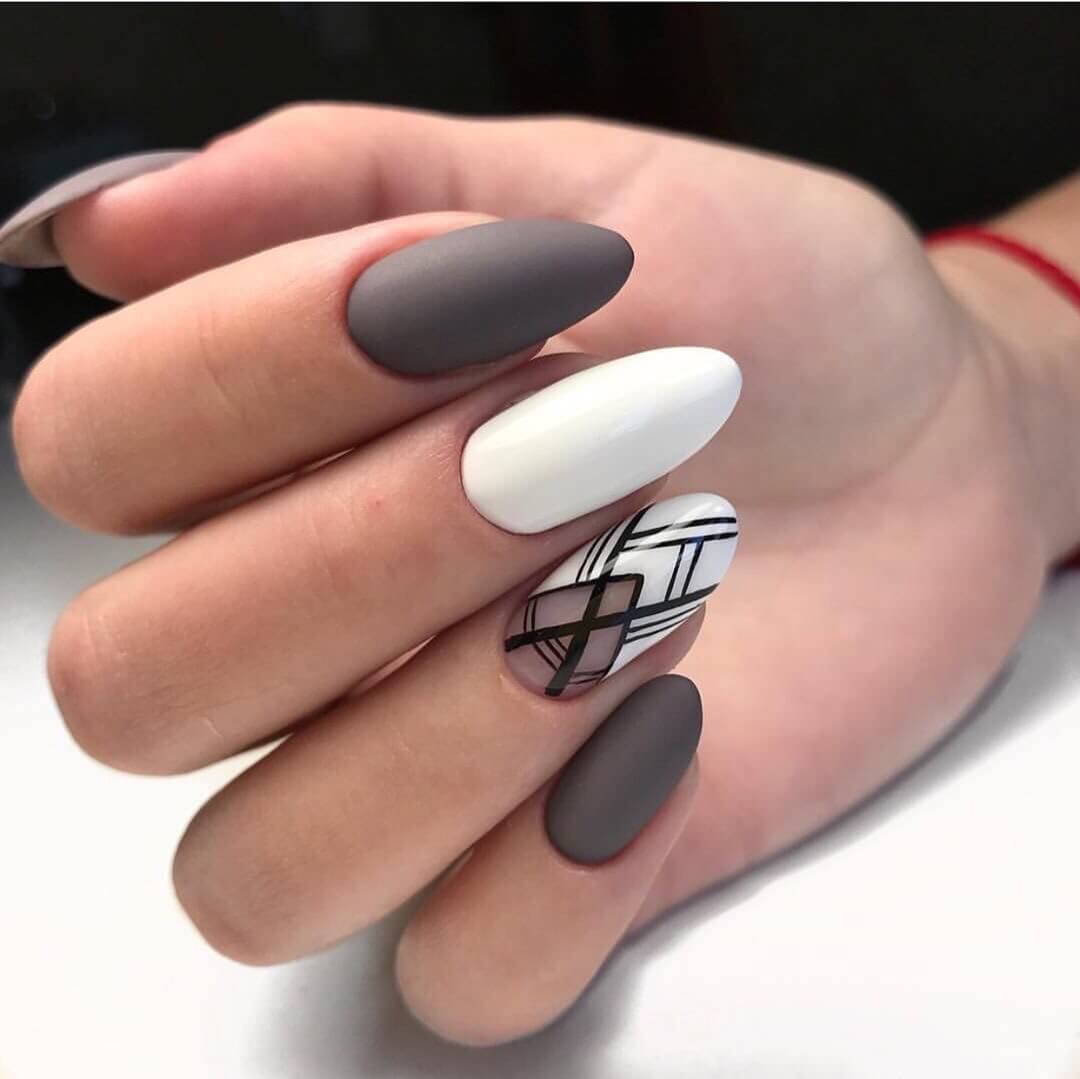
Nail design itself
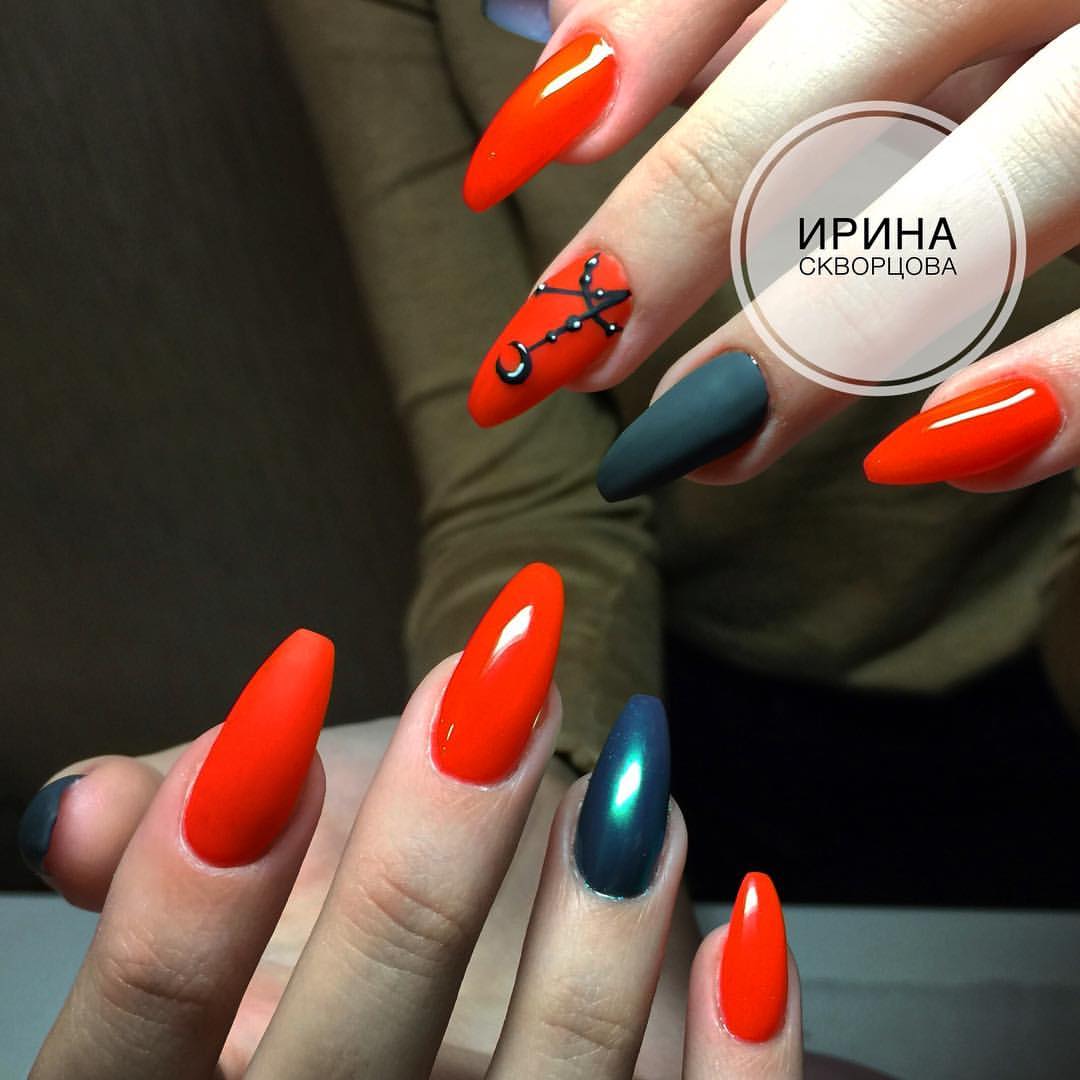
What design can be done on the nails yourself? Virtually any, if you are experienced enough in creating the design itself. Every girl can make unedged manicure and cover nails with monophonic gel varnish.
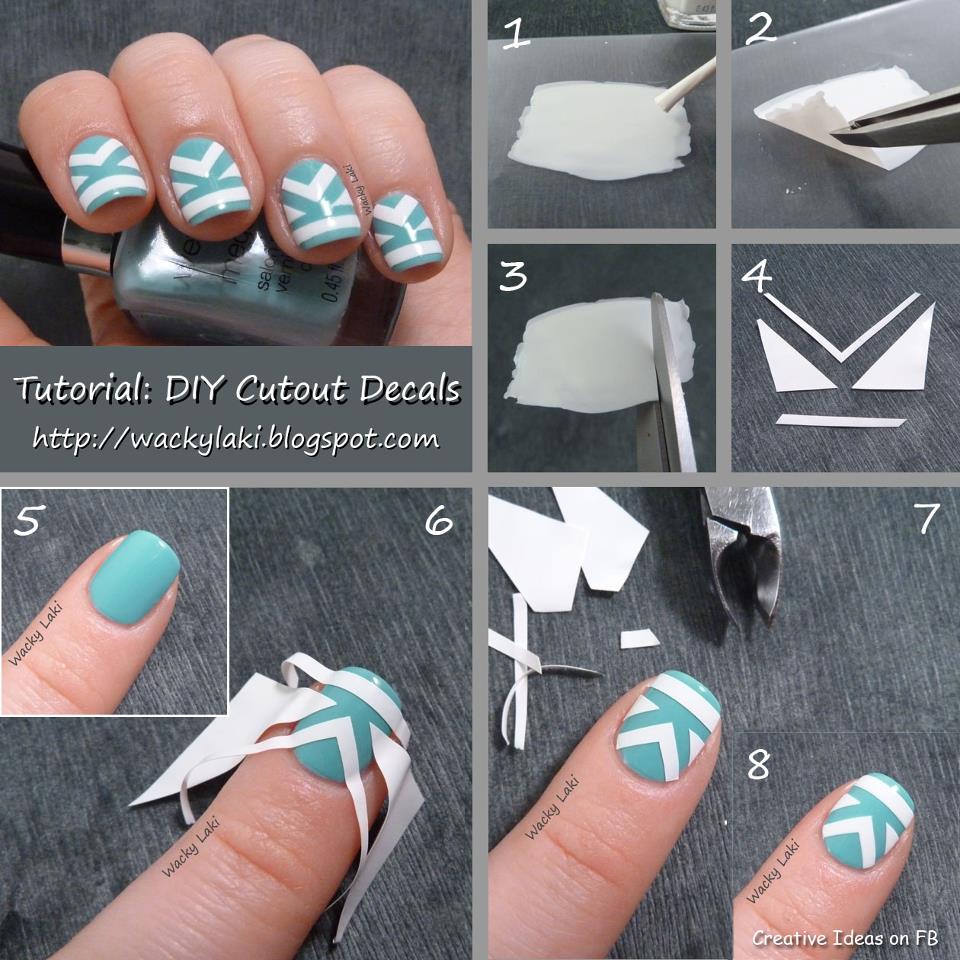
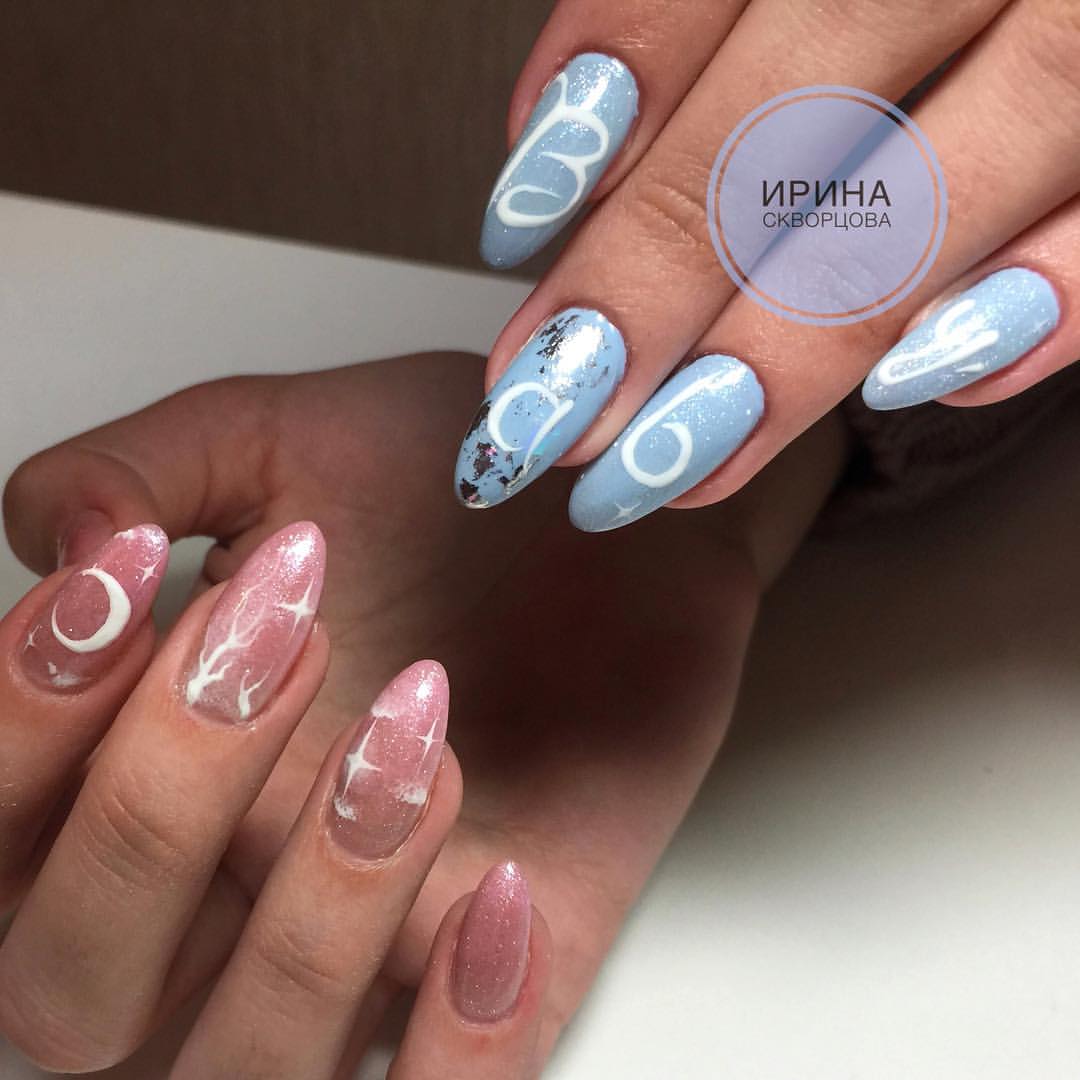
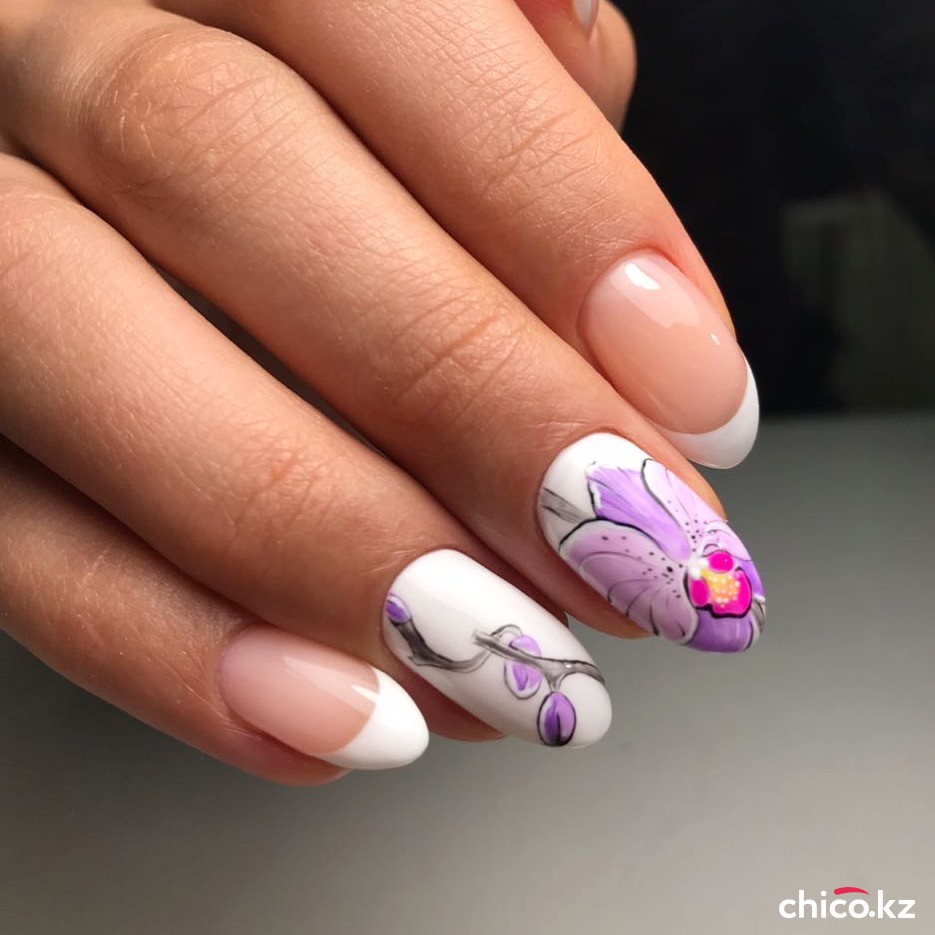
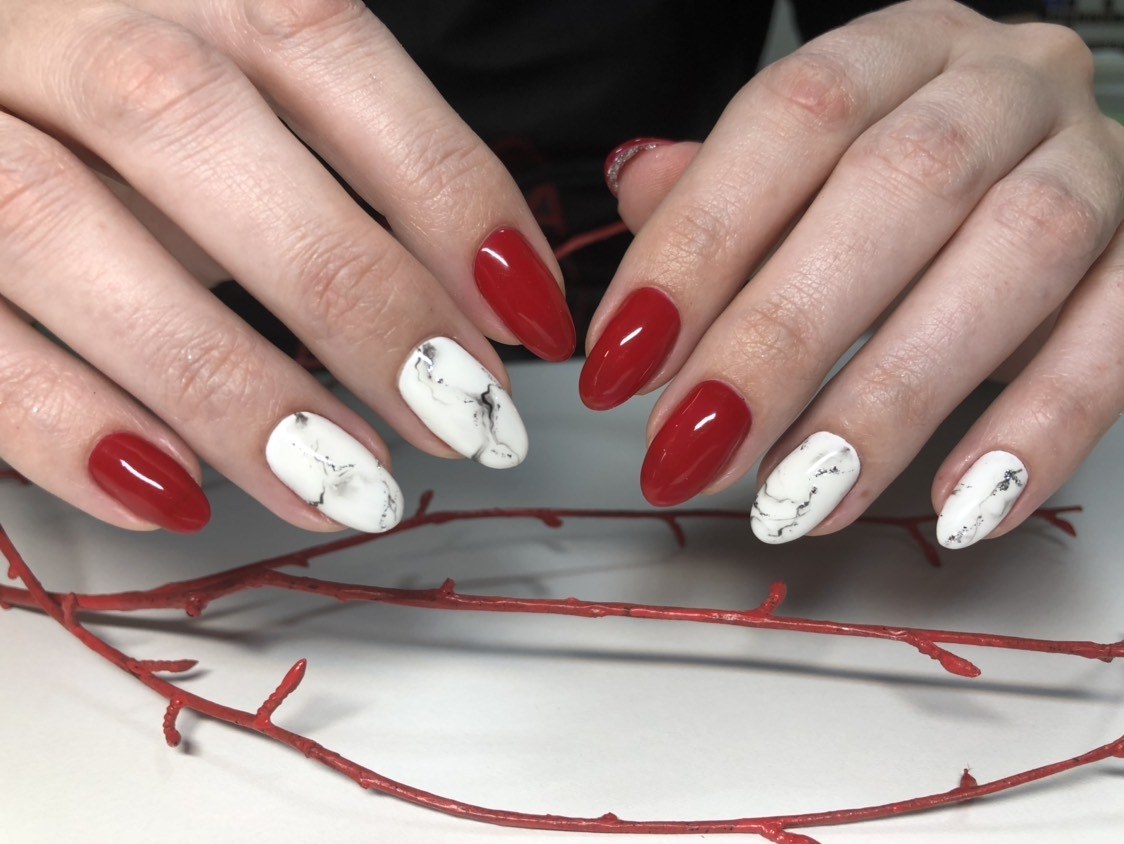
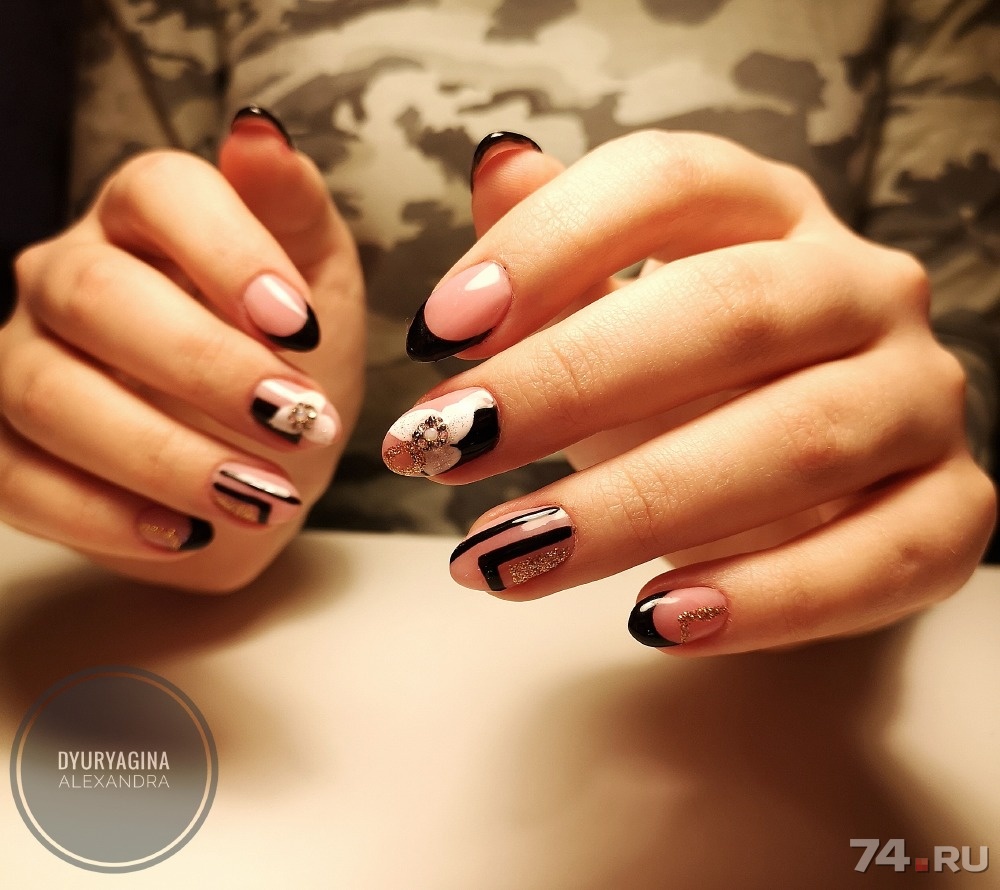
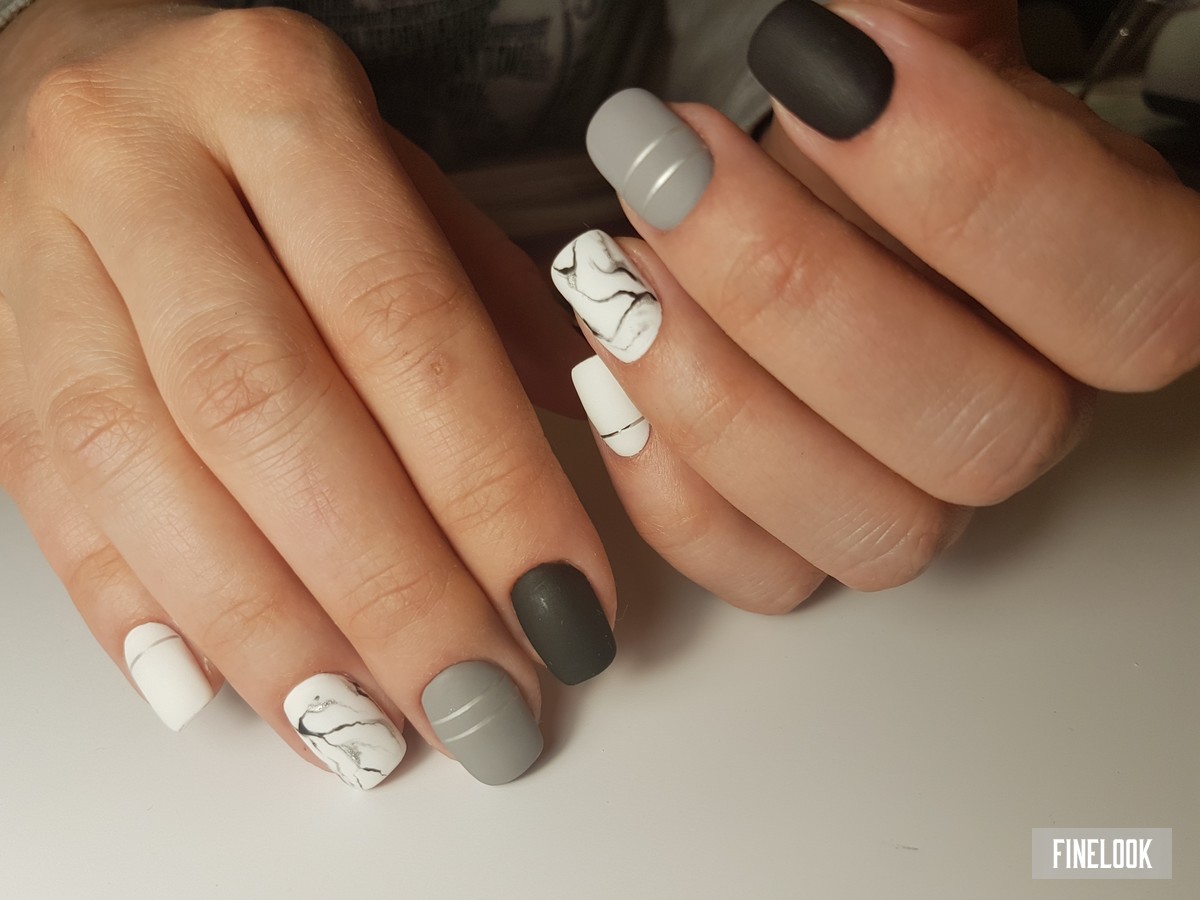
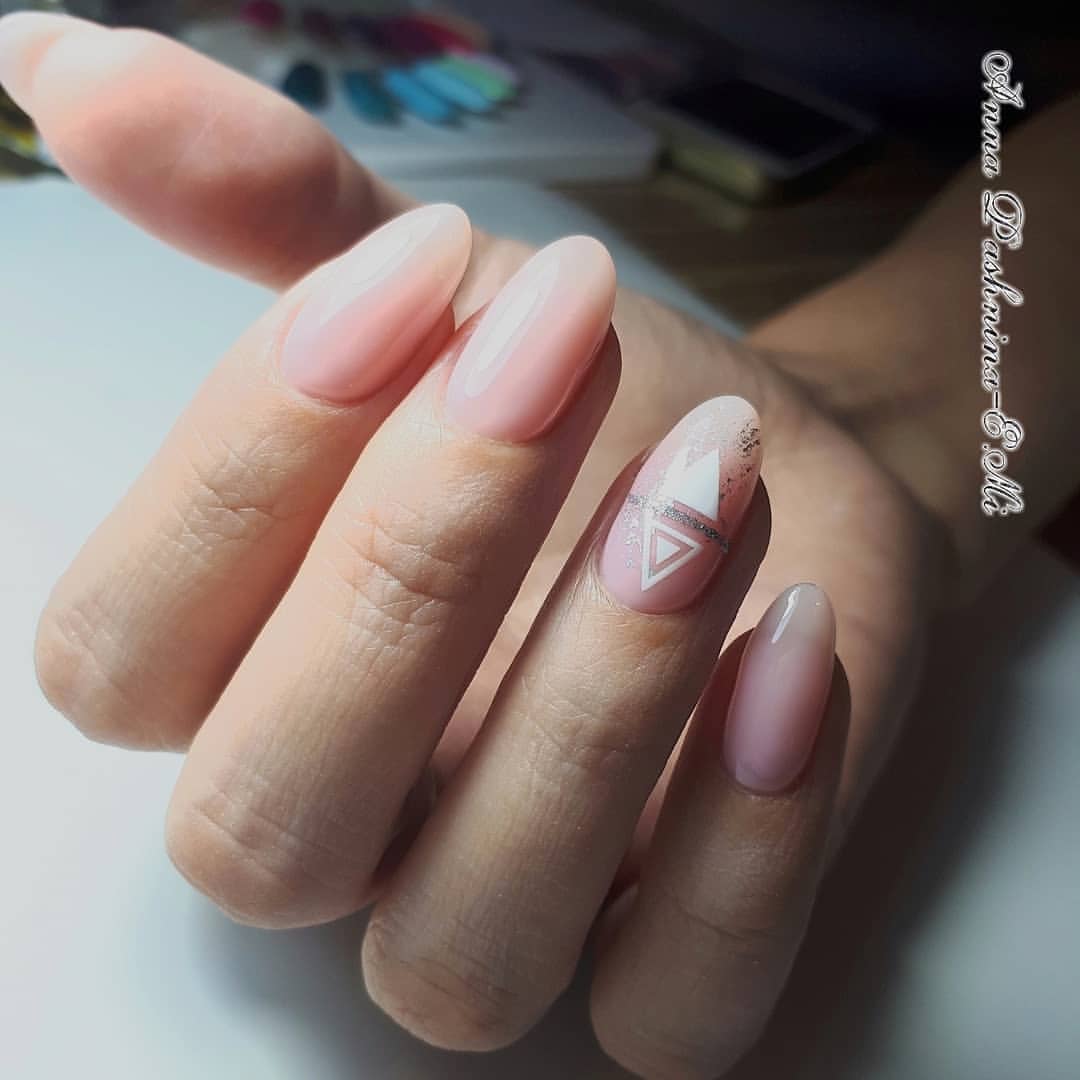
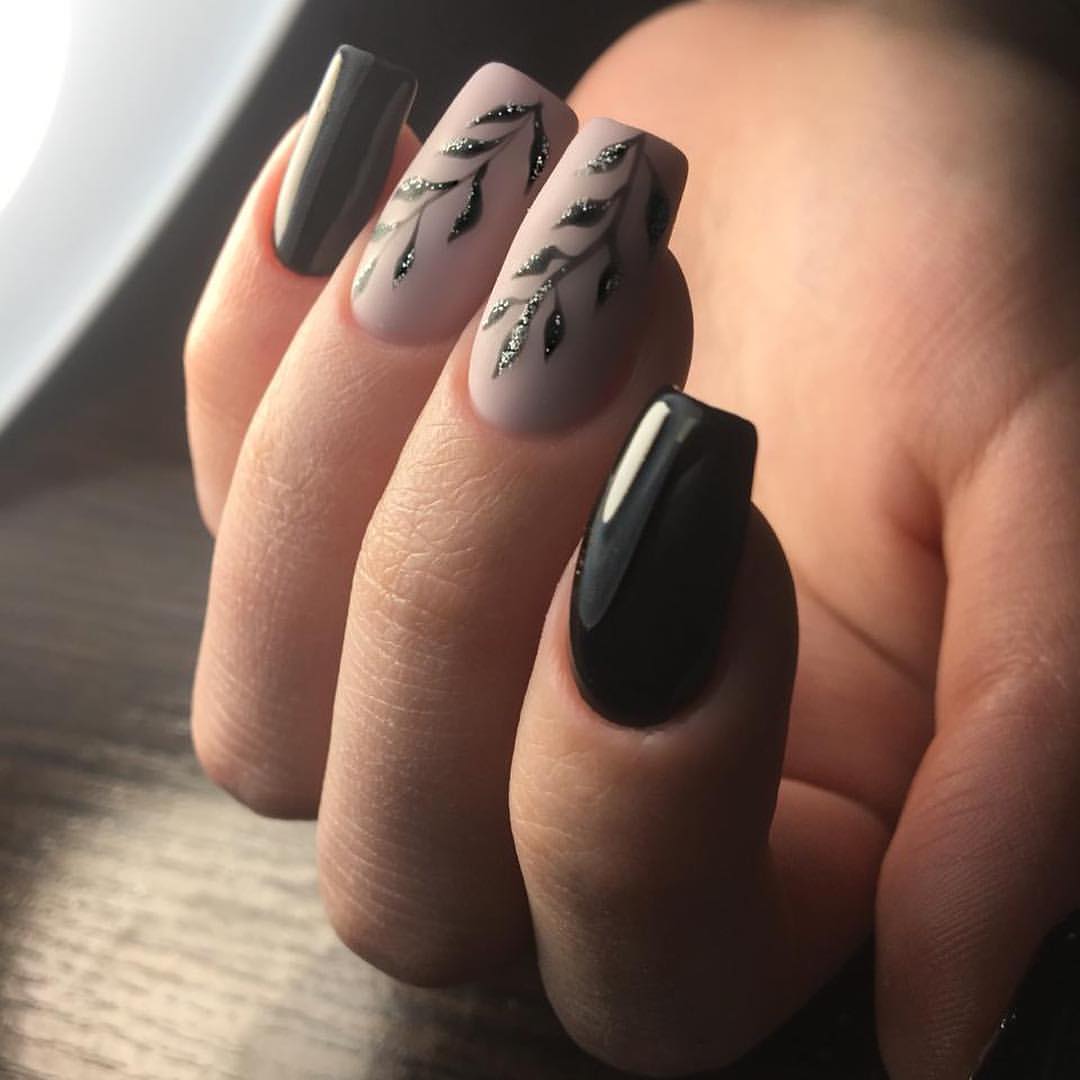
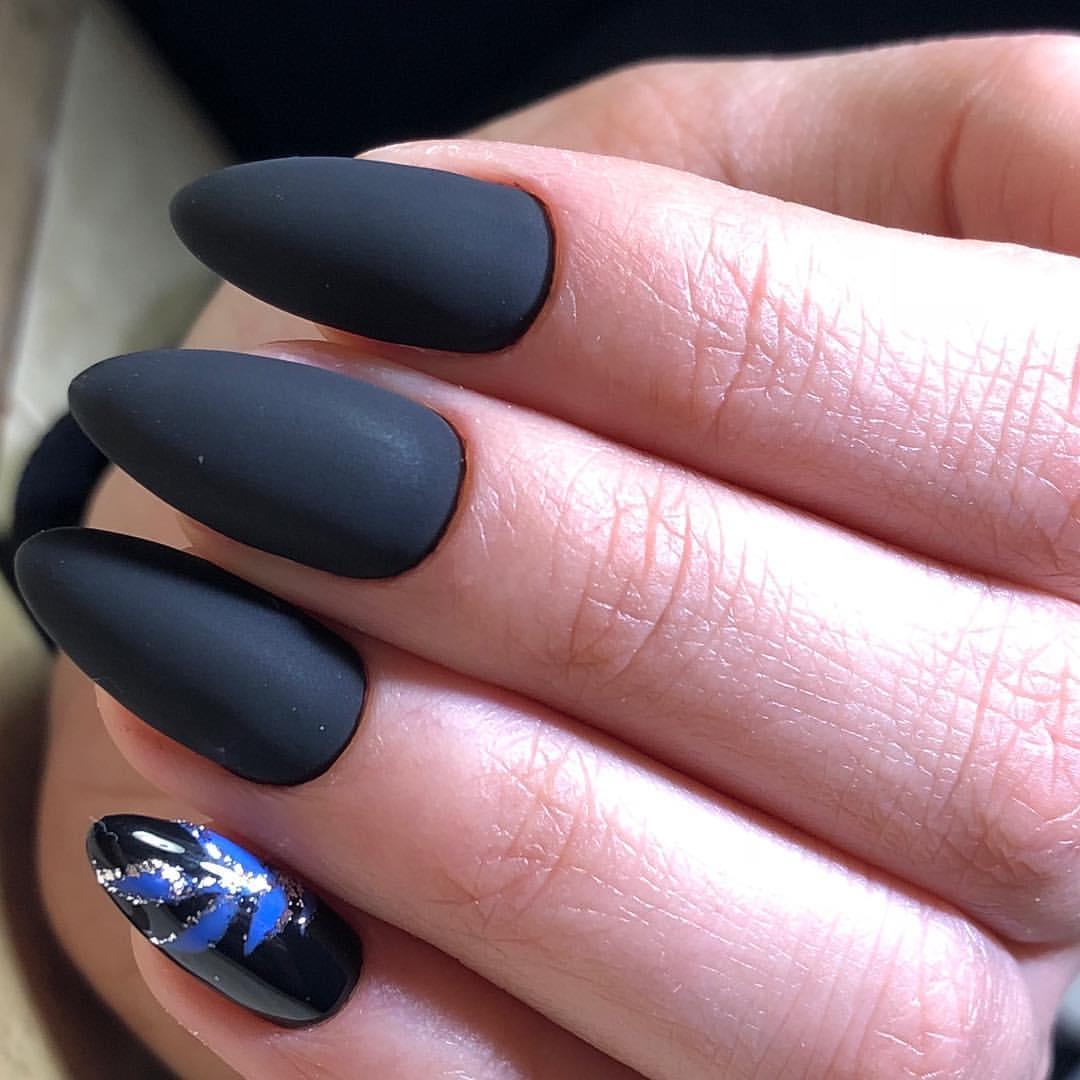
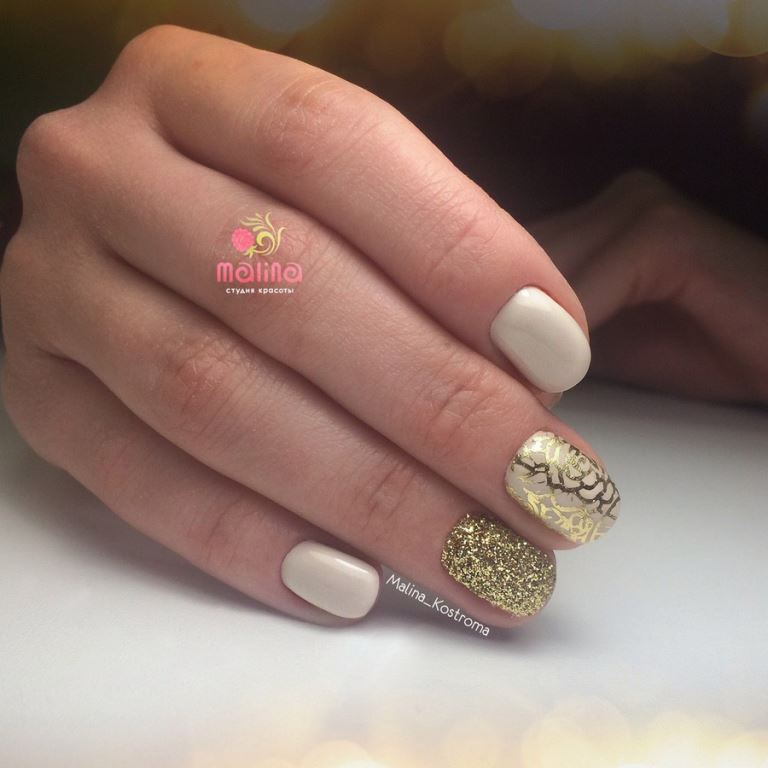
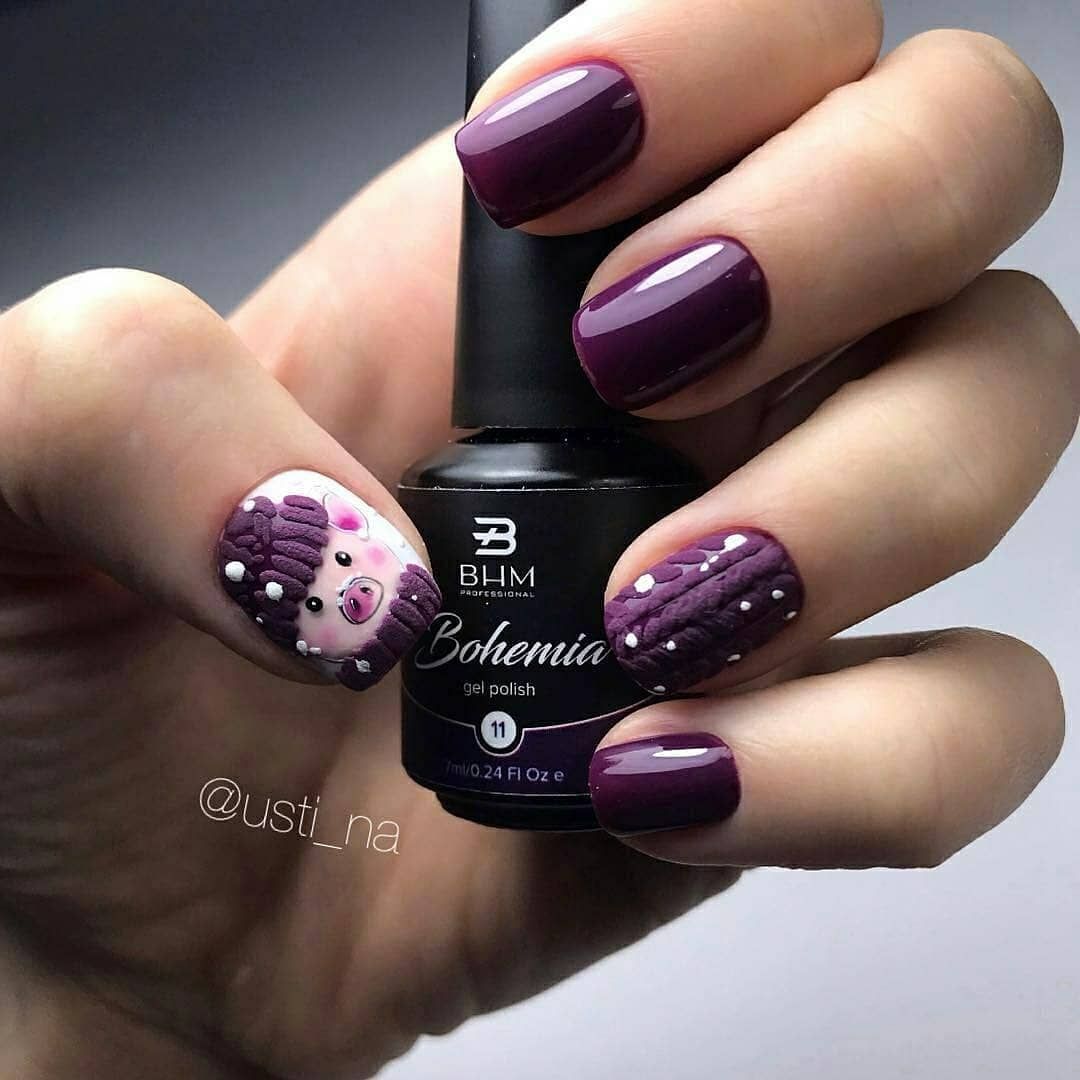
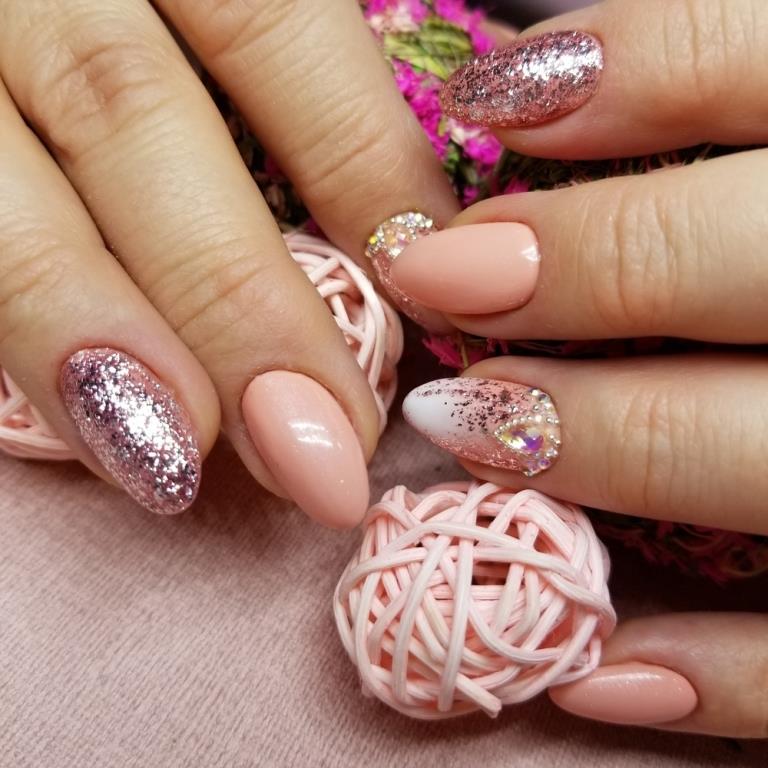
Simple ideas of design itself is the French and moon manicure. For this creation it is enough to get special stickers with a “smile”. Create a matte design is also not difficult. Use the finished matte gel polish and decorate the nails with a pair of rhinestones. Marble, with rubbing, with sparkles - all this can be done on your nails yourself.
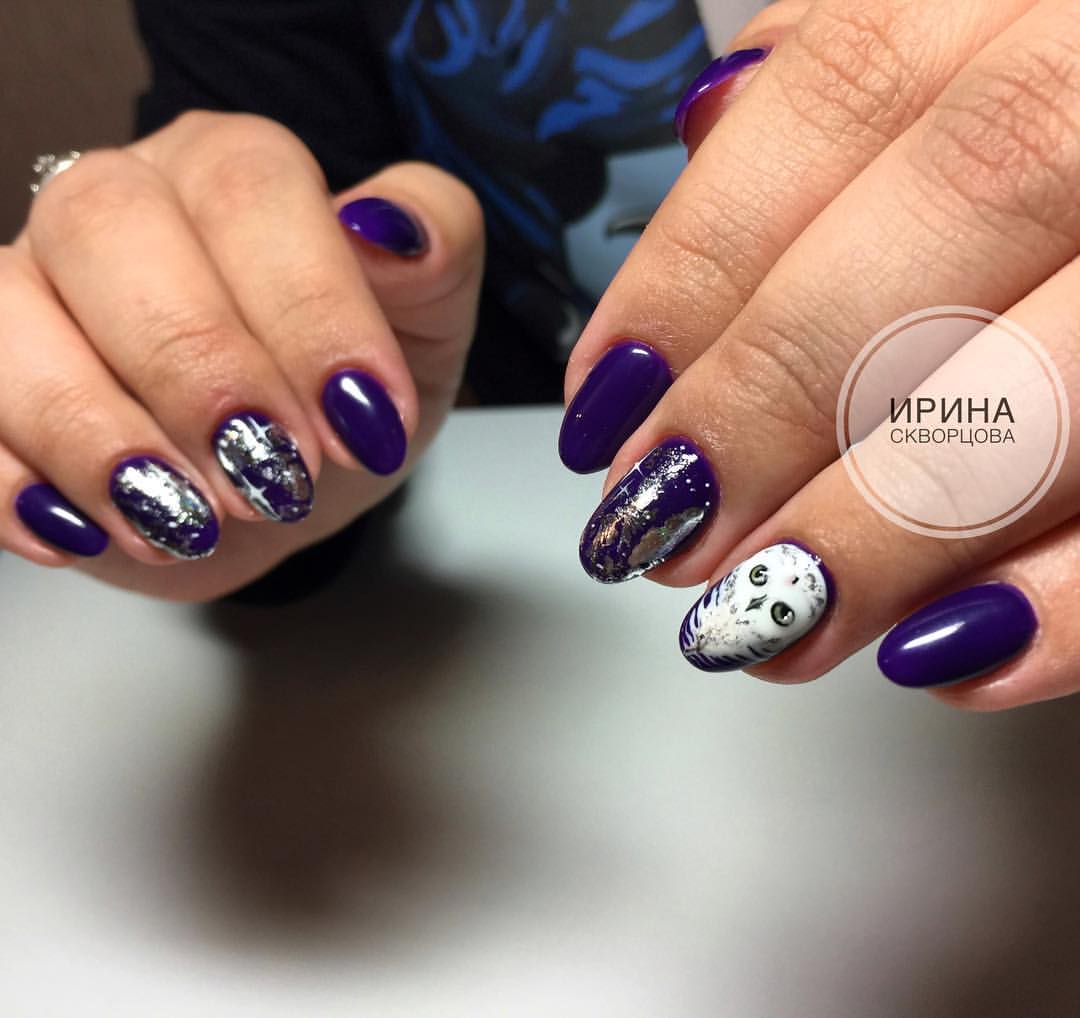
Feel like a professional manicurist, create attractive nail art to yourself. Thus, you will gain enough experience to perform the perfect nail design without the help of paid masters.