


Manicure with geometric patterns is a rather specific area of nail design, however, it has its own connoisseurs, ready to decorate fingers with strict, even lines and figures.


Geometric patterns are quite complex for the performance of beginner nail masters. But with the help of our advice, we will be able to master this new way to decorate marigolds and learn how to perform spectacular geometric art in a few minutes.
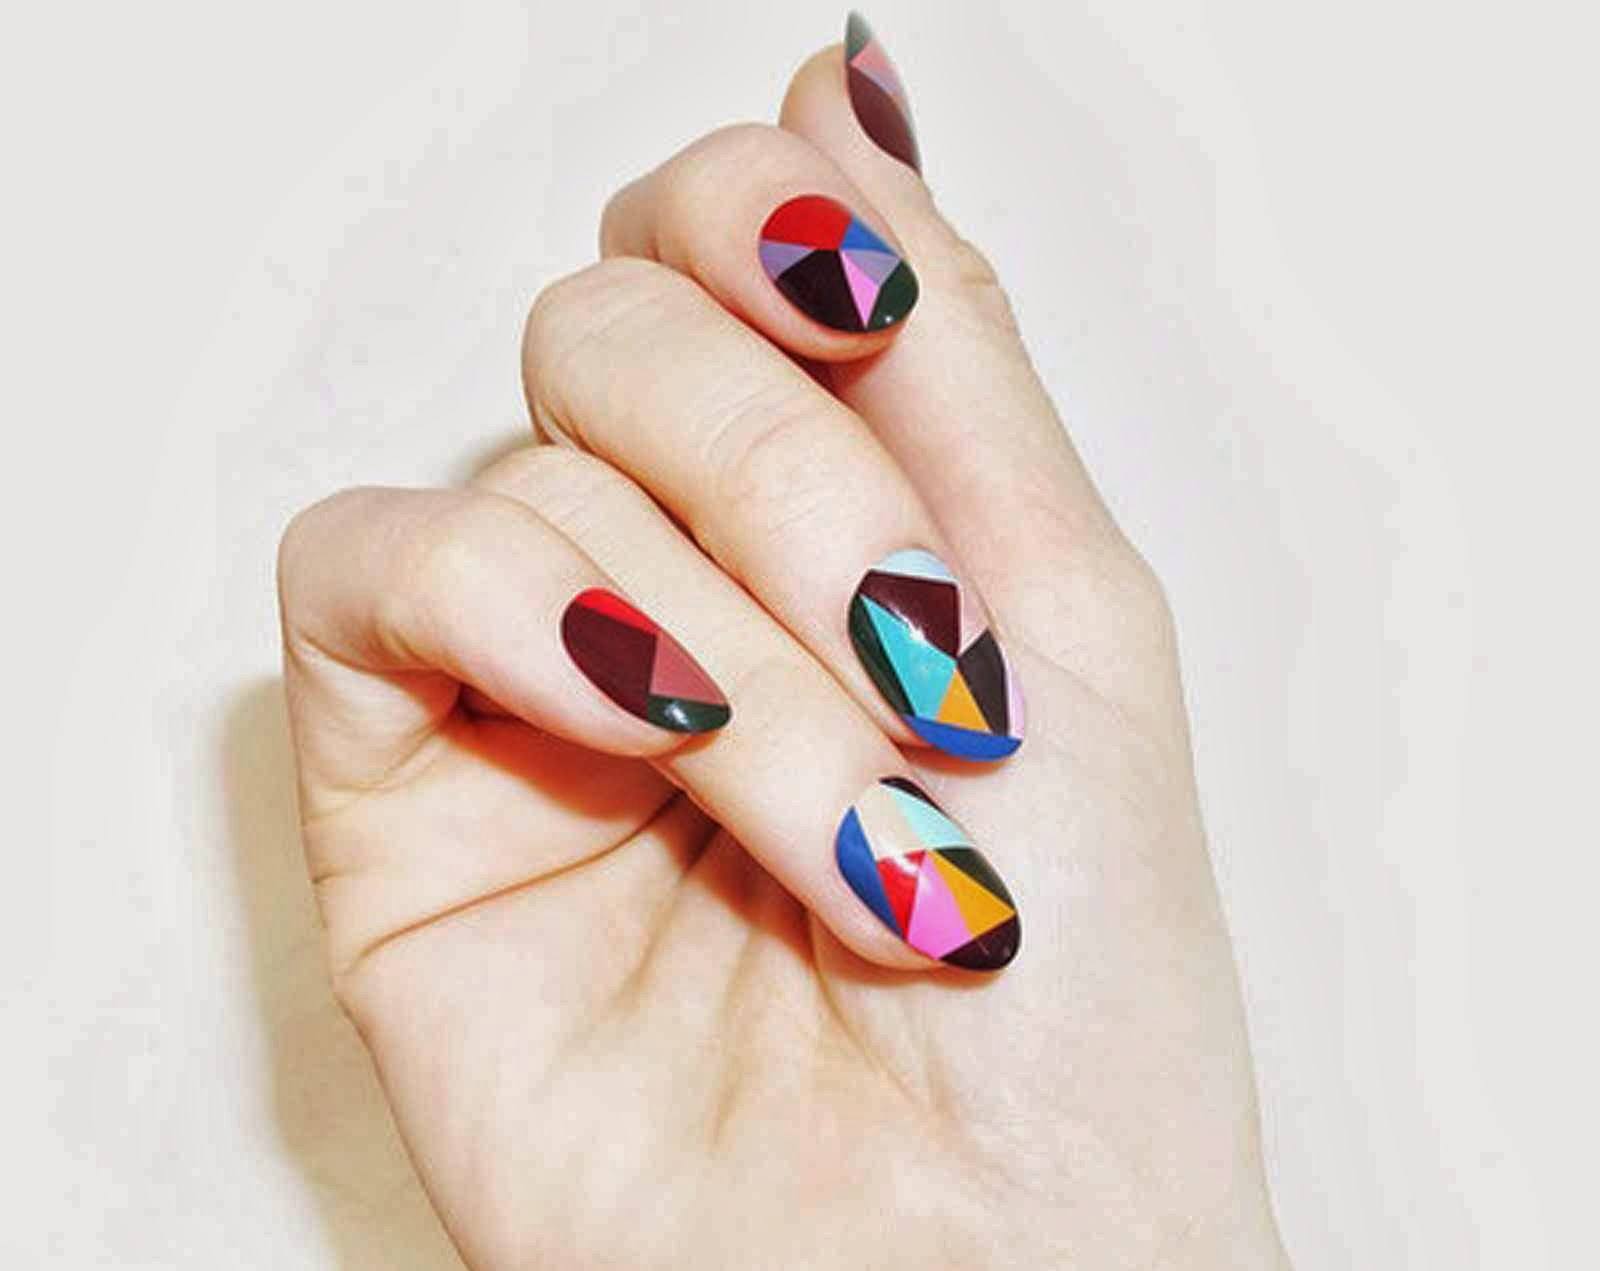
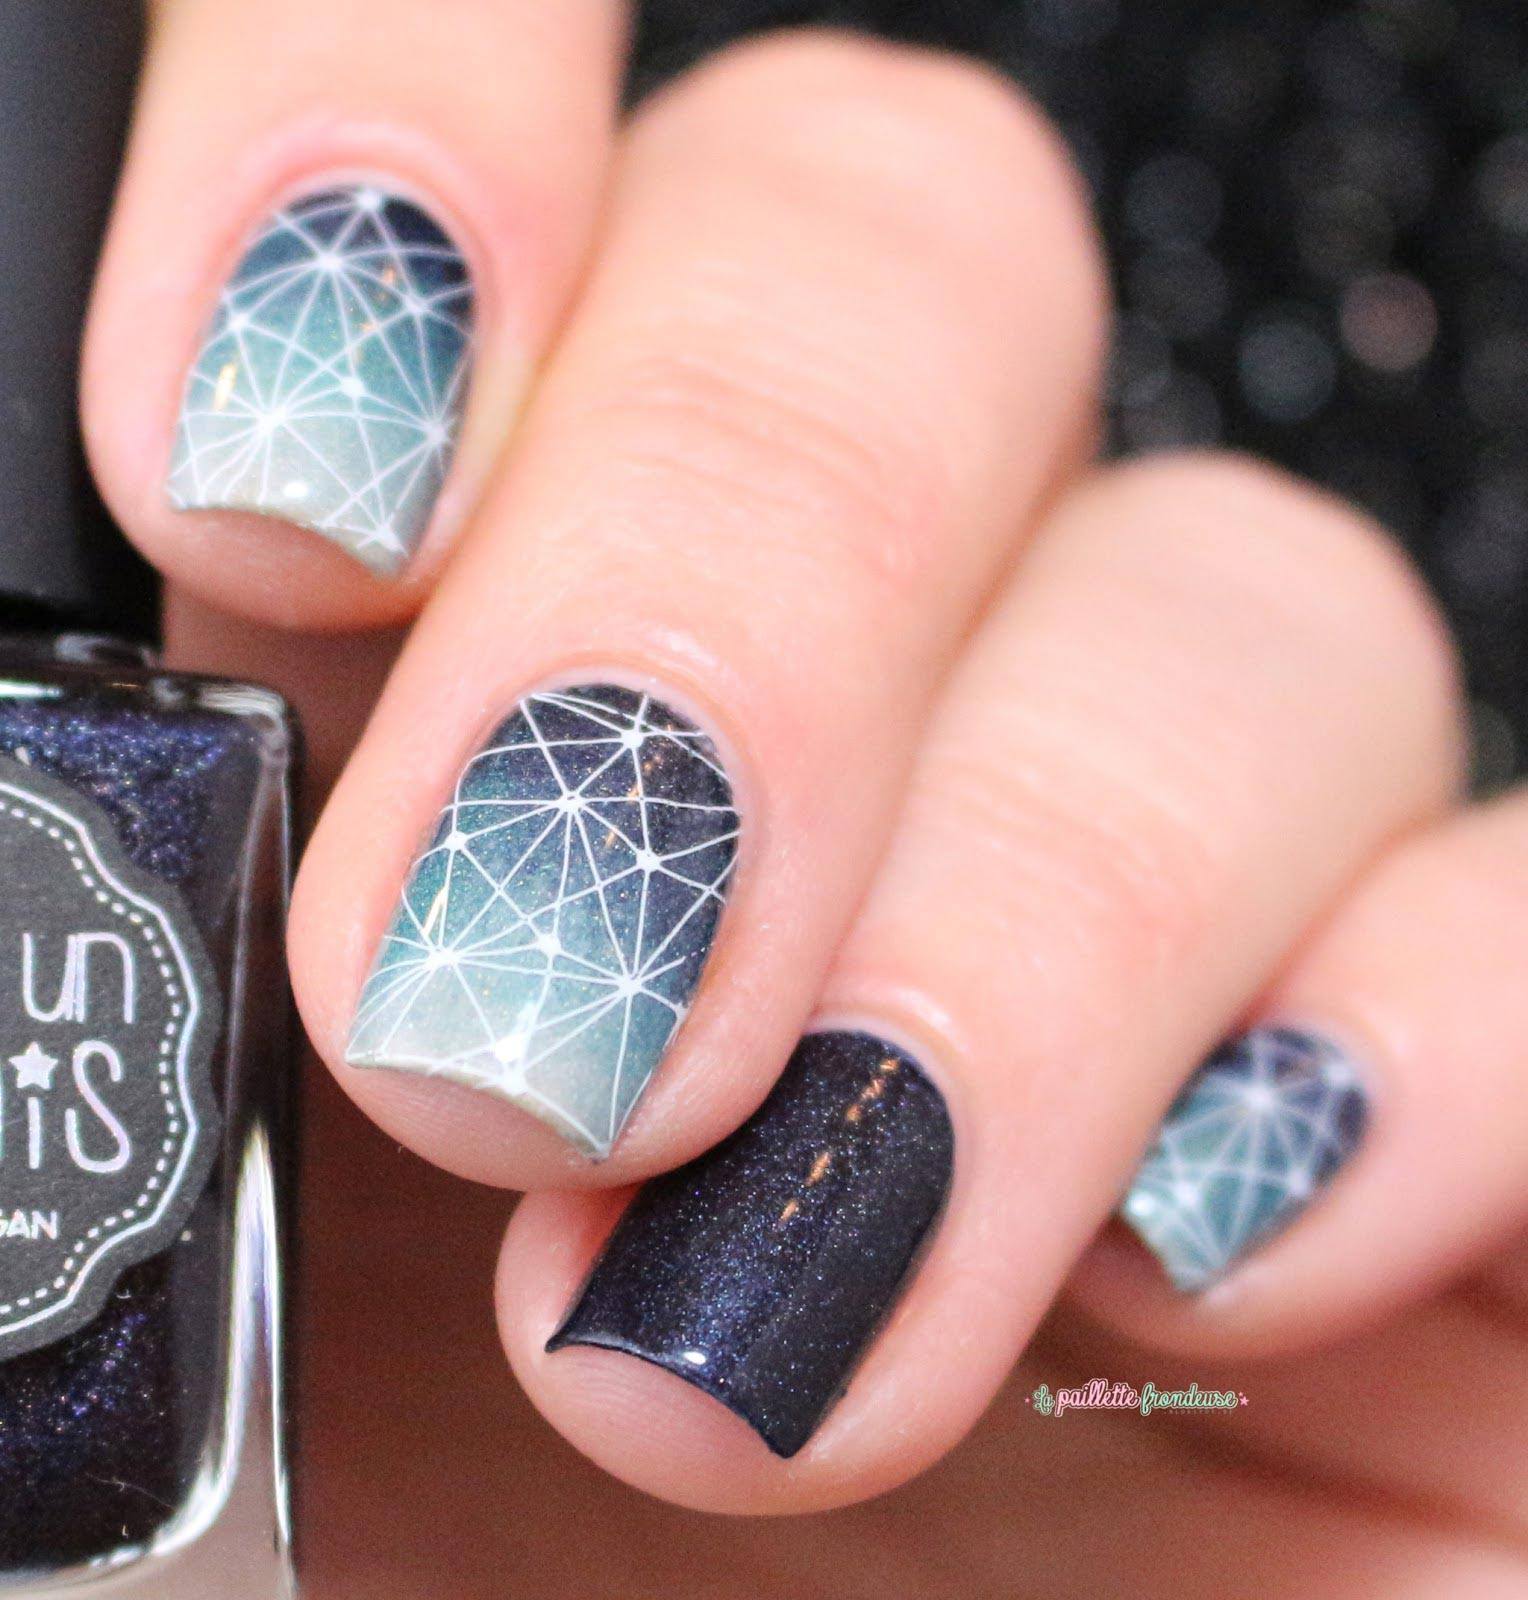
Geometric drawings on the nails
As the name implies, this technique involves the application of geometric shapes on the nails. To create such patterns, you can use special tools or draw them on a whim, relying on your own artistic abilities.
The simplest way to image geometric patterns is an ordinary brush. Its thickness should be as thin as possible, so your pattern will be more accurate and even. Some girls use a toothpick, as it is more resistant than a soft brush.In any case, to create a geometric nail art from Vac you need some drawing skills.
A “firm hand” and confidence in the result can only be acquired by constant practice. As often as possible, train your skills so that each time your geometric prints get better and better.
To create a geometric pattern with a brush, varnishes of several shades, a fixative and the actual drawing tool are needed. First, nails are covered with 1-2 layers of lacquer and patterns are drawn on the dried surface.

"Helpers" in creating a geometric manicure
Drawing “by hand” does not require much time, besides, every girl can depict abstract geometry on the nails. But if you want to get a spectacular and attractive result, then you need special manicure devices.
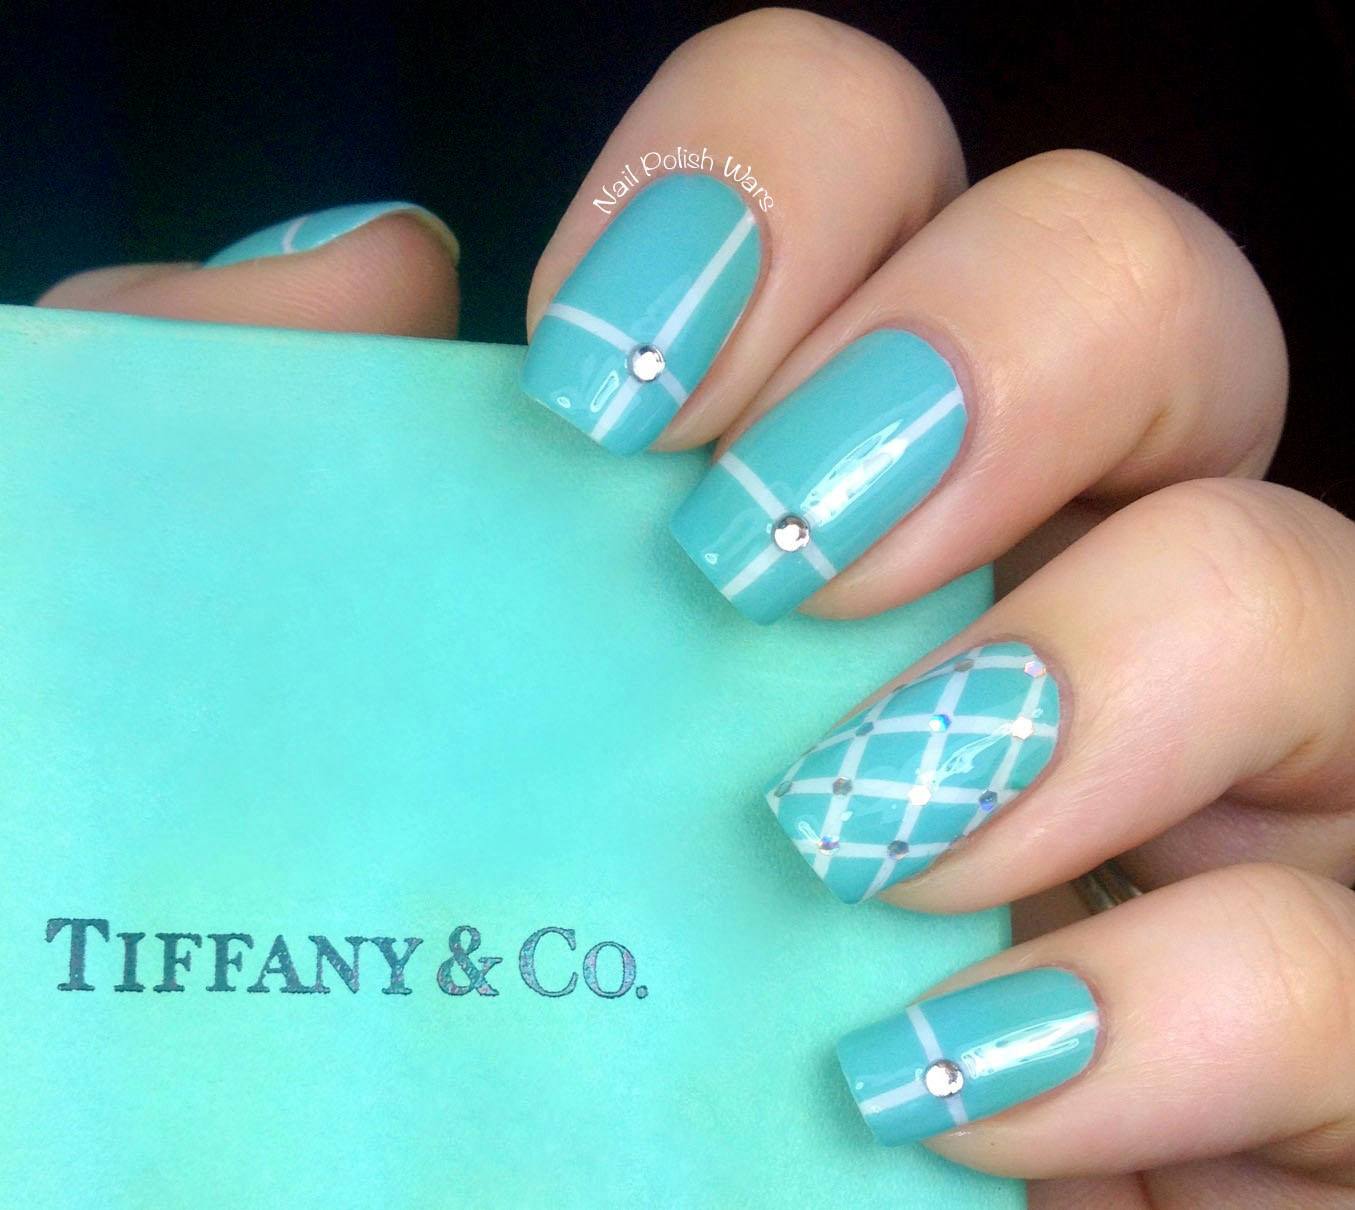
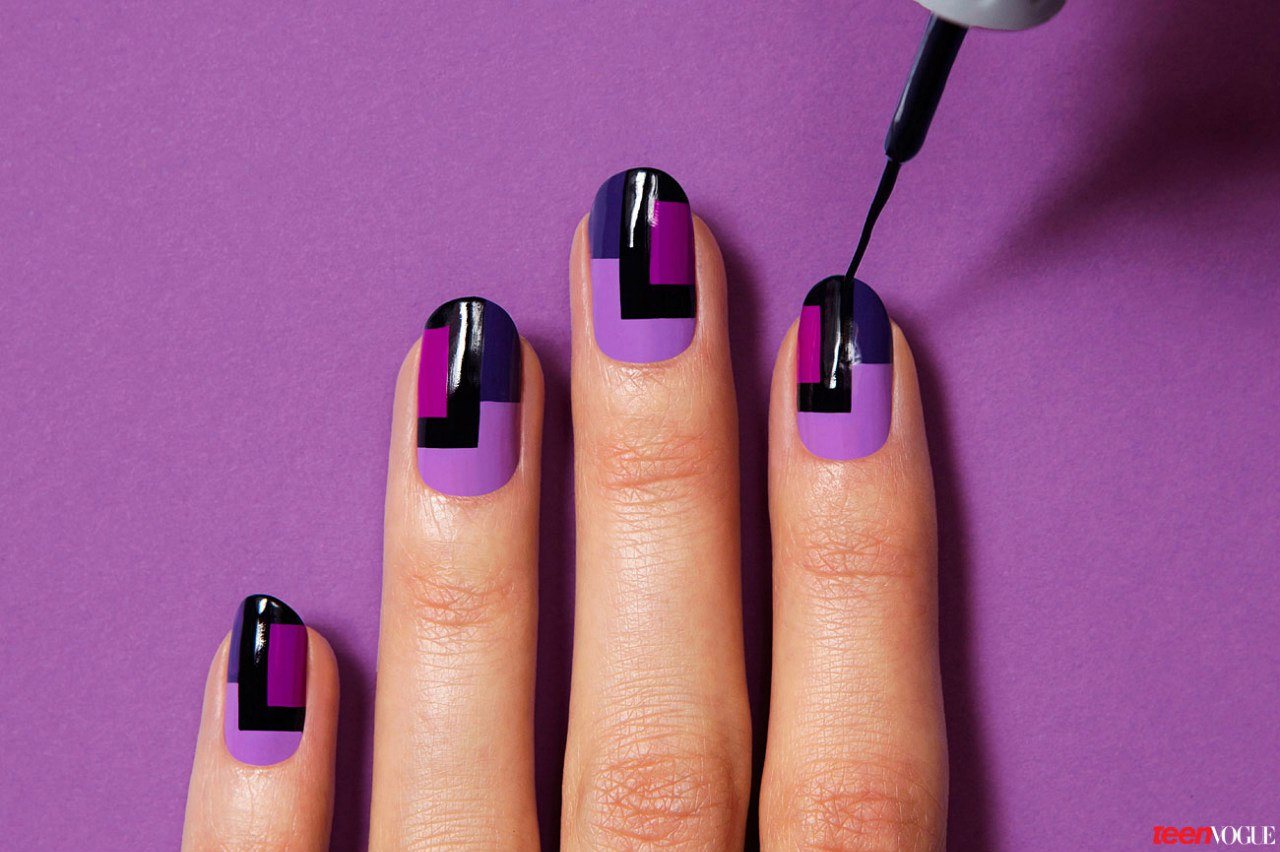
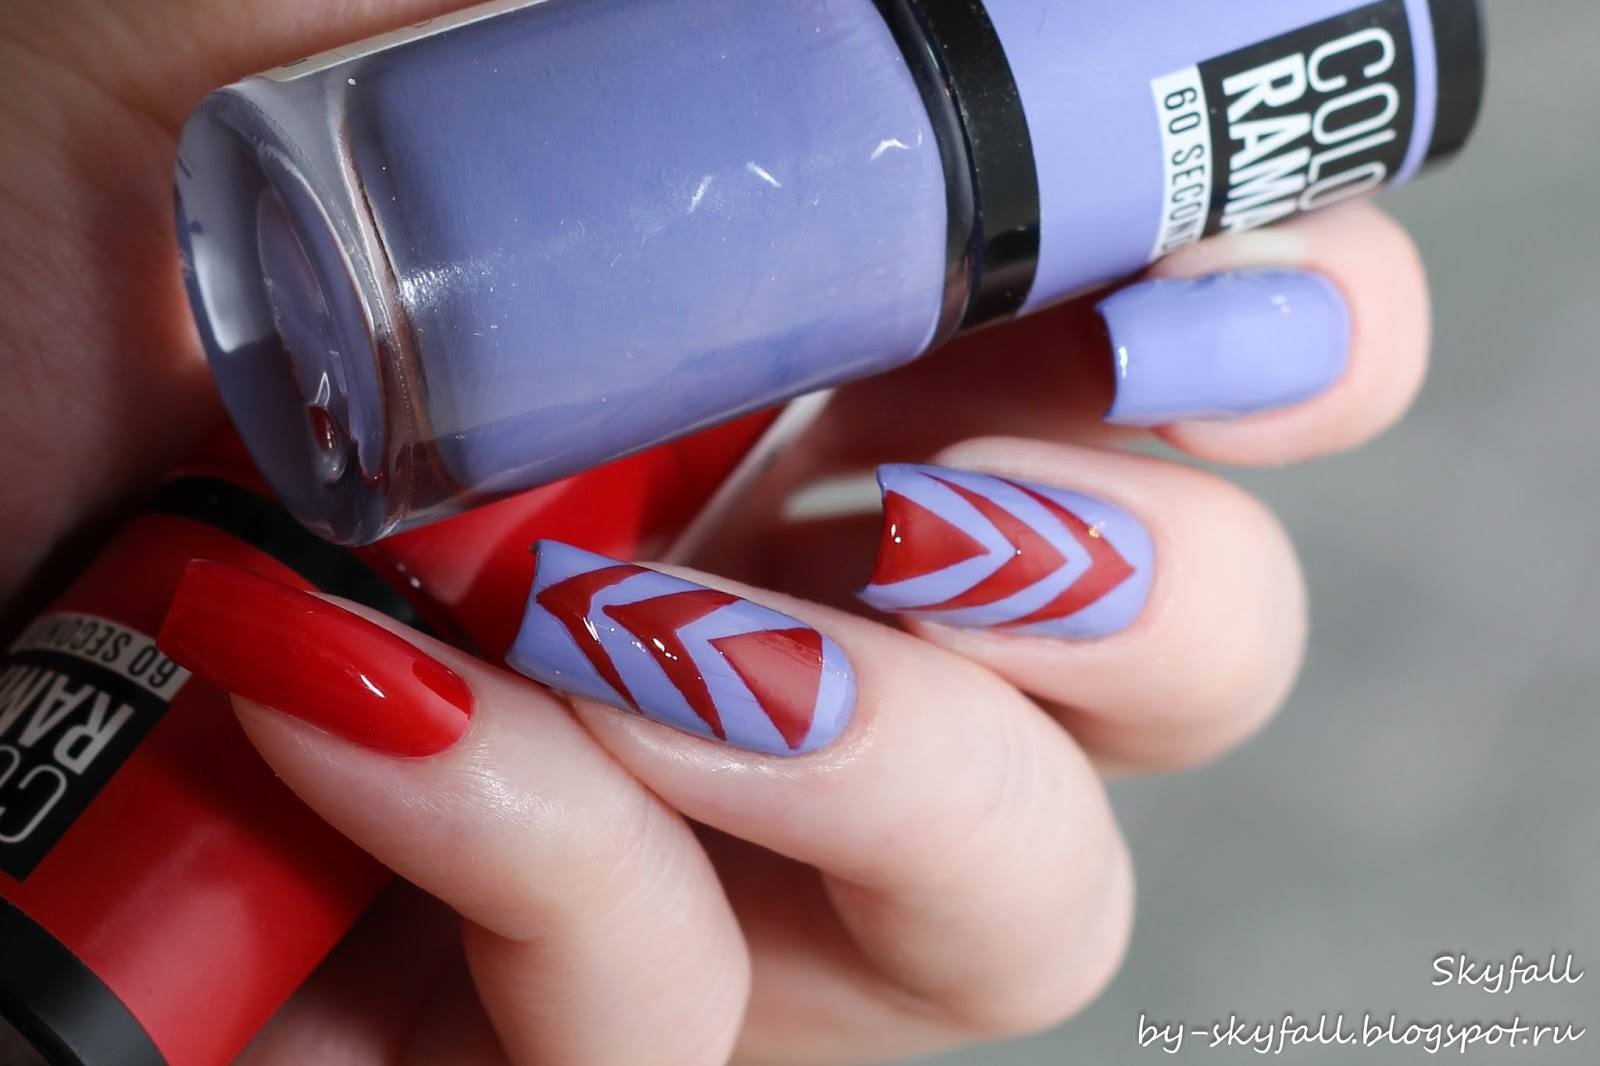
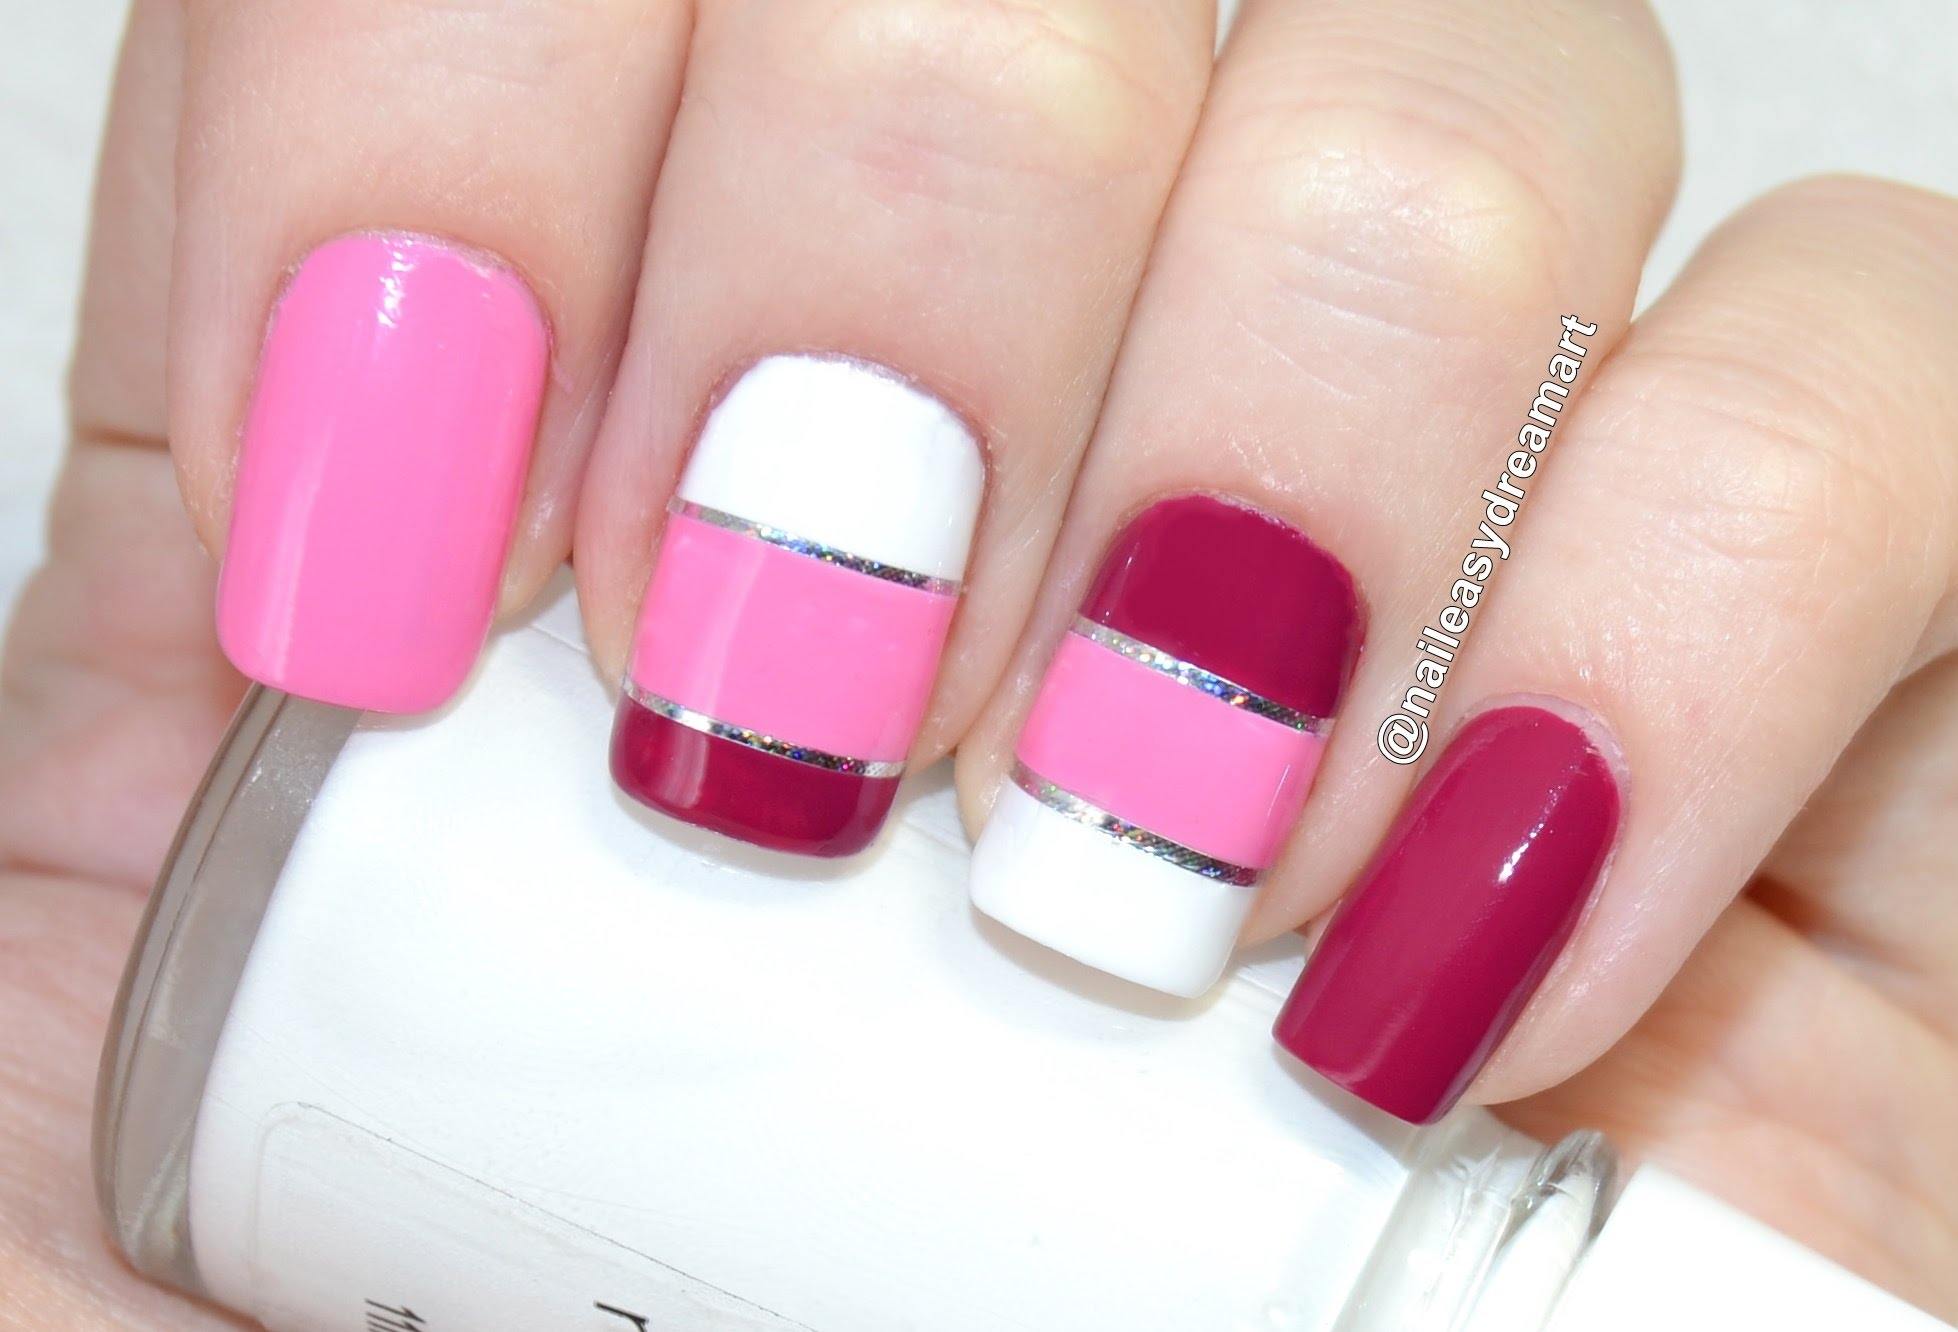
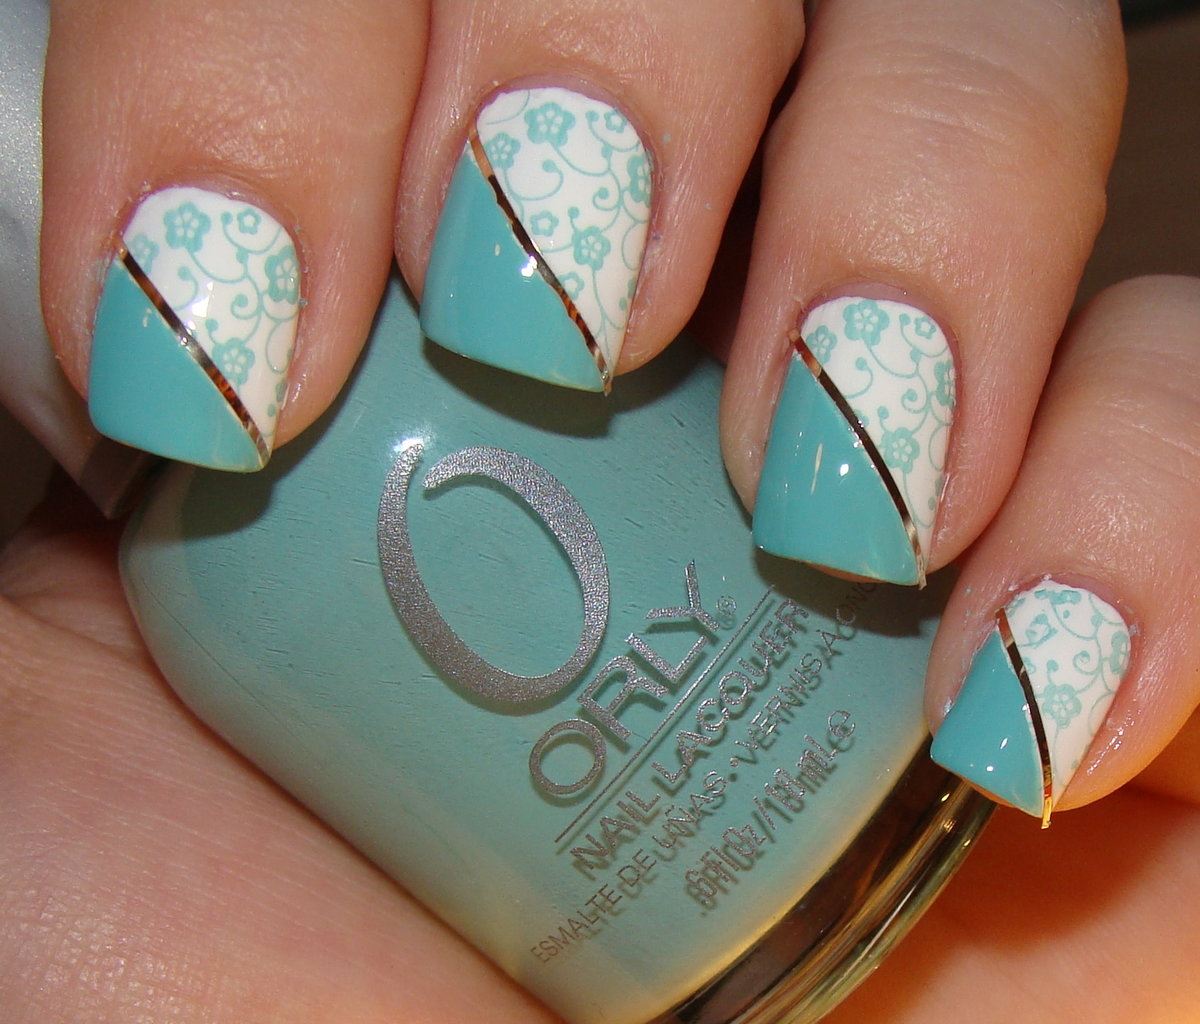
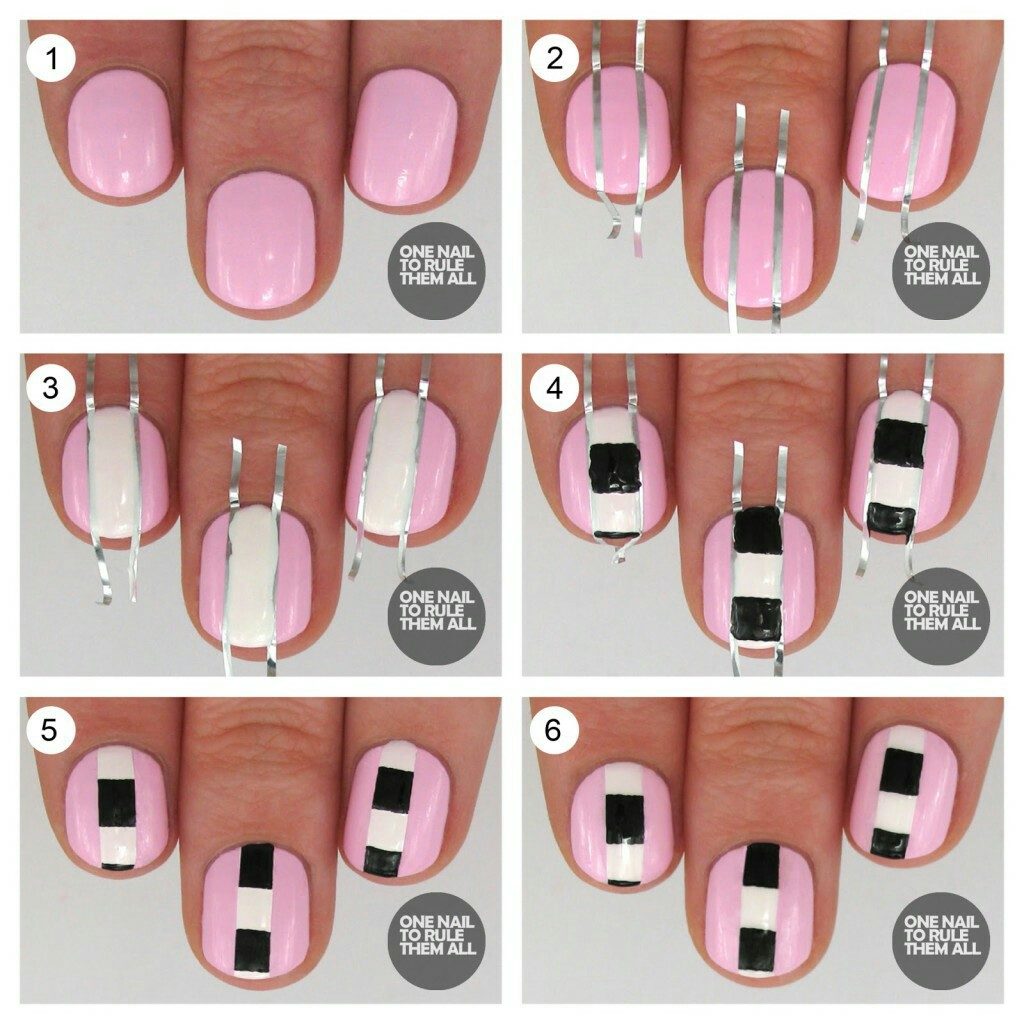
Stripes
To create smooth lines, the stripes are simply irreplaceable. You can perform a manicure with them yourself with the shortest possible time. To create a geometric manicure it is necessary to cover the nails with a light varnish, wait until it is completely dry.
After that, stick on the nails strips in the form of rhombuses, squares or other patterns. Coat the nail with another shade of lacquer and dry it in a UV lamp if it is a gel lacquer, or wait for it to air dry if you use decorative lacquer
As soon as the varnish is dry, remove the strips. As a result, you get a manicure with light lines and a contrast base.


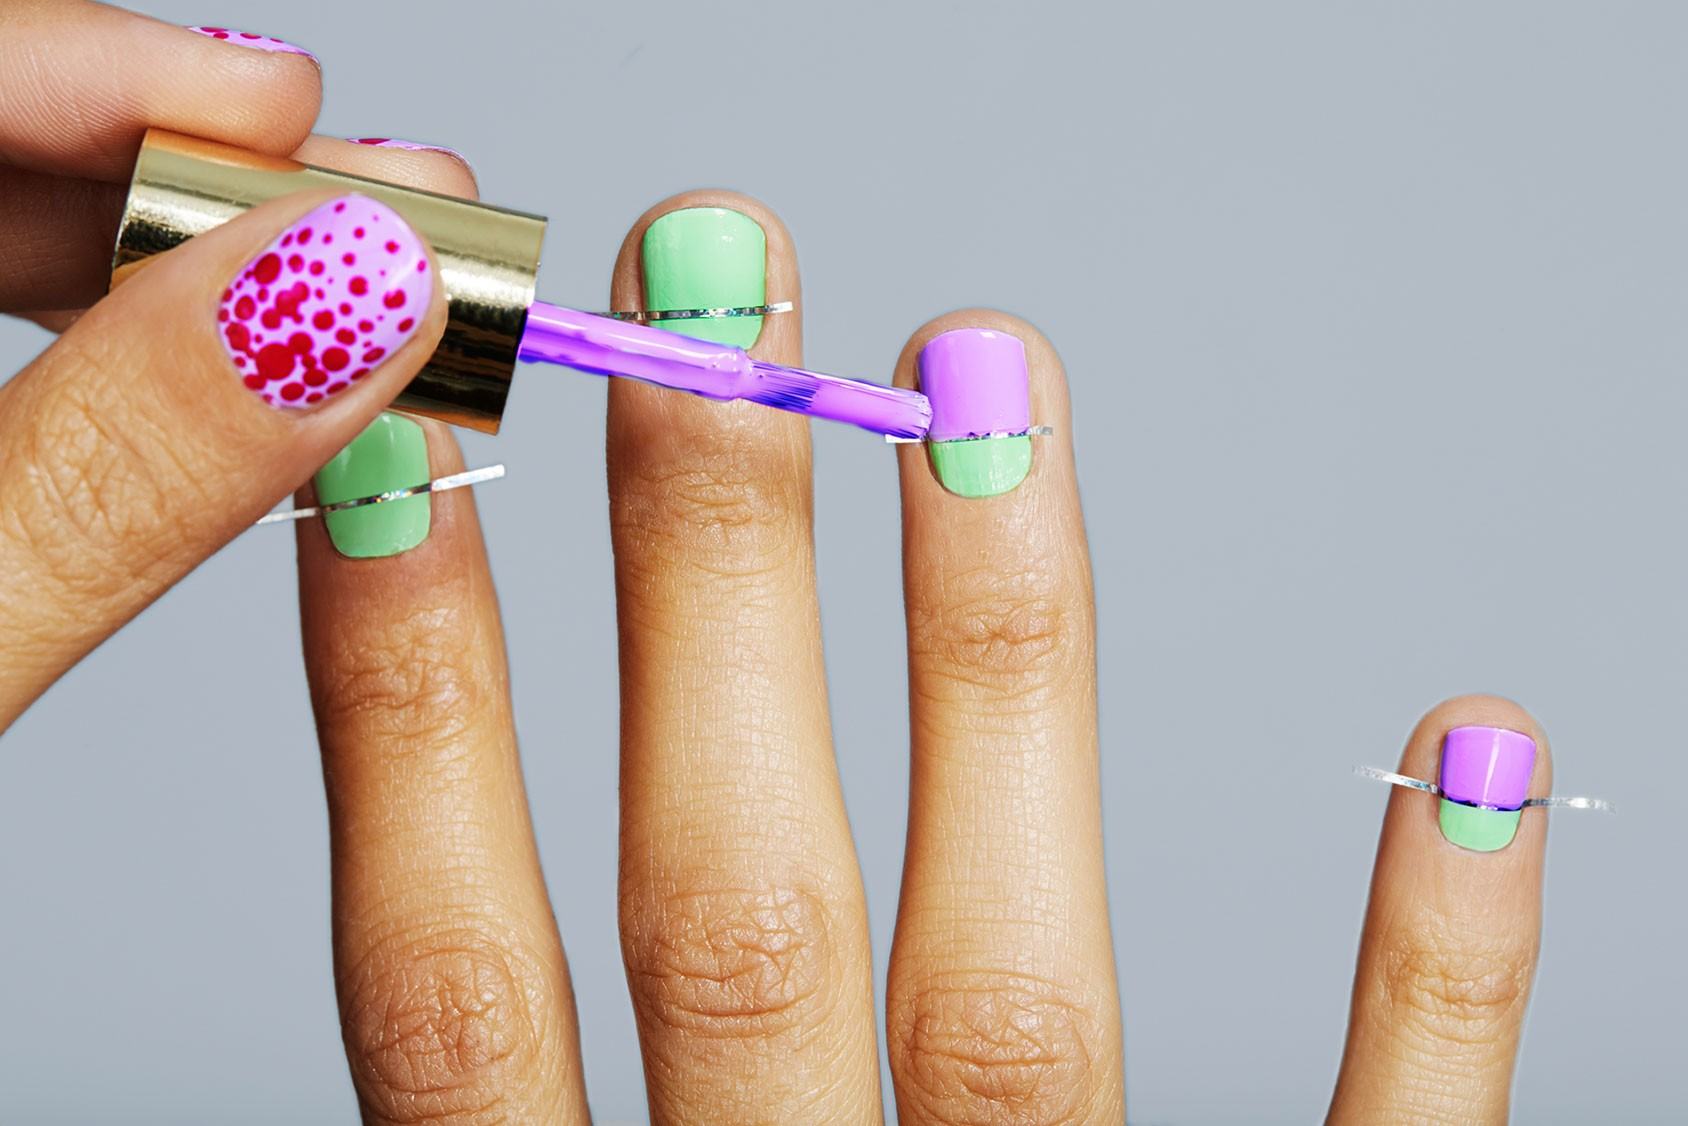
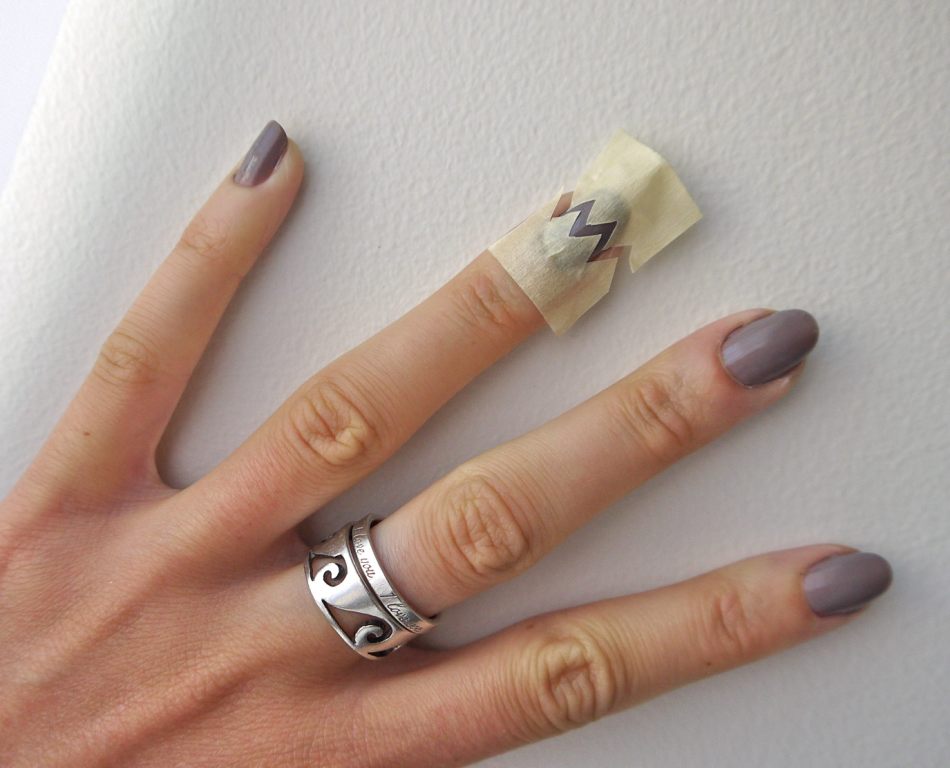
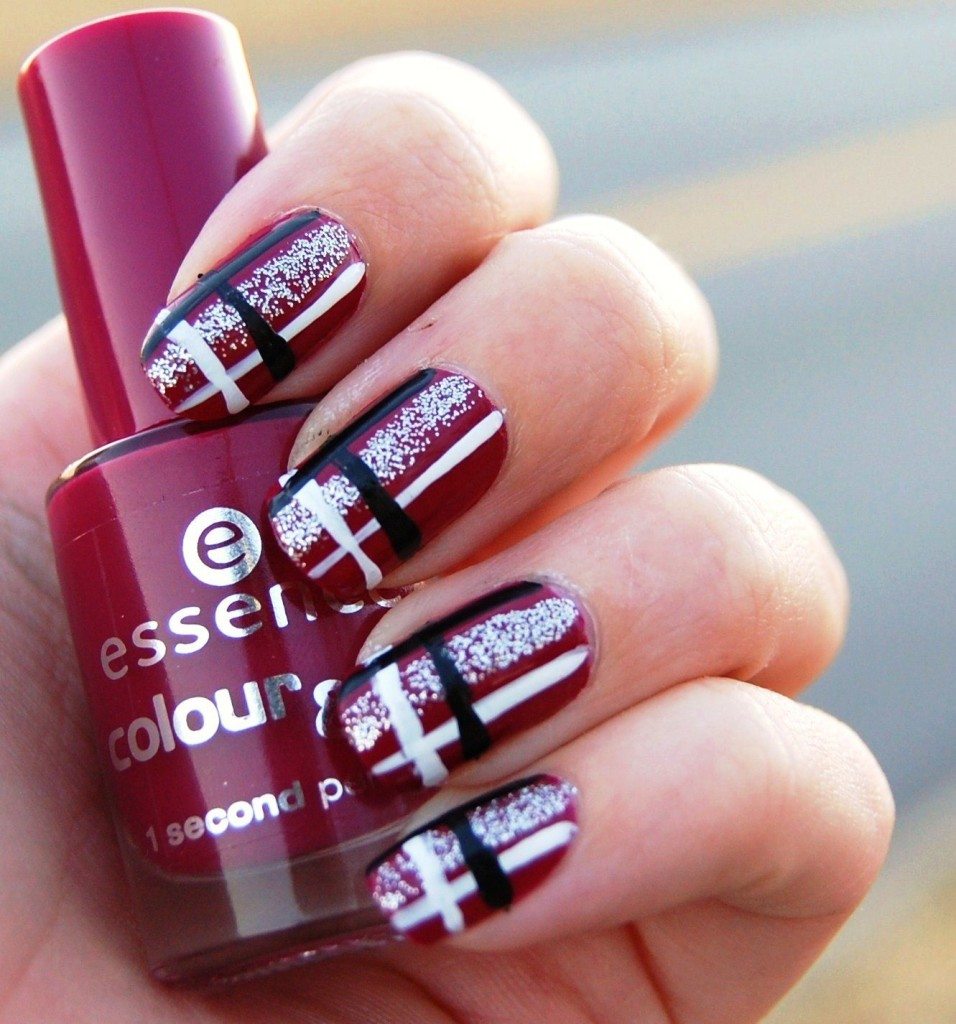
Scotch
Girls are so creative that they use everything that is at hand to create unusual nail art without exaggeration. So with a geometric manicure, they found a way out using regular tape.
Creating such a design takes a little more time than, for example, the usual drawing with a brush, but the result is much more impressive.
By applying pieces of adhesive tape to the nail, you can separate the space where there will be another layer of varnish. Use several contrasting shades of lacquer, so your design will be more voluminous. Take a look at an example of creating a geometric manicure with the help of scotch tape presented below, and you will understand how simple this adaptation makes it easy for girls to draw beautiful patterns.
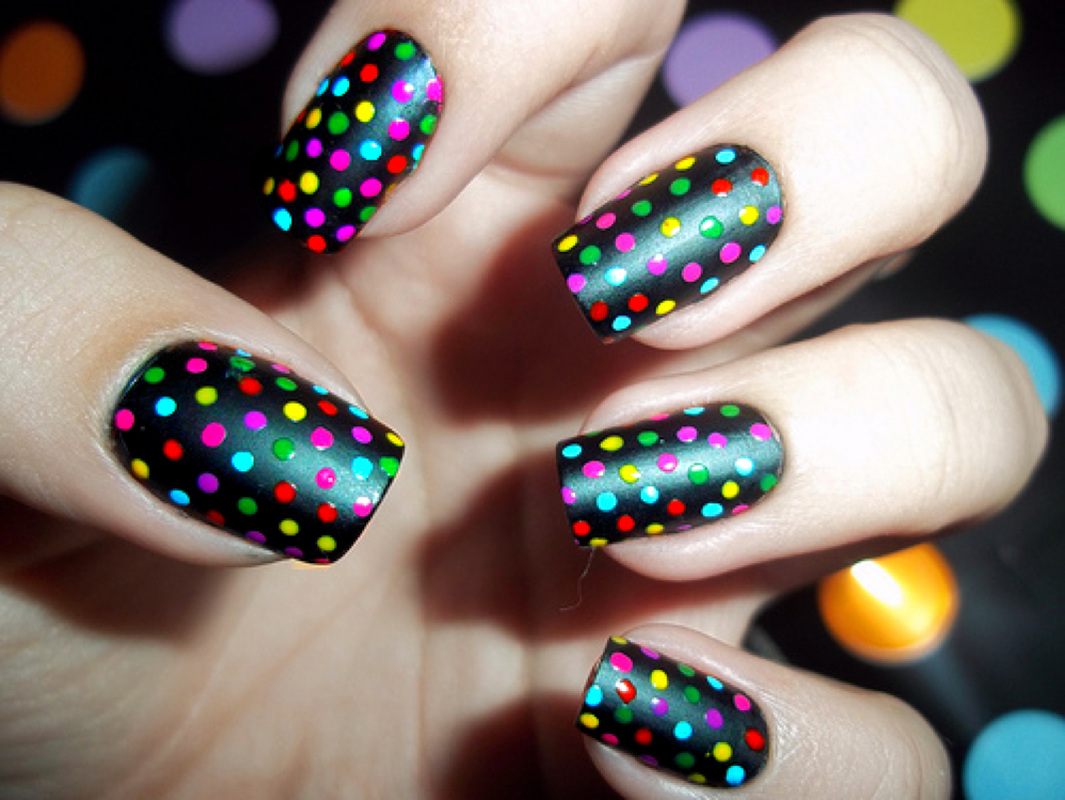
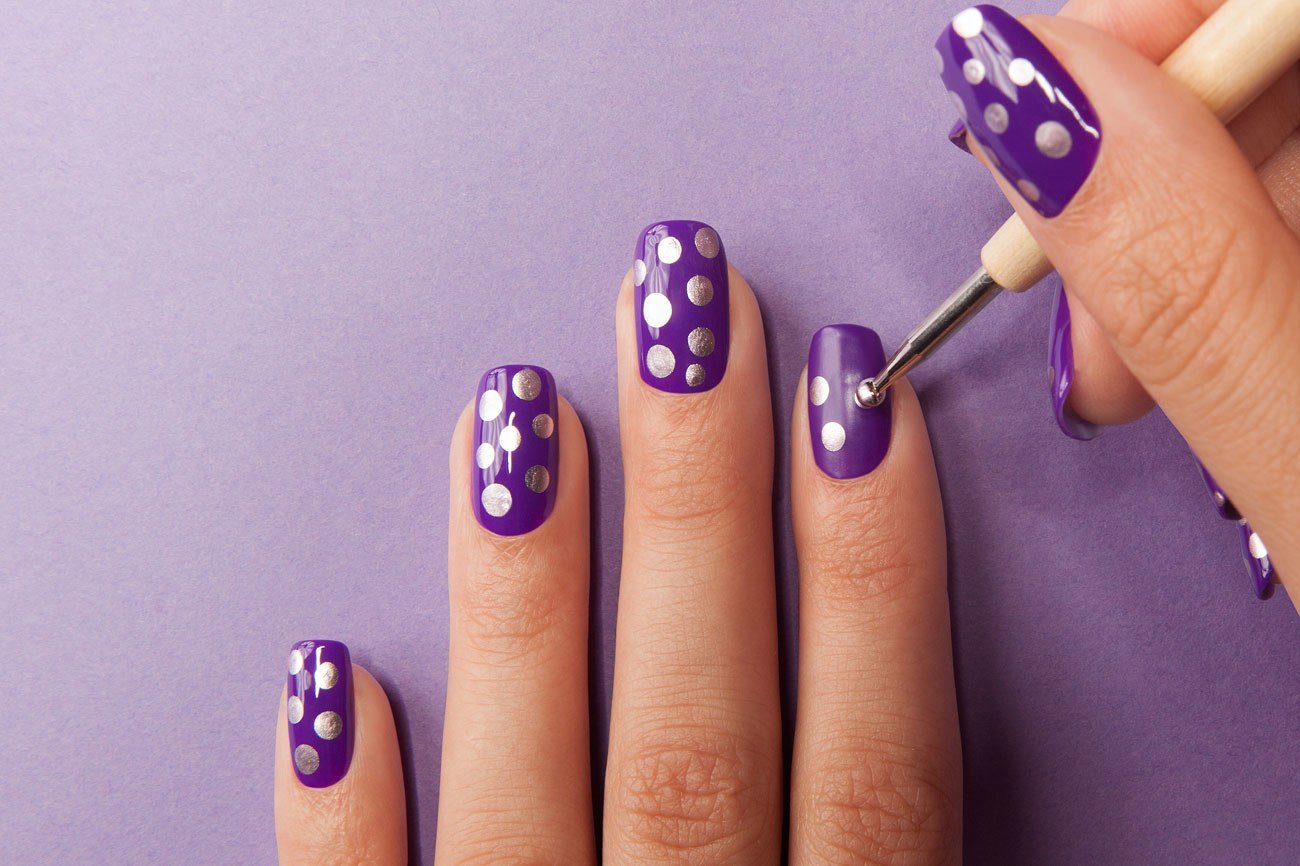
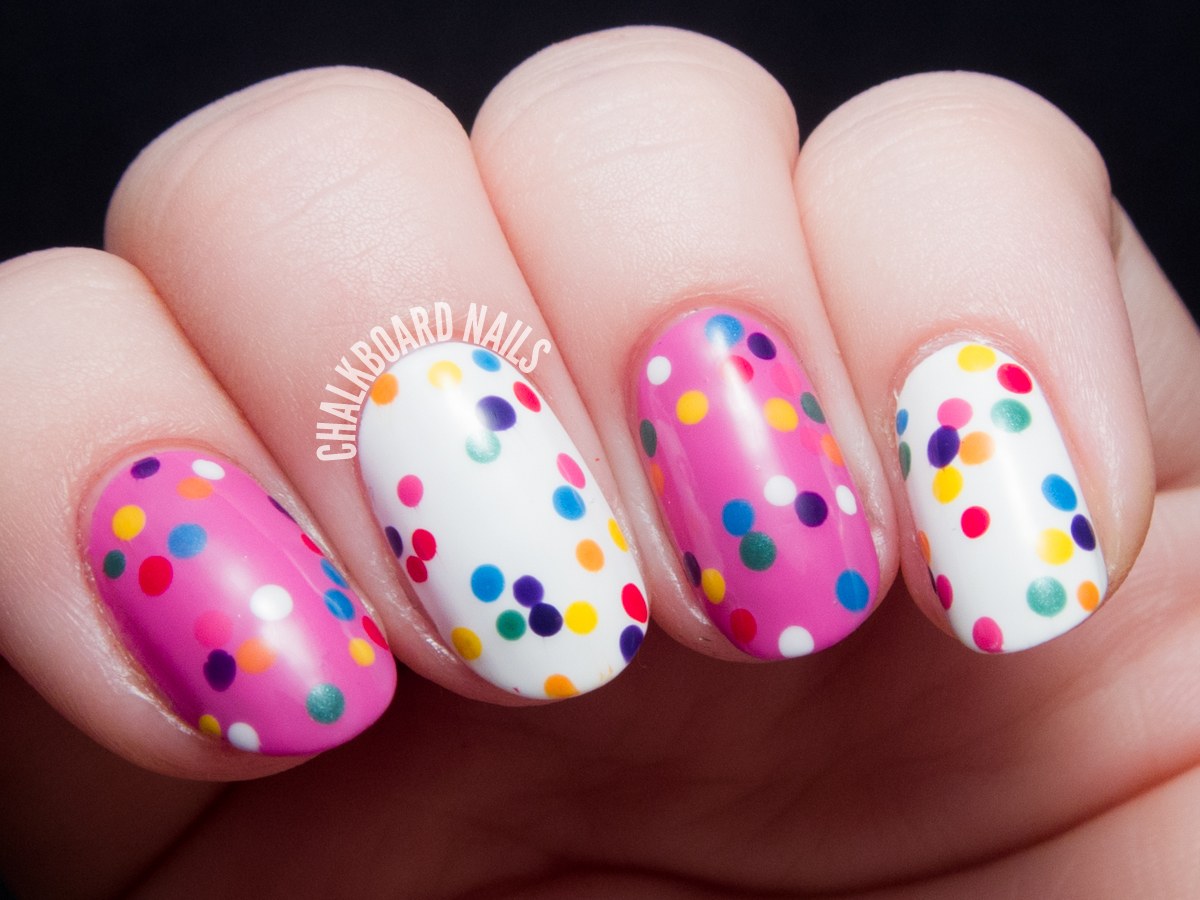
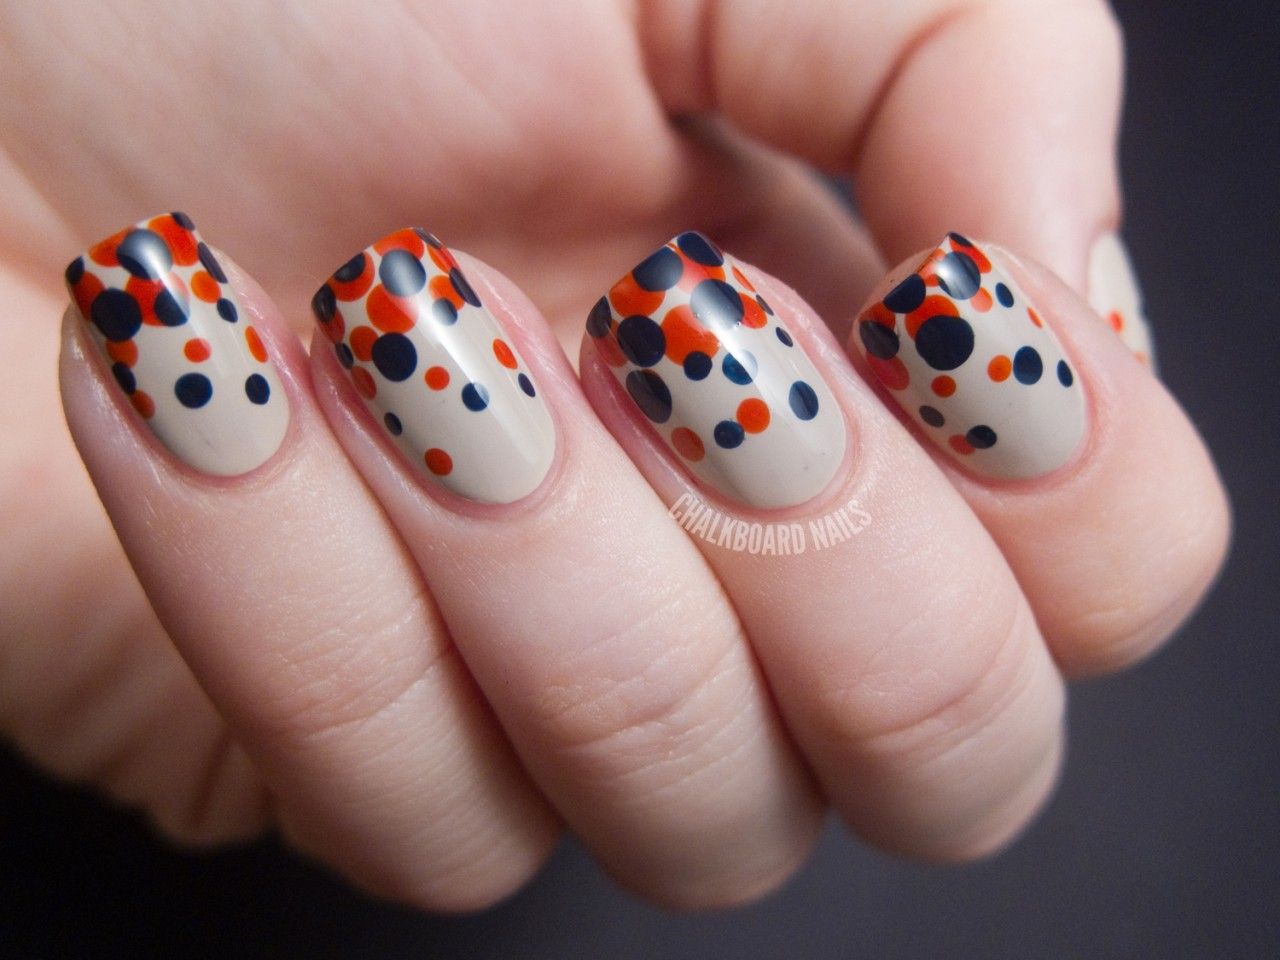
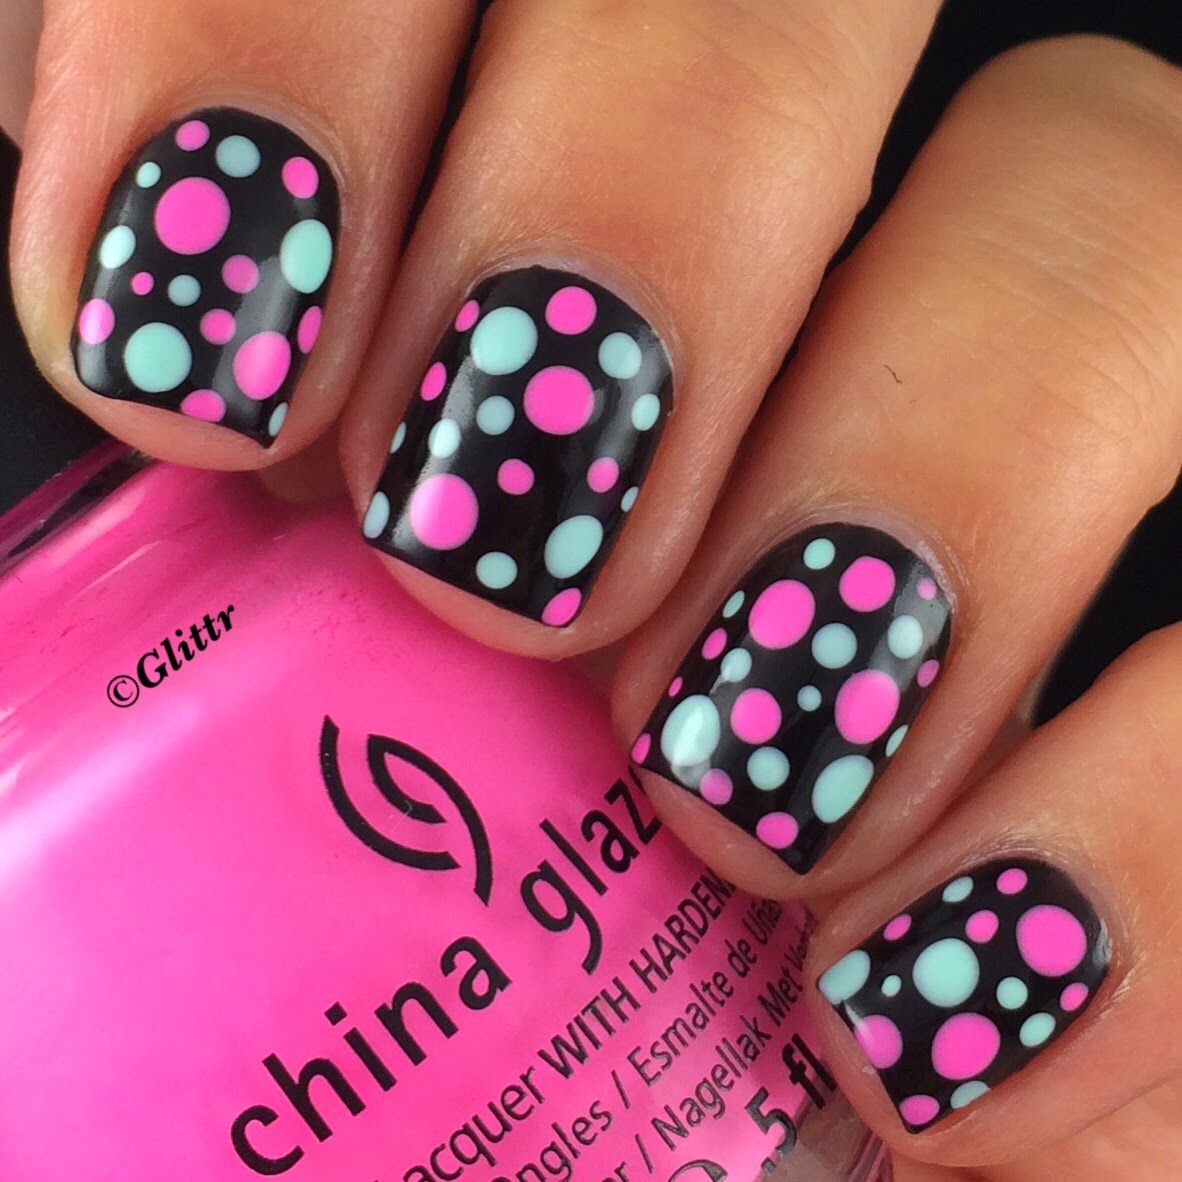
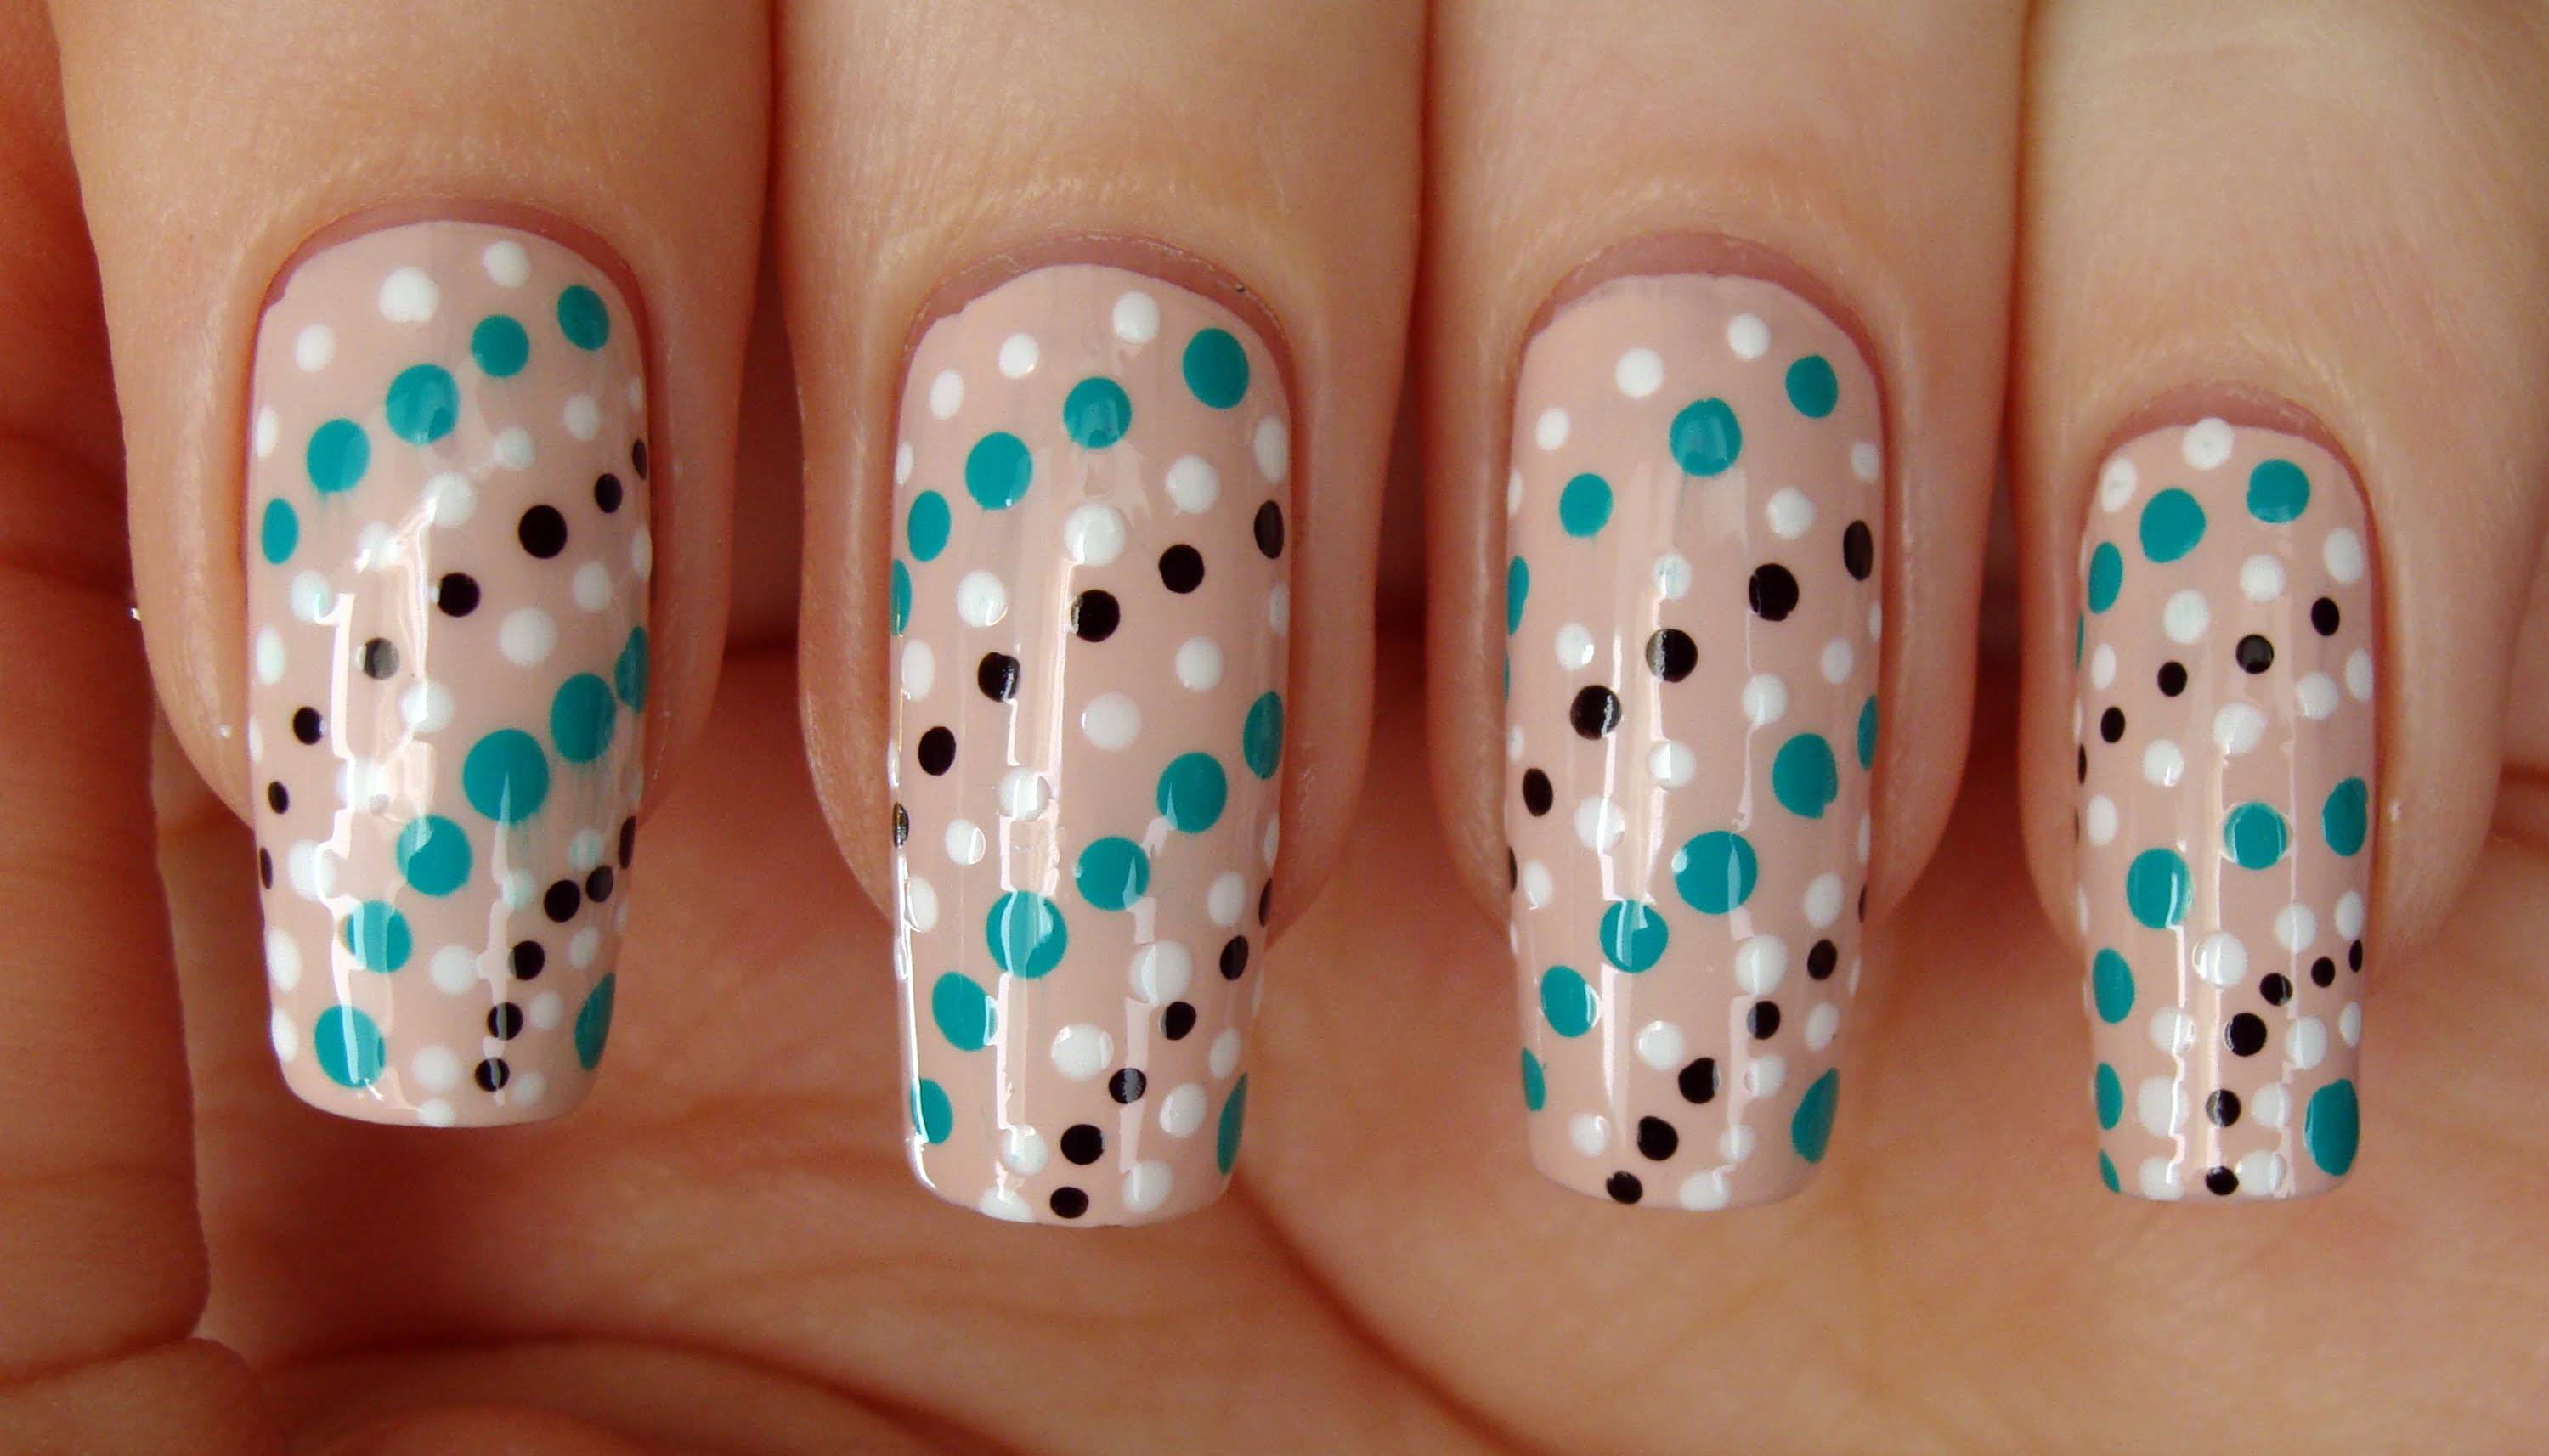
Dots
Dots is a brush, the tip of which is made in the form of a metal ball. It is used to draw points and circles on the nails. It is very easy to work with the dots, you only need to dip the brush in a jar with varnish and press the tip to the surface of the nail.
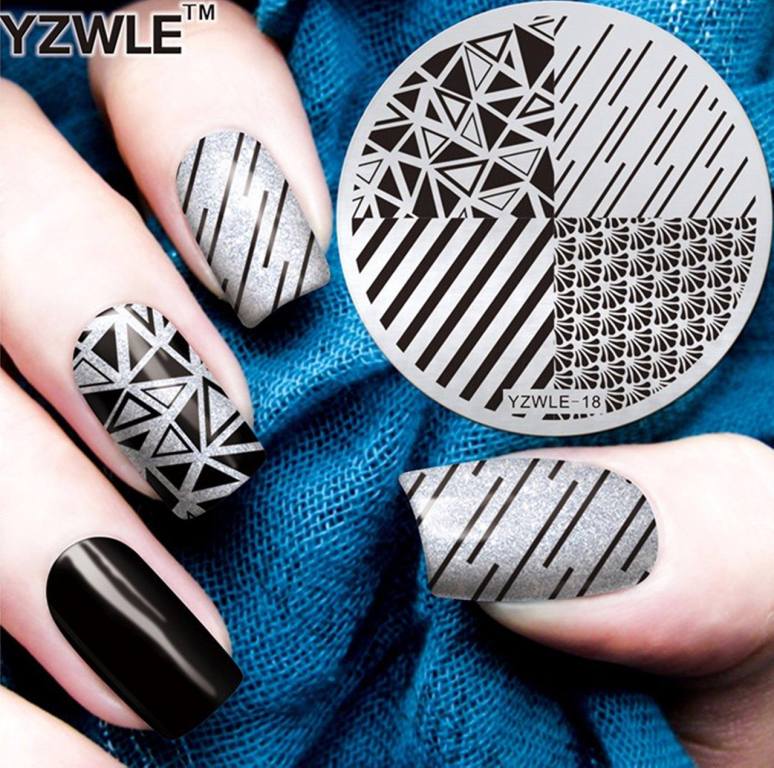
Stamps and stencils
Ready stencils help out when you need to quickly create an original geometric manicure. They are already applied patterns. All you need to do is to attach the stencil to the surface of the nail and cover it with colored varnish. So in a few minutes you will get a sophisticated and beautiful design.
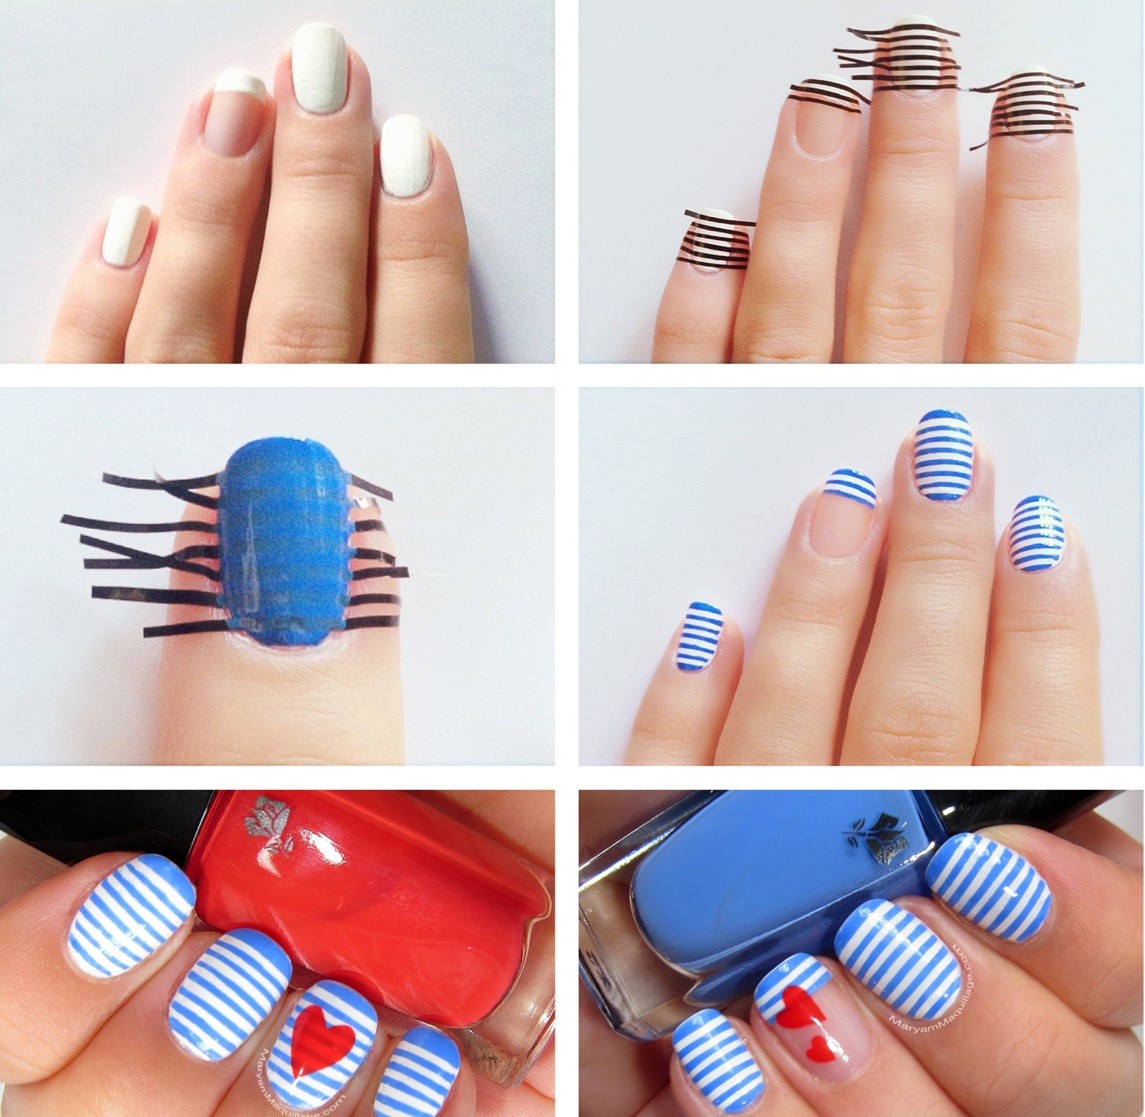
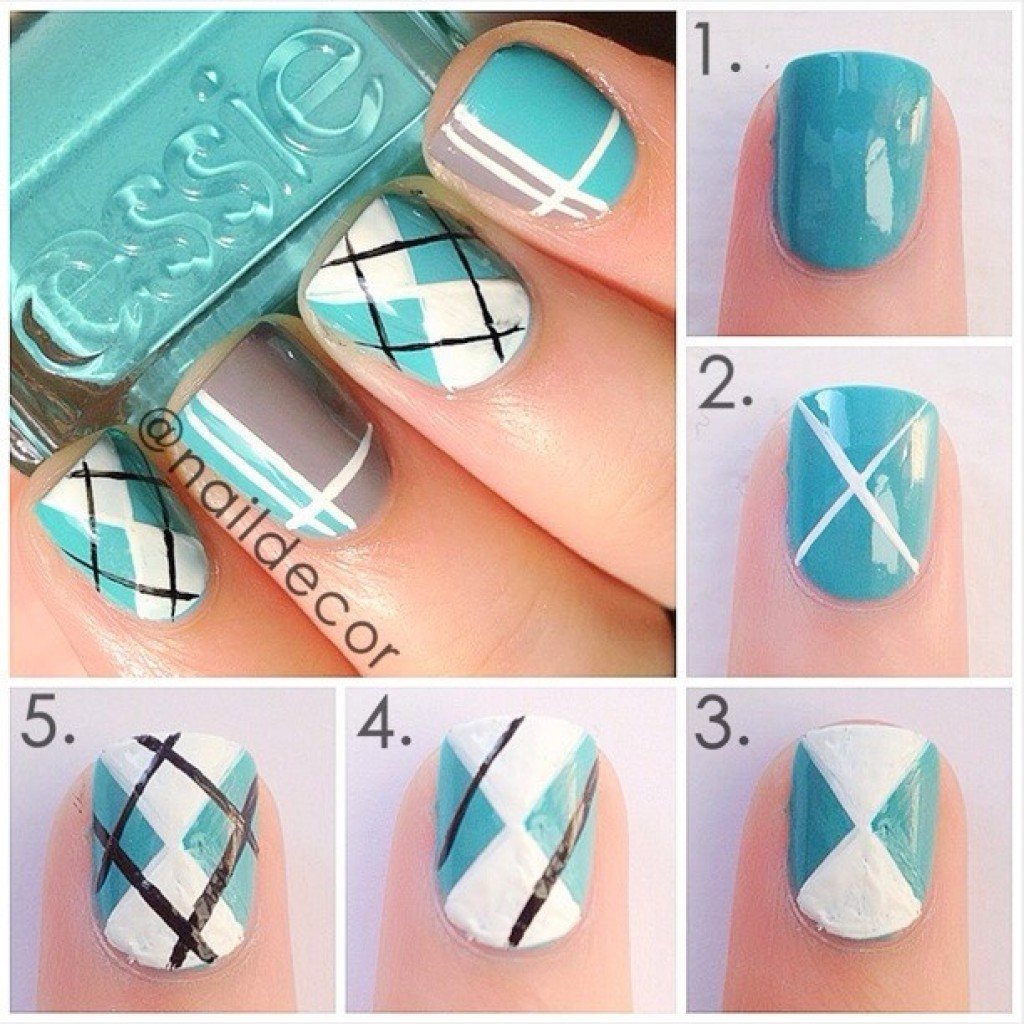
Geometric pattern on the nails step by step
The basis of a beautiful and spectacular manicure is well-groomed nails of the classical form. To achieve this result, it is important to constantly pay attention to the health of the nail plate, cuticle and skin on the fingers.
Stage 1
Before creating any manicure, it is necessary to carry out hygienic treatment of the hands, to polish and degrease the nail plates. Once a week, make strengthening baths for nails with the addition of essential oils and other cosmetics.
Stage 2
Apply a gel polish base on your nails that will protect and strengthen the delicate structure of the nail. Dry the product under the LED or UV lamp for about a minute.
Stage 3
Cover your nails with colored gel polish. For deeper colors, apply the coating in two layers. Dry the nails under the lamp.
Stage 4
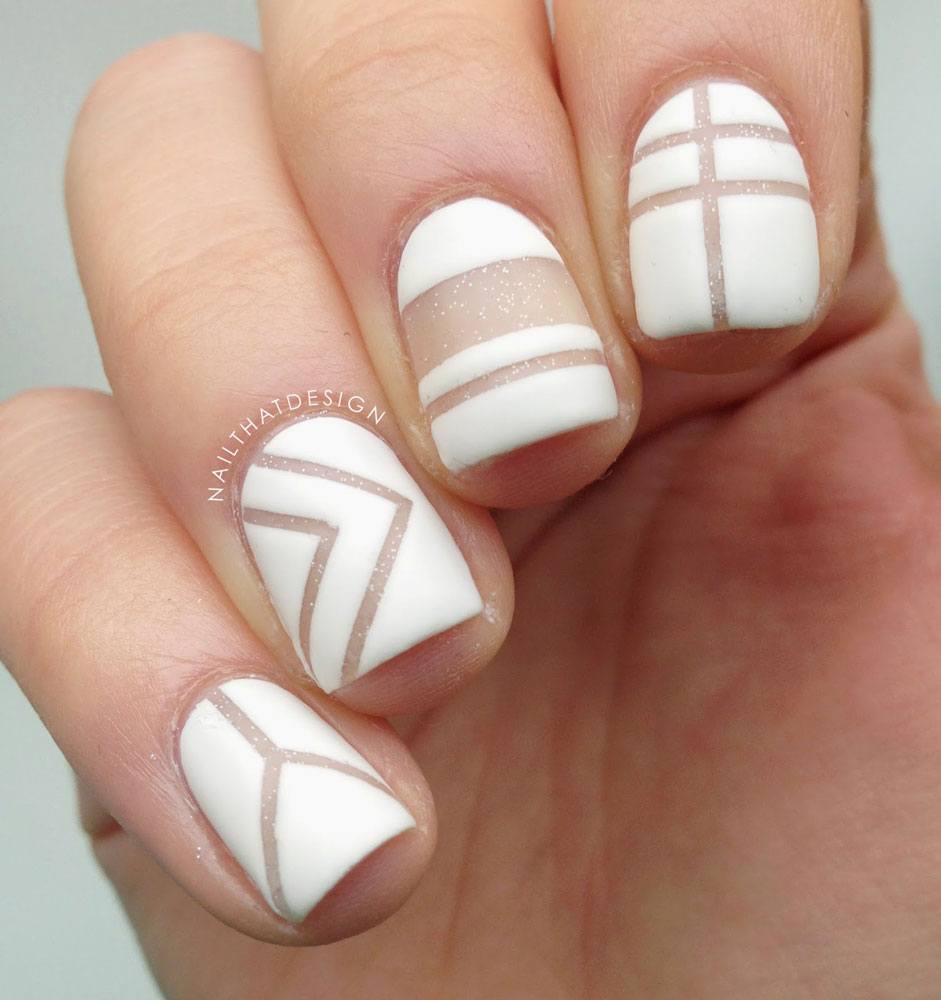
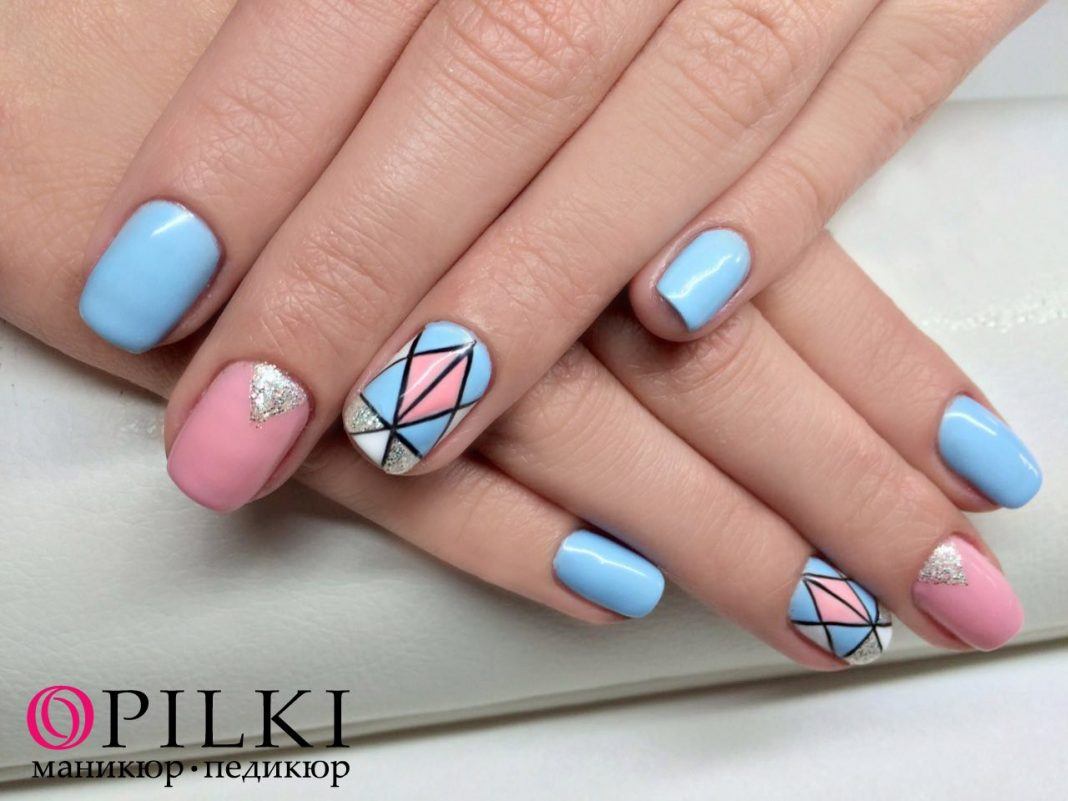
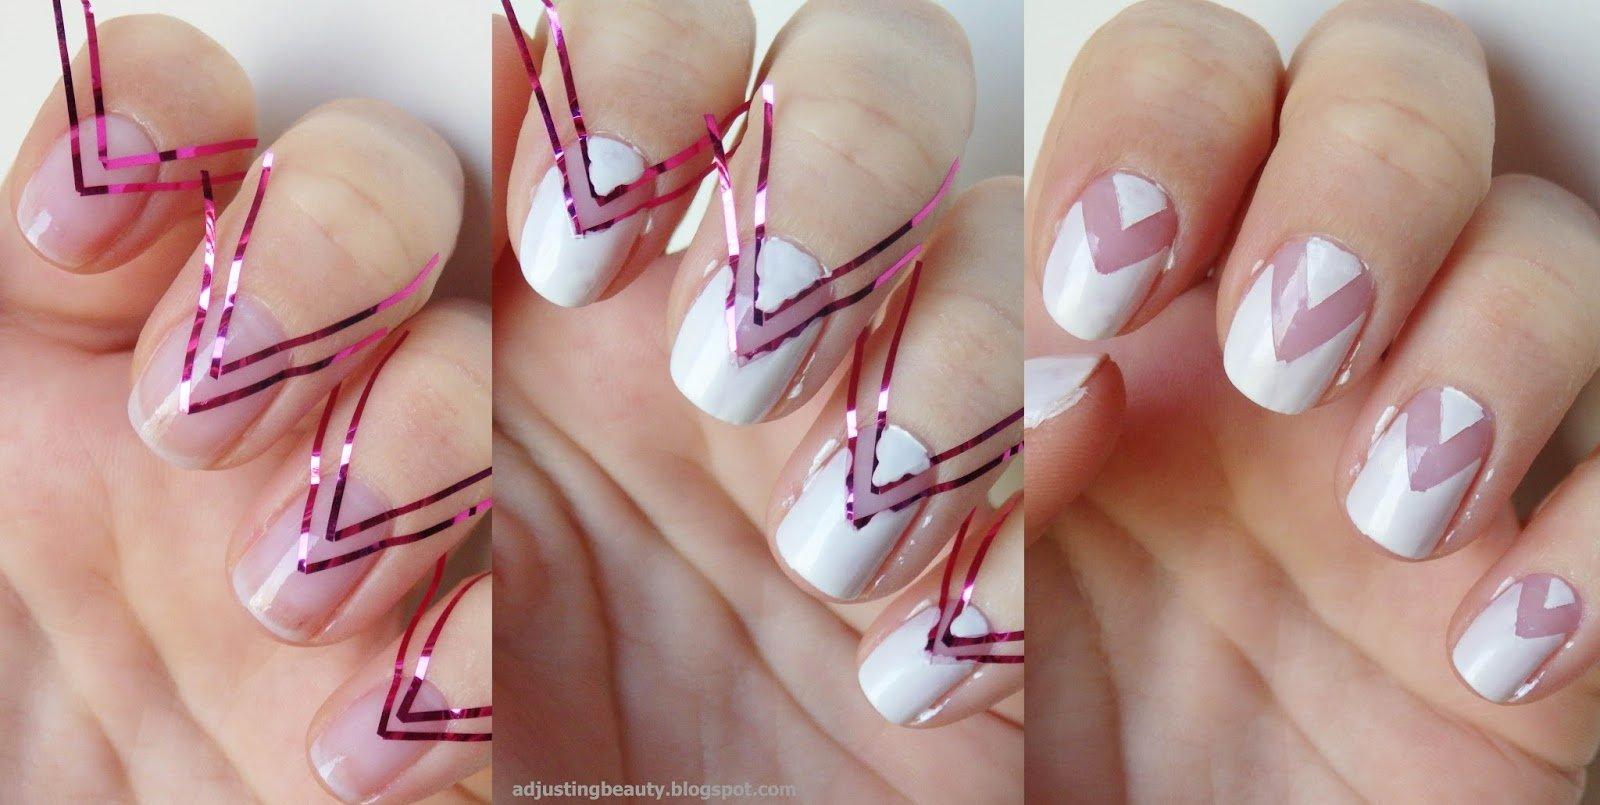
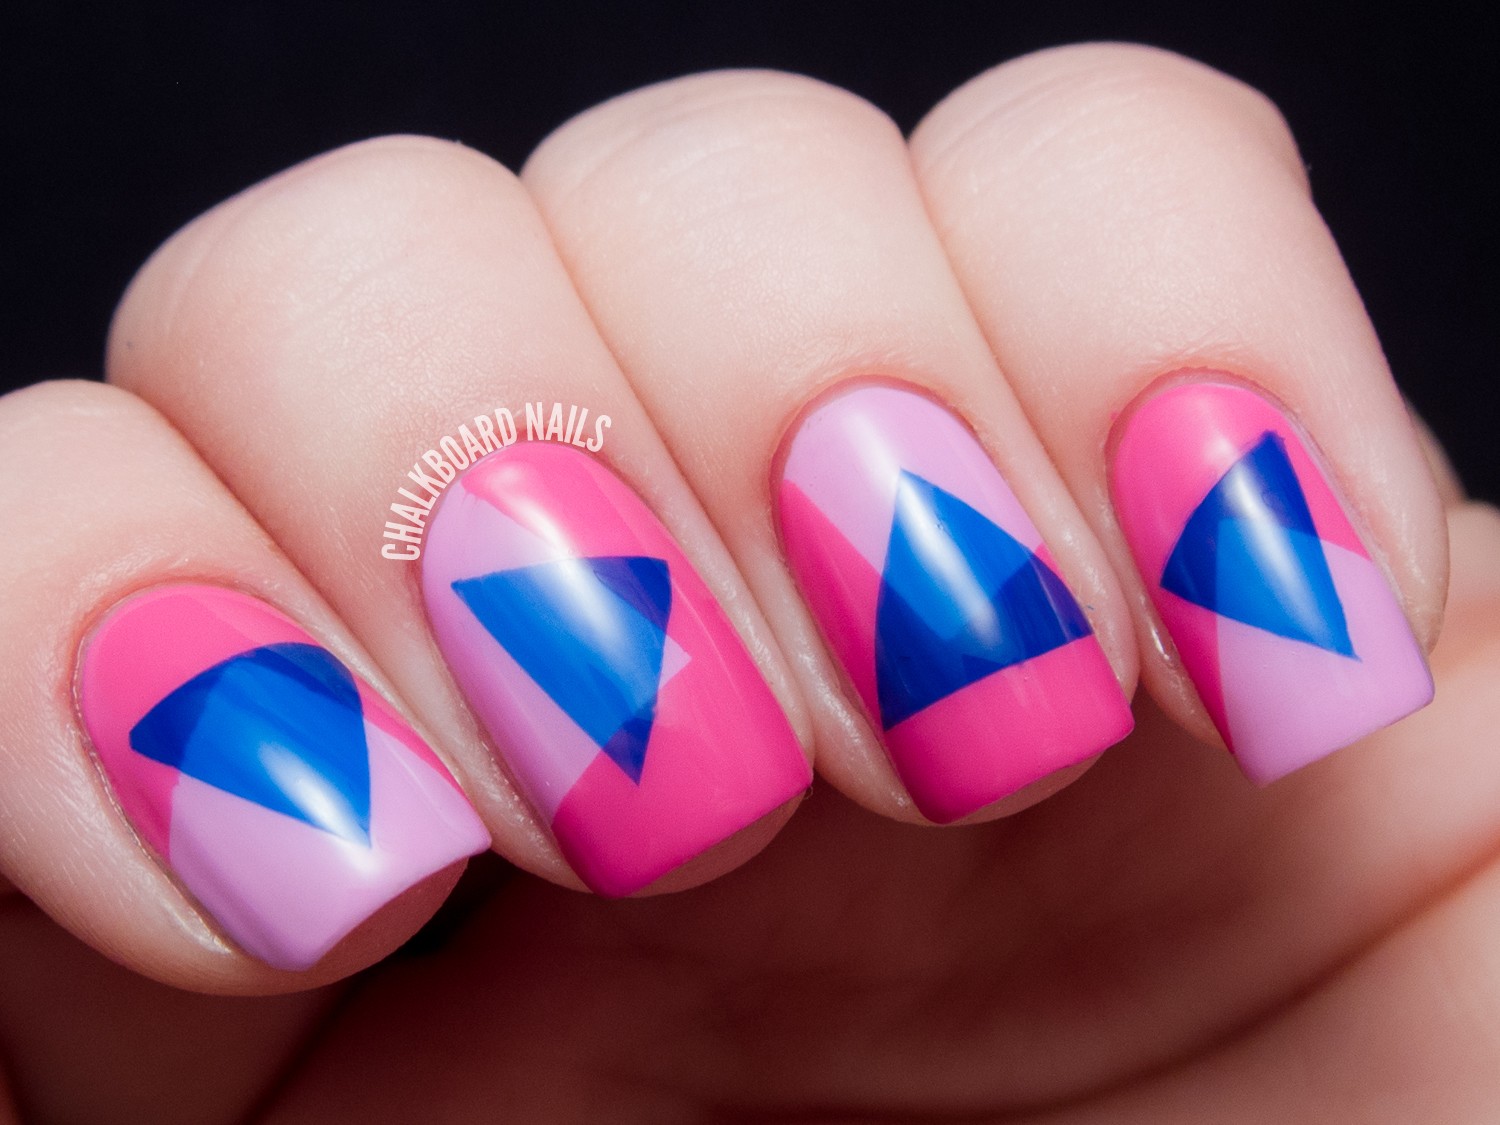
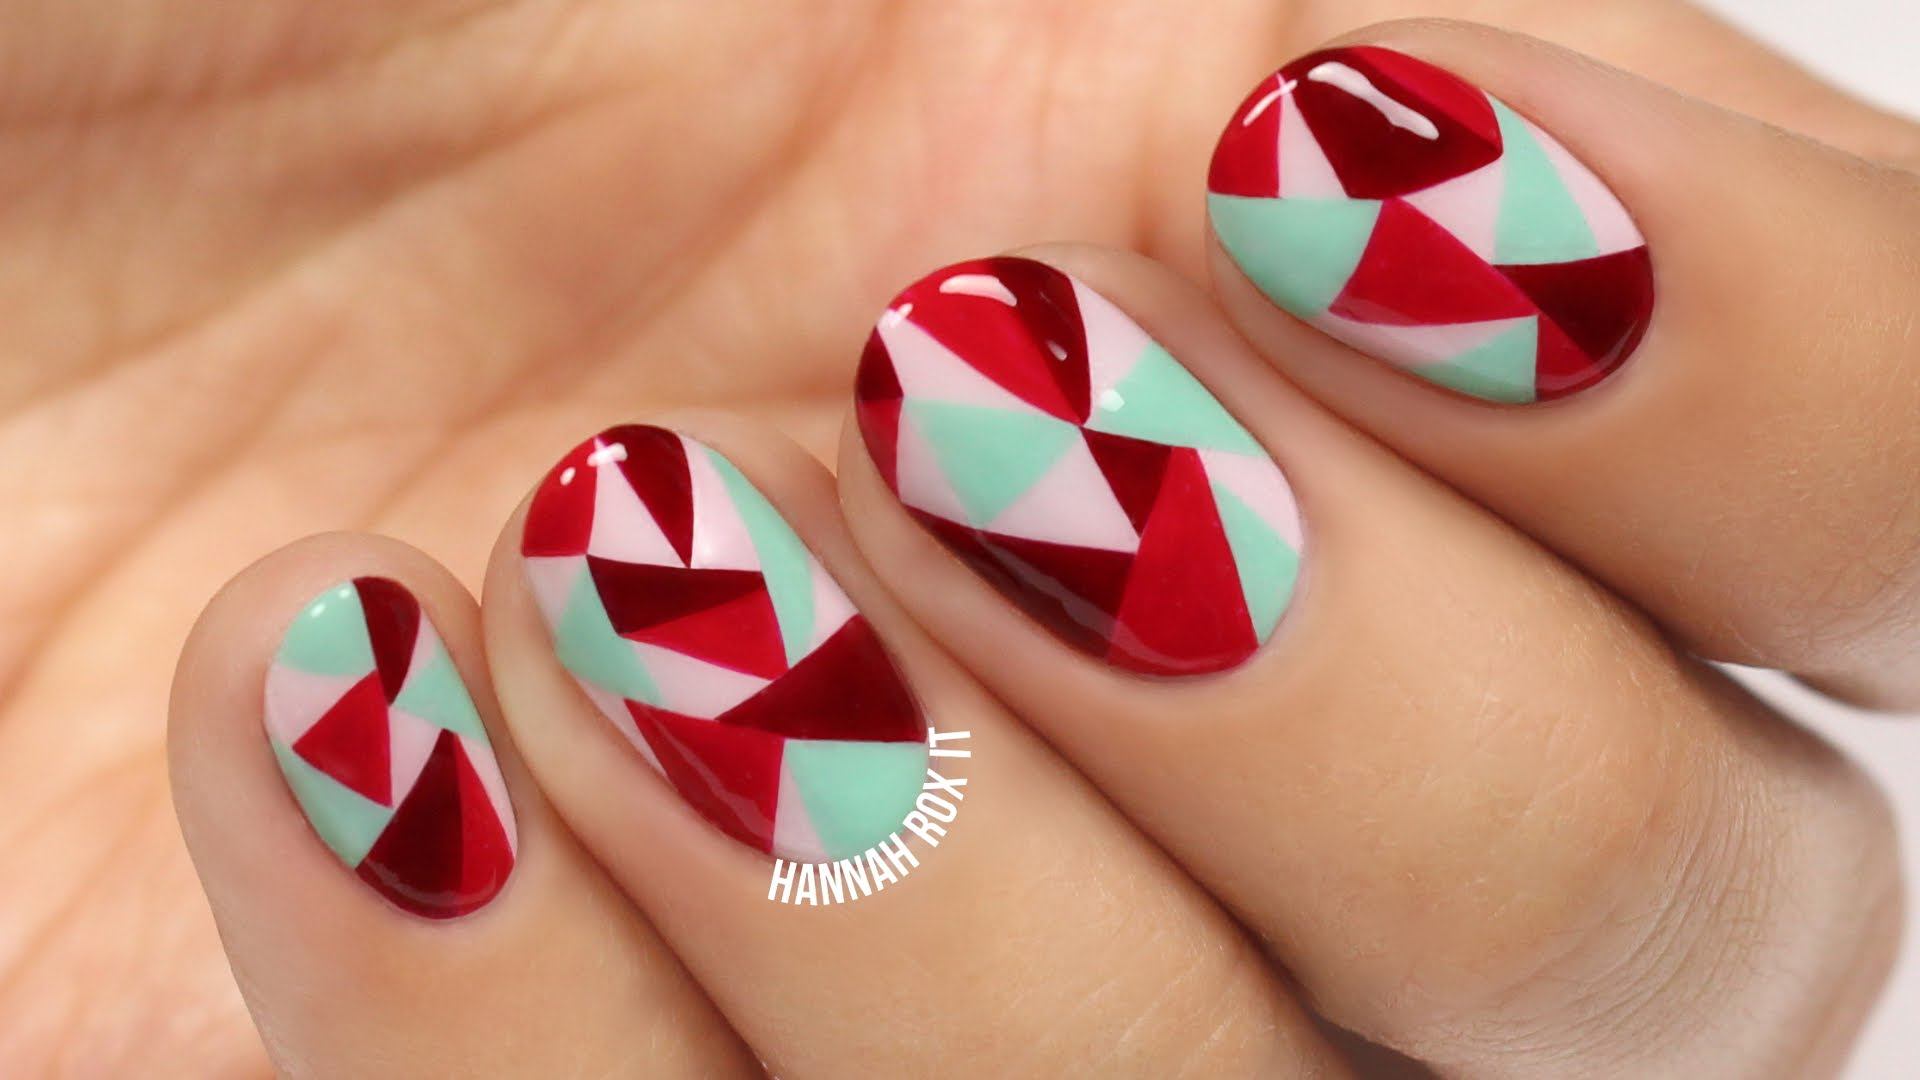
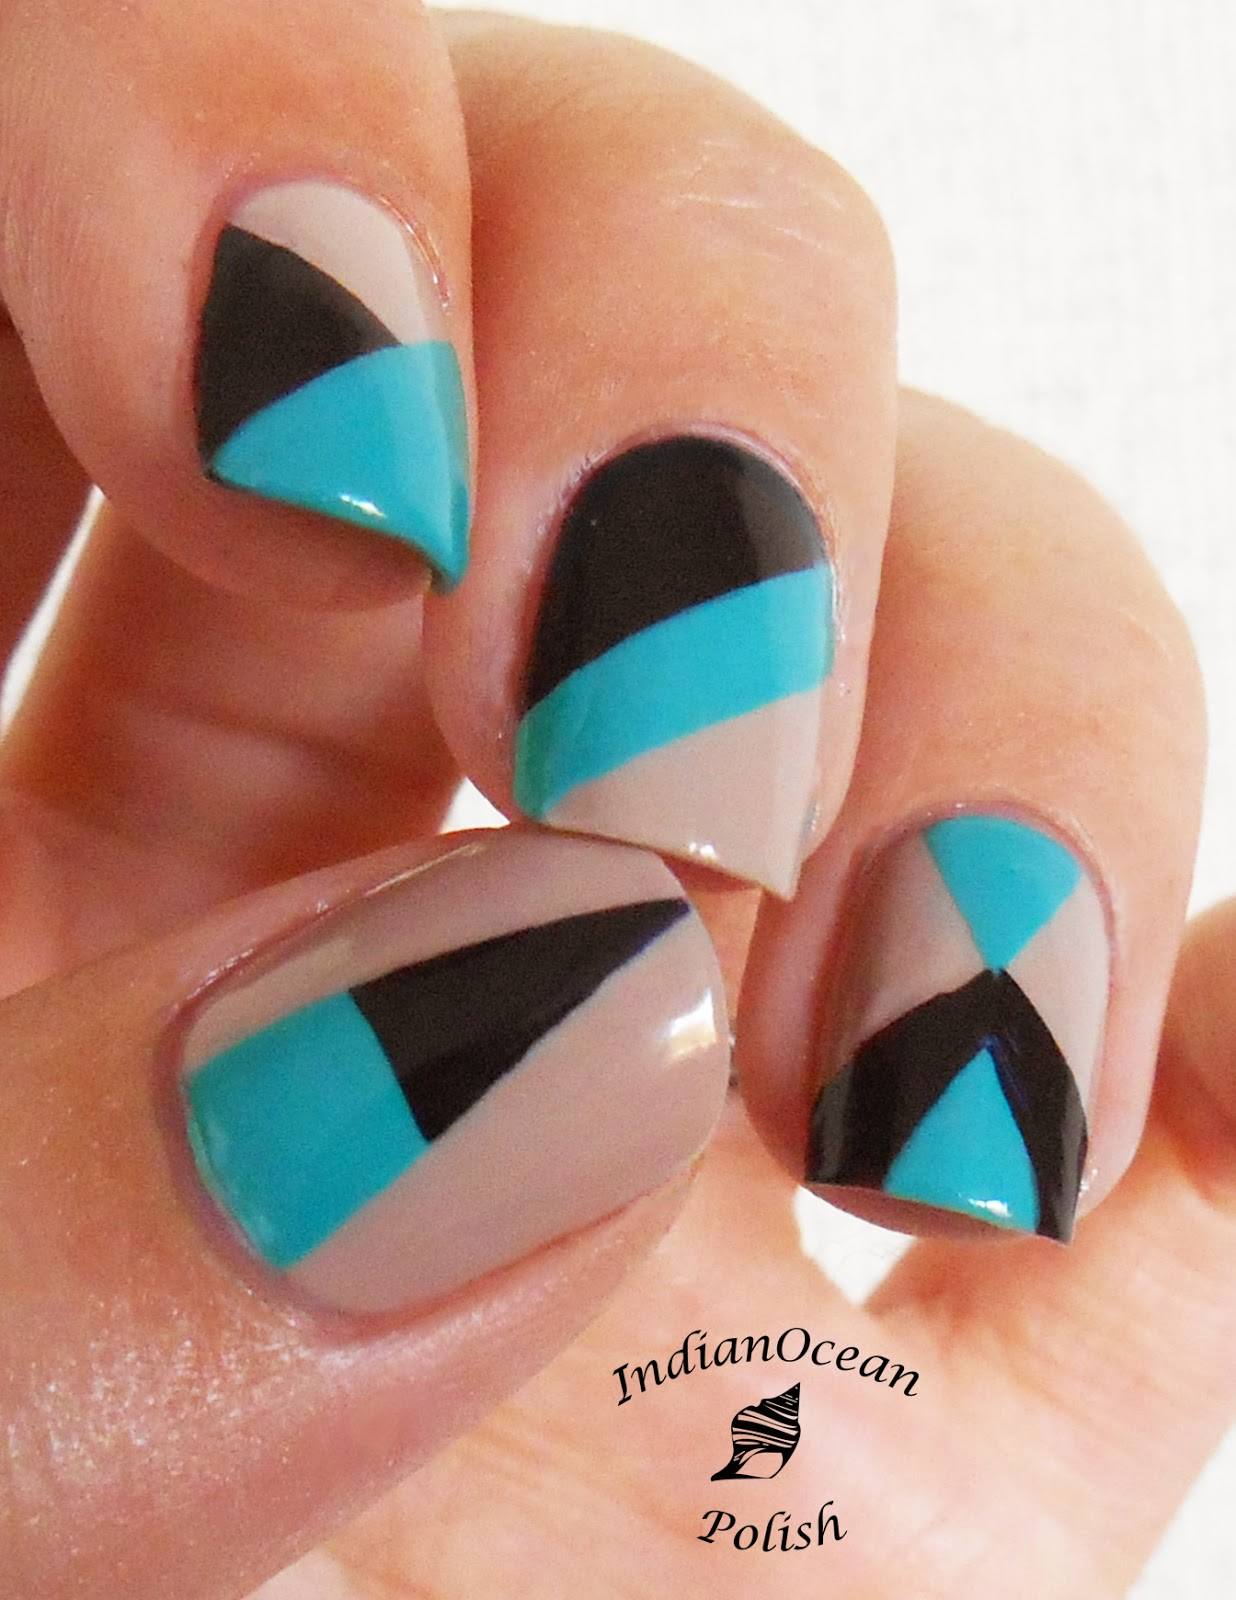
We start drawing geometric patterns. To do this, use sticky nail strips or tape. Glue the material to the completely dried nail plate in any order, creating a smooth geometric shape. Triangles, rhombuses, corners, abstract compositions are especially popular.

Stage 5
We apply a varnish of a different shade over strips, we dry a covering under a lamp.After the varnish has completely dried, remove the strips and evaluate the result. If in some places the picture is fuzzy, then you can draw it with a thin brush or toothpick.
The following step by step instructions are the basis for your own nail art. If you have just started experimenting with a geometric manicure, then several times repeat the above method of drawing, and then proceed to more complex designs.
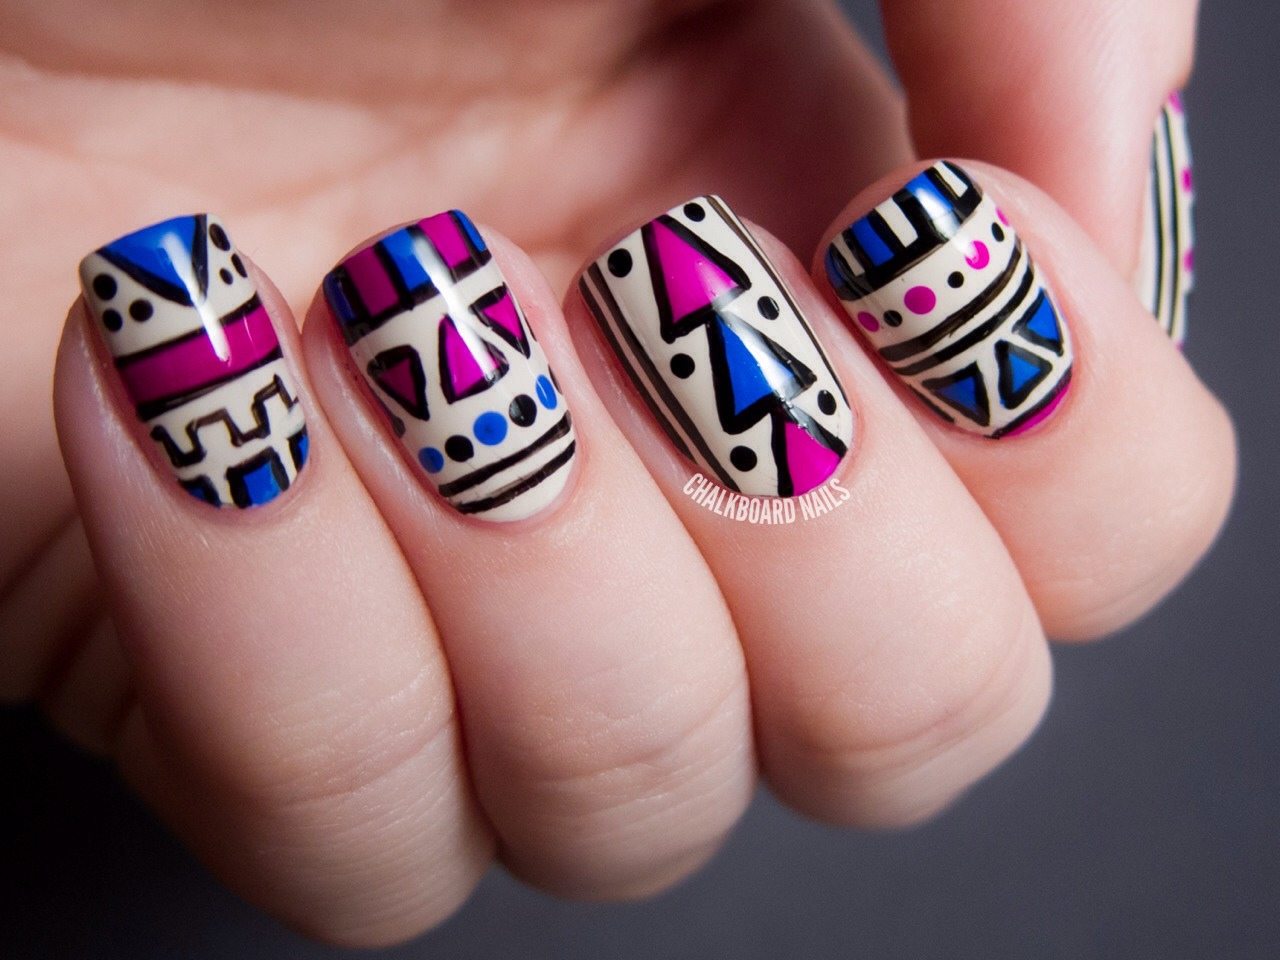
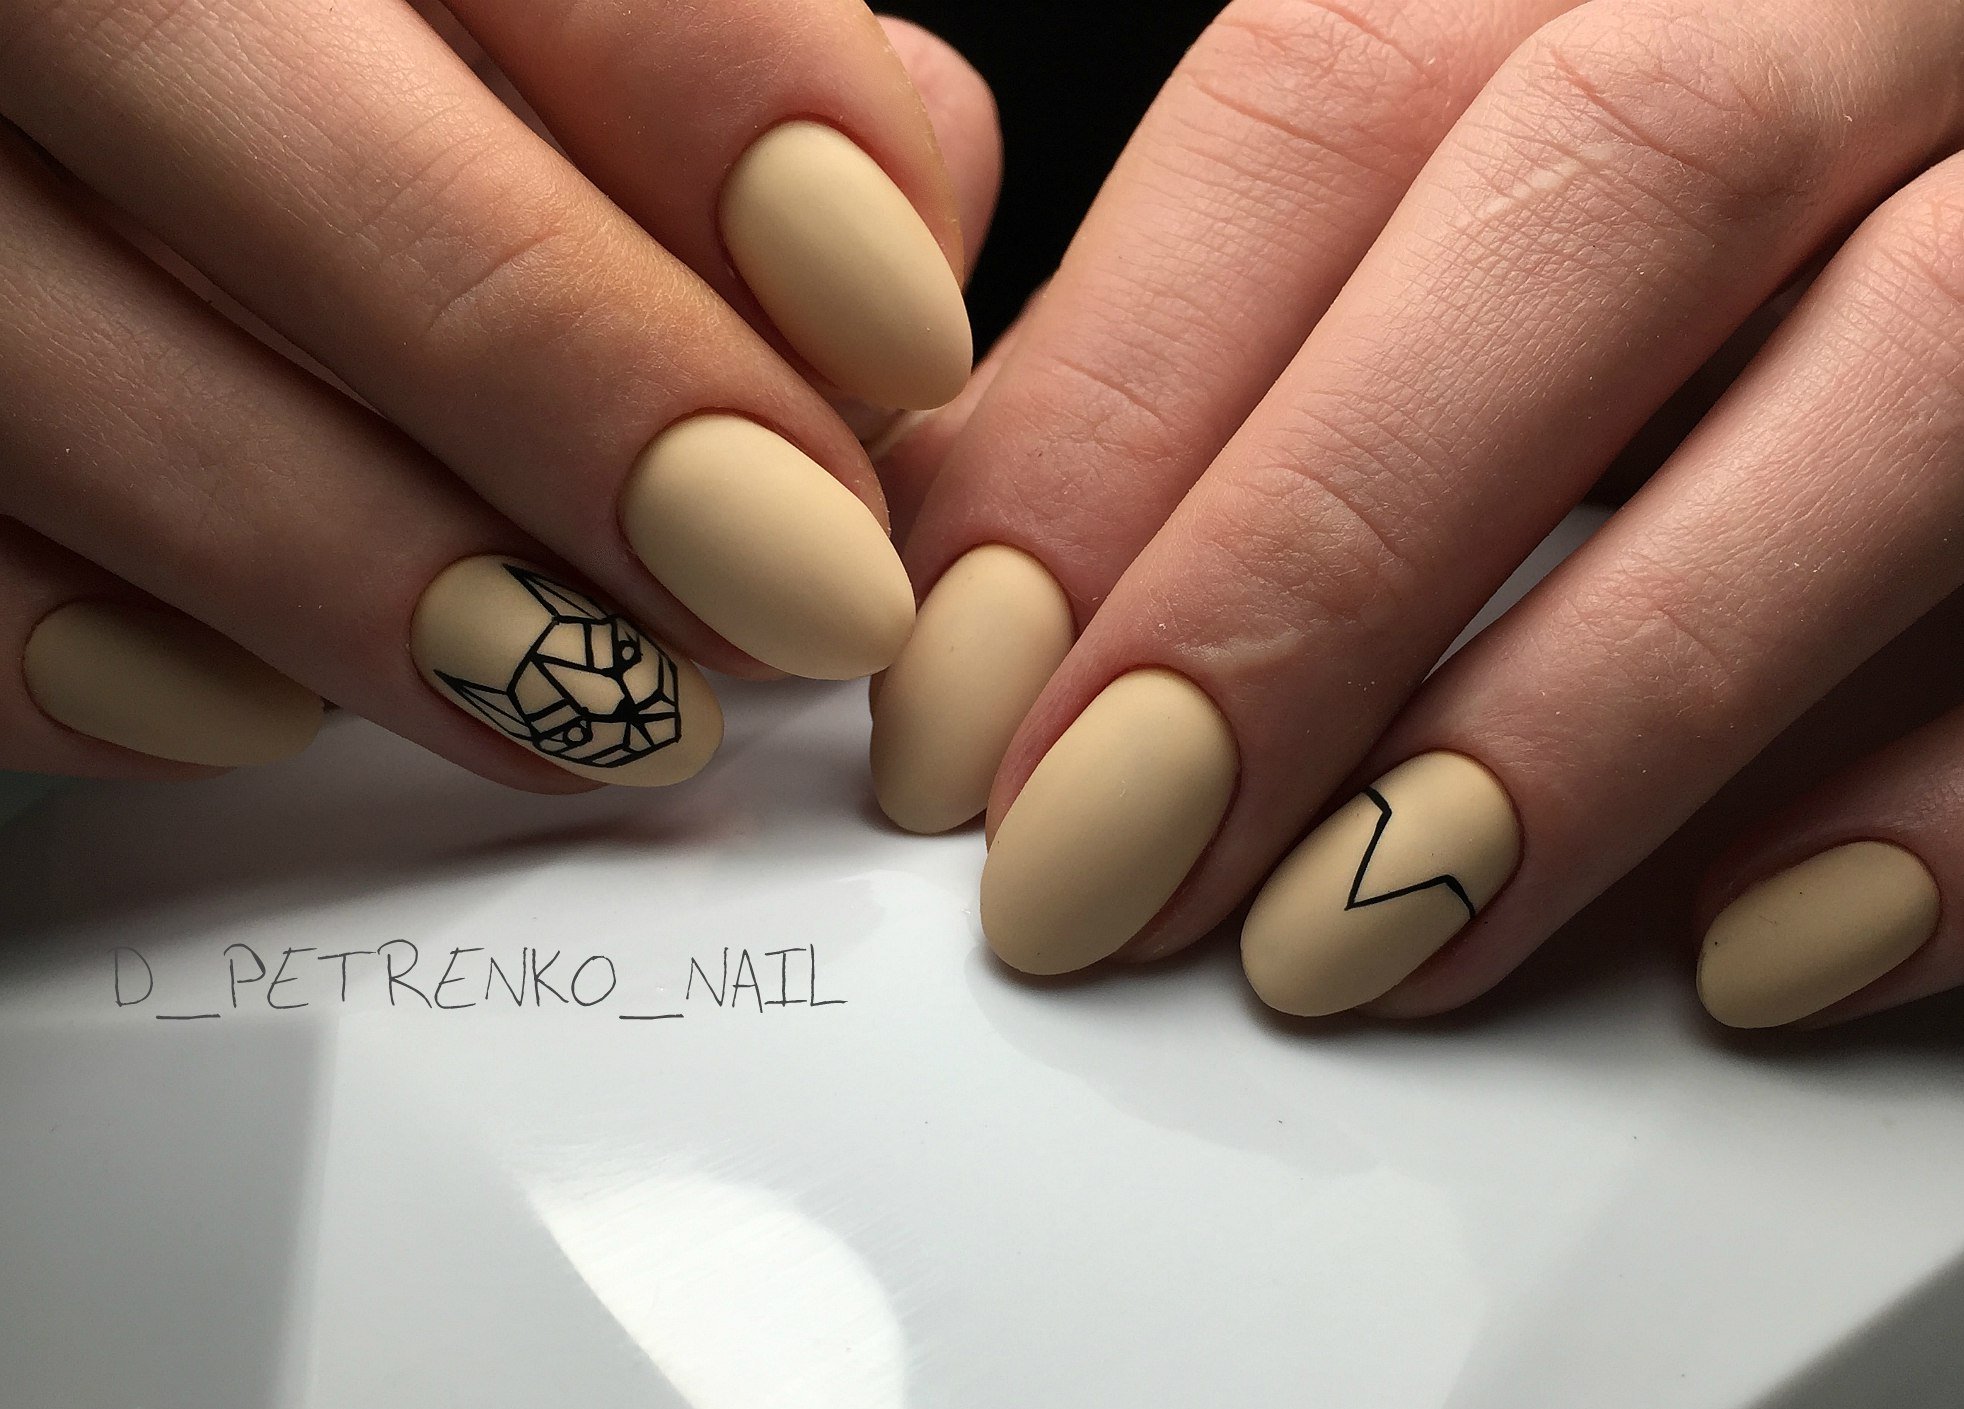
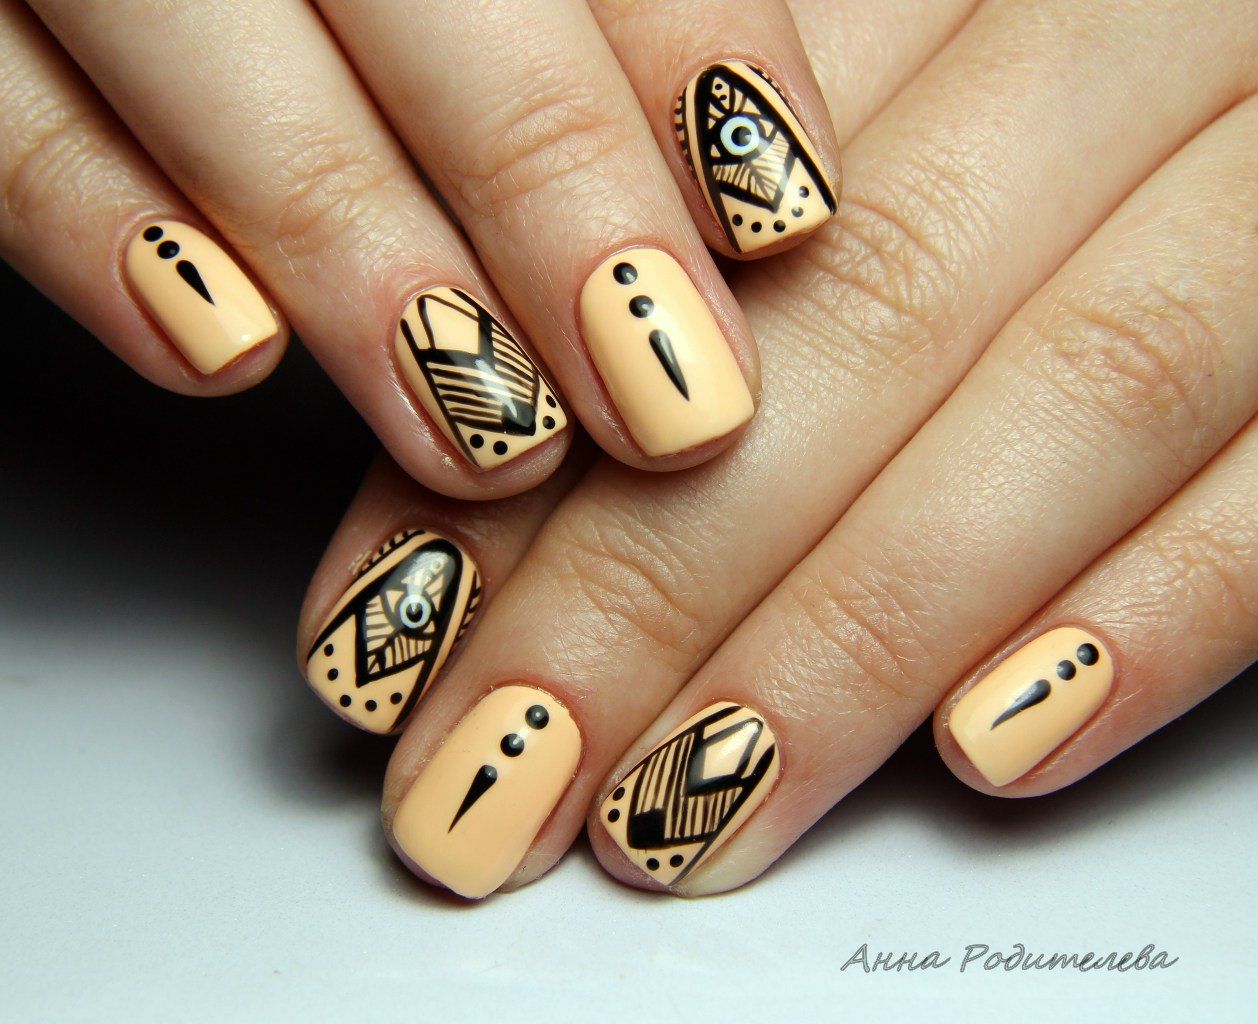
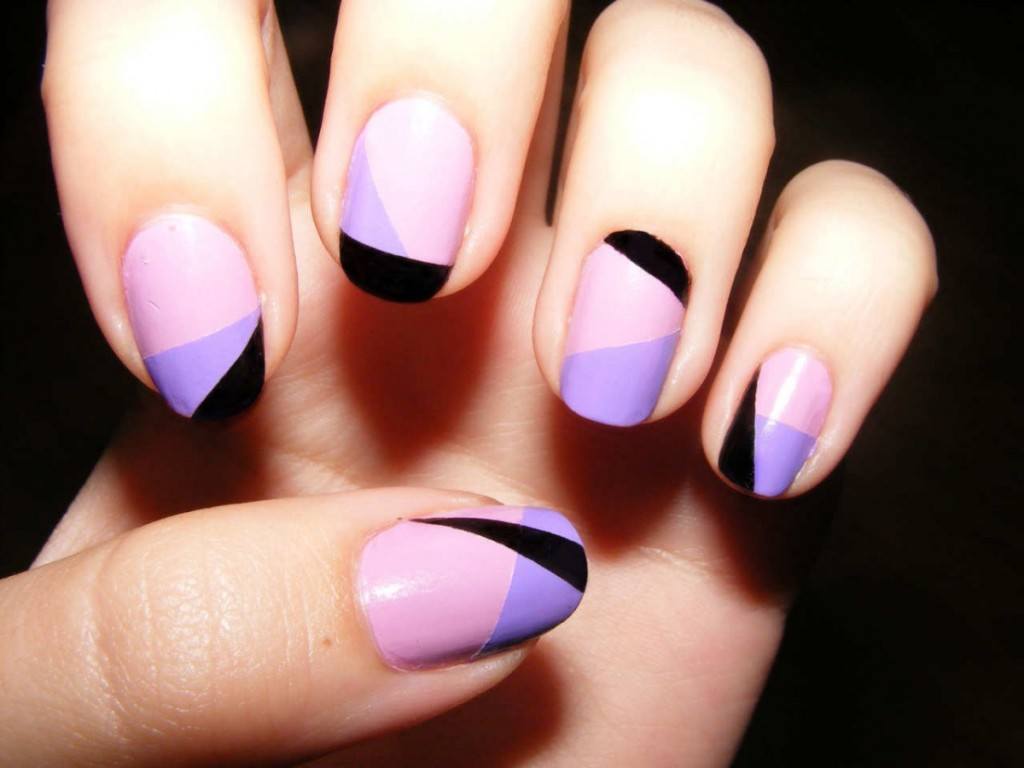
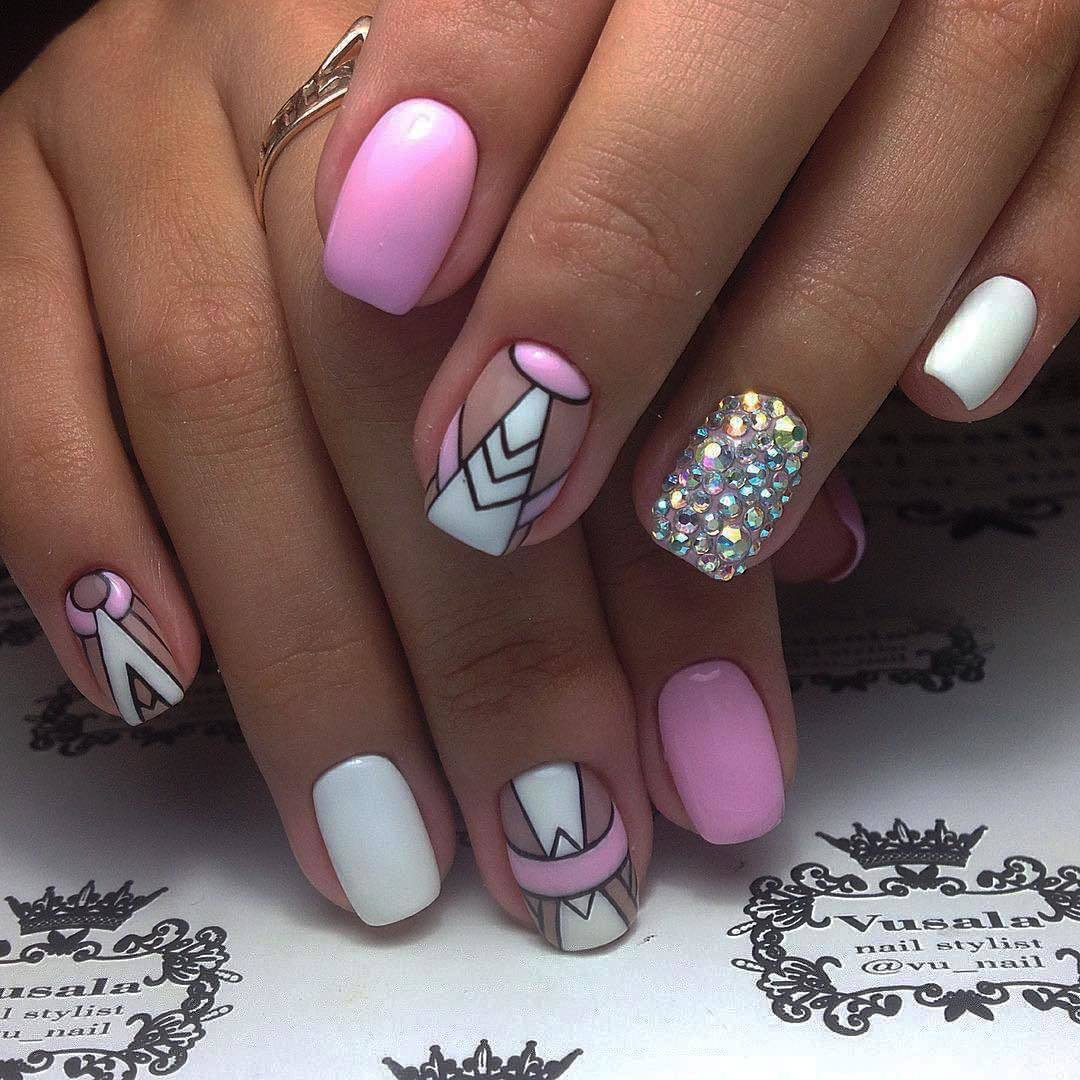
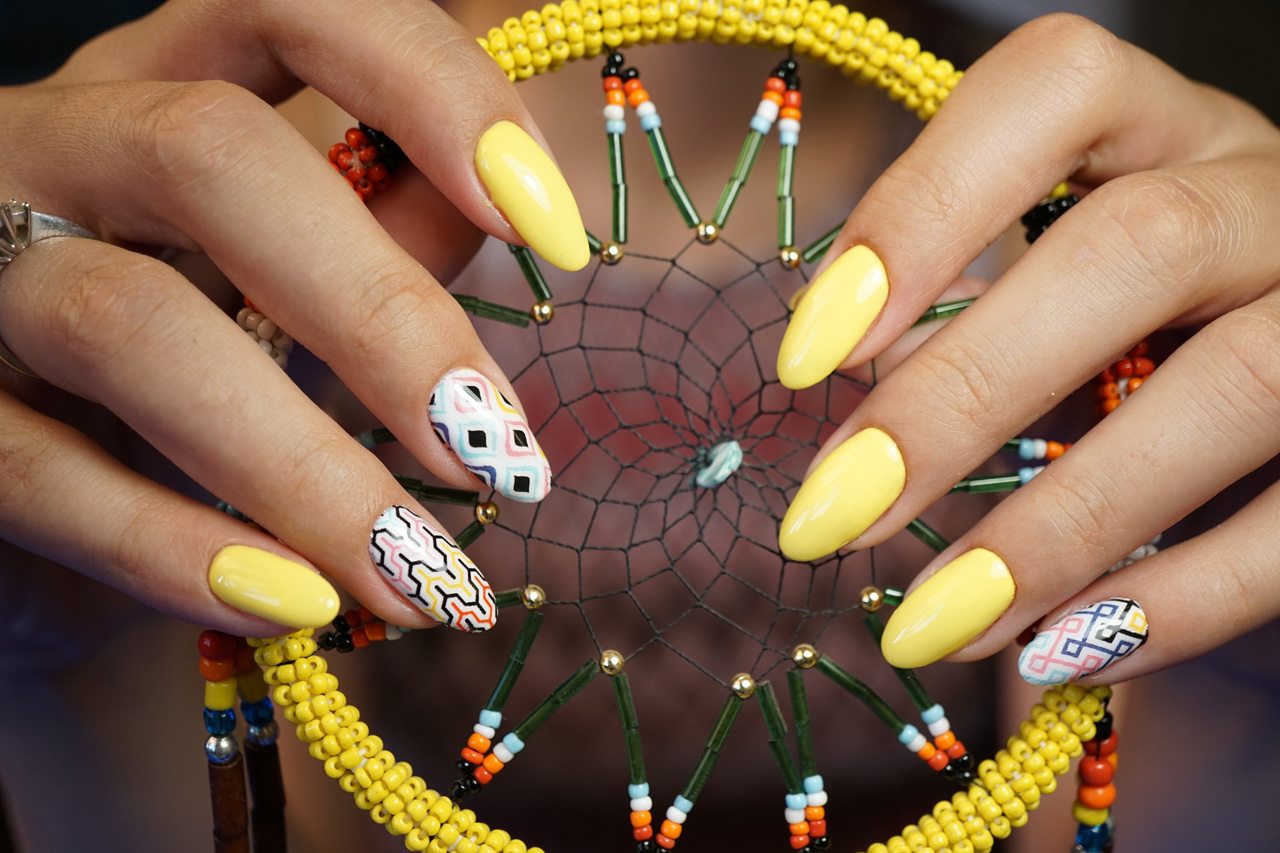
Nail design with geometric pattern
Geometric manicure can be called the most creative and unusual. There are no strict rules or restrictions, each girl has the right to depict the most original patterns and figures on her nails.
Despite this liberty, there are several trends that are particularly relevant this season.
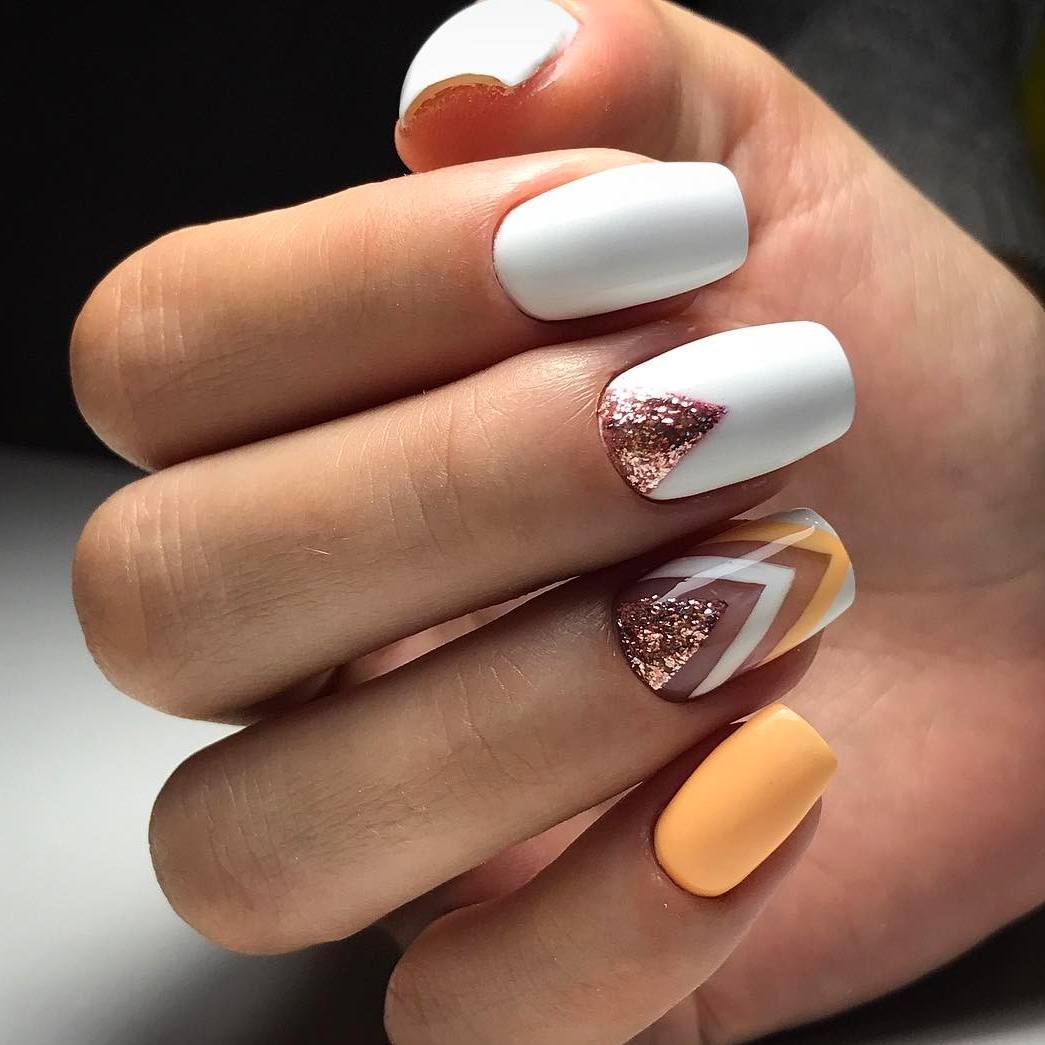
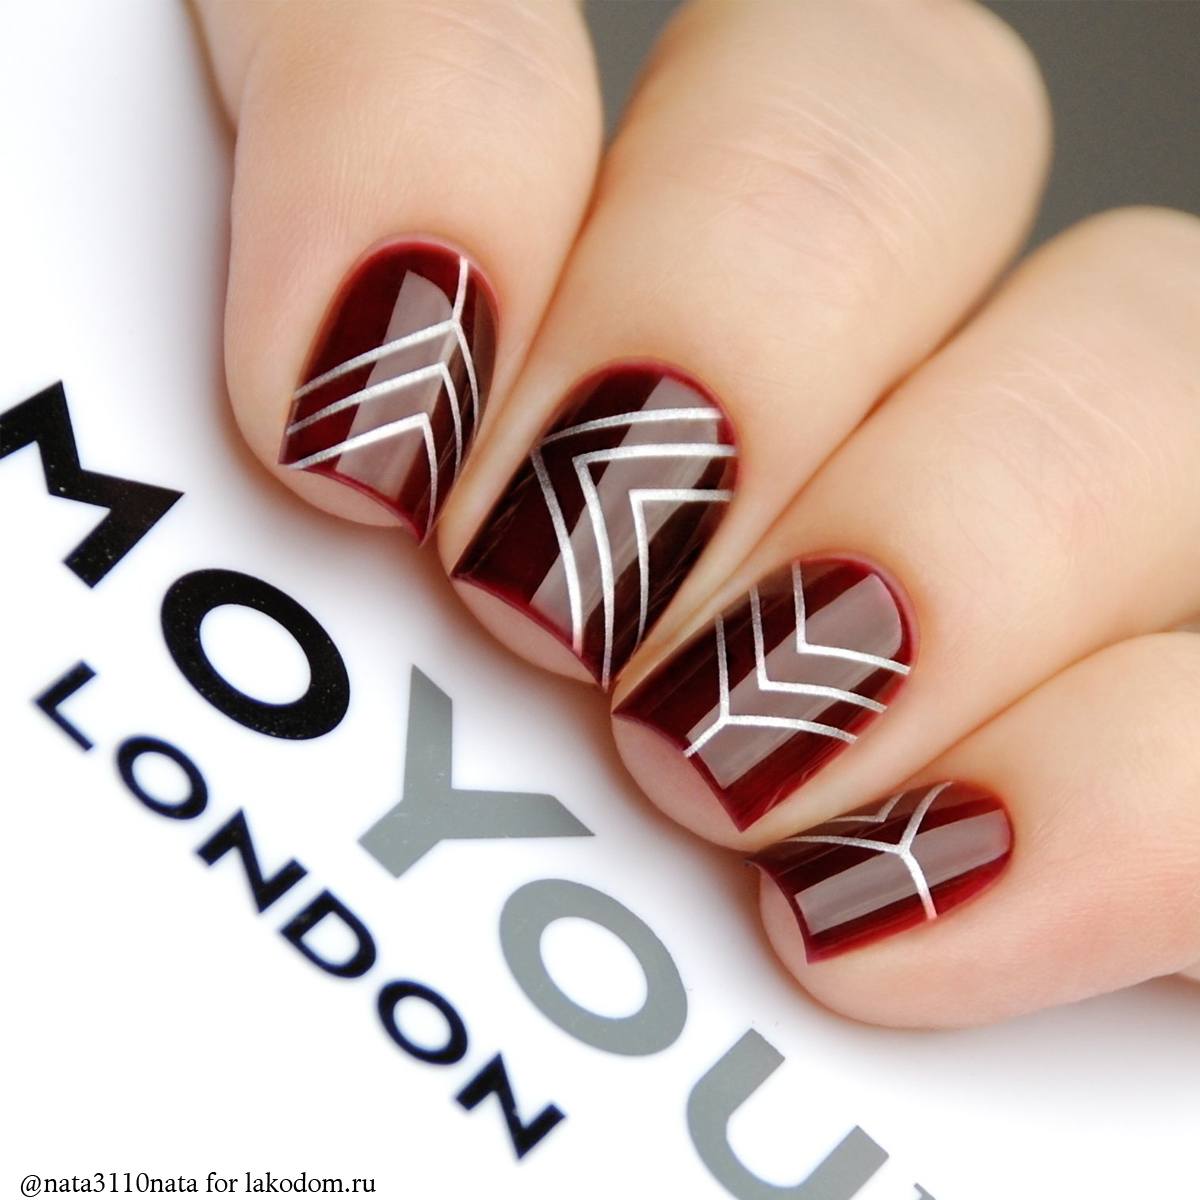
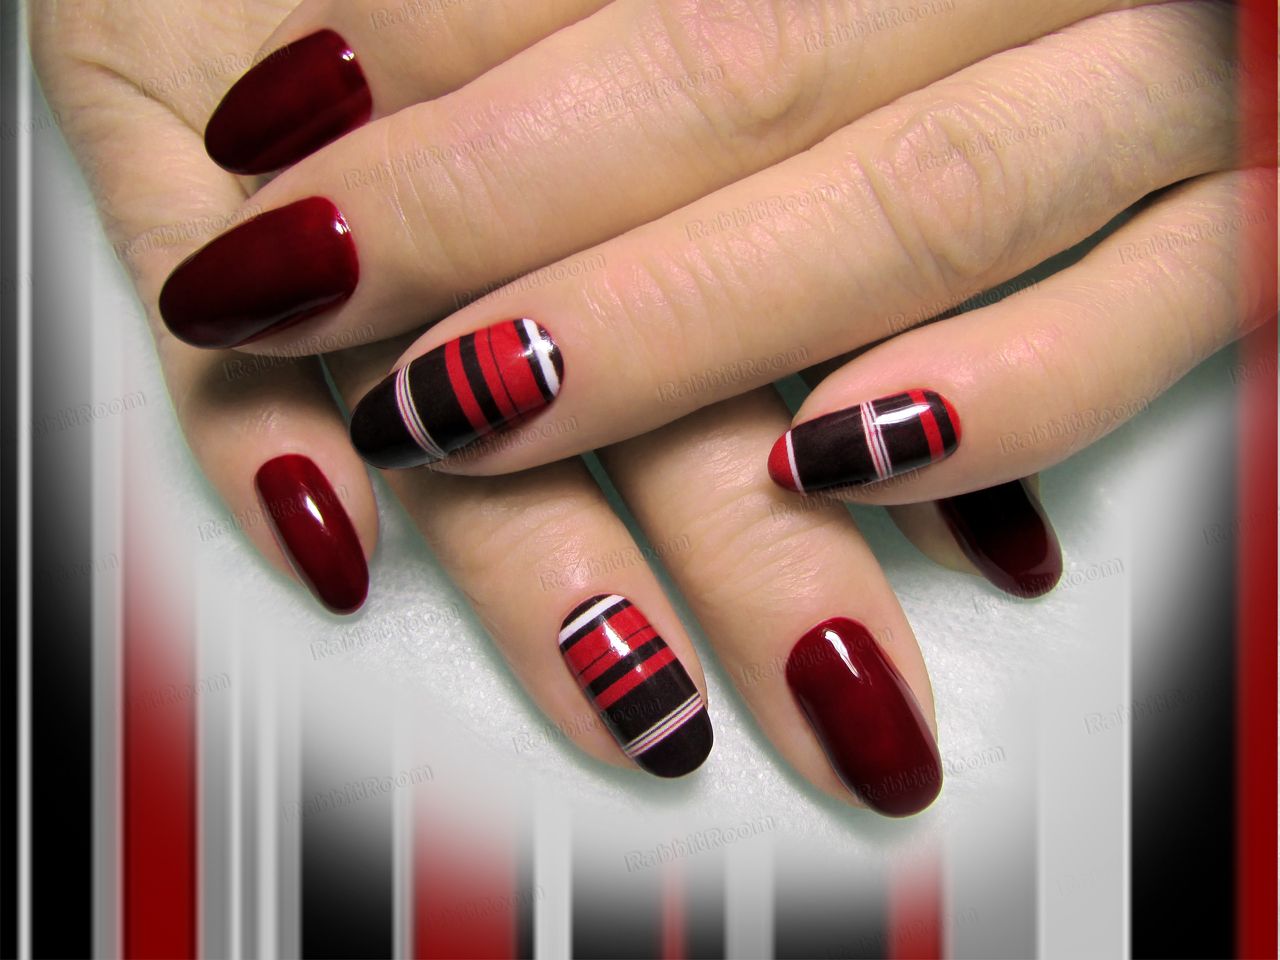
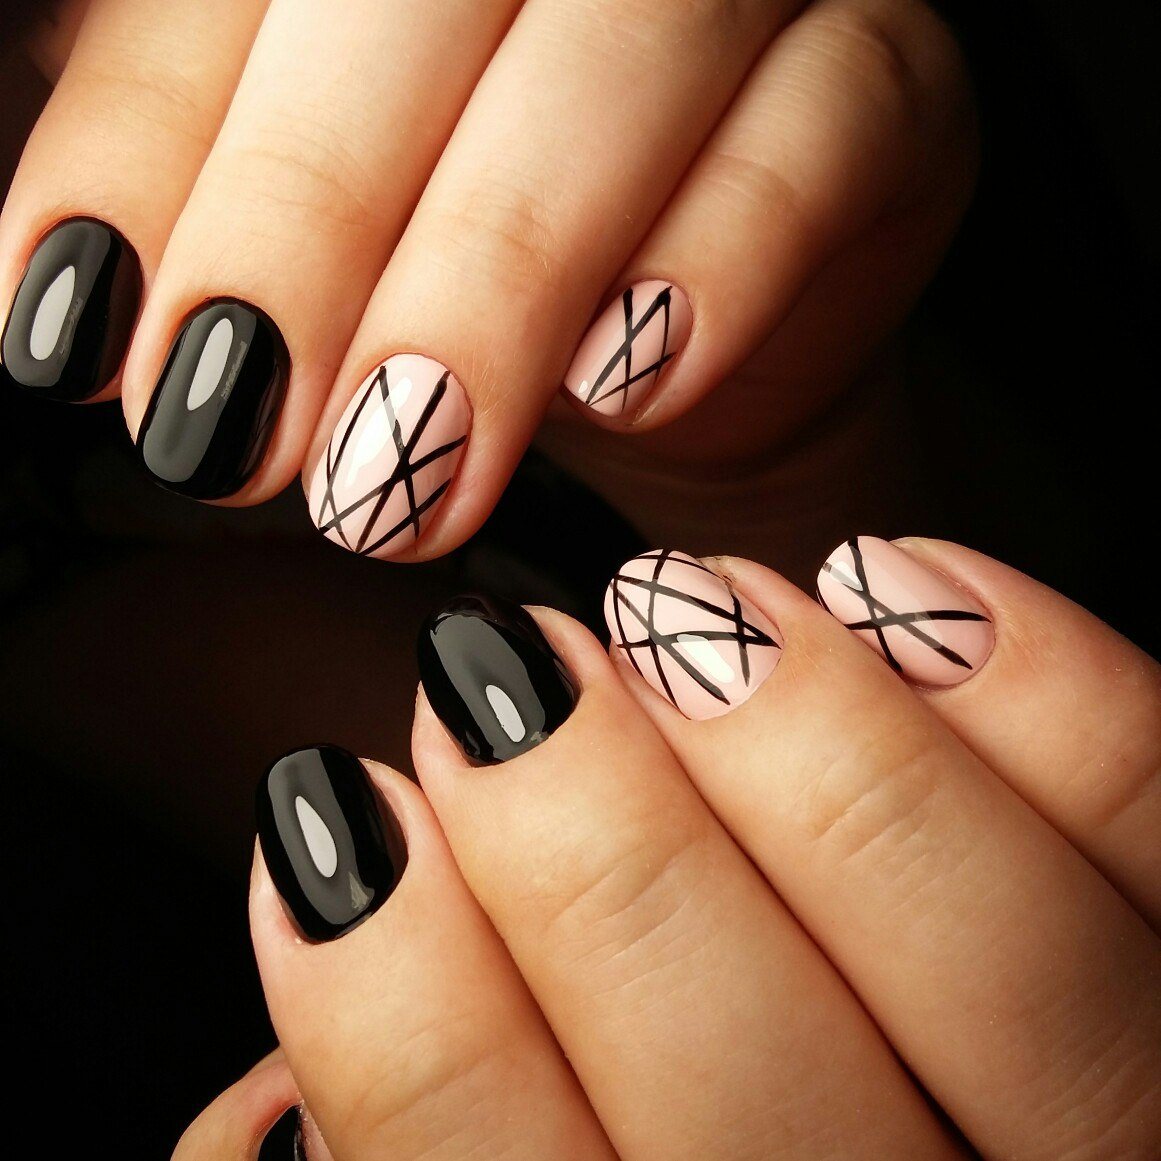
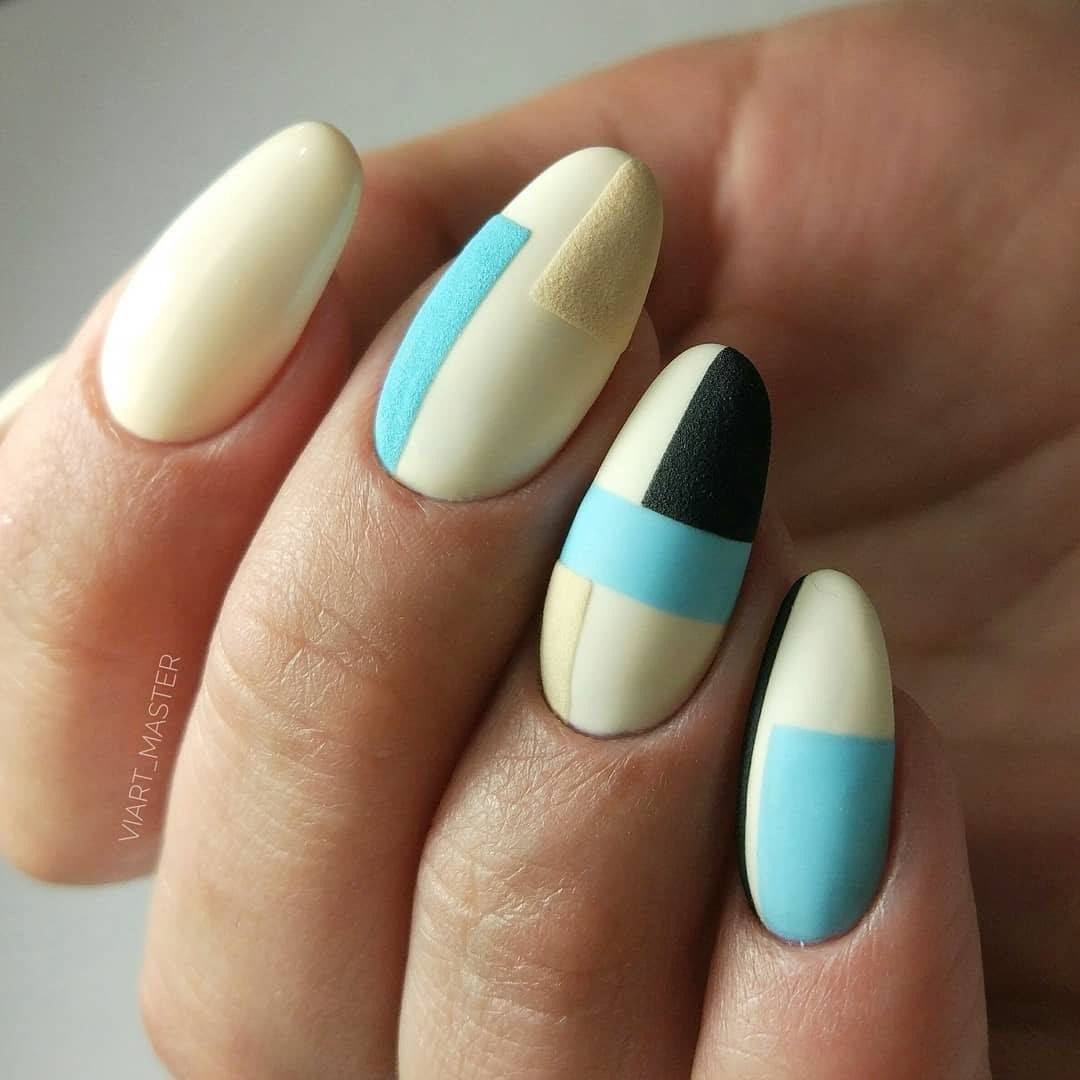
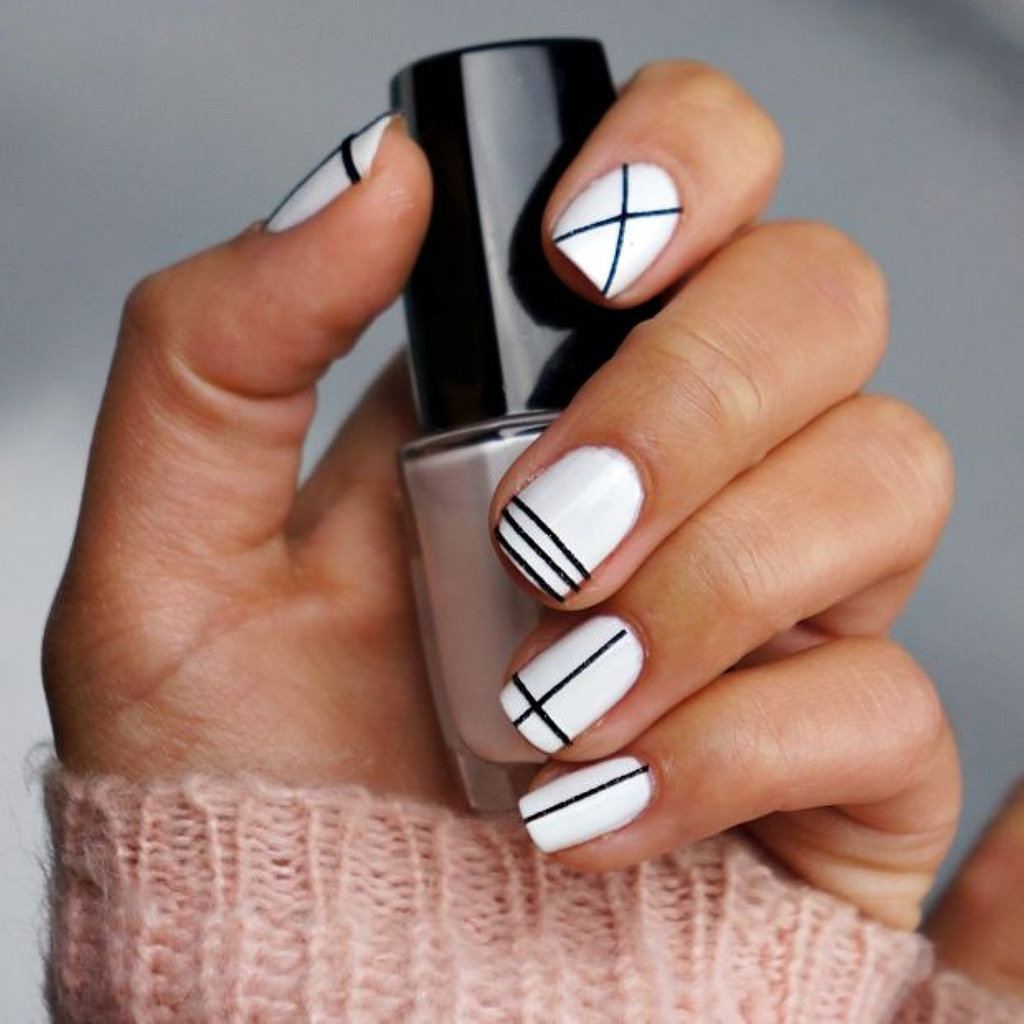
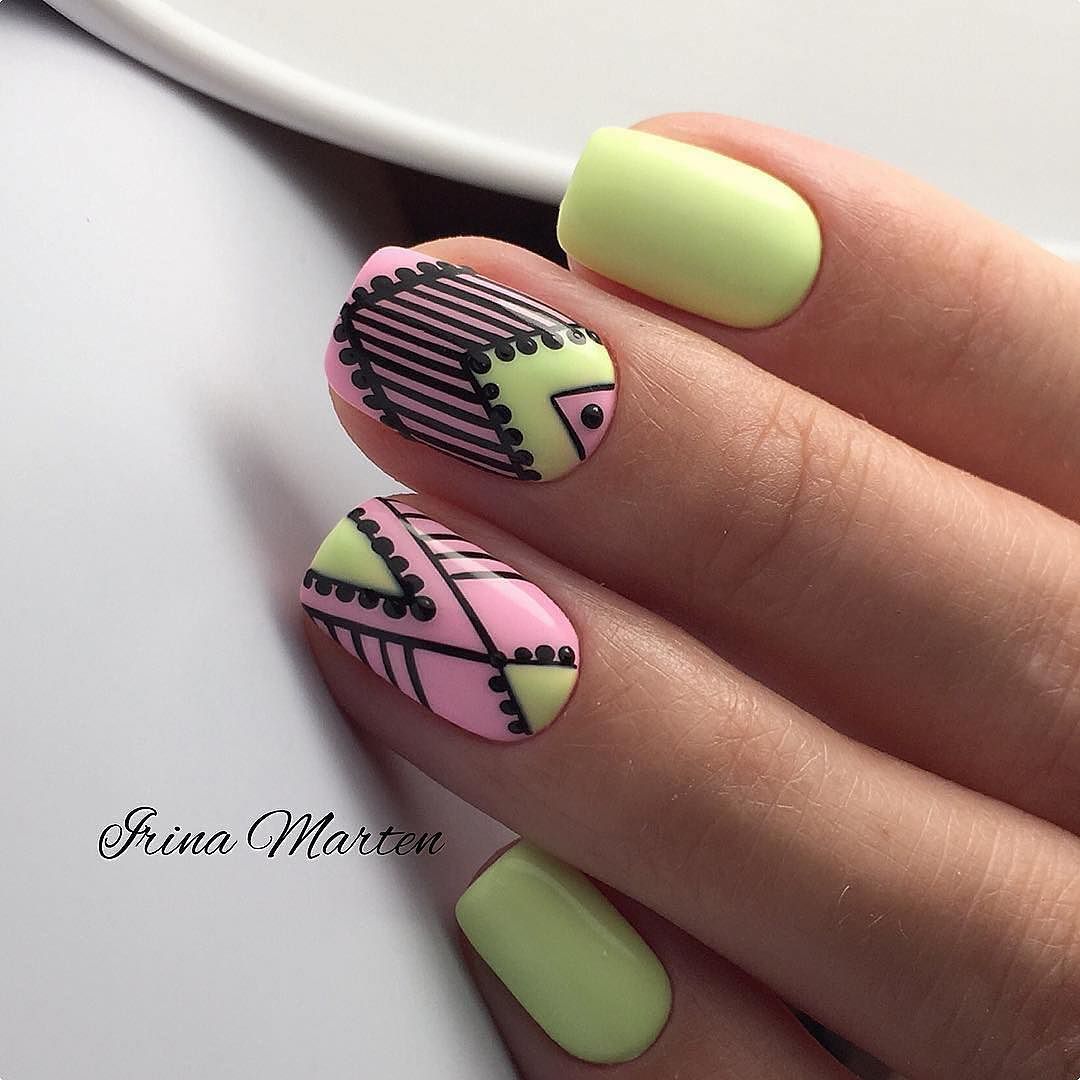
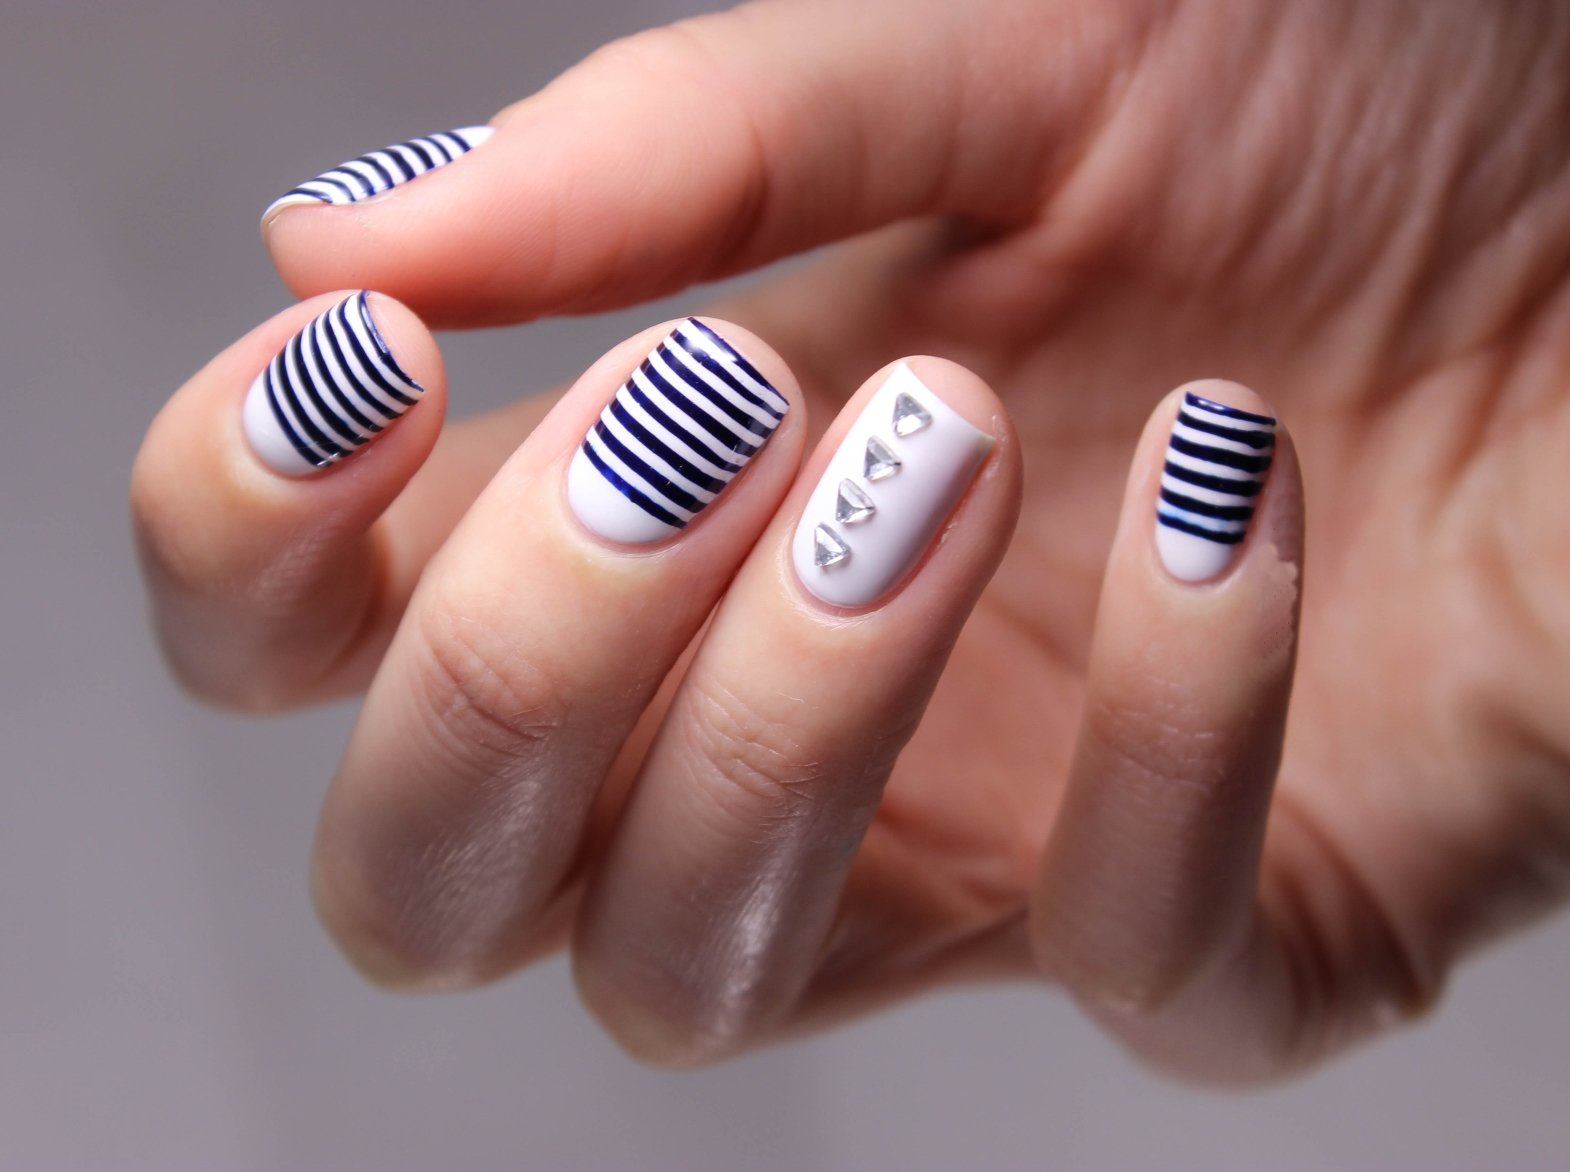
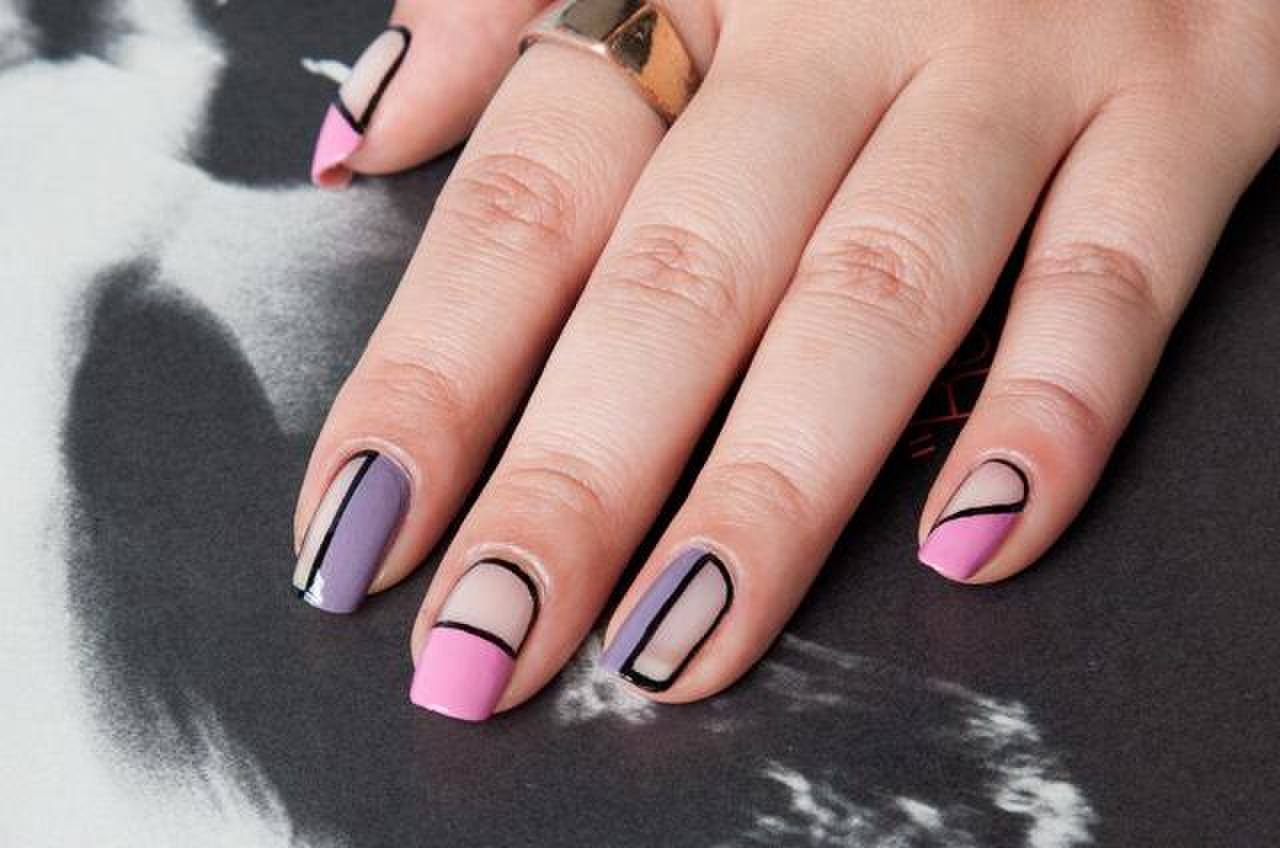
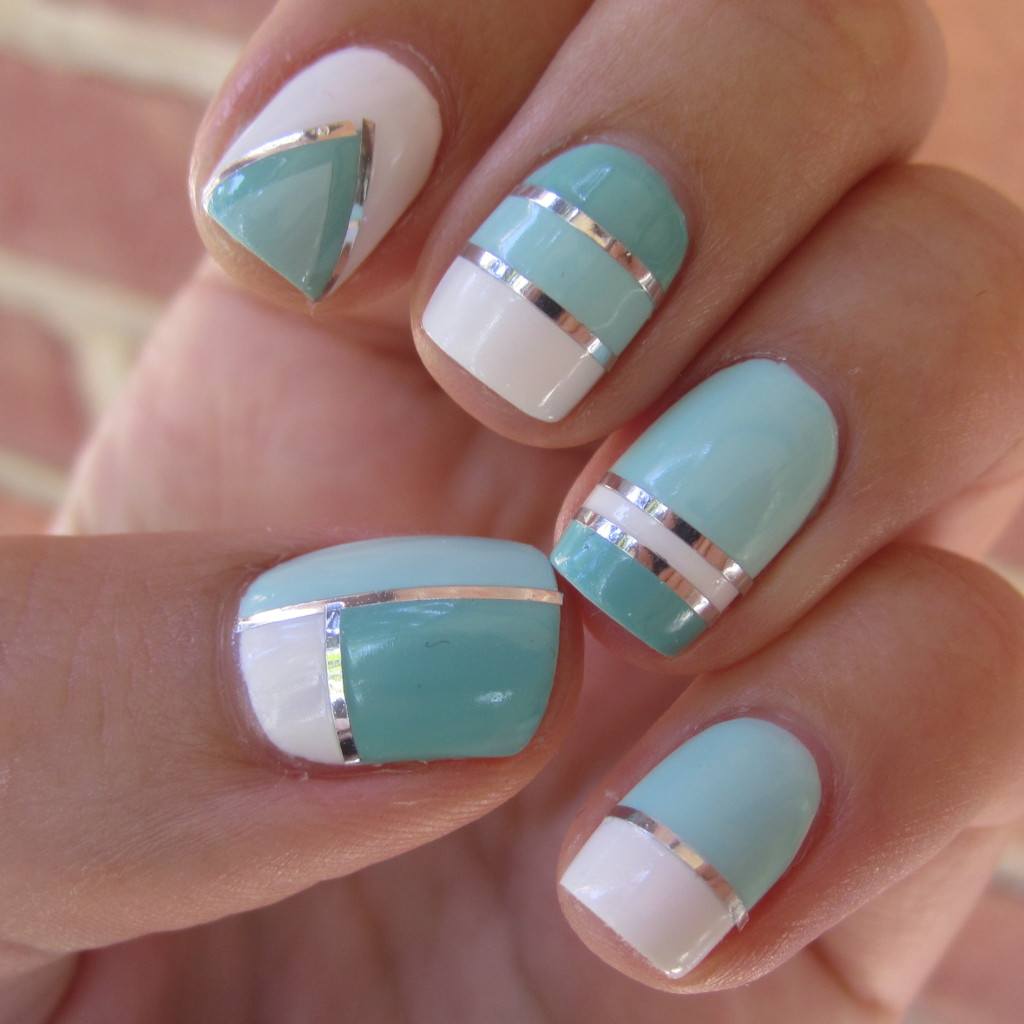
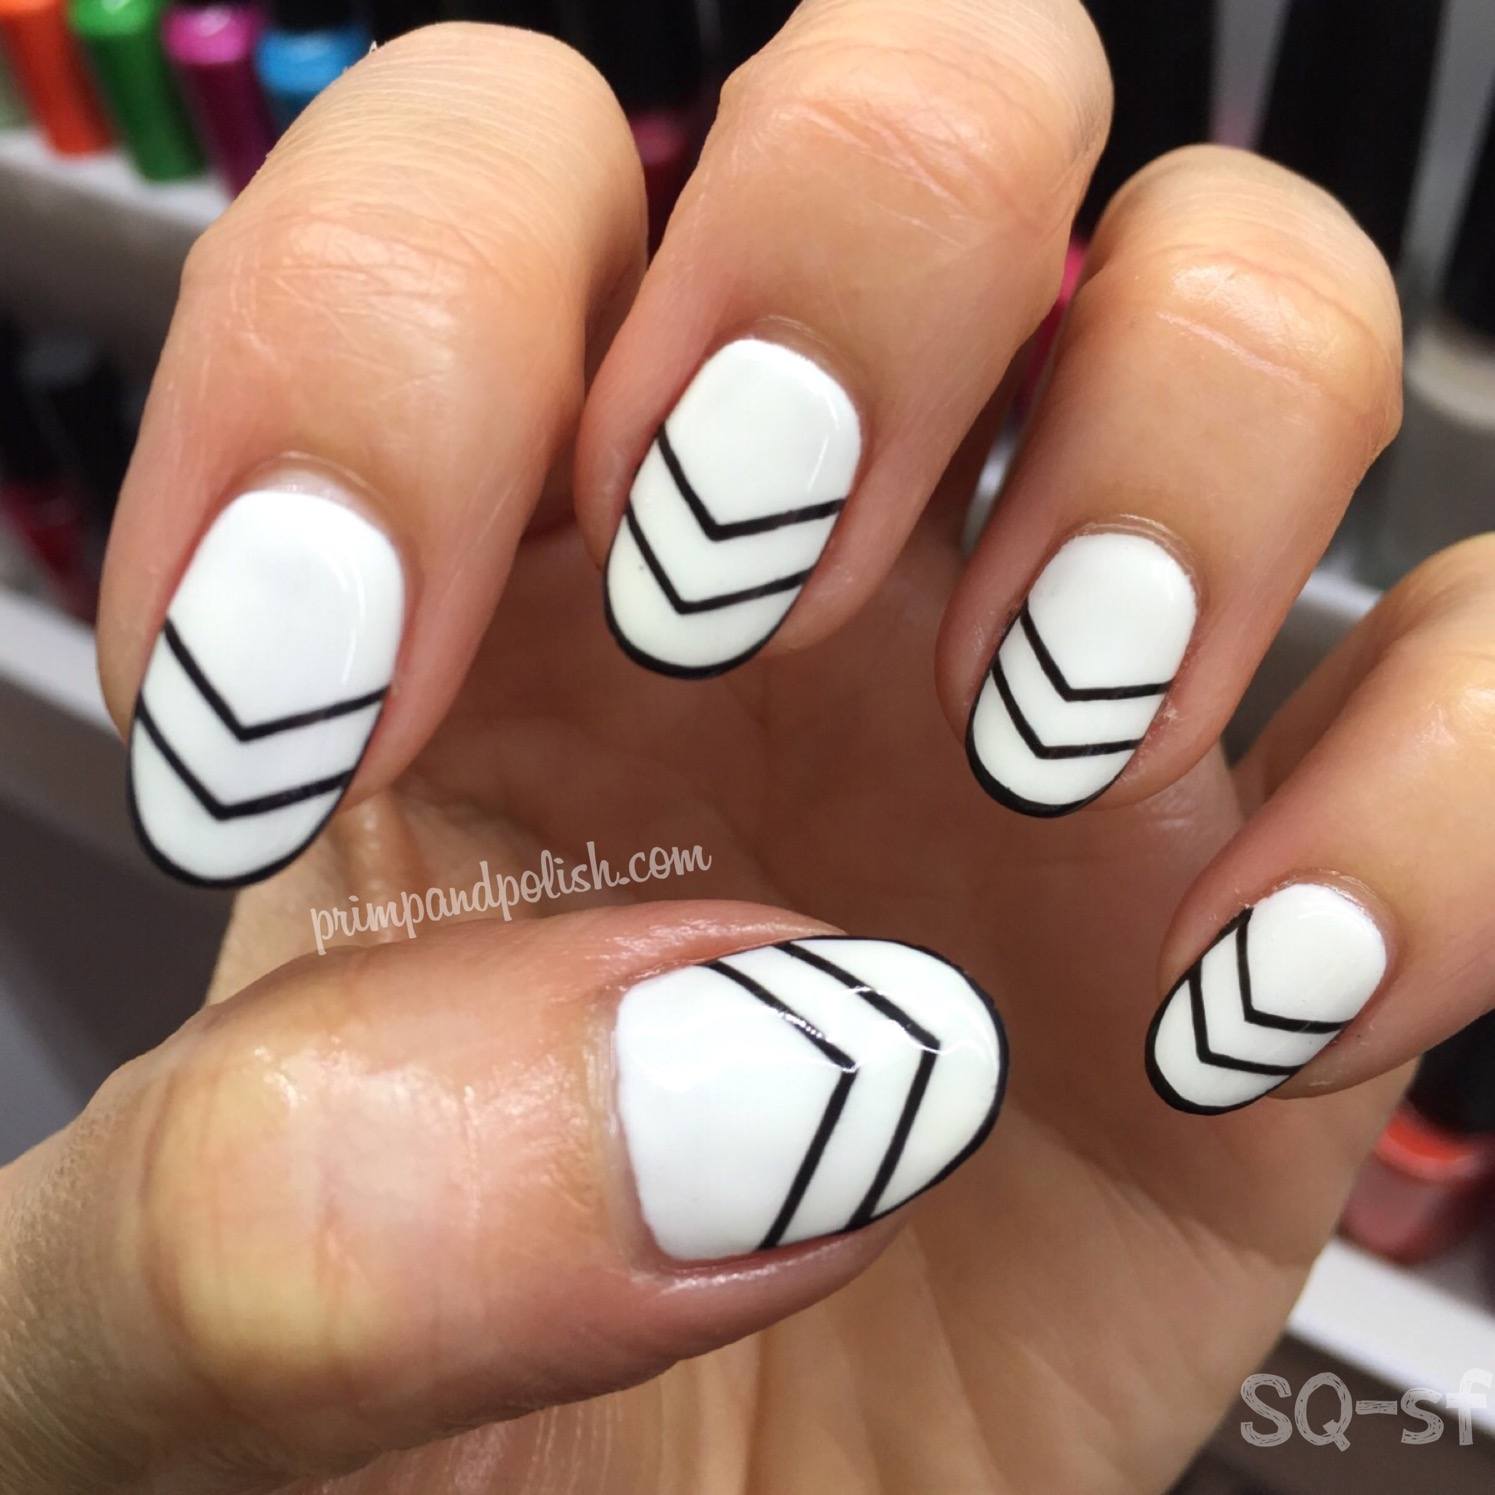
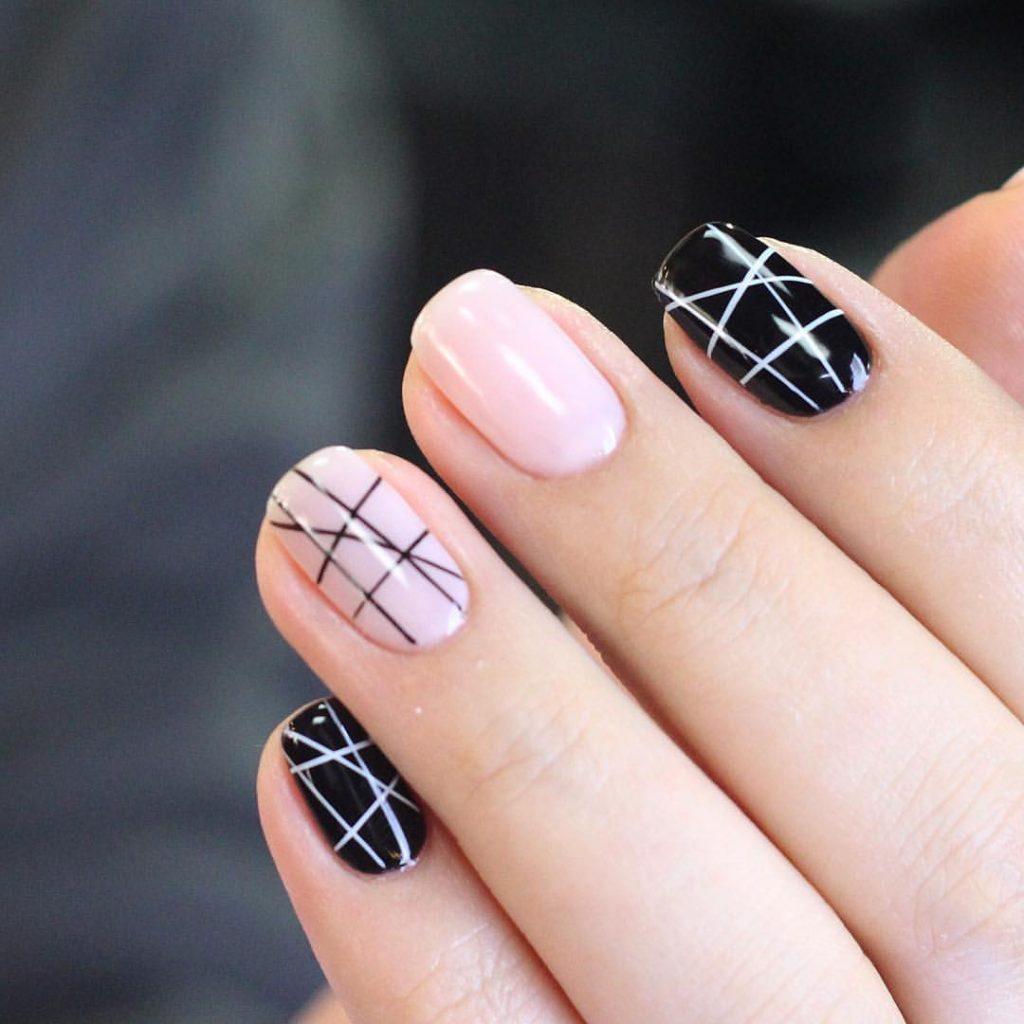
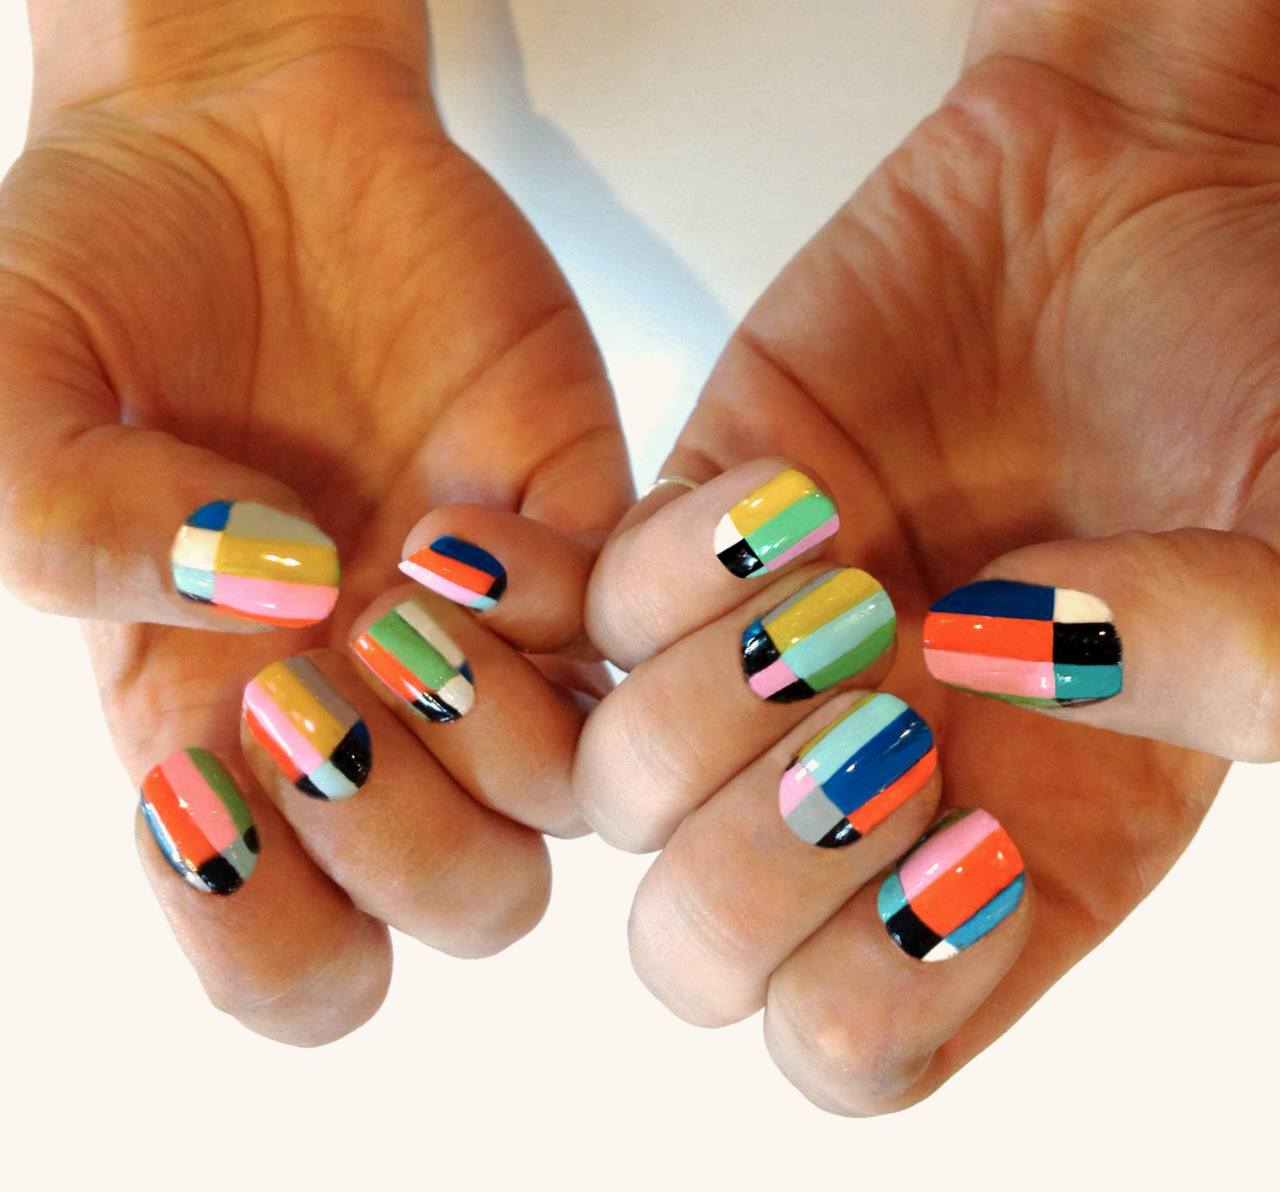
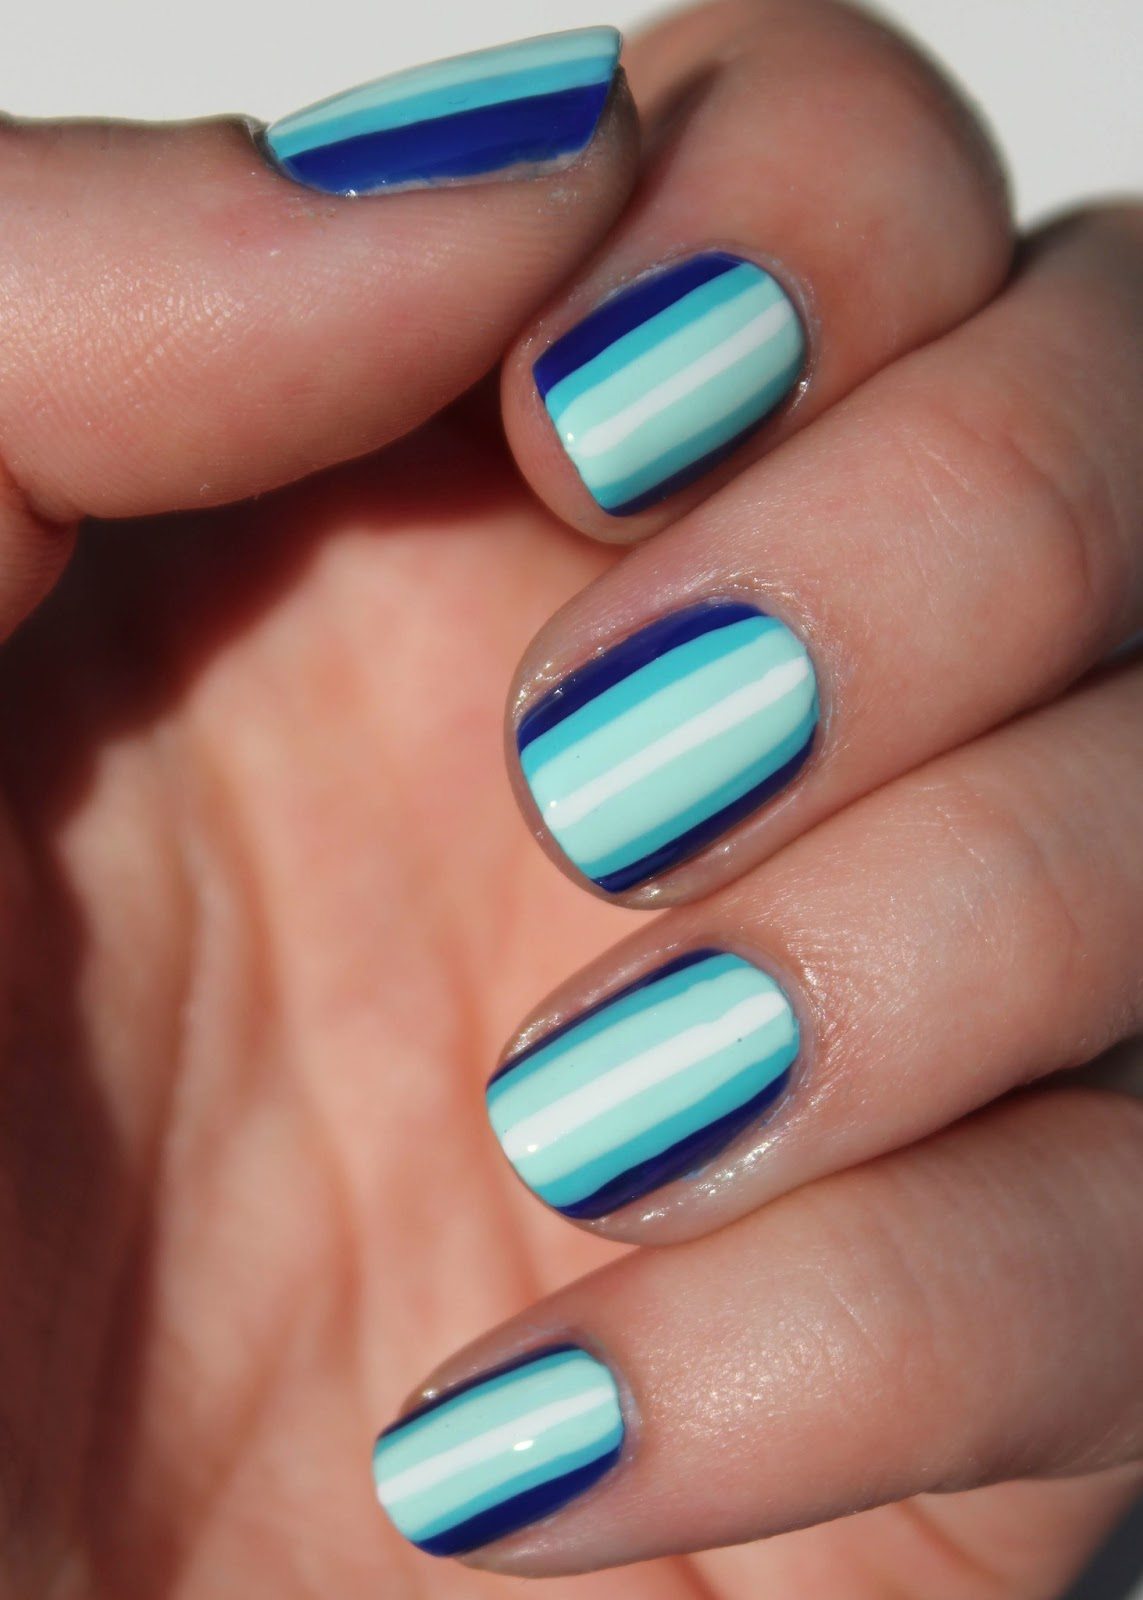
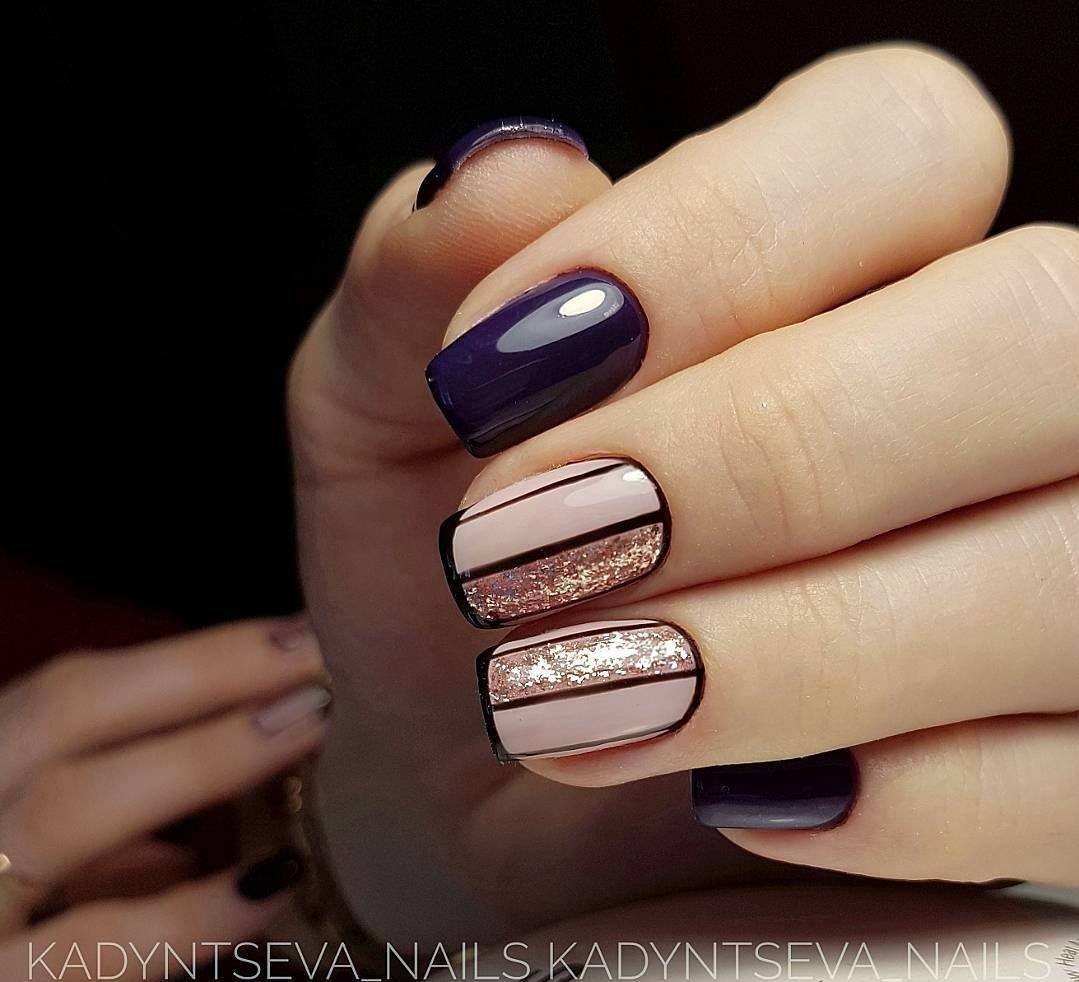
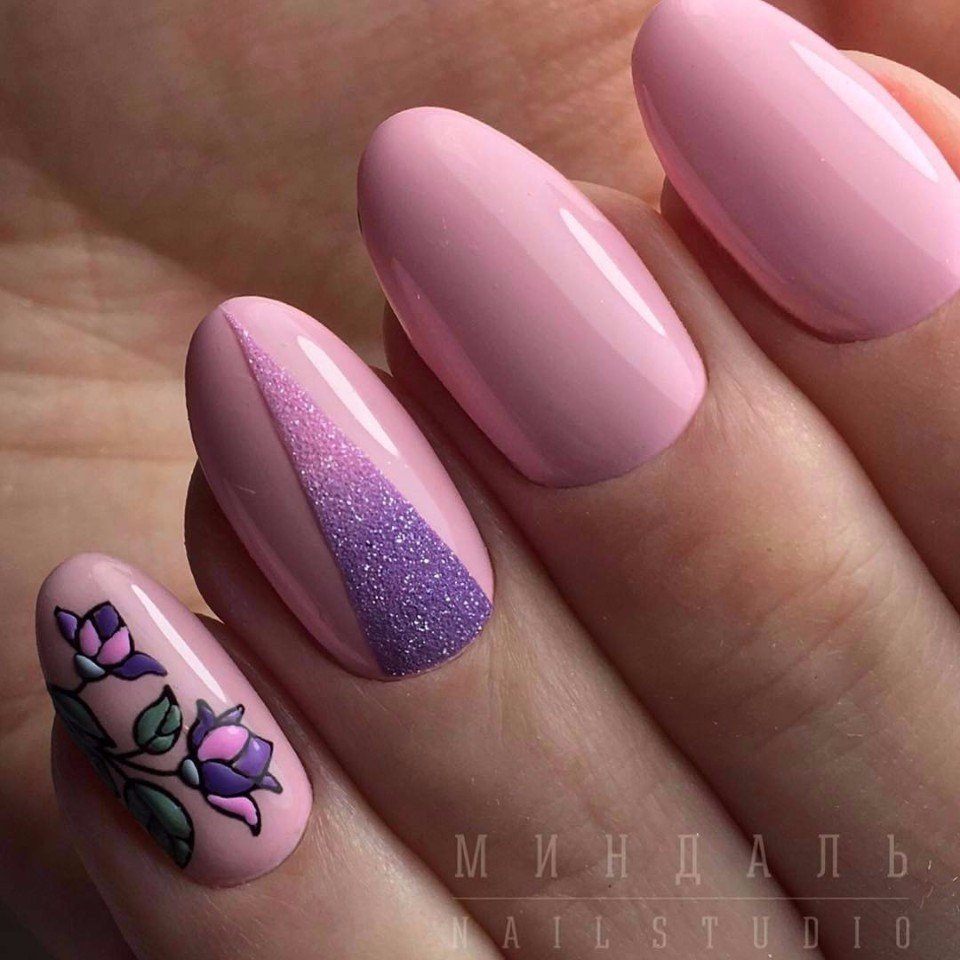
Manicure with longitudinal stripes
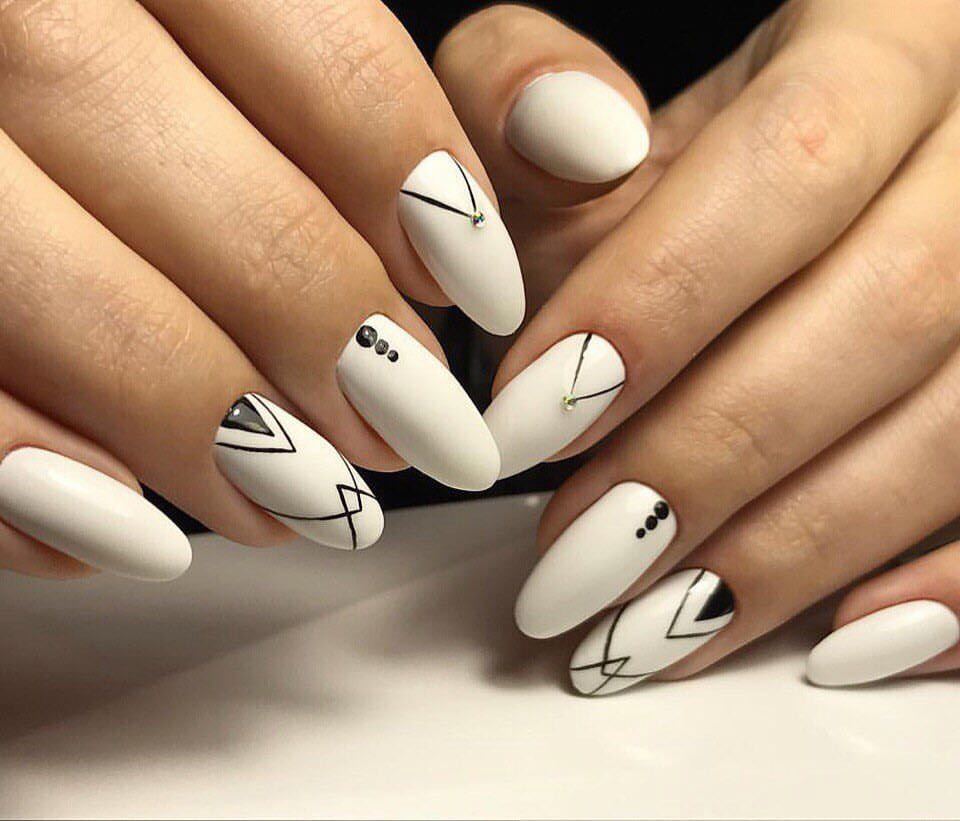
This manicure looks fresh and stylish, and it is very simple to perform it. A longitudinal strip is drawn on a varnished nail with a brush or ribbon. Some masters emphasize it with rhinestones or glitter.
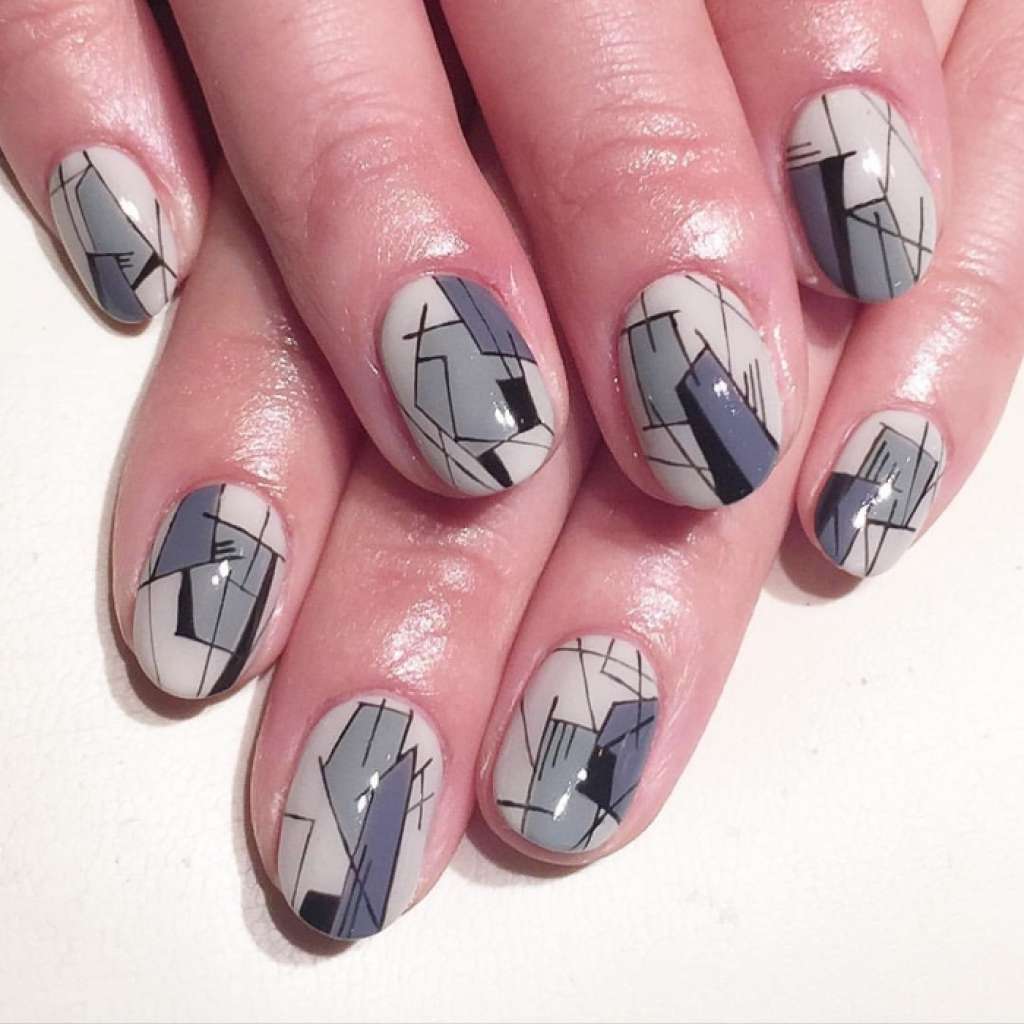
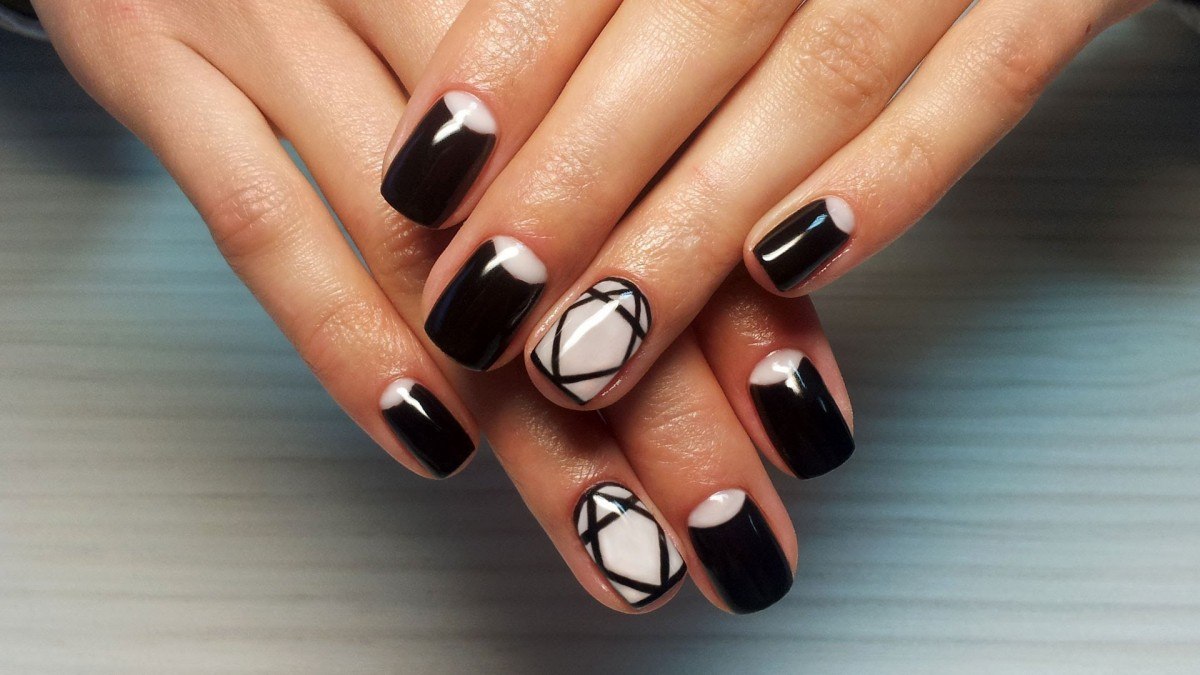
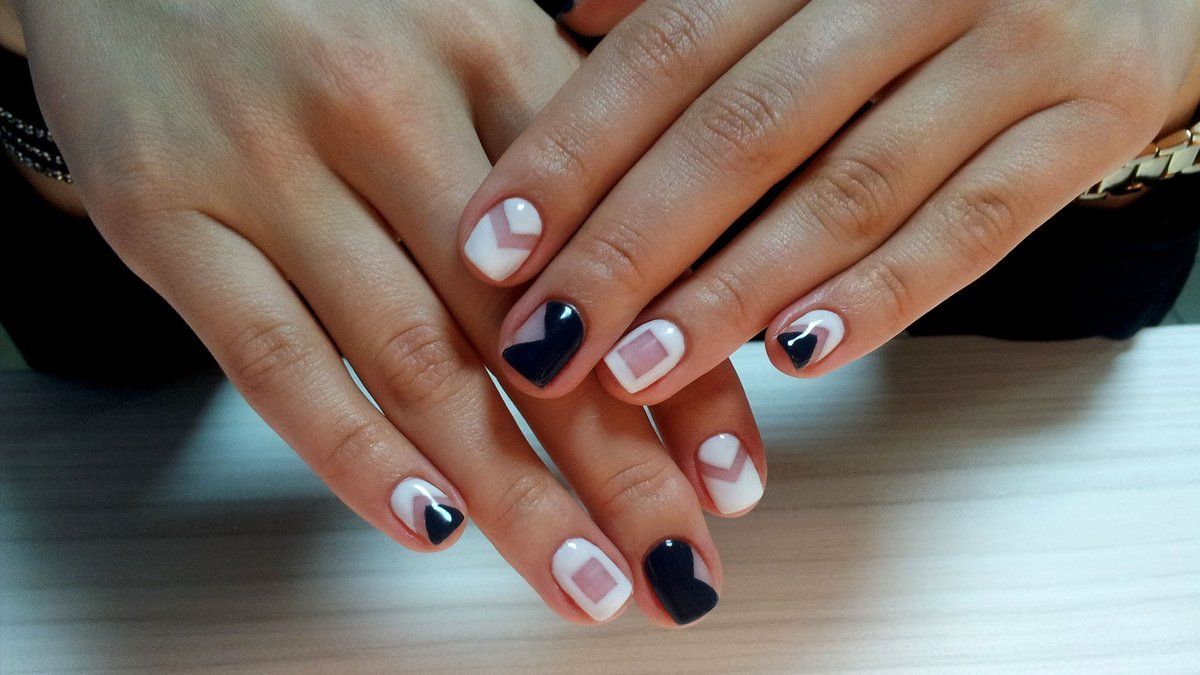
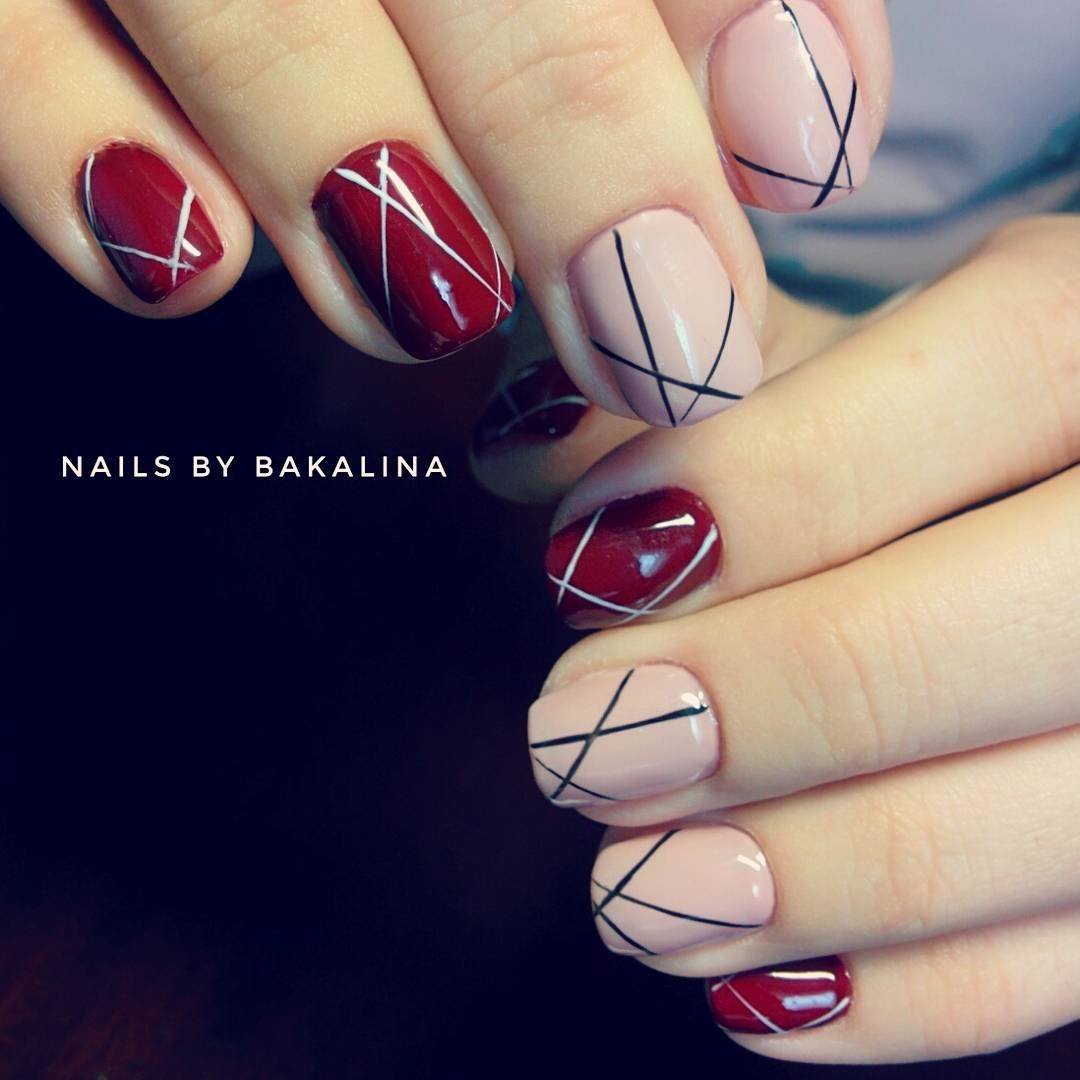
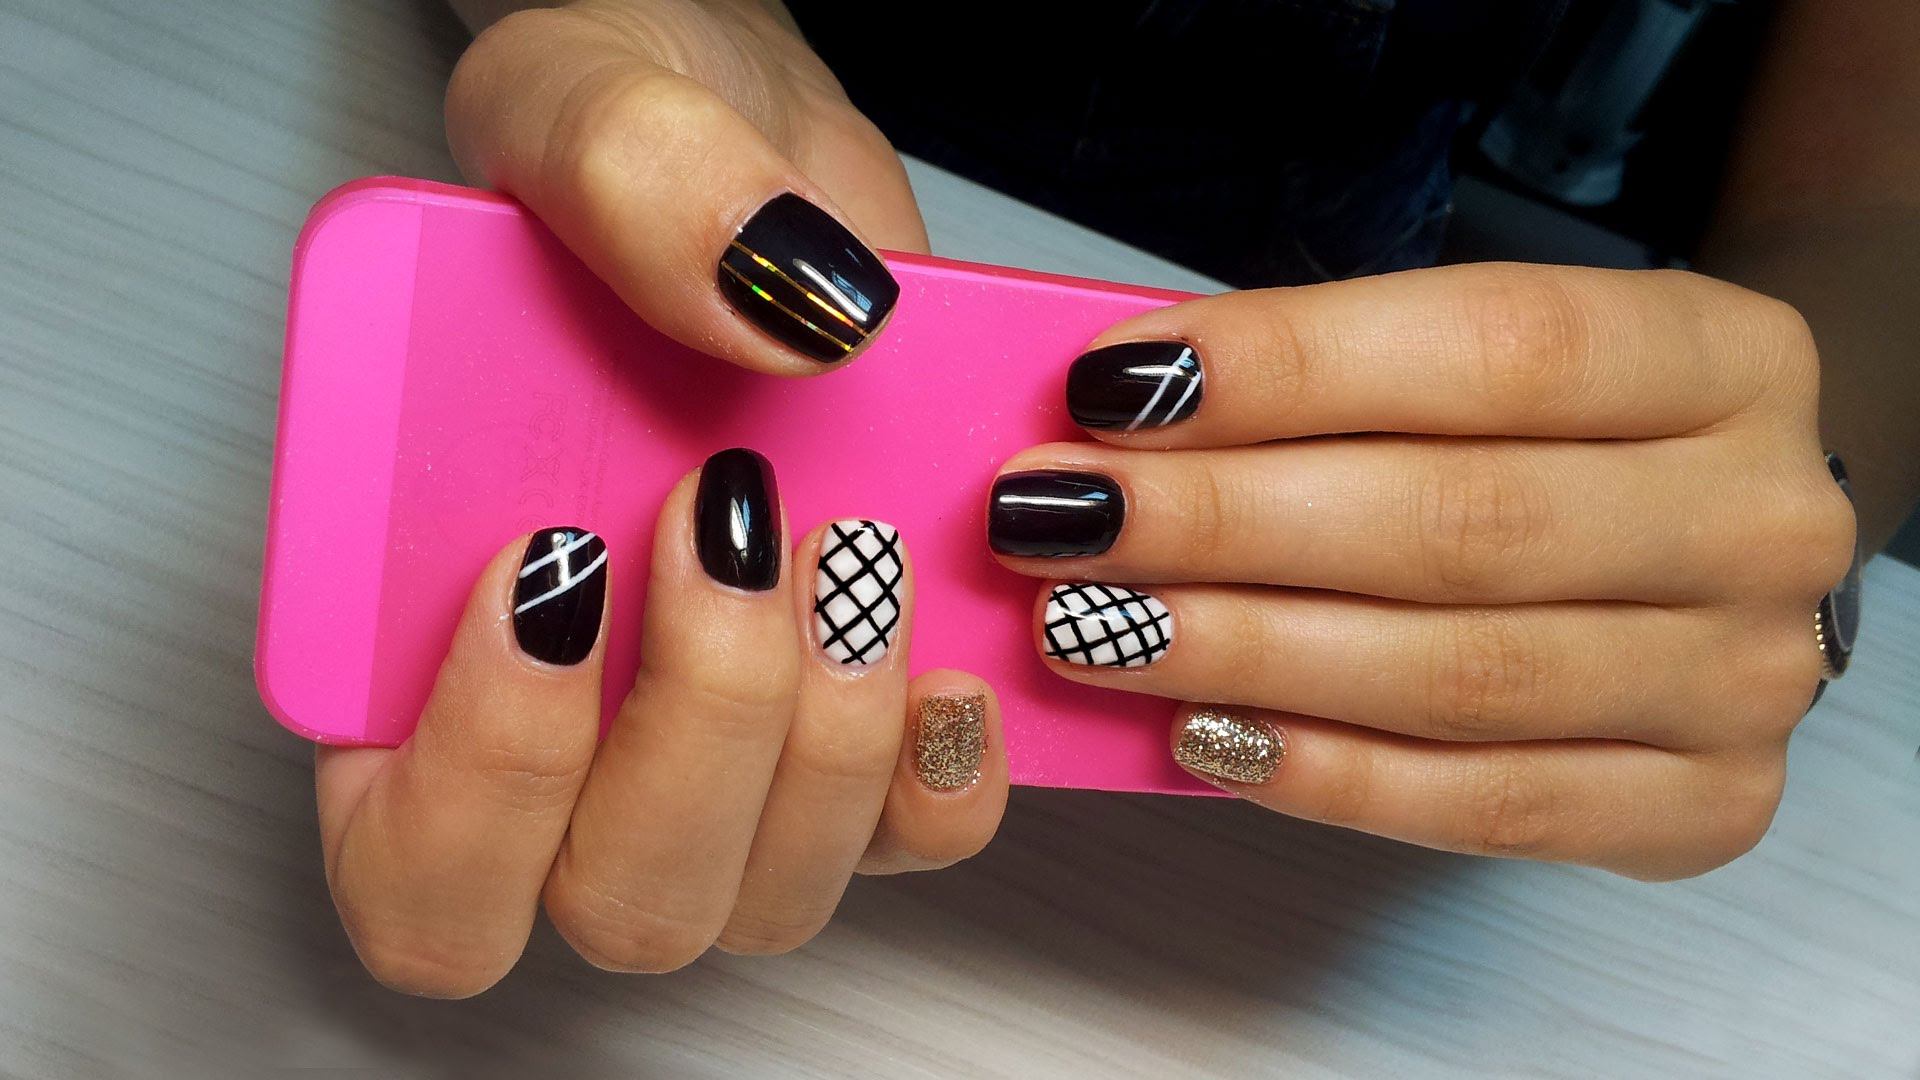
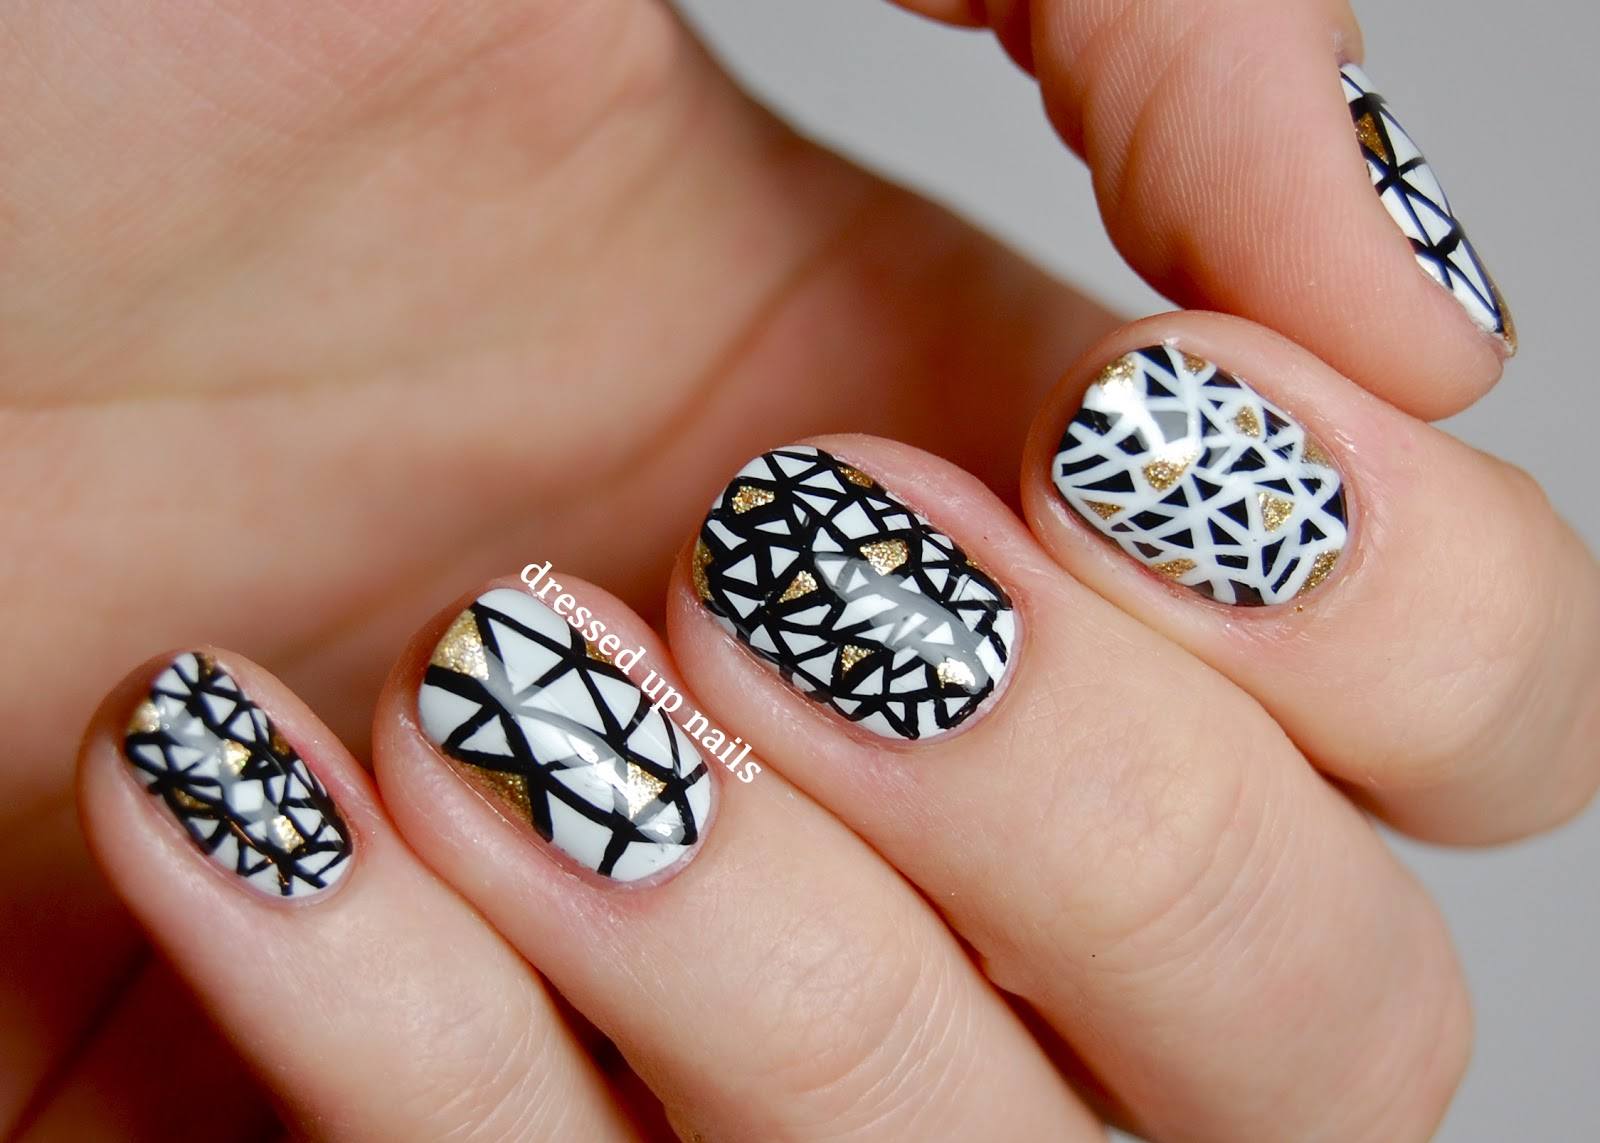
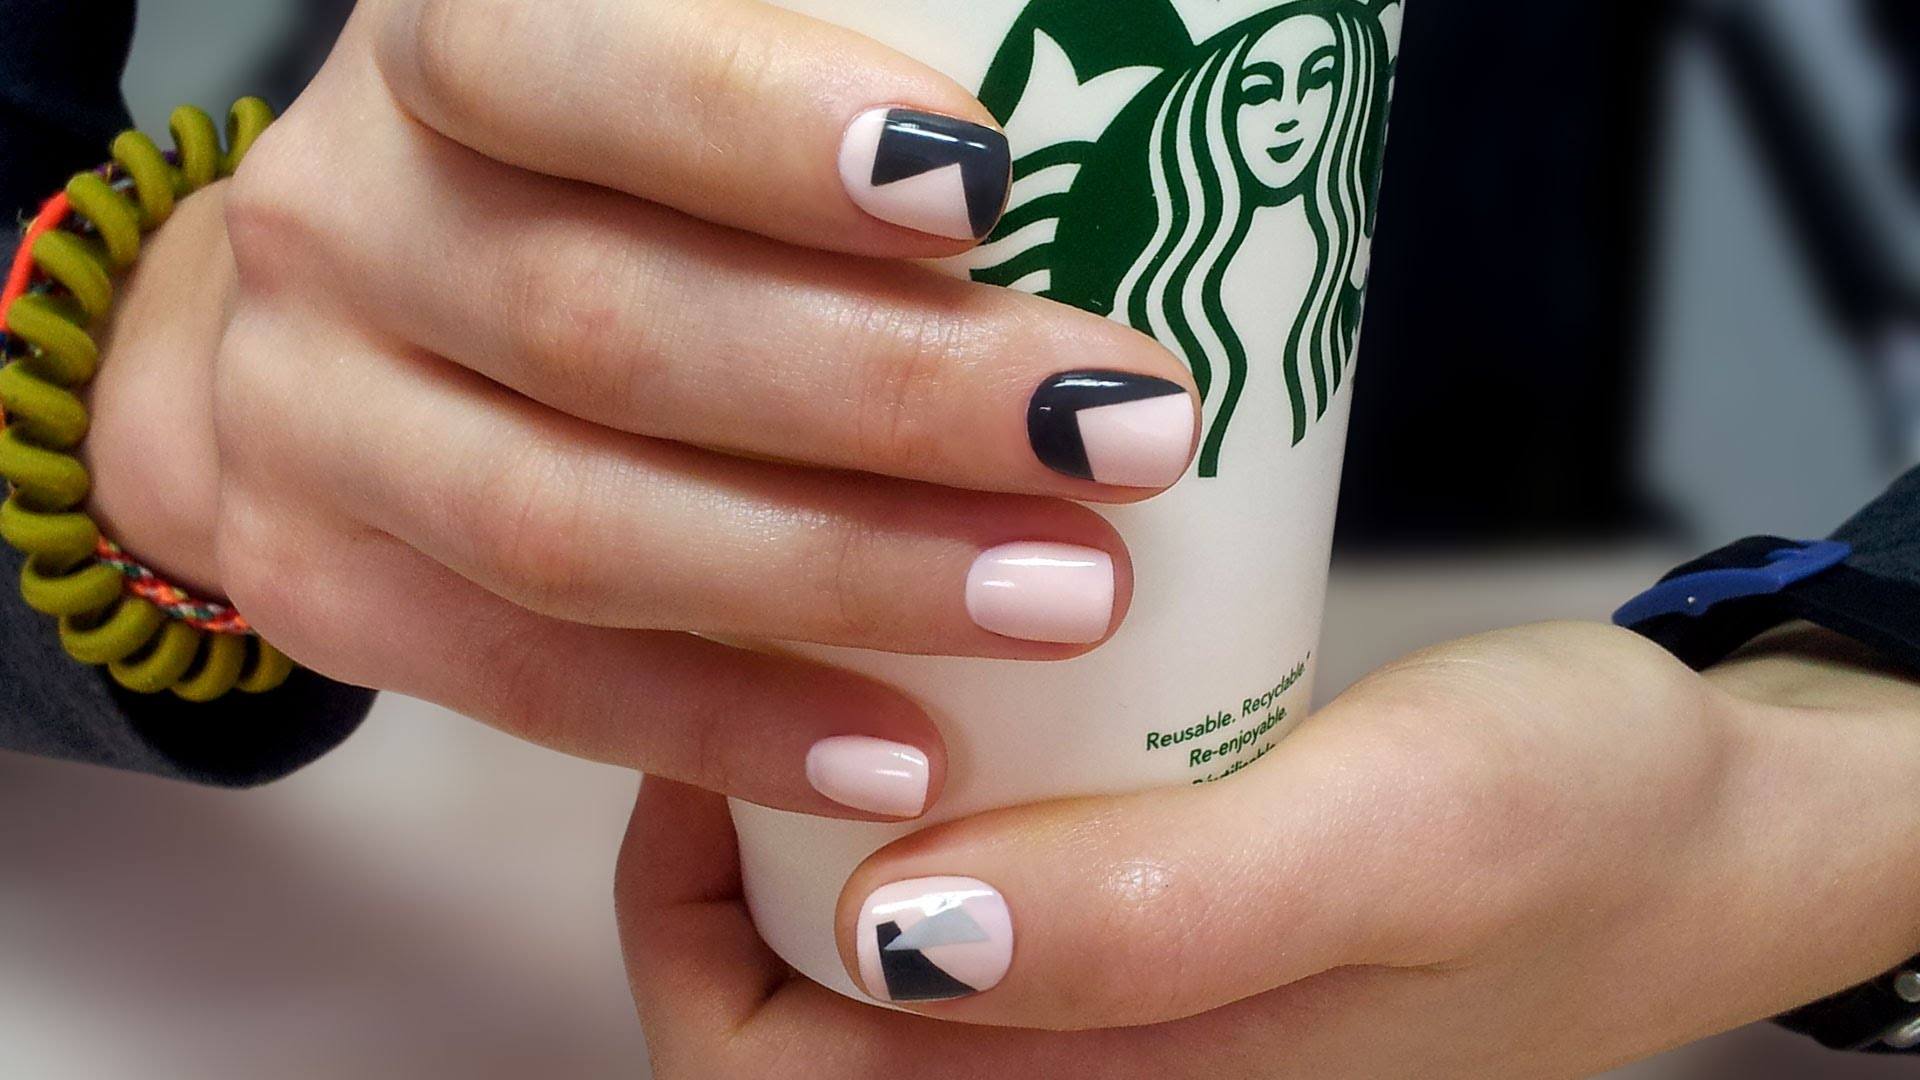
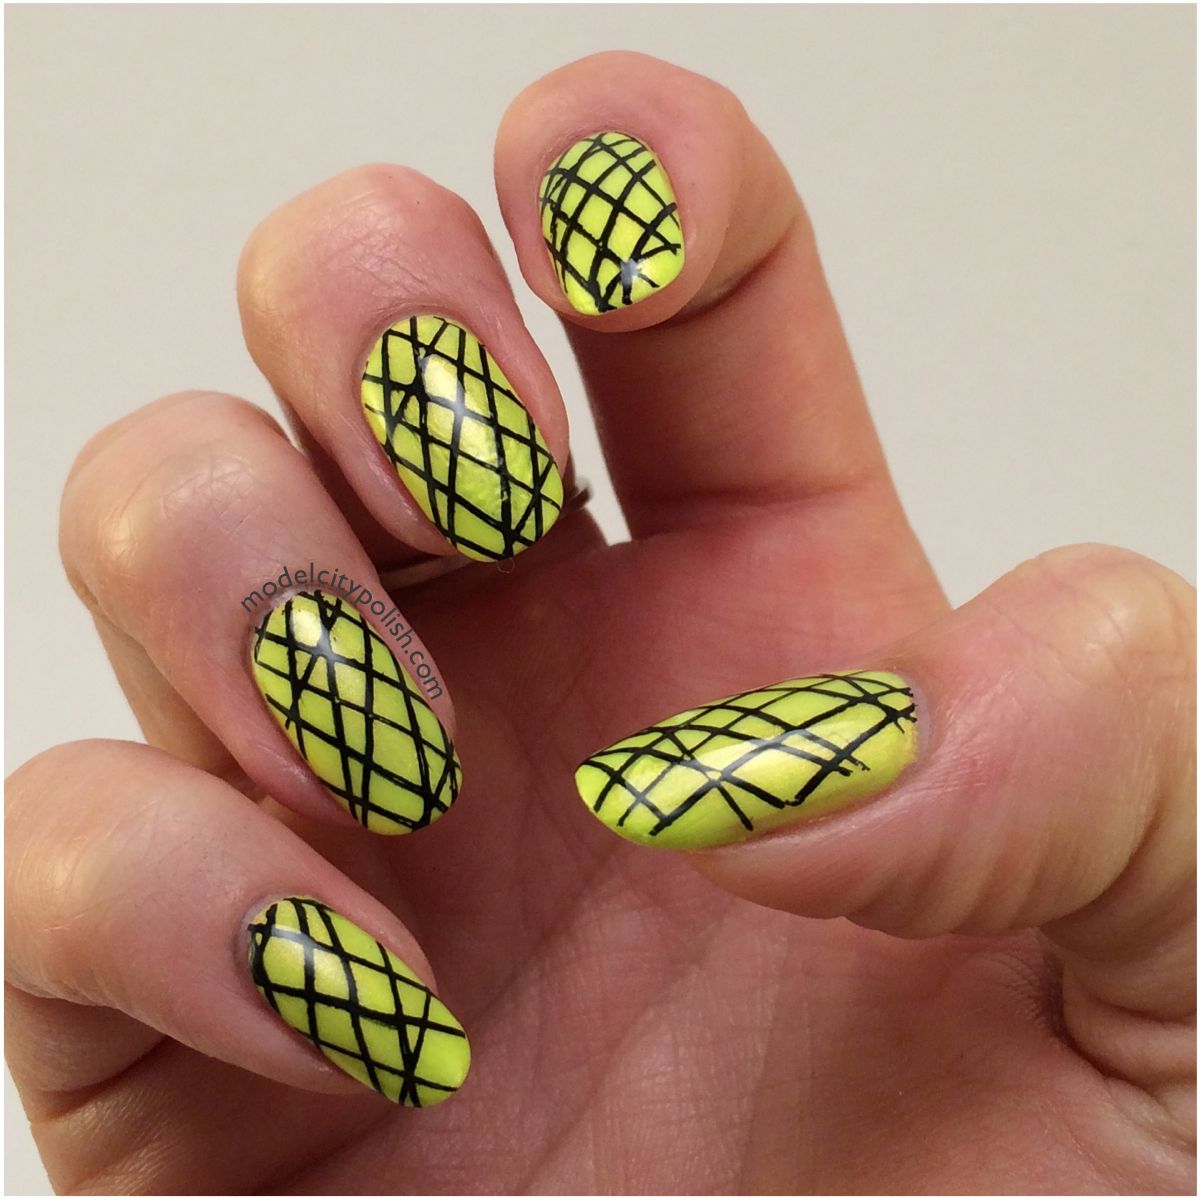
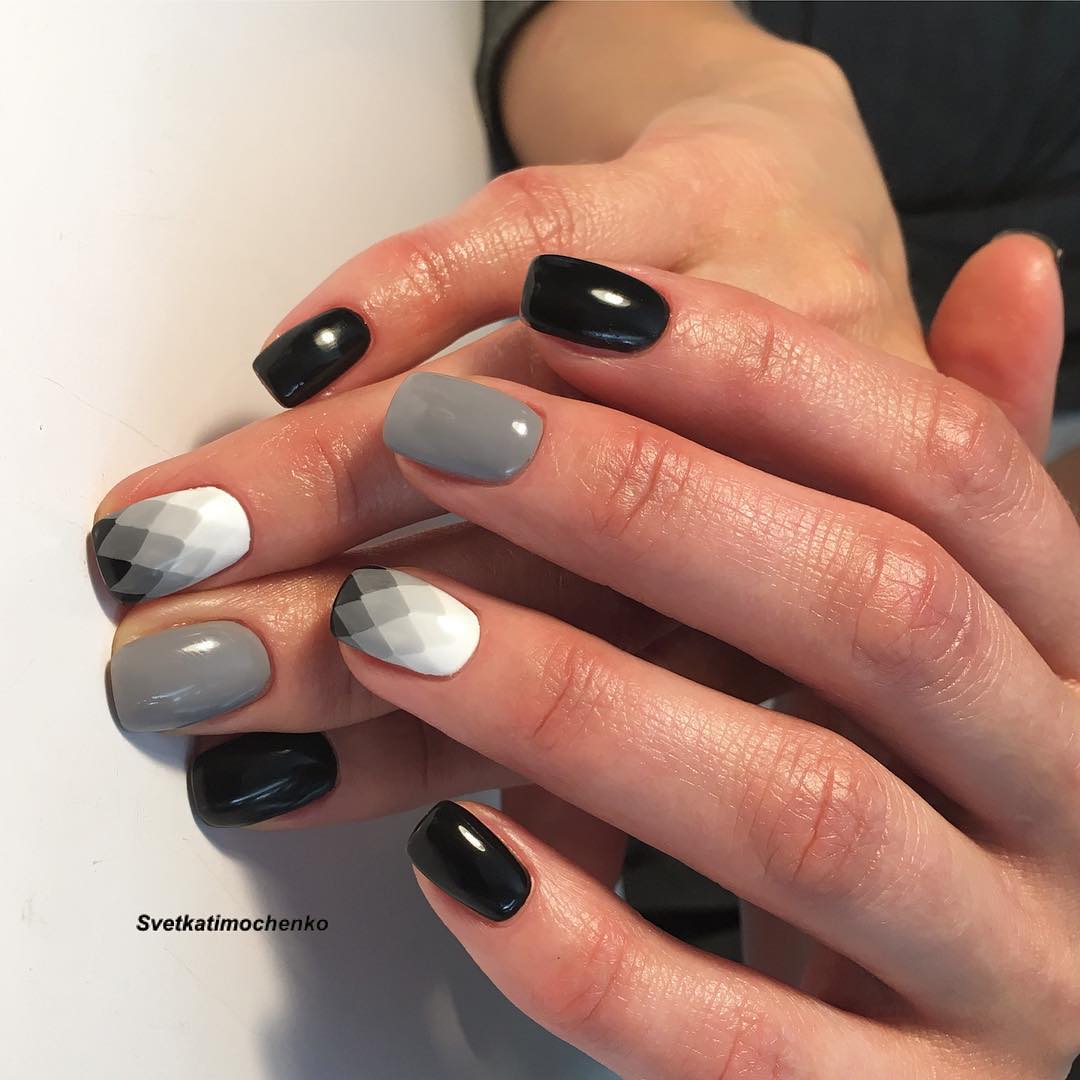
The trend of this season is a geometric manicure in black and white. This is the current version for office and business style.

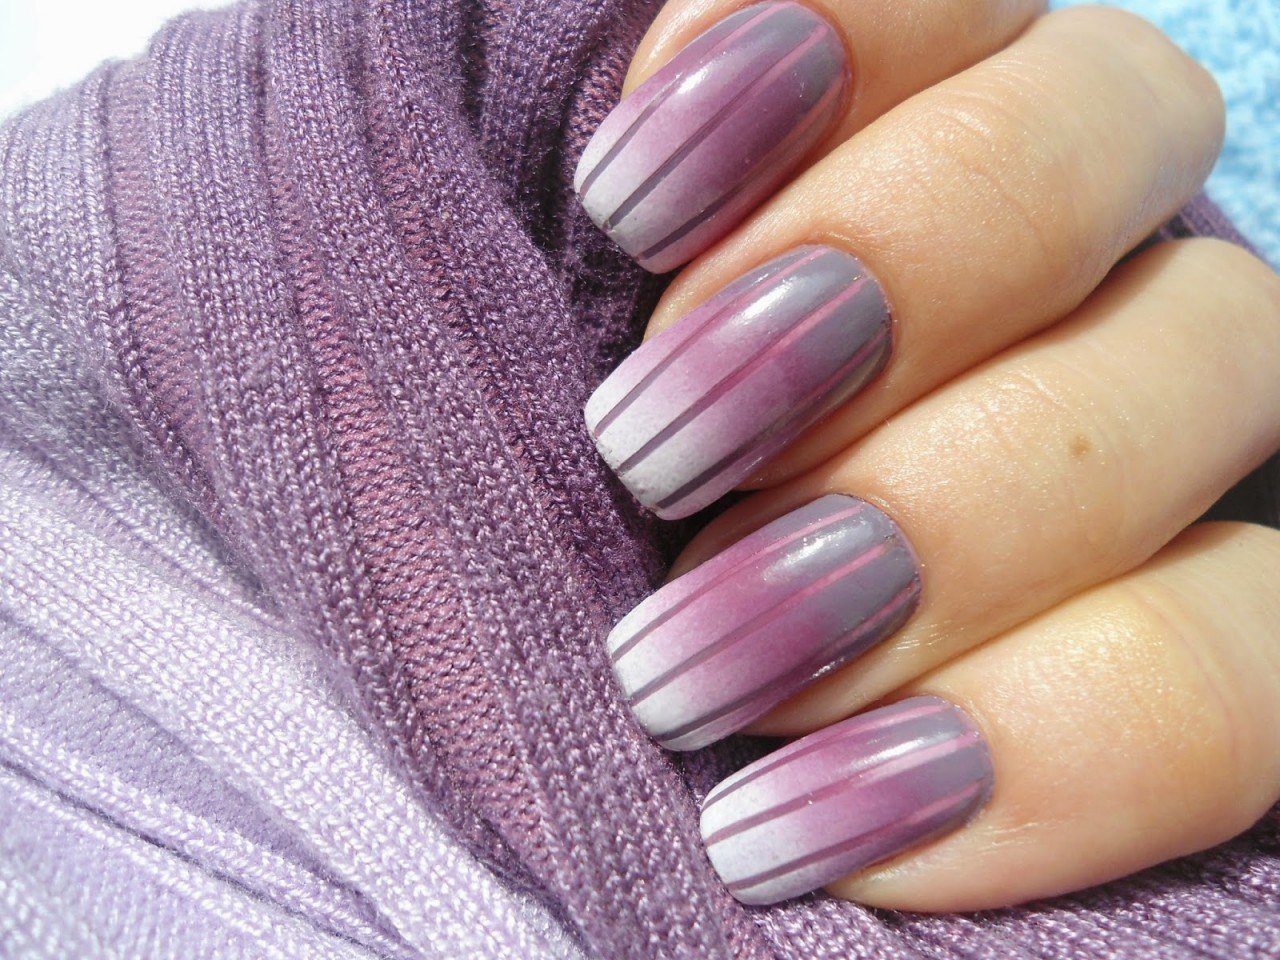
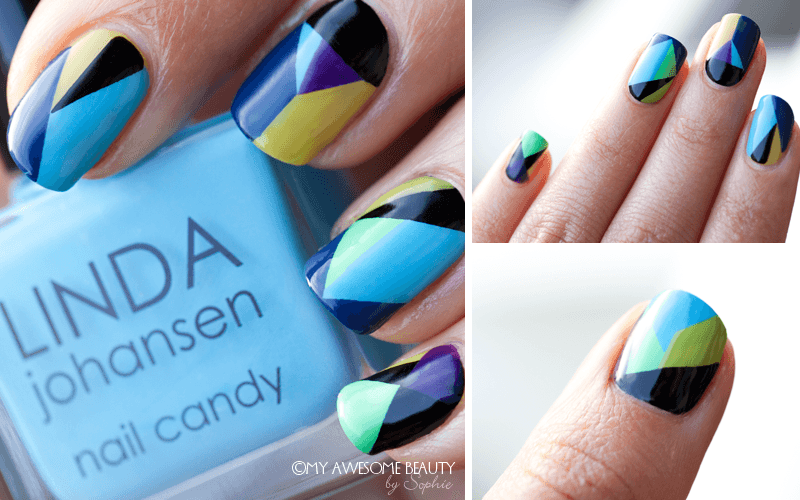
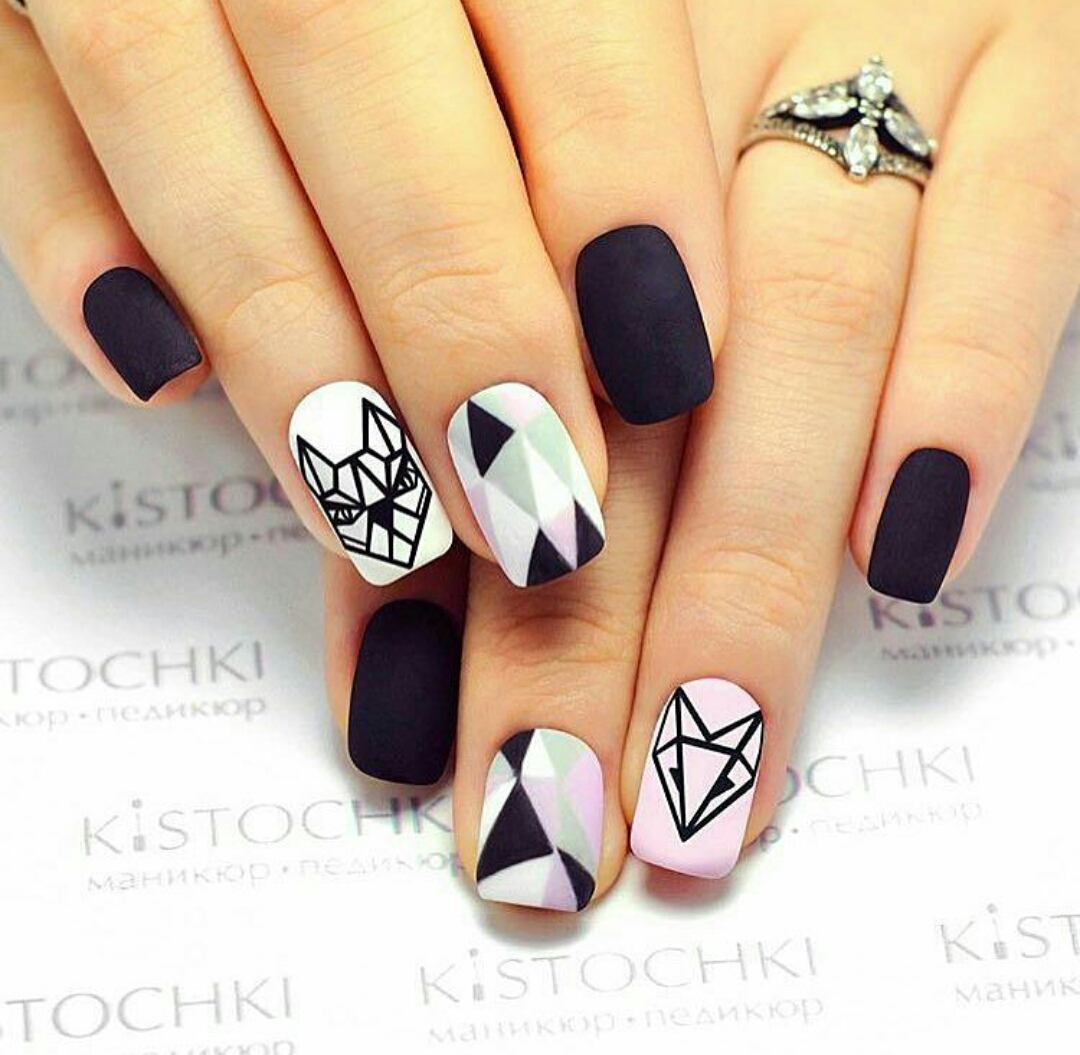
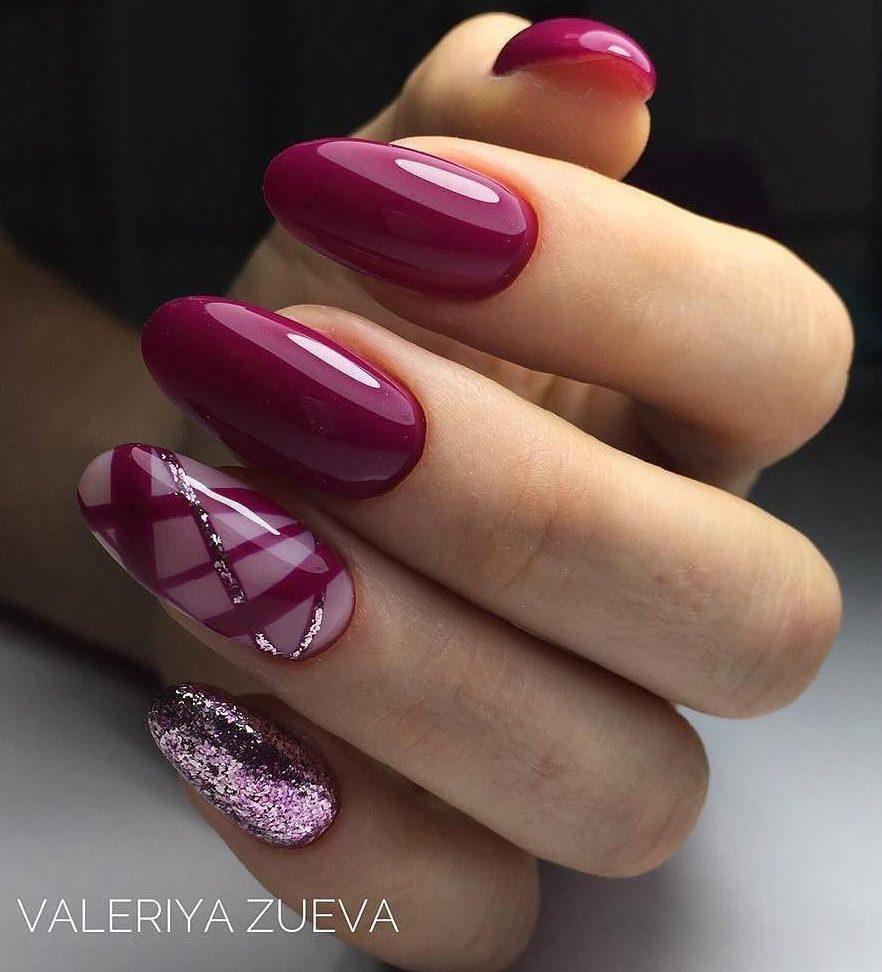
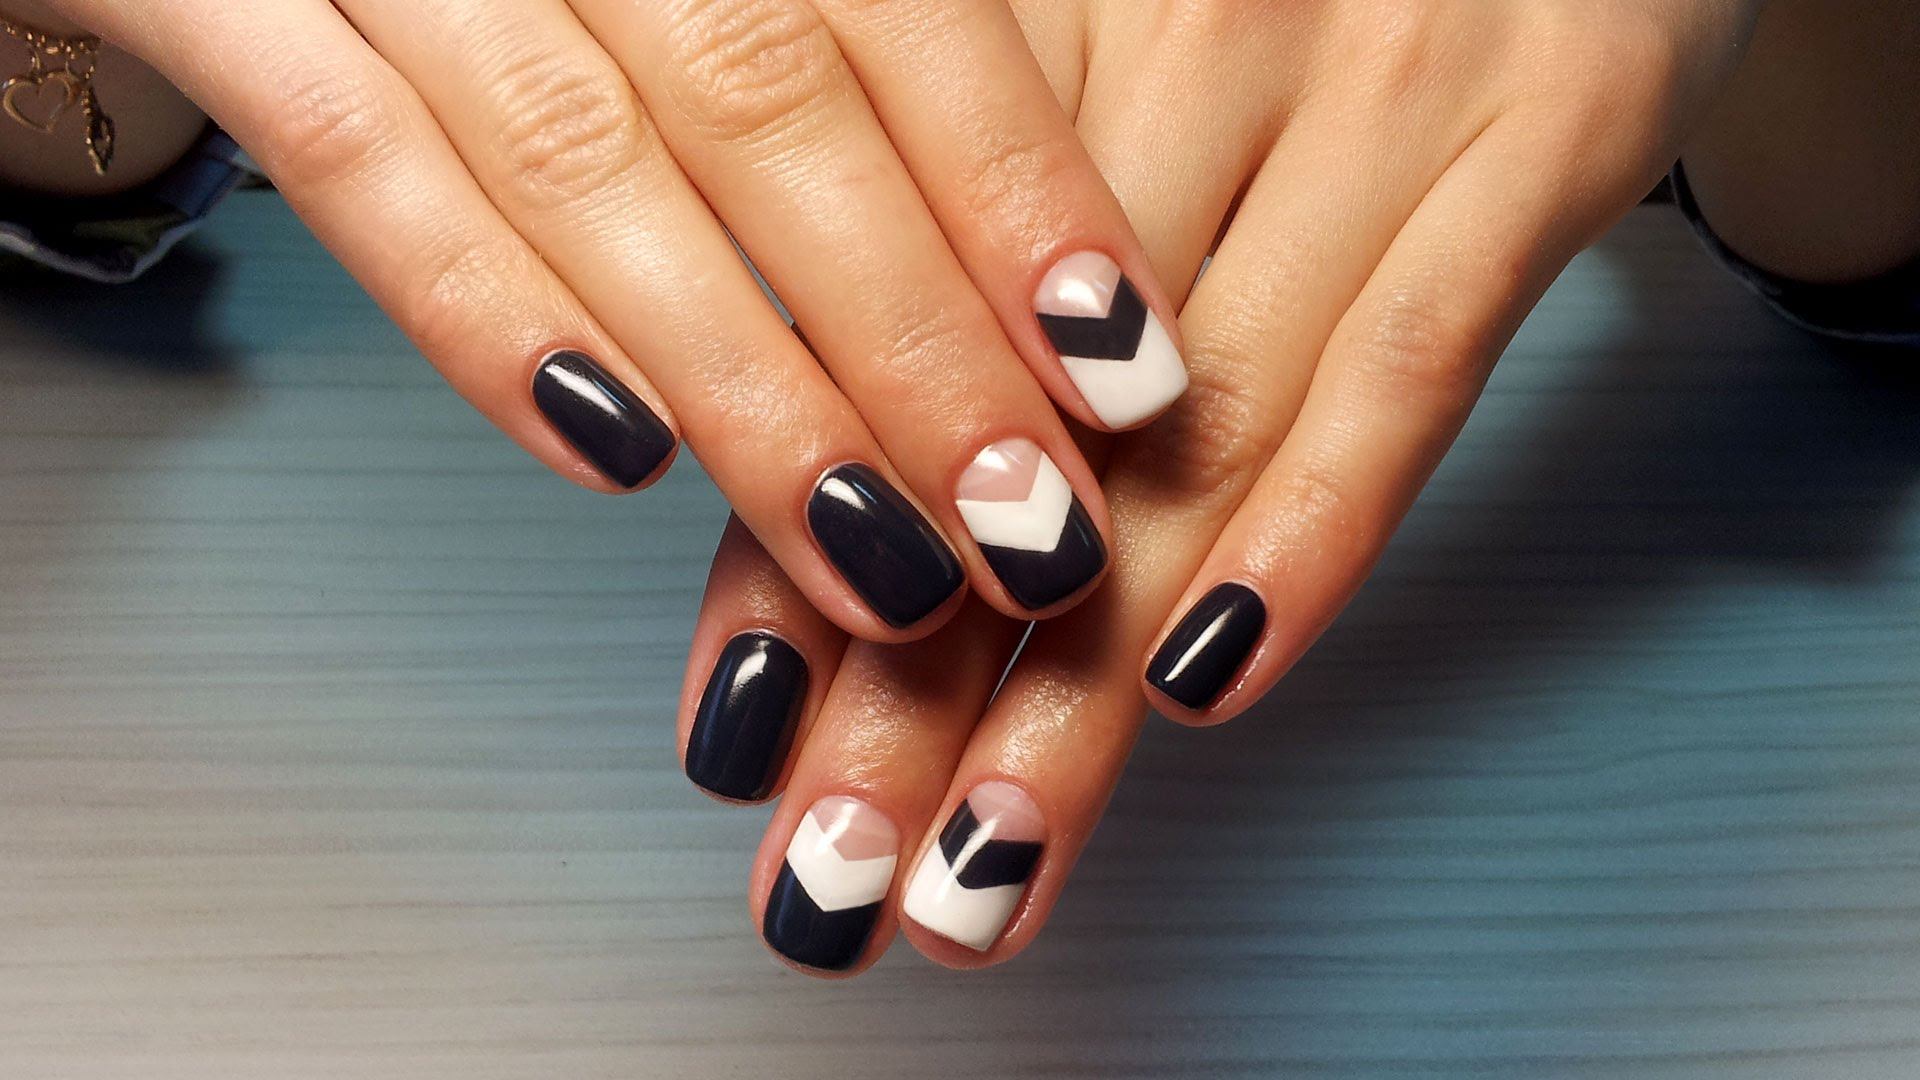
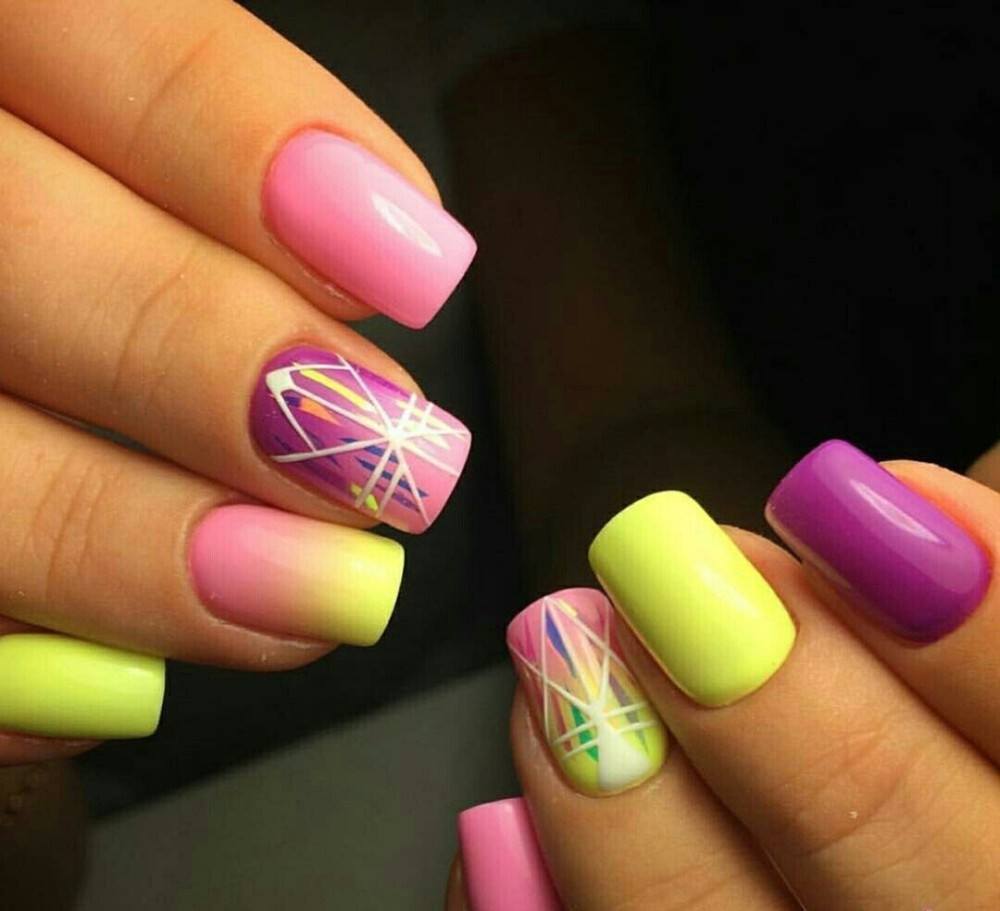
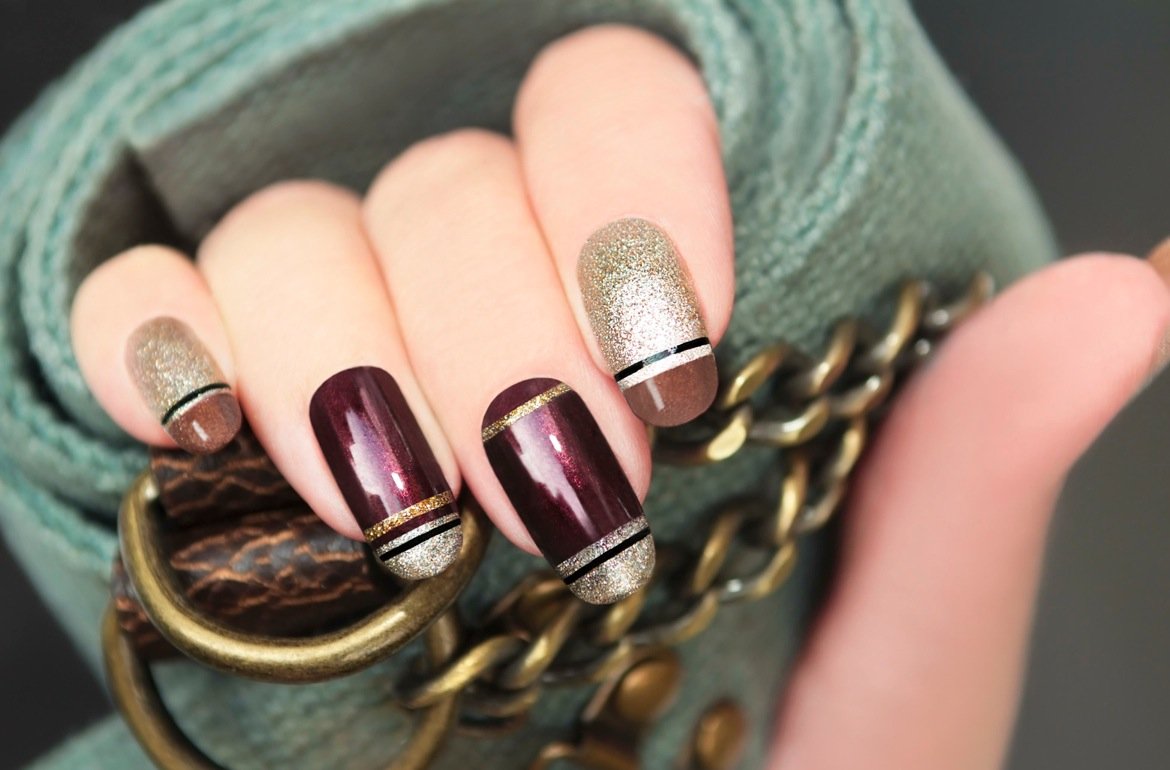
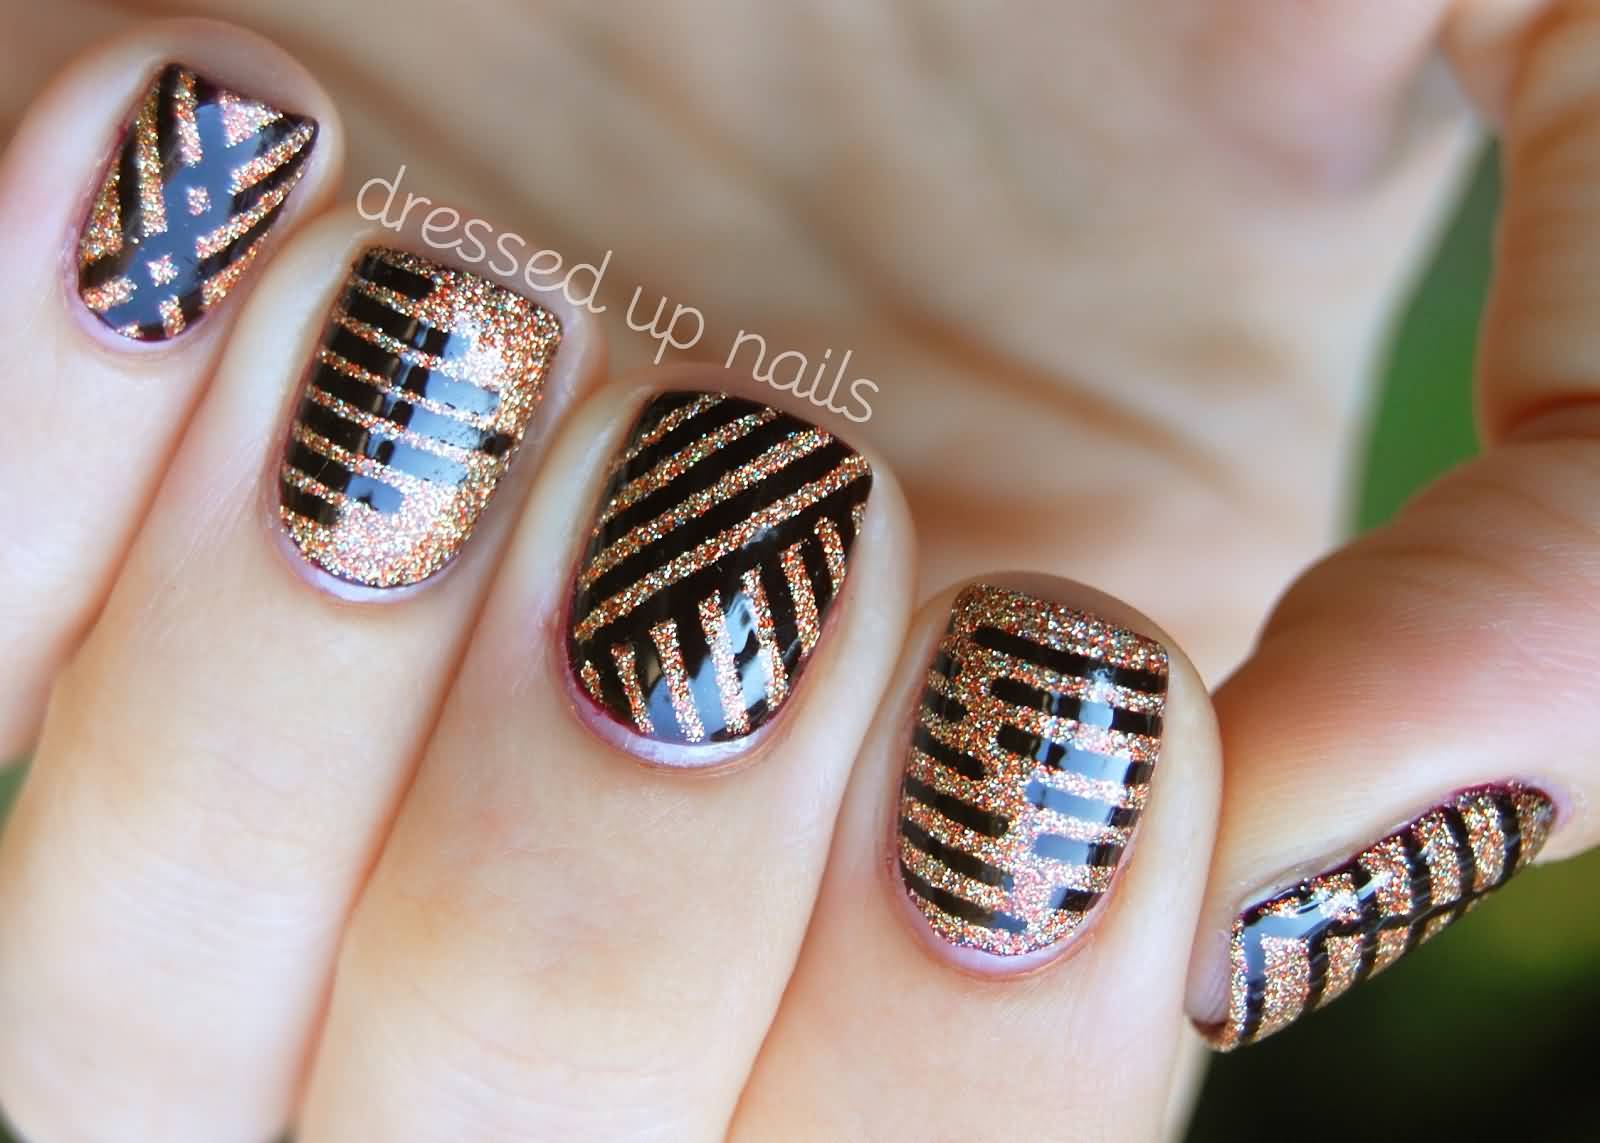
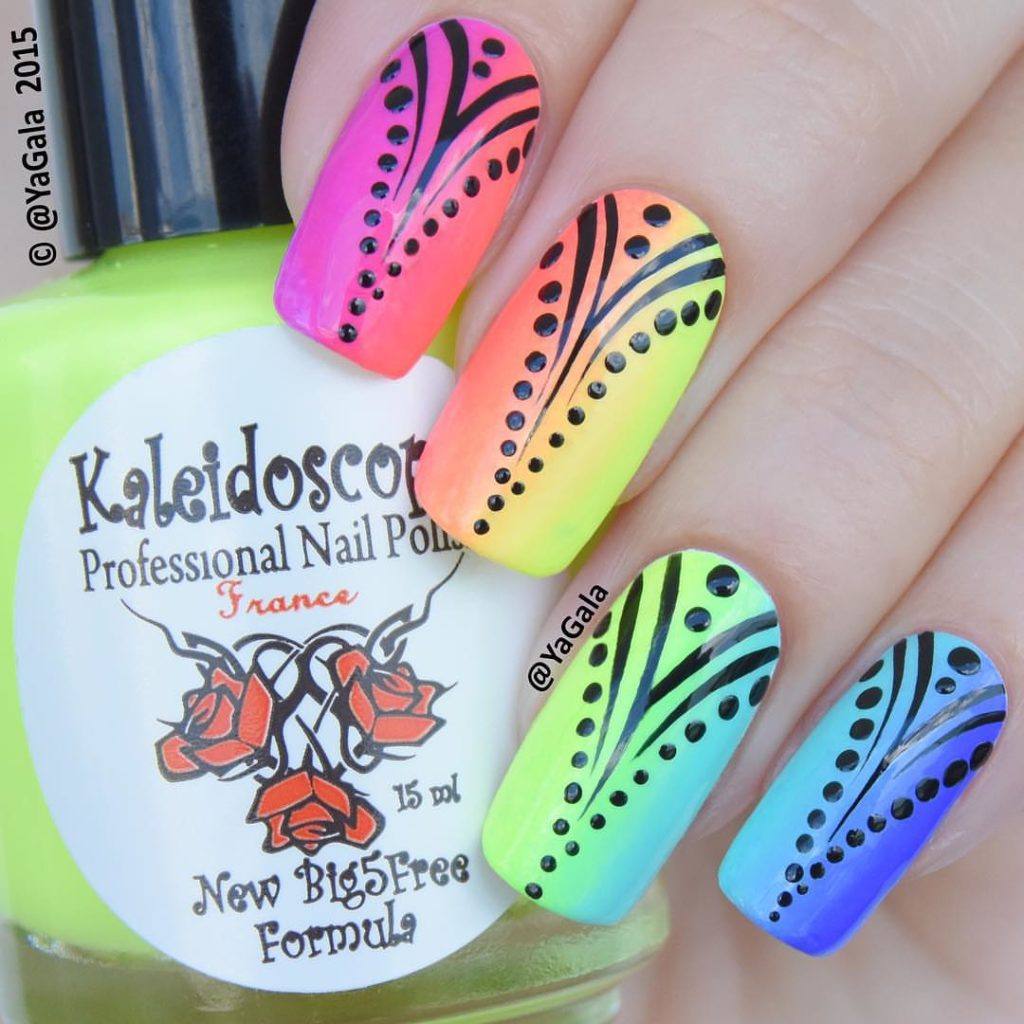
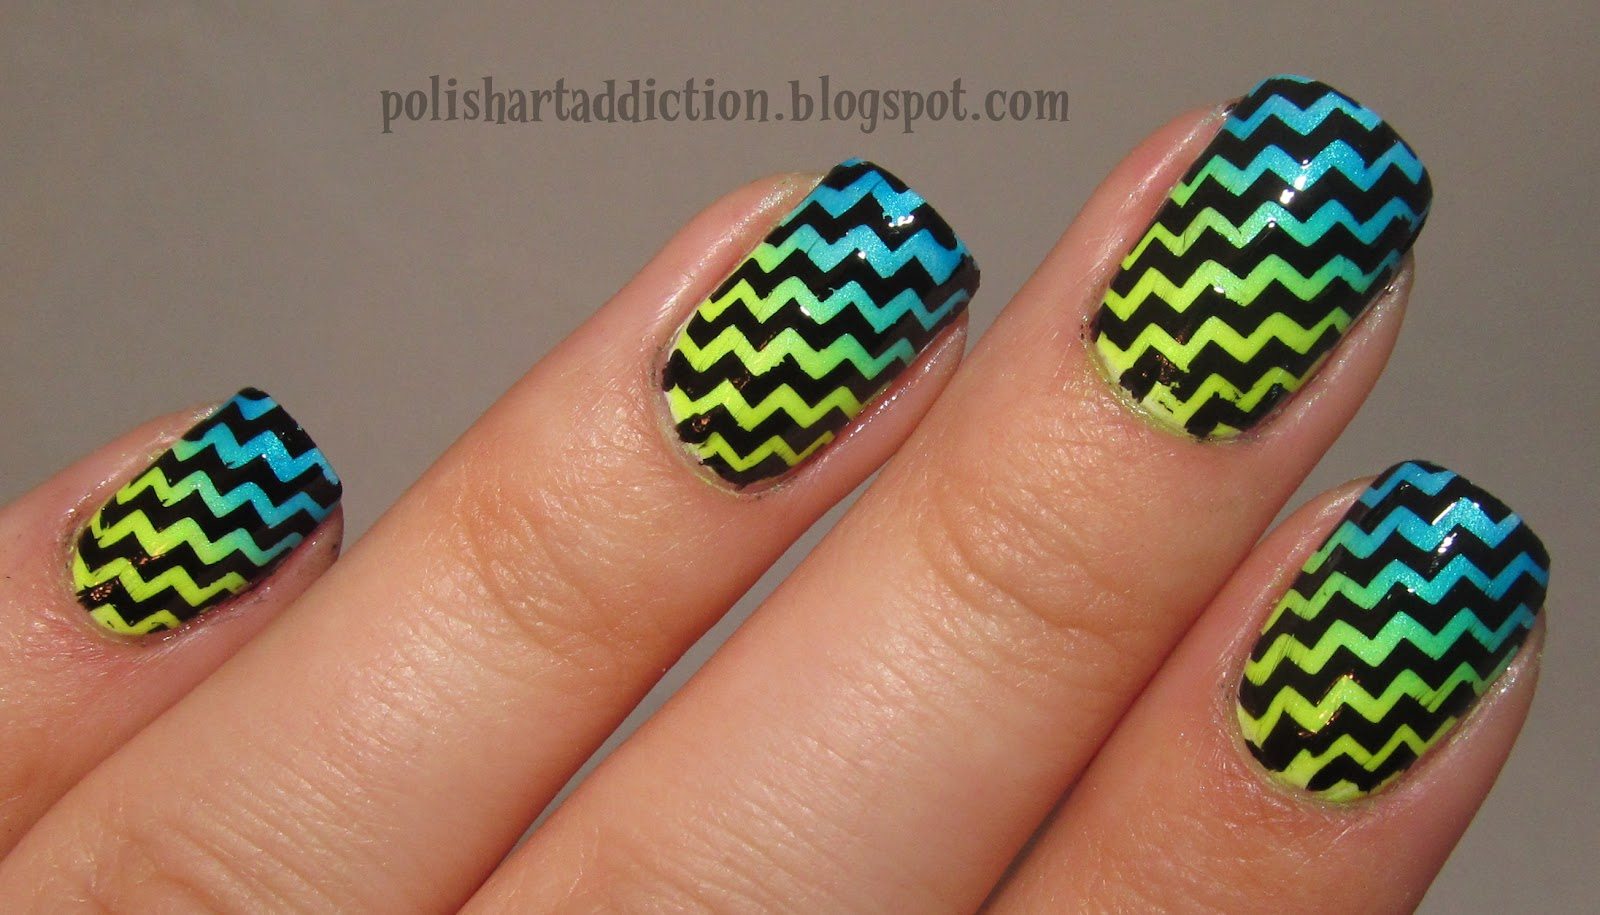
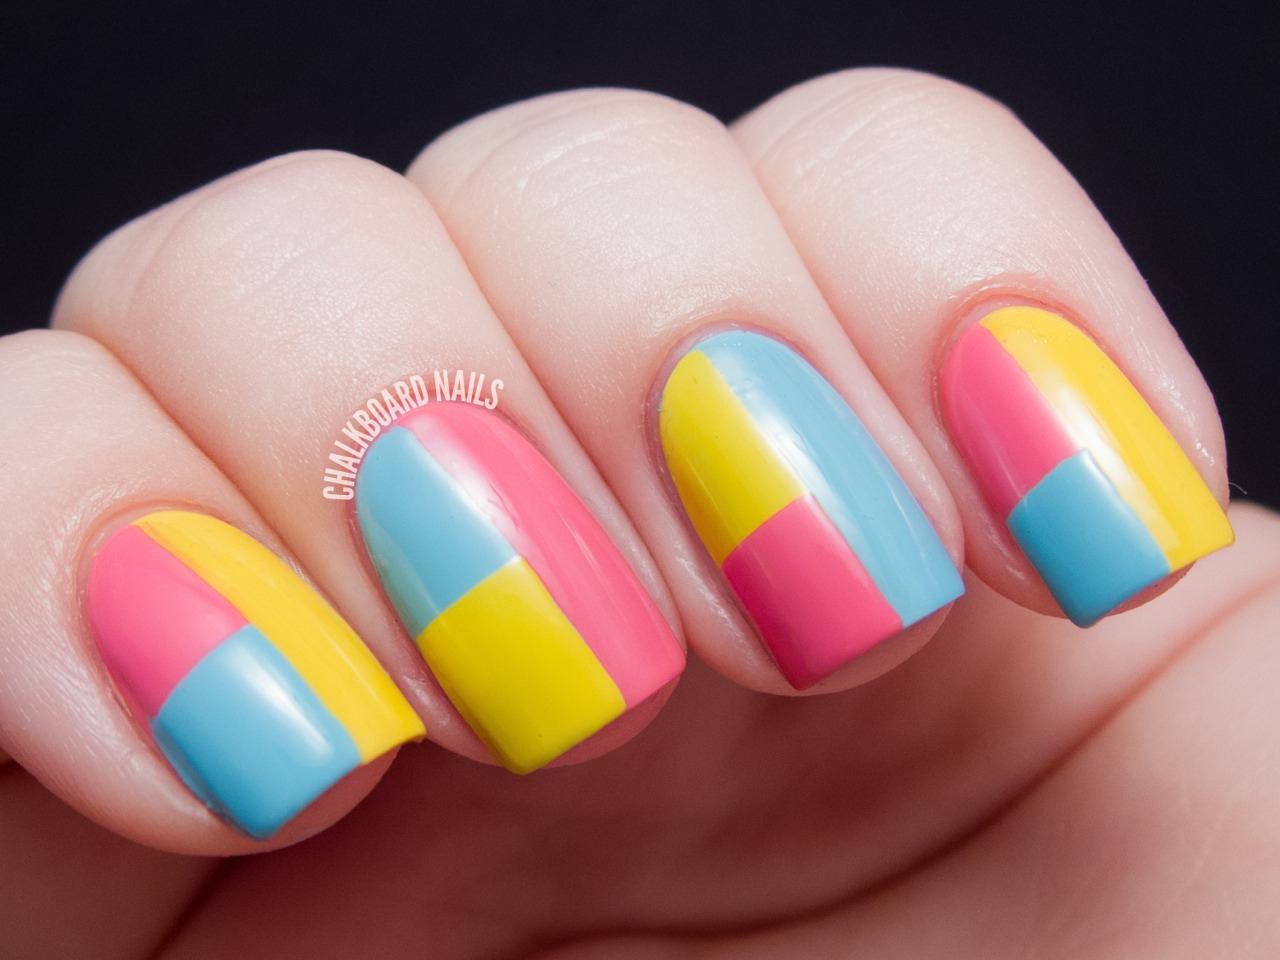
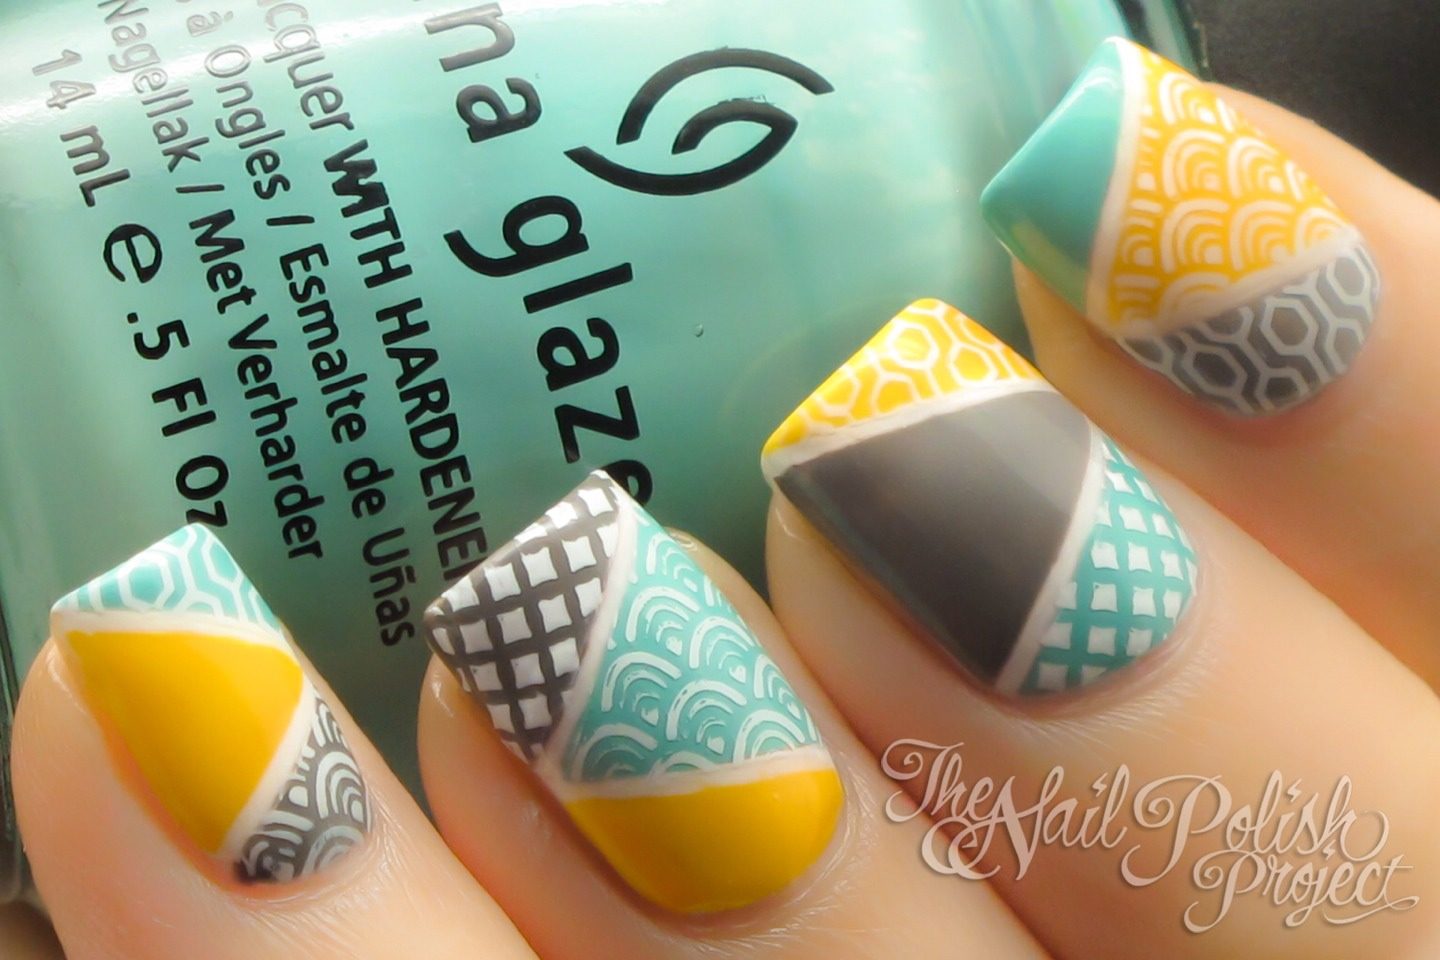
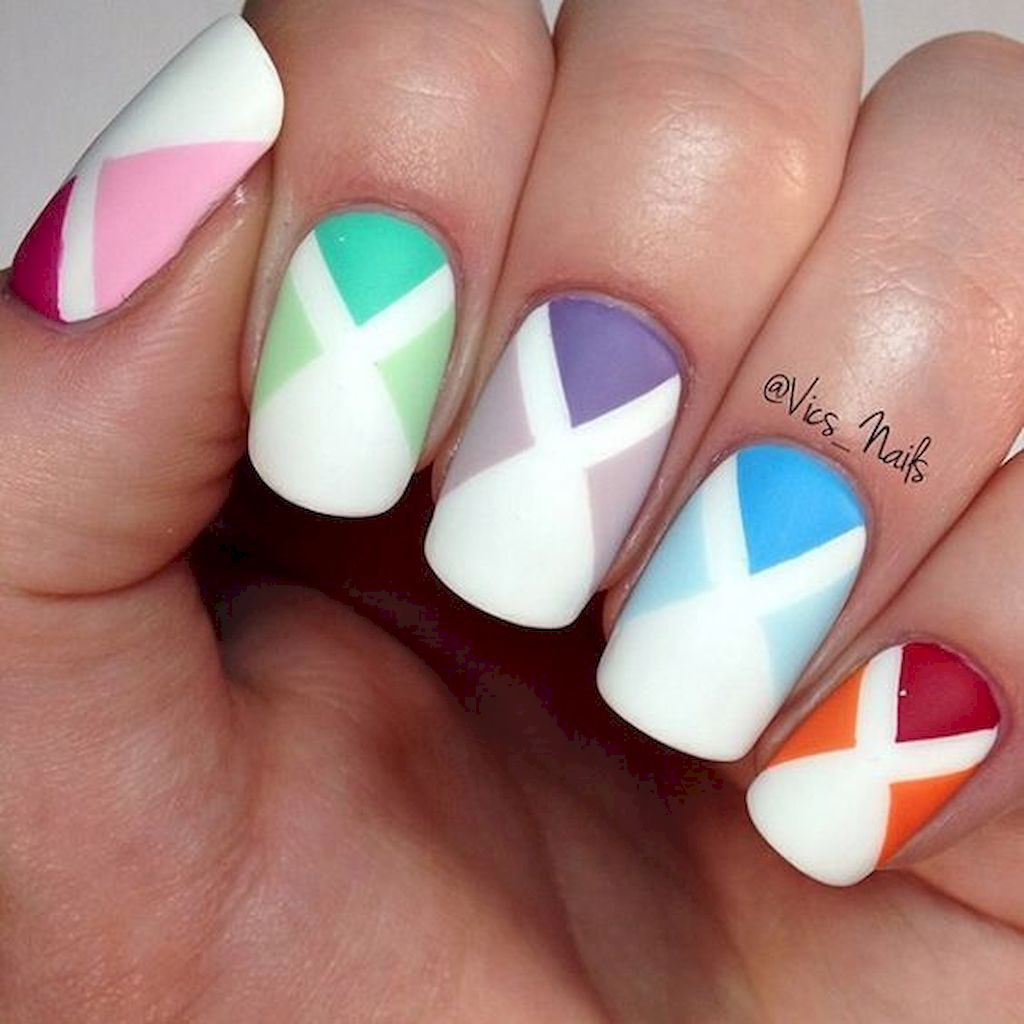
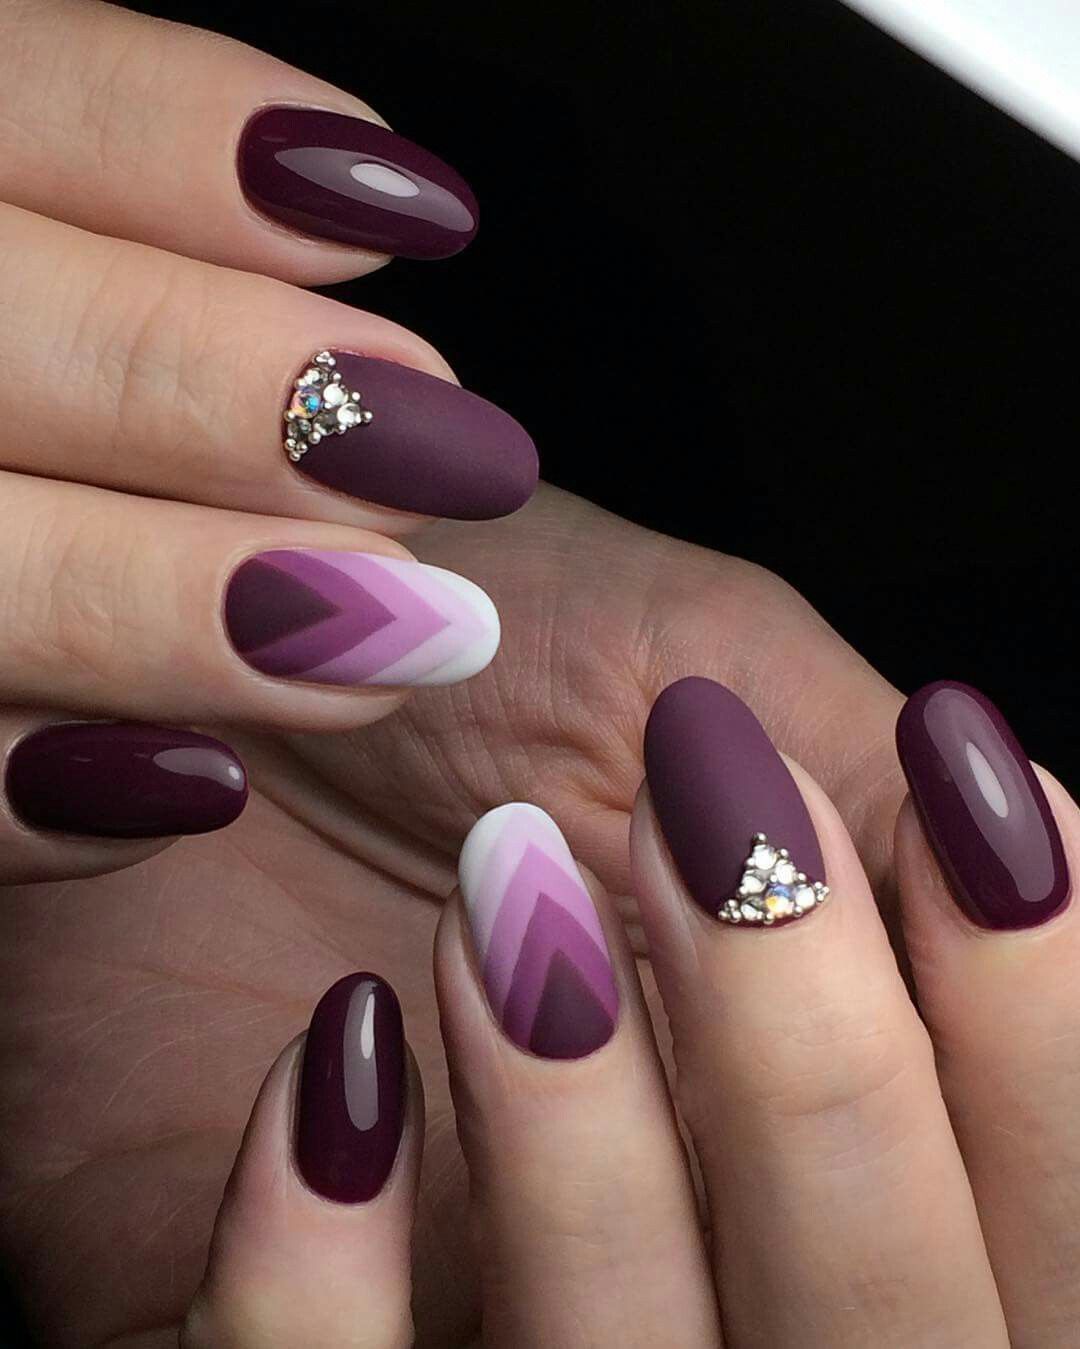
Geometric Gradient Manicure
The combination of two mega-popular manicure techniques allows you to create a stylish and effective nail art for every day and for special occasions. It is difficult to make such a design by yourself, but experienced craftsmen easily cope with this task.
Especially beautiful is not only the main color, made in the technique of ombre, but also stripes that shimmer from one edge of the nail to another.
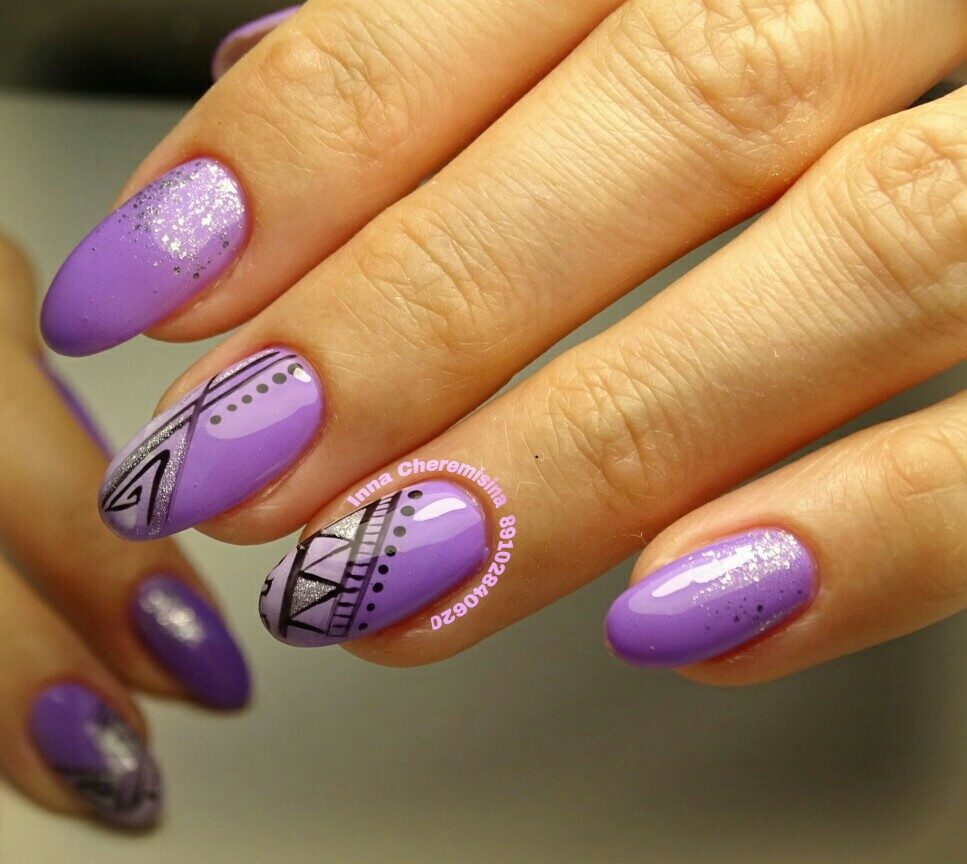
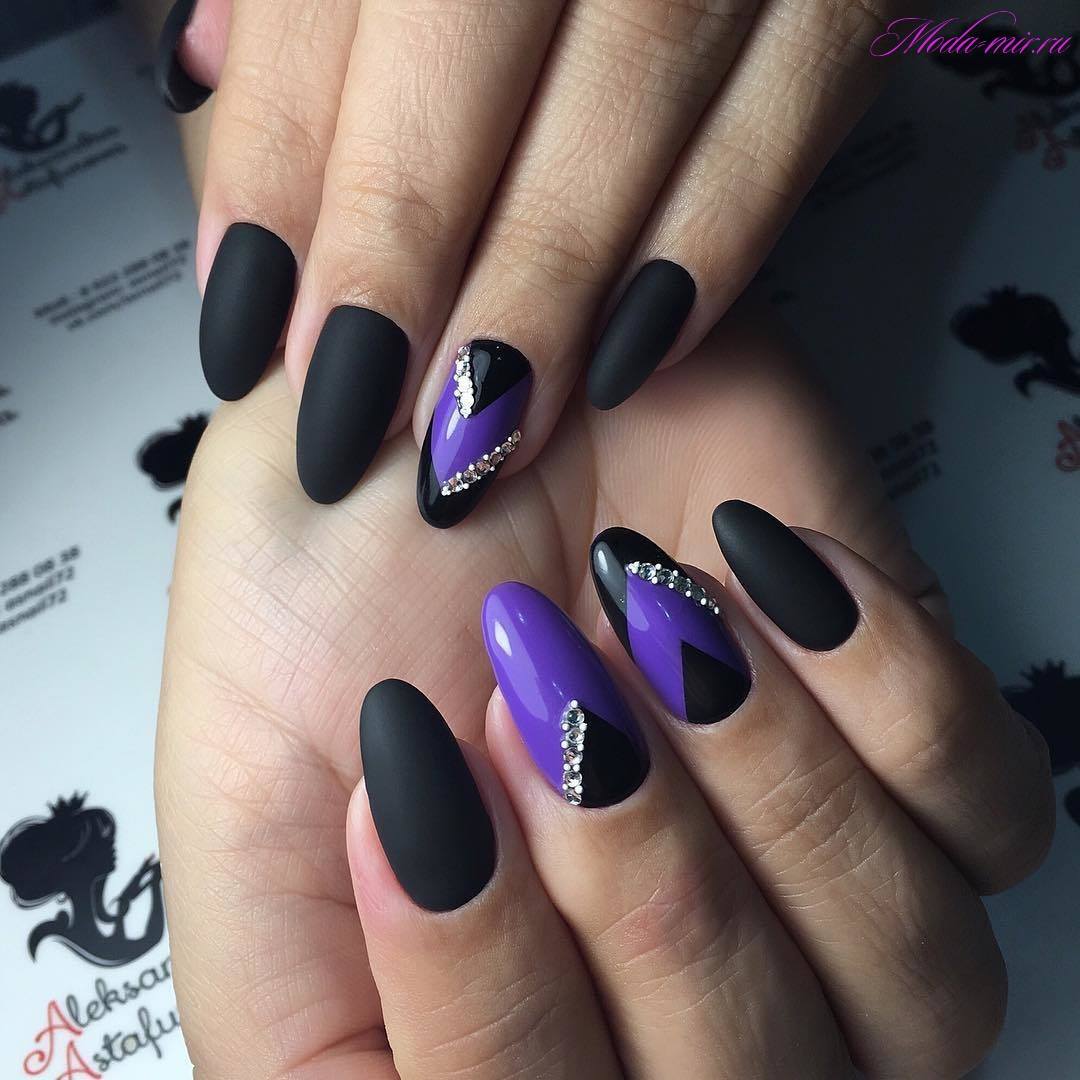
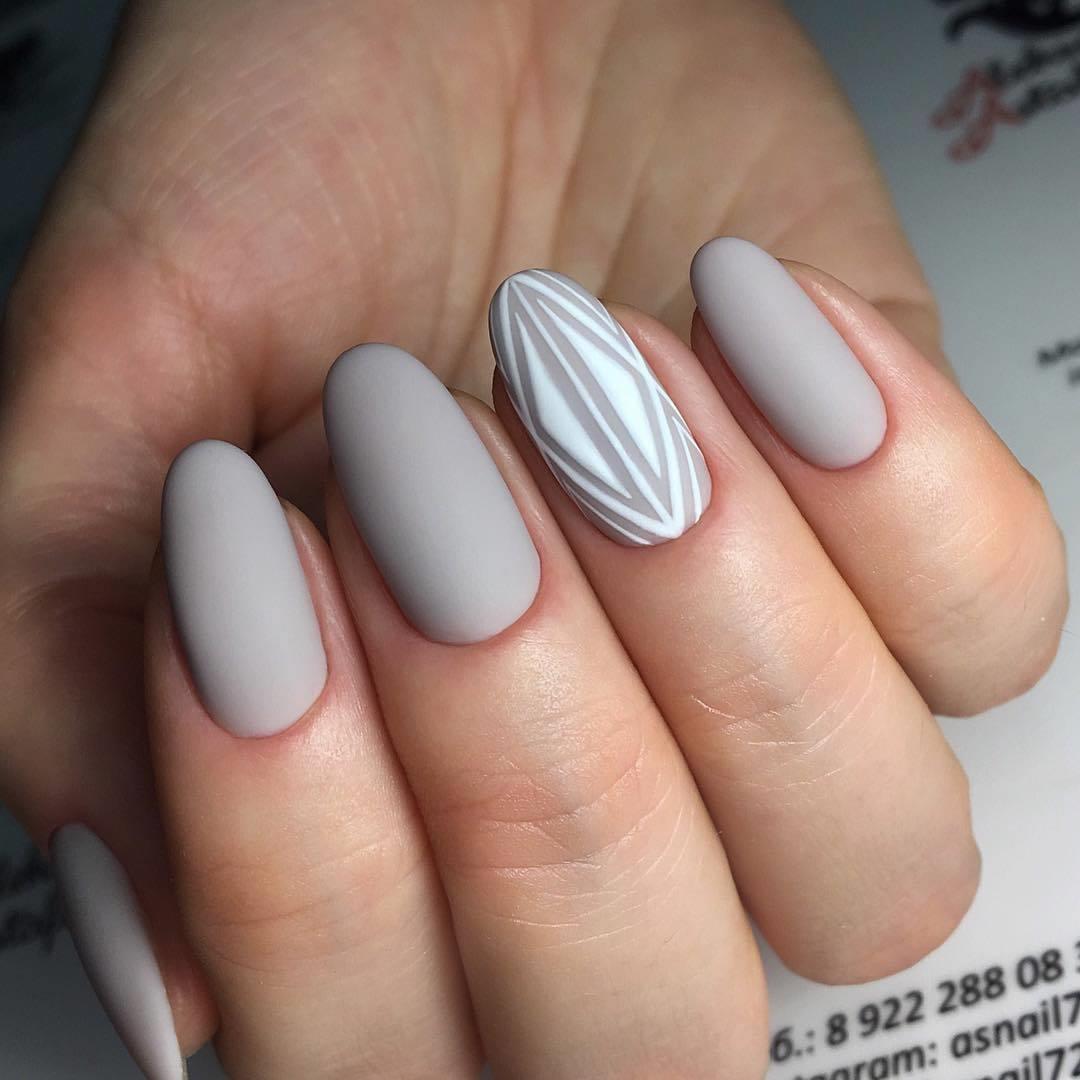
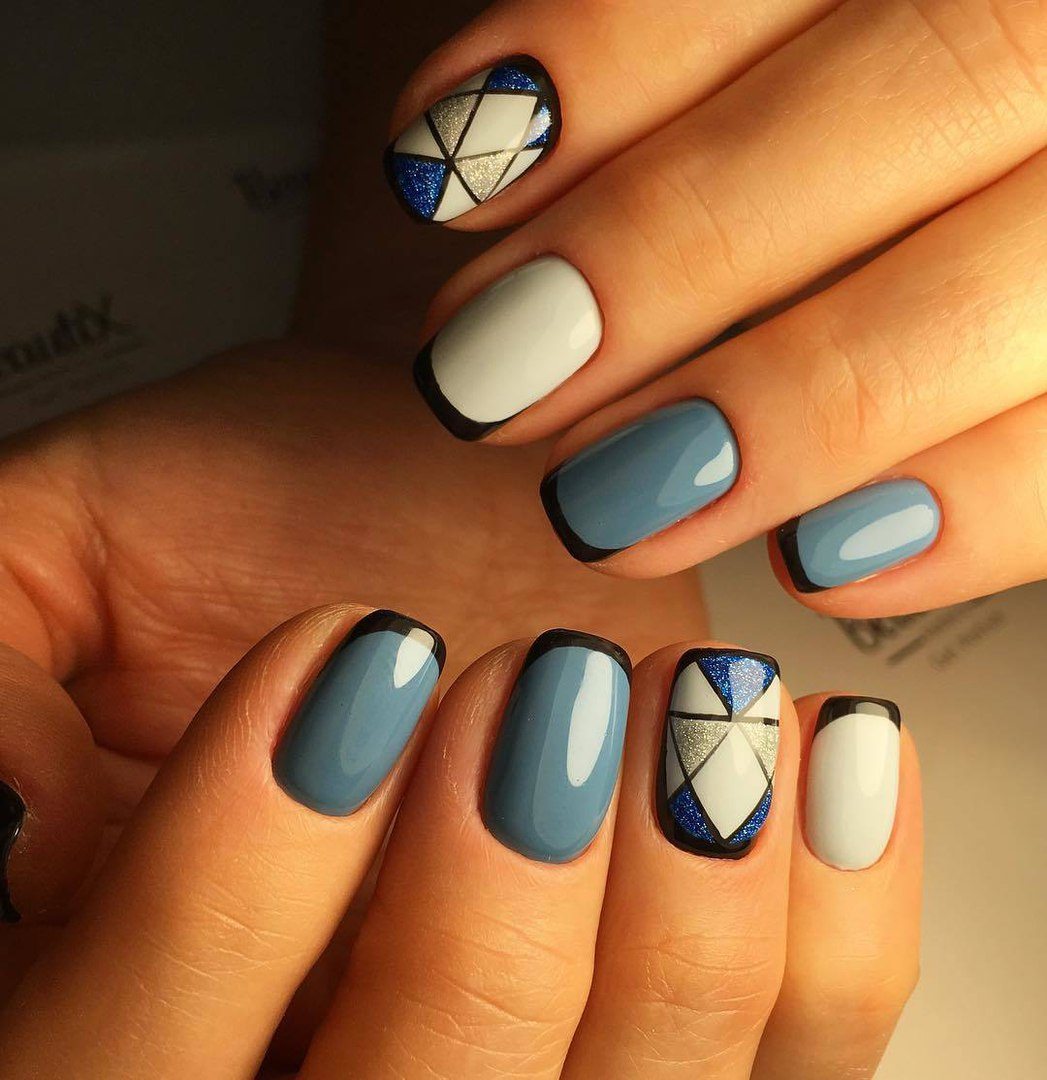
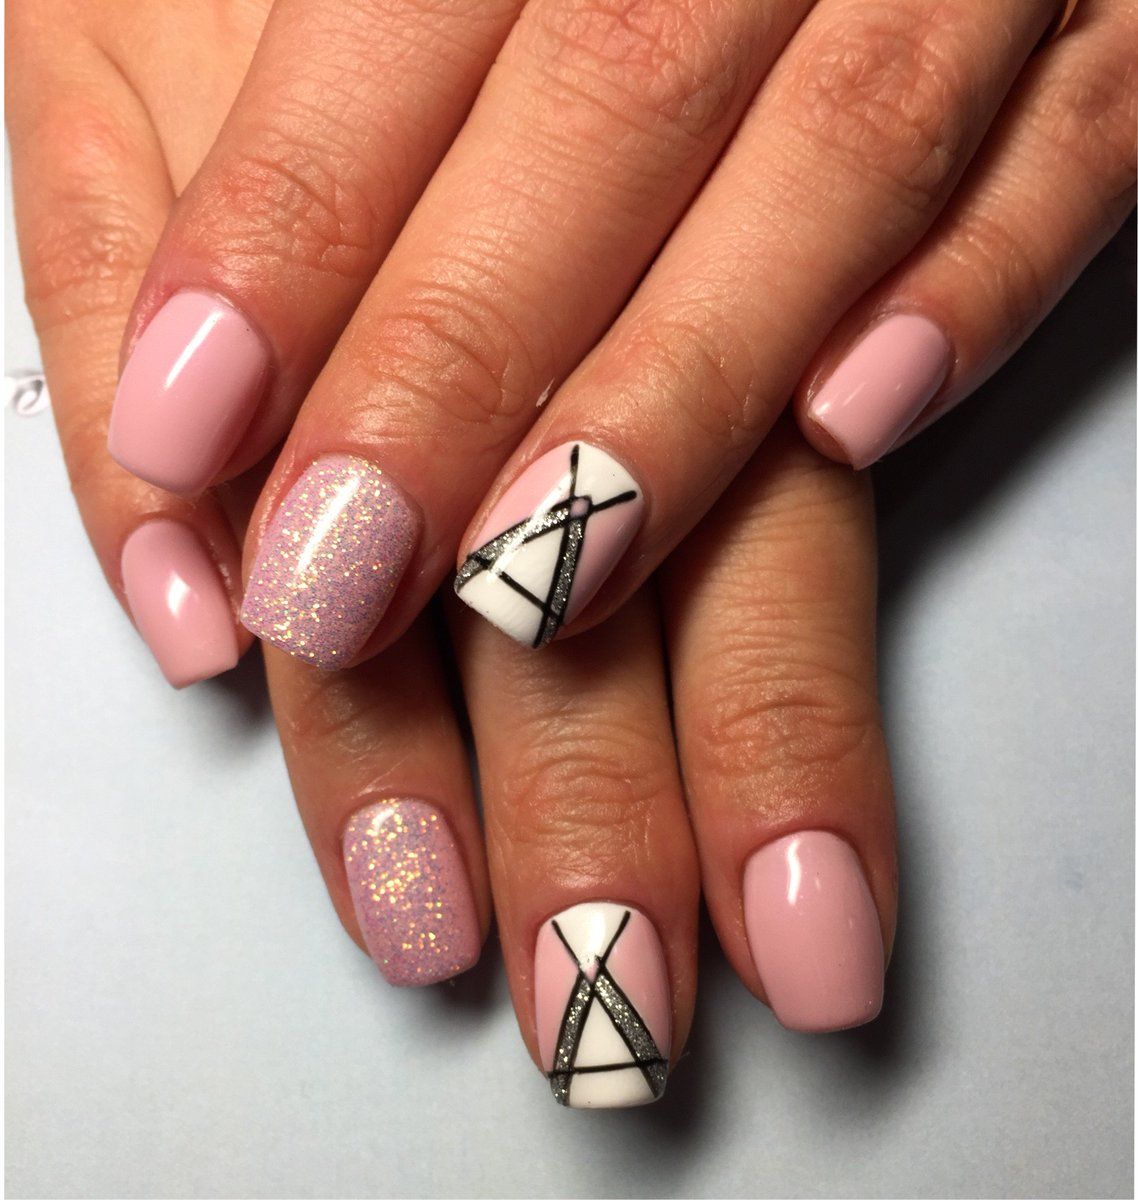
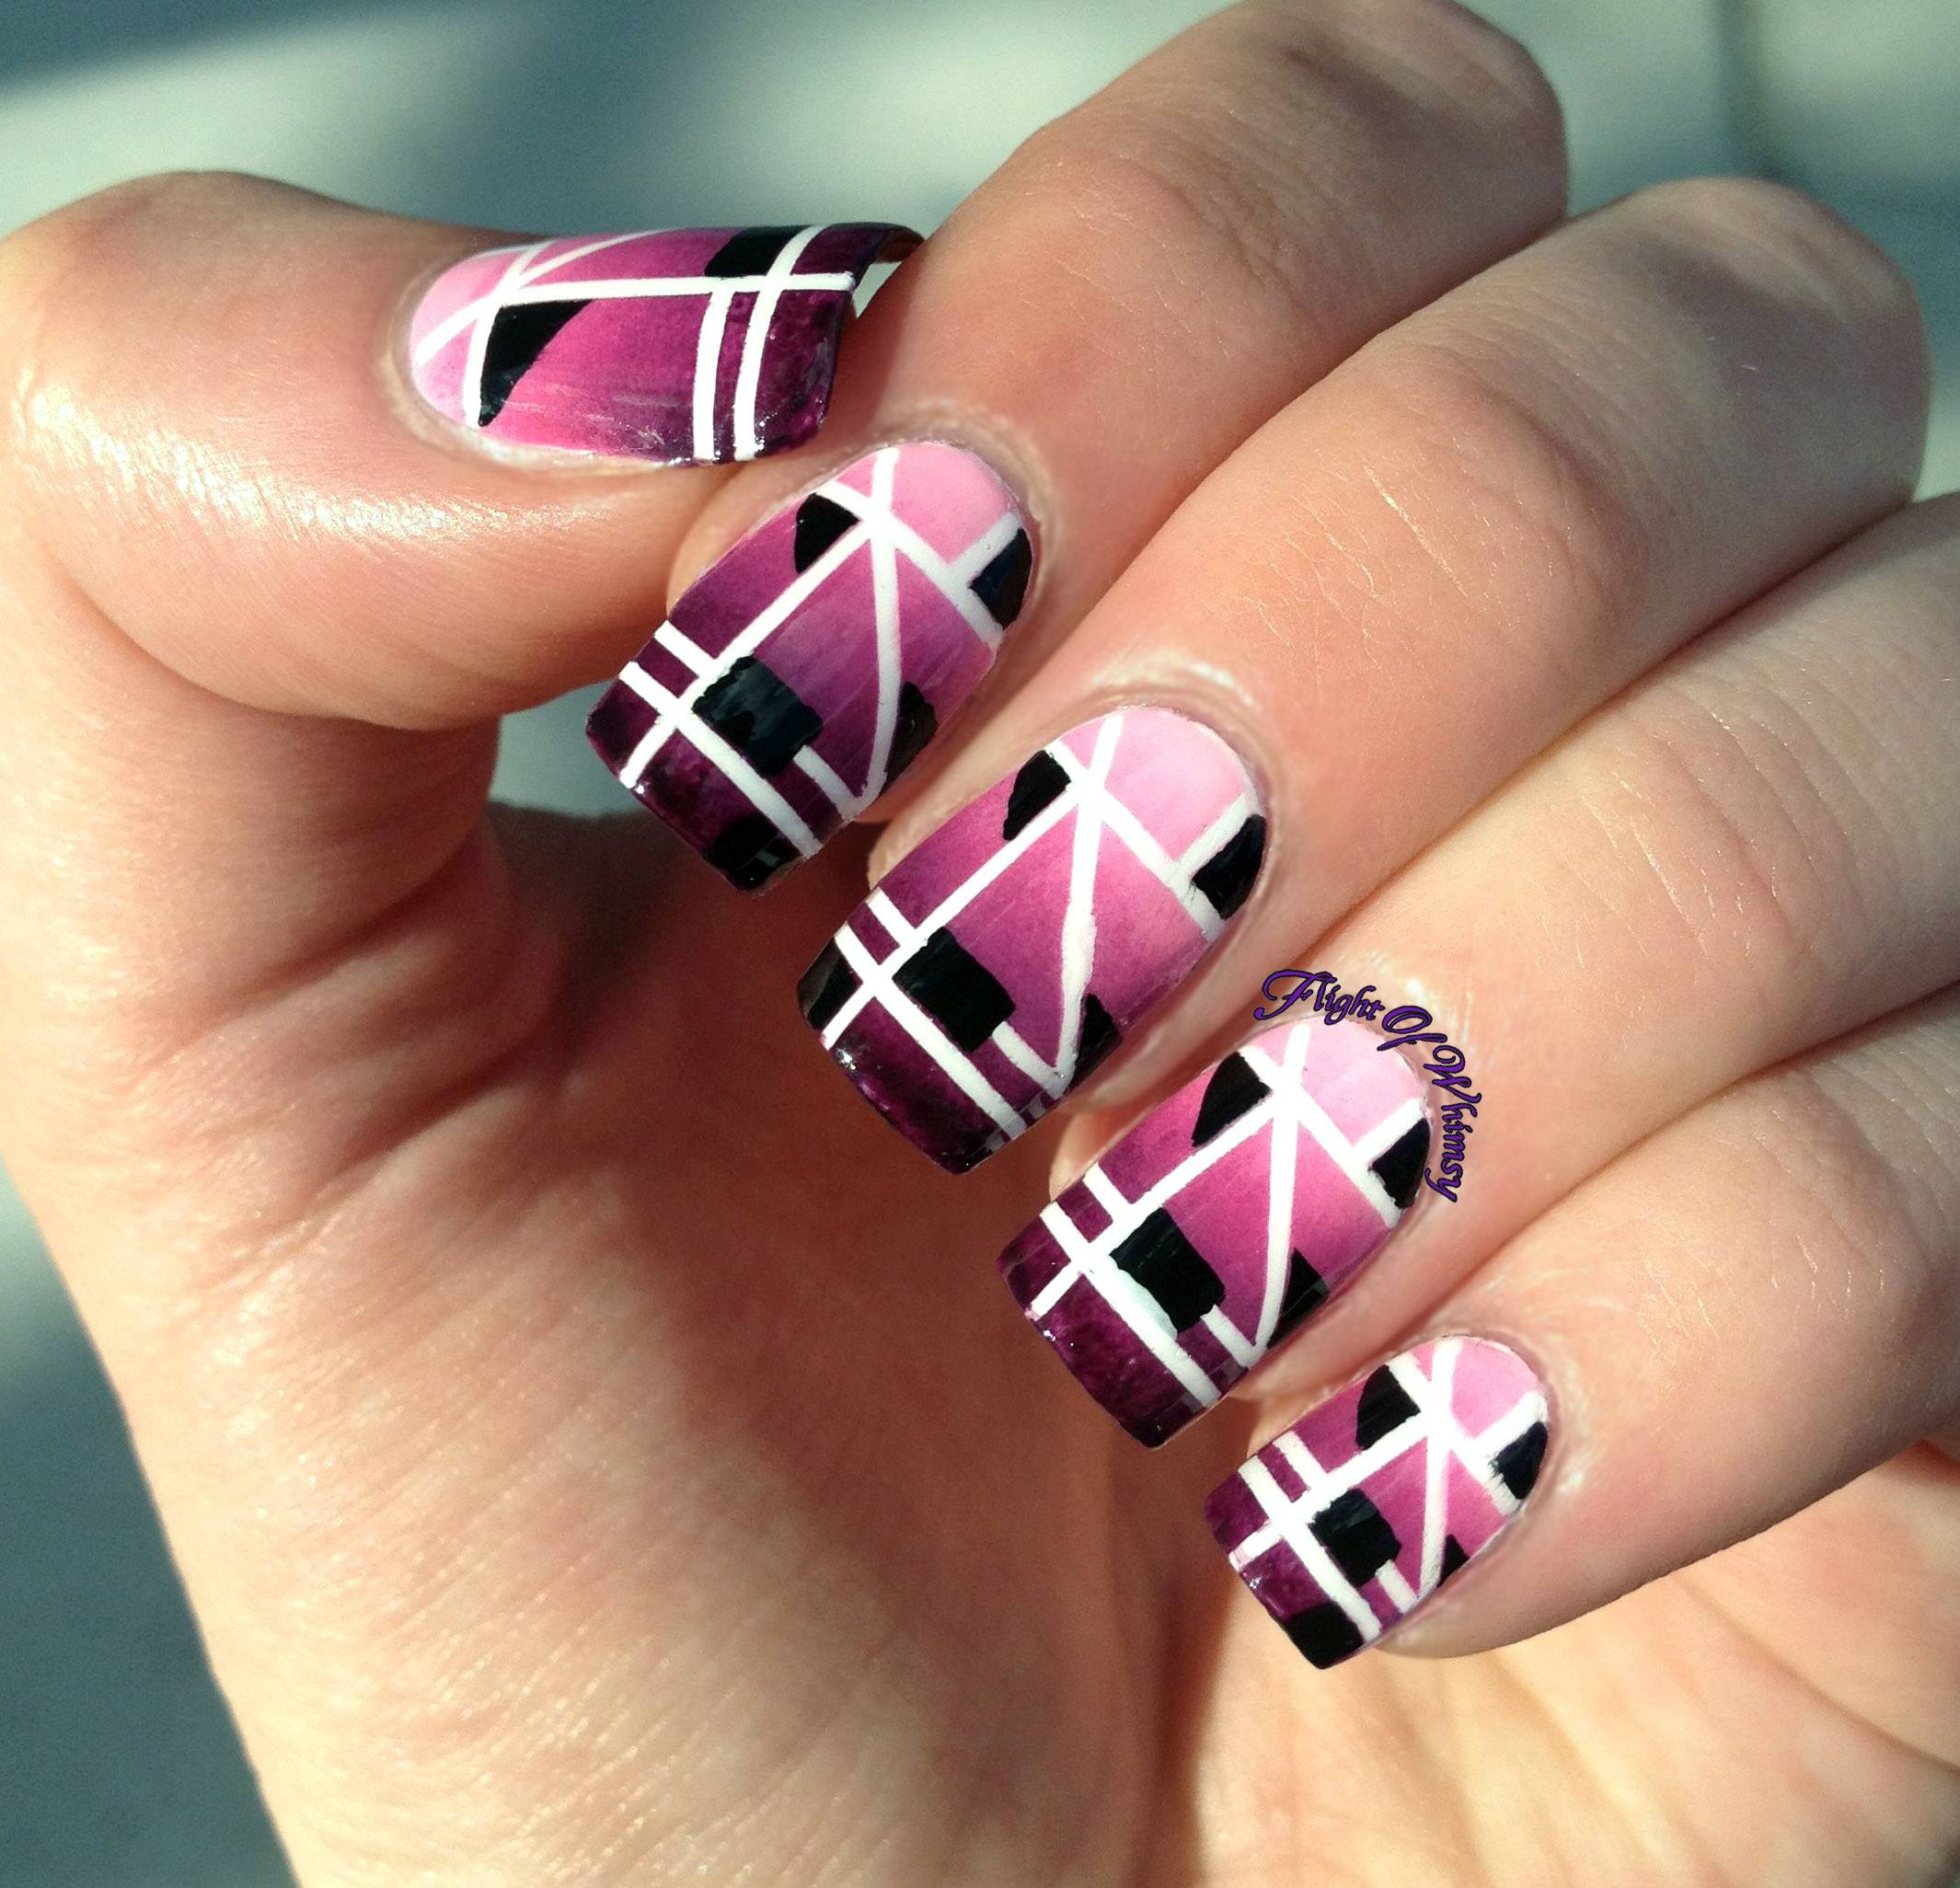
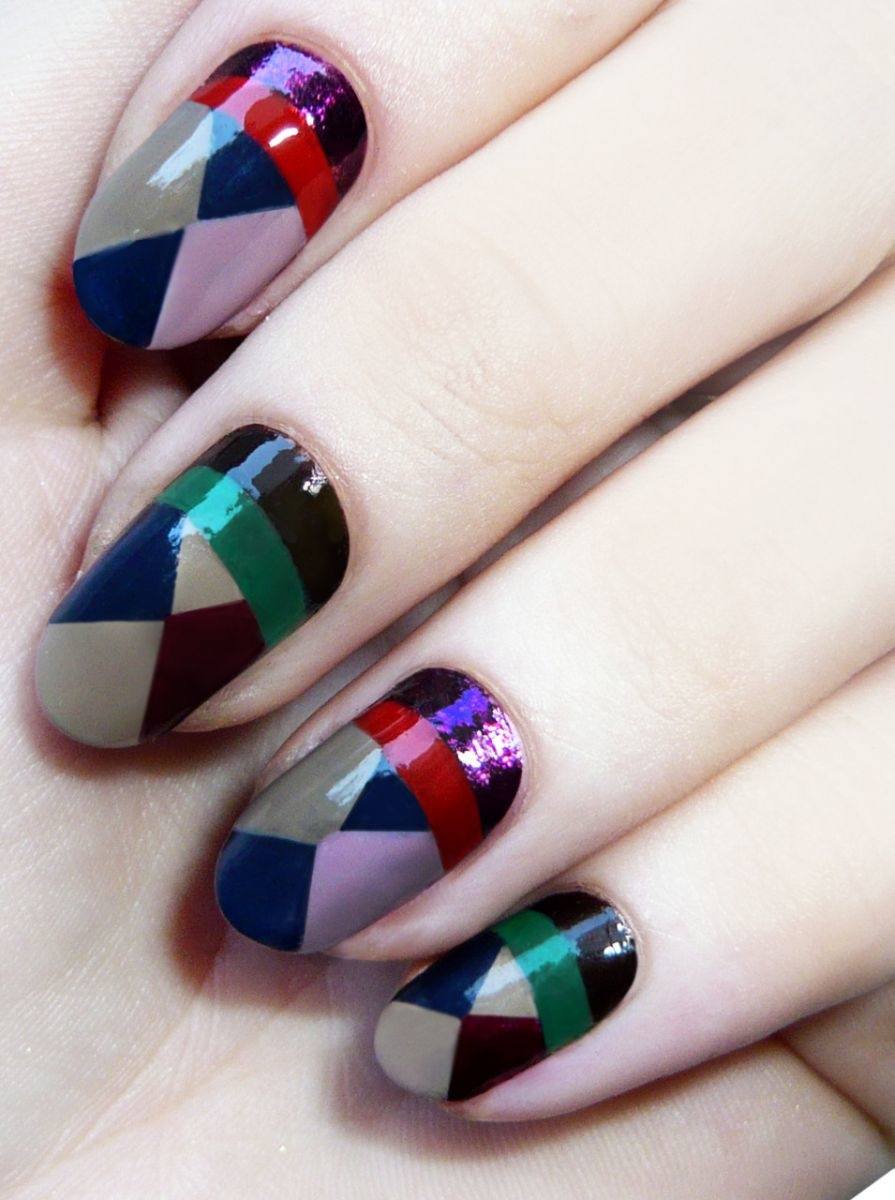
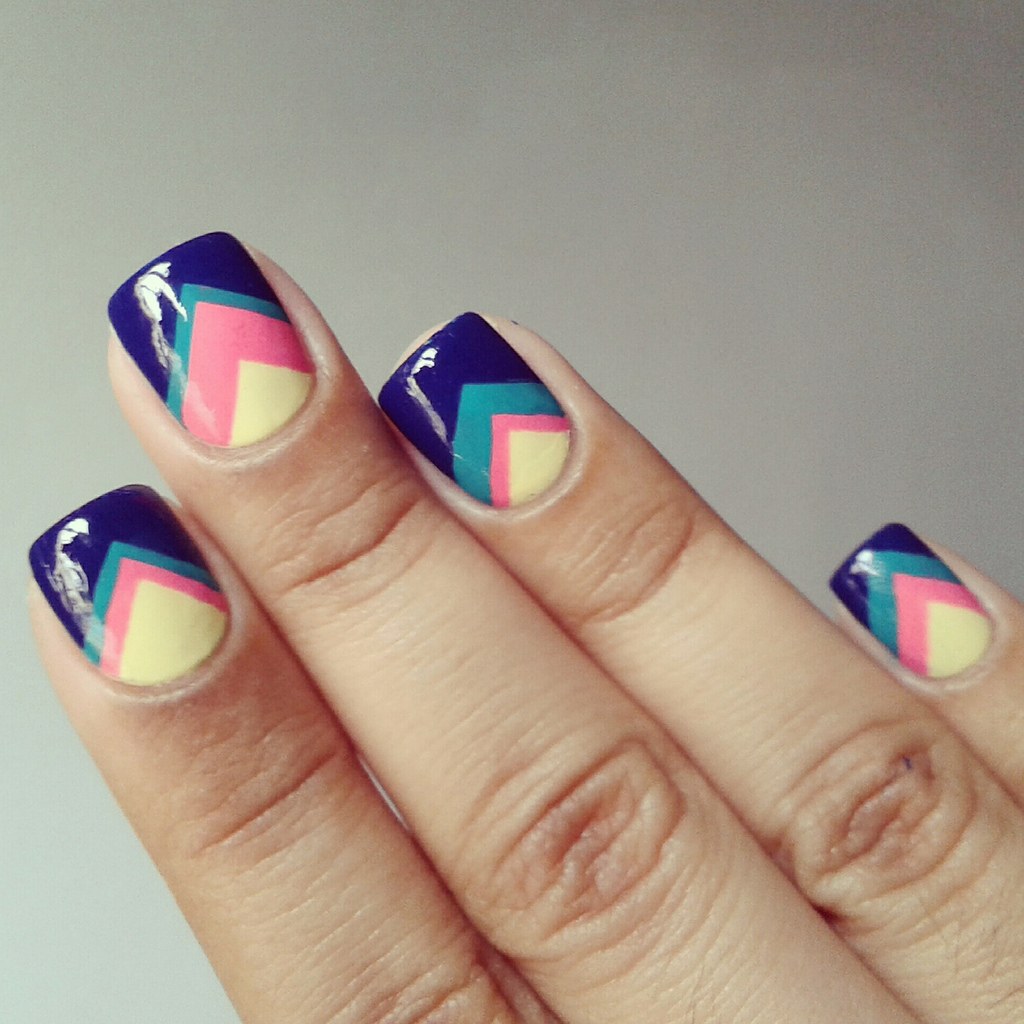
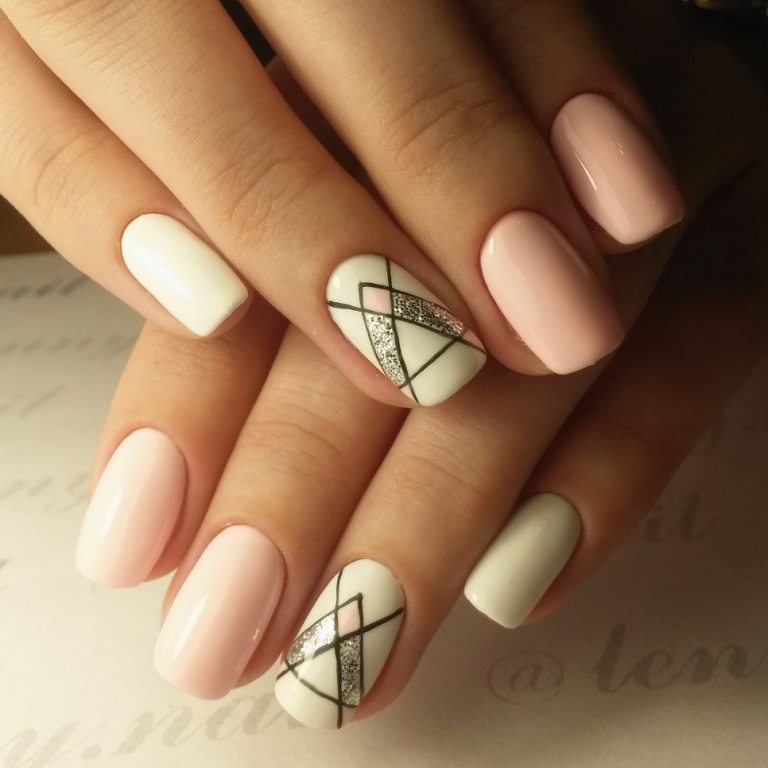
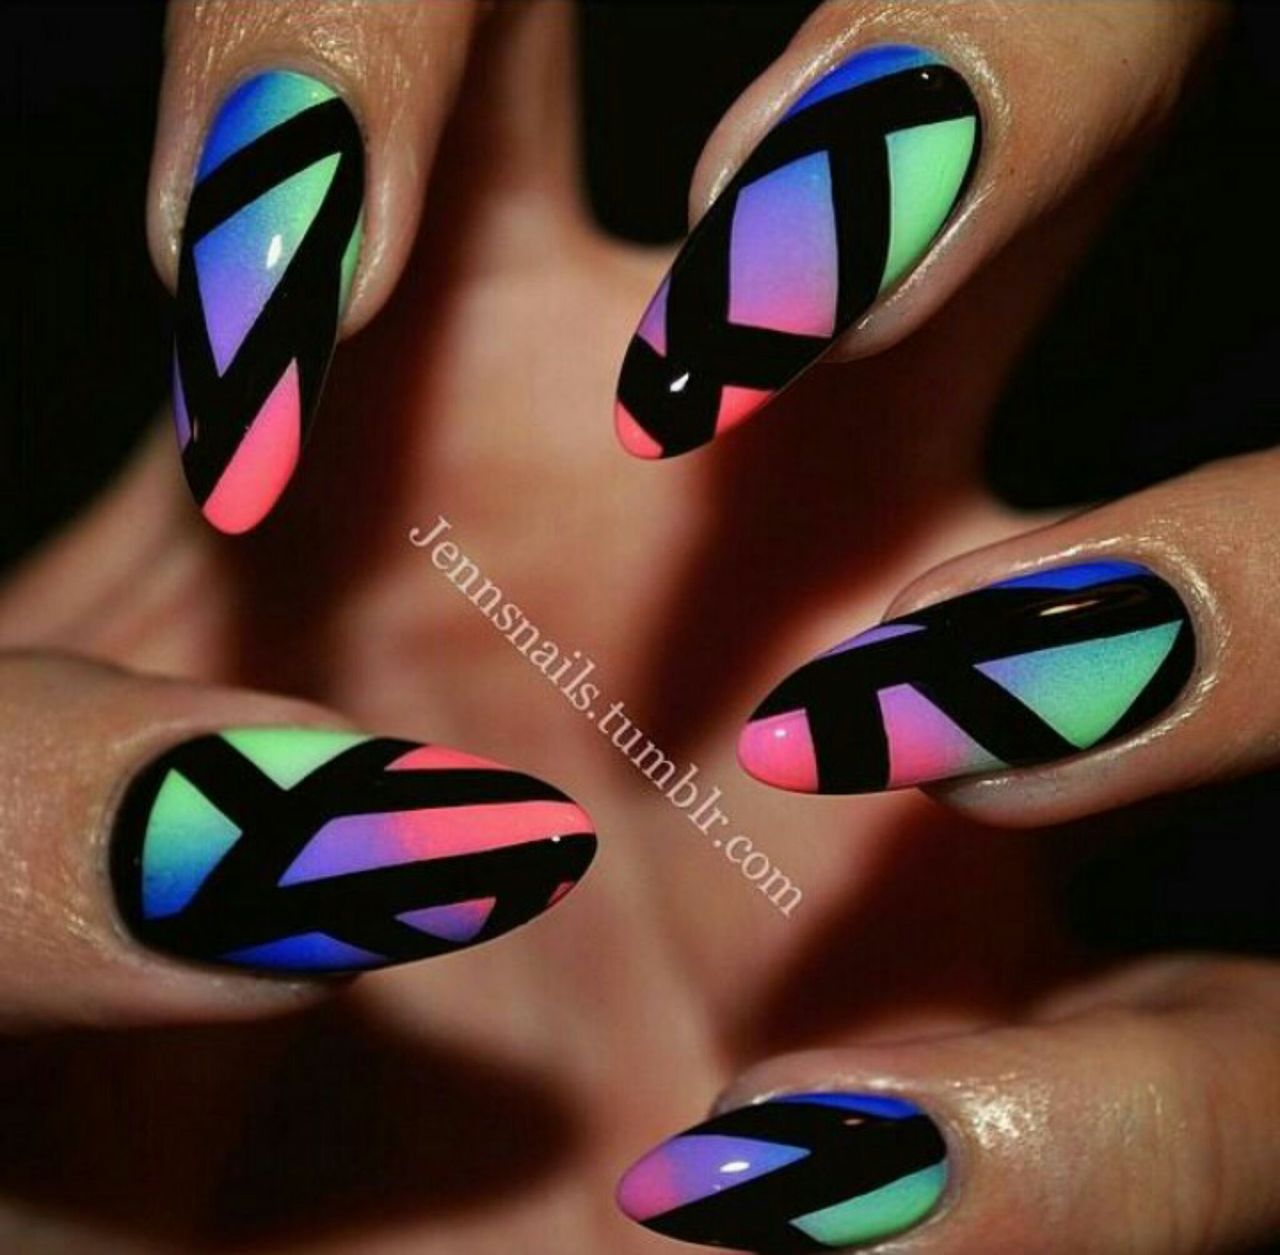
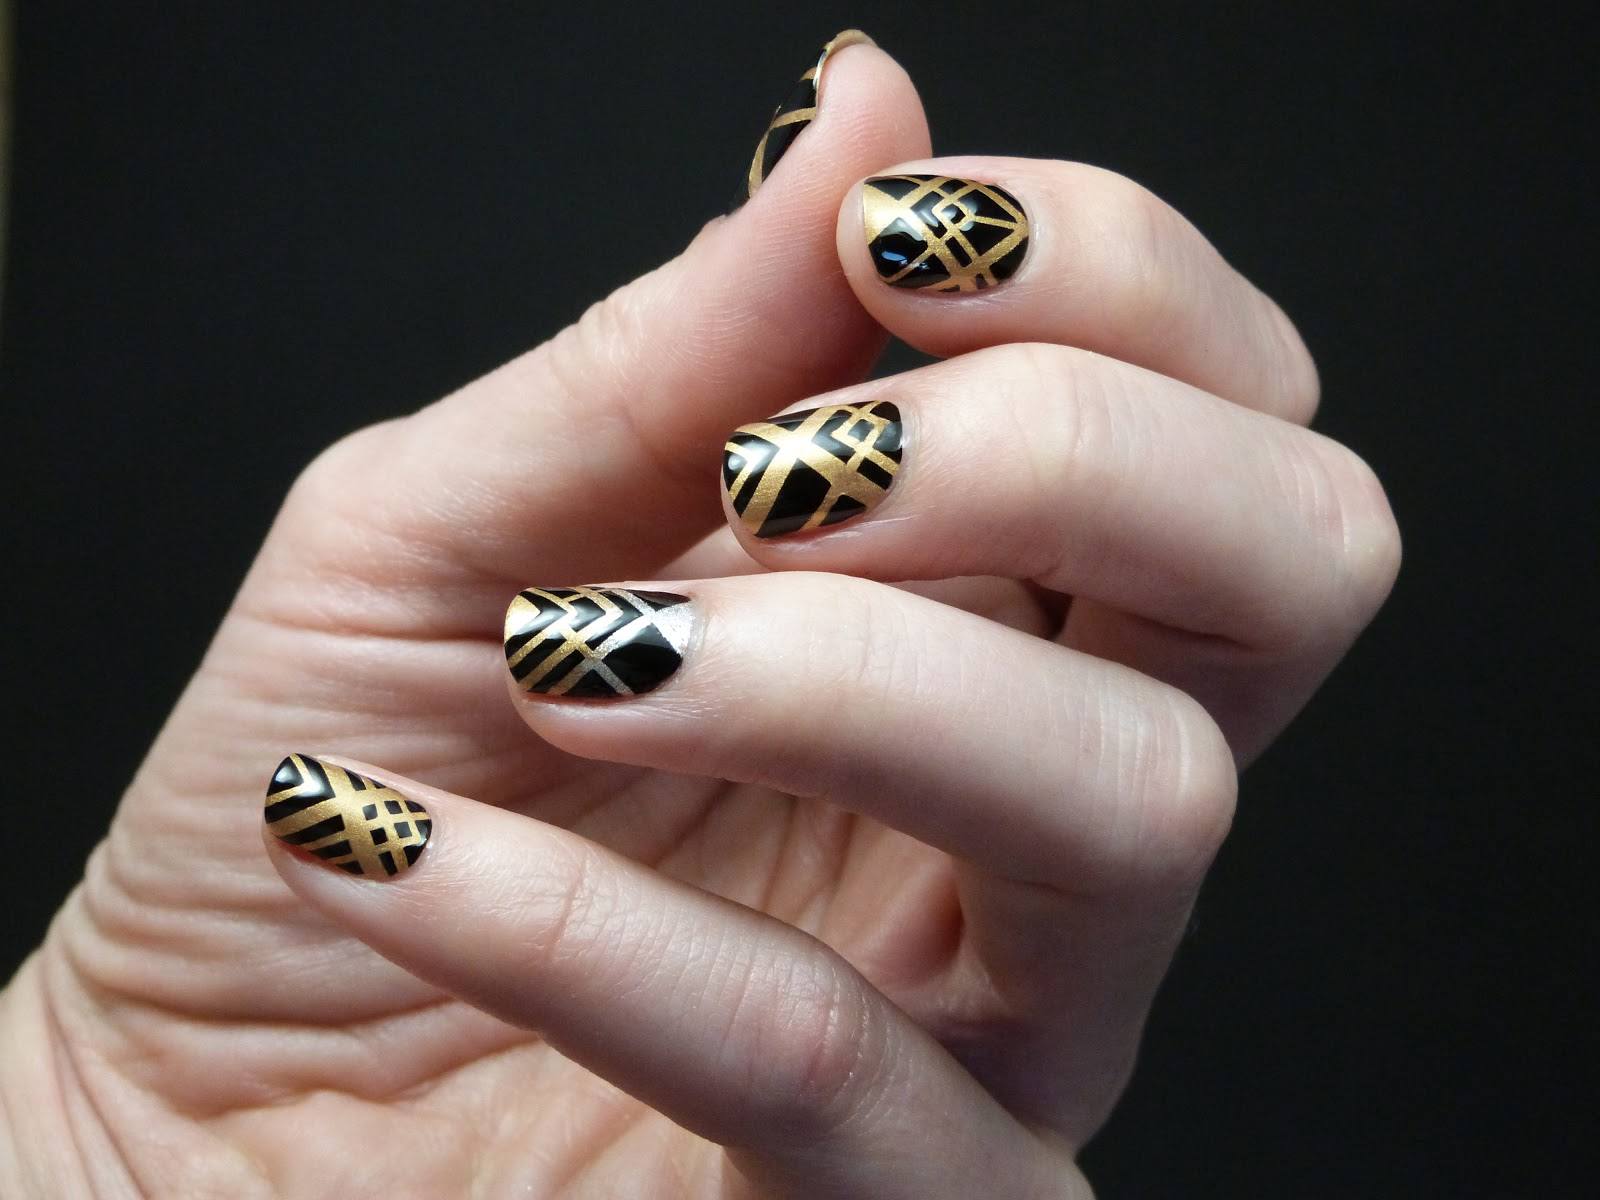
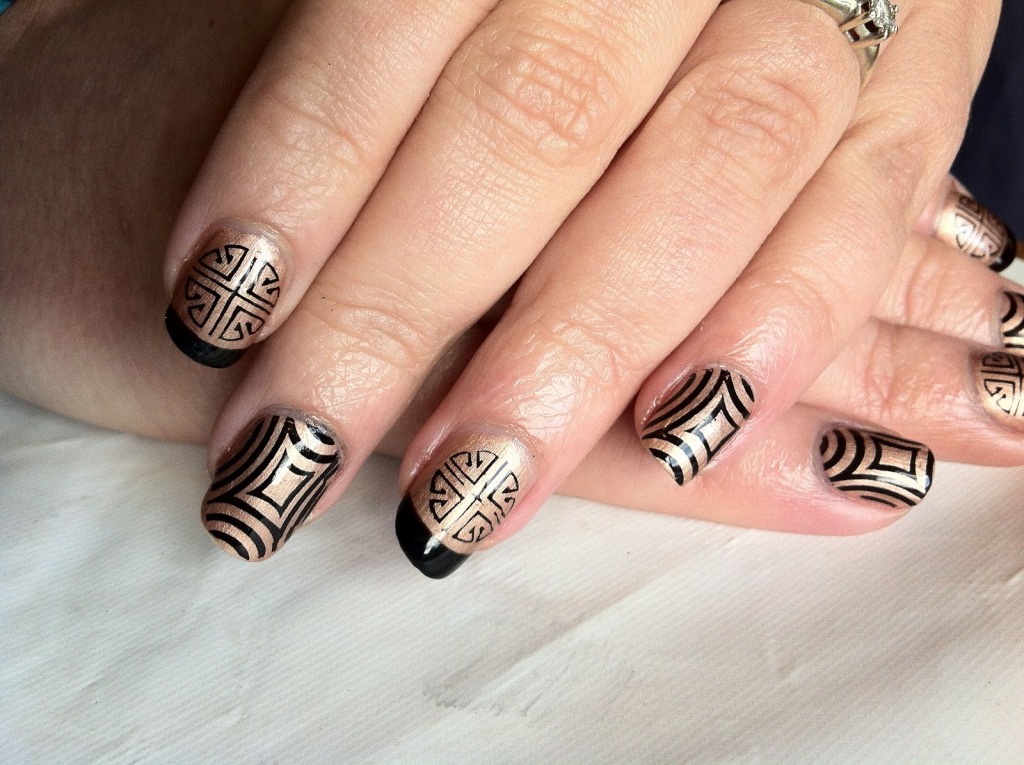
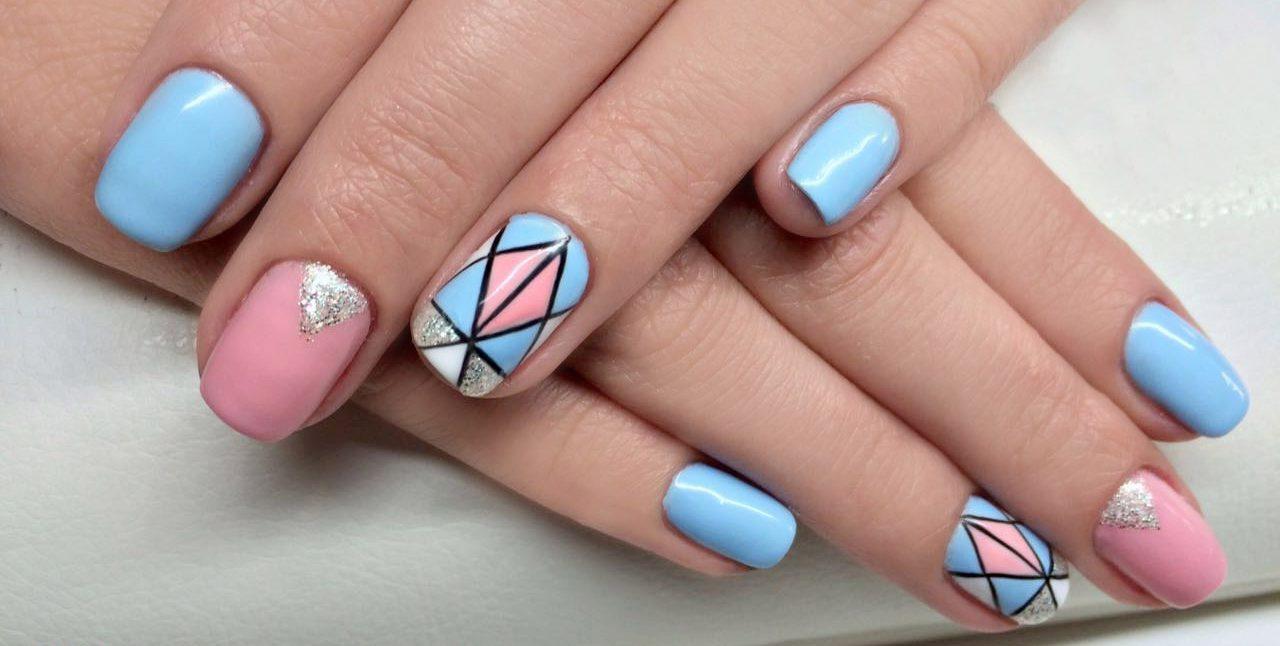
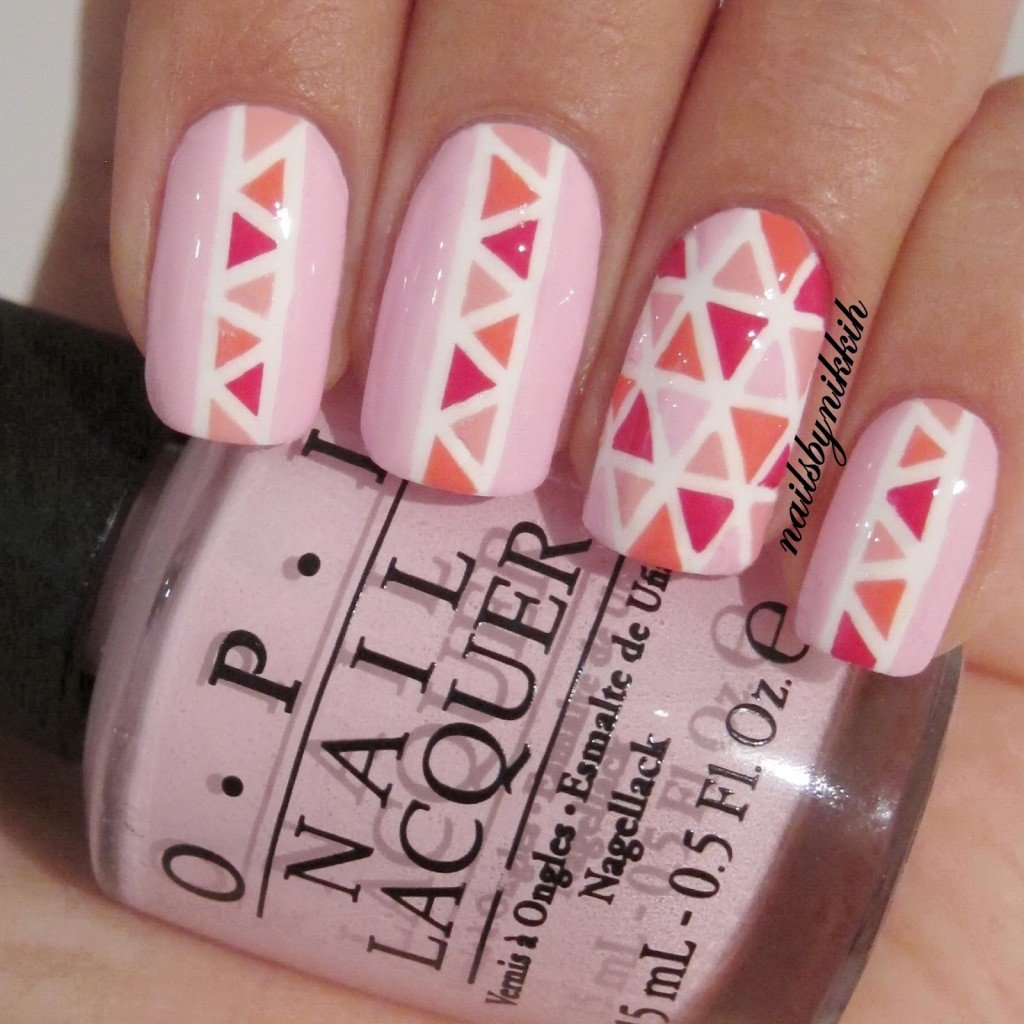
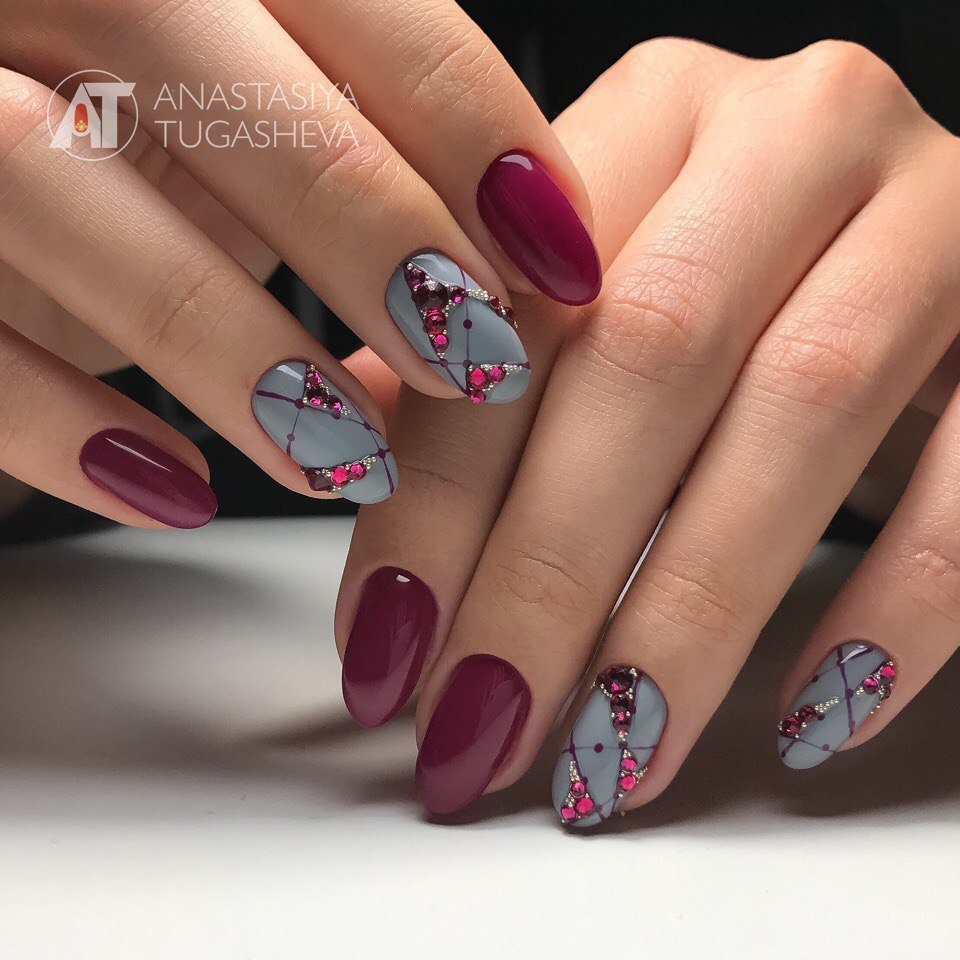
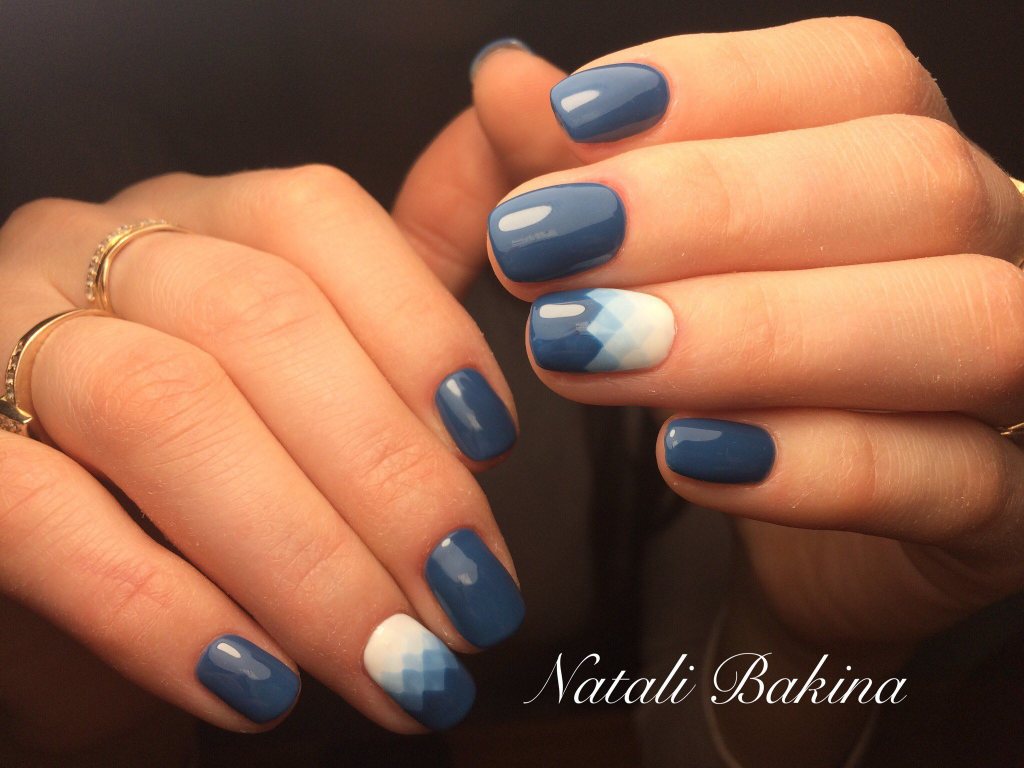
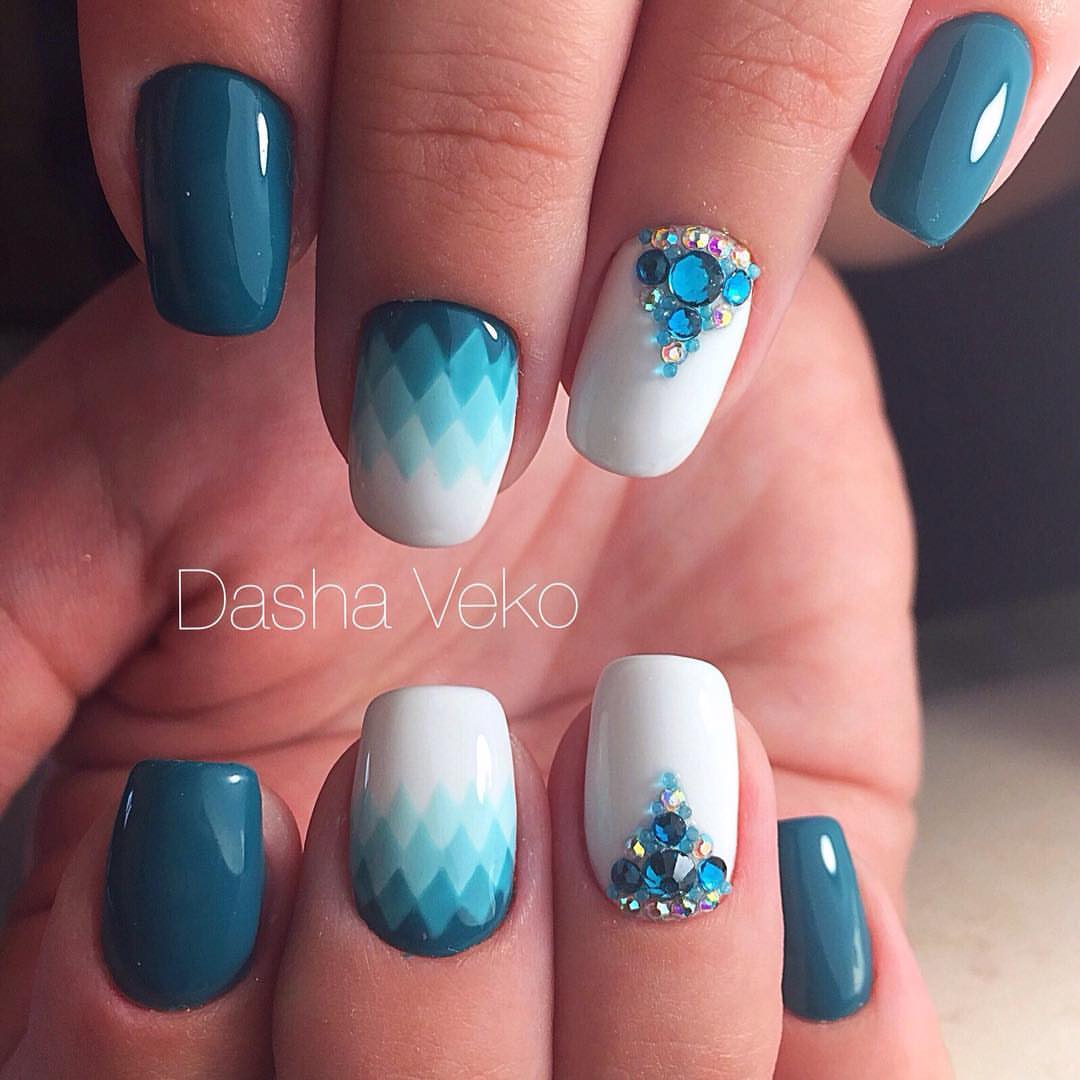
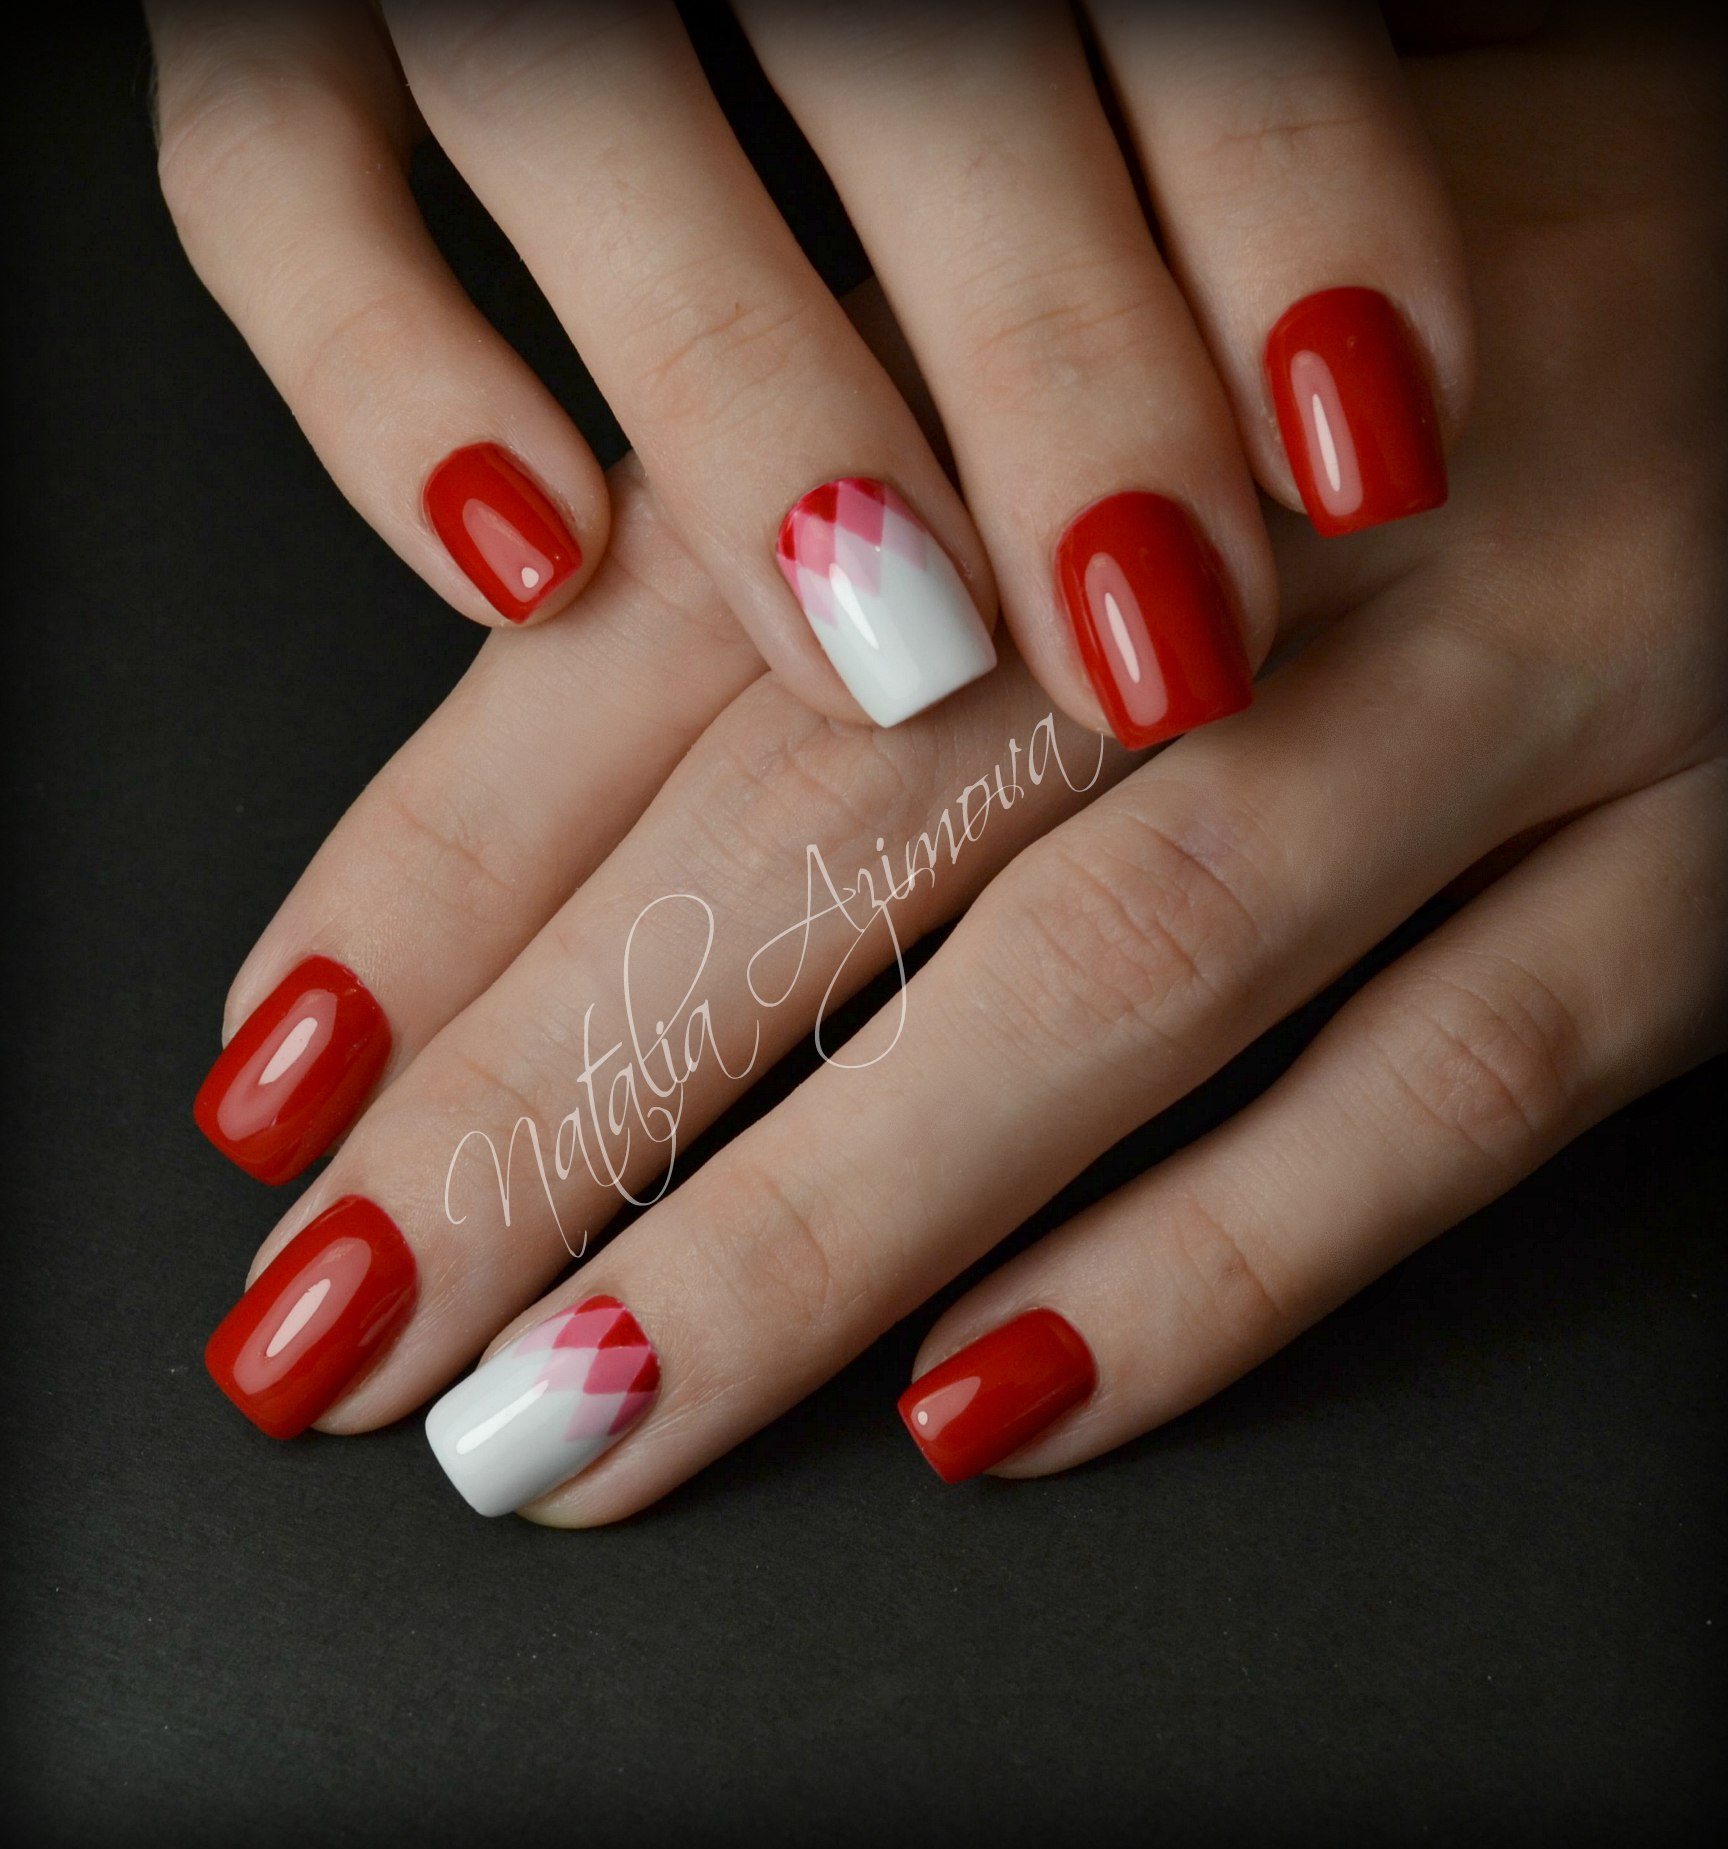
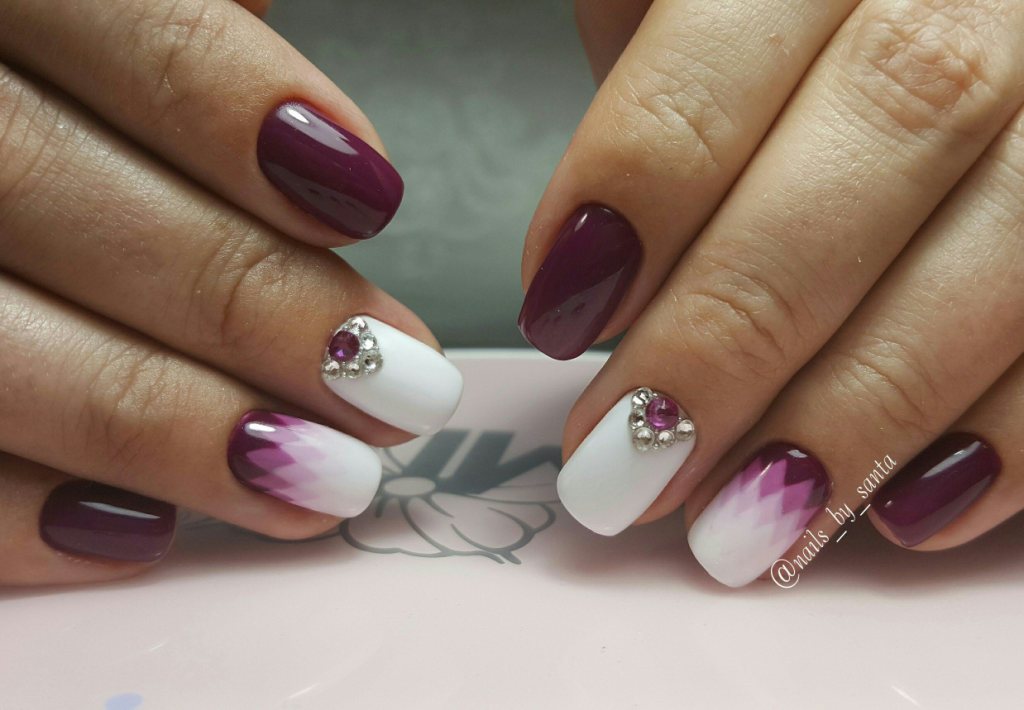
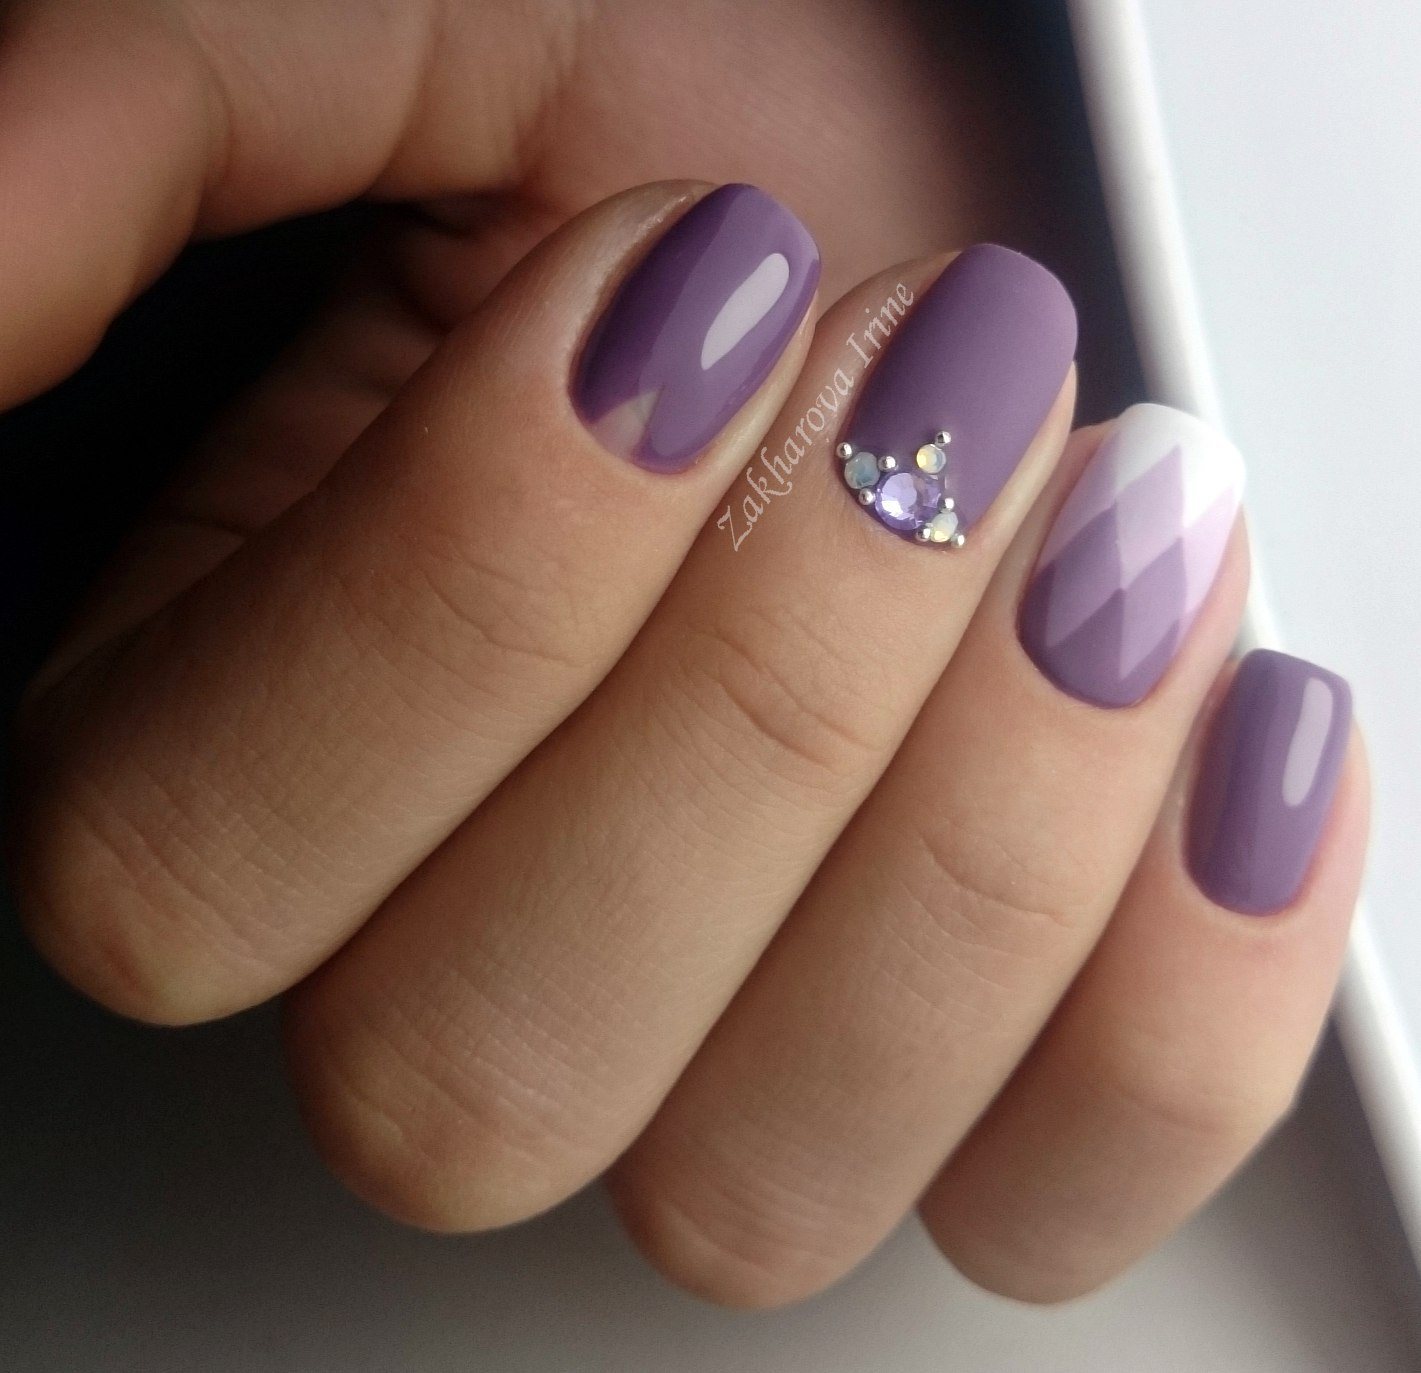
Geometric ornament on the nails
This design also combines gradient and geometric shapes. The main figure of the manicure are diamonds, which you need to draw on the nails. Each row of rhombuses is covered with a separate lacquer, while creating a feeling of a smooth transition from dark to light shades.
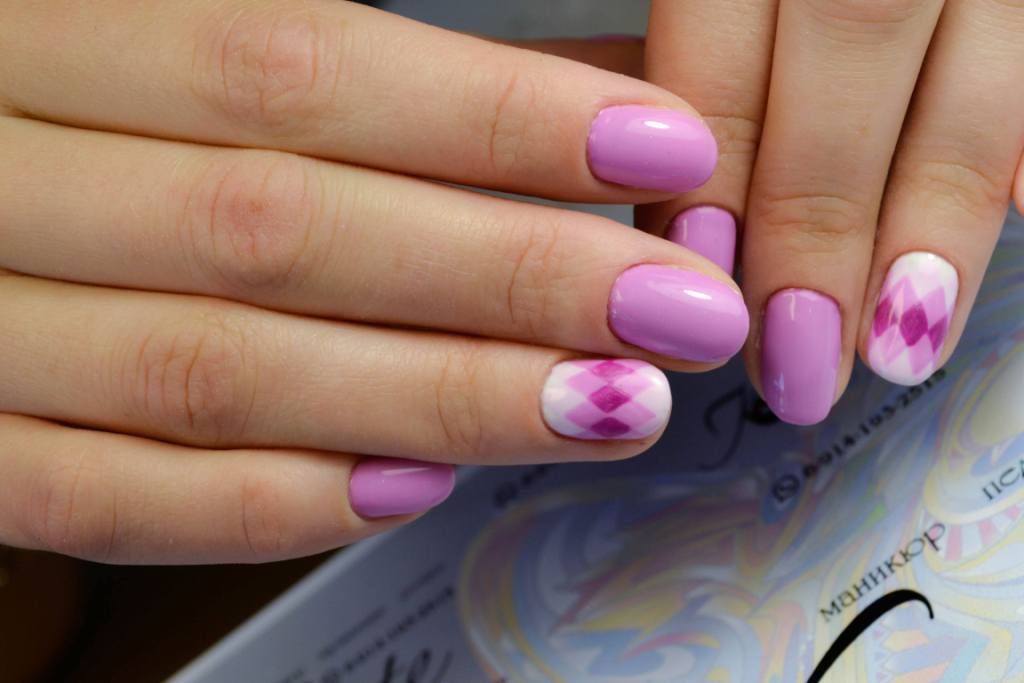
Geometric manicure is complicated in execution and requires special concentration, but the result is worth it. Your marigold will be decorated with gorgeous shapes and patterns that are suitable for everyday, business and youth images.


