


Dogs, as well as people, need their cozy personal space where they can relax, retire and sleep. Therefore, the booth is an integral part of pet care. Of course, you can buy a dog house in a special store, or you can build it yourself. But keep in mind, the safety of your pet is first of all, therefore wood and other basic materials must be of high quality, and the design must be strong, reliable and comfortable. Below are excellent examples with step-by-step construction instructions.
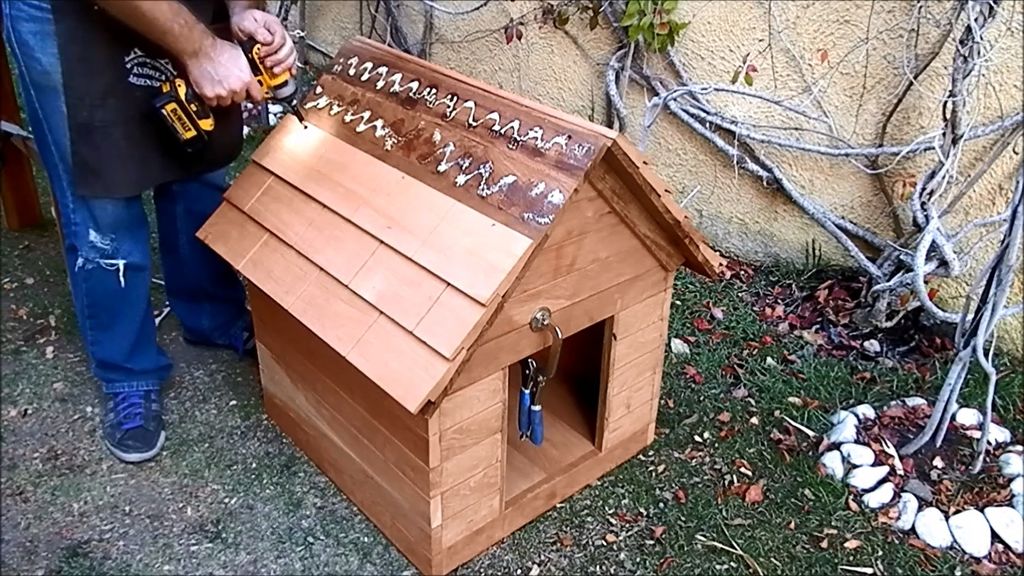
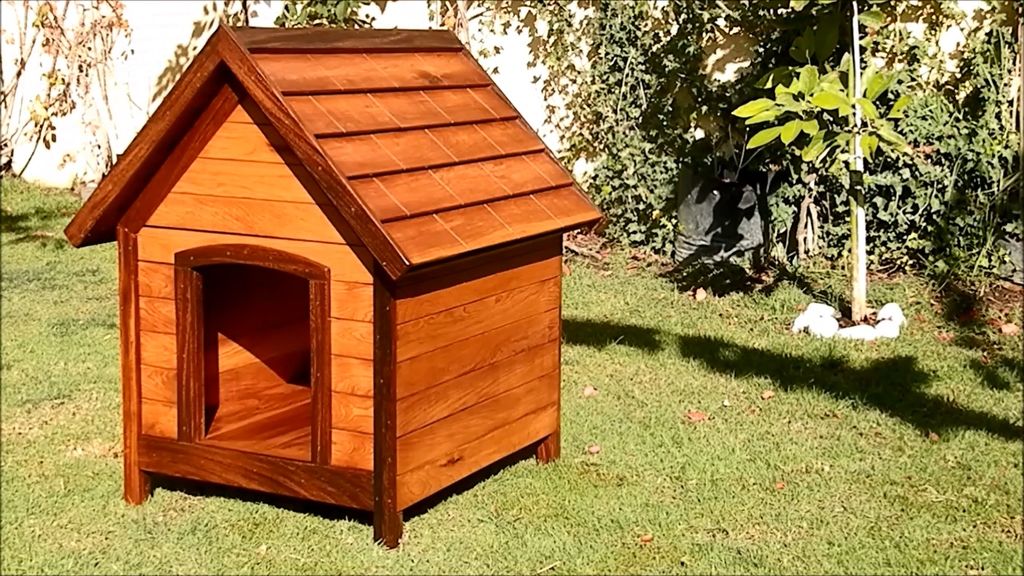
Wooden summer house
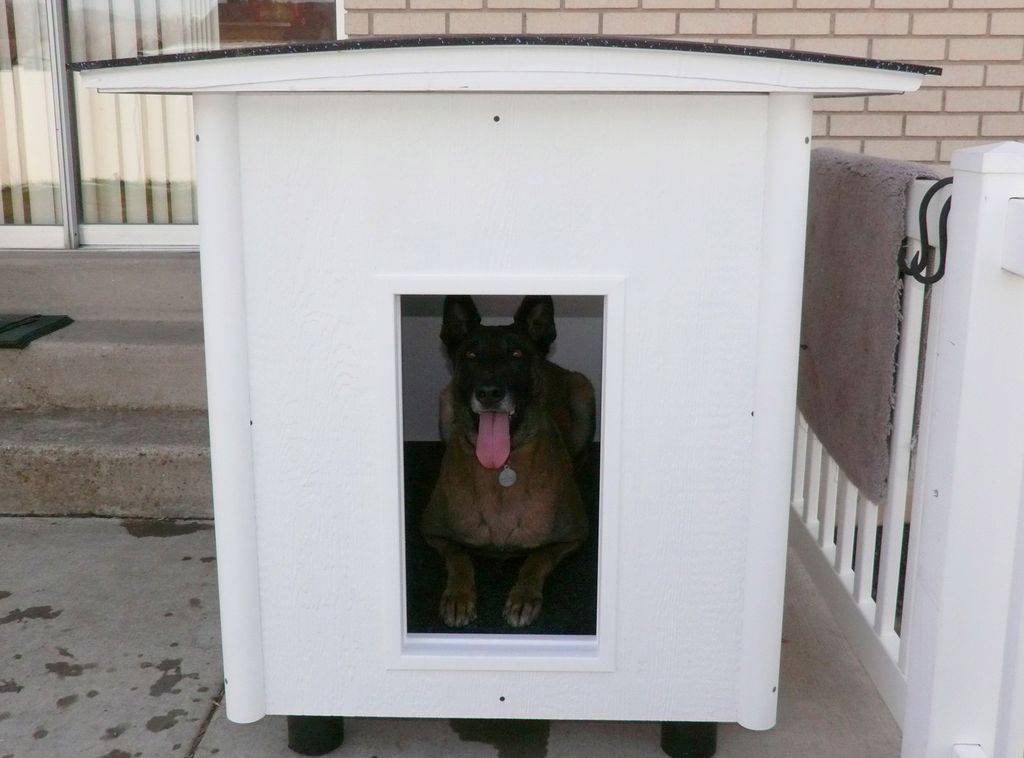
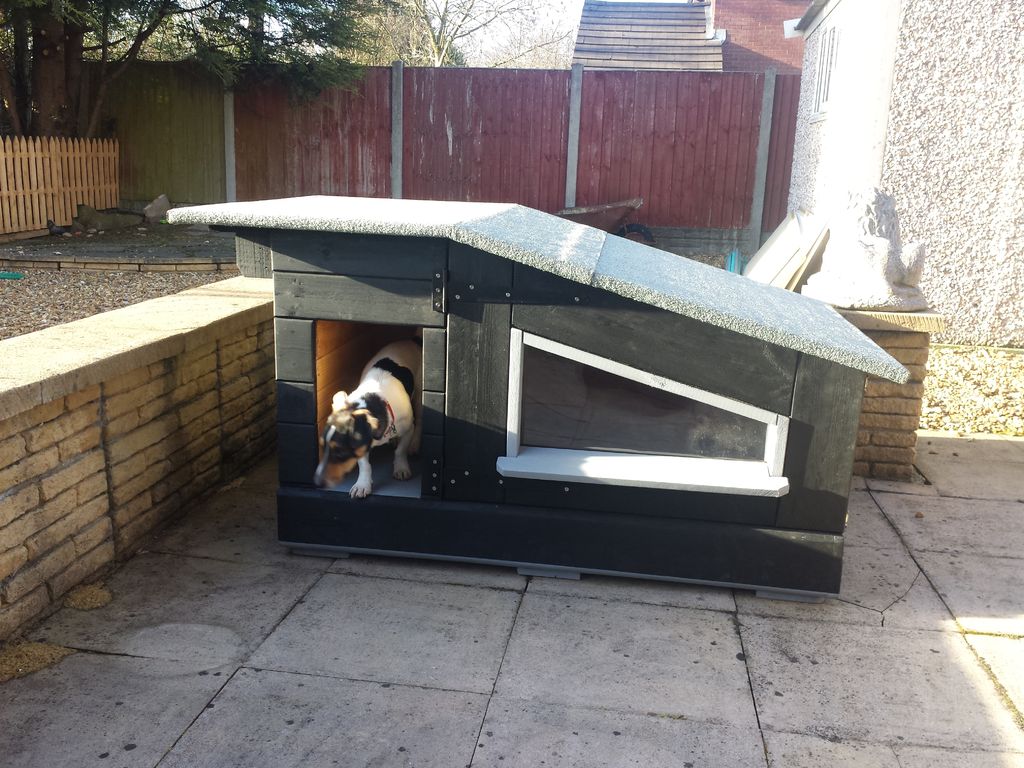
Chic place for a large dog
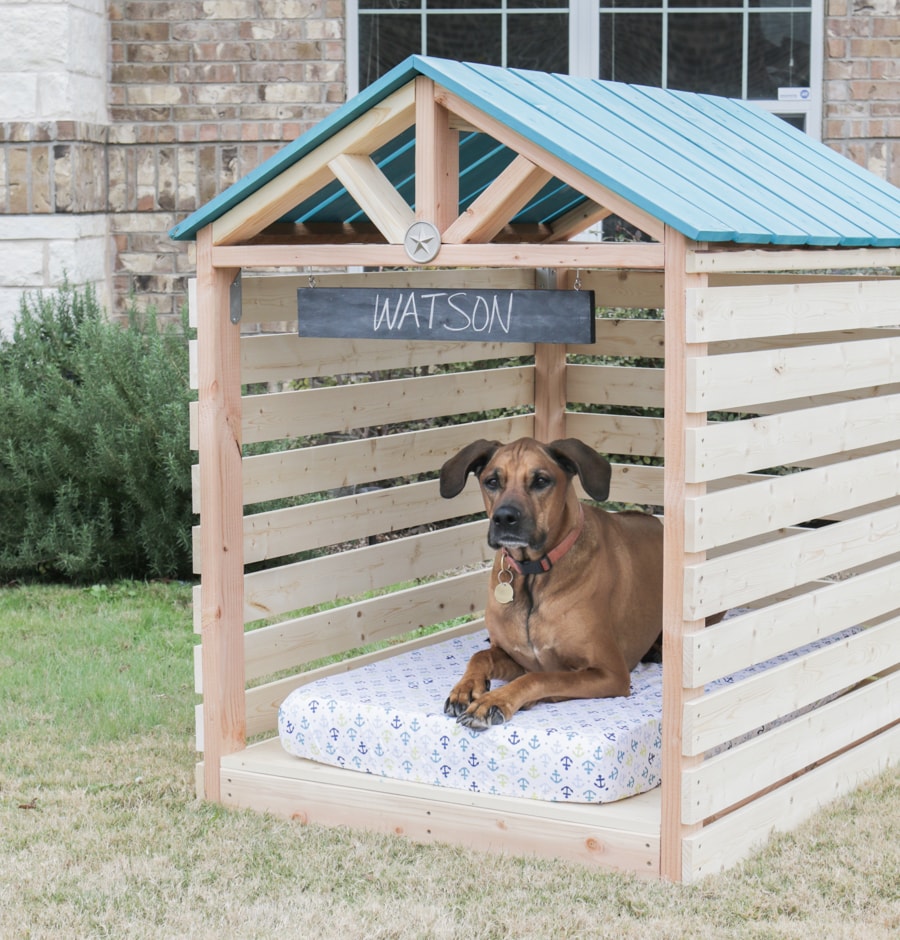
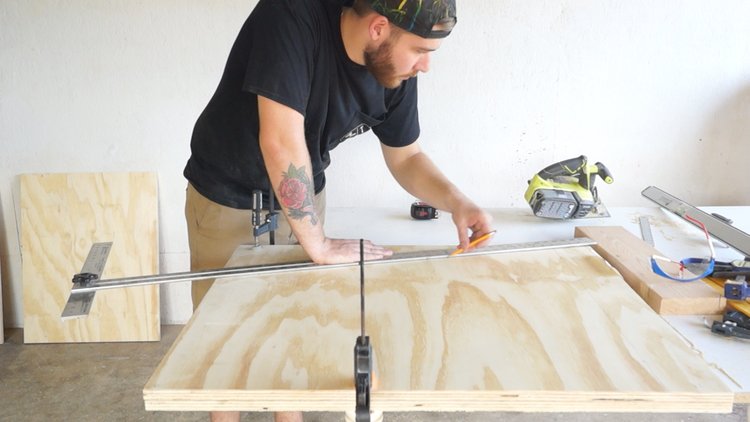
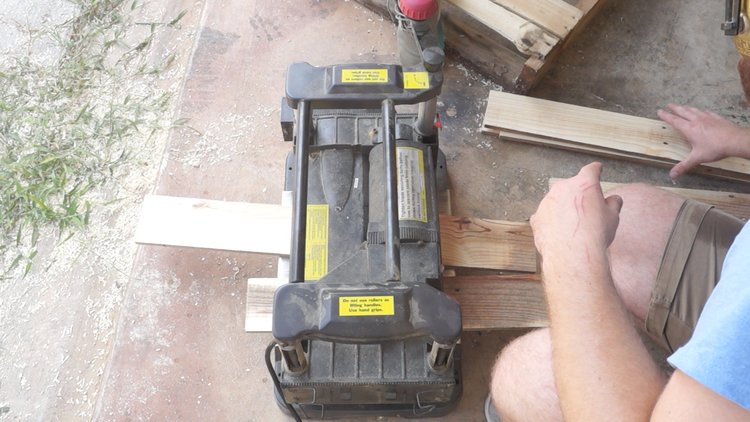
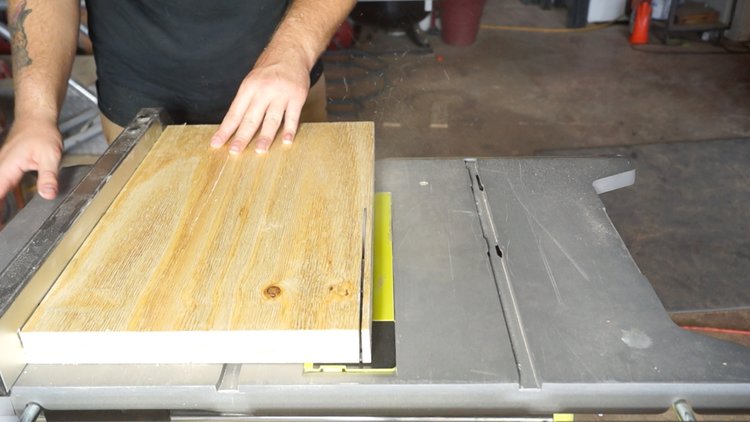
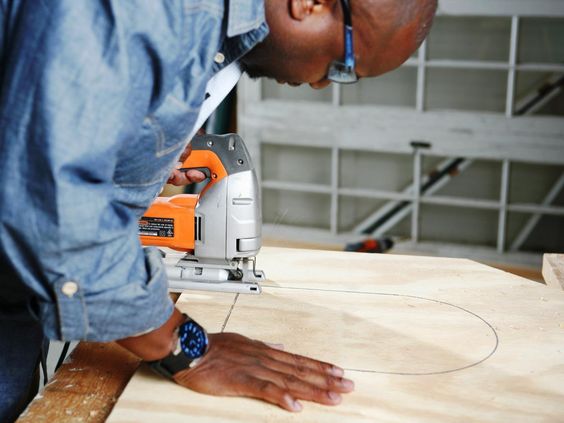
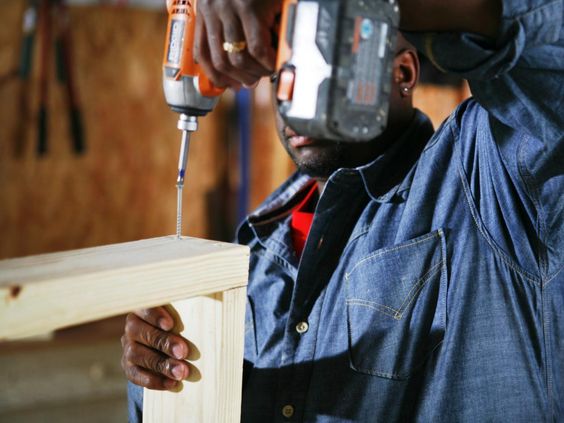
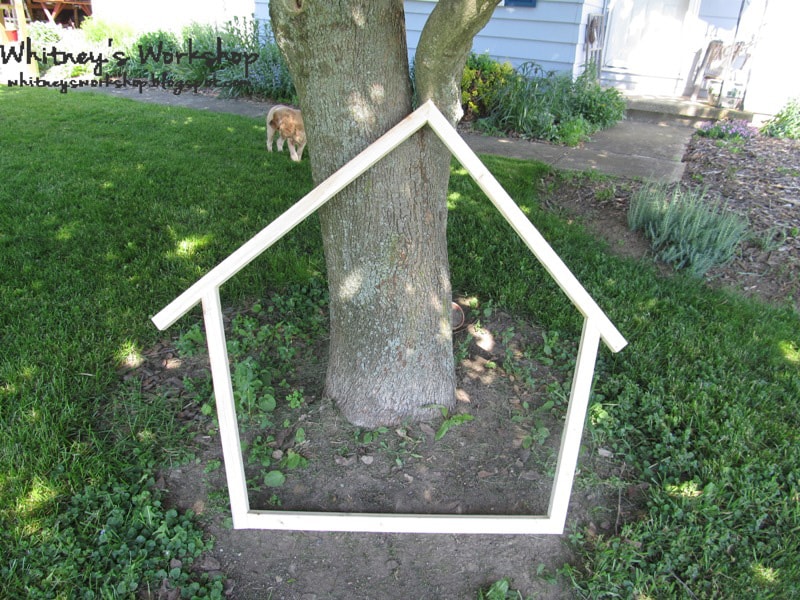
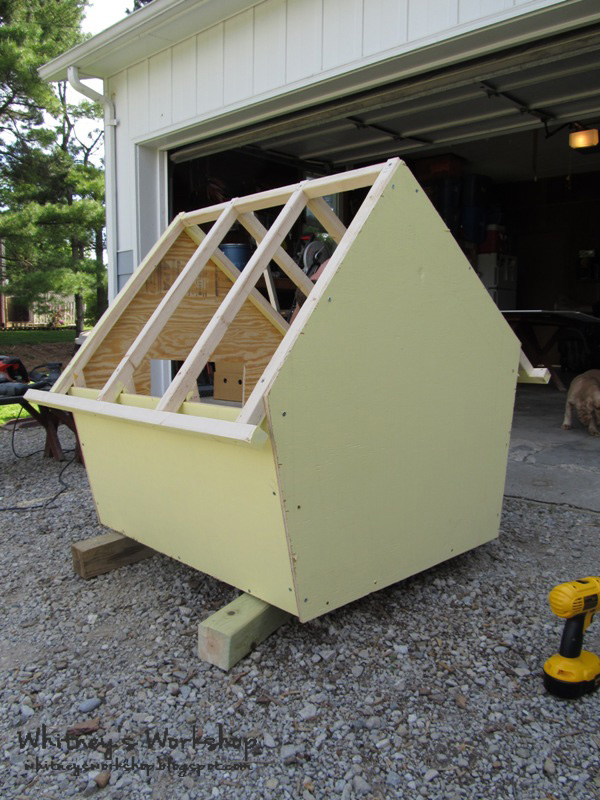
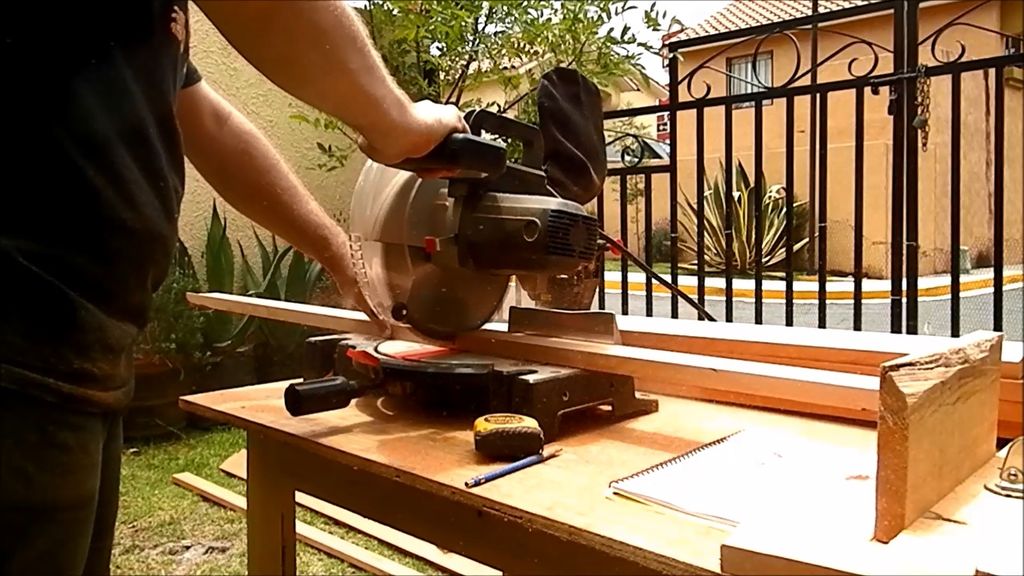
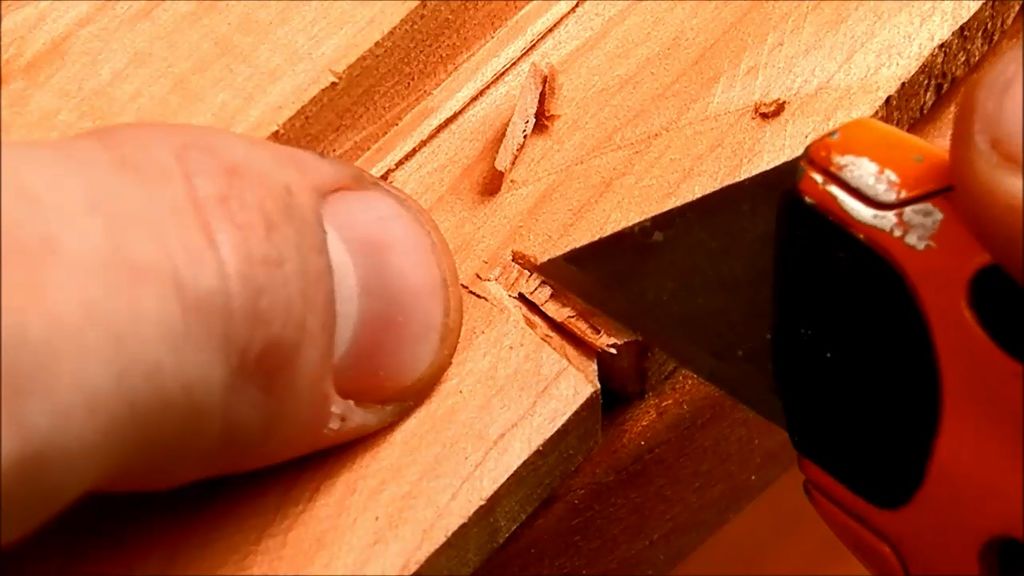
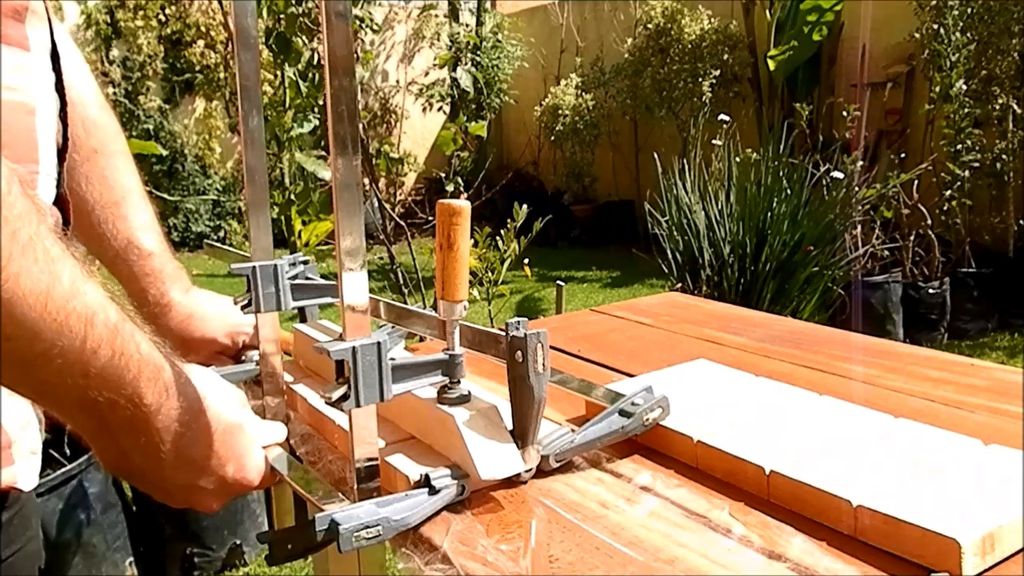
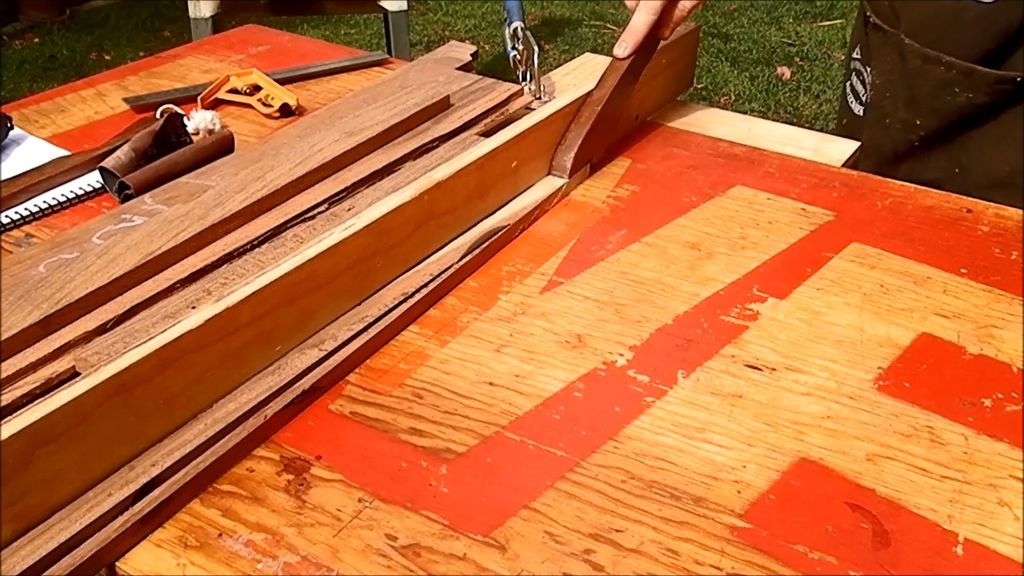
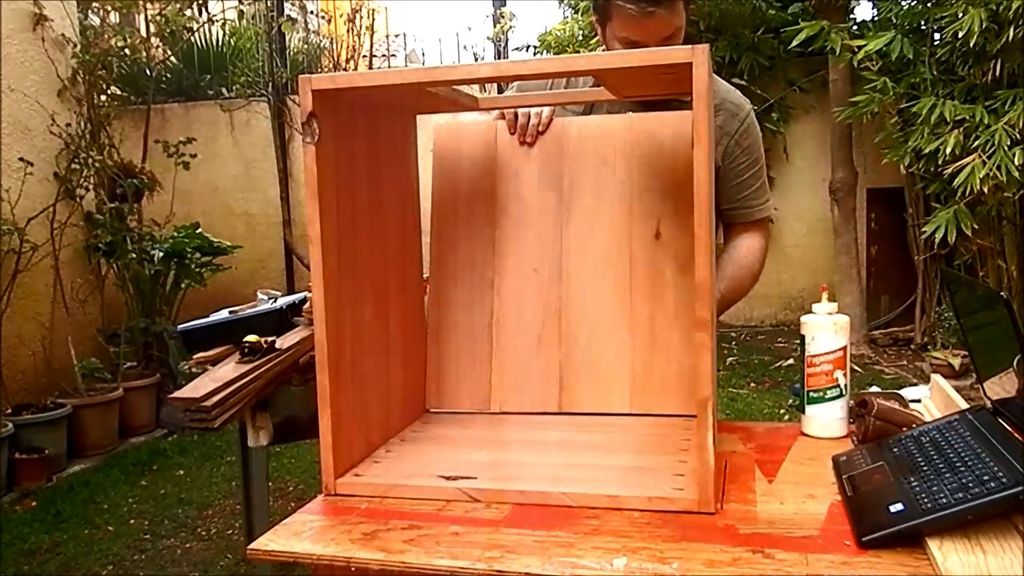
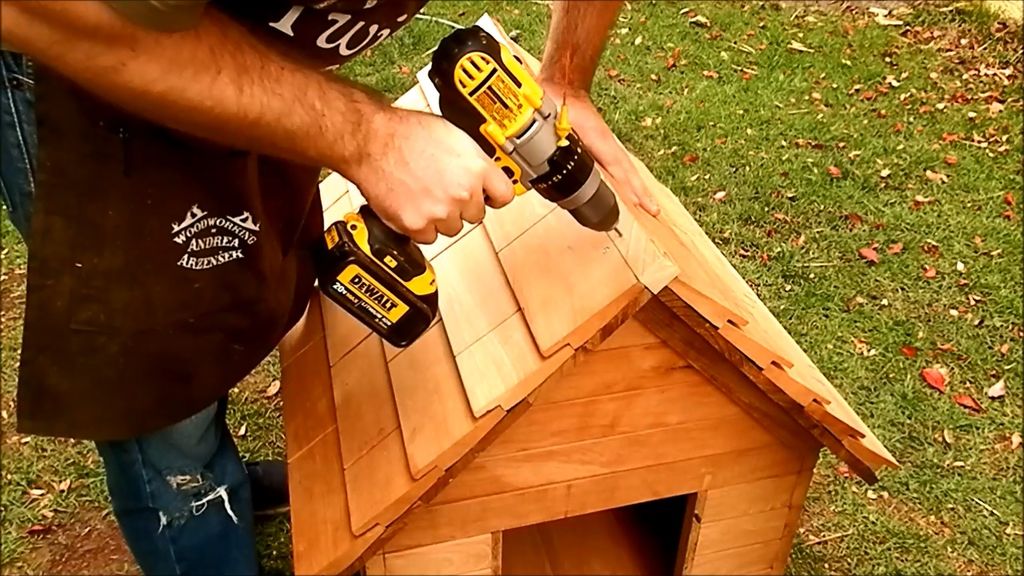
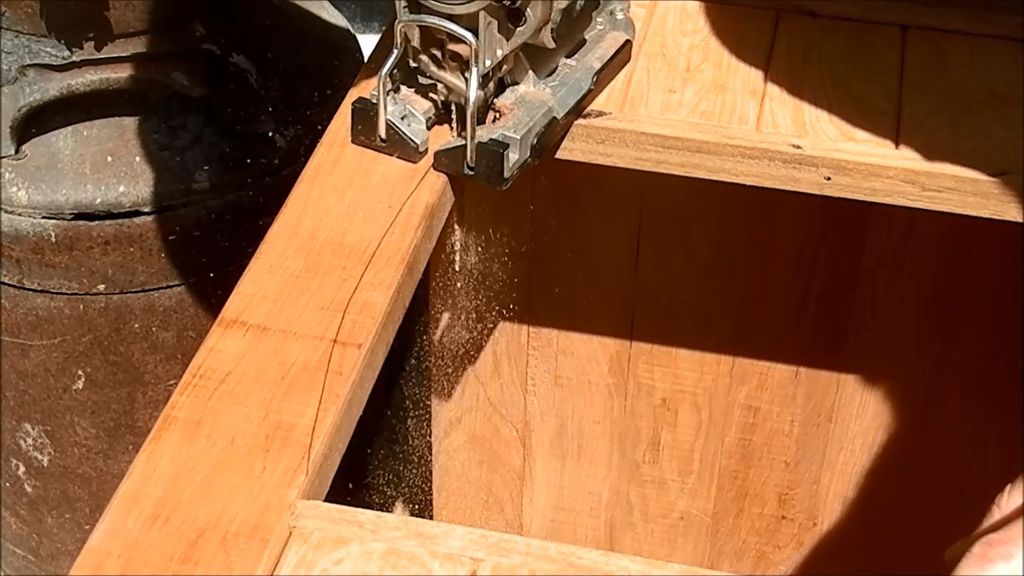
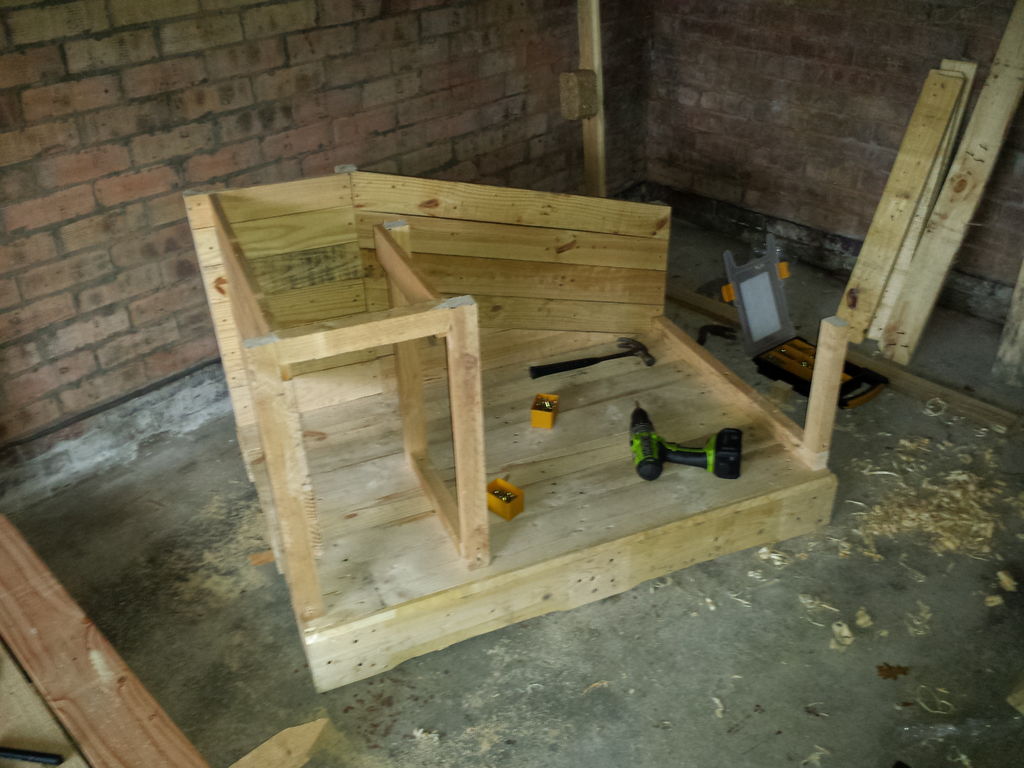
We are preparing a project.
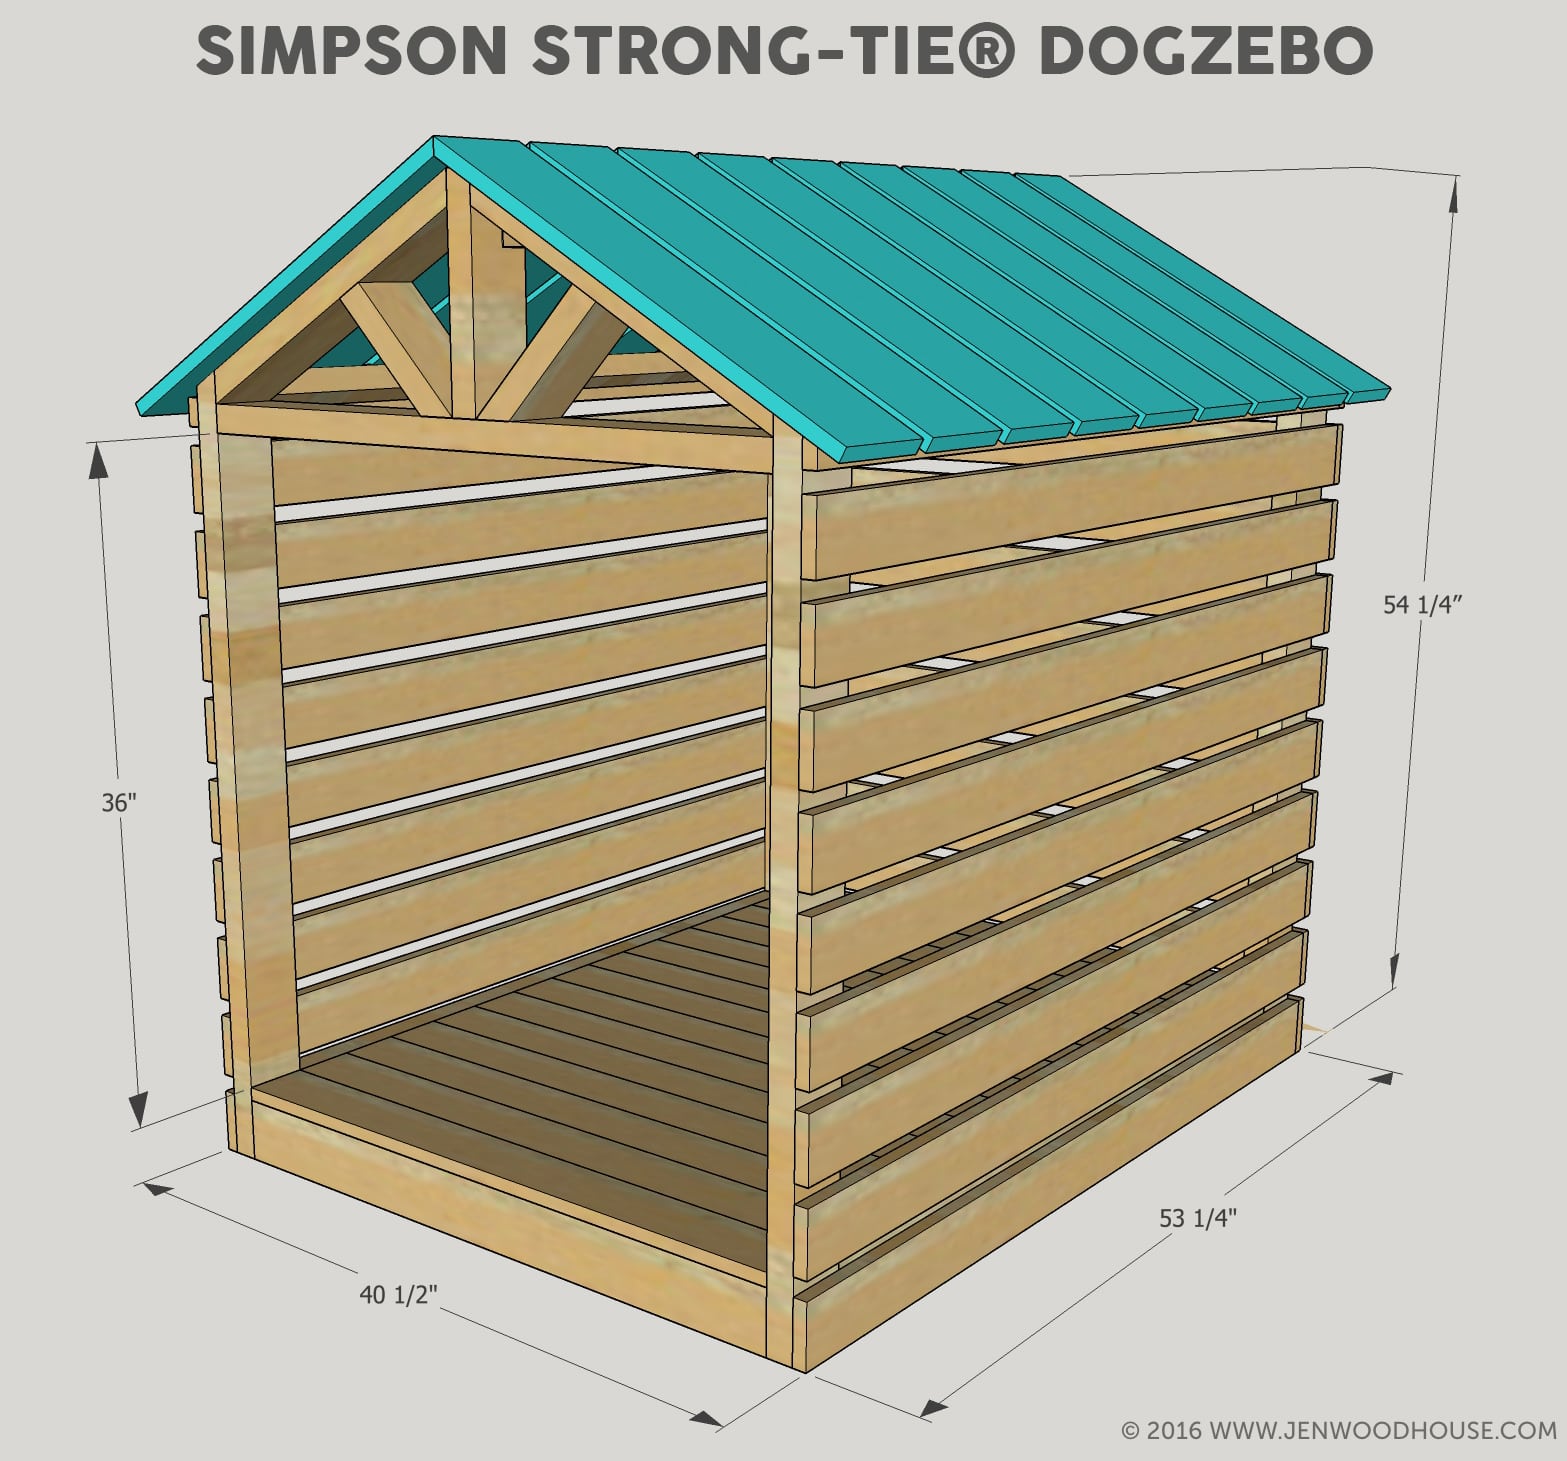
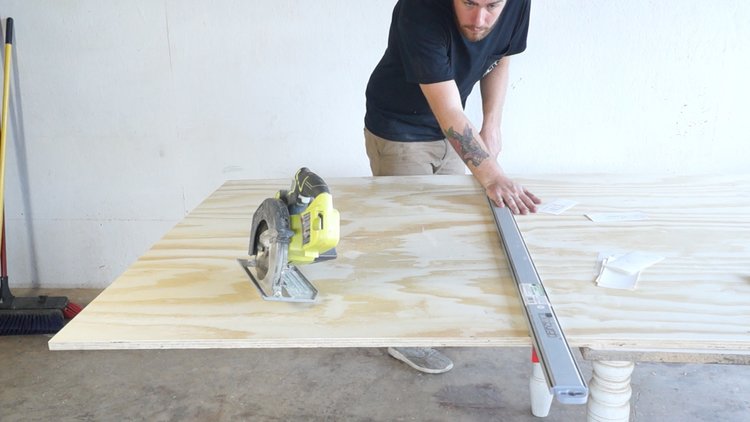
For the construction we use raw pine boards.
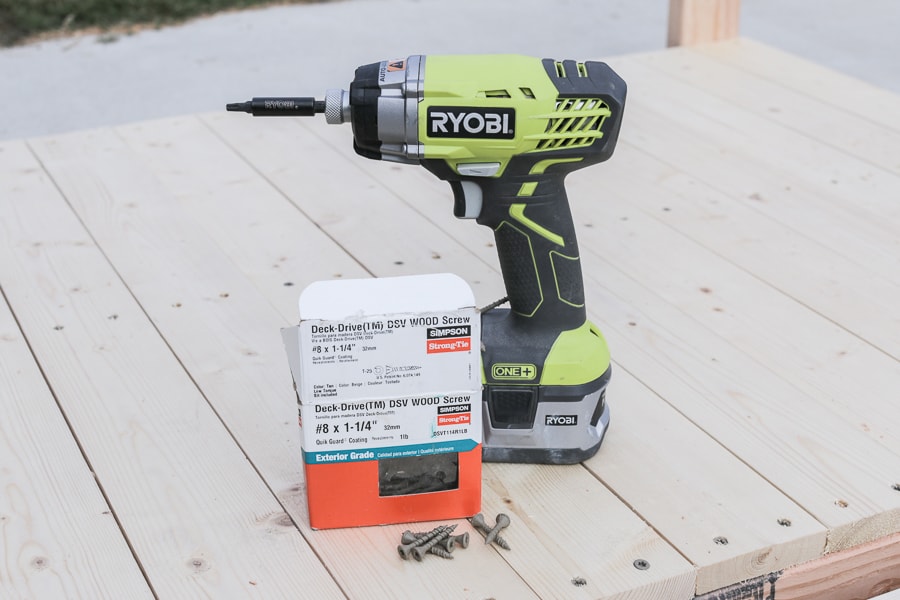
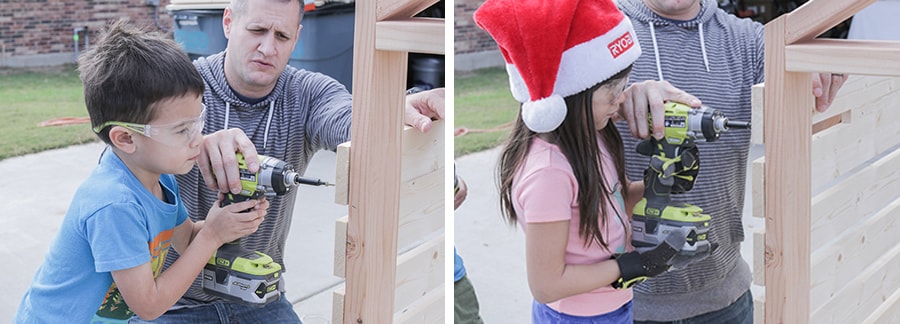
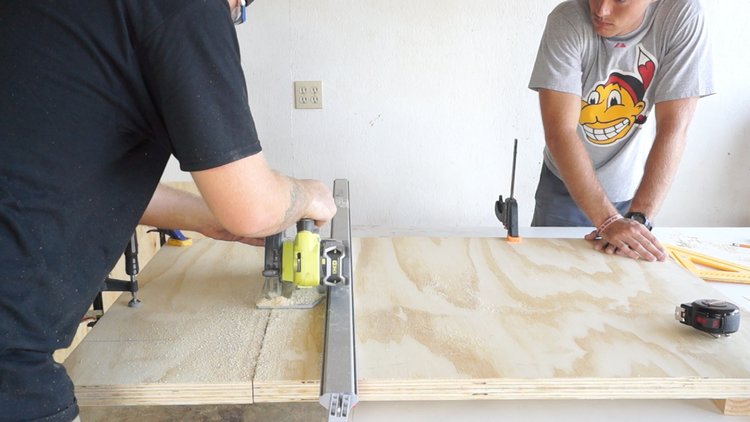
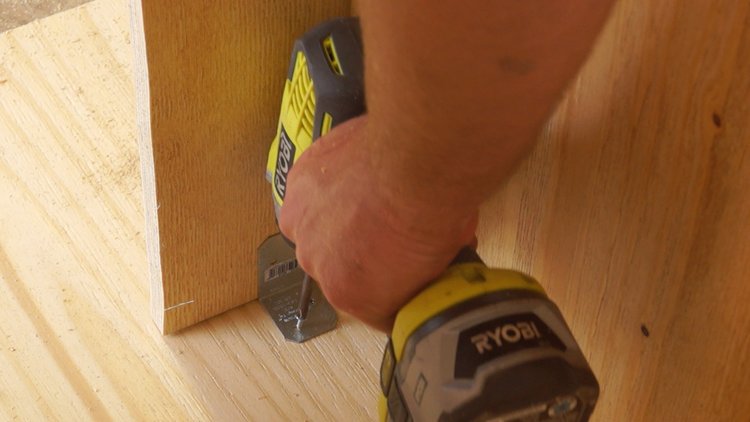
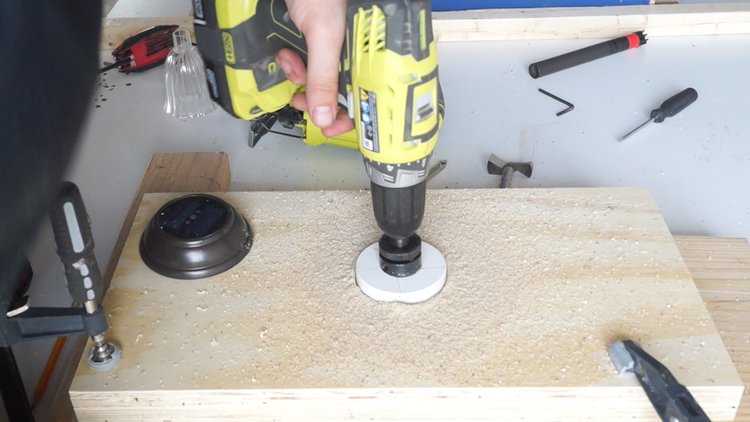
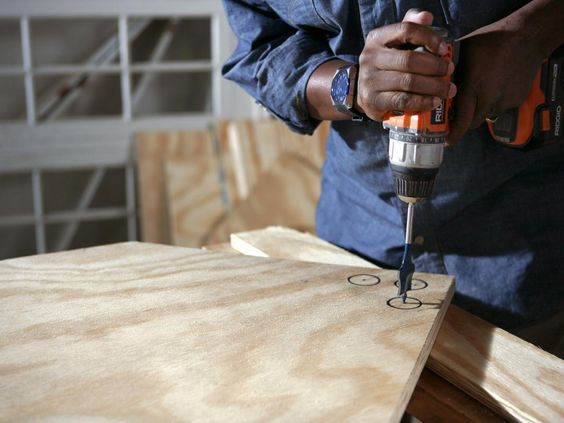
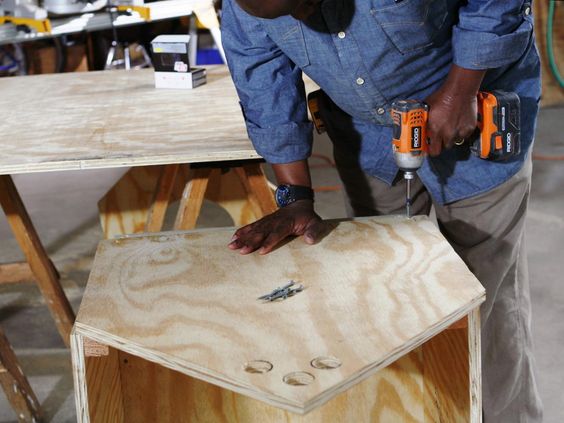
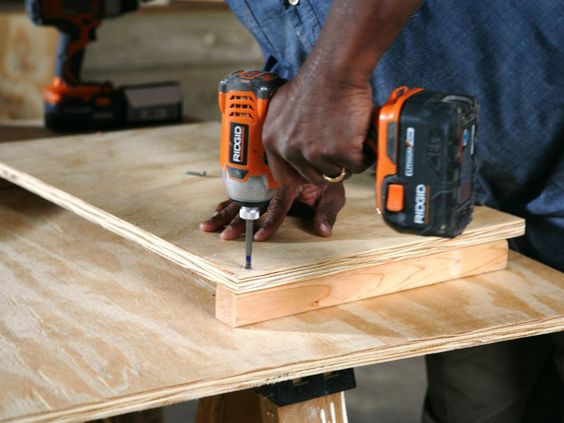
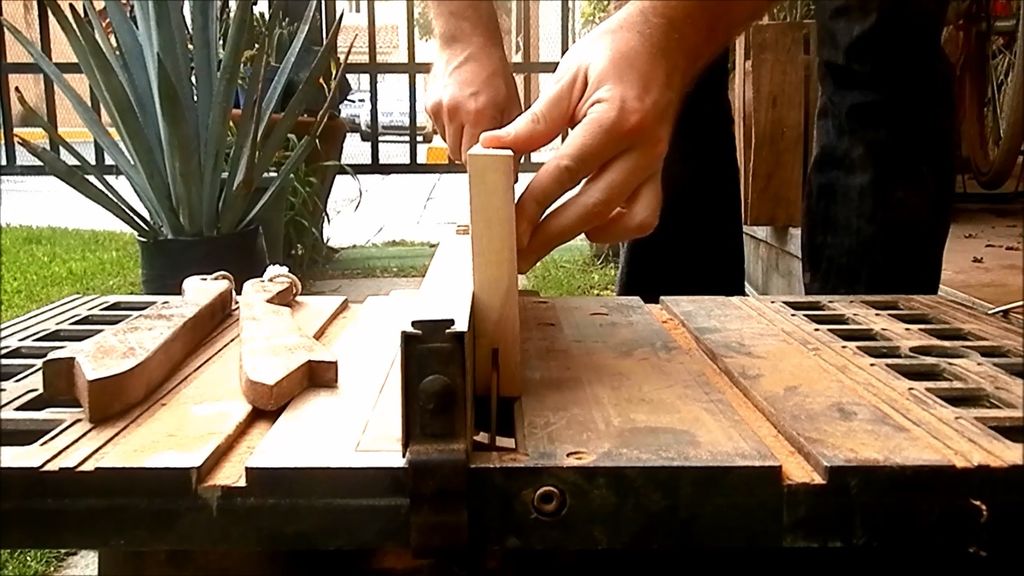
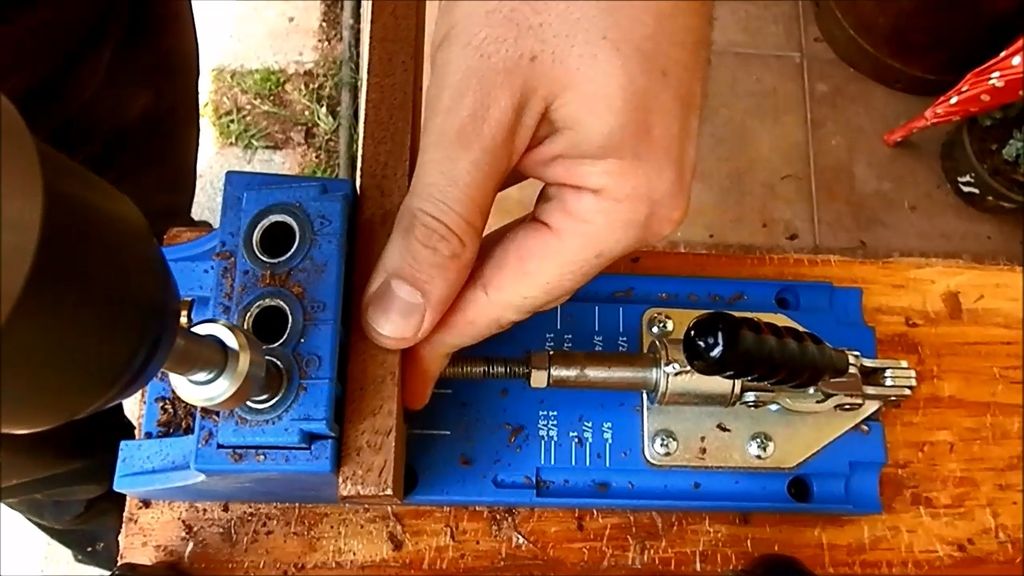
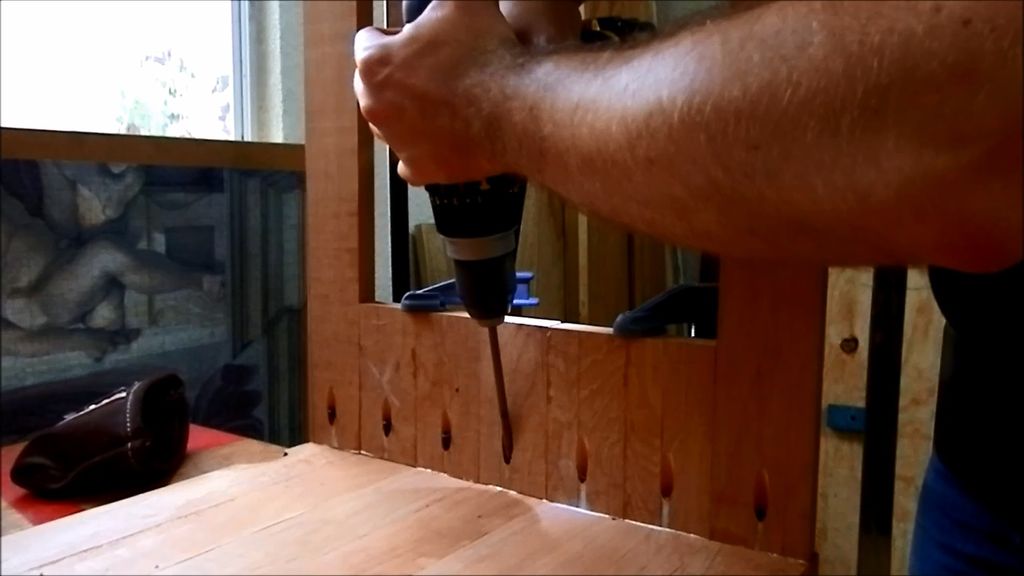
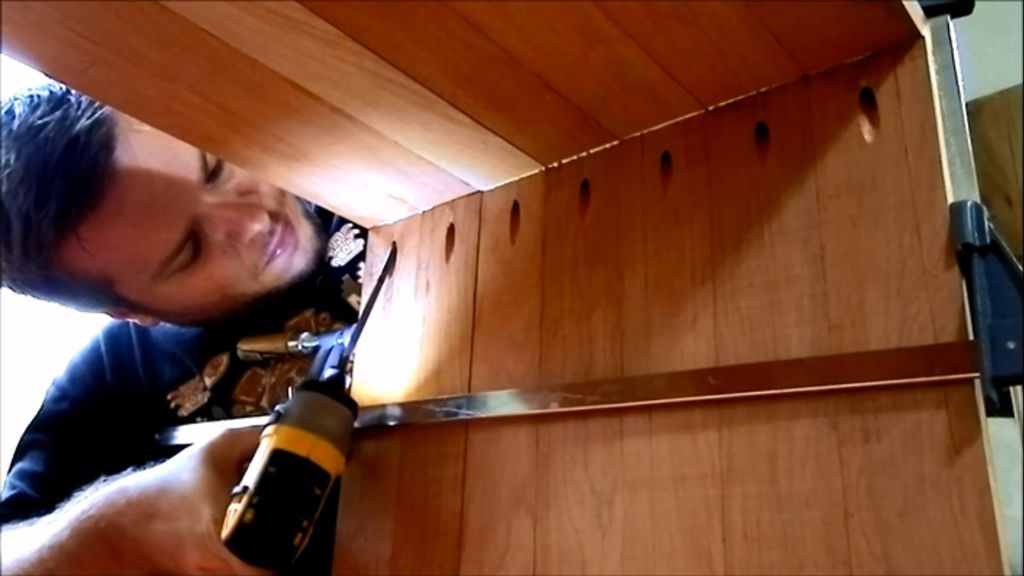
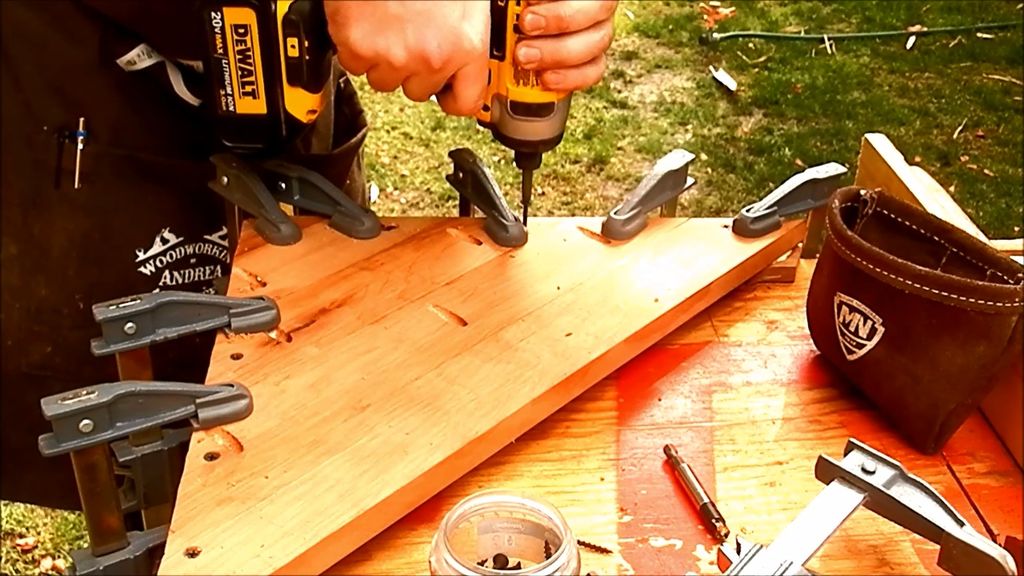
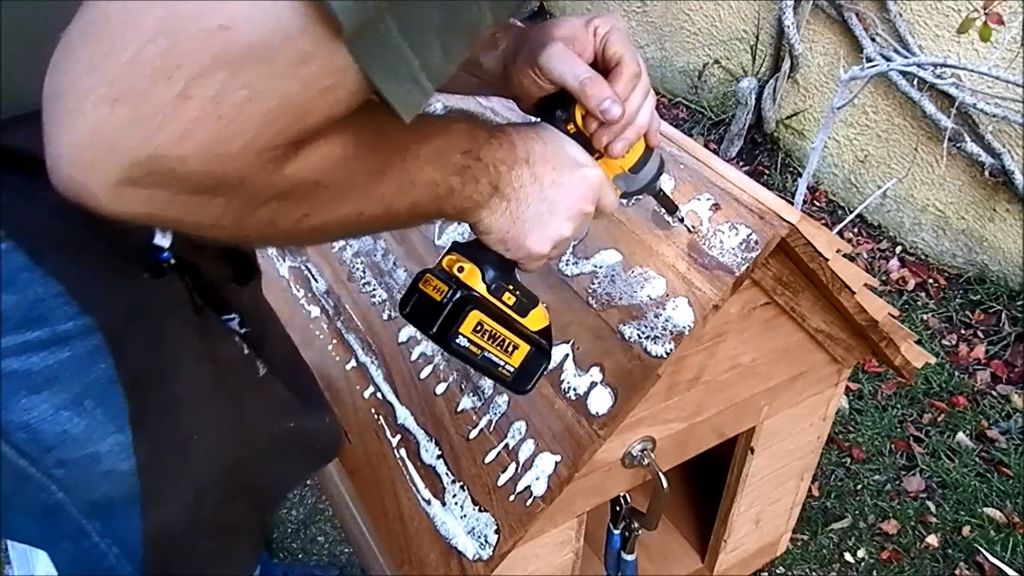
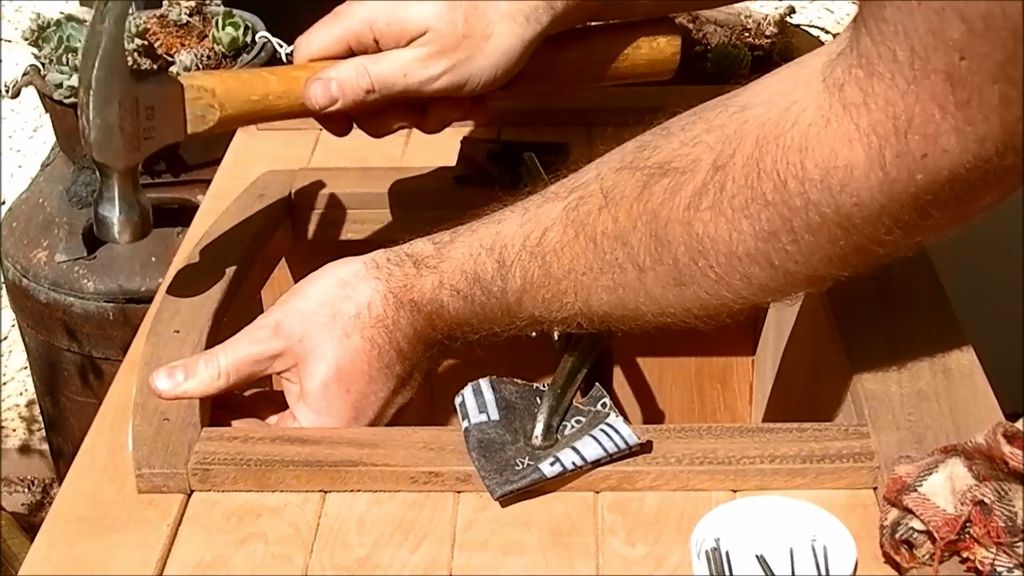
 To assemble the structure we use screws and a drill.
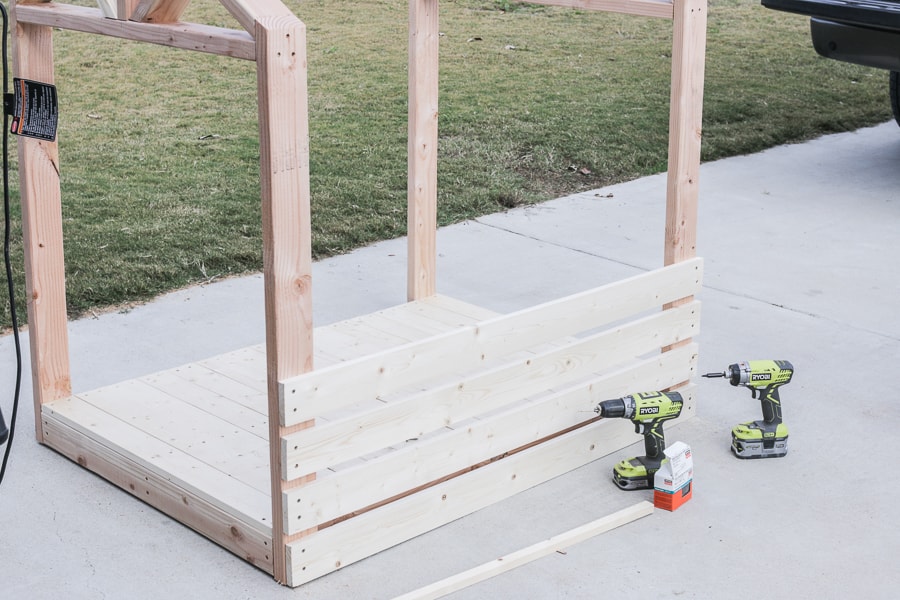
We involve in the work of households.
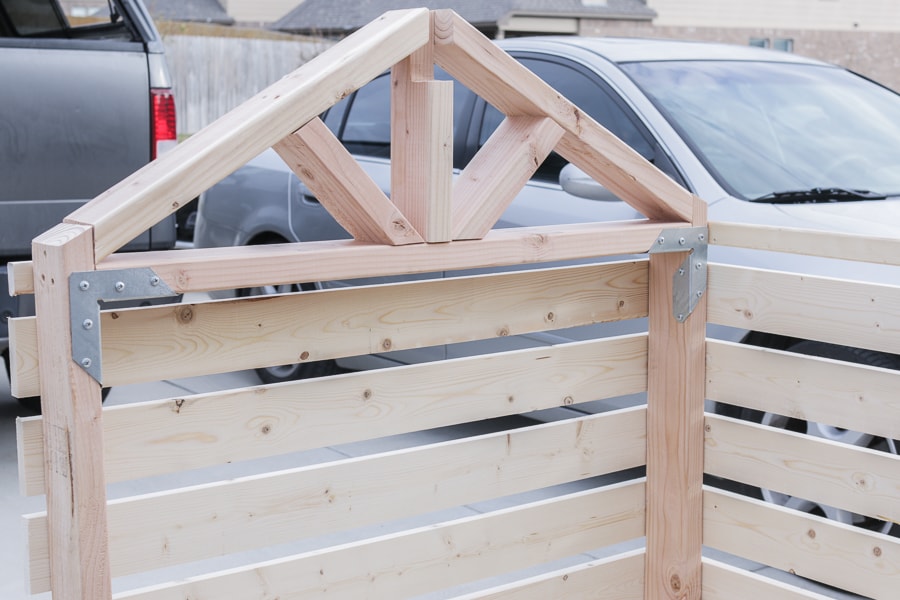

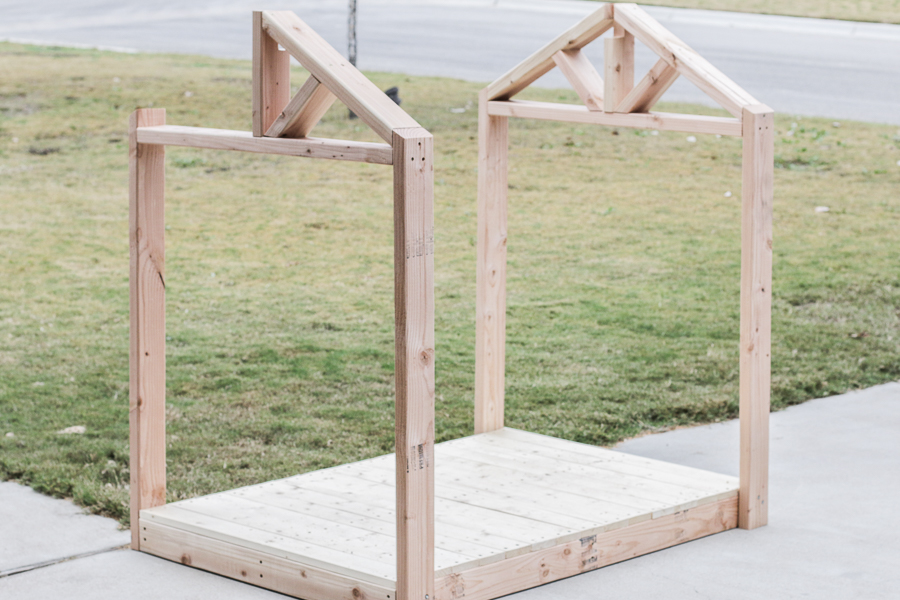
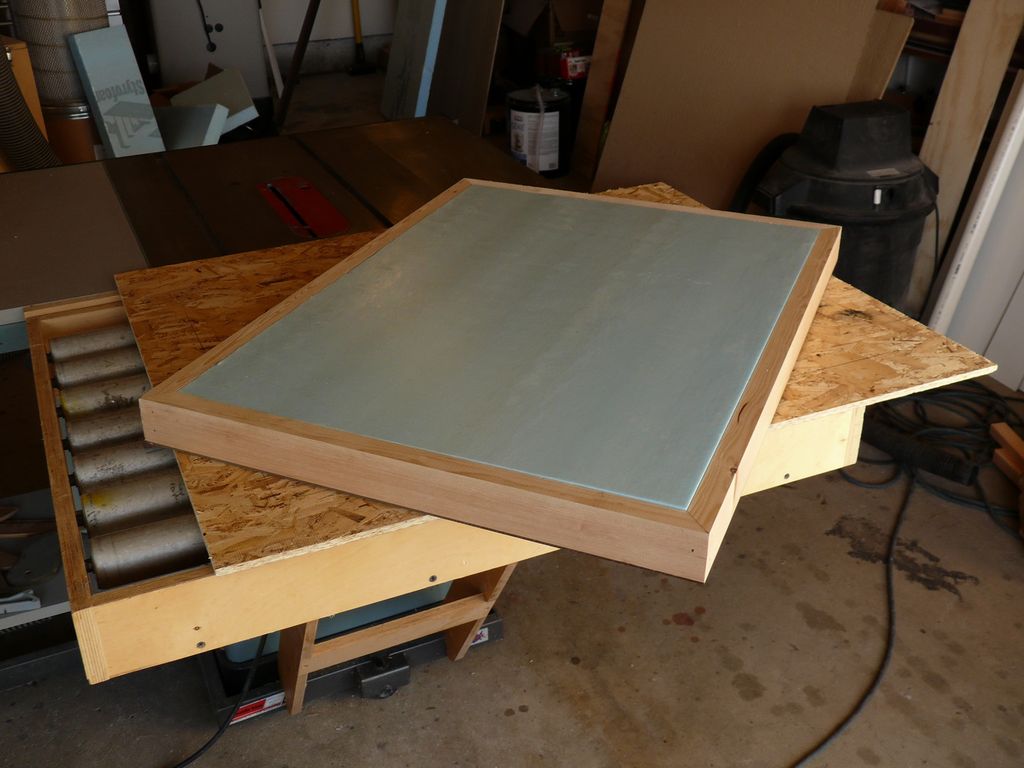
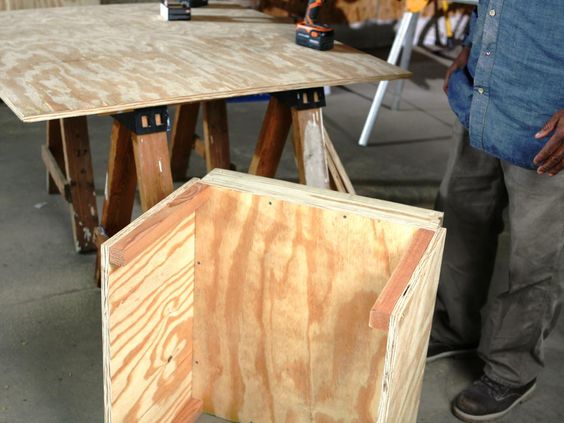
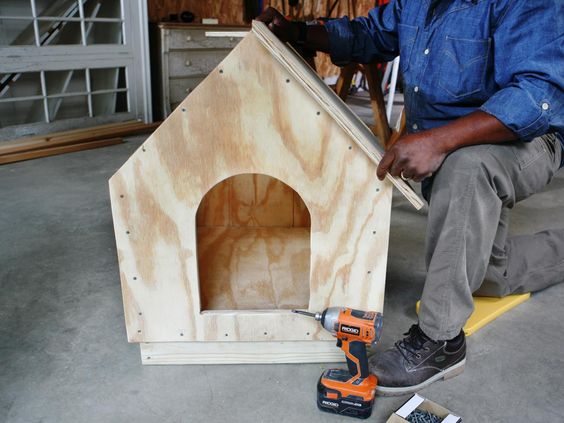
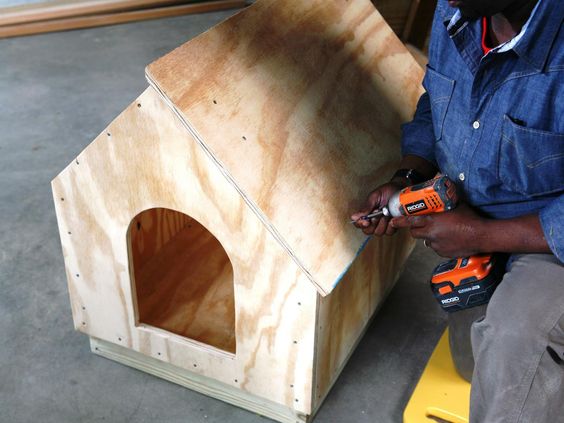
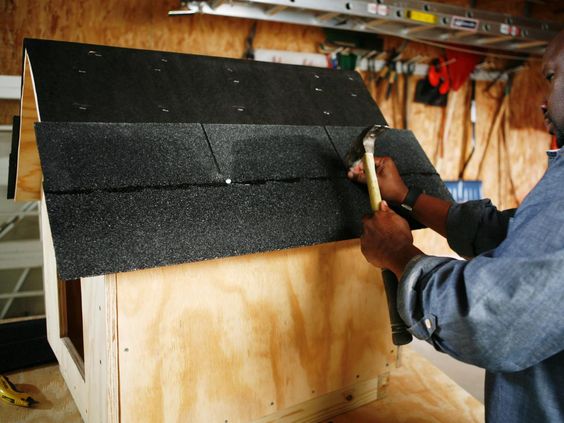
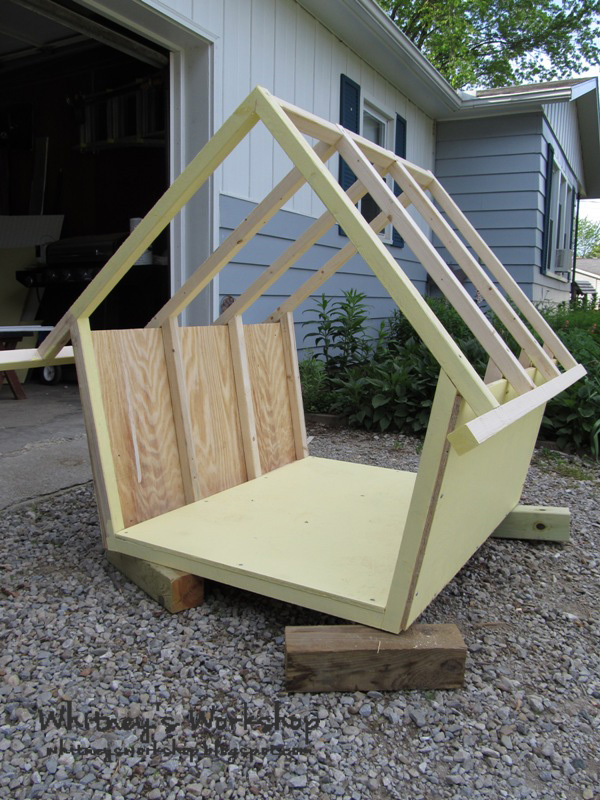
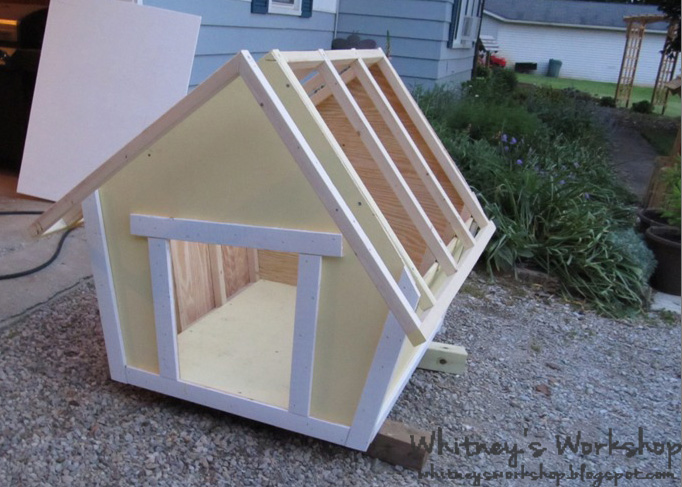
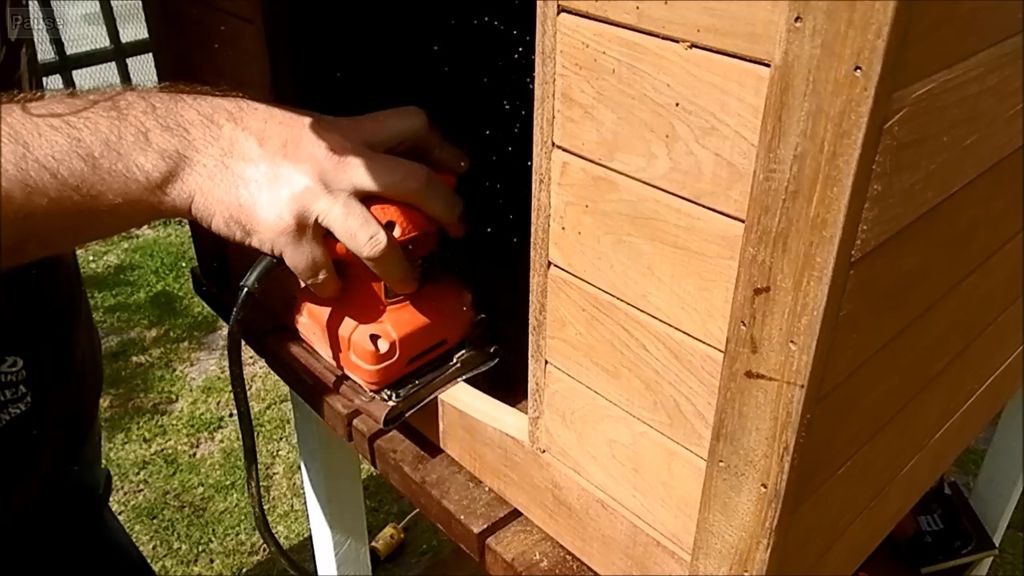
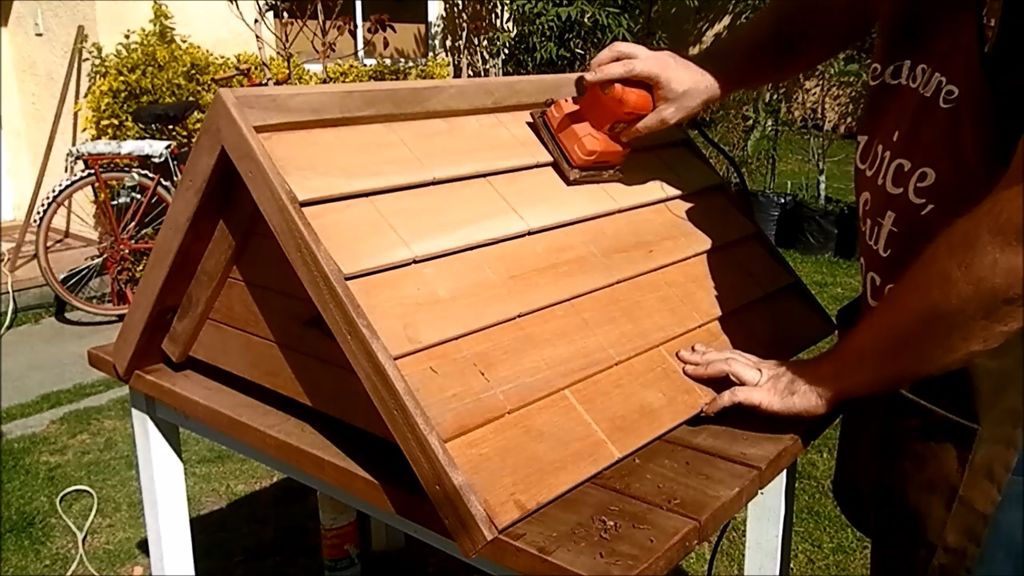
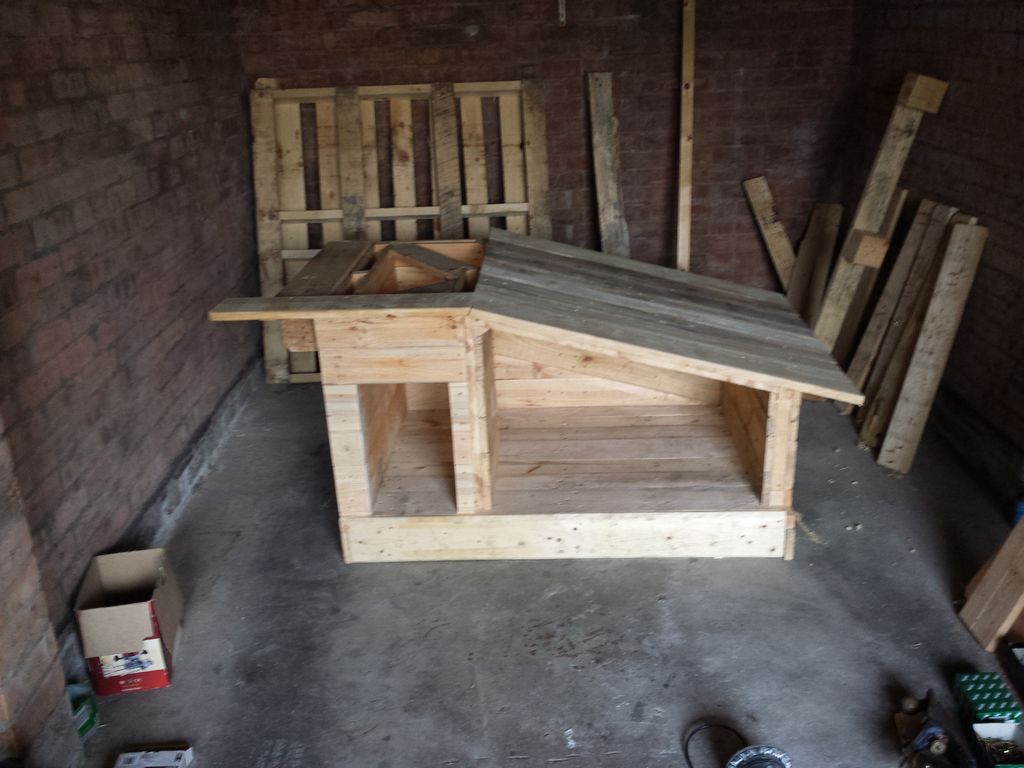
The main frame is ready. Time to build a roof!

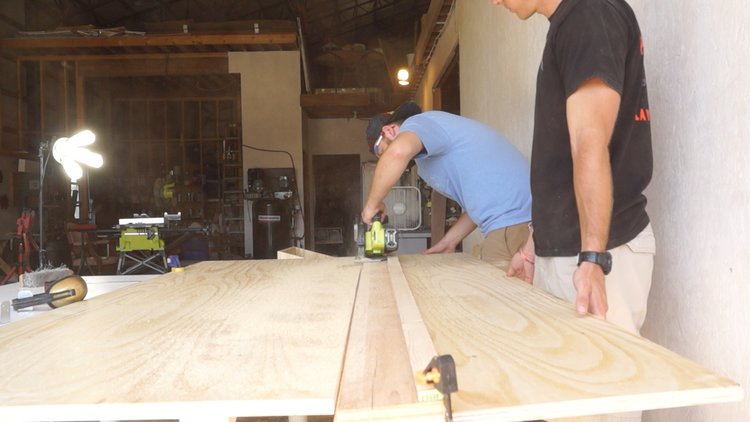
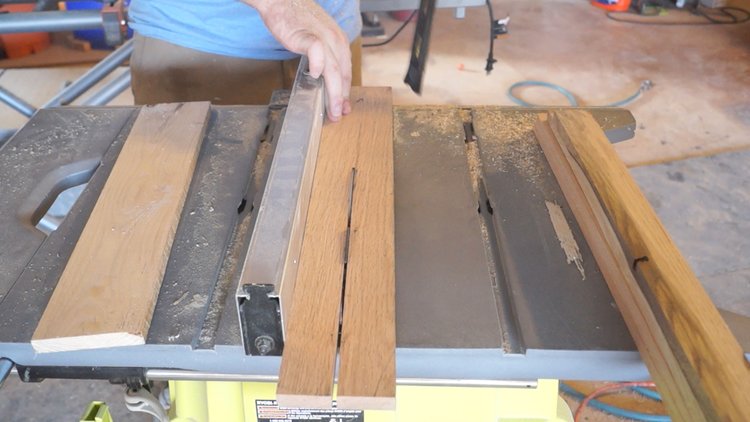
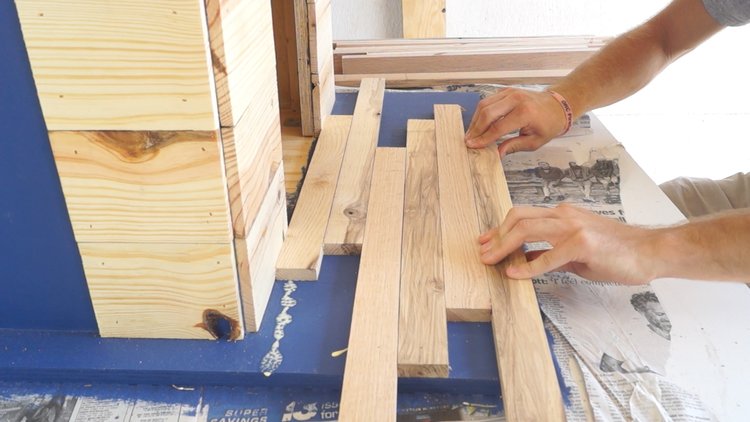
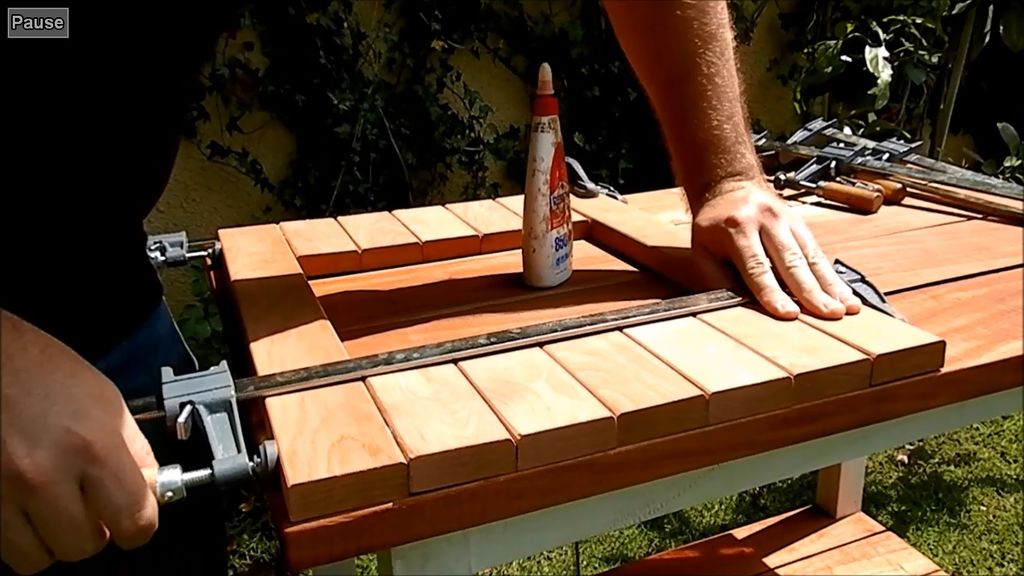
Cooking slats. You will need 9 strips on each side.
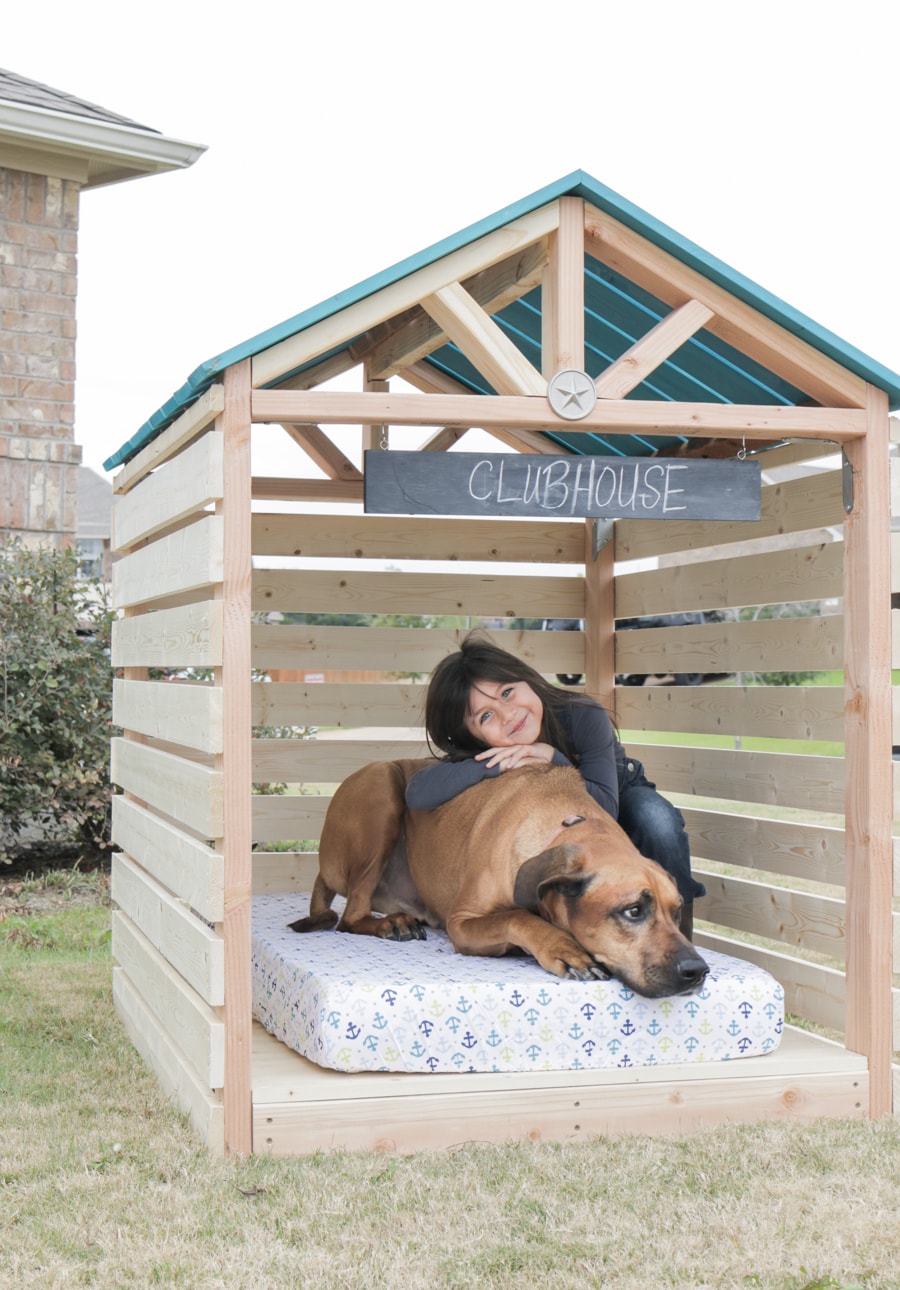
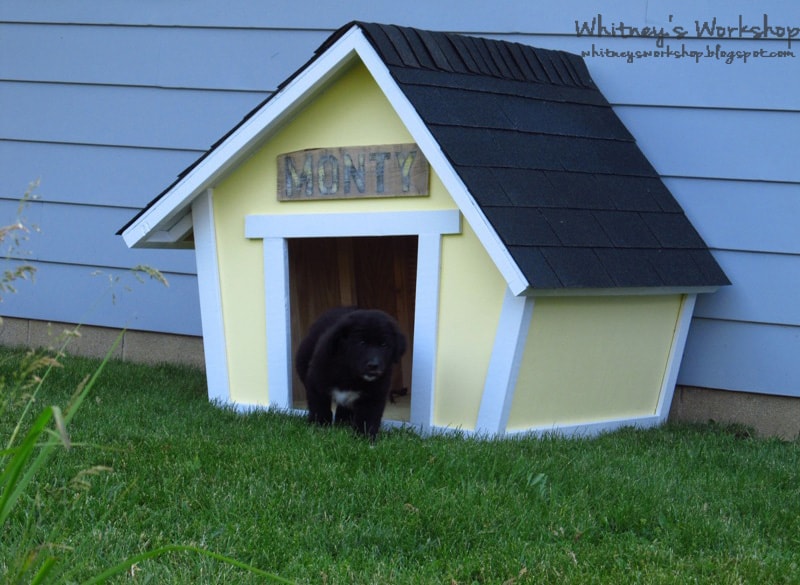
It remains only to arrange a soft spot for your friend. Perfectly suitable old children's mattress.

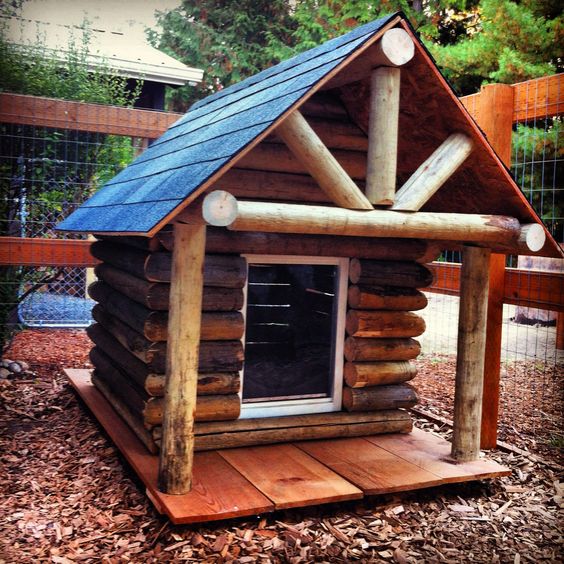
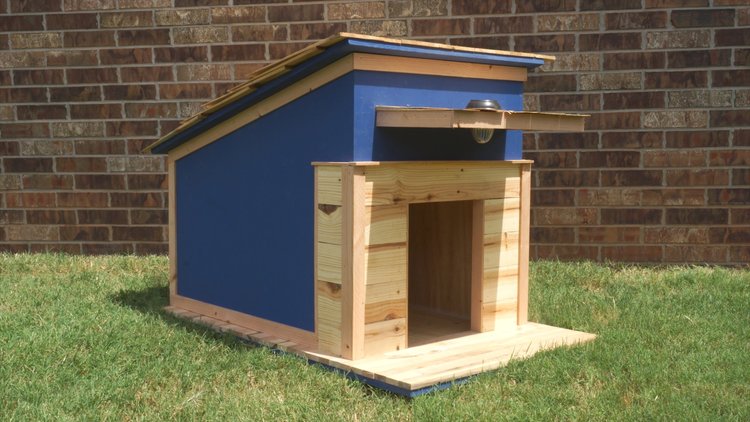
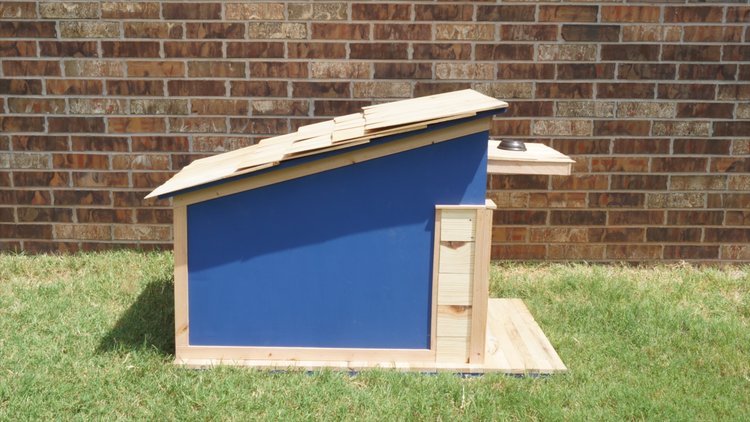
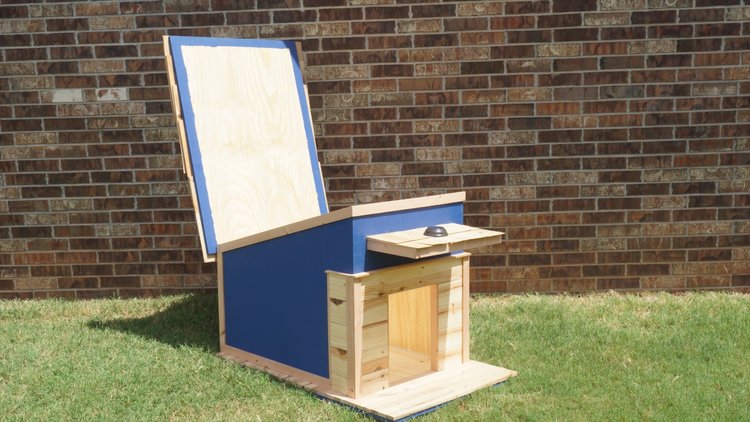
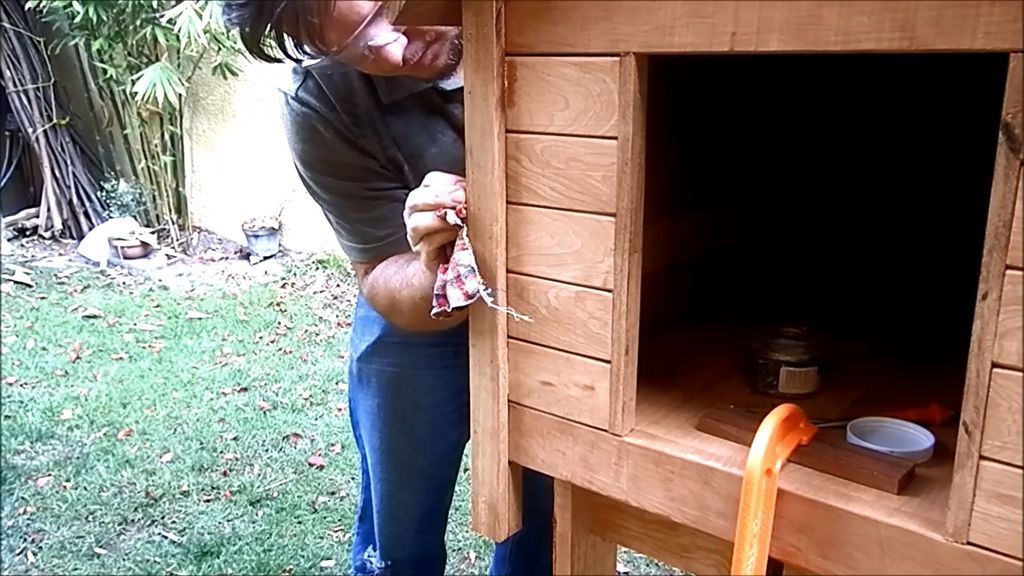
Mansion for dogs
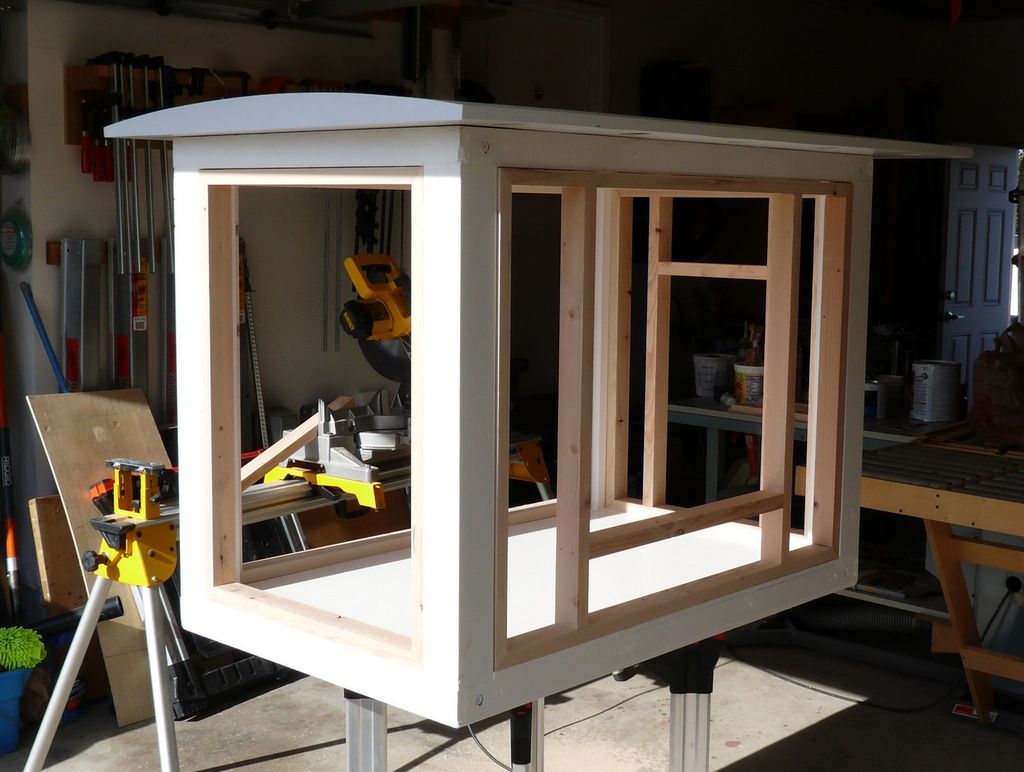
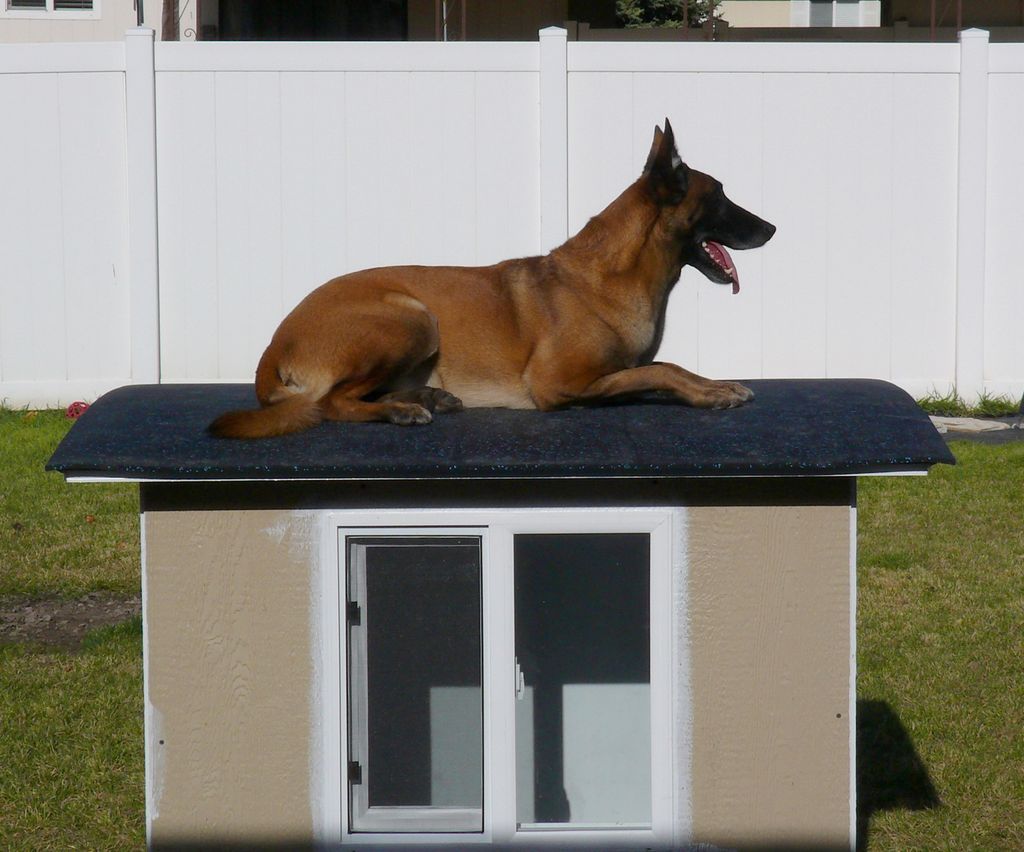
Build for your defender a full-fledged mini-house with a window. Let him feel like an important family man!
Materials: plywood, sawn timber, melamine, polyurethane building glue, insulating foam, exterior plating, roofing material, roof struts, corner pad (plastic), windows, PVC pipes, furniture bolts, nuts, silicone sealant, exterior primer and paint, various brackets, screws, etc.
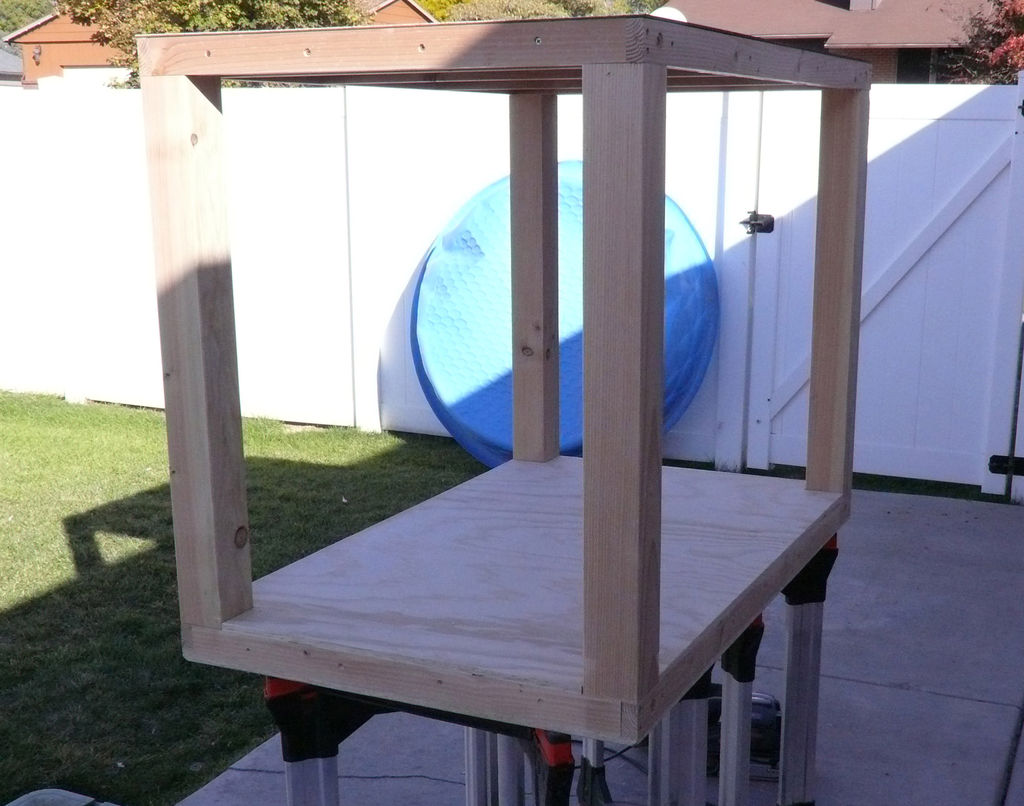
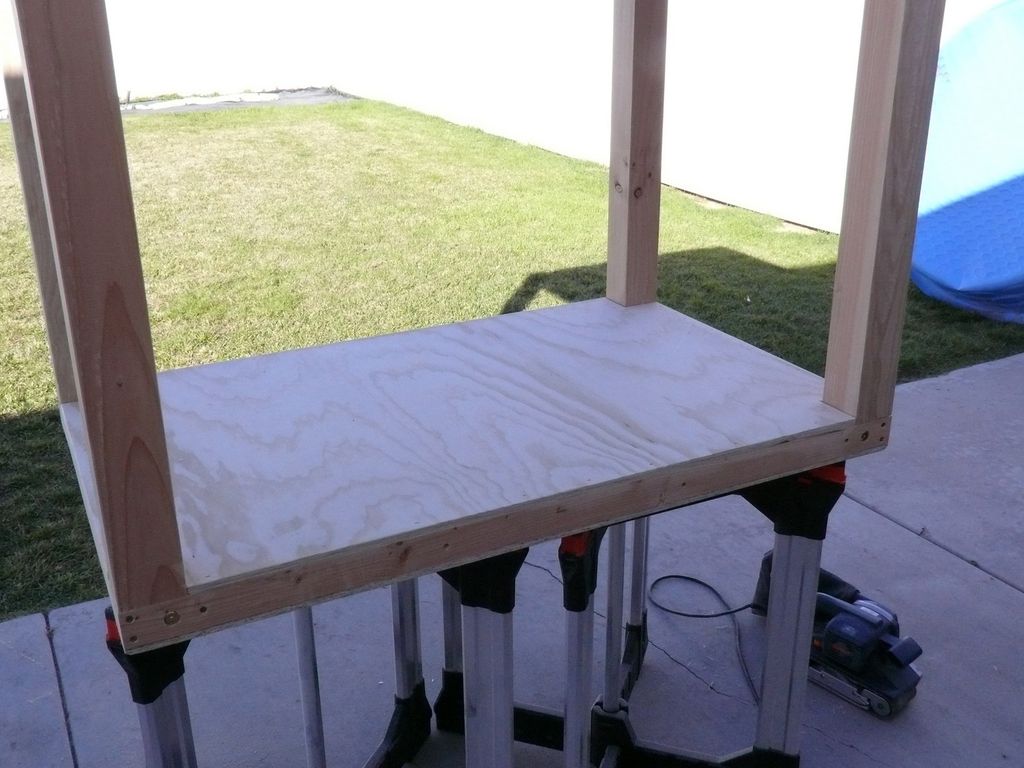
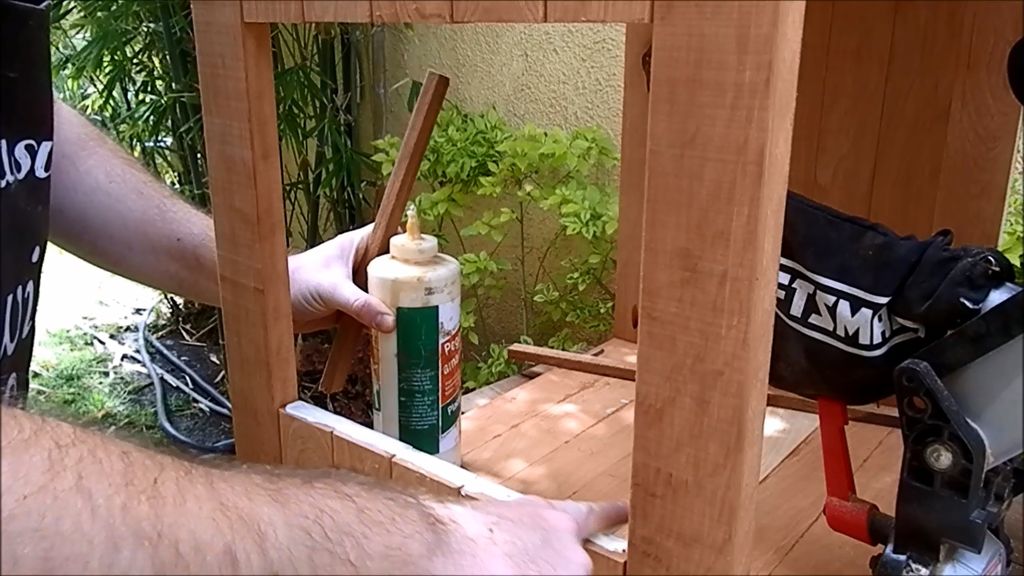
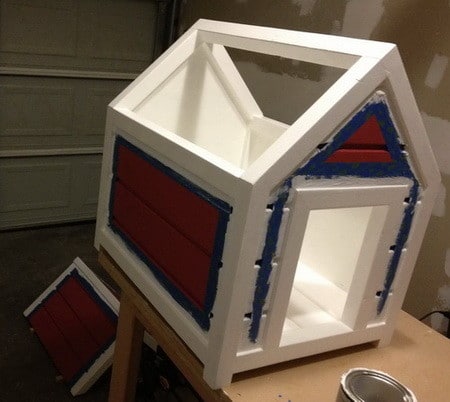
Main frame assembly

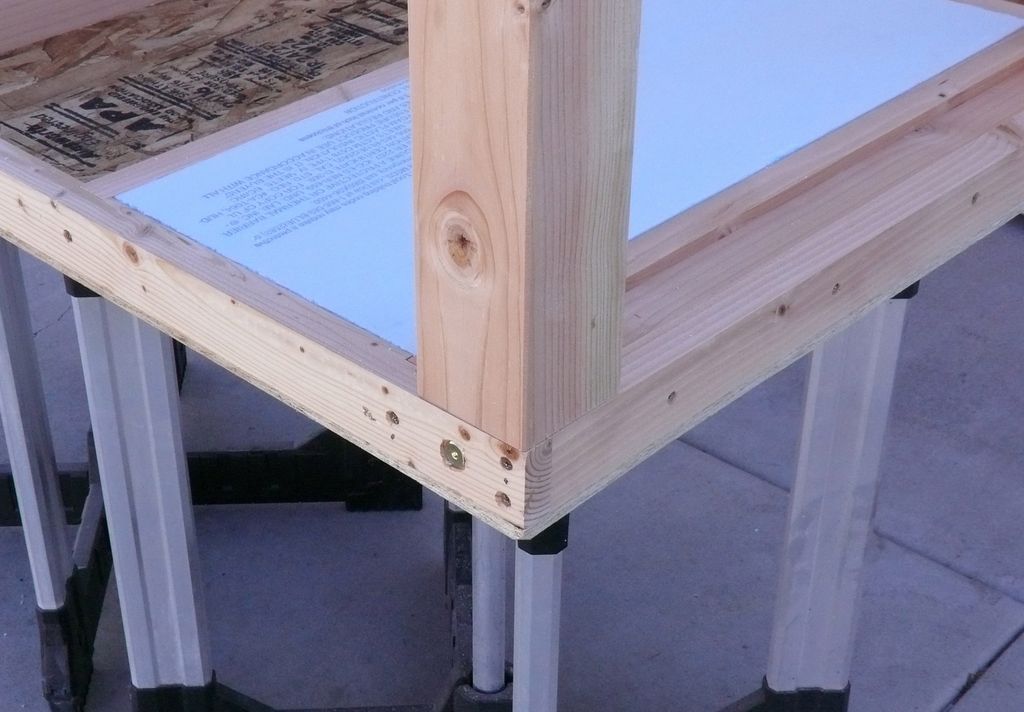
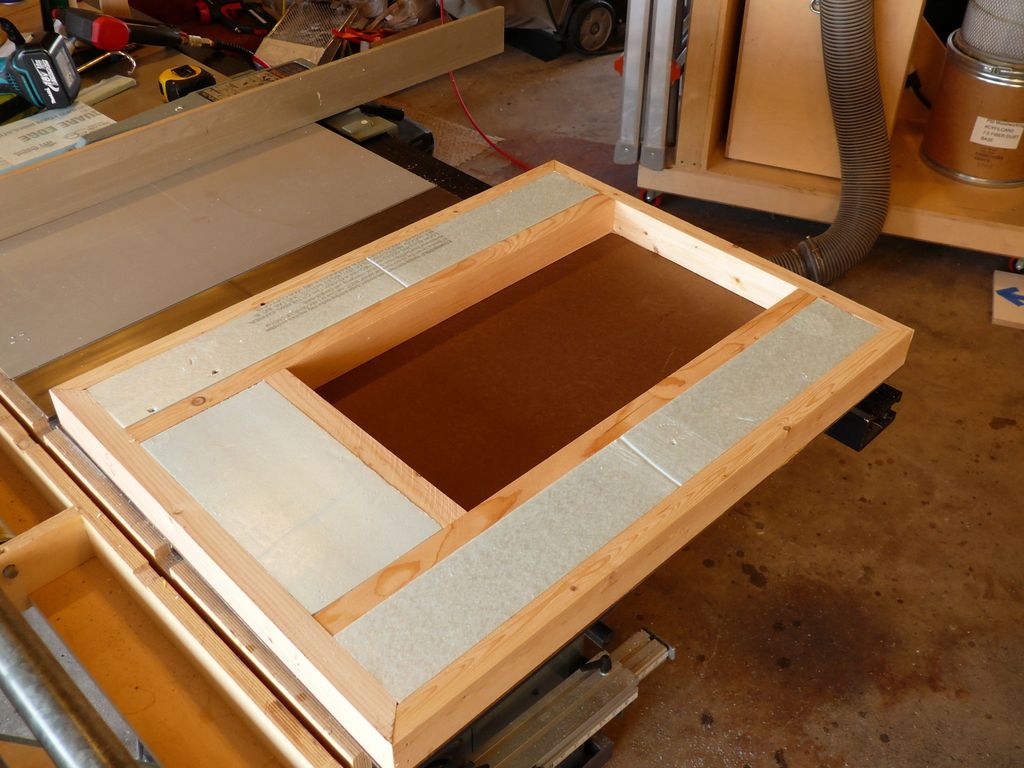
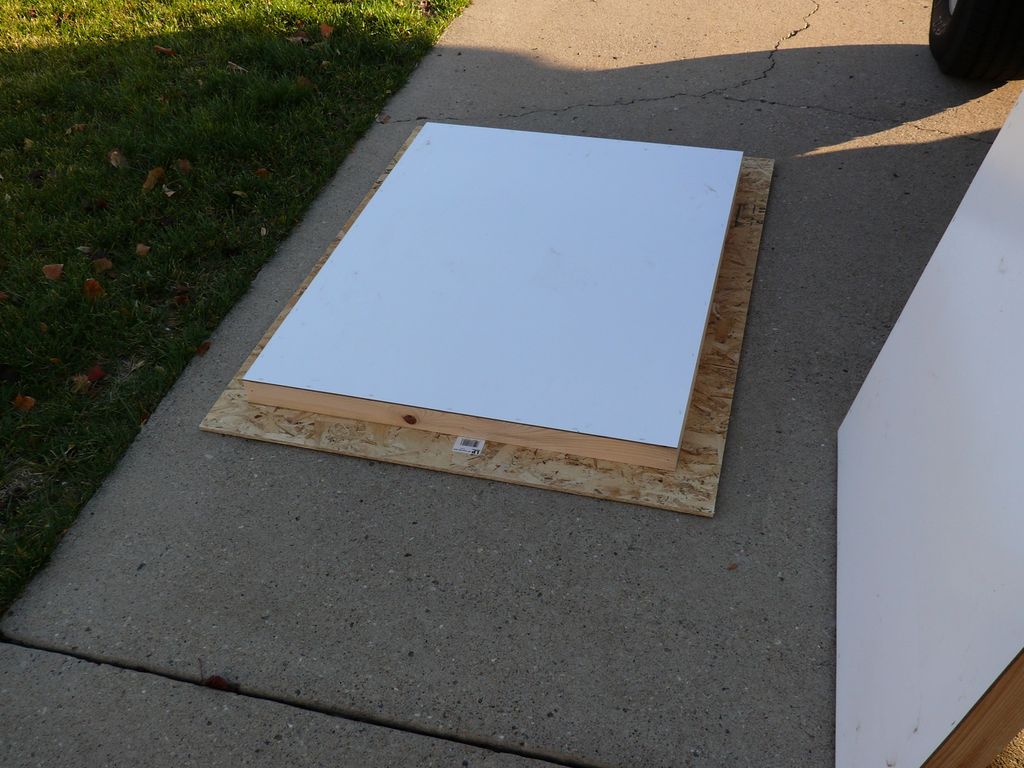
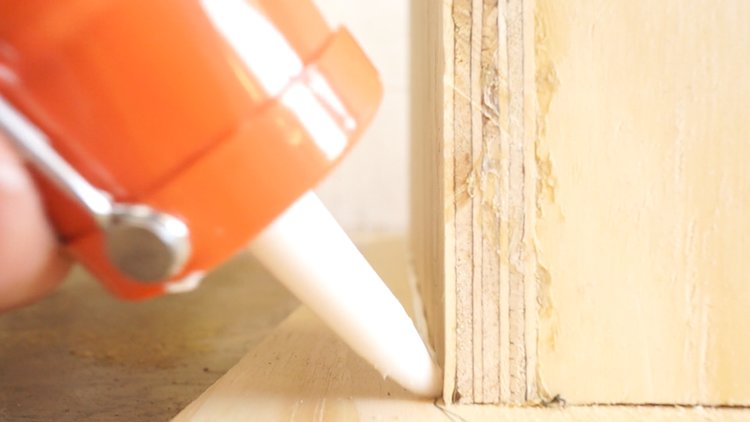
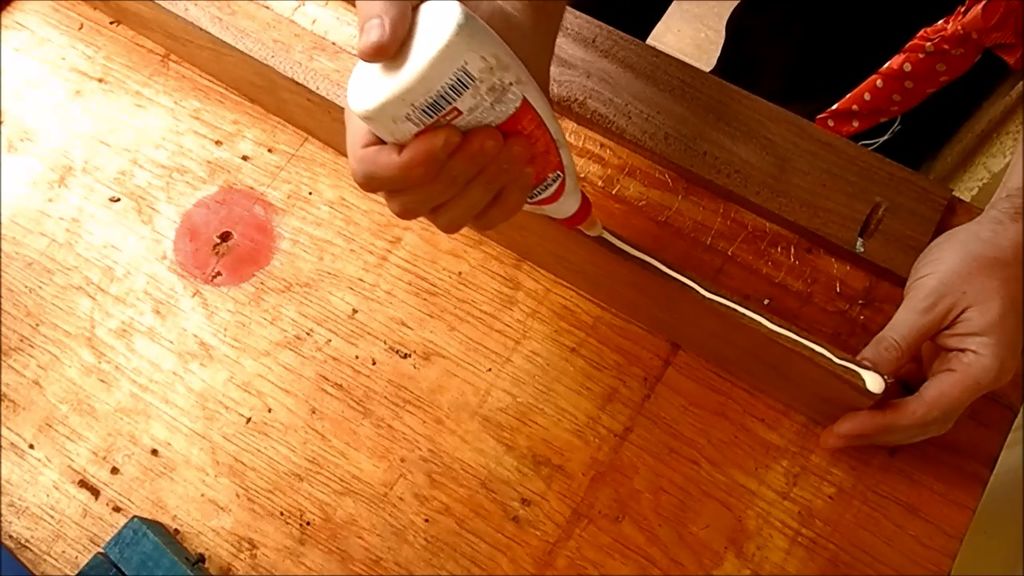
For the floor frame we use the sheet OSB, for the upper one - melamine. All panels are fixed with screws, brackets or building glue. Cover the wood with silicone sealant.

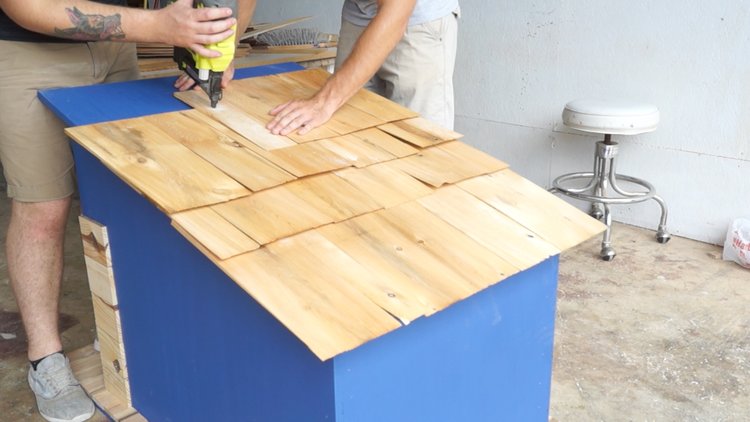
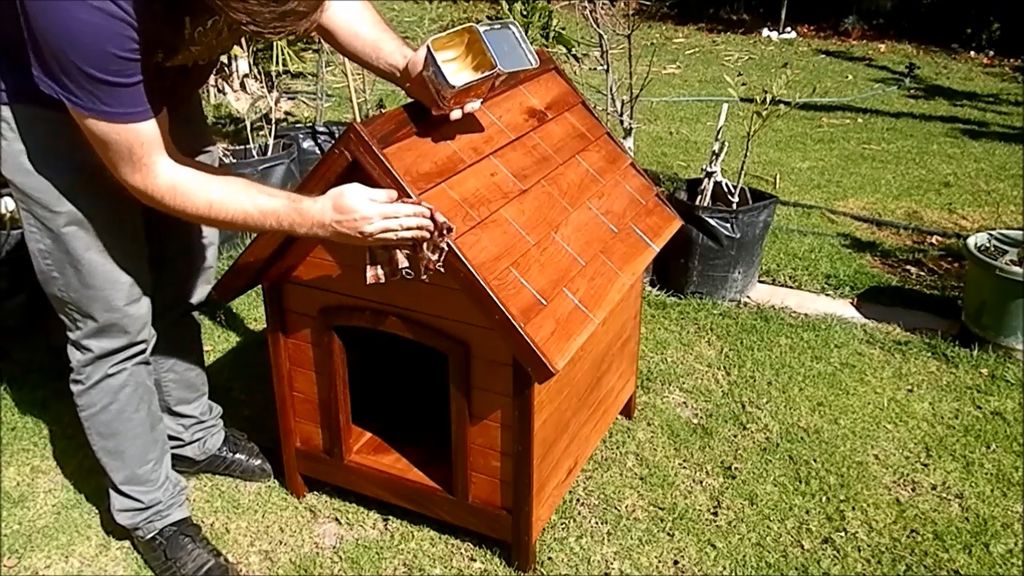
Roof assembly
At the bottom of the panel is melamine, in the “edges” plywood.
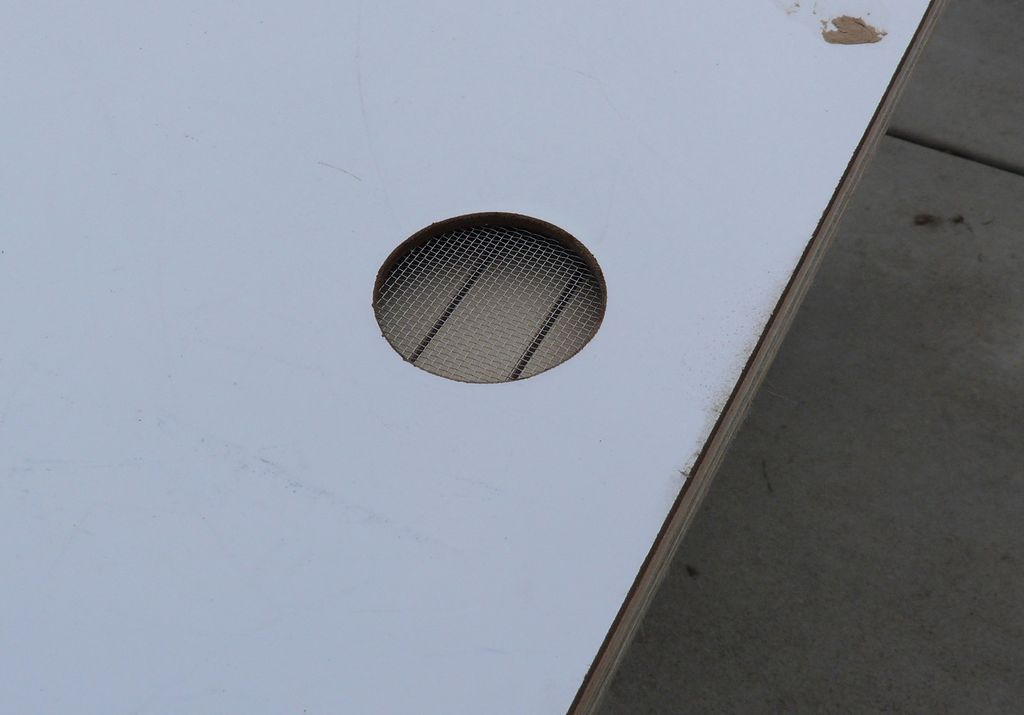
We provide ventilation inside the roof.
The outer layer of the roof is attached to the edges with staples and building glue. When the glue dries, primer everything thoroughly and apply two coats of paint.
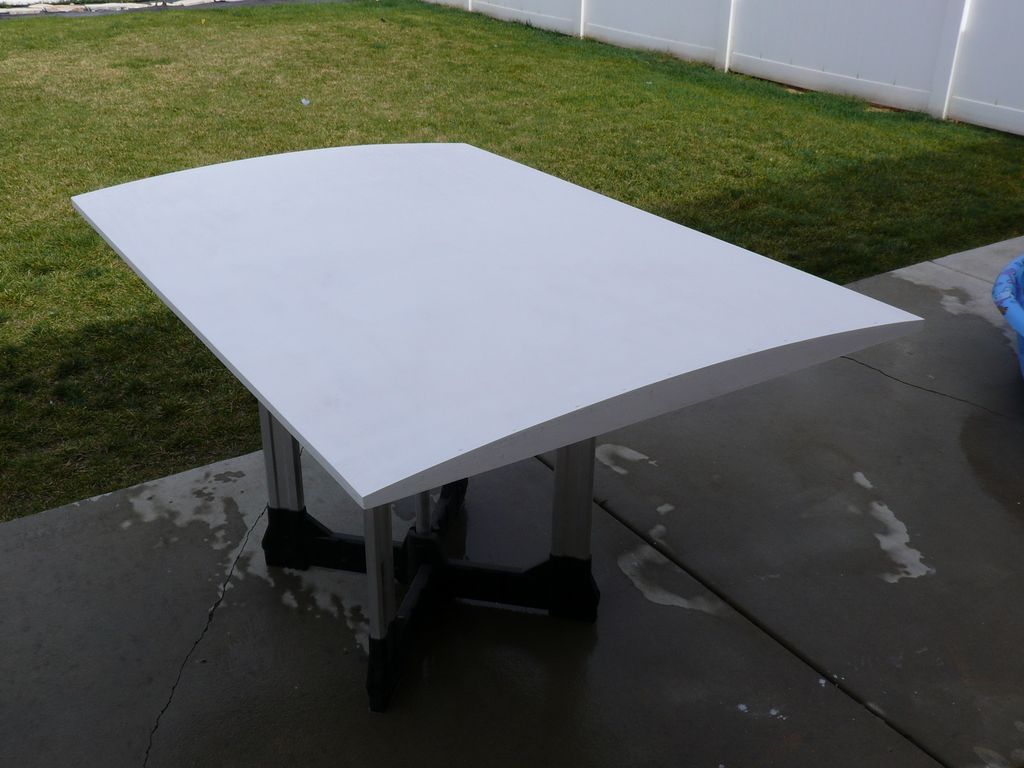
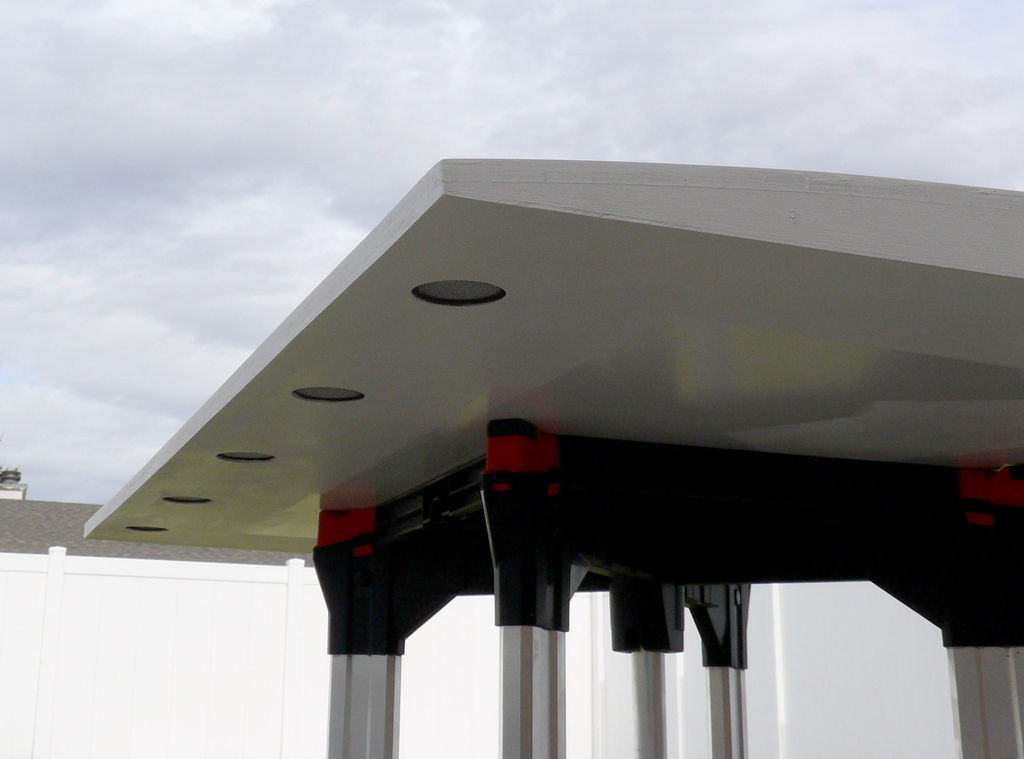
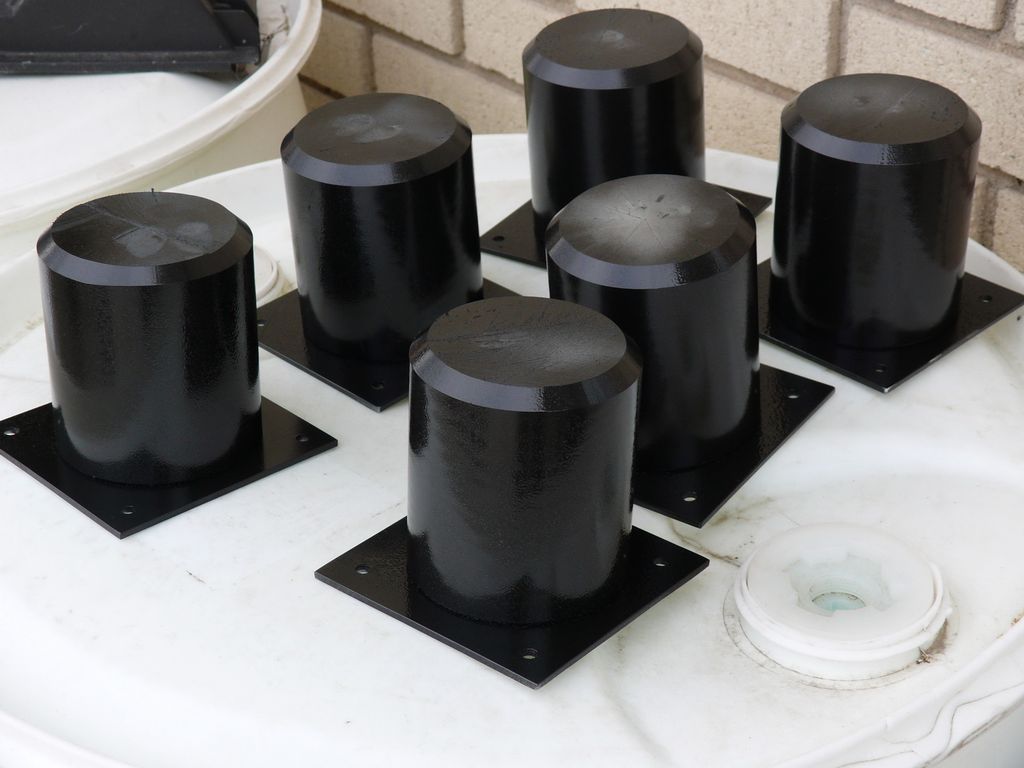
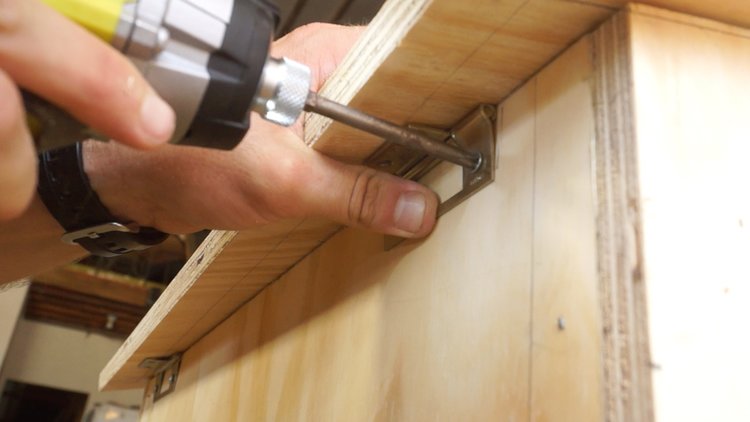
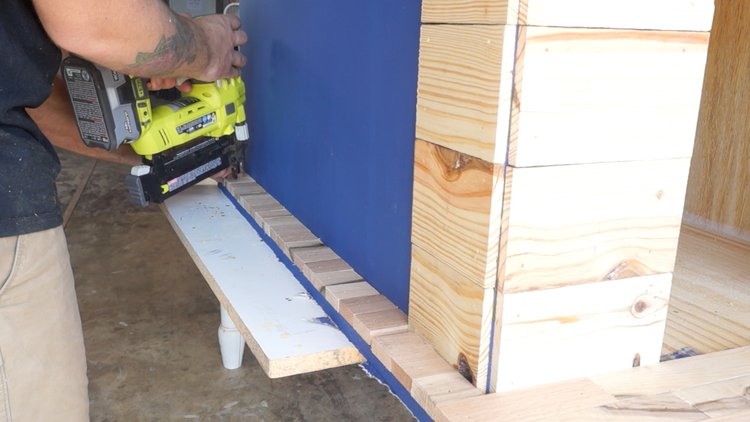
Leg mounting
The legs for the booth is a very useful item. This is an excellent protection from water, all sorts of pests and insects.
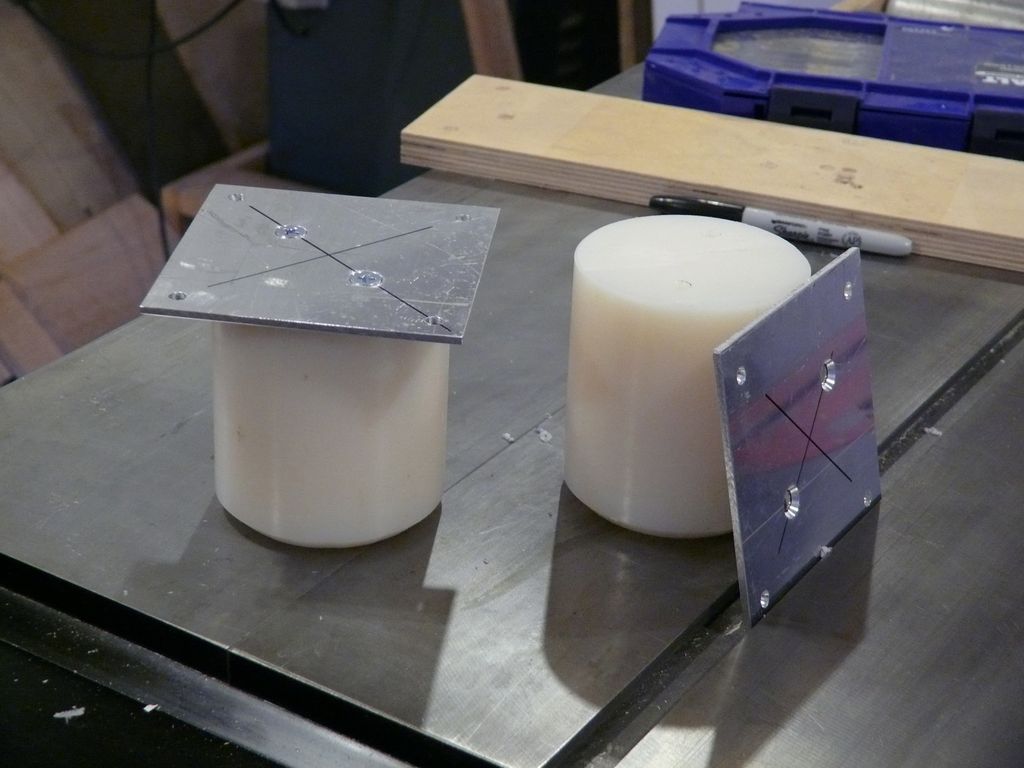
The cylindrical legs are attached to the aluminum plates with screws. We ground and paint them for aesthetic appearance and protection from ultraviolet radiation.
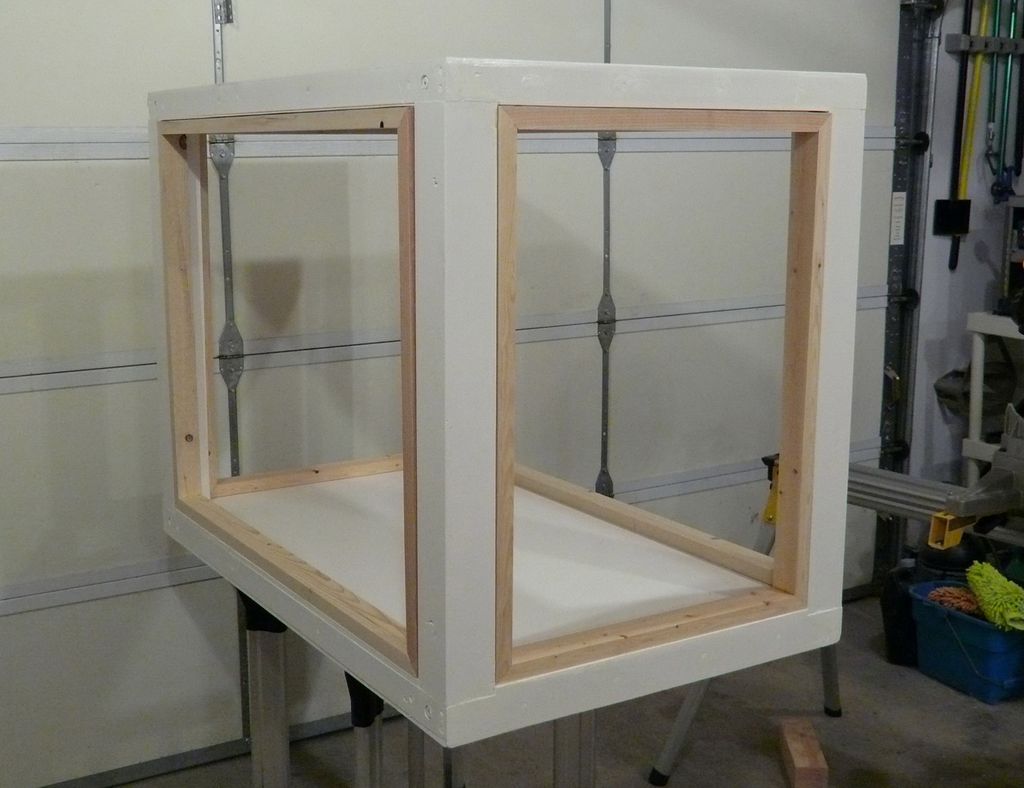
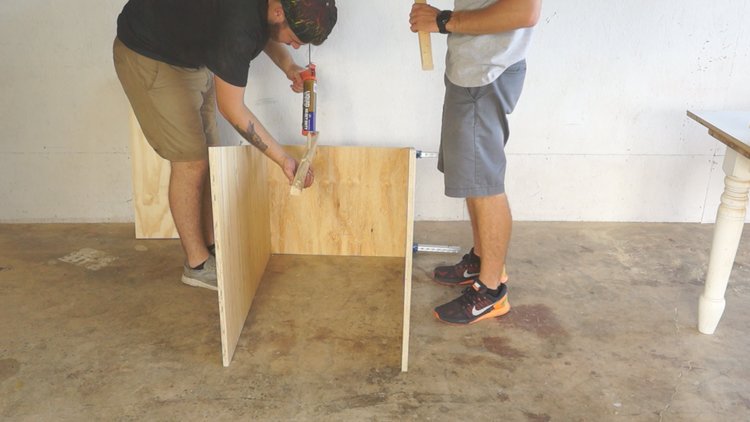
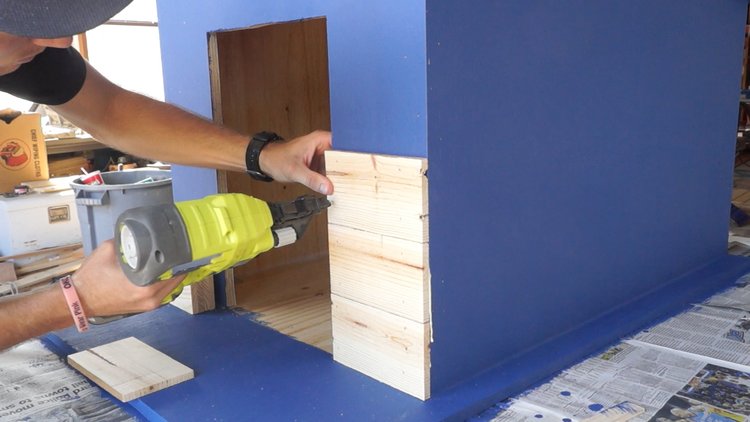
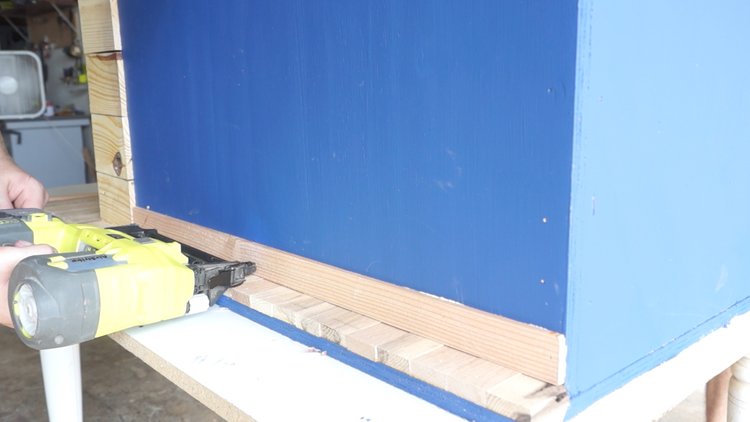
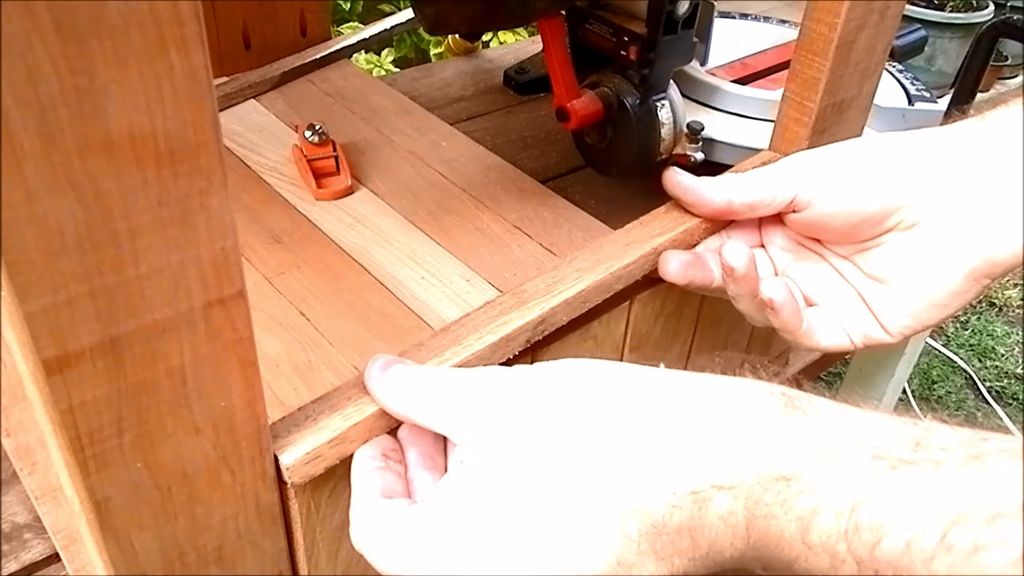
We build walls
The walls, as well as the floor with the ceiling, are made of pine wood. For the interior we use melamine, for the exterior - textured siding (OSB). Exterior paneling cut the same size as the main frame.
Install the window, sealed it with silicone. Priming and painting the walls. Fasten them to the corner columns.

Corner columns
For the corners we use PVC pipes. First, primed and painted them, then fasten with long screws.
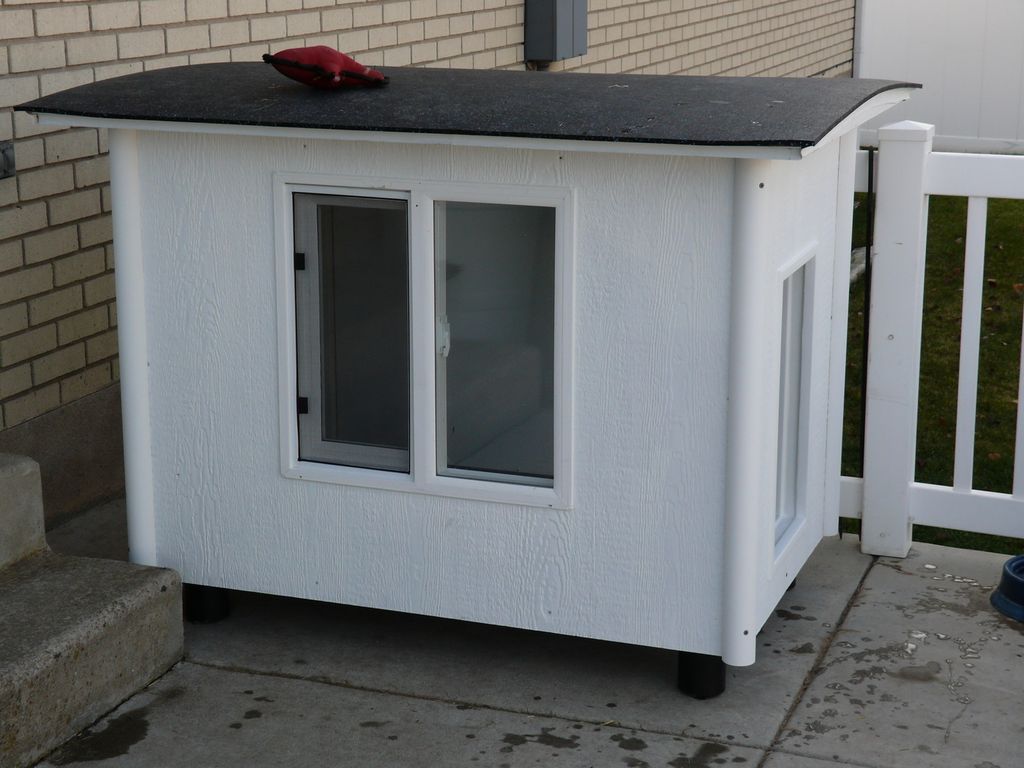
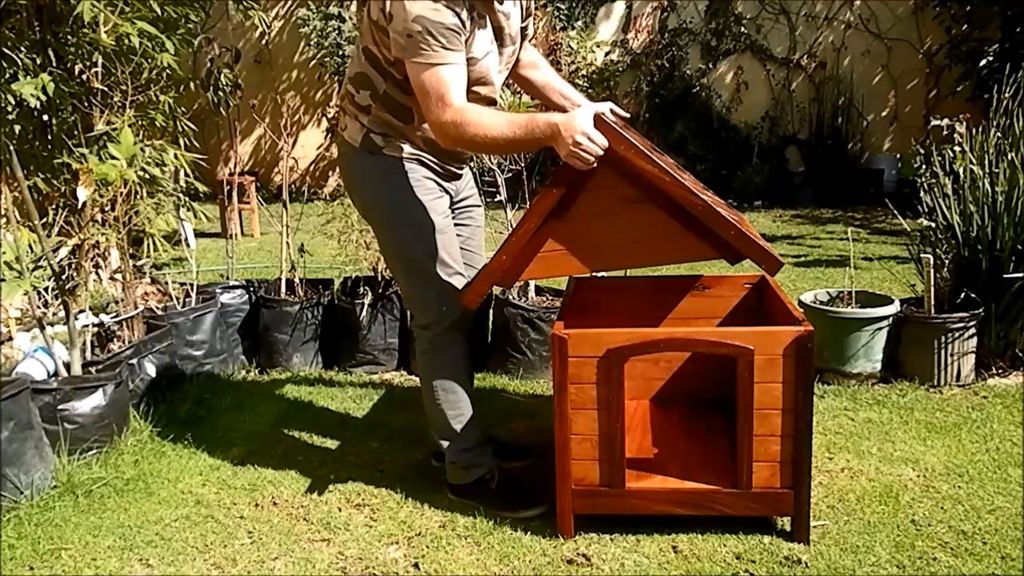
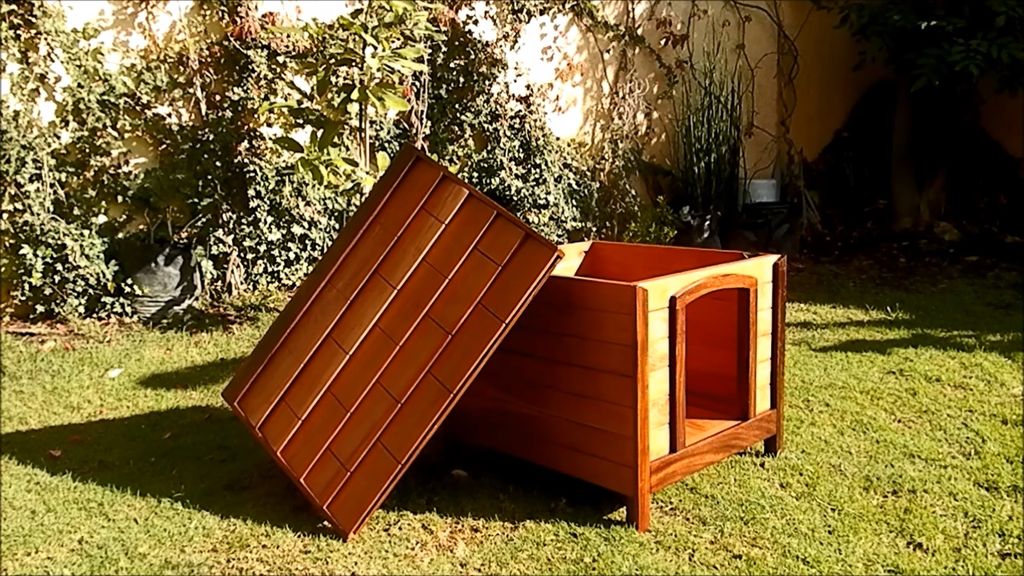
Luxury dog house ready!


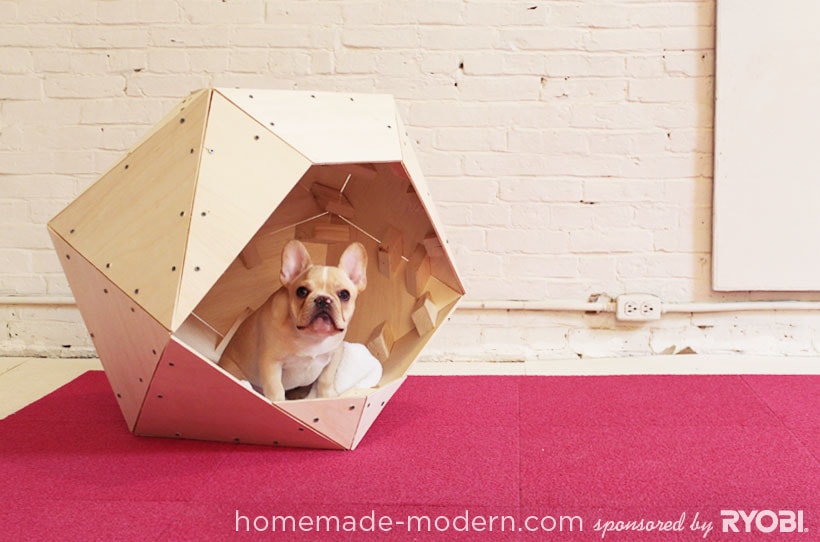
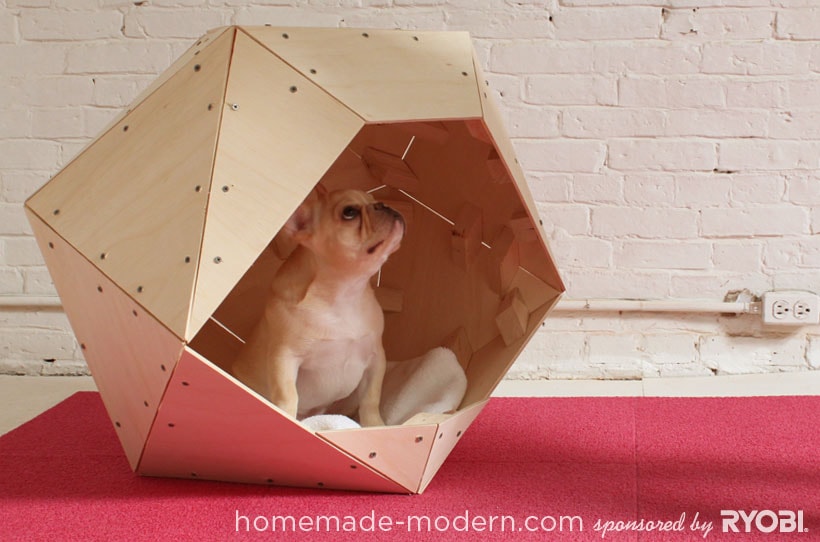
Faceted construction
Despite such an unusual project for the booth, to build it is not so difficult.
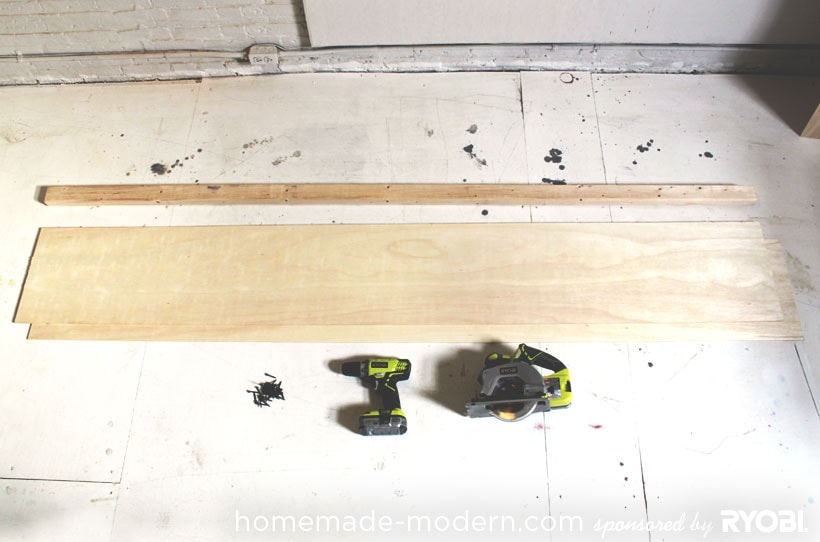
Materials
For the project we will need: plywood sheets (birch veneer), boards for corner supports, drill, drills, circular saw.
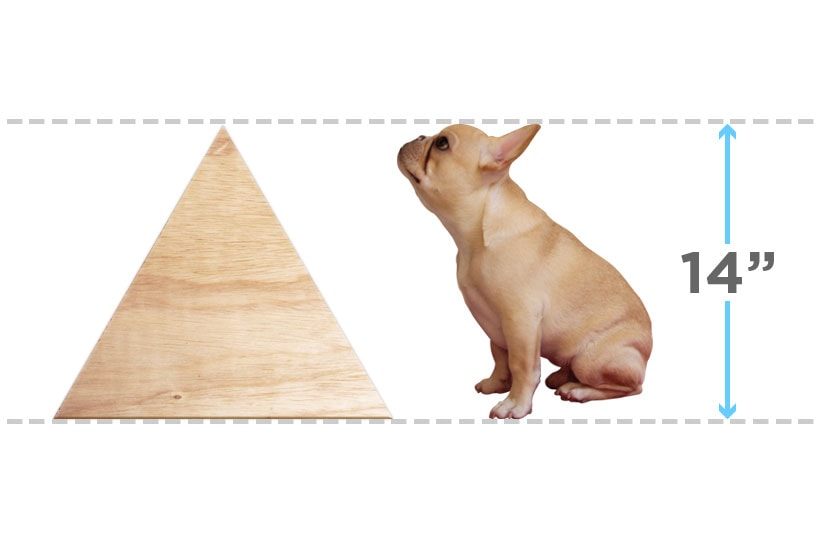
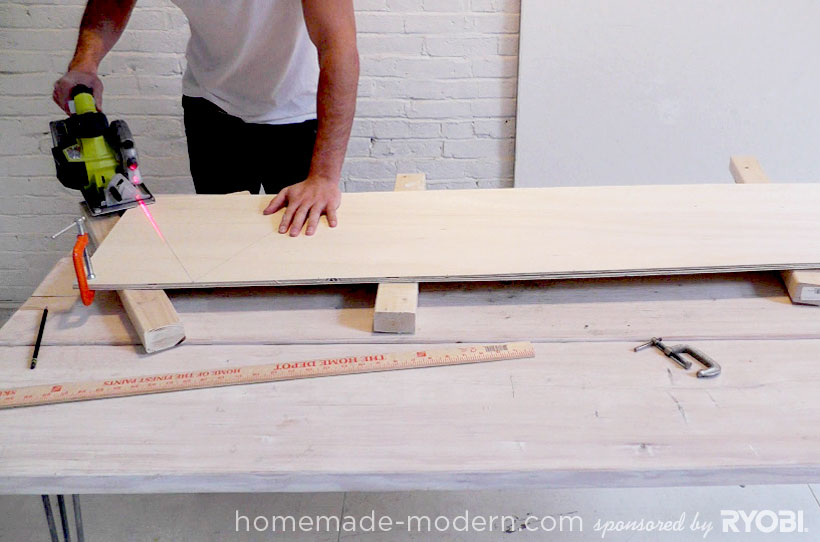
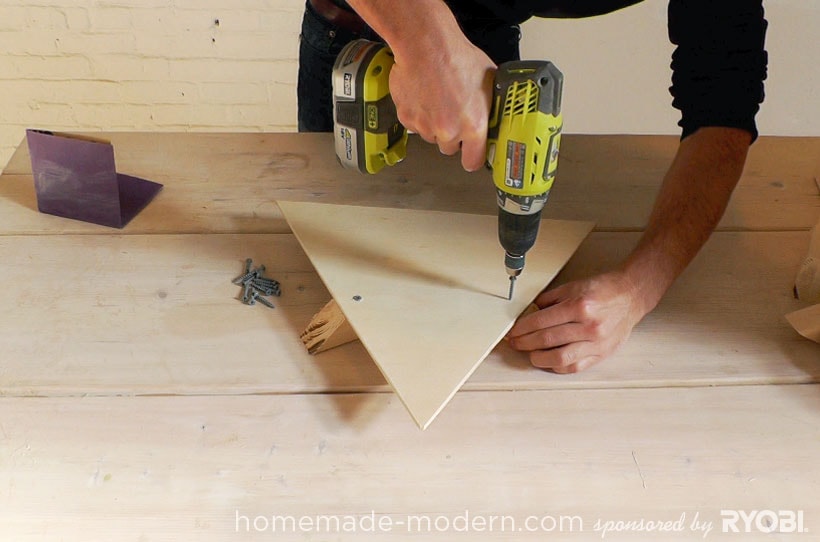
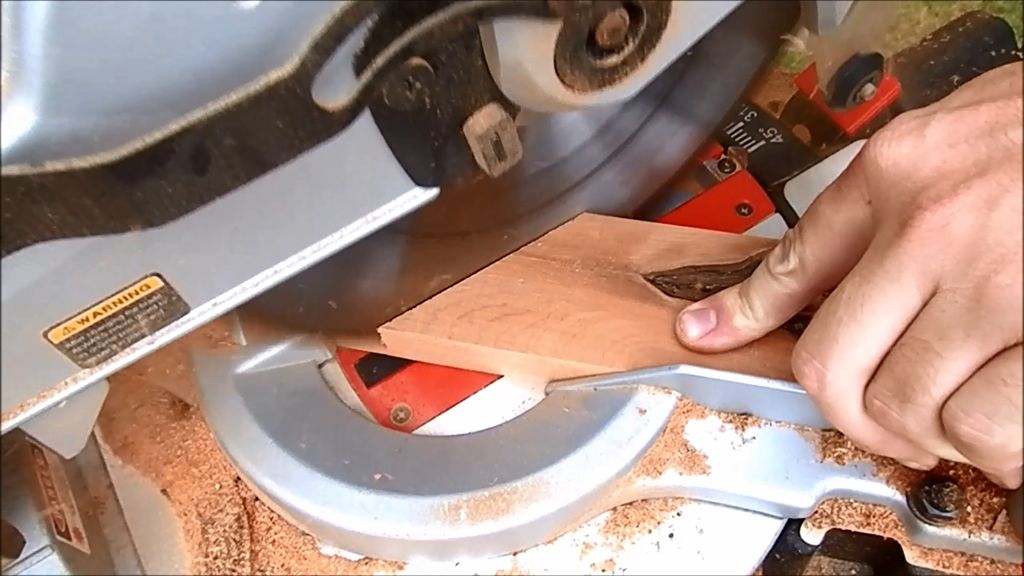
Step 1. Determine the size
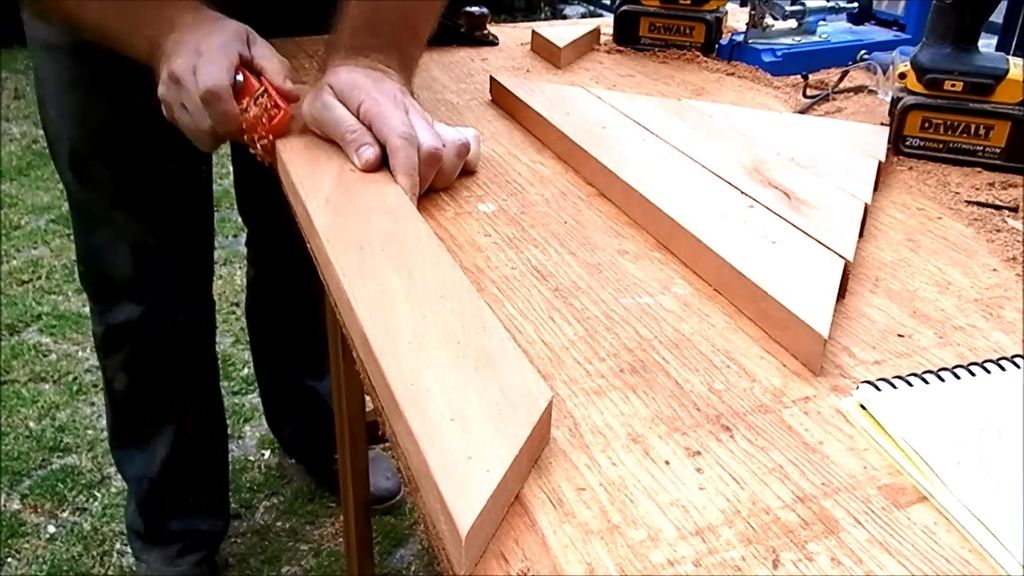
Triangular faces should be about the same height as your dog. Therefore, we cut two wide strips of plywood of the same width.
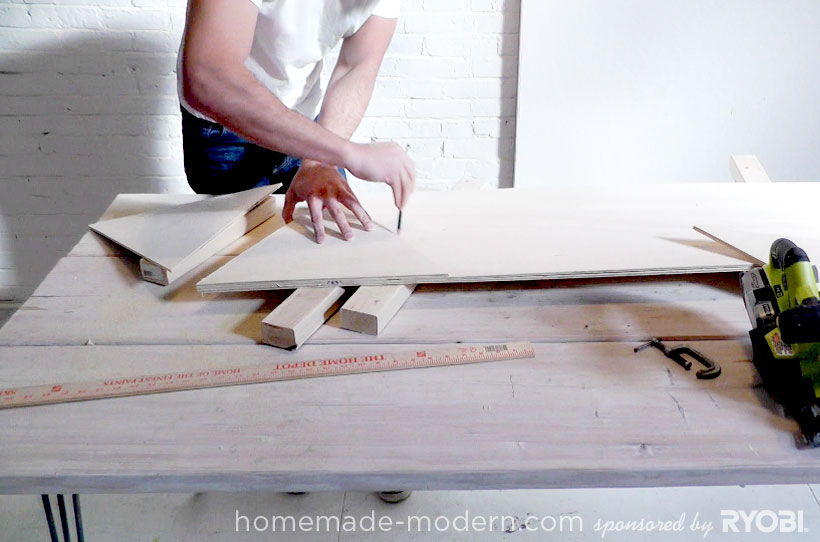
 Step 2. We measure equilateral triangles on one board and stack it on top of another, so that the borders clearly coincide.
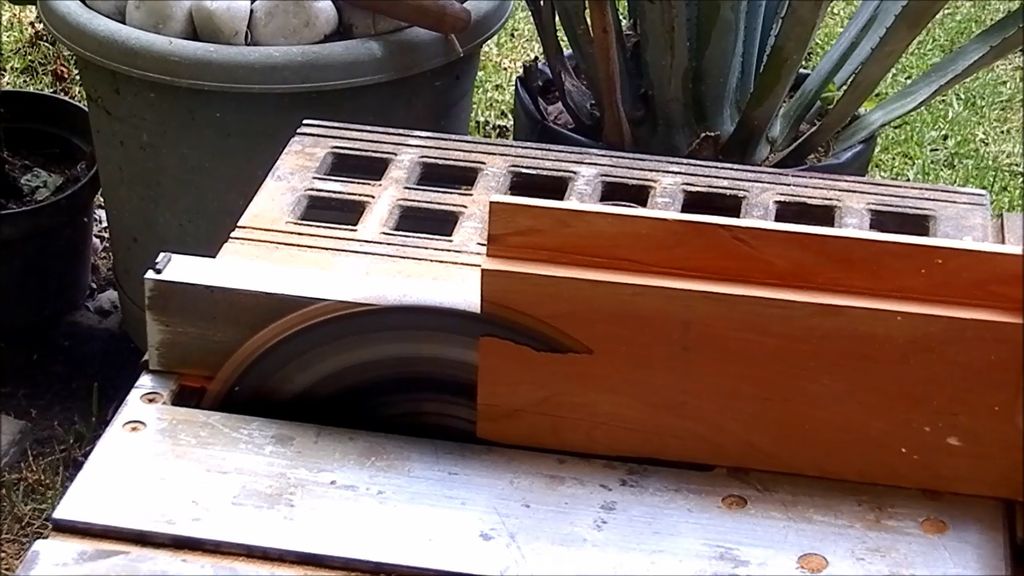
 Step 3: Cut a laser circular saw along the marked lines.
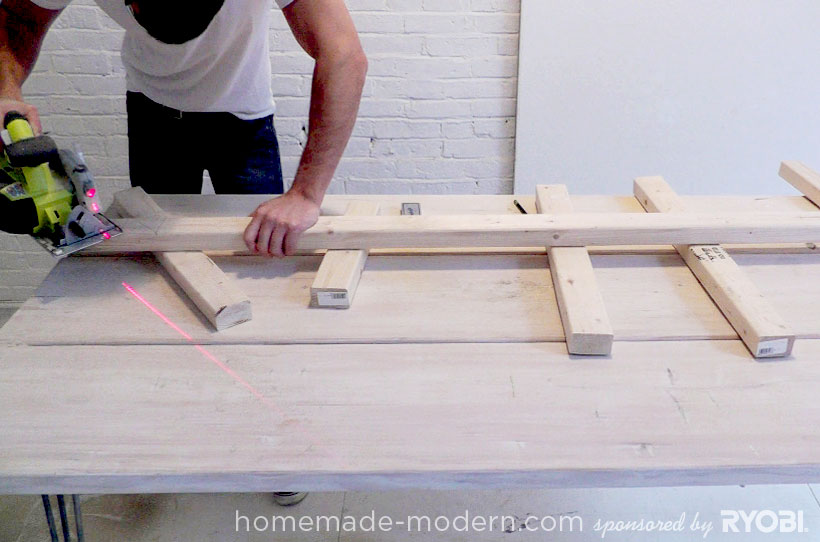
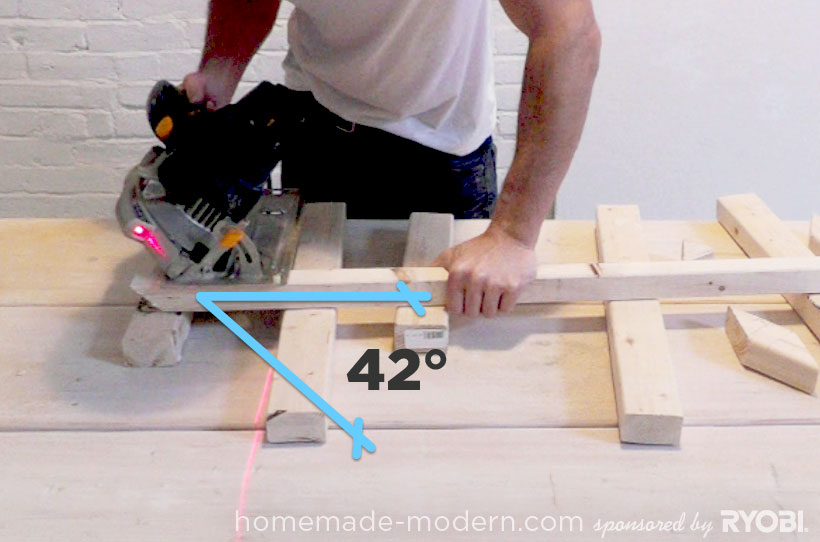
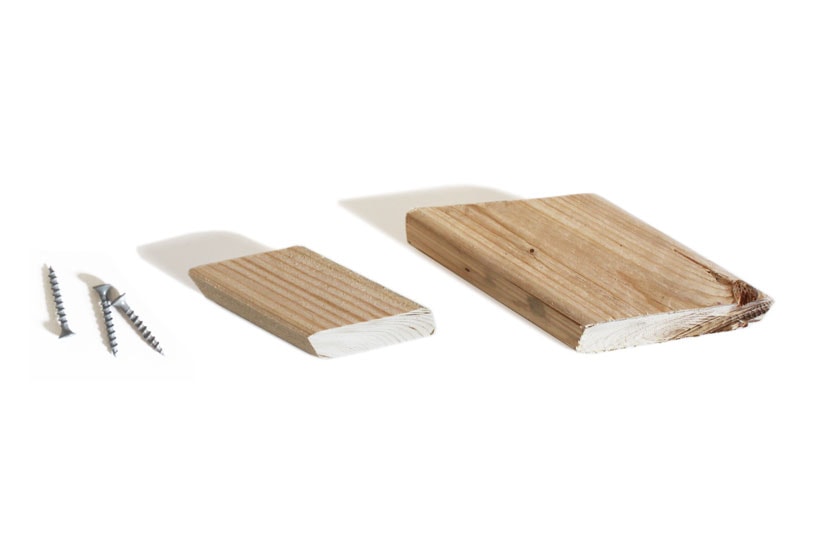
 Step 4: Measure and cut off the corner supports.
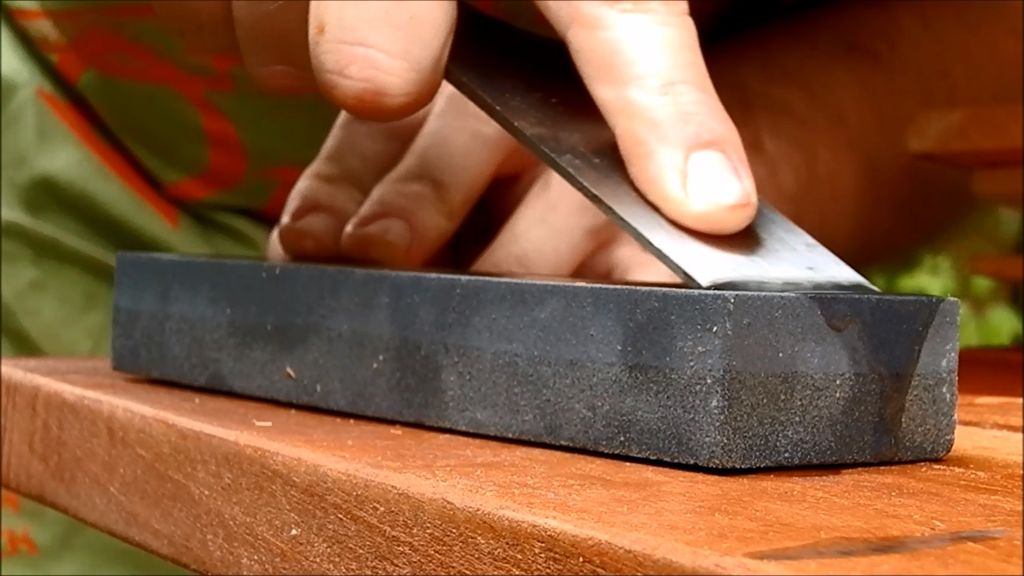
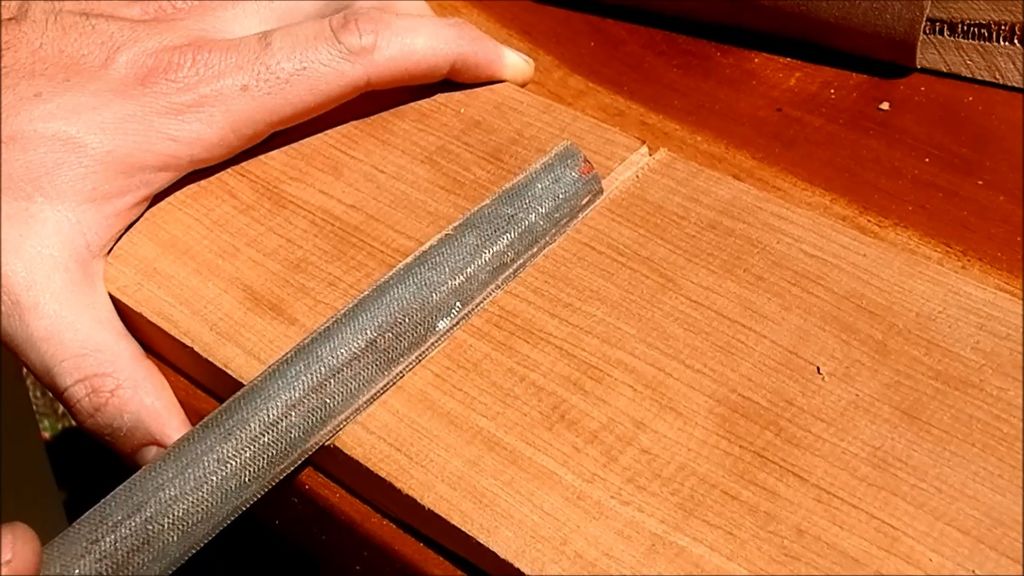
Step 5. Sanding the surface with sandpaper.
Step 6. We assemble the construction: toRepim corner blocks to plywood triangles.
Step 7. We make an entrance opening. To make it more spacious, we cut several triangles in half.
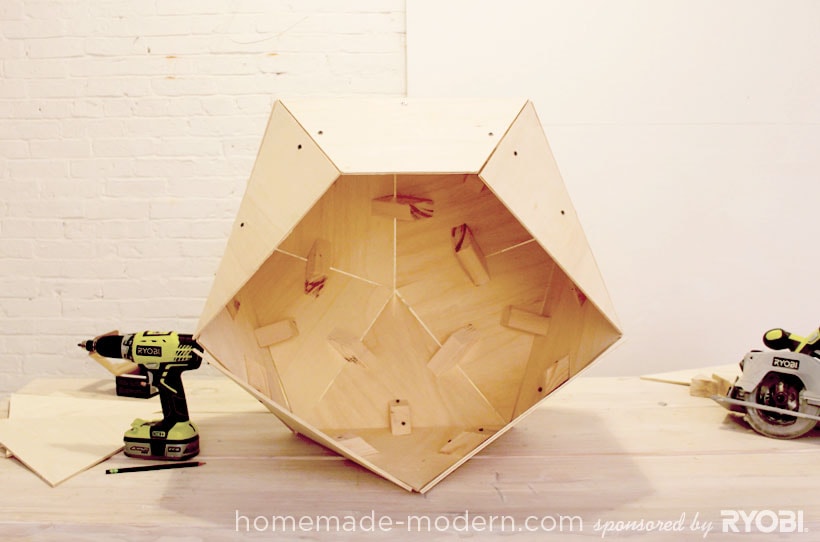 Step 8. Making the booth sustainable, reinforcing additional wooden blocks.
 Step 9. We create coziness in the house, filling it with a soft blanket or a pillow.
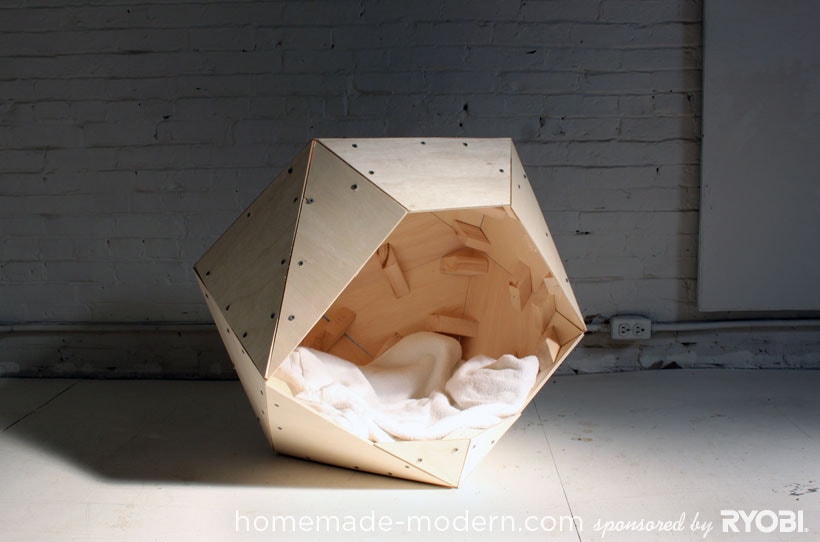
Let your pet enjoy!

Cute house with a visor
Materials: plywood sheets, cedar shingles, wooden pallets, paint, liquid nails (construction glue), circular saw.
We make blanks of models, cutting sheets of plywood of the required size.
Measure the dimensions for the roof and cut out with a circular saw.

Cut the door.

We collect the design.


Master the roof and floor.

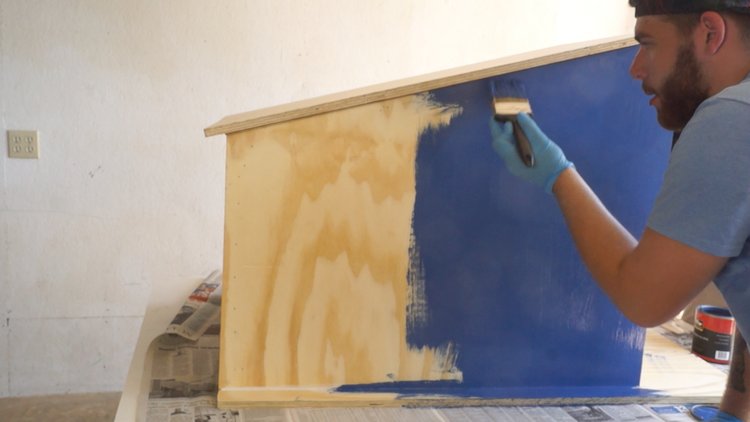
We paint
For siding use wooden pallets.

For the floor pallet we use oak wooden pallets, pine walls are suitable for the walls.
Roof finish made of cedar tiles.
We make the decoration of the walls.
Mastering the visor of two plywood boards, cutting them to the desired length.
Cut a hole for the penetration of sunlight.

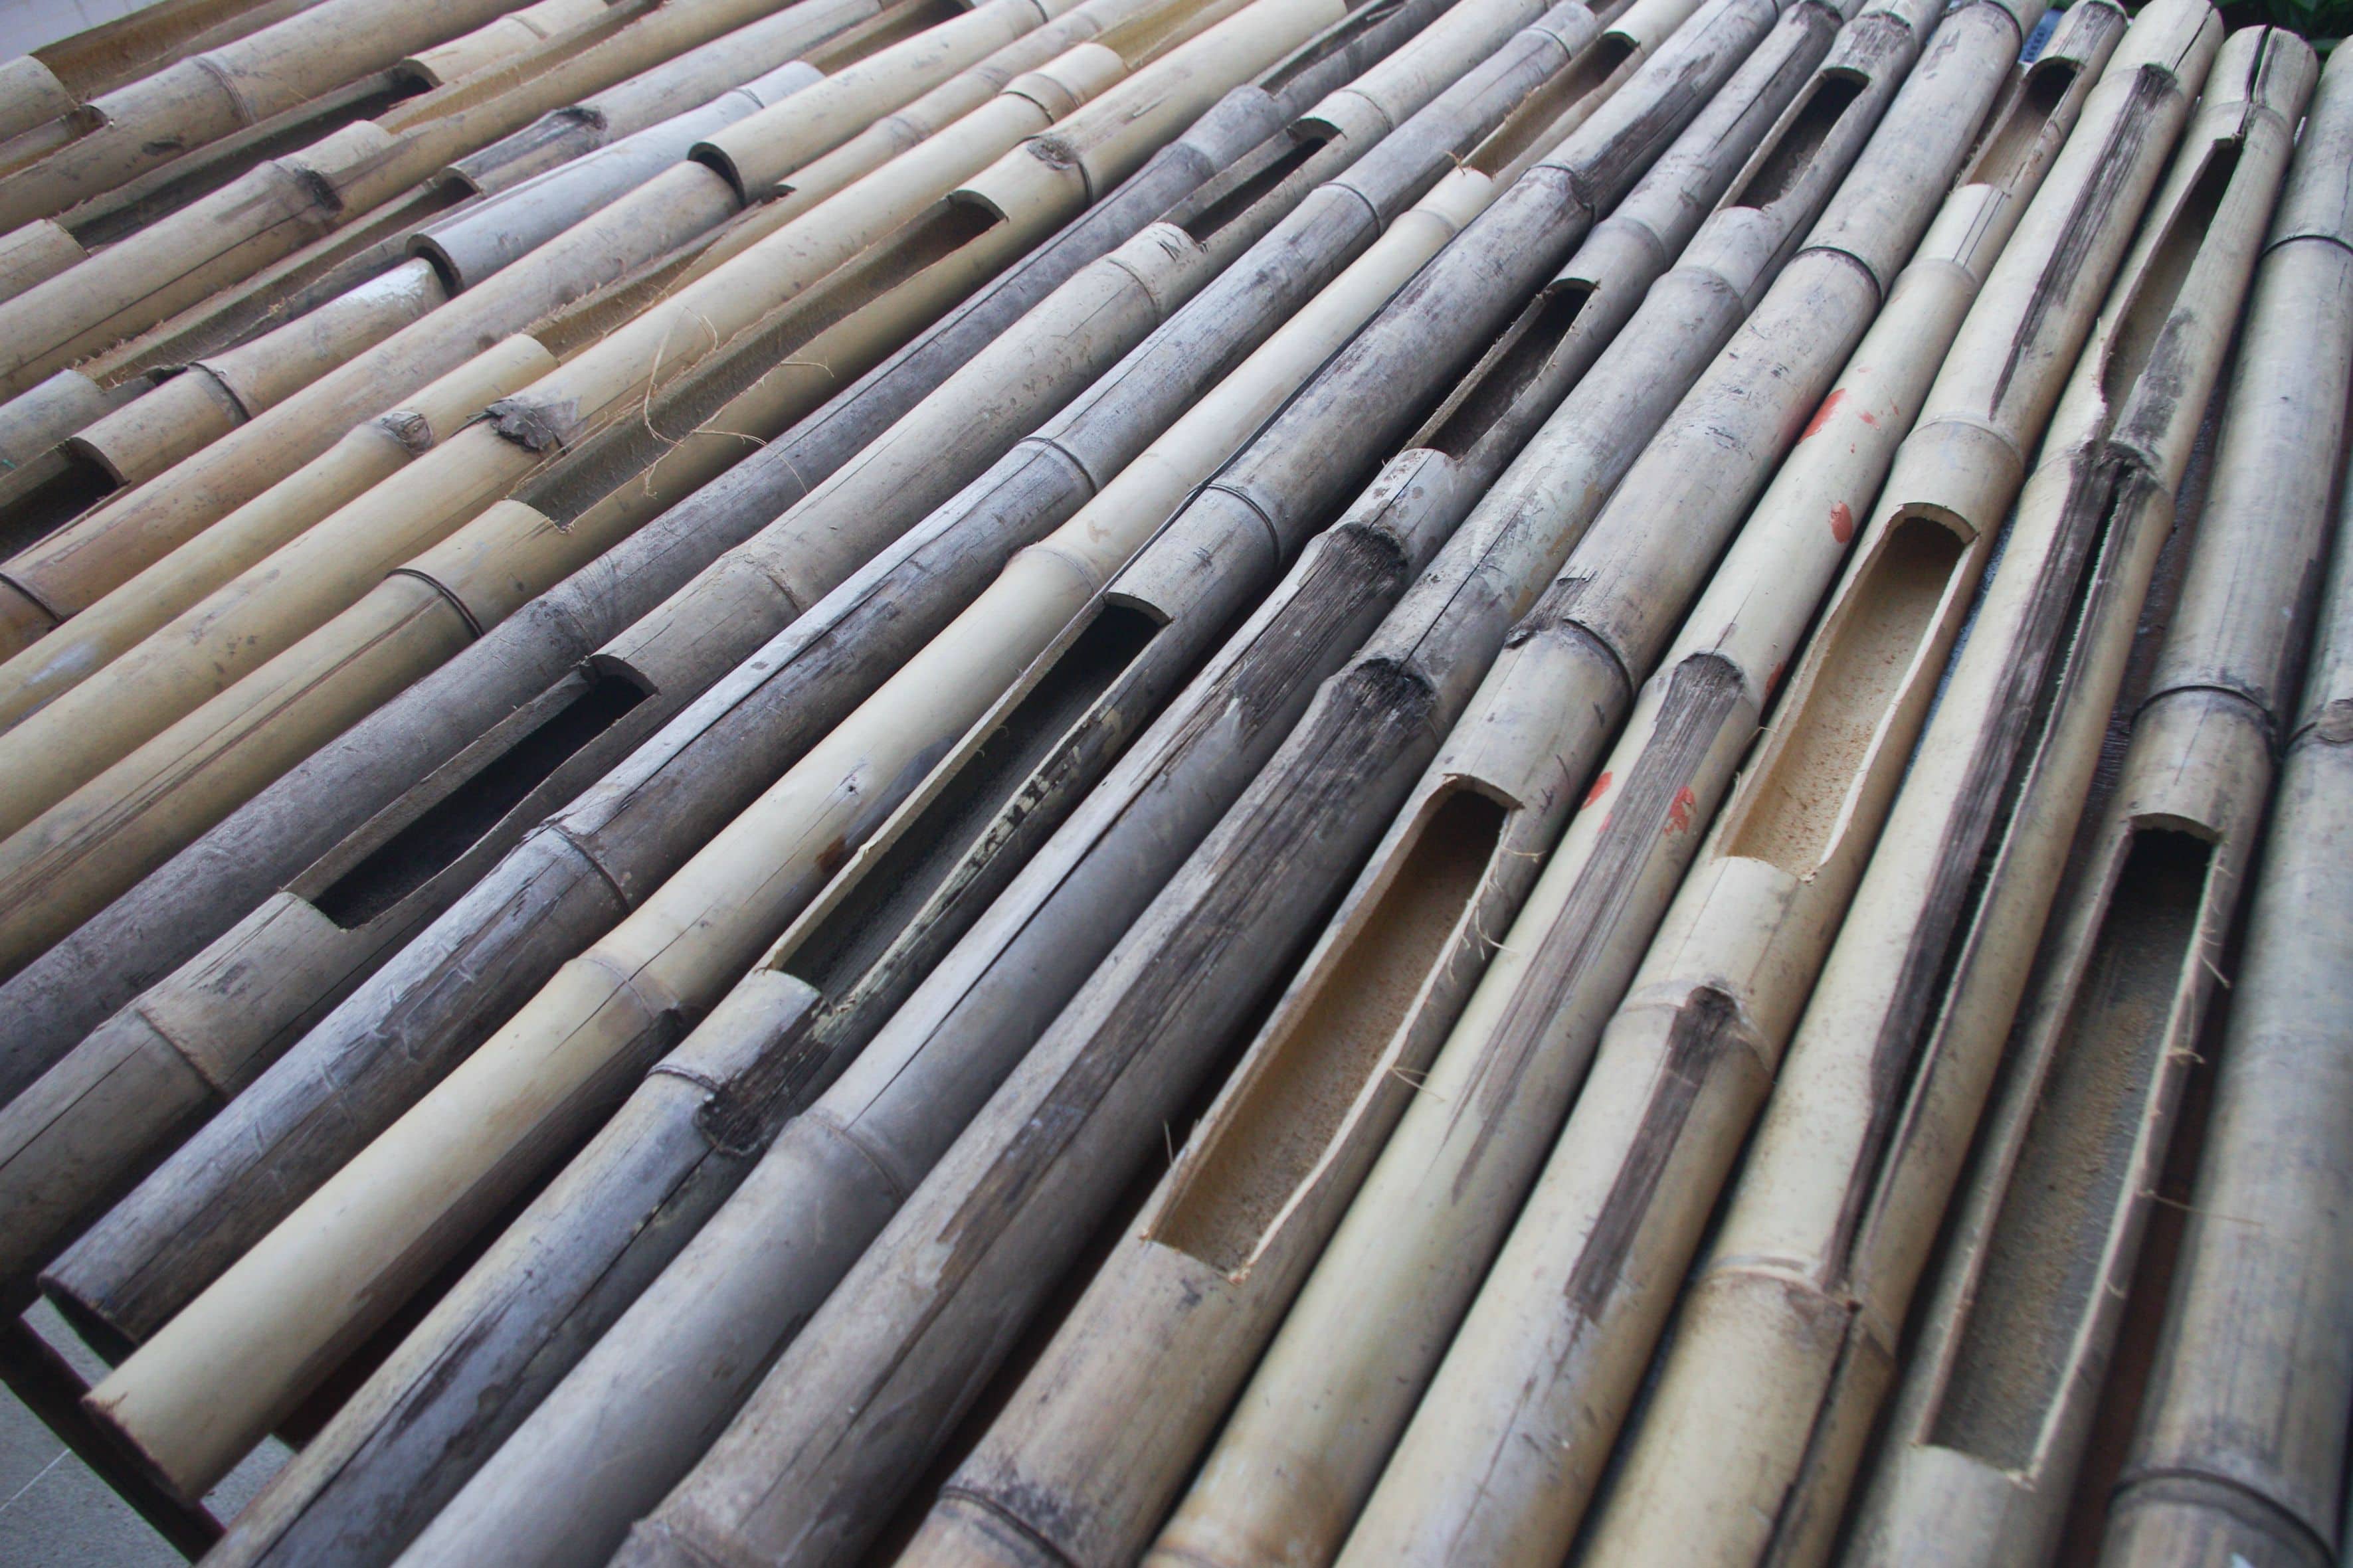
Tropical style
A spacious summer booth in an exotic design with excellent breathability is ideal for a dog in hot, hot weather.
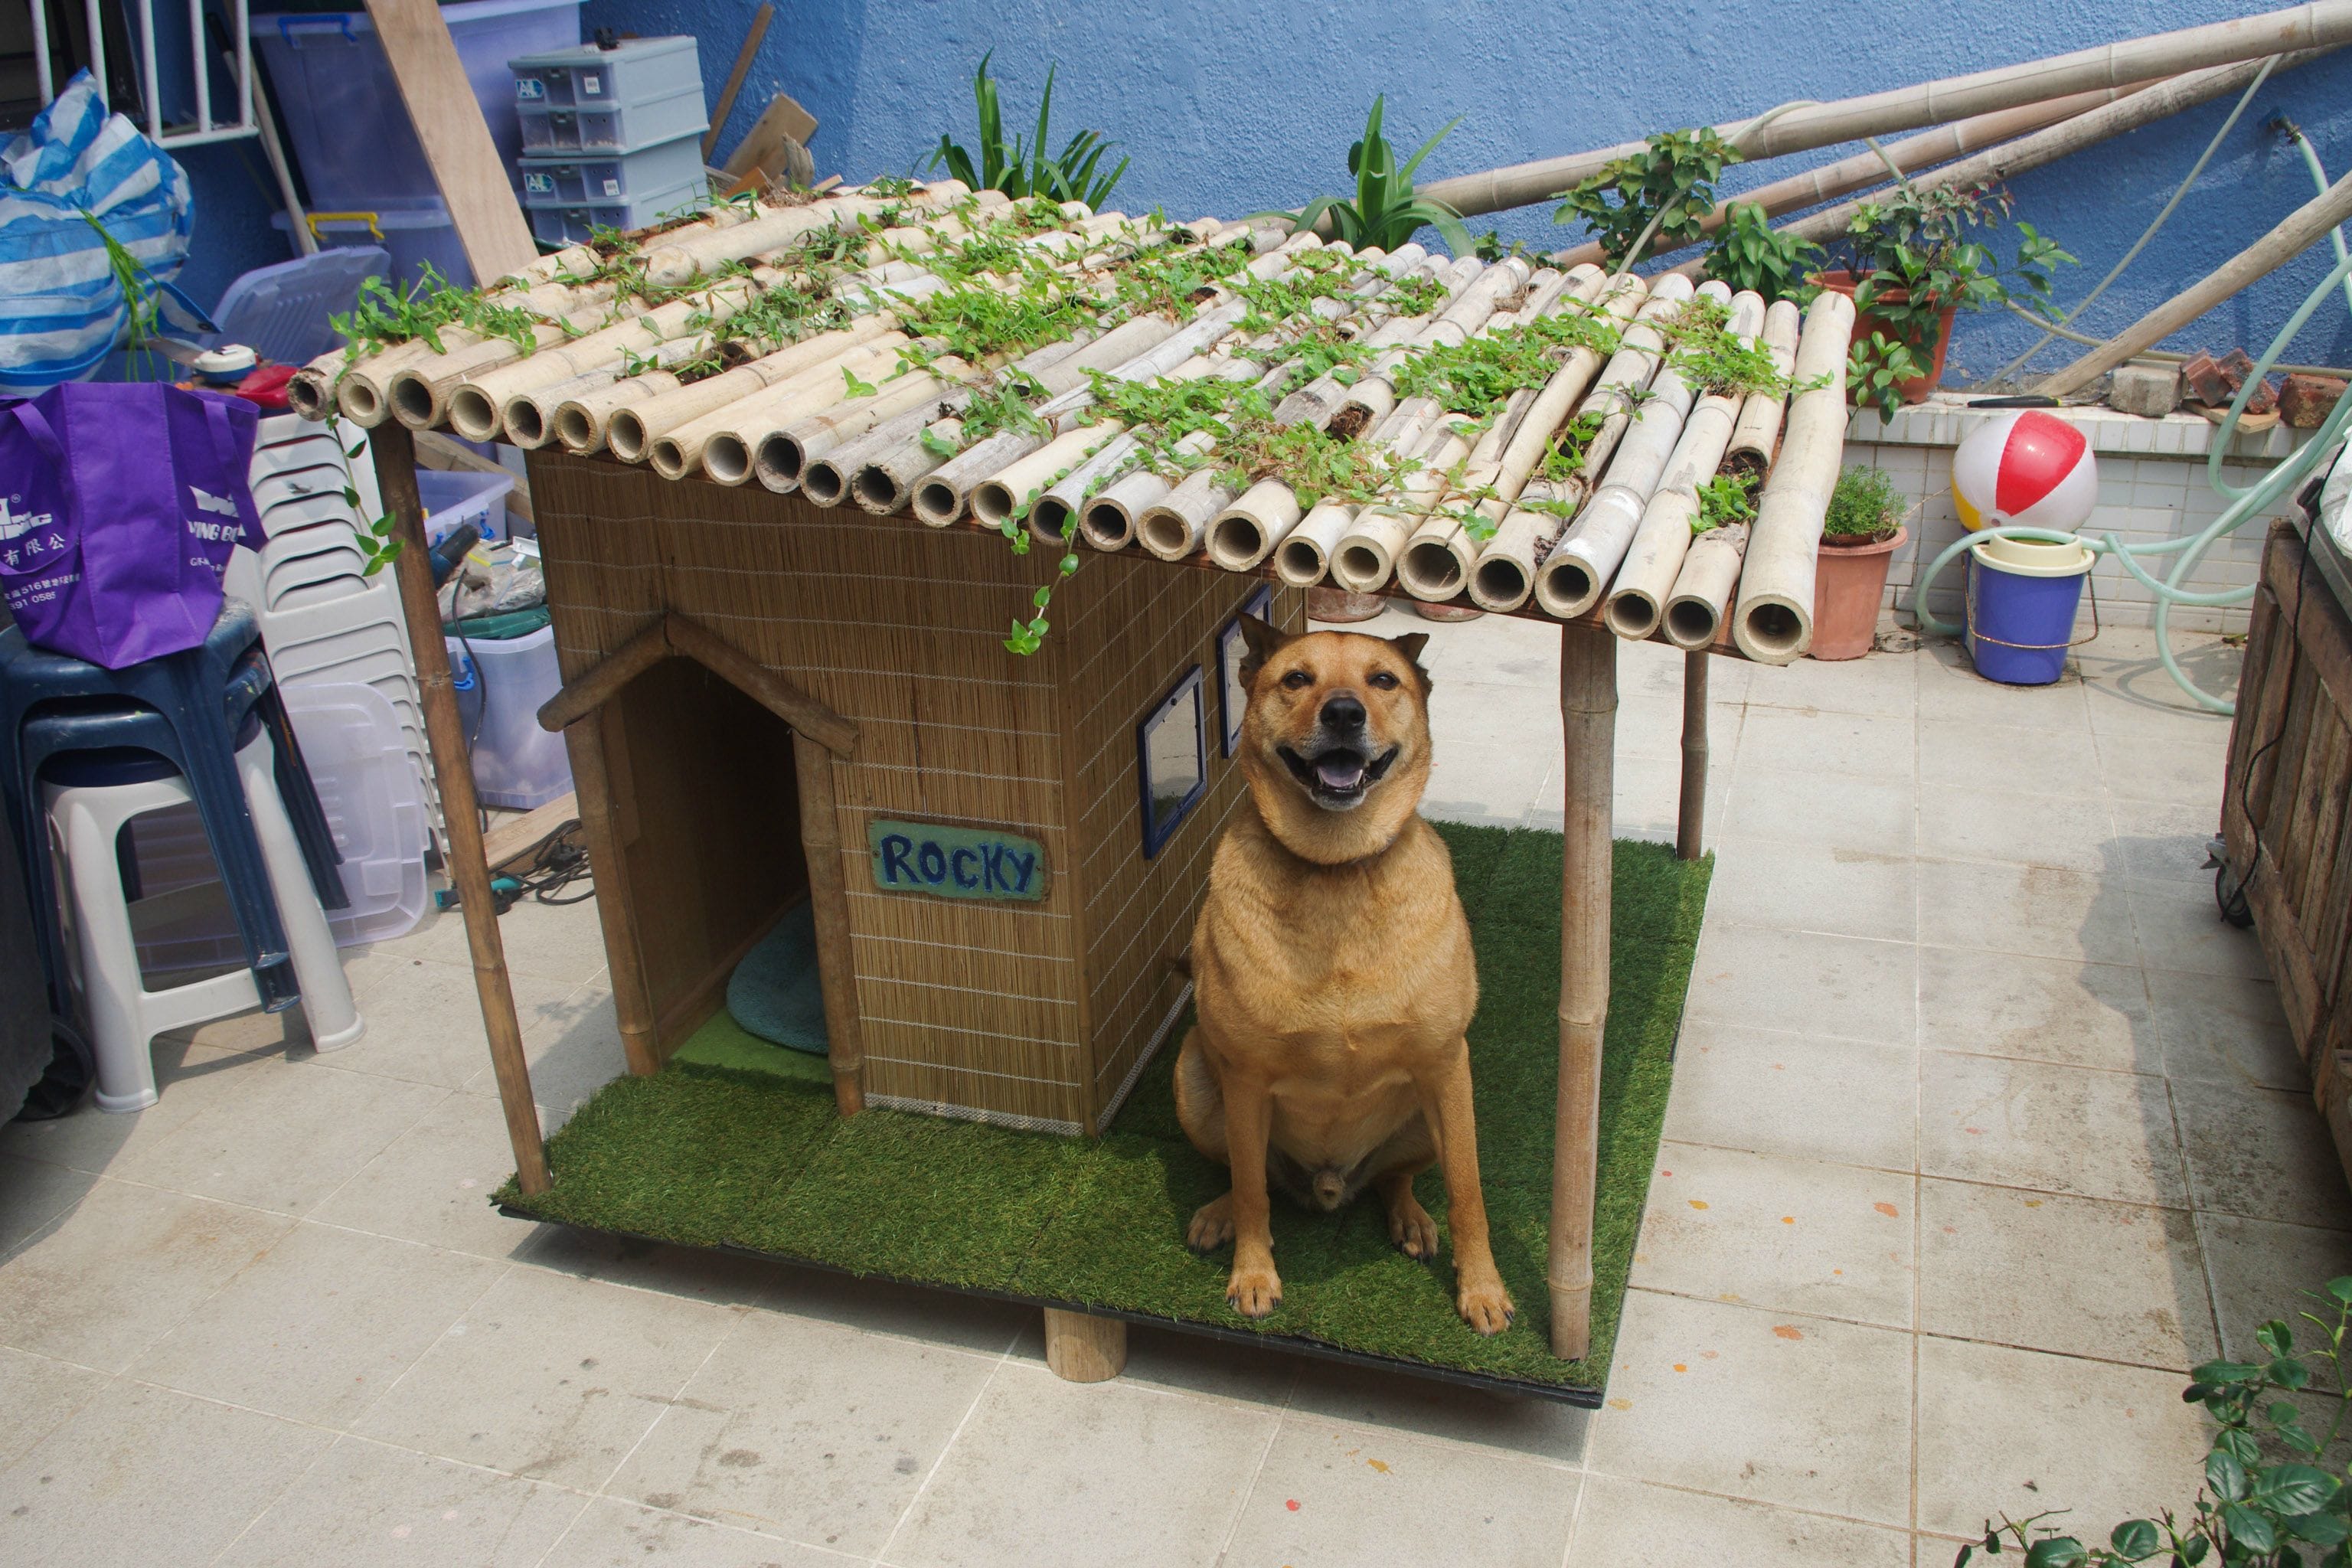
We need sheets of plywood, drill, jigsaw.

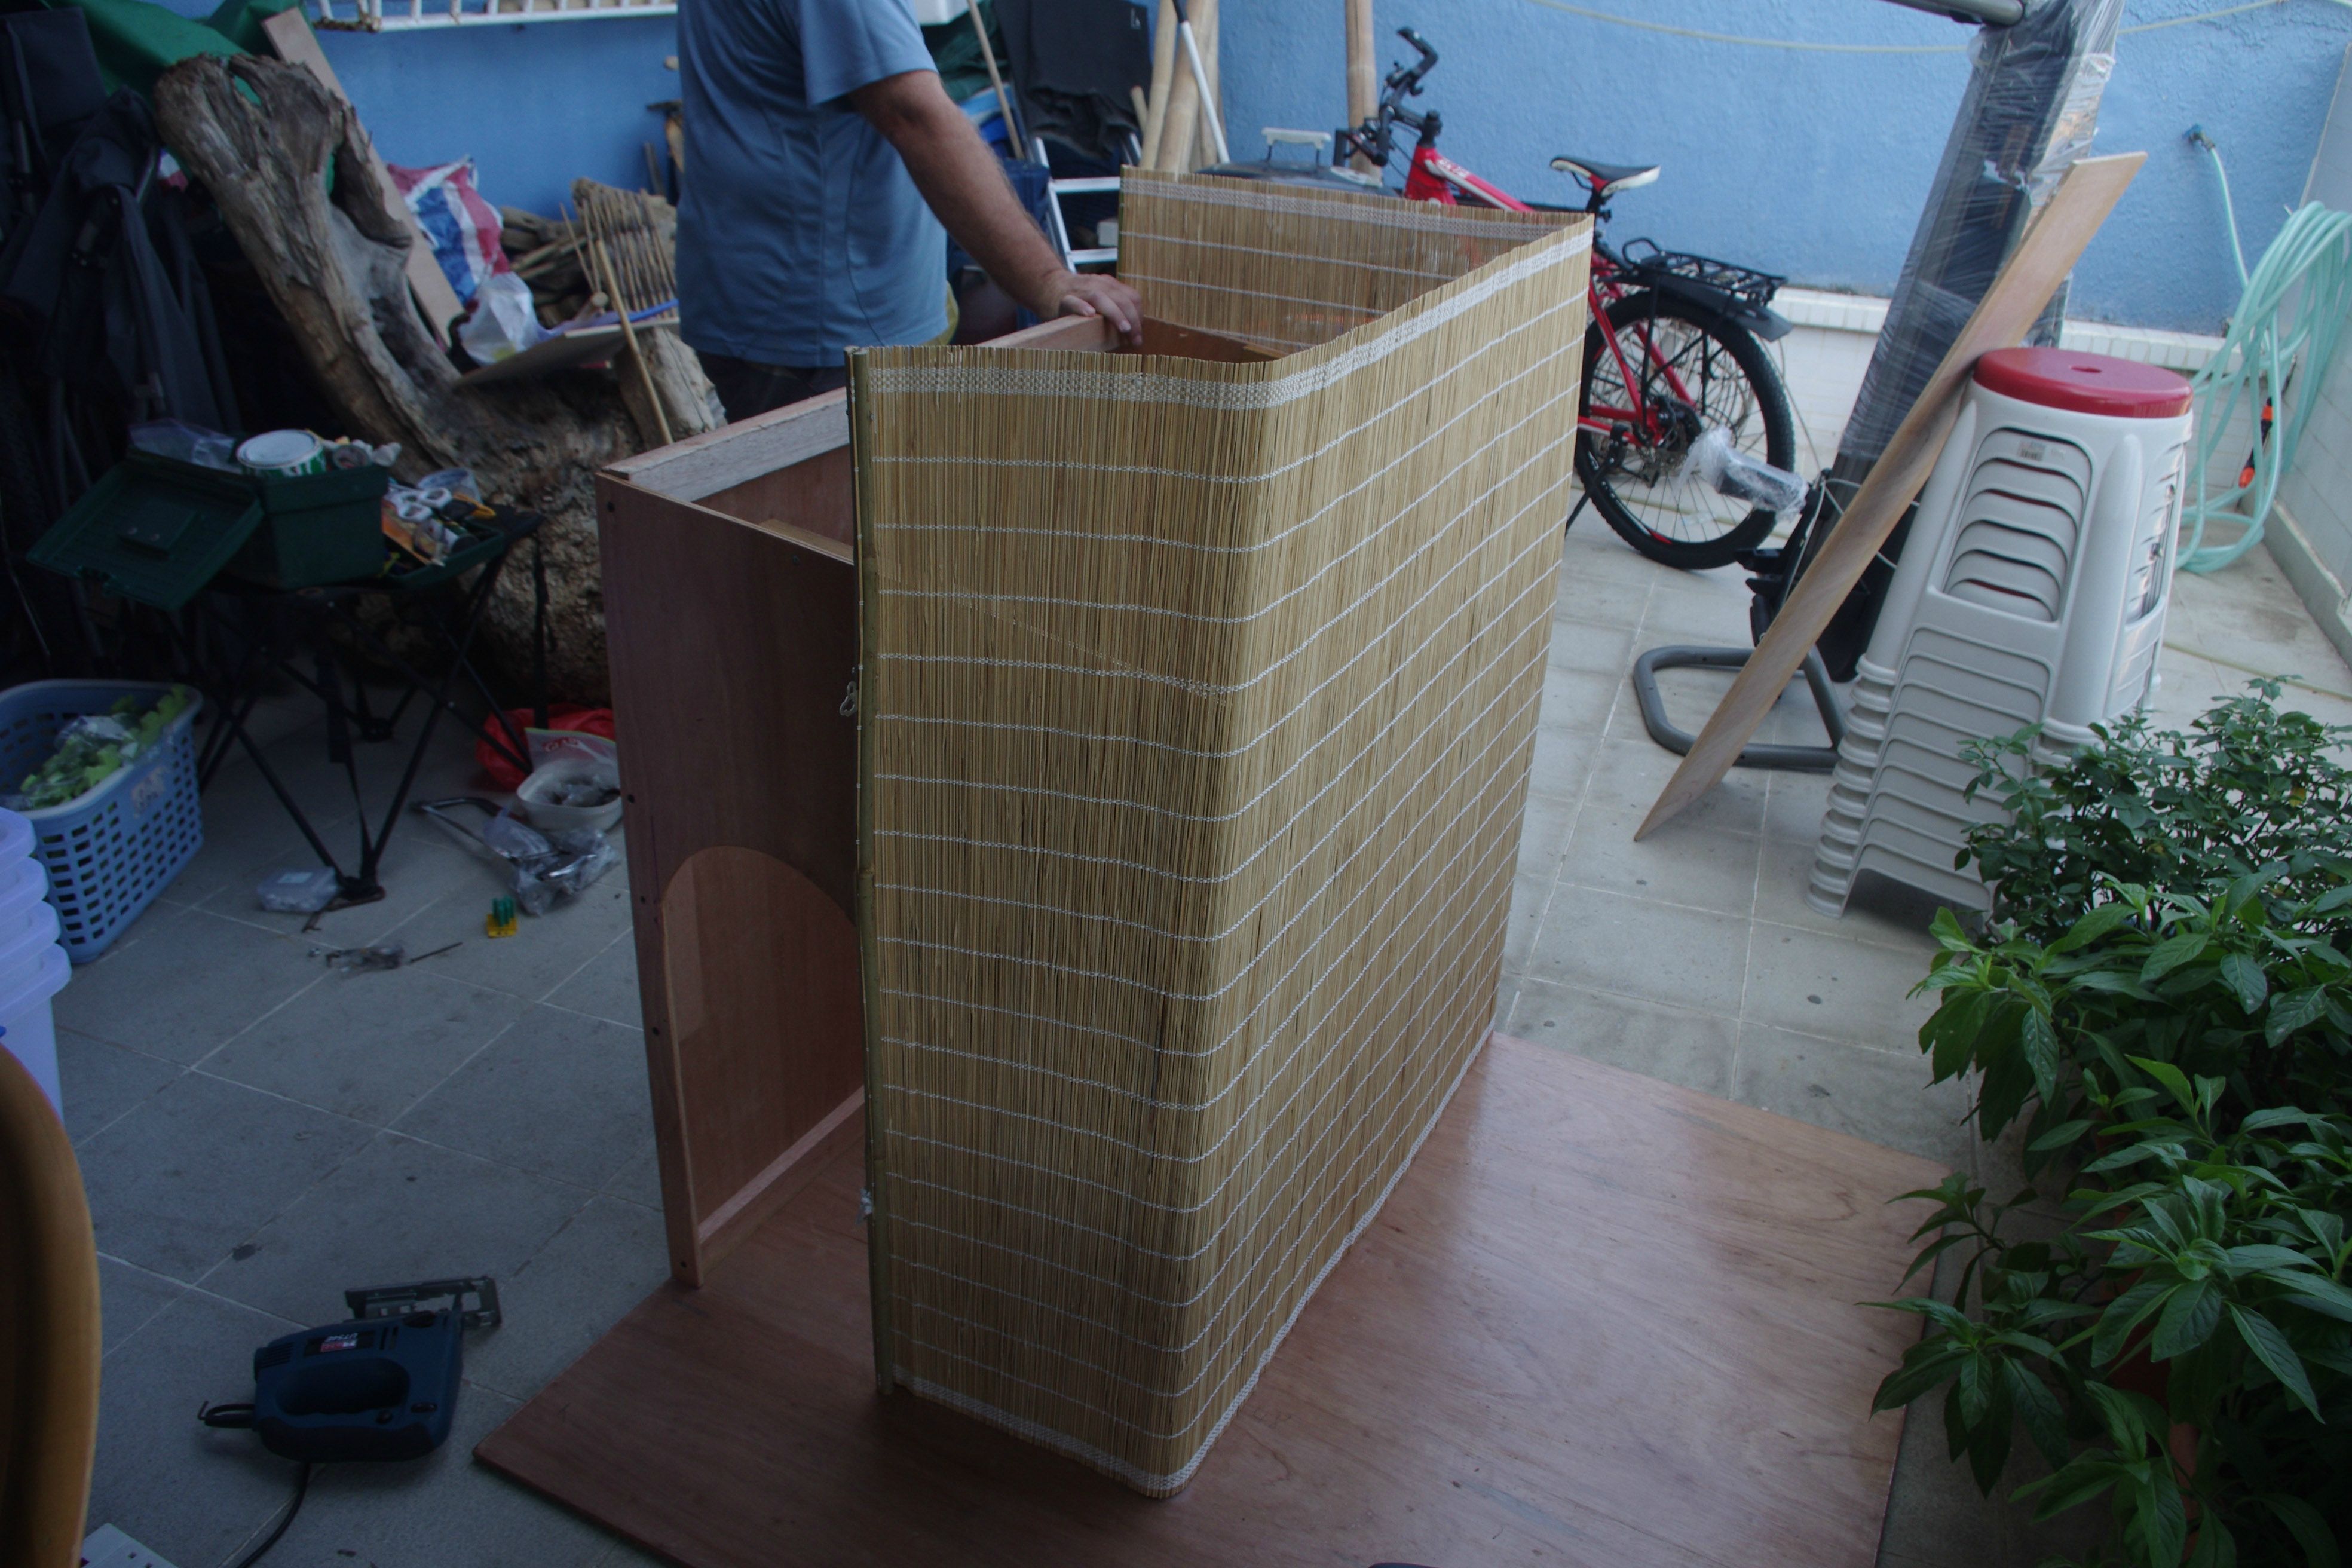
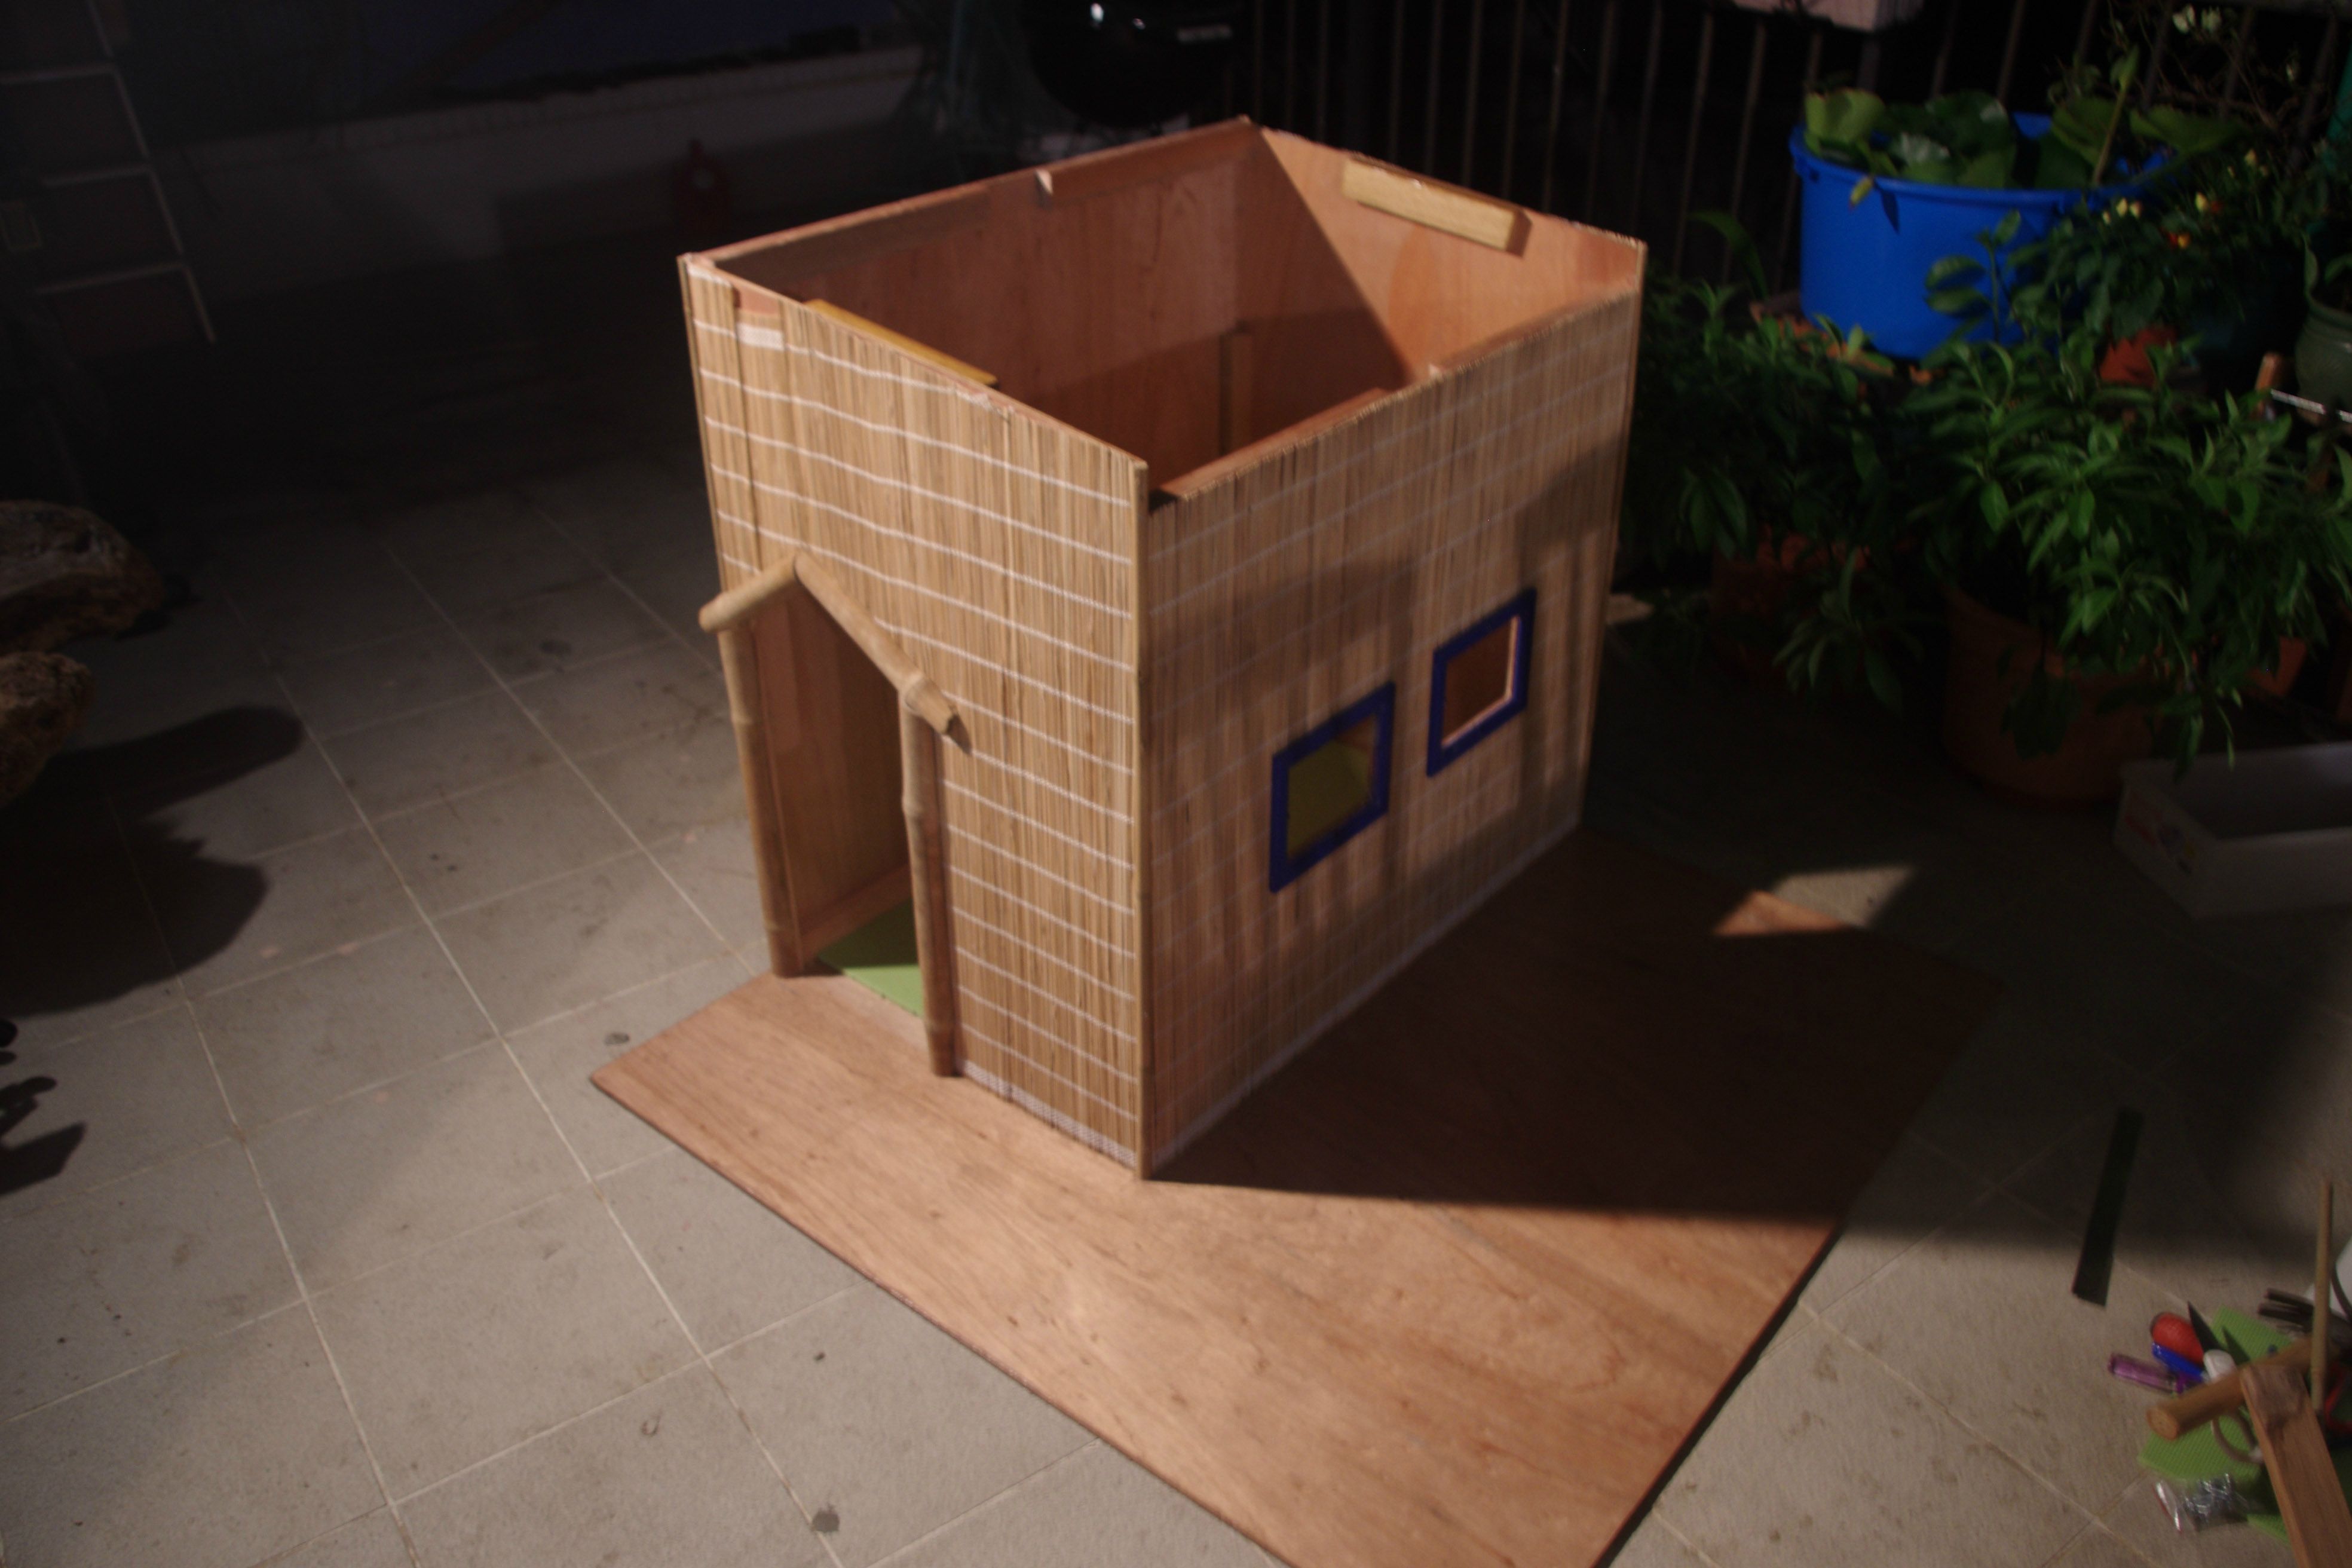
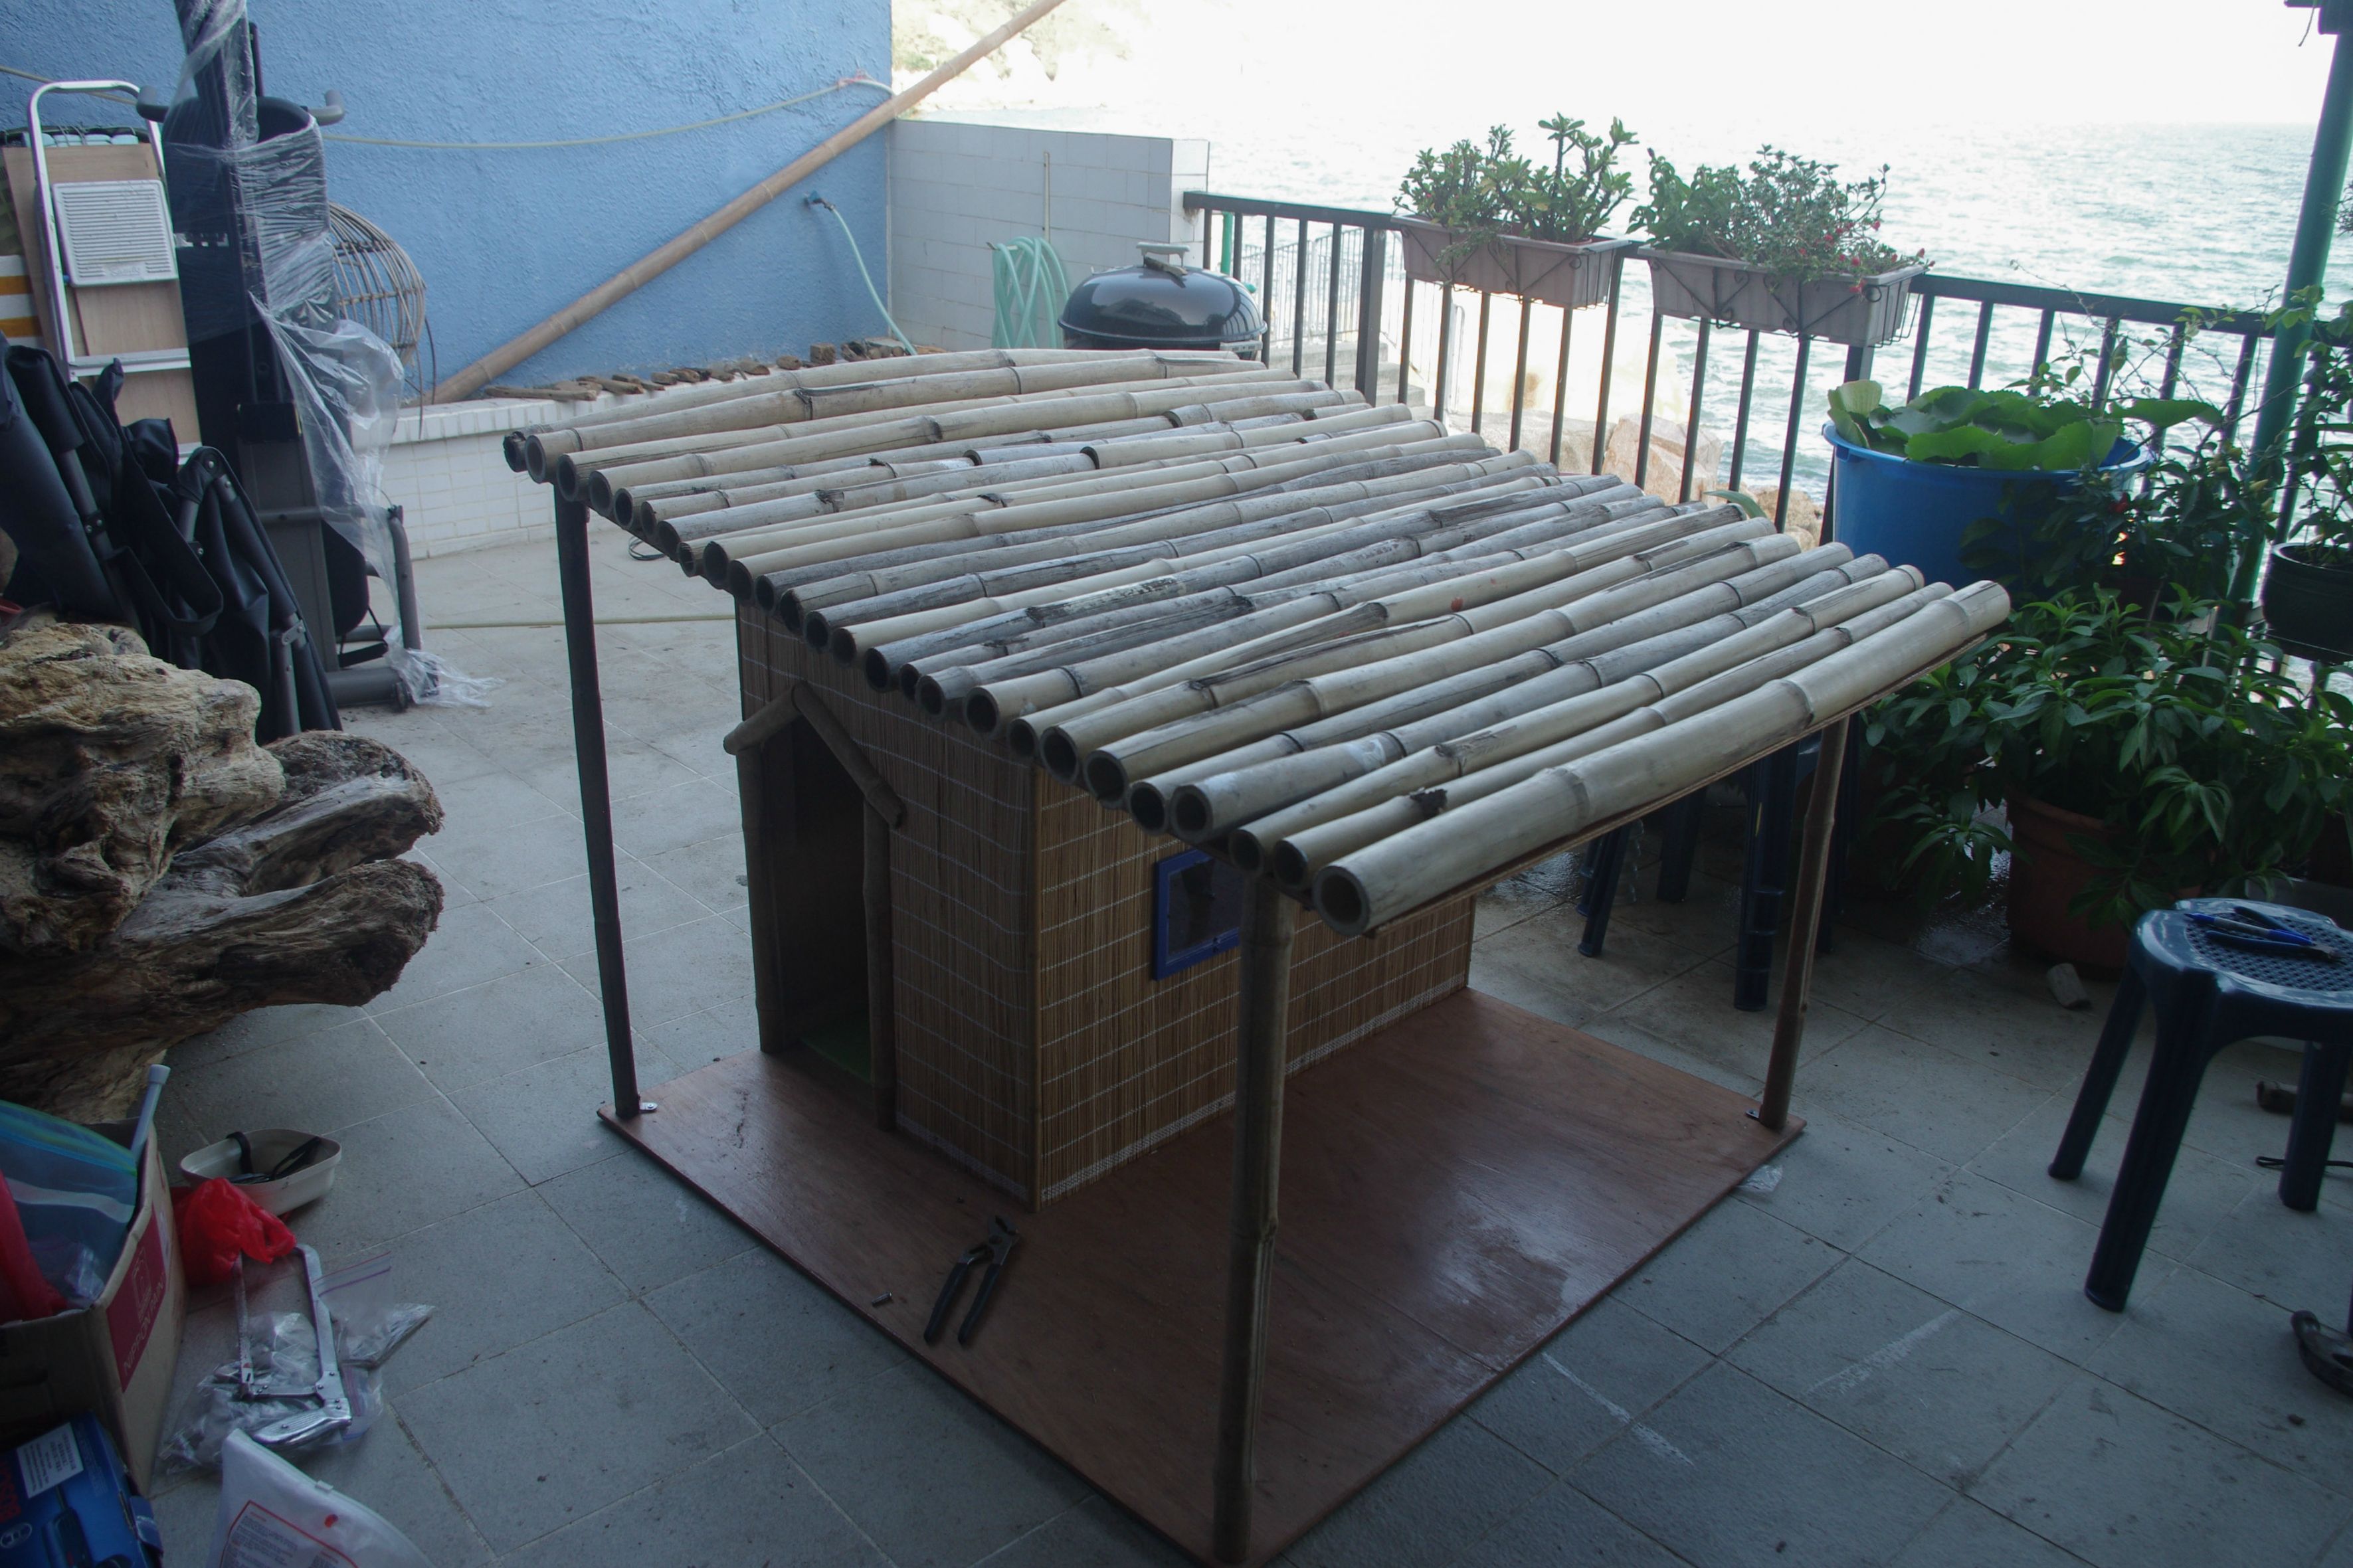
For finishing we use bamboo siding.
We mount small windows using old photo frames.
Bamboo roof will support the overall tropical style.
Decorate with greens. Green liana on the roof looks very original.
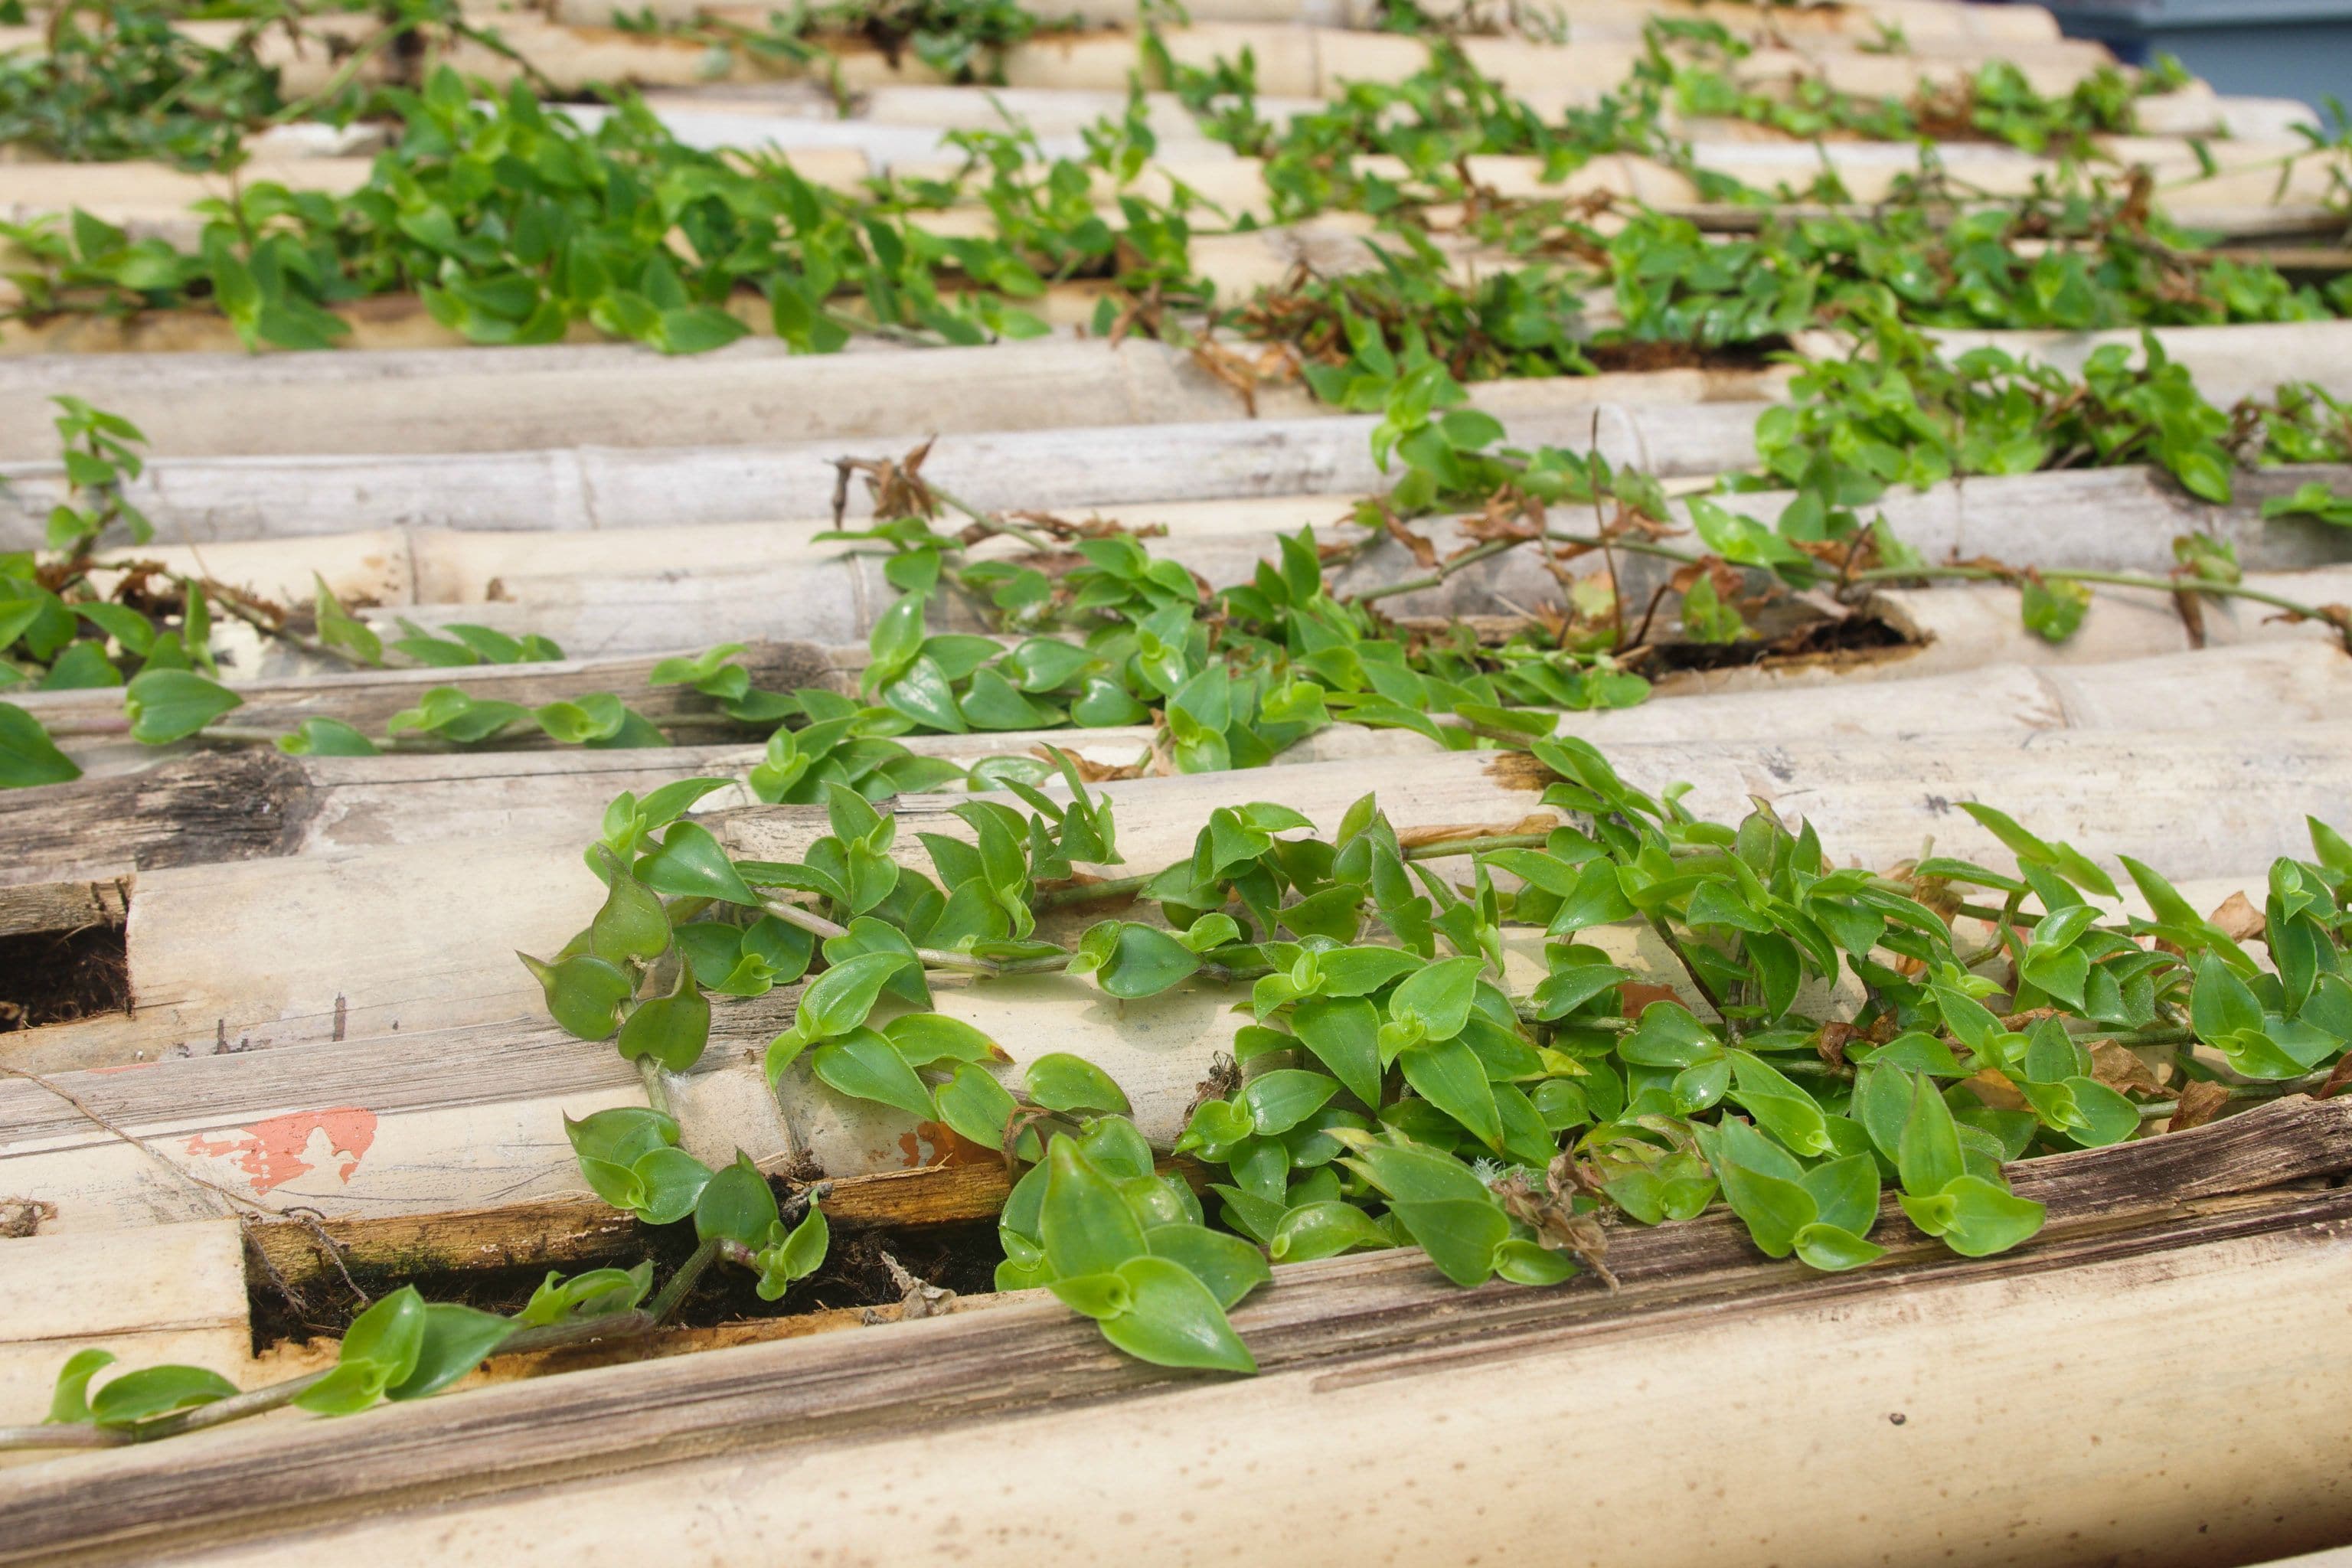
And at the end we make a porch that raises the structure several centimeters above the ground.We decorate it with artificial grass.

Compact booth

Tools and materials: hand stapler, brush, special knife, various drills, miter saw, sandpaper, hammer, circular saw with blade, cutting on plywood, jigsaw with transverse blade, boards of fir or cedar, treated boards, galvanized screws, galvanized roofing nails, cement, asphalt shingles.
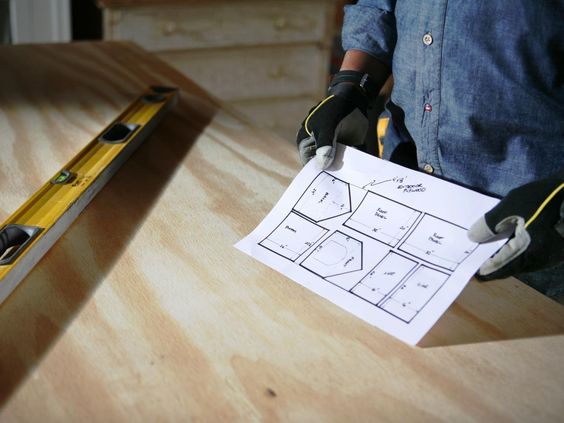
Preparing a project
All the main parts of the house cut out of a single sheet of plywood.
Wood is an excellent natural insulator that cools the room in the heat and retains heat in cold weather.
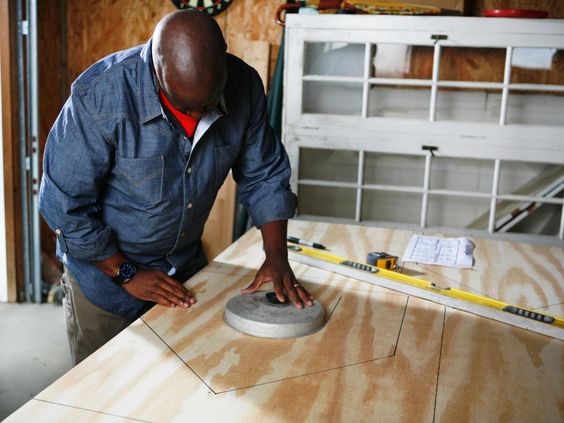
We make measurements

We mark the doorway, using any convenient round shape for a nice arched entrance.
Cut out the doorway.

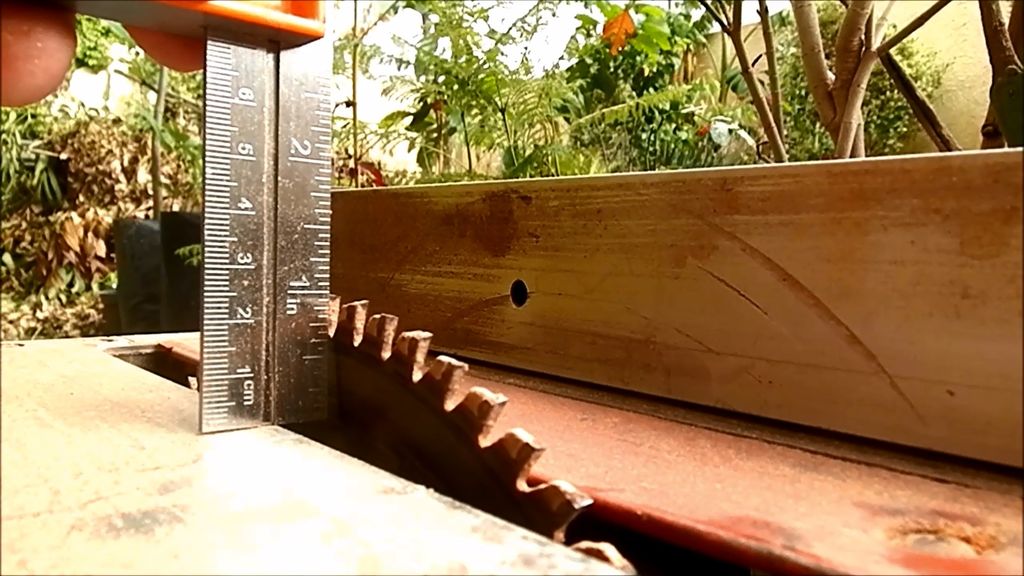
For good ventilation, drill 3 proportional holes in the rear panel of the structure.
At the end we will polish the surfaces using sandpaper and a sanding block.
Creating a base
The base will raise the booth a few centimeters above the ground, which will help make the floor warm and waterproof. Cut out the layout of our base with a miter or circular saw.
For fastening use galvanized screws.
Putting the components of the layout.
Fasten roof panels using the same galvanized screws. Check that there are no gaps or openings at the junction of the panels. They should fit snugly together.
Roof finish
Asphalt-impregnated roofing paper is an extra level of protection that will keep your booth dry in rainy weather.
We put shingles in three rows on each side with a small overlap, thus filling the grooves between the rows.
It remains only to paint the booth and congratulate your beloved pet with housewarming!
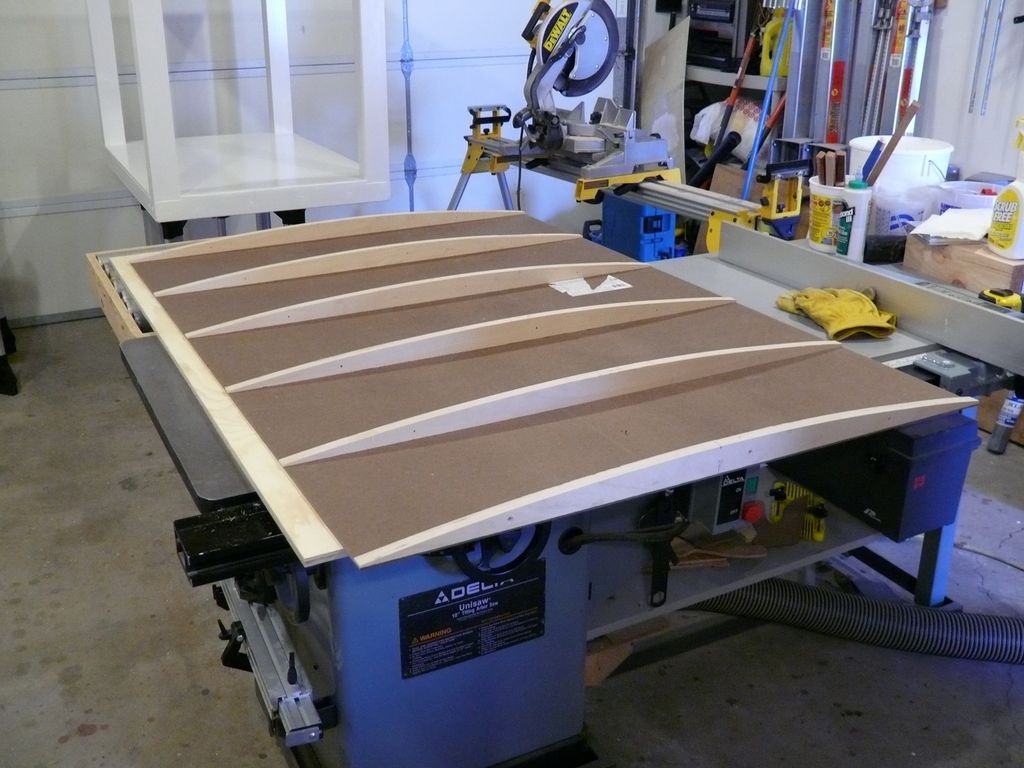
Creative asymmetry
Even such an unusual project can be built with your own hands. Let's get started!
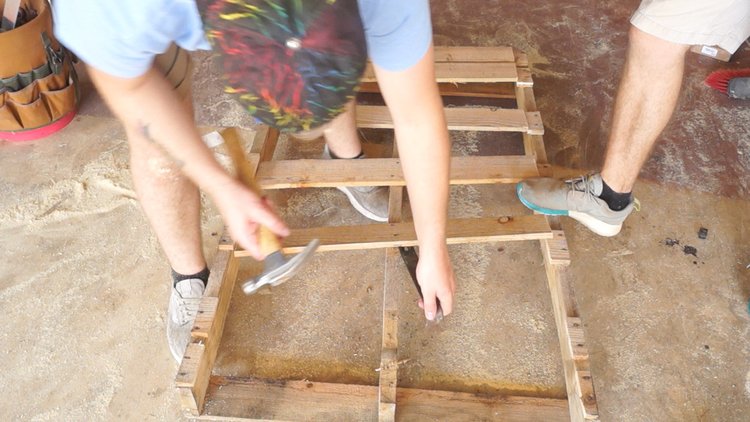
We prepare 5 sets of boards of various lengths, in proportion to the size of your dog.

Making a layout.
We connect the whole structure with a floor base.

Fasten the side sections of plywood.
Cut and fasten the front and back of the booth.
We construct the roof. For the first layer, we use plywood, which we paint with facade paint. The second layer is laid tile. And the final touch is a sign with the name of the owner.

Elegant home
Determine the size and build walls
At the first stage it is necessary to determine the width, depth and height of the house. For the whole structure we use cedar boards.

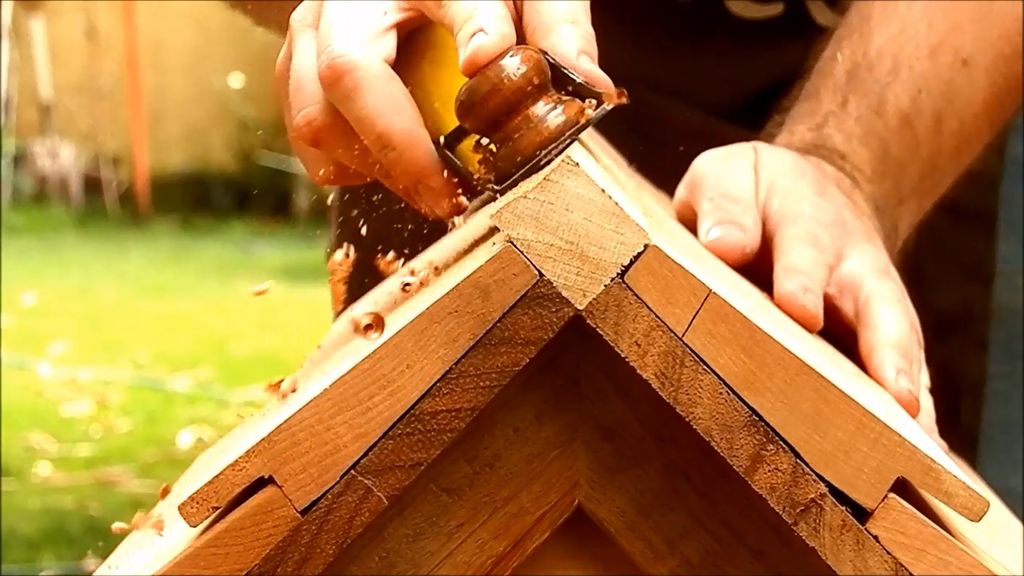
Gable and roof decoration

We make the gable. For him, set aside 10 boards (5 for the front and 5 for the rear).
The effect of shingled roof
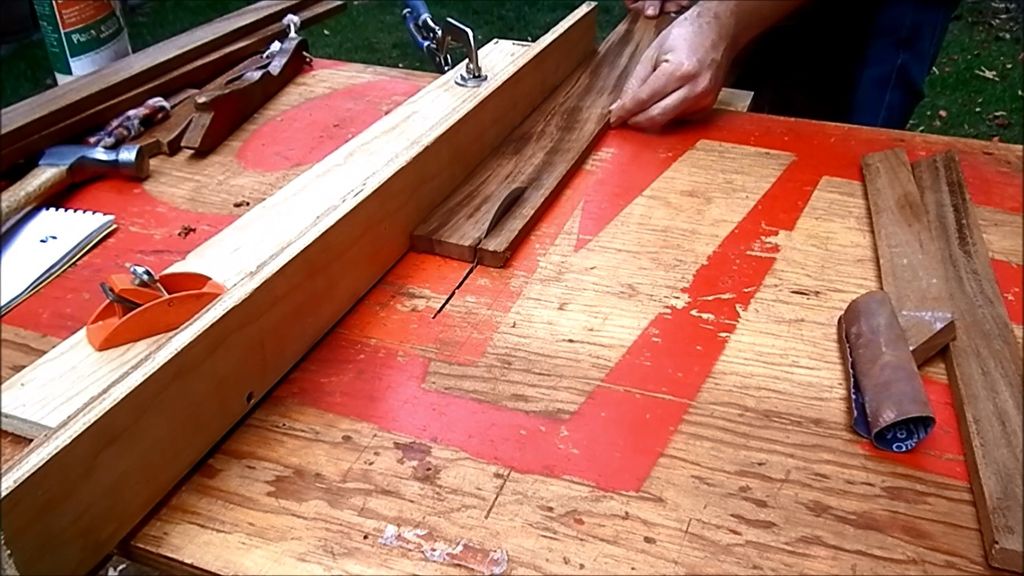
The shingle is a wood plate. In this project, using a cutter, we will make the grooves on our own to achieve the effect of a shingle roof.
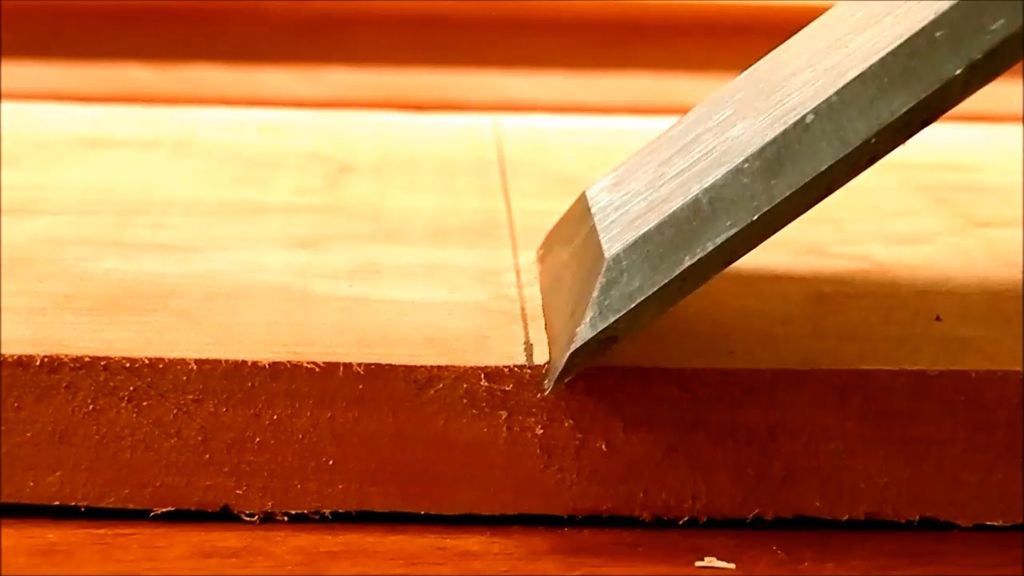
Cut V-shaped sections.


 Grind carefully.

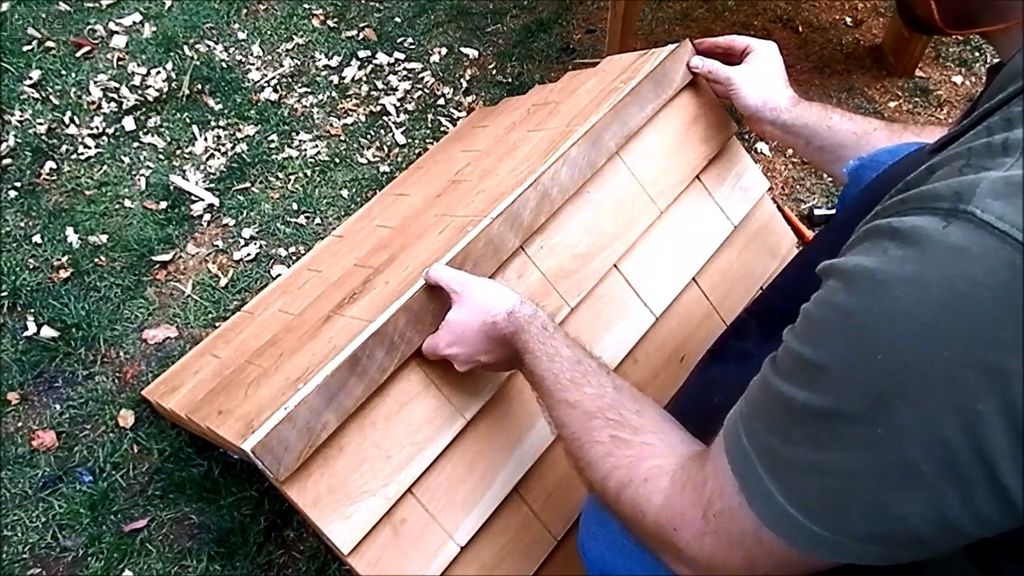
Main roof
We mount two sheets with construction glue and screws.

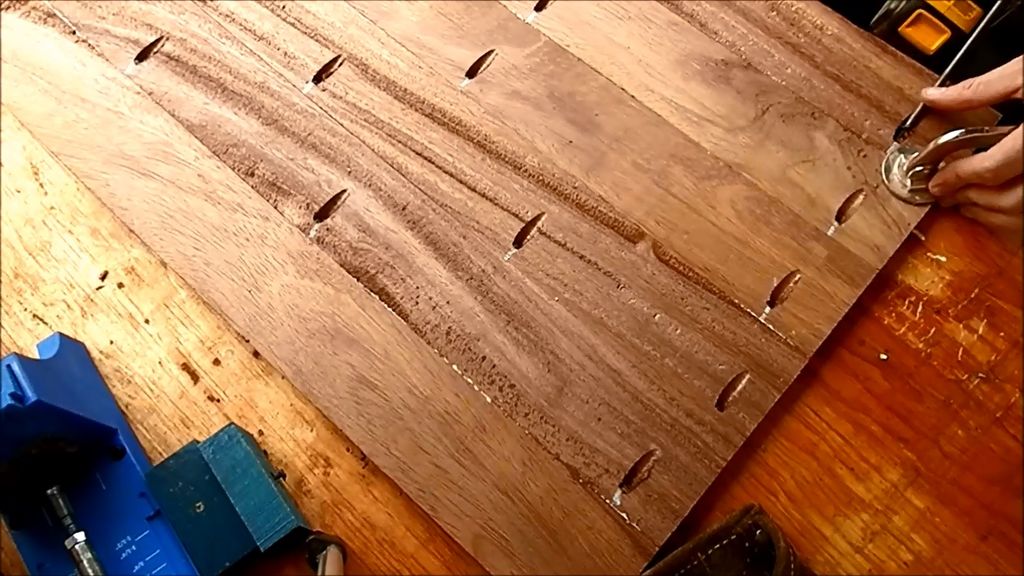

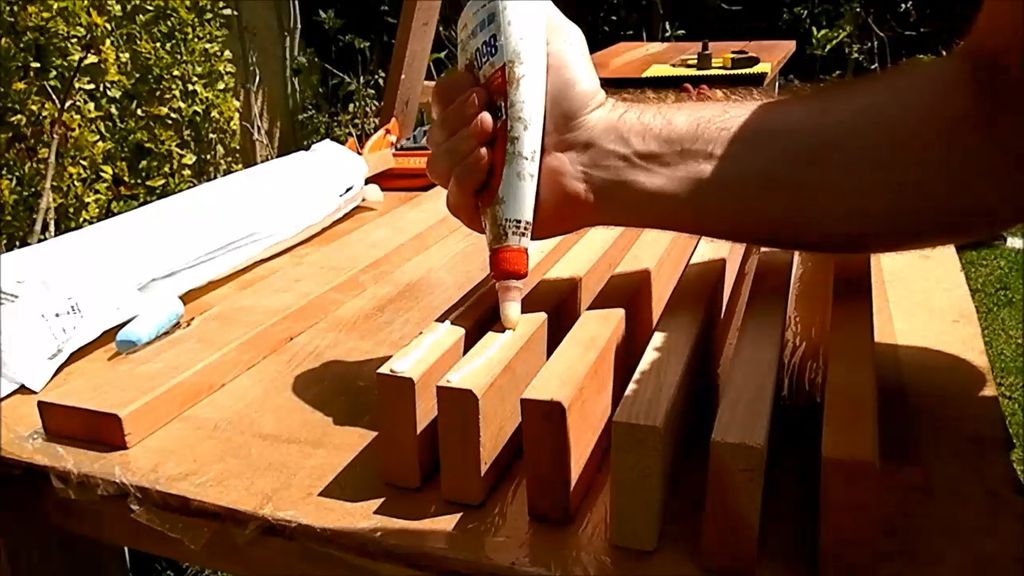
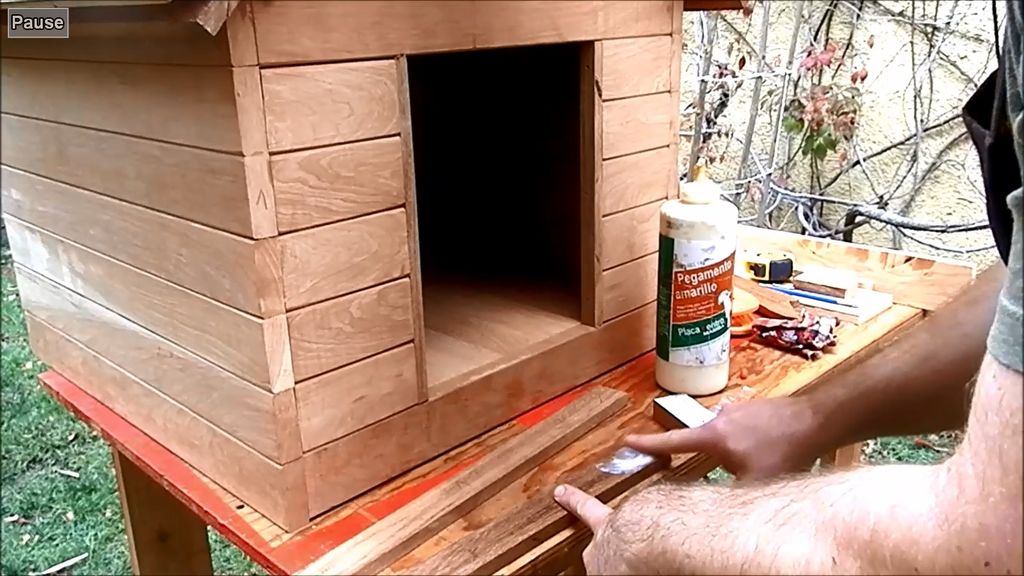
We form walls
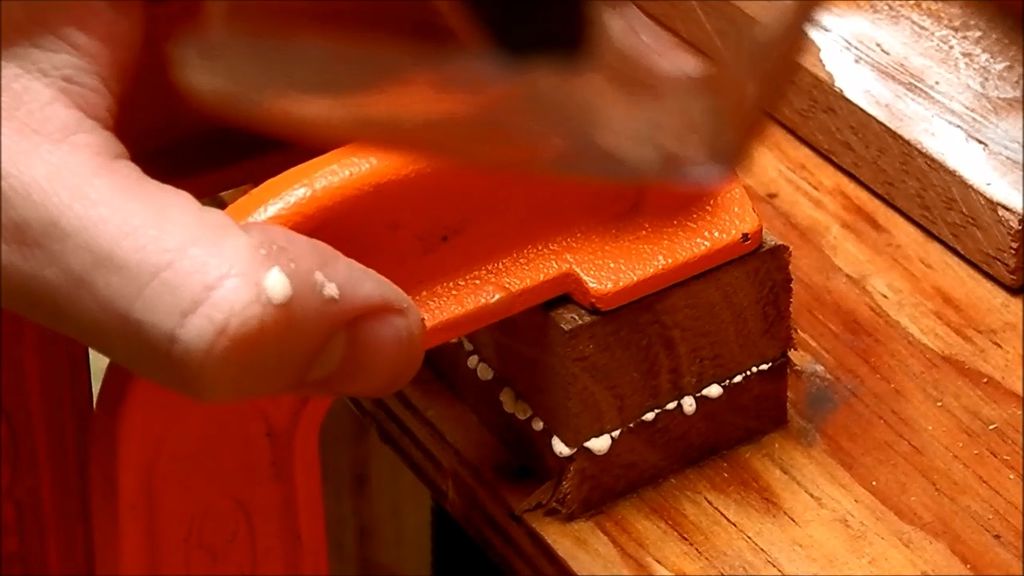
Apply glue to the boards. To prevent them from sticking to the table, underlay wax paper or film.
Making the front part.
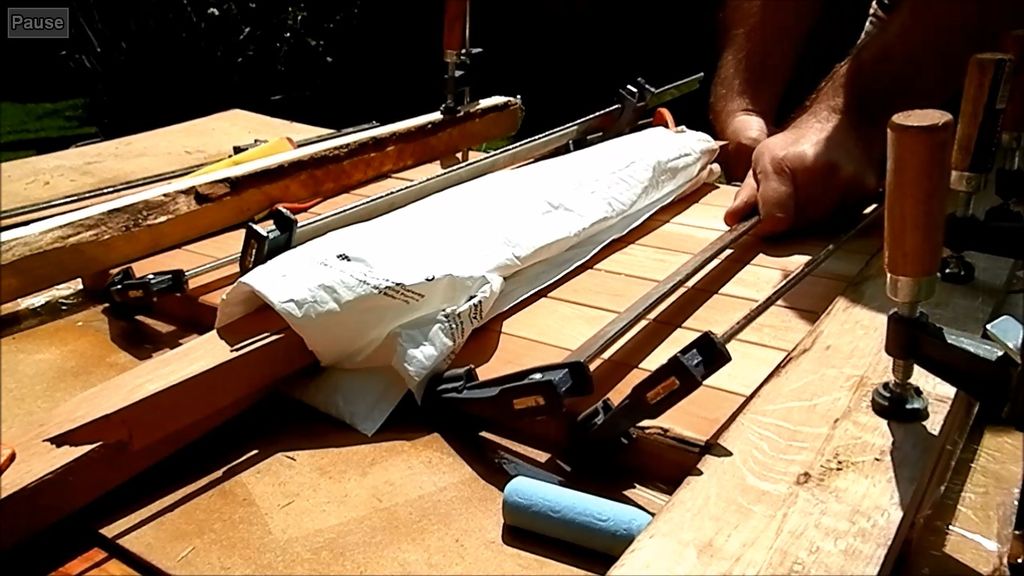
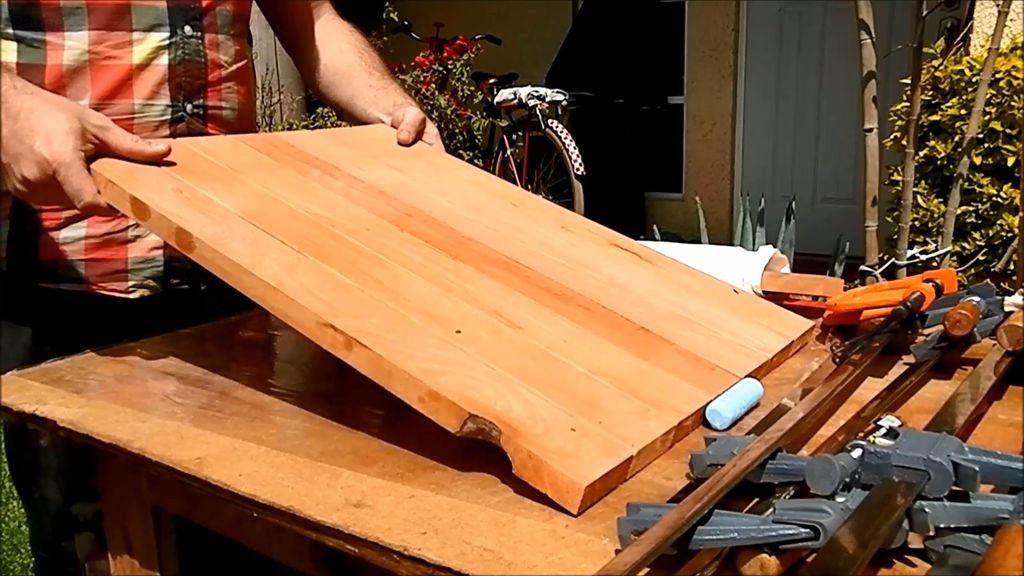
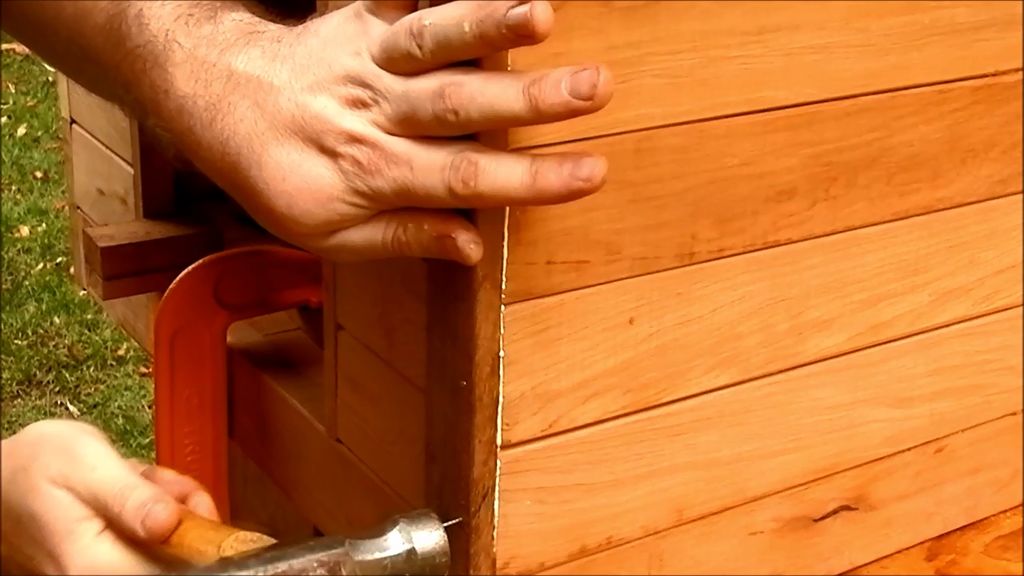
We collect the walls

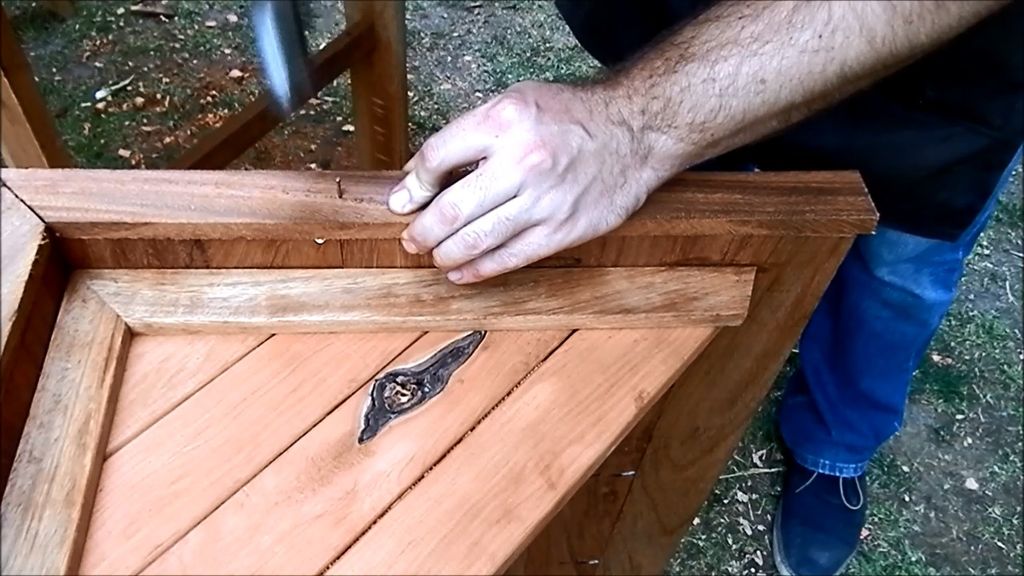
Add details
Cut out the trim (frame) of the gable and the entrance opening. Fasten with glue and screws from the inside.
To prevent the wood from splitting, pre-drill all the holes sloped before screwing.


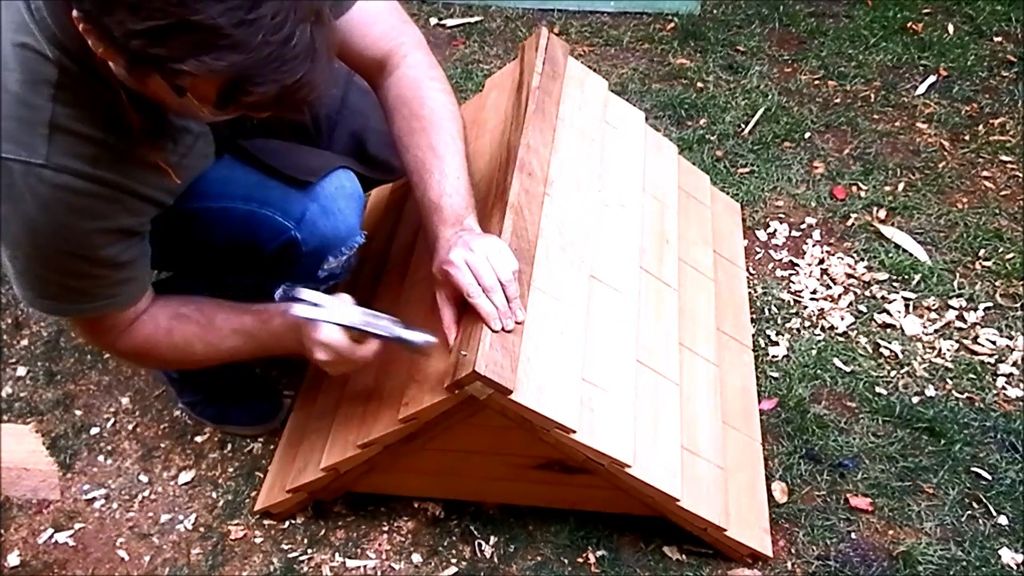
Roof and floor installation
Cut the boards and glue them together, thus forming the floor.
With the help of screws and glue, we attach the main to the gable roof. Then we impose a tile so that the grooves overlap.
Adding legs and side trim

Fasten upholstery. 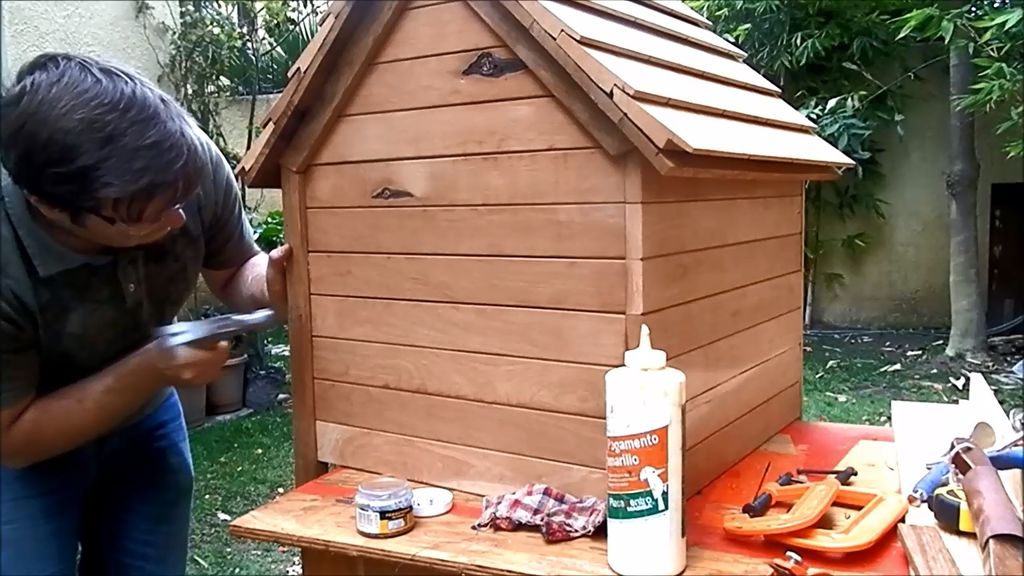
Wipe excess glue with a damp cloth.
The last stage of laying the roof
Add a interposer for the top of the roof.
Installation of the aperture
Measure and cut off the bottom of the doorway.
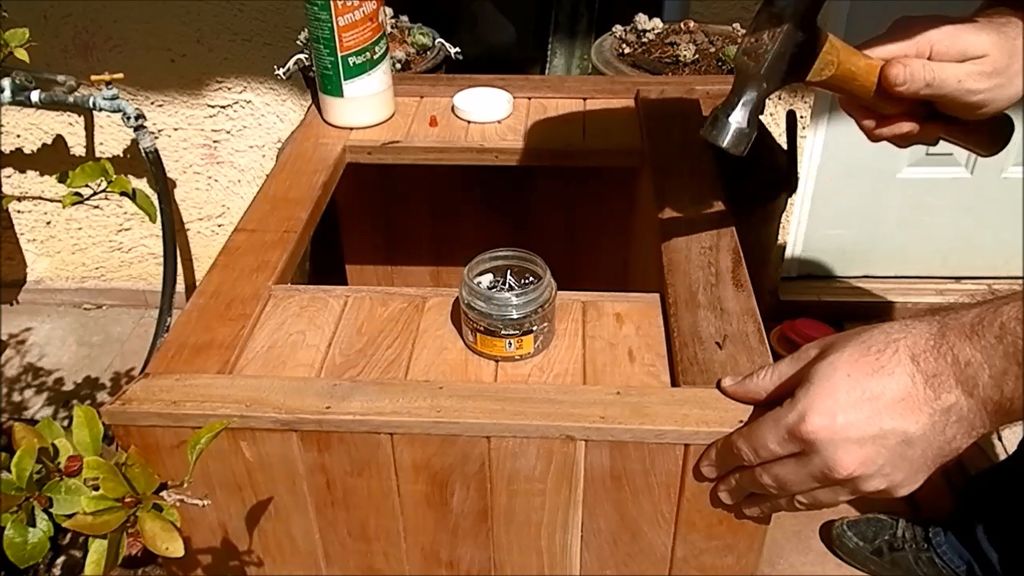
Fasten the side trim door.
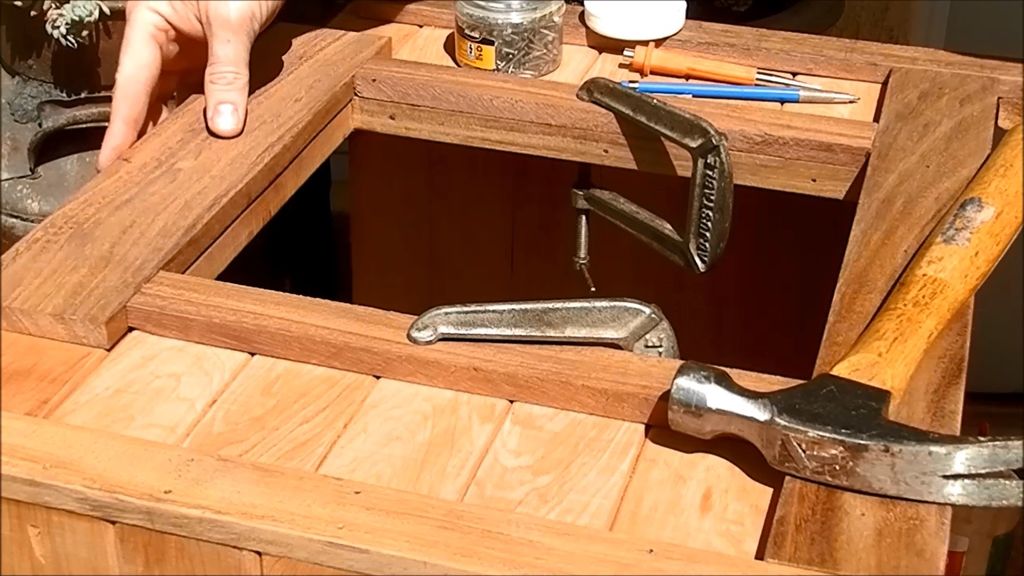
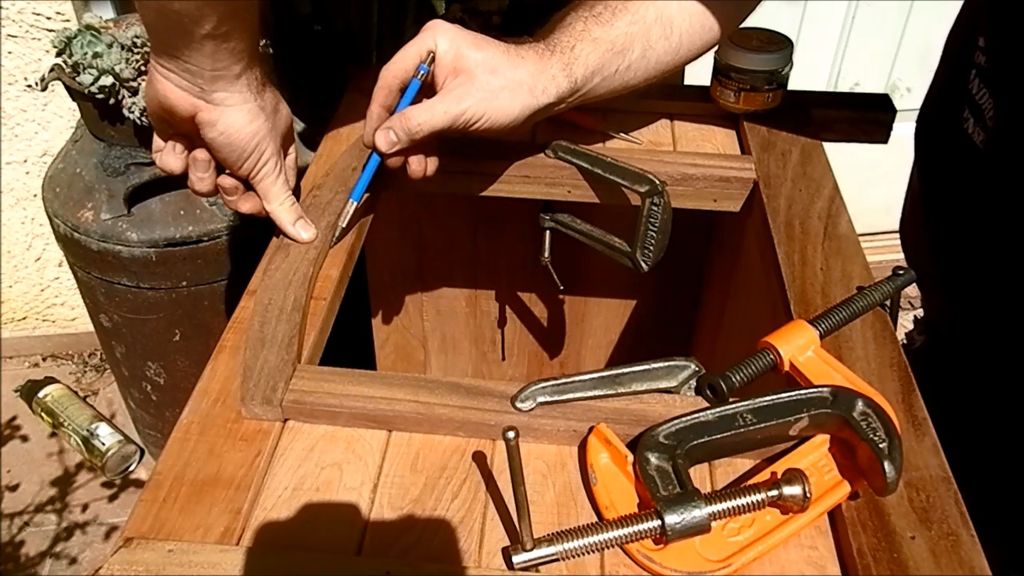
We make the arch, clamping the bending piece of wood above the finish.

With a circle draw a semicircle for the upper and lower parts of the arch.
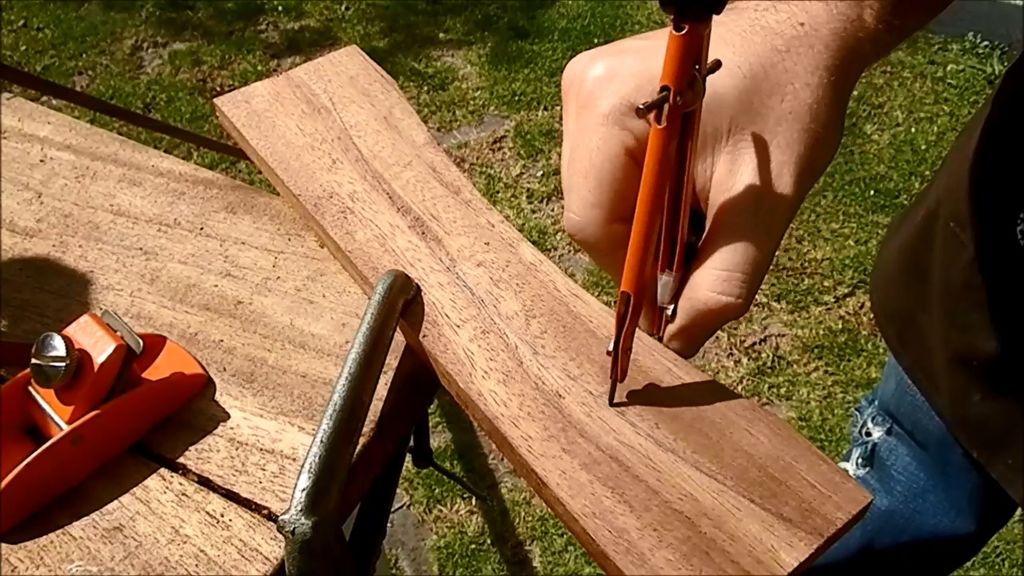
Cut out a jigsaw on the marked lines.

Grinding
Grind all surfaces thoroughly.

Fasten the prepared and ground doorway finish.
Signature and final works
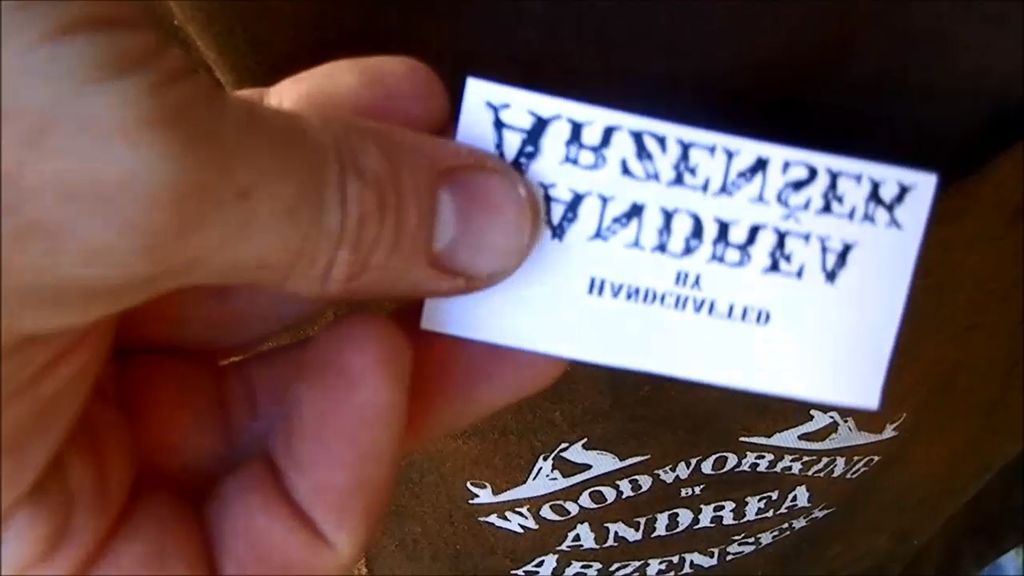
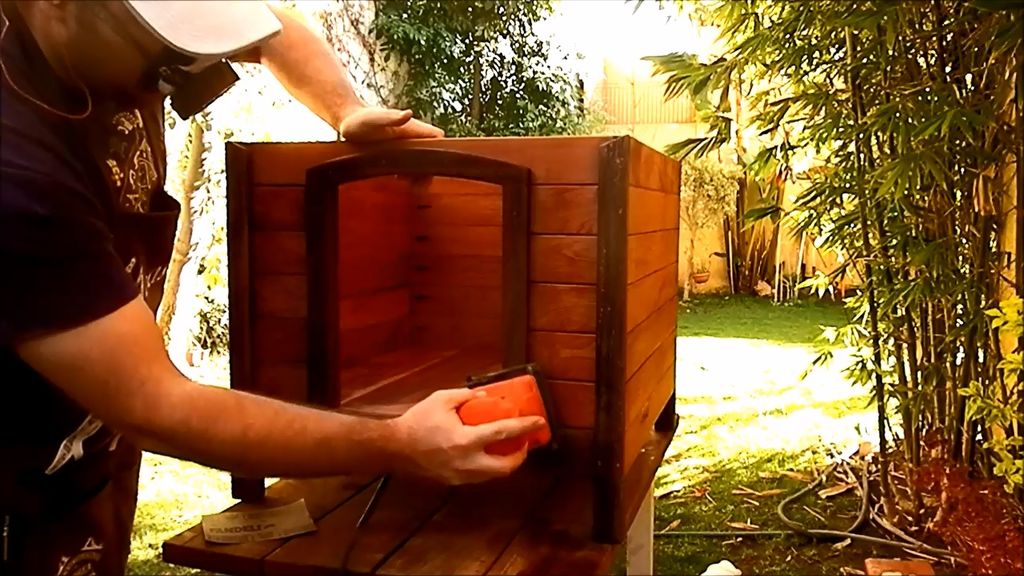
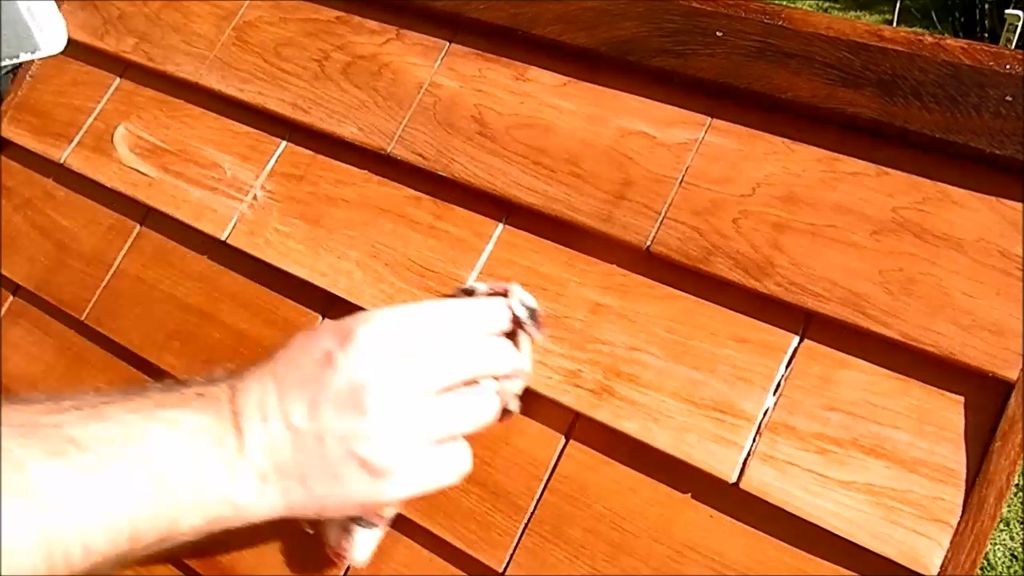
The uniqueness of the house will add a personal signature of the author. We transfer its mirror image (printed on a laser printer) to the booth and cover it with a layer of varnish.
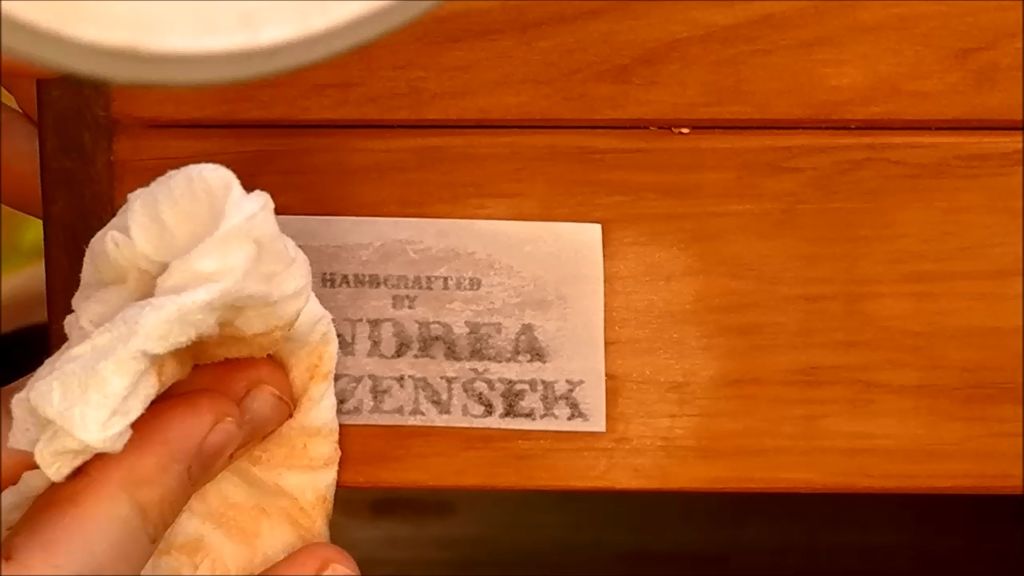
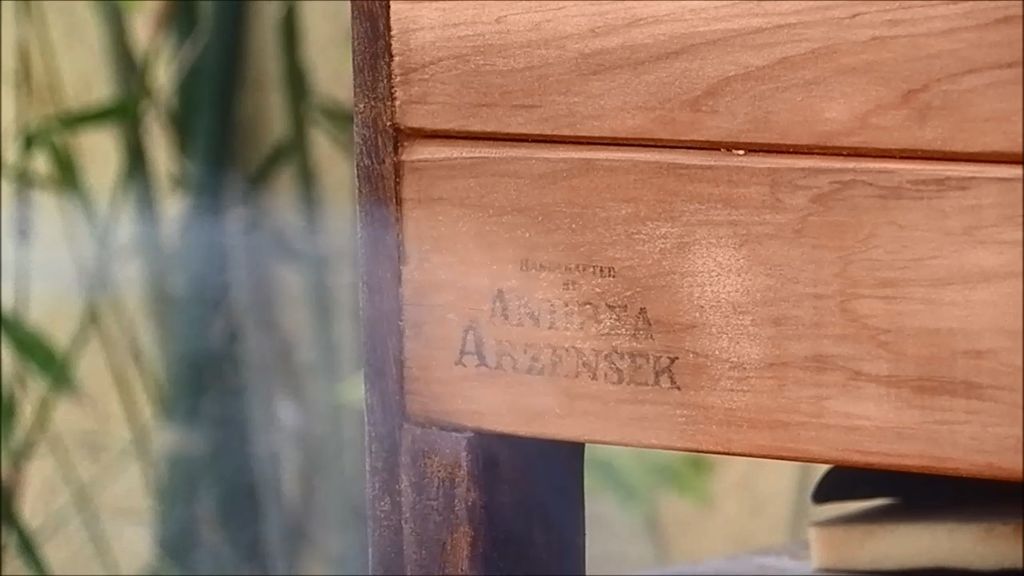
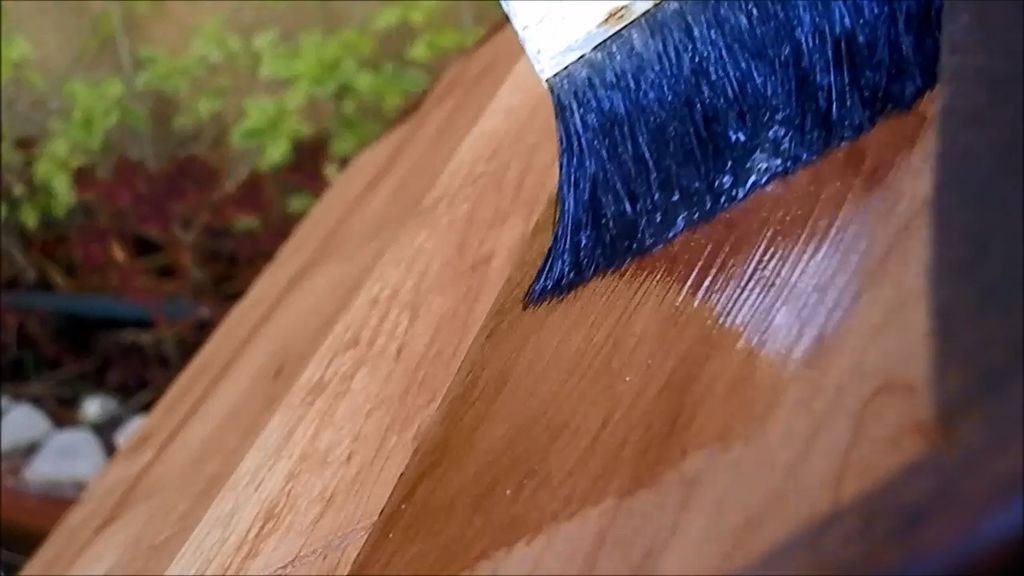
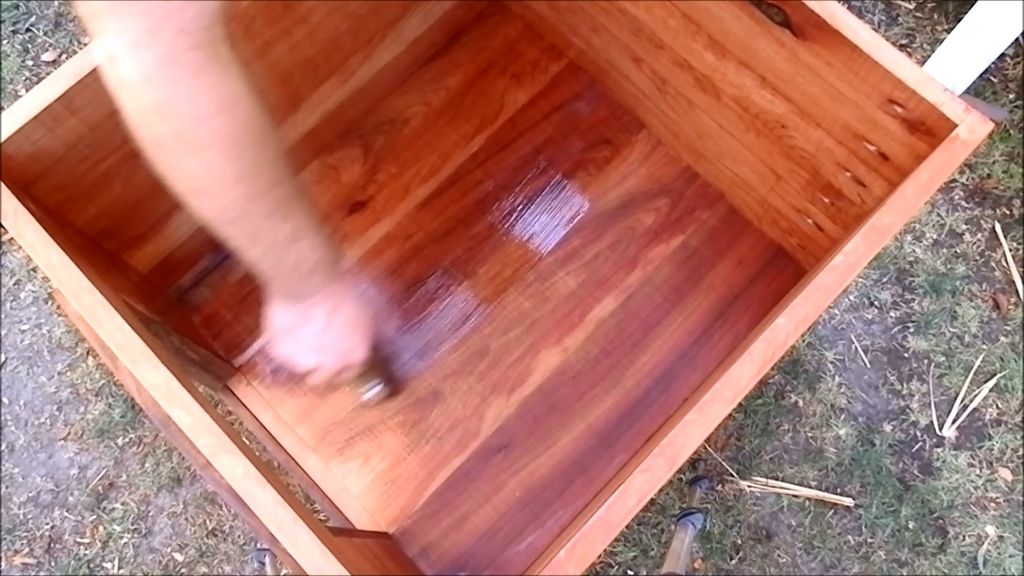
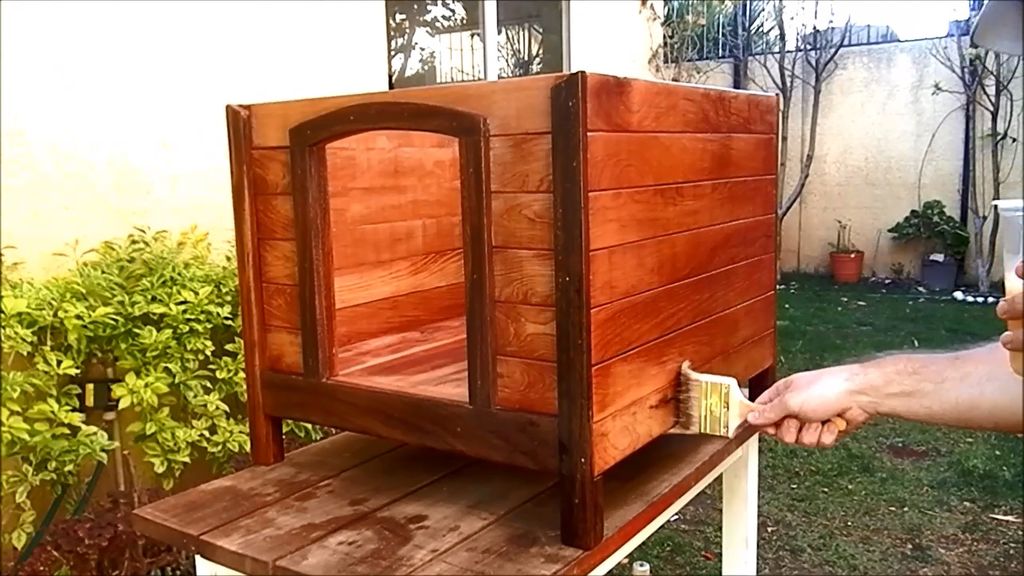
Having cleaned the surfaces of dust, we impregnate the wood with mineral oil, after which we apply a transparent lacquer in two layers.

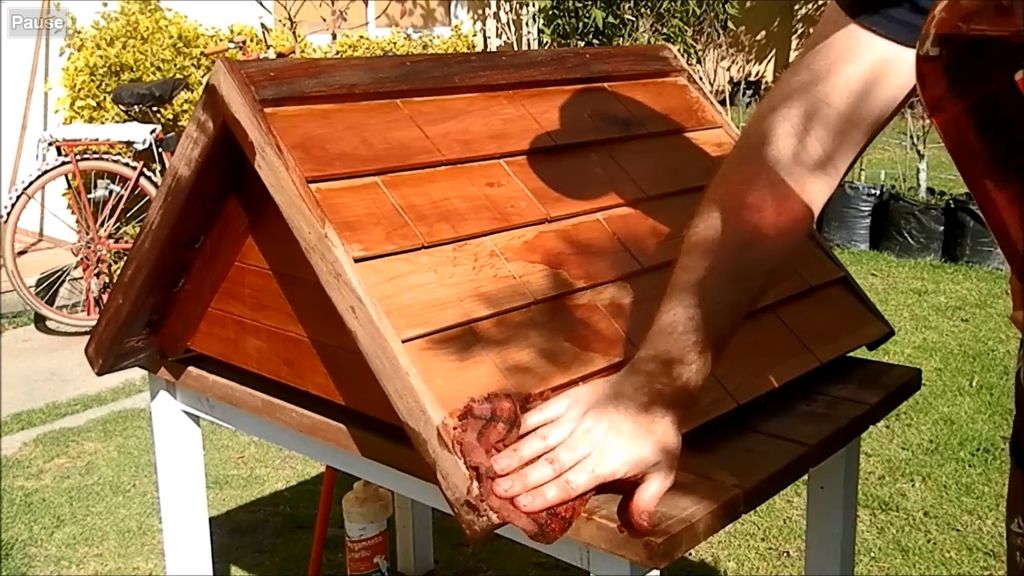
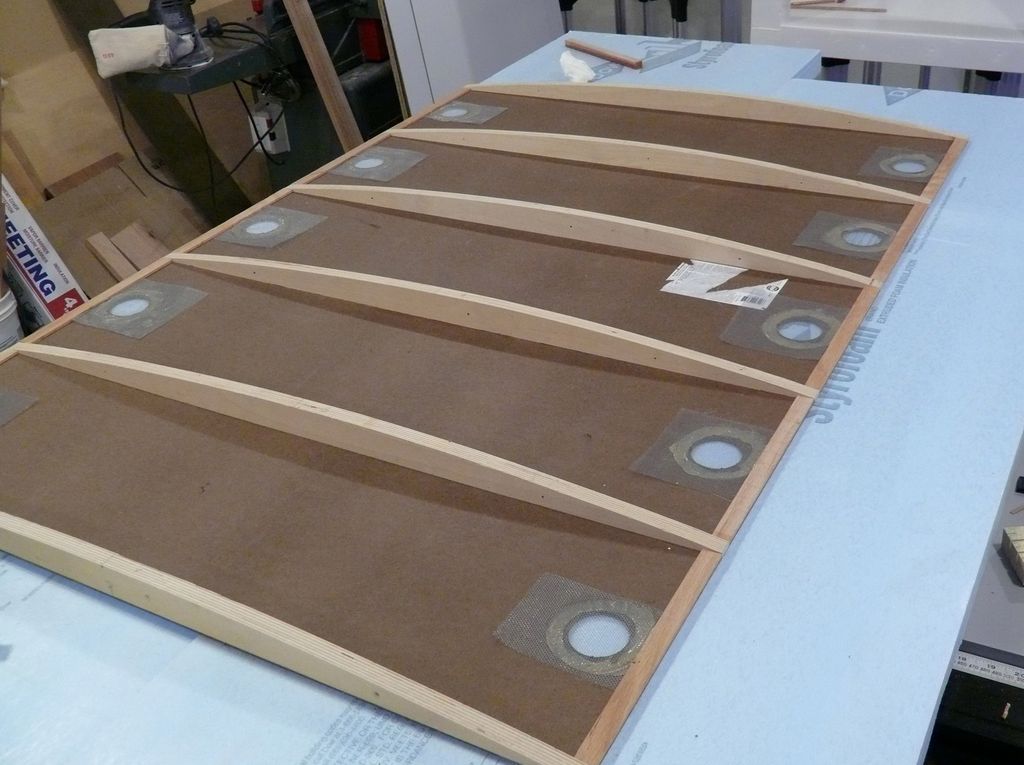
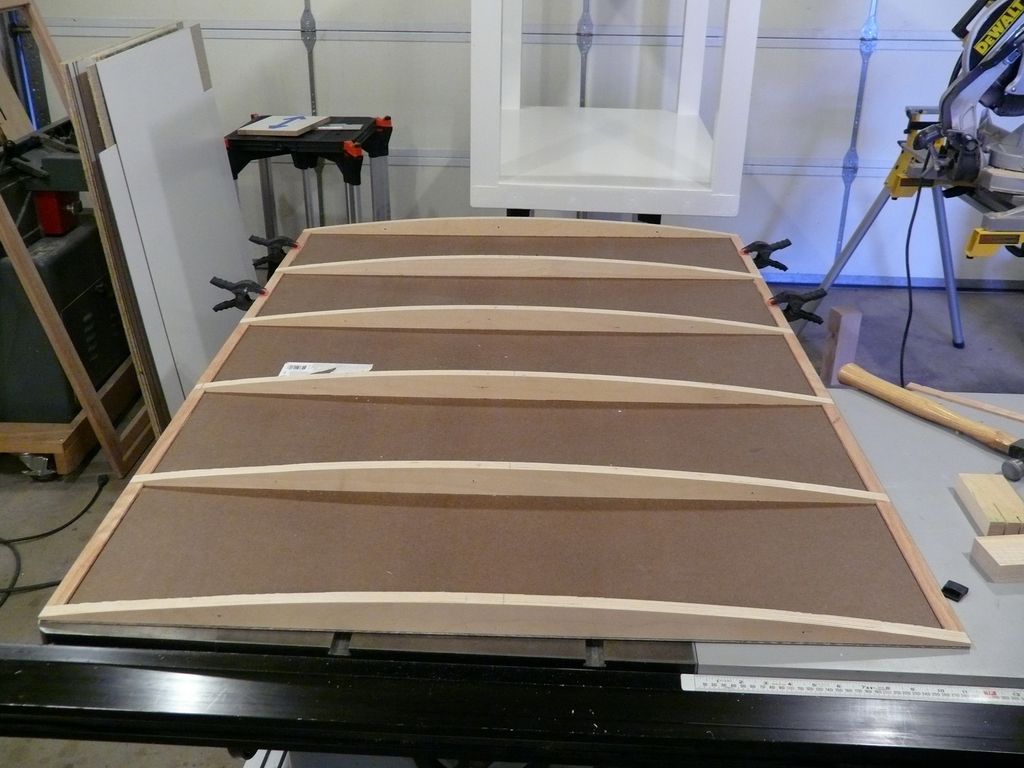
Insulation Testing
Leave the house in the hot sun for 4 hours to check the thermal insulation properties. In our case, after 4 hours, the temperature above the roof surface was 55 ° C, inside the booth - 21 ° C. In any case, always use a shady place for the dog house.
Now your friend is the happy owner of a good luxurious house that will serve him for many years!
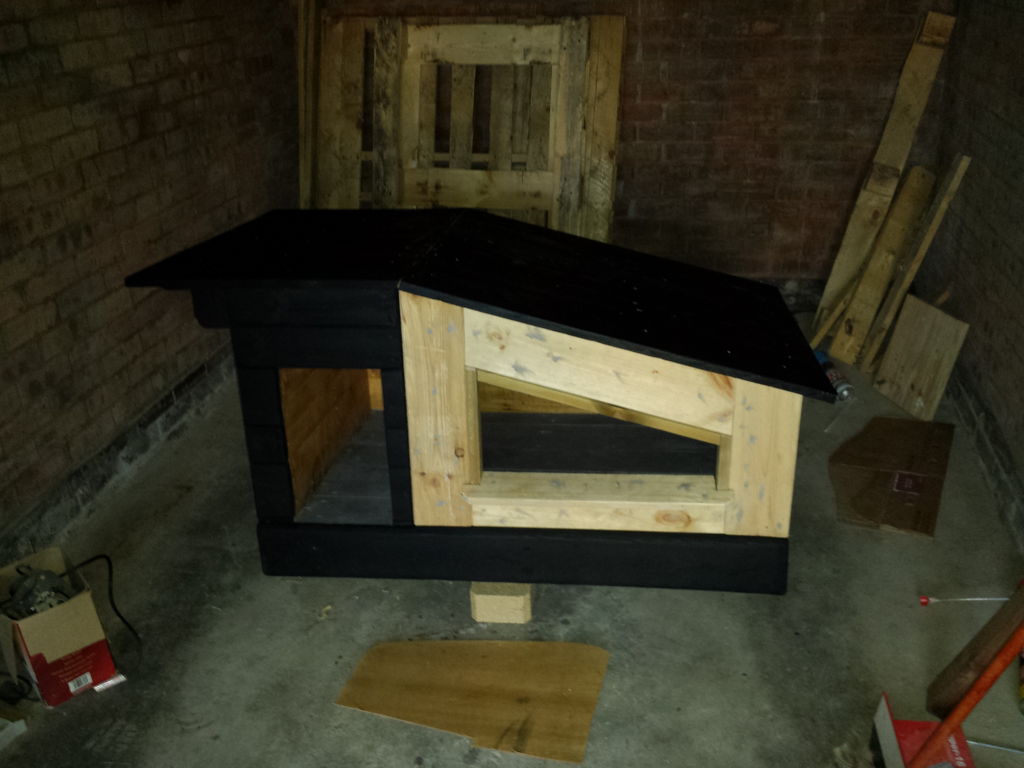
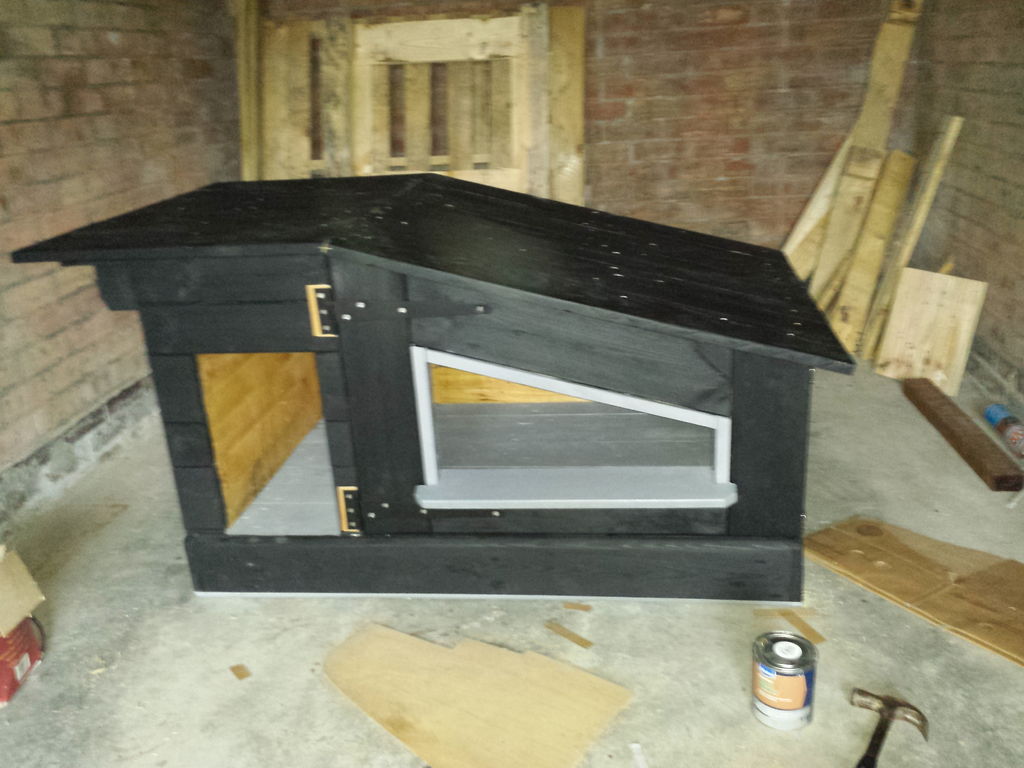
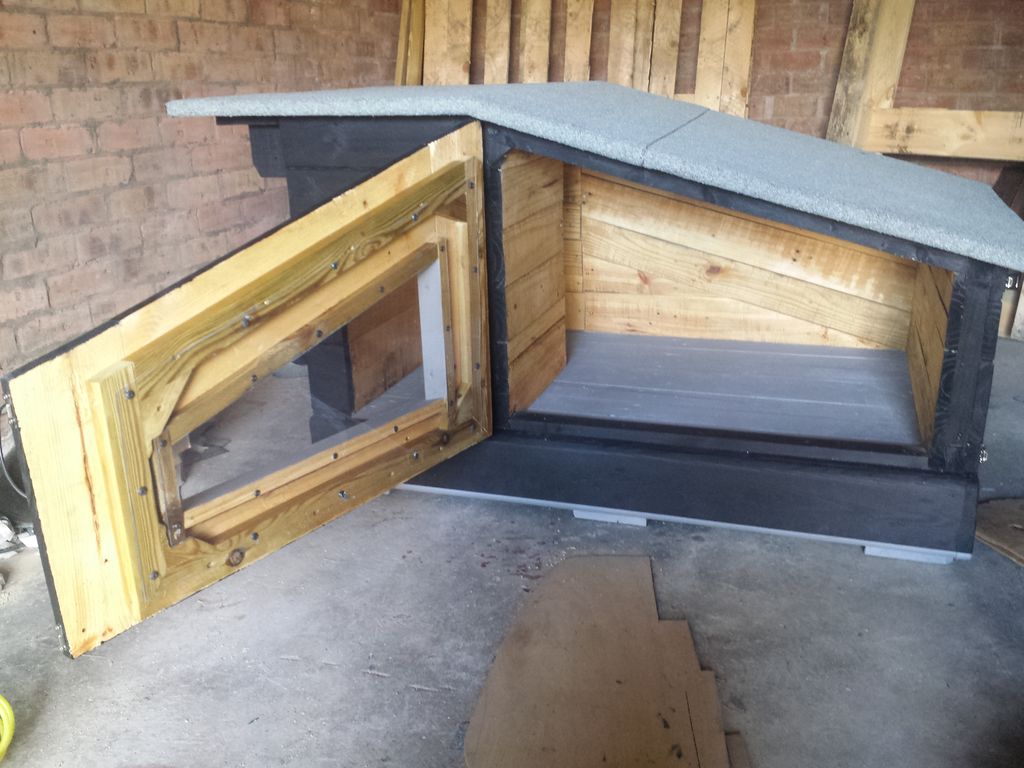
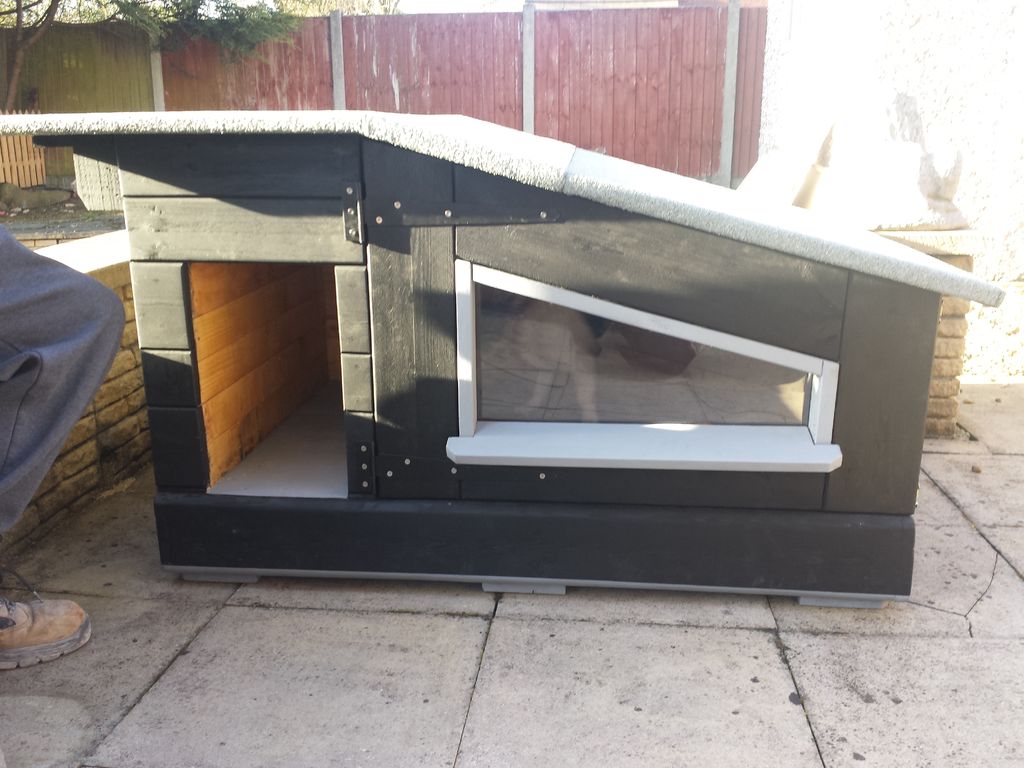
Custom project
Step 1. Designing the base pallet and frame
The base tray for the booth is an integral part of the frame. It will slightly raise the structure above the ground, which contributes to its additional ventilation and protection from moisture. For the pallet we use euro pallet EPAL standard.
We build wood walls. If there are voids, fill them with polystyrene foam.
Step 2. Roof and visor
We make measurements and cut boards for the roof of the desired size. For a visor we take 3 wooden blocks from pallets.
Step 3. Build and Paint
We polish the surface and proceed to painting the house outside with matte black paint. We coat the floor and the lower part with a primer, and the interior of the walls and ceiling with varnish.

Step 4. Door and window
First, we construct the frame inside the doorway with the help of roofing sheathing. Cut and connect 4 panels from the wood tray.
We assemble our door with hinges and stainless steel screws. To hold the door in the closed position, mount the clips.
Then we make a window frame. For the window we use acrylic glass. Surface grind, paint and varnish.
Step 5. Warming
For roof waterproofing use roofing felt.

Finished product
Classic design
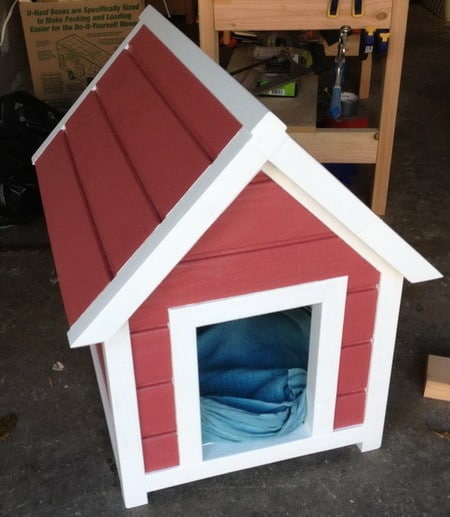
According to the standard, the floor of the booth should be above ground in order to prevent water ingress and retain heat during the cold season. We select the sizes in proportion to growth of a dog.
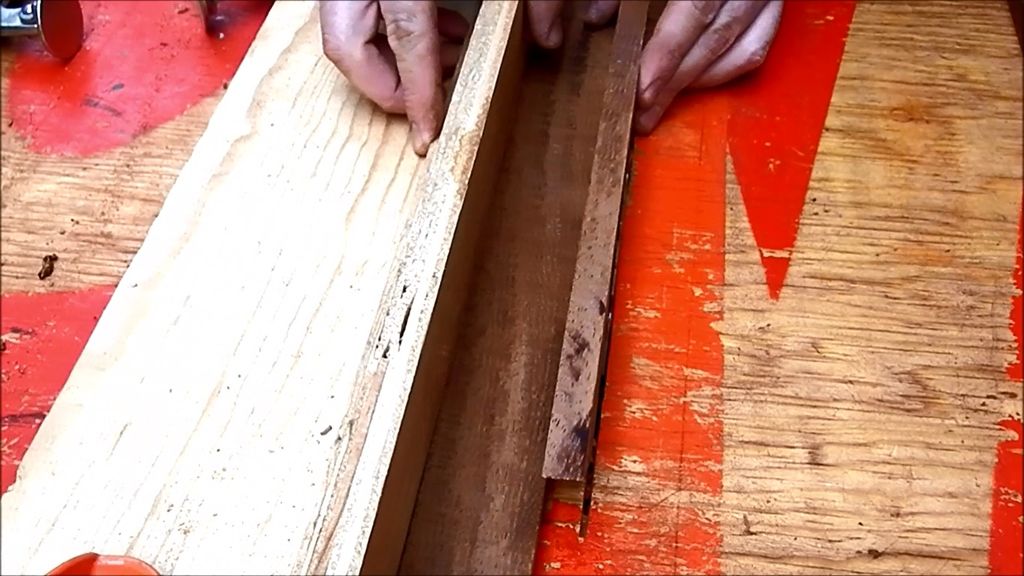
Required materials: wooden siding (boards with horizontal grooves), nails, paint, tape measure, hammer, circular saw, masking tape, brush.
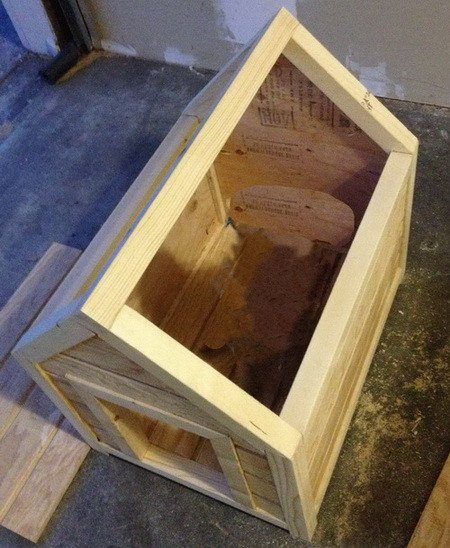
Cut out pre-measured frame blanks. We assemble the frames, erect the roof, as well as the front, rear and side parts of the frame.
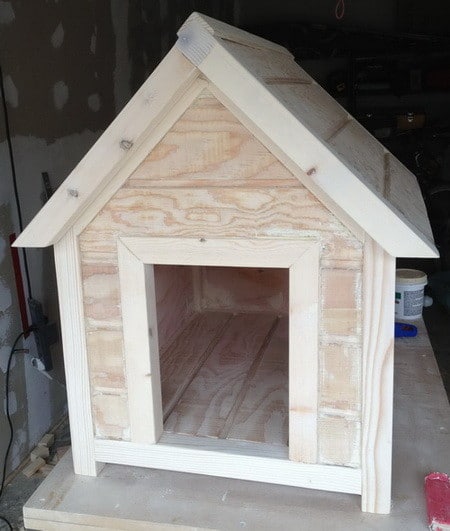
The house is ready for painting. Glue the strip paint tape.
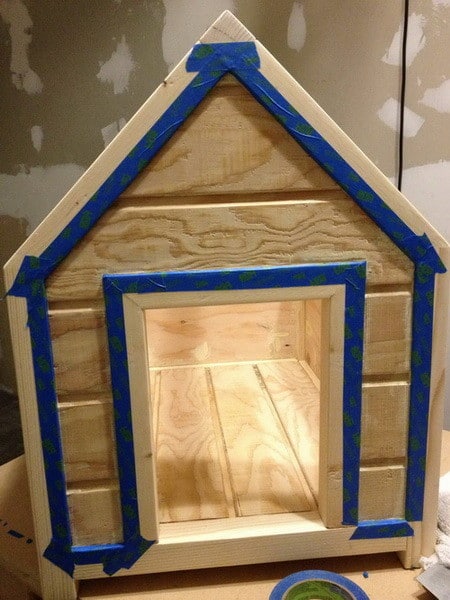
We paint using 2 colors.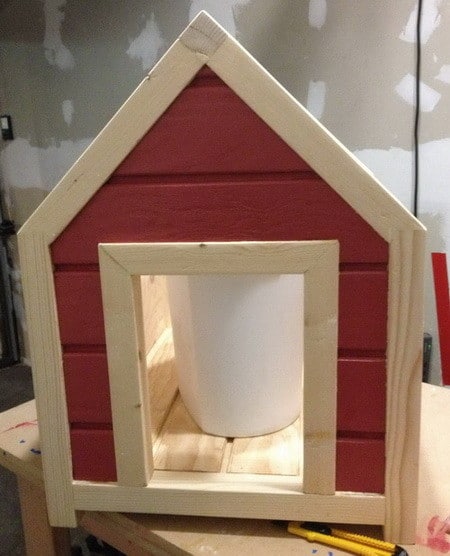

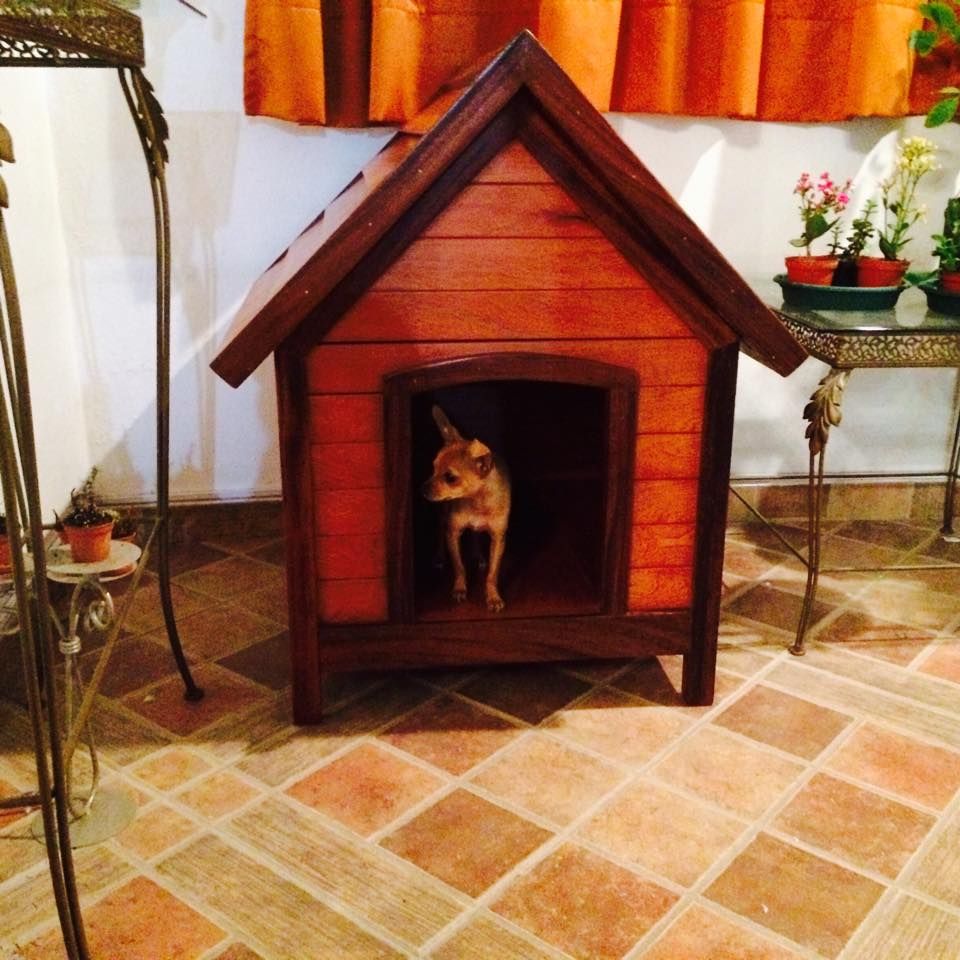
Charming house ready to accept his master!
These are the elegant designs for the booth, you can build yourself.
Remember that your design should be proportional to the size of your dog. Too spacious to do is undesirable, because dogs tend to feel more protected in small rooms. In addition, properly selected materials in such a house help to maintain the natural heat from the pet, providing comfort and convenience in cold weather.
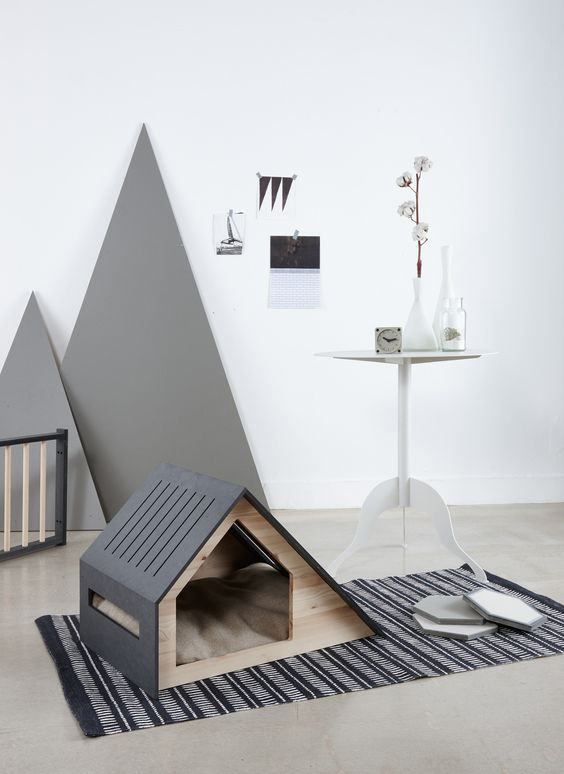
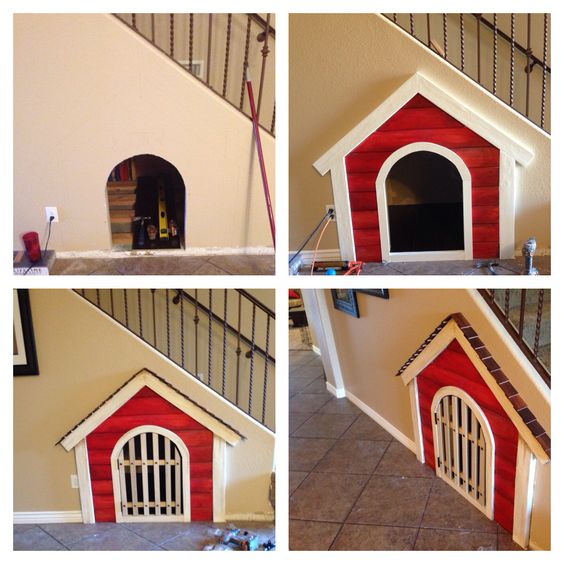
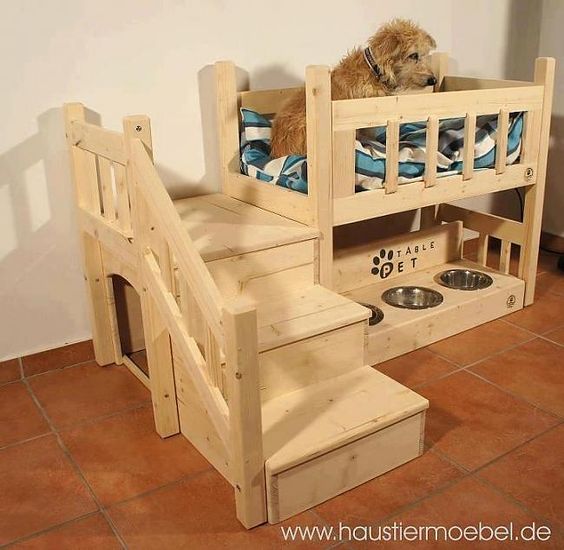
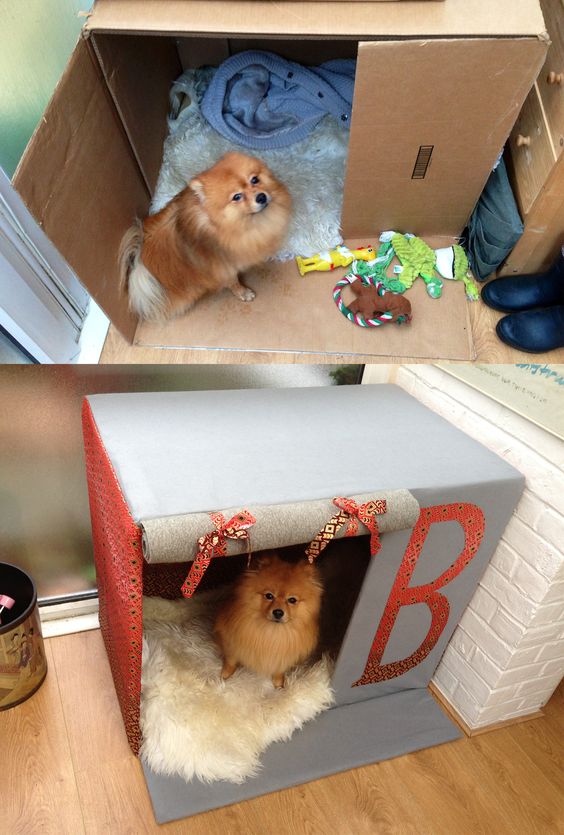
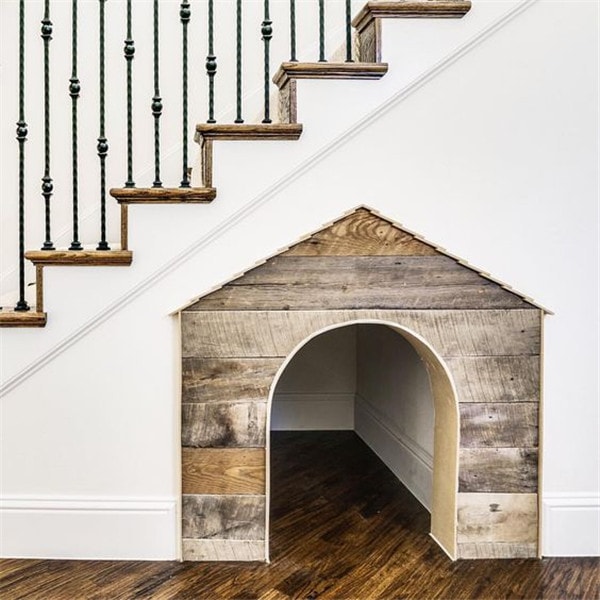
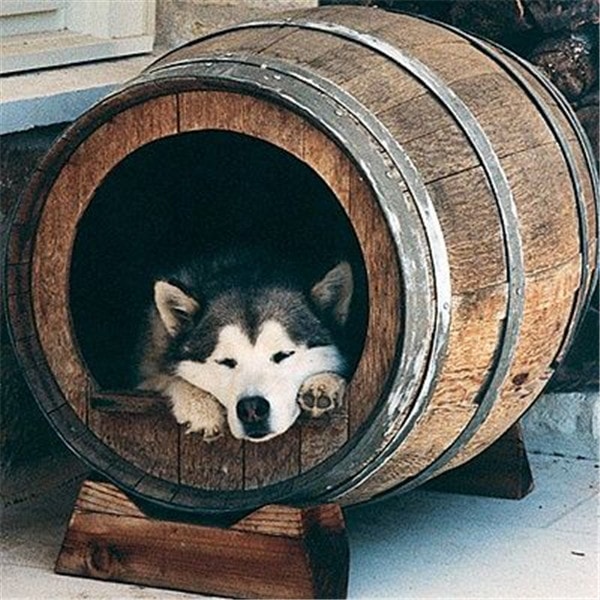
And here are some more cute dog house options.