


To create a beautiful interior of the house are not required large financial investments. Of course, exclusive, author's work is worth a lot, but if you like needlework, then it's time to show your imagination. After all, even a simple chandelier can be made special.
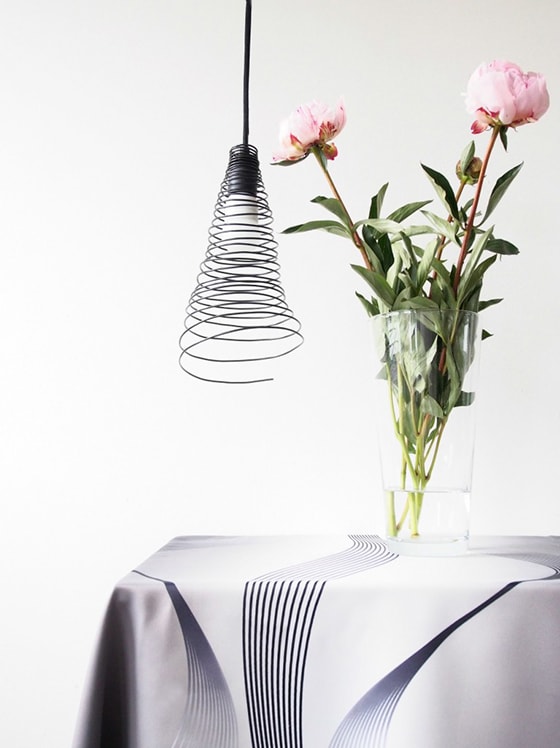
Ceiling lamp in minimalism style
For a room in a laconic design, it is best to choose decorative elements in the same style. For example, the minimalist wire ceiling looks quite original.
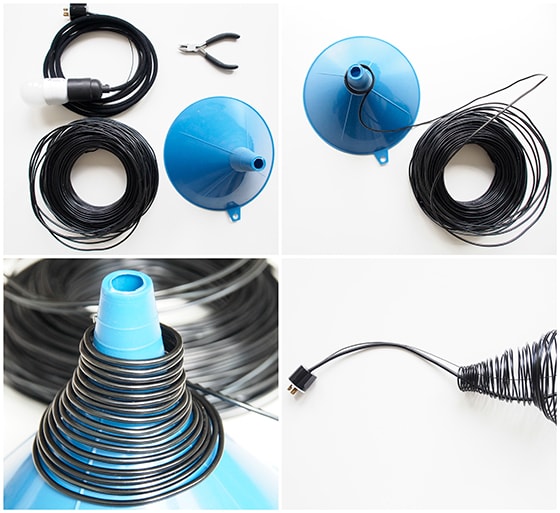
To do it yourself will need:
- wire;
- watering can;
- lamp holder;
- switch;
- pliers.
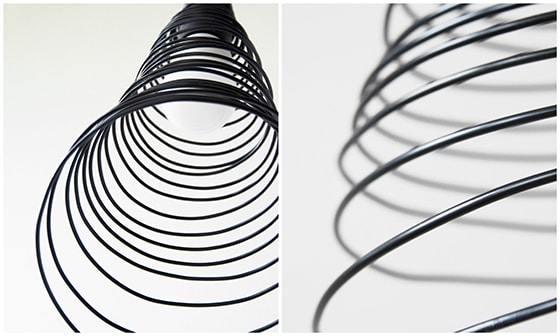
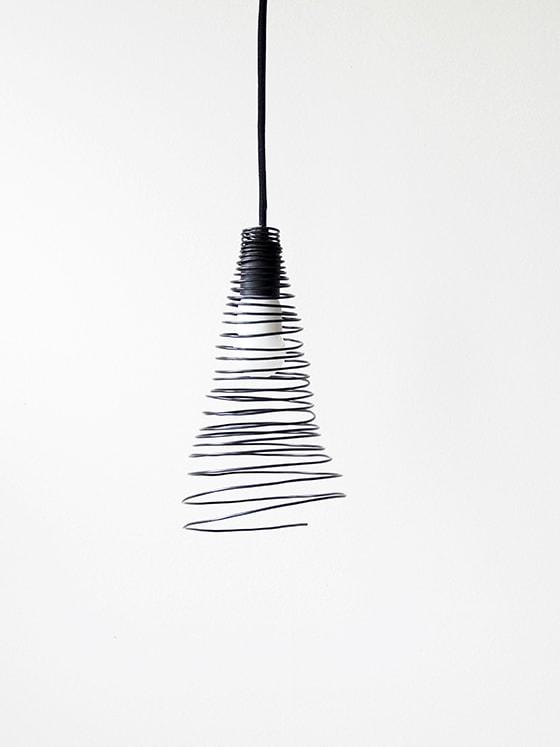
We wind the watering can with wire, starting from the top. When the ceiling of the desired size is made, cut the wire with pliers. We pass the switch through the spiral.
Unusual ceiling ready!
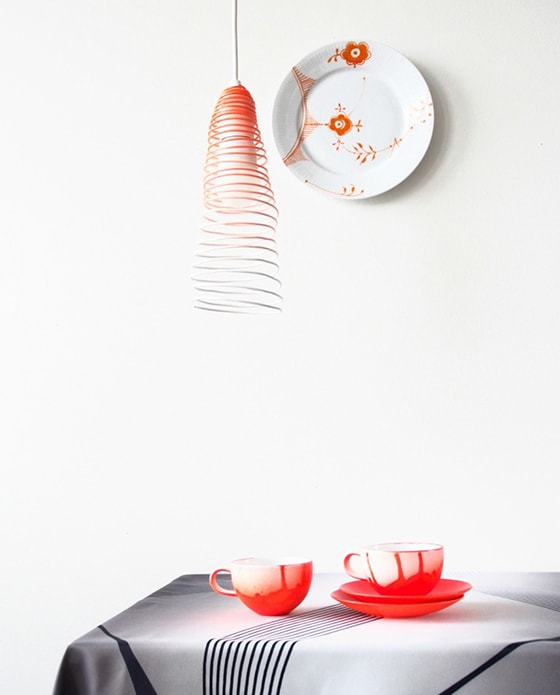
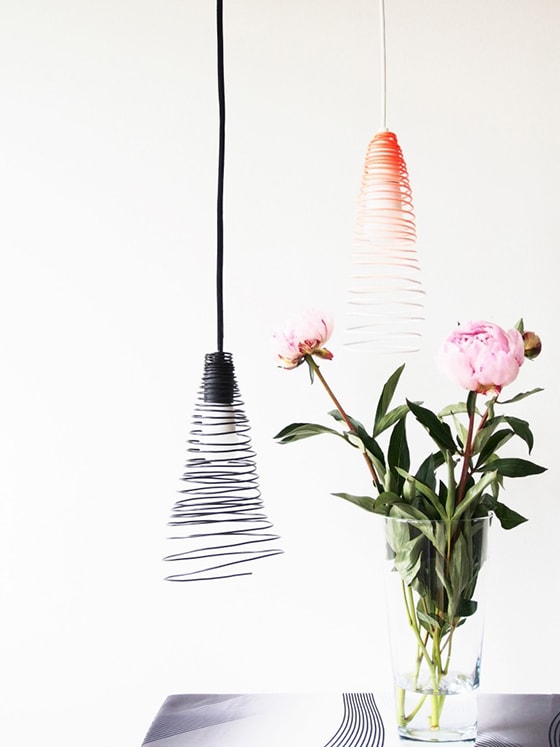
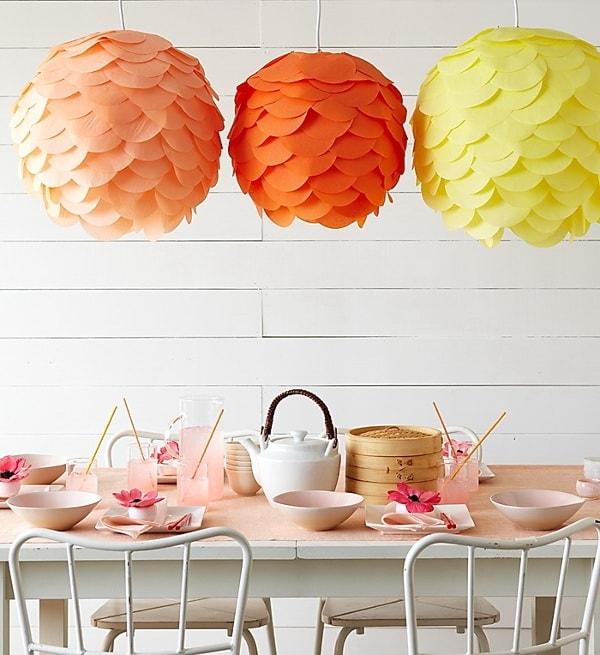
Optionally, you can make the shades of different shades and combine them in one composition.
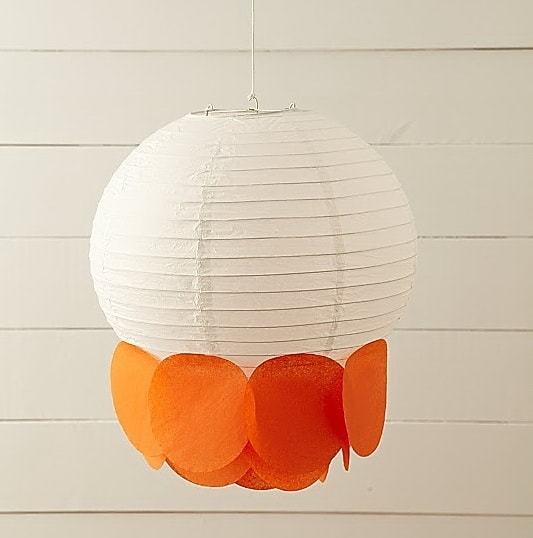
Volume cover
To make such an item on your own, you do not need to purchase expensive materials.After all, even a simple Chinese lantern can look good, if it is properly decorated.
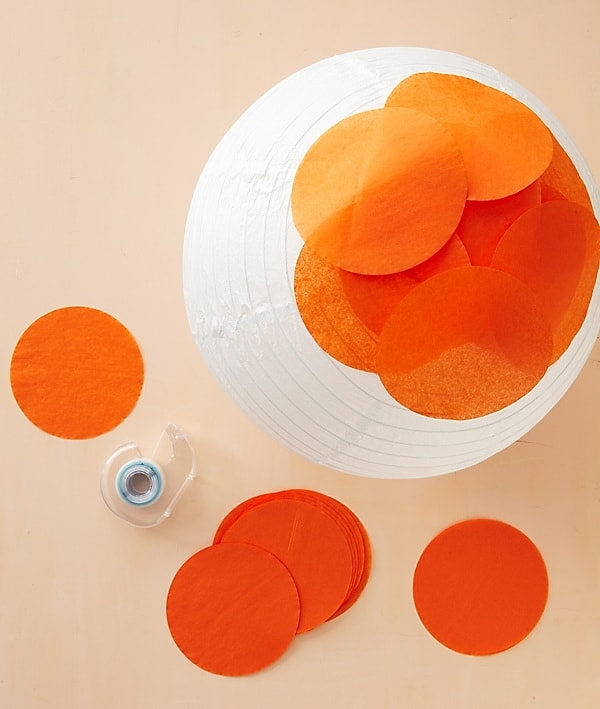
We will prepare such materials:
- Chinese lantern;
- fabric or paper for decoration;
- adhesive tape or glue.

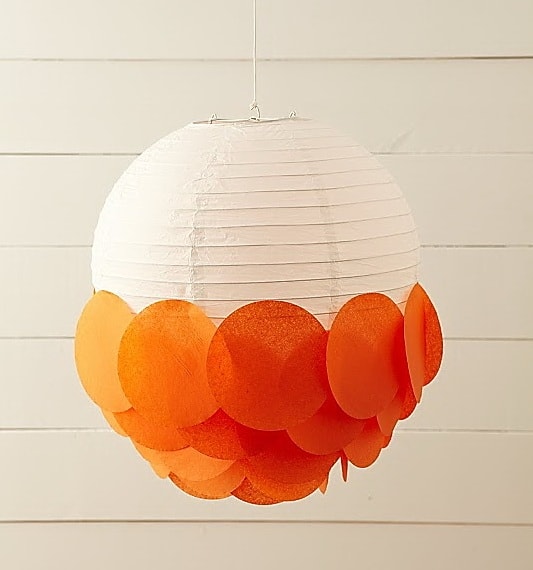
Cut out paper or cloth circles of the same size. Starting from below we glue each of them alternately, as shown in the photo.
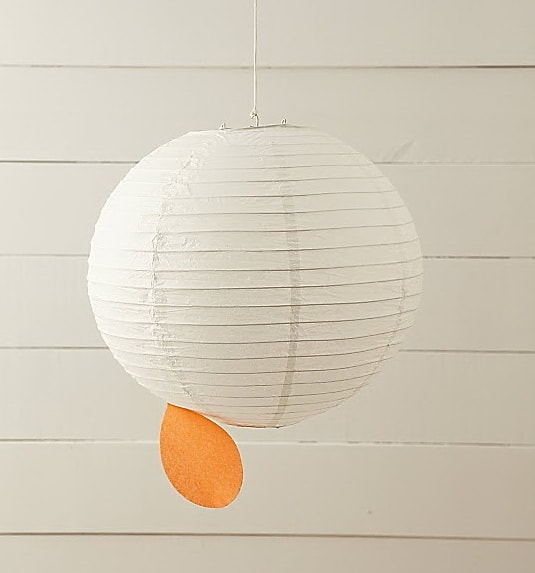
It is very important to stick only the upper part of the circles, so that the ceiling lamp would look like air as a result.
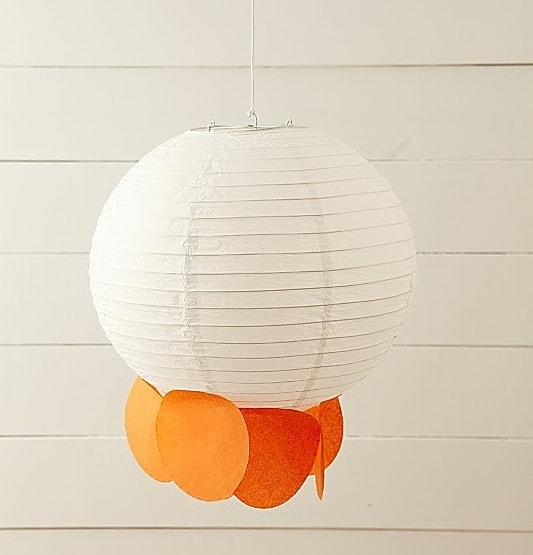
We have circles a little overlap.
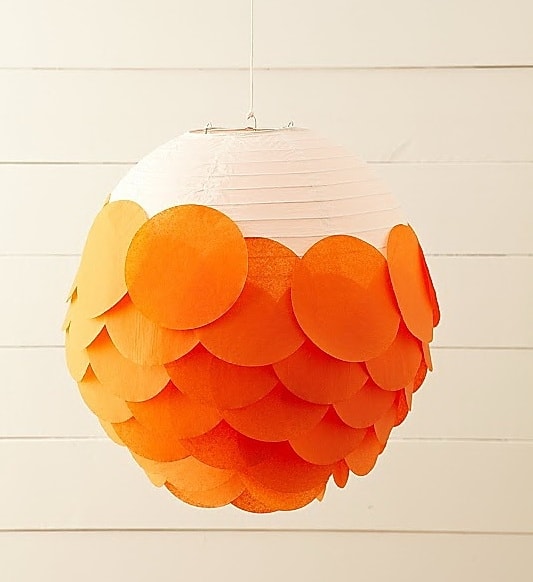
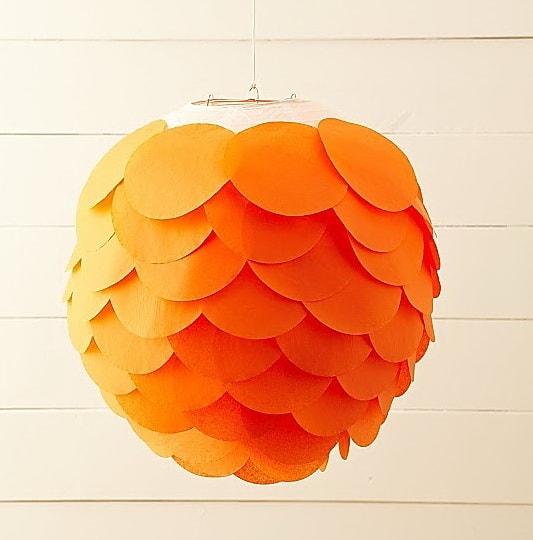
The result is a ceiling that resembles a cone. It looks really very interesting.

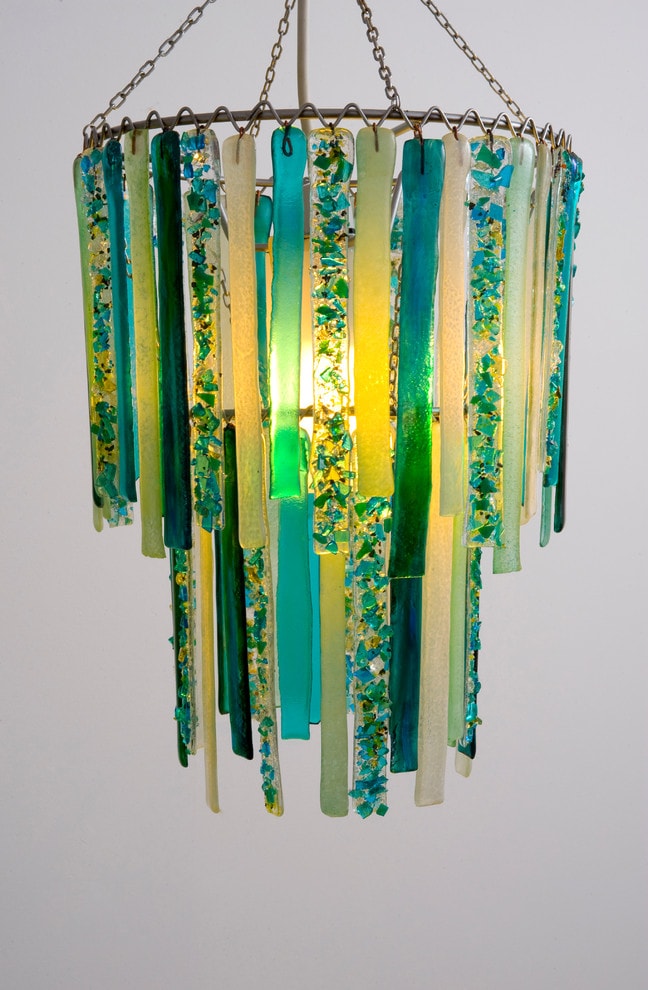
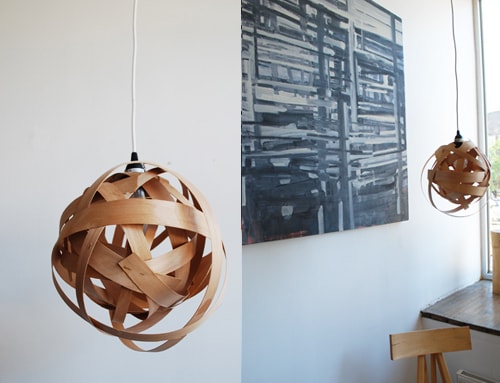
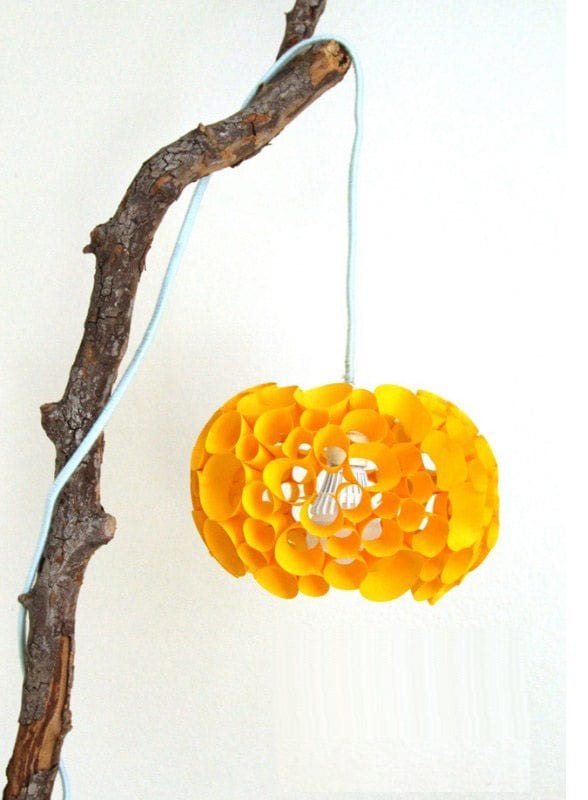
Eco-cover from wooden ribbons
Every year the theme of eco-design is becoming increasingly relevant. Products in this style are often used in cafes or other large areas. Therefore, we propose to create an unusual ceiling that is perfect for the interior of the villa, house or modern apartment.
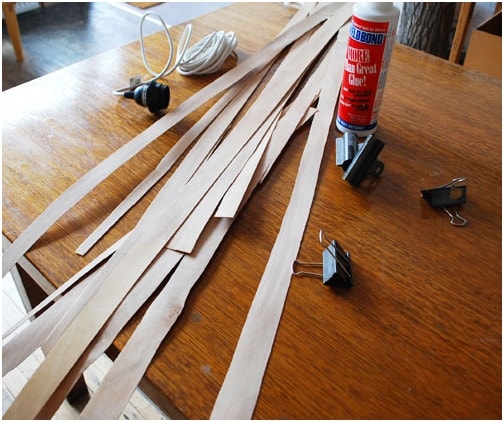
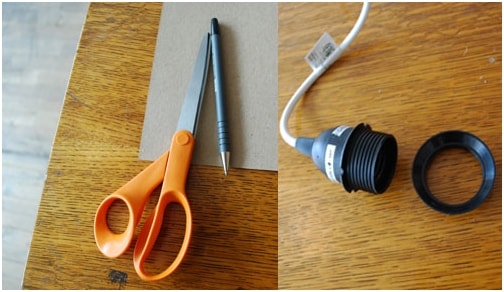
Prepare:
- veneer strips;
- glue;
- large clips;
- a pen;
- scissors;
- lamp;
- cardboard.
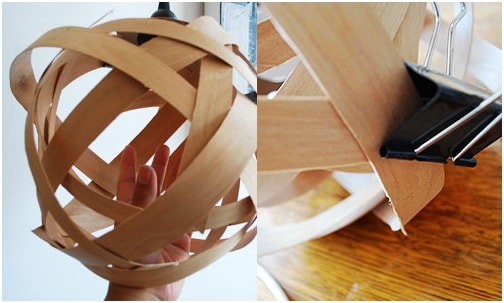
We twist a strip of veneer in the form of a circle of the required size. The joint is lubricated with glue and fastened with a large pin.
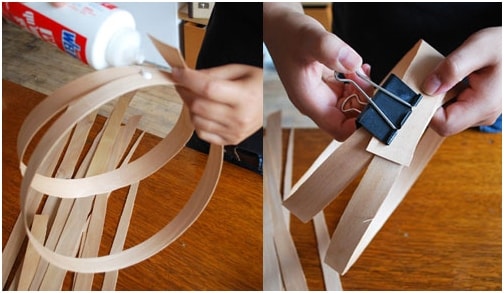
We continue to do the same using the remaining veneer strips. The result should be a spherical shape. Do not forget to fasten parts with glue.
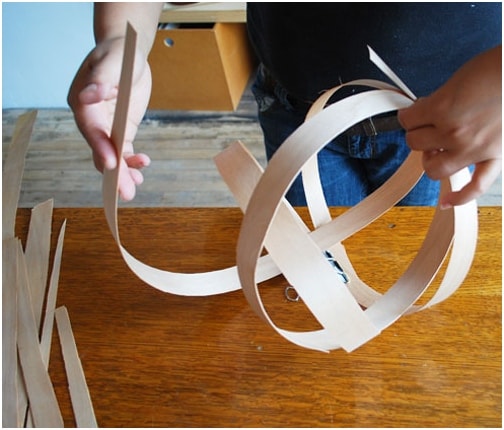
If there are thin strips, skip them in a checkerboard pattern. Fix them with glue and clips.

We leave the product to dry, and in the meantime we take a cardboard and a set for the lamp.
Outline the cap on the cardboard and cut out. We place the cartridge in cardboard in such a way that the base is on one side and the thread on the other. We connect together the details, as in the photo.

Carefully thread the cable with a light bulb inside the ceiling.

Glue the cardboard base for the cartridge to the cover and fasten with a clip.
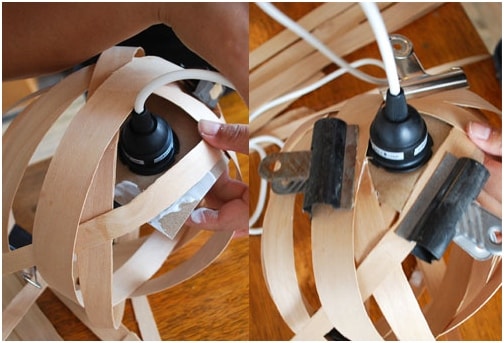
Check the reliability of fastening of all parts. Note that the lamp does not touch the ceiling.

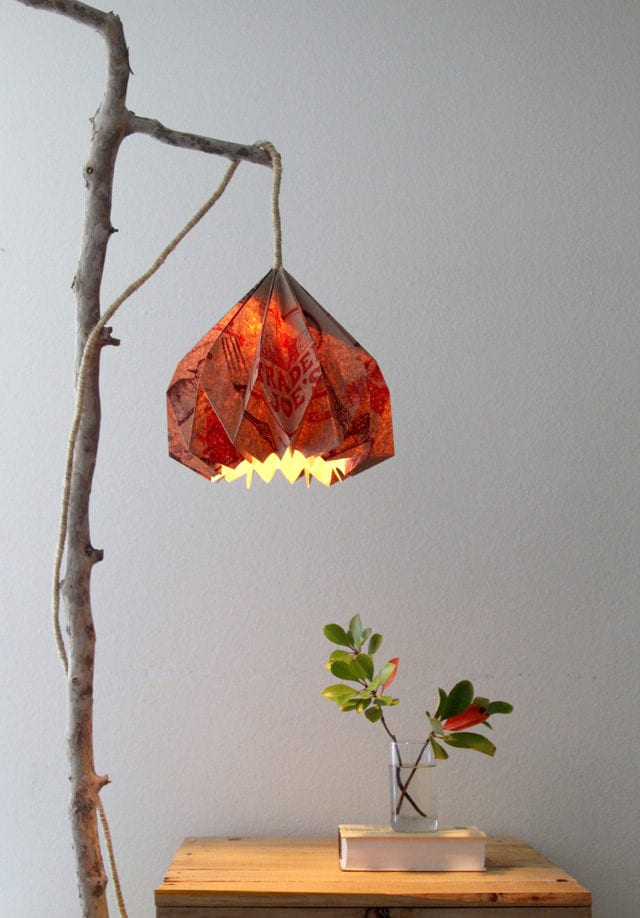
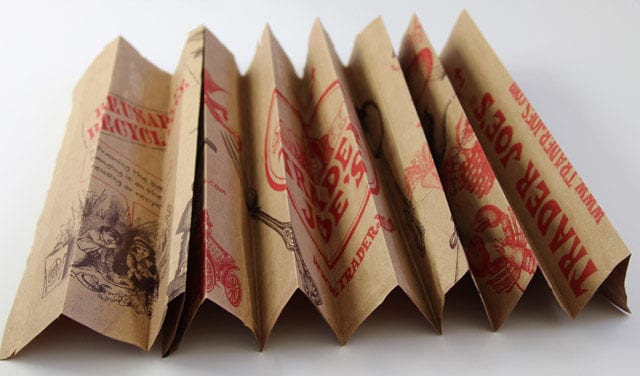
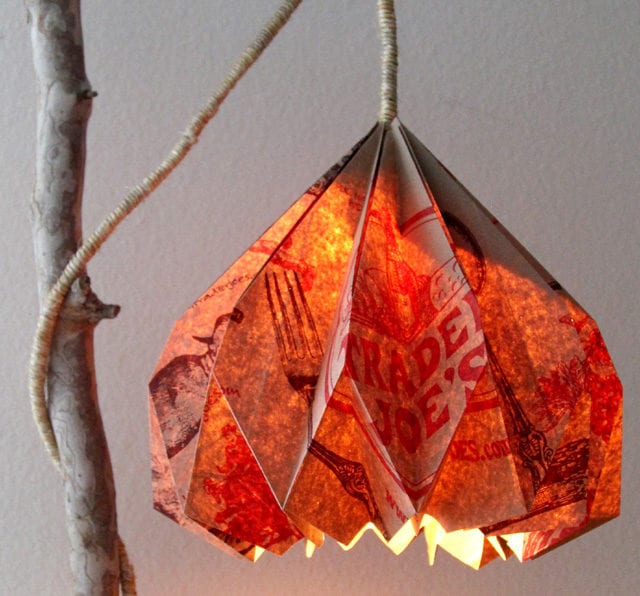
Origami ceiling lamp
A stunningly beautiful Origami ceiling will definitely be a bright accent in the room.
Materials for production:
- paper bags;
- scissors;
- wire with a switch;
- glue;
- awl;
- threads;
- LED lamp.
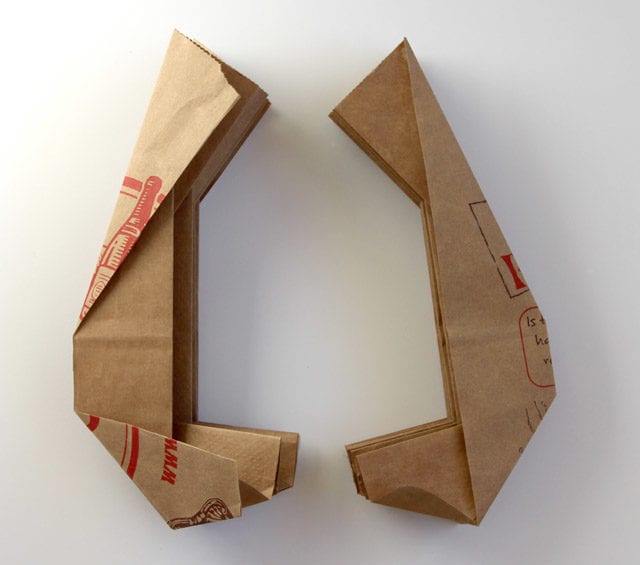
Cut off the handles and the bottom of the package, and then glue together the parts of it.

We fold the bag in the form of an accordion to make at least 16 curved bands. Two outer bands bend diagonally. We continue to follow the instructions on the photo.
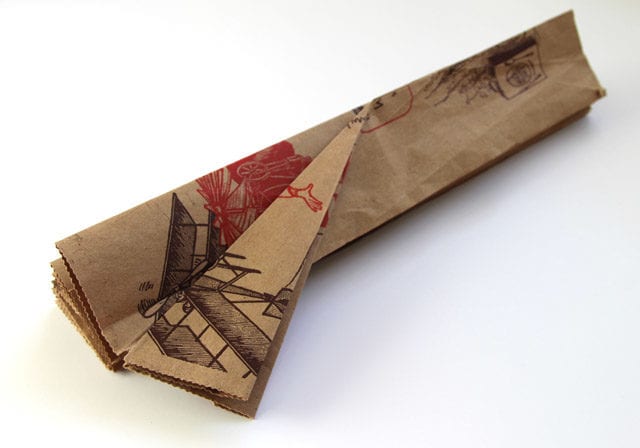
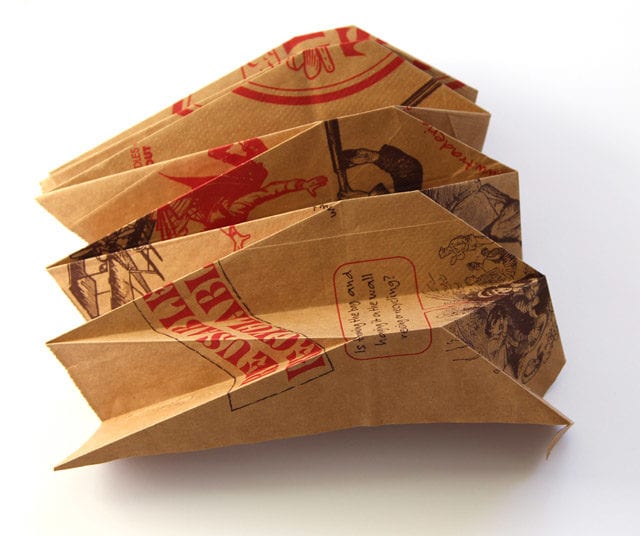
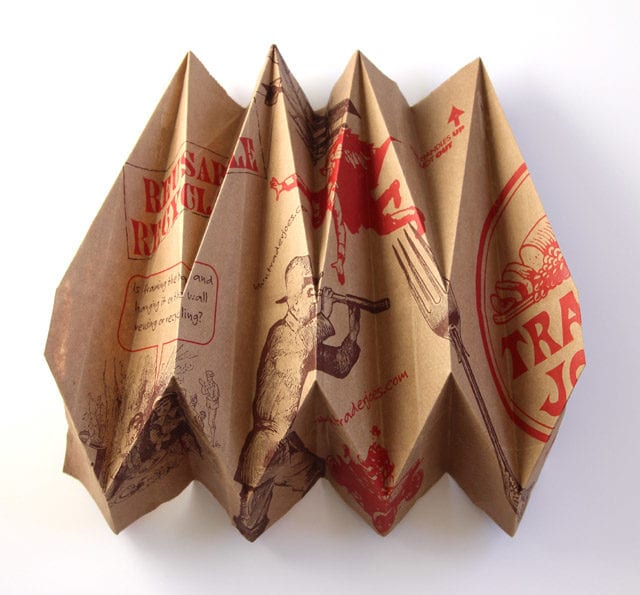
We pierce the paper with an awl to fasten the thread with details.


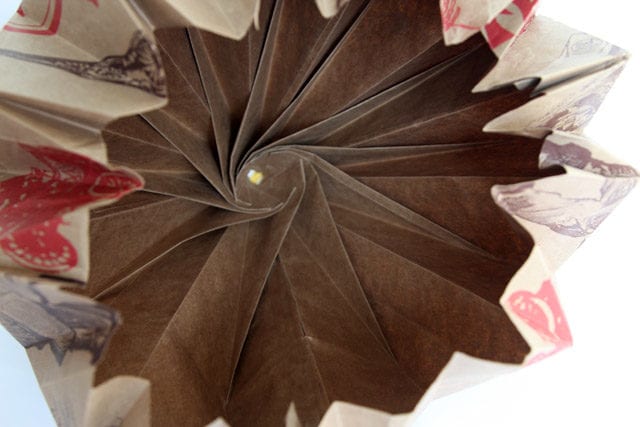
It is possible to fold such a ceiling in the technique of origami does not immediately, but do not give up. After all, the result is really amazing!
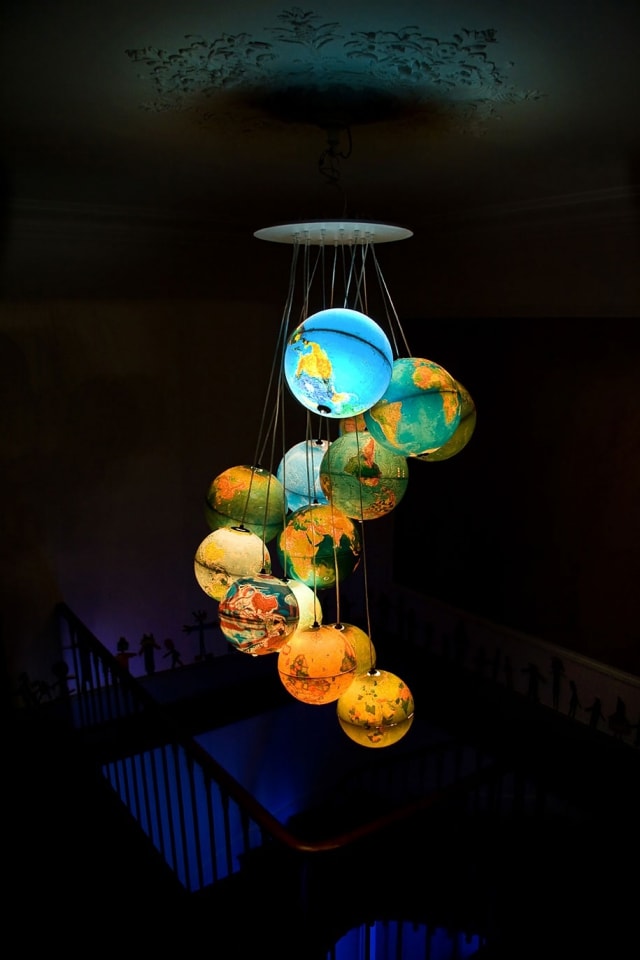
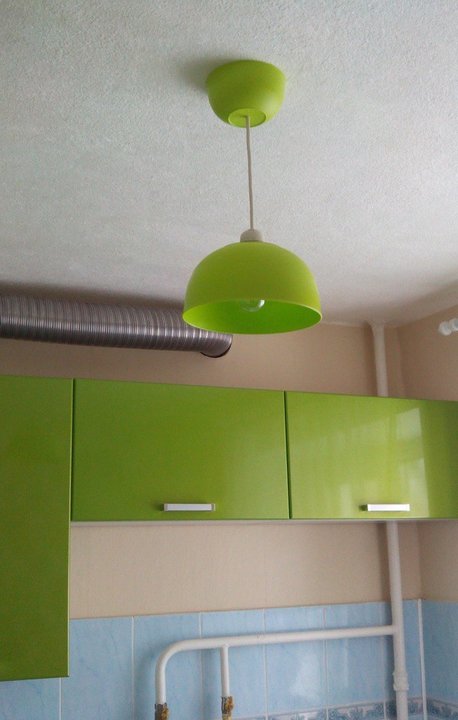
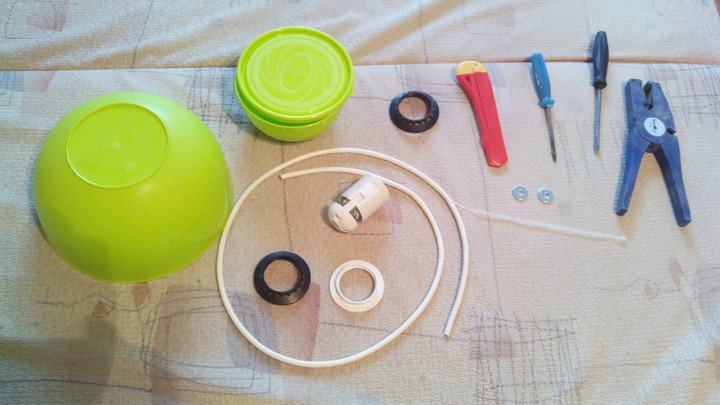
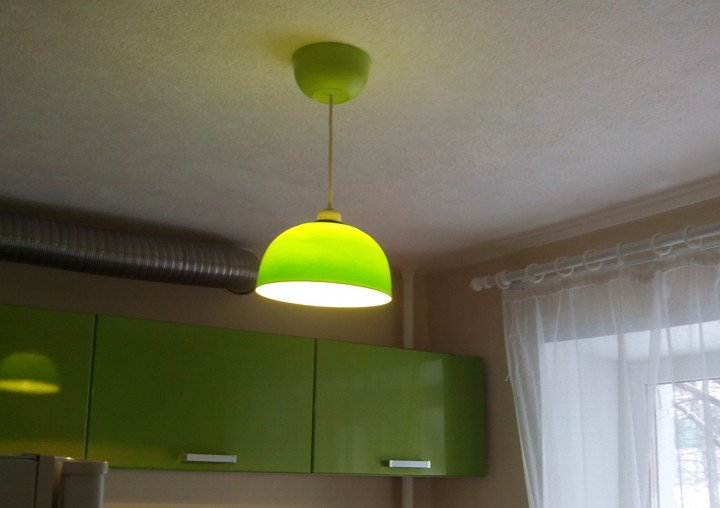
Ceiling lamp from a bowl
Sometimes it is difficult to find something ideally suited to the interior. If you encounter such a problem, we offer to make a very interesting ceiling with your own hands.
We will prepare such materials:
- bowls;
- set for the lamp;
- knife;
- drill;
- screwdrivers.

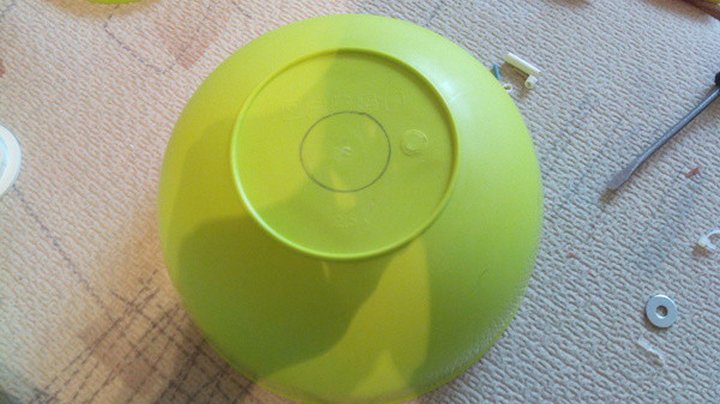
We circle the ring from the cartridge at the bottom of the bowl and cut it out.
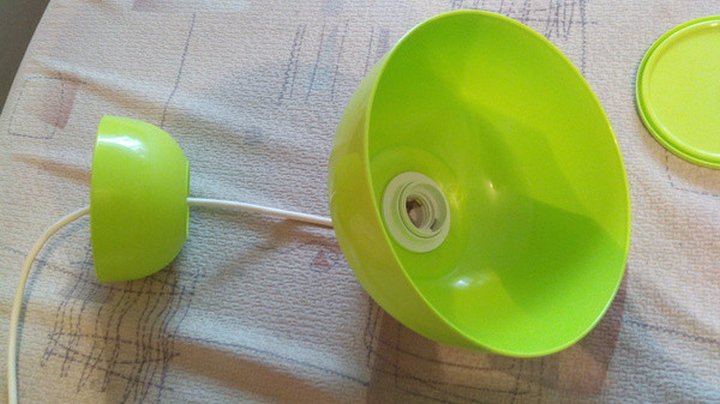
We connect the parts together, as shown in the photo.
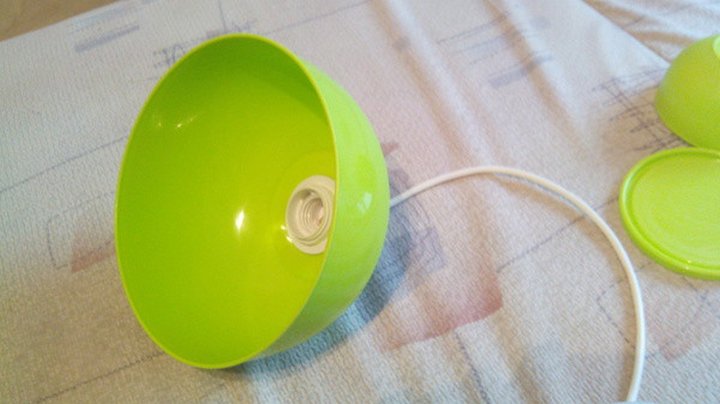
In a small bowl, make a small hole so that the wire runs tight. The original cover is ready!
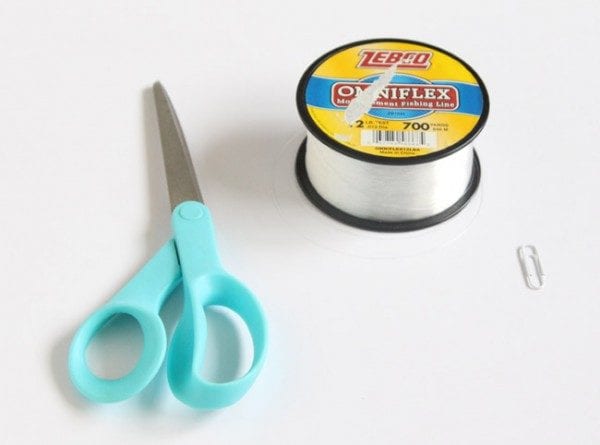
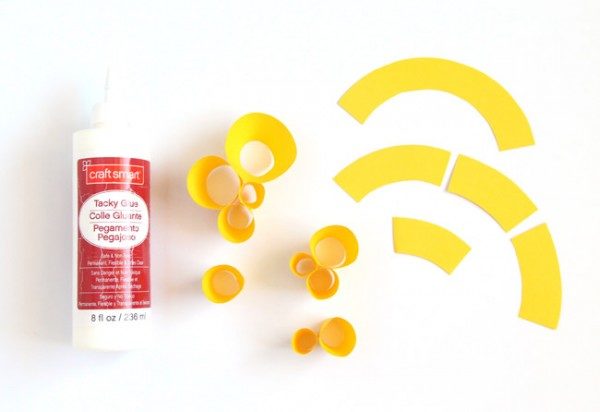
Paper canopy
To create such a ceiling prepare:
- paper of any color;
- glue;
- compass;
- paper clips;
- LED lamp;
- fishing line;
- wire with a switch;
- scissors;
- colored yarn.
Using a compass on paper, we draw semicircles with a width of no more than 2 cm. Cut them out and cut them into pieces, as shown in the photo.
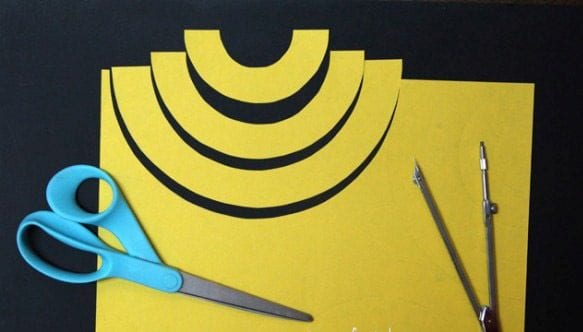
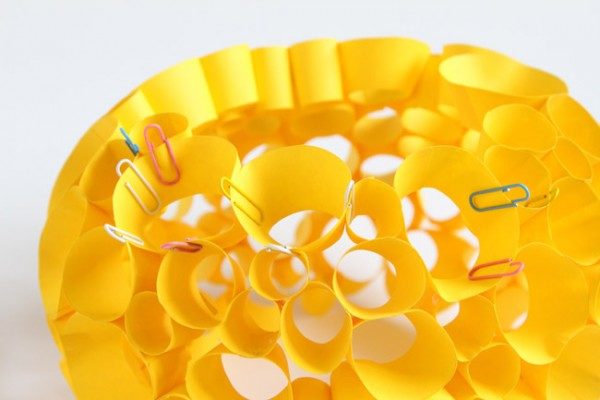
The pieces are folded and glued together, making one side more of the other. We connect them together with glue. Fasten with paper clips until completely dry.
We decorate the wire with yarn, gradually wrapping it. We wind the yarn on the previous layer to avoid irregularities.
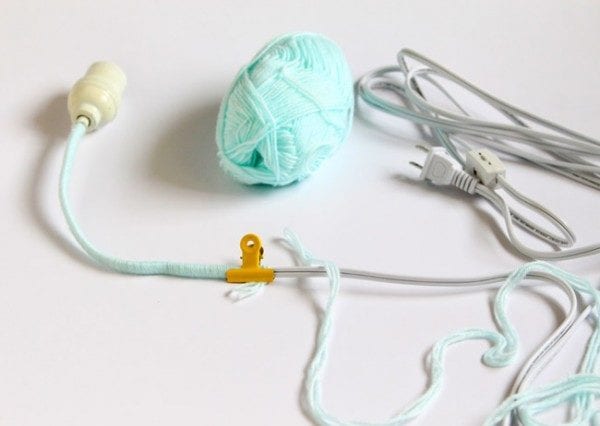

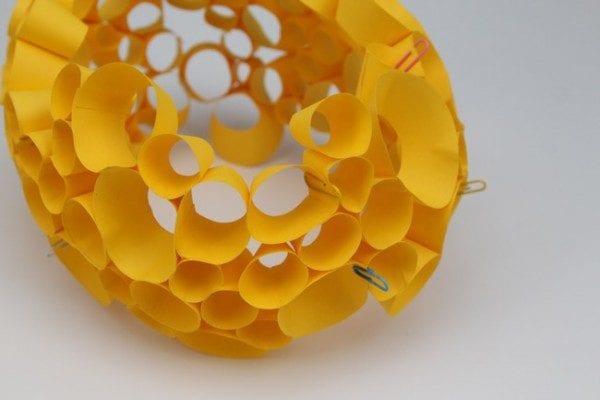
Fix the lamp inside the ceiling. We select the most suitable place for such an element of decor.
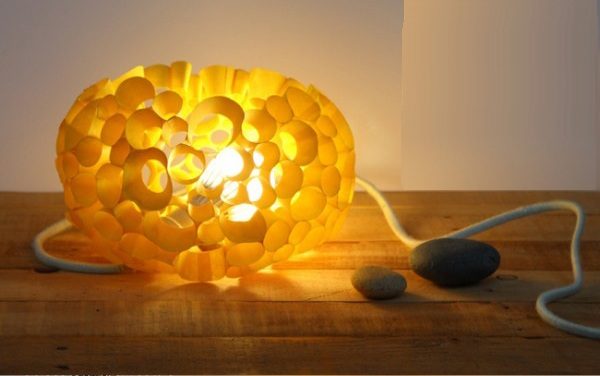
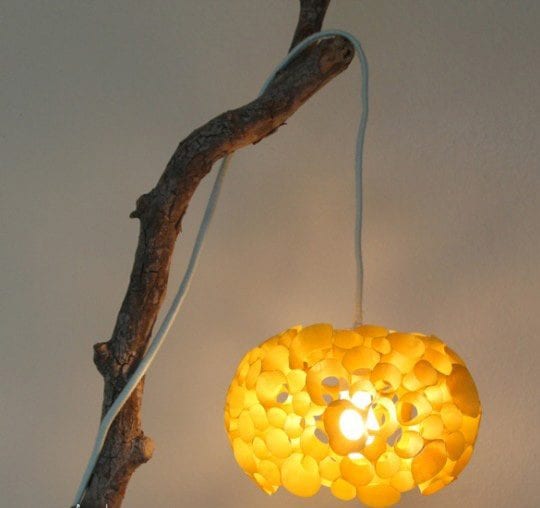
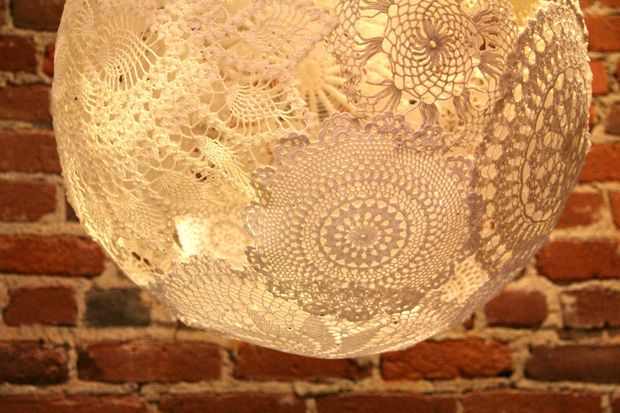
Knitted cover
Stylish knitted ceiling will definitely decorate your home. To create it will take very little effort, but the result will pleasantly surprise you.

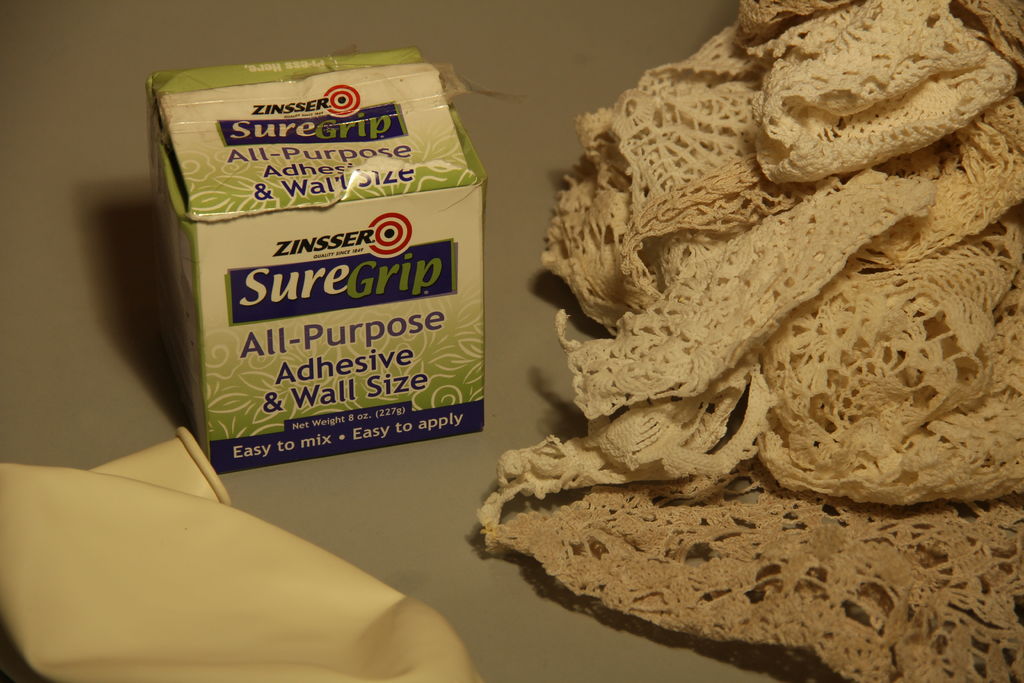
It will take:
- knitted napkins;
- wallpaper glue;
- lamp holder;
- brush;
- air balloon;
- lamp.
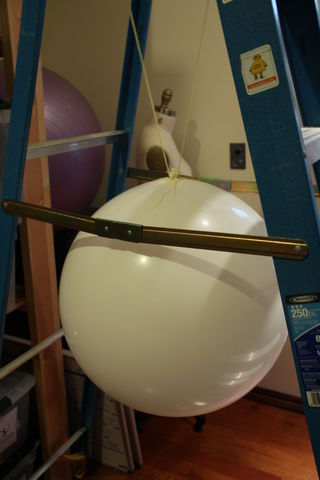
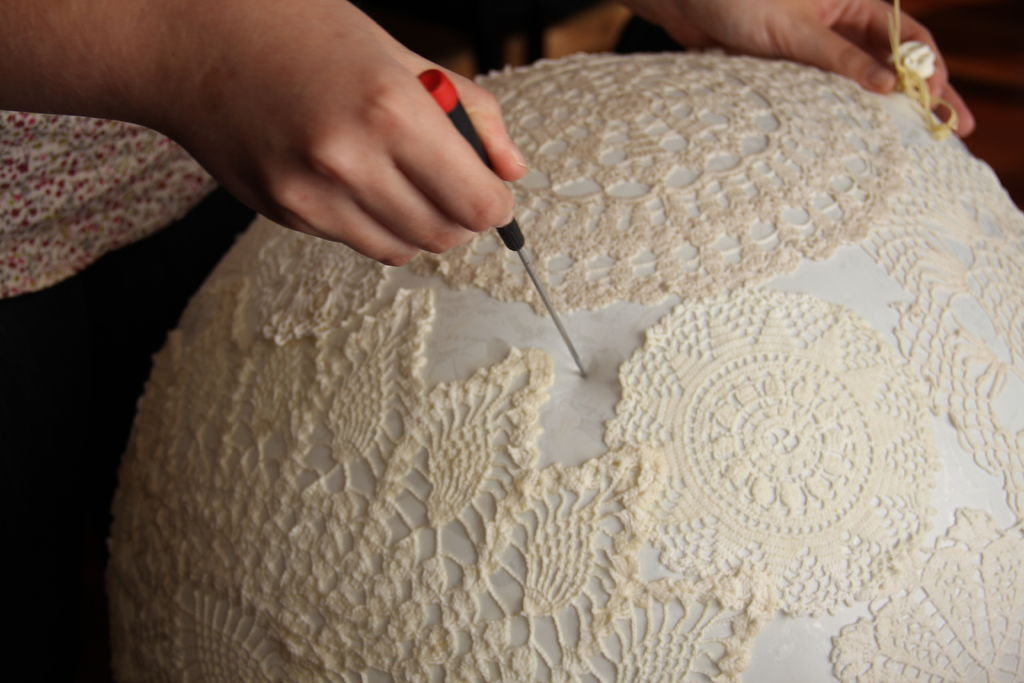
Inflate a balloon of the required size and hang it up.Great idea to use a ladder for this.
Prepare glue according to the instructions.
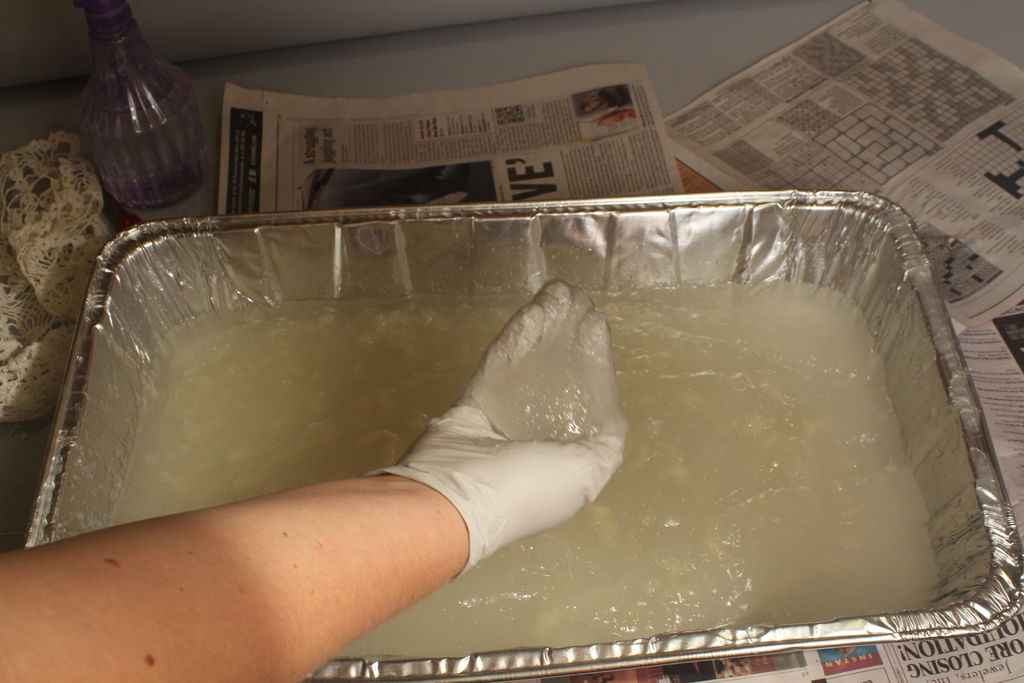
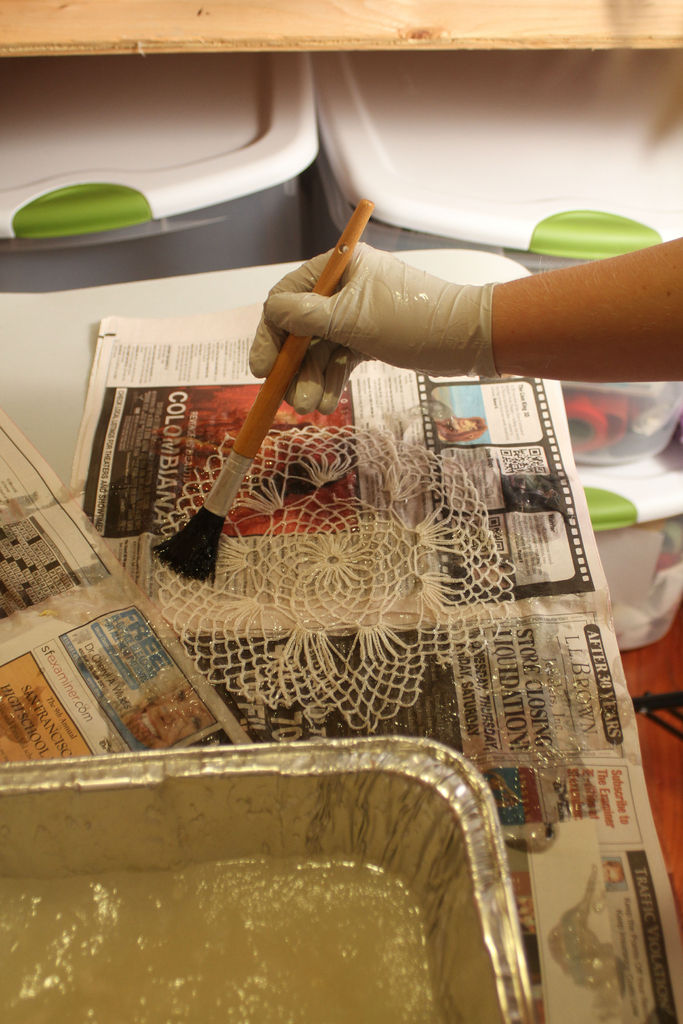
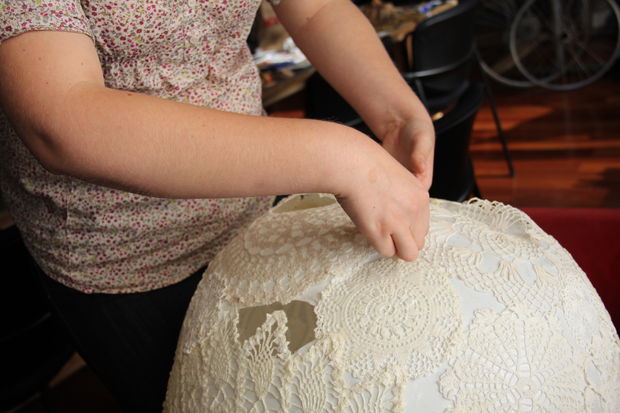
Using a brush, apply a layer of glue on a napkin and put it on the ball. Repeat the same with the rest of the napkins.

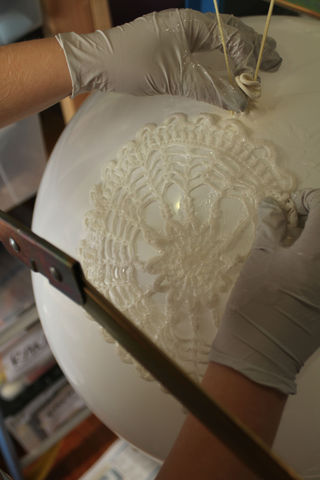
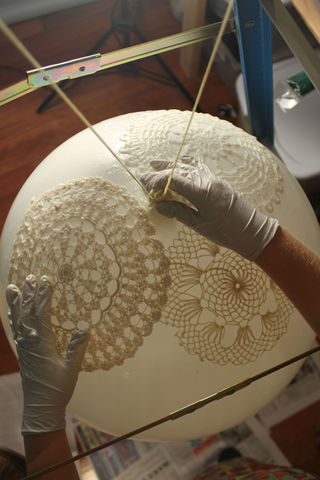
When all the napkins are used, leave the ball until dry. Cover the product with glue again and leave. Pierce the ball and remove it from the design.
We install the cartridge and use it with pleasure!
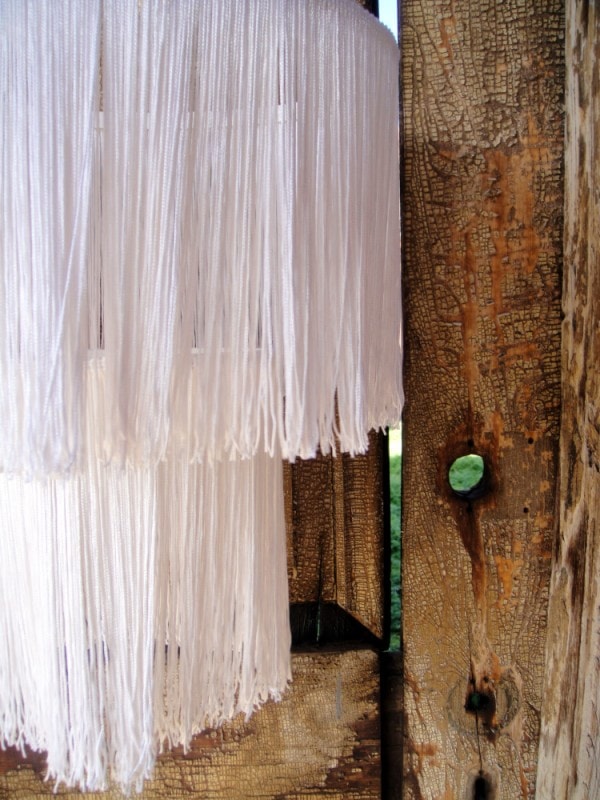
Fringed ceiling lamp

For work we will prepare:
- gun with glue;
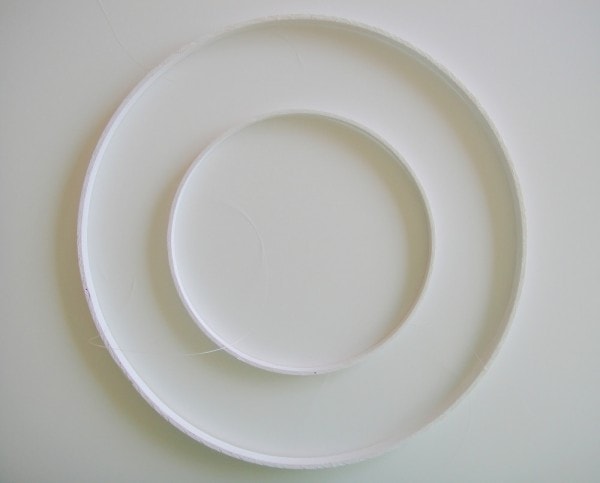
- two hoops of different sizes or hoops;
- braid with fringe;
- fishing line;
- acrylic paint;
- scissors.
We paint the hoops with acrylic paint and leave to dry completely.
Cut off three equal lengths of fishing line and tie them to a small hoop. We use the scheme, which is shown in the figure.

Glue the braid with a fringe to a large circle. Especially carefully do it in places where the fishing line is tied.

Repeat the same on a small circle.
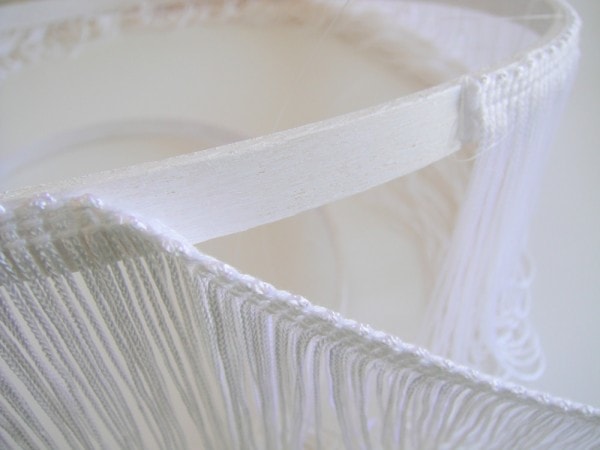
Simple and very fast in the design of the ceiling is ready to use.
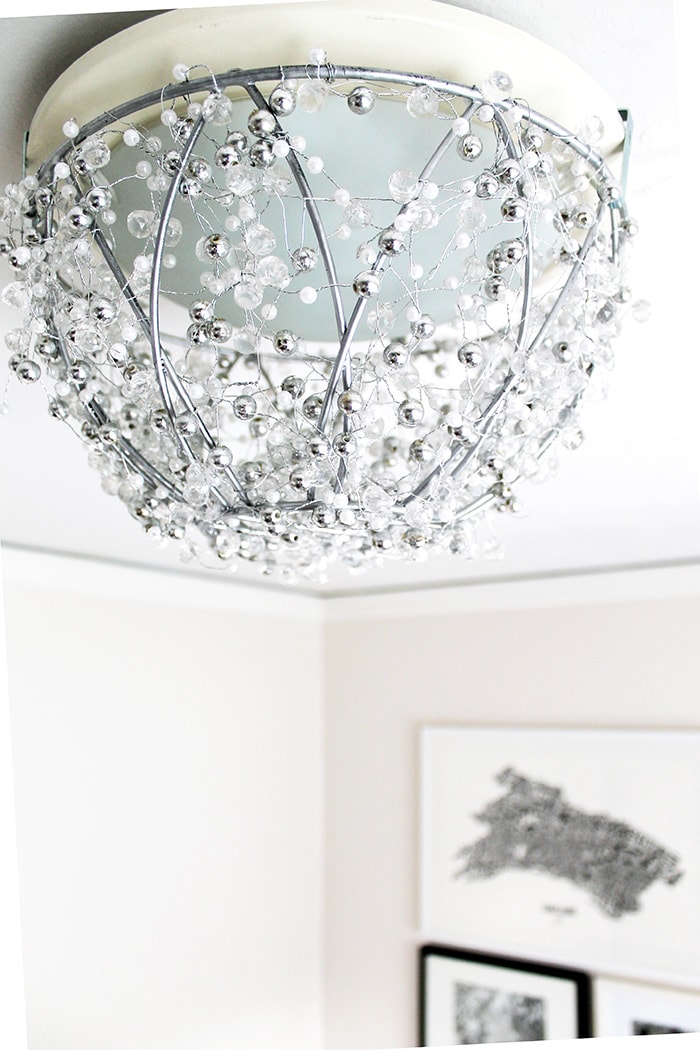
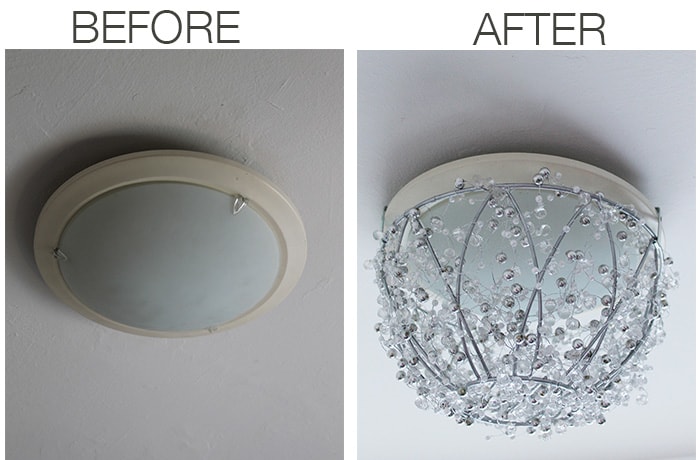
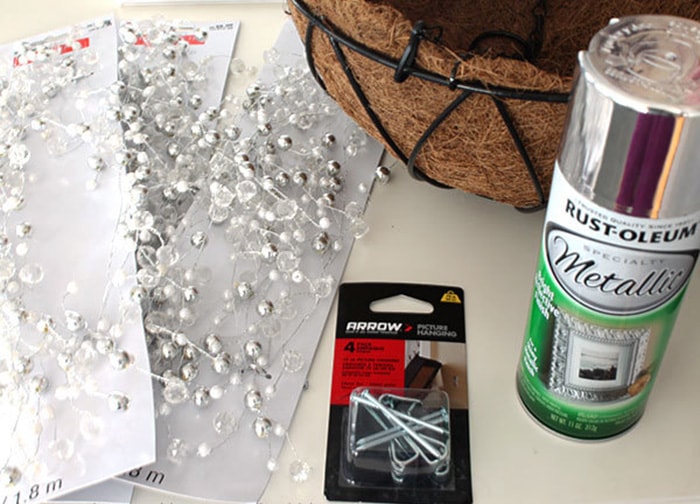
Plafond of beads
Necessary materials:
- basket with metal frame;
- spray paint;
- garland;
- 3 hooks.
We remove the extra parts of the basket, leaving only the metal frame. Paint it with silver spray paint. At a time when the paint dries, prepare a garland. Attach one end to the frame.
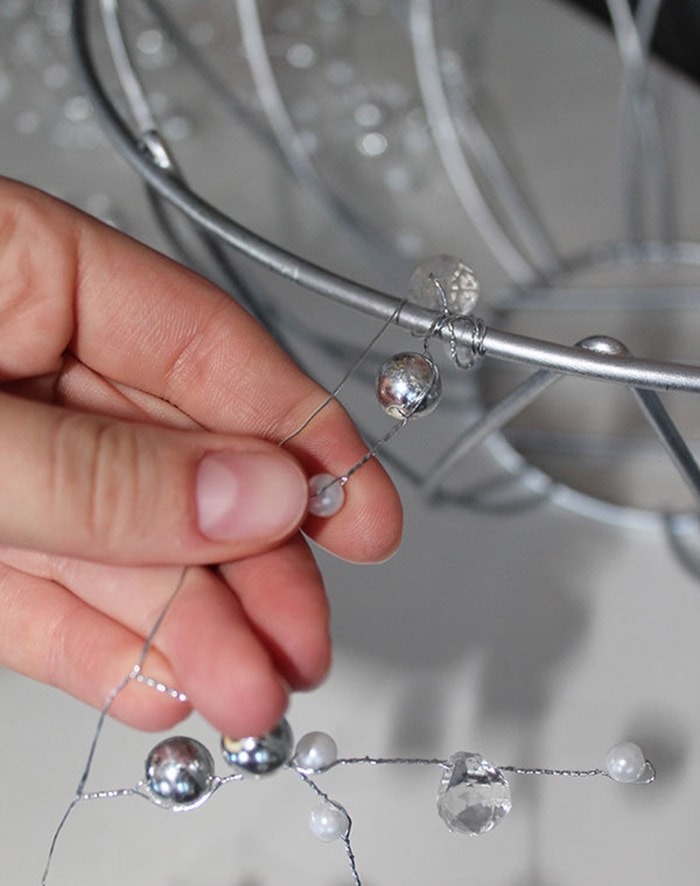
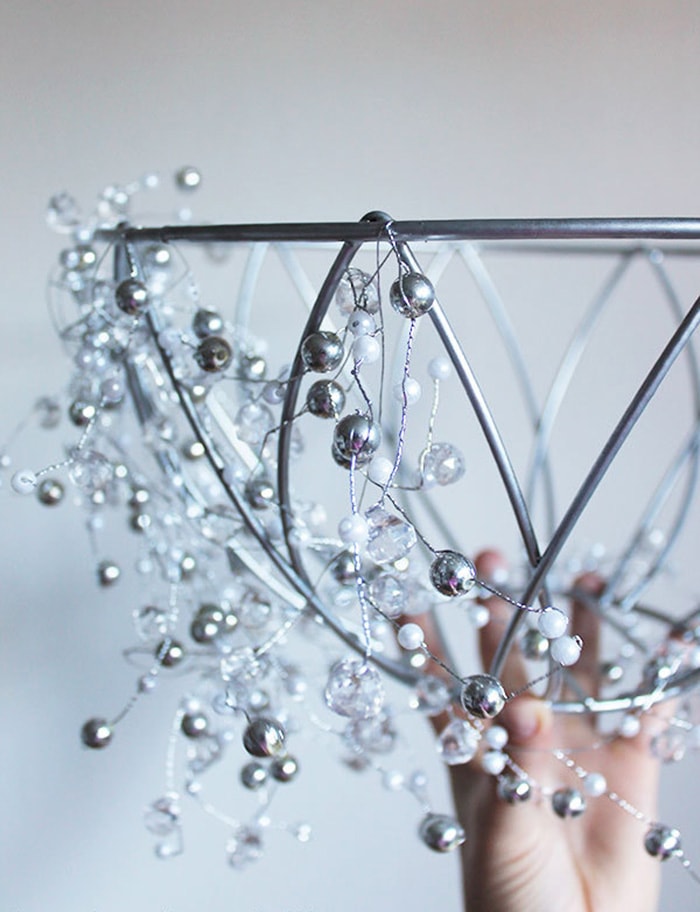
We wrap a garland frame in random order.

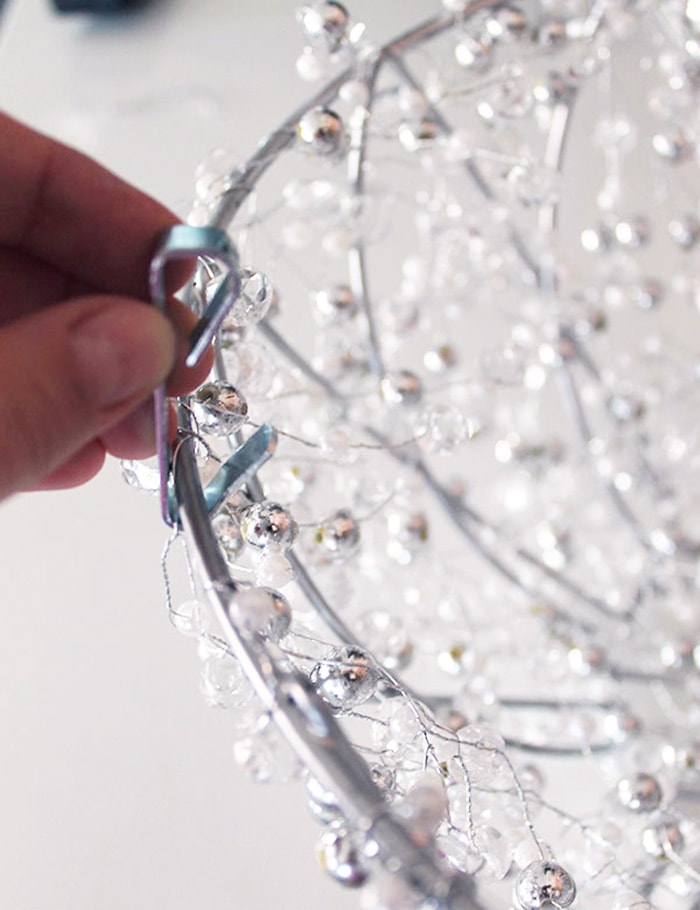
Attach the hooks to the upper edge of the basket and connect to the lamp.
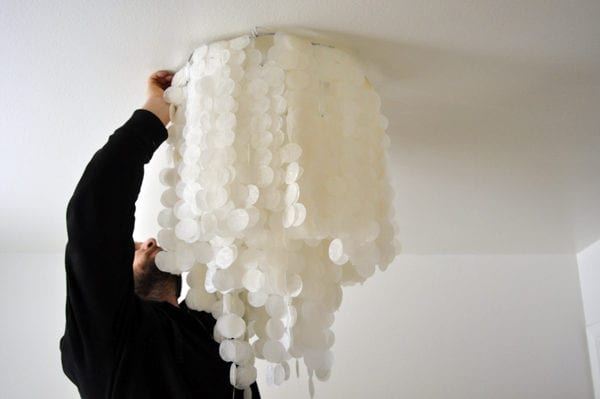
Rice paper light
We will prepare such materials:
- shade;
- thin wire;
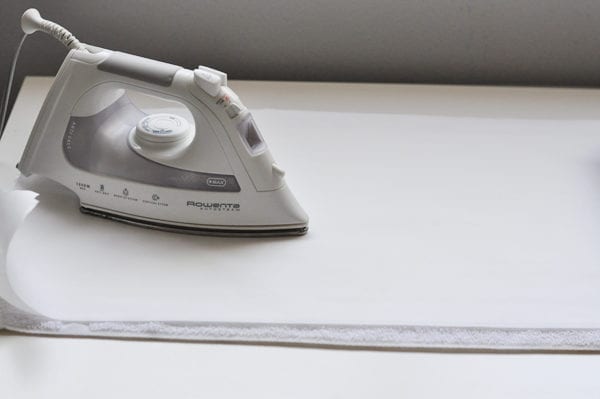
- iron;
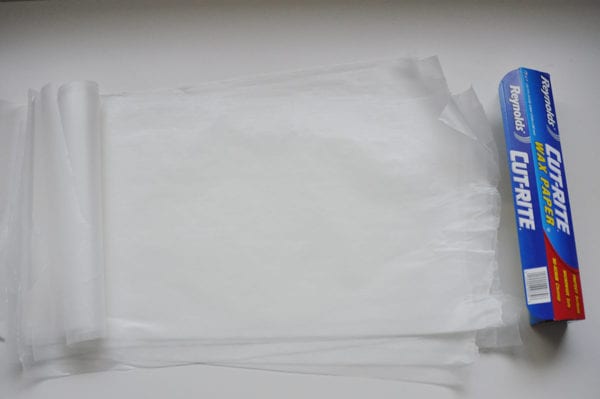
- rice paper or parchment;
- paper cutter;
- sewing machine.
We prepare the lampshade, removing extra parts. If necessary, add the wire in the middle.

Cut the paper into identical rectangles. We iron them with iron and fold the accordion.

Cut with a cutter a lot of identical circles.
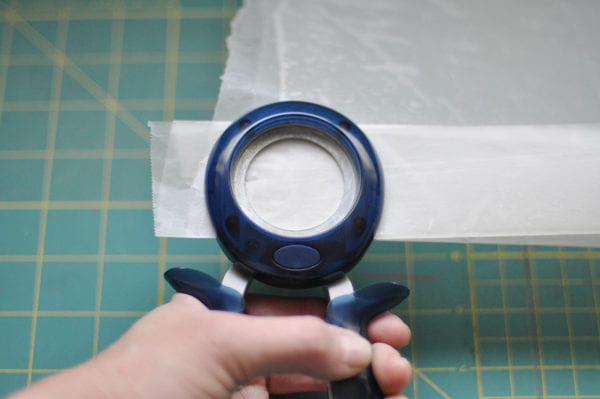
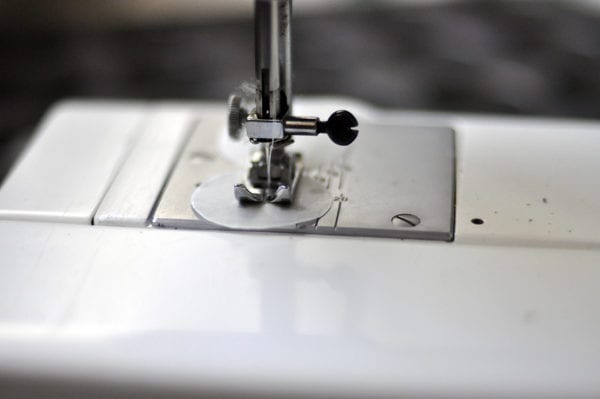
We connect with each other circles with the help of a sewing machine.
Attach the resulting strip with circles to the lampshade. Reduce the length with each circle.
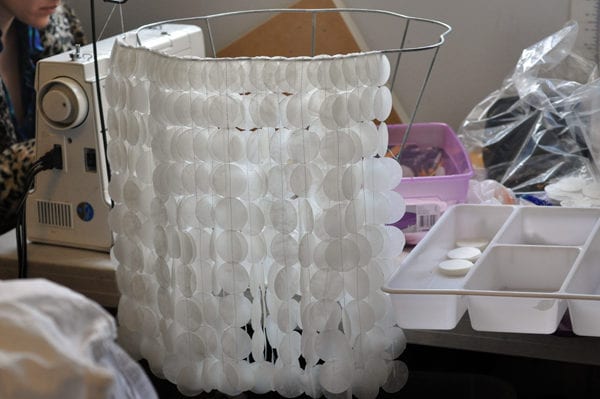
Carefully we fix a lamp with the lamp shade and we establish in the room.

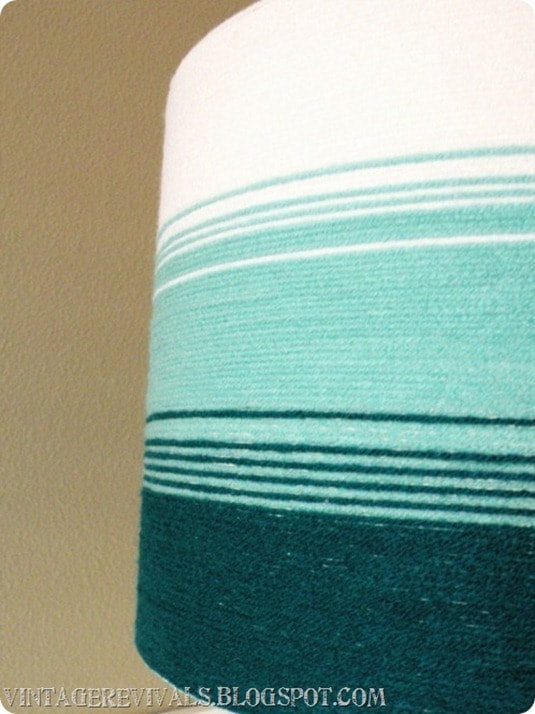
Ceiling with decor of the threads
To create an additional comfort in the room, you can use different things. For example, the ceiling of the thread - this is a great solution.
It will take:
- shade;
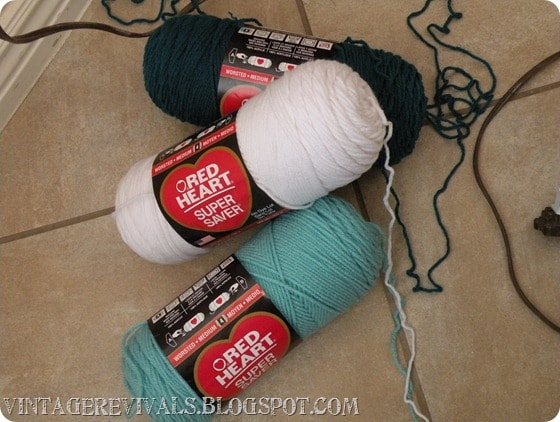
- threads of different shades;
- glue;
- scissors.

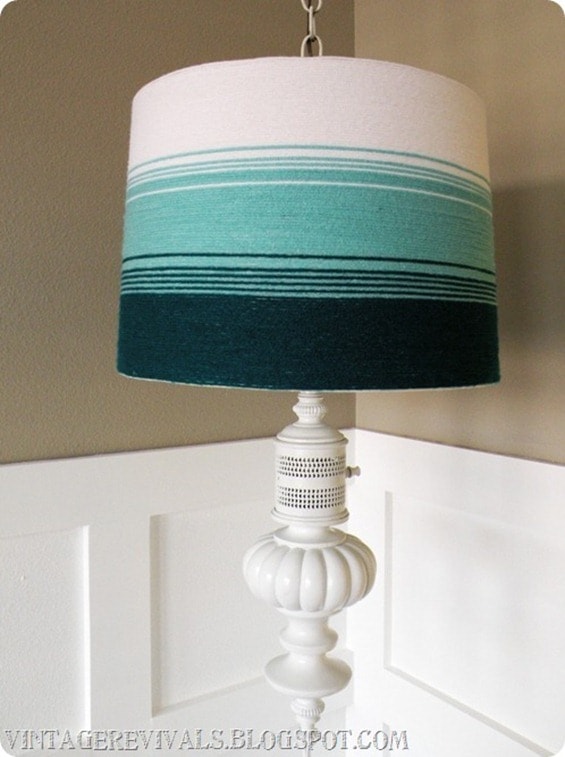
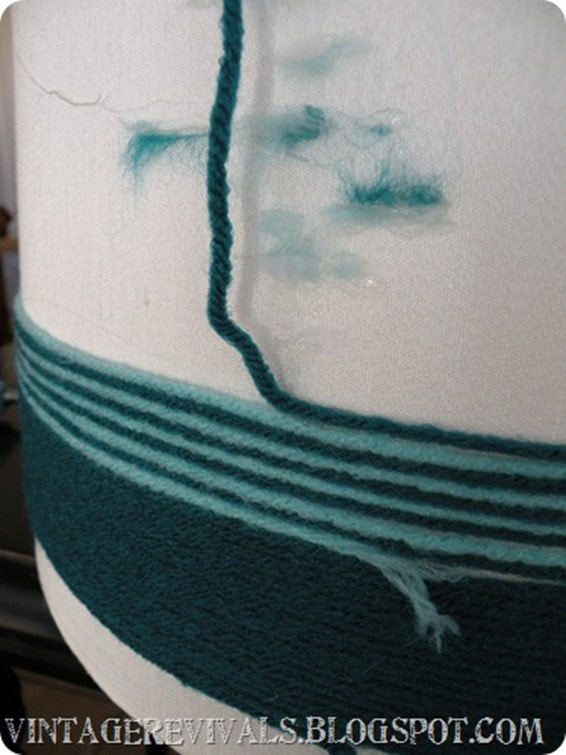
Fix the thread at the bottom of the lampshade with glue and reel it several times. Gradually, we begin to introduce a thread of a different color to create a gradient effect.

To fix the thread of the primary color using glue.
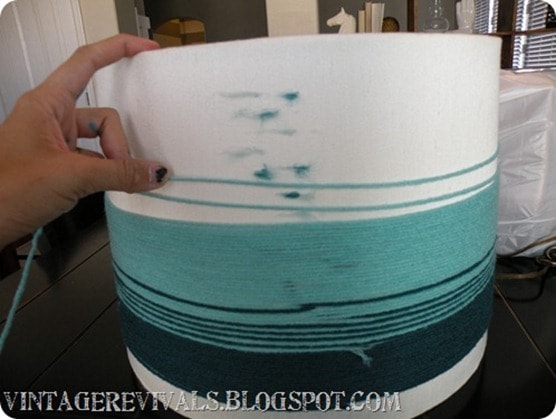
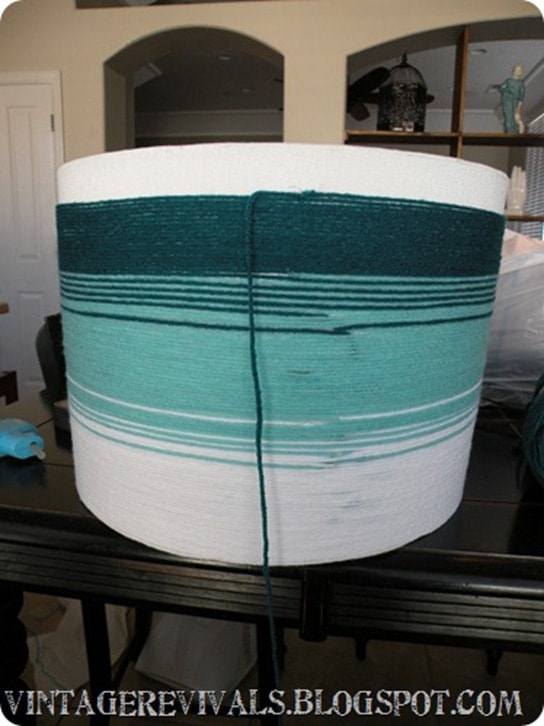
We continue to wind the lampshade to create the desired result.
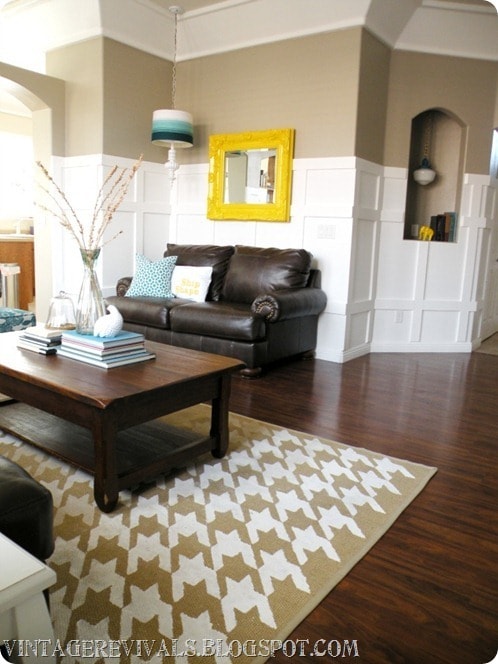
As you can see, you can create something really worth your own hands at no great expense. Be sure to try, and the result will surprise you for sure!
Do you make home decor or buy it in specialized stores?


I learned a lot of useful things! Thanks for the materials!