


In an effort to always look beautiful women go to all. They build up nails with acrylics and gel, undergo the procedure of paraffin therapy, constantly visit the manicure and pedicure room.
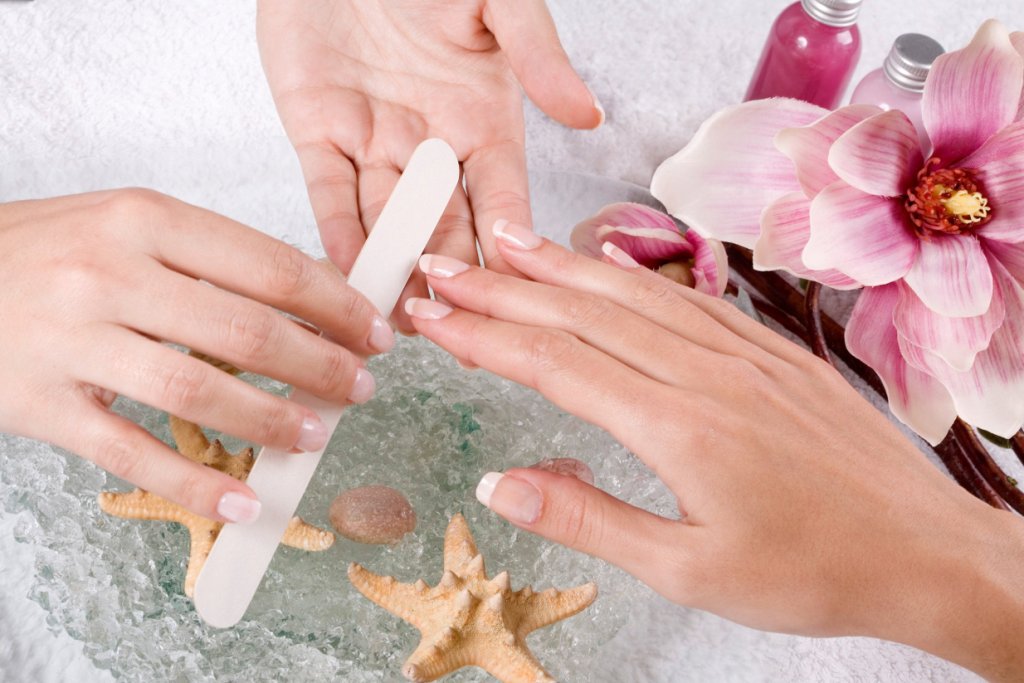
In order to stretch the time between visits to salons and at the same time to look charming, girls increase their nails. In just a couple of hours, short nails are transformed into a spectacular long manicure with an exotic design and shape. One problem - to create a similar nail art is easy, but how to get rid of tired artificial nails on their own, without resorting to the services of professional craftsmen.
In our review, we will try to comprehensively consecrate the topic of self-removal of extended nails, following which you will easily return them to their original appearance.
A bit of history
We all remember the first attempts of girls to lengthen their nails without a long wait for their natural growth.The way out of the situation at the time were false nails, which were glued to the nail plate with glue and covered with a copious layer of varnish. Such a design looked a bit pretentious and not neat, but there was simply no other choice for fashionable women of the 90s.
The modern nail industry has made great strides forward and can offer girls tools that in a few hours will turn short nails into long ones without compromising their appearance and health.
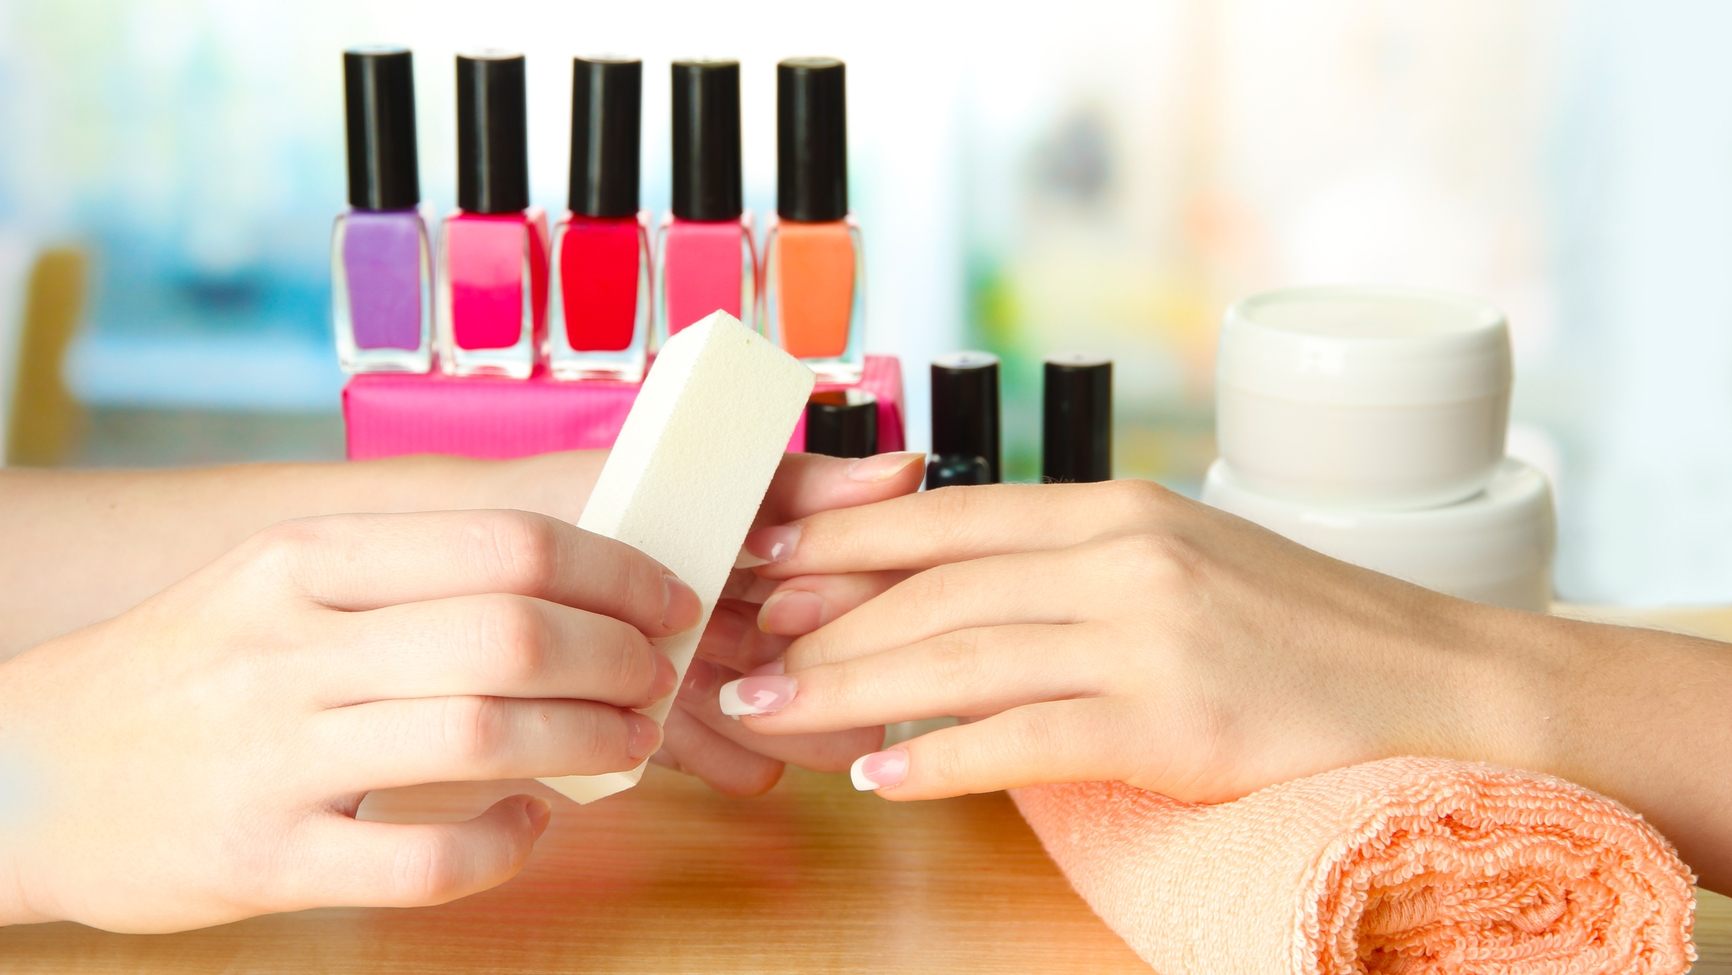
Materials for removing nail extensions
In the salons of the master use ready-made kits for removing the extended nails, adding tools to them at their discretion. The procedure at home will require:
- softening liquid - Acrylic Remover tool, which is indispensable for removing acrylic, enjoys the confidence of many girls
- foil for baking or hairdresser foil - a small amount of material is needed, a segment of about 30 by 30 cm, which is then cut into 10 parts 3 * 3 cm.
- cotton pads
- flexible nail file

How to remove extended nails at home
For the procedure, you will need tweezers and sunglasses that will protect your eyes from fragments of the material being cut. Regardless of the type of coverage, the preparatory stage will include 2 main steps.
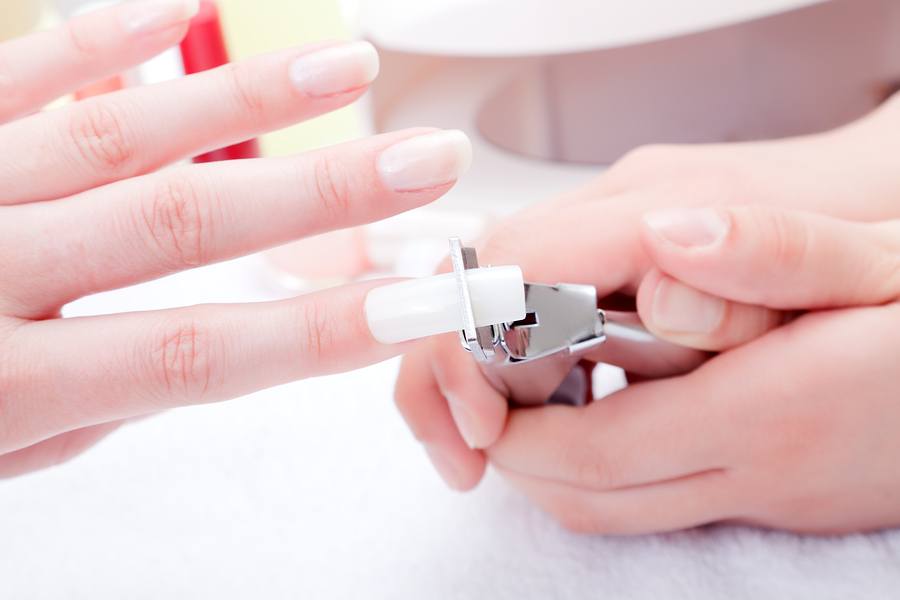
Take tweezers or sharp scissors. If possible, it is better to use a special tool - tip cutter. It is sharper than standard nail accessories and more successfully cope with the task. Cut the edges of the tips on both sides. Take your time, the structure of the artificial plate is quite tough, so you can’t quickly remove it.
After that, you can proceed to the second stage - the removal of artificial nails, which depends on the technology of building and used coatings.
How to remove the extended nails with gel at home
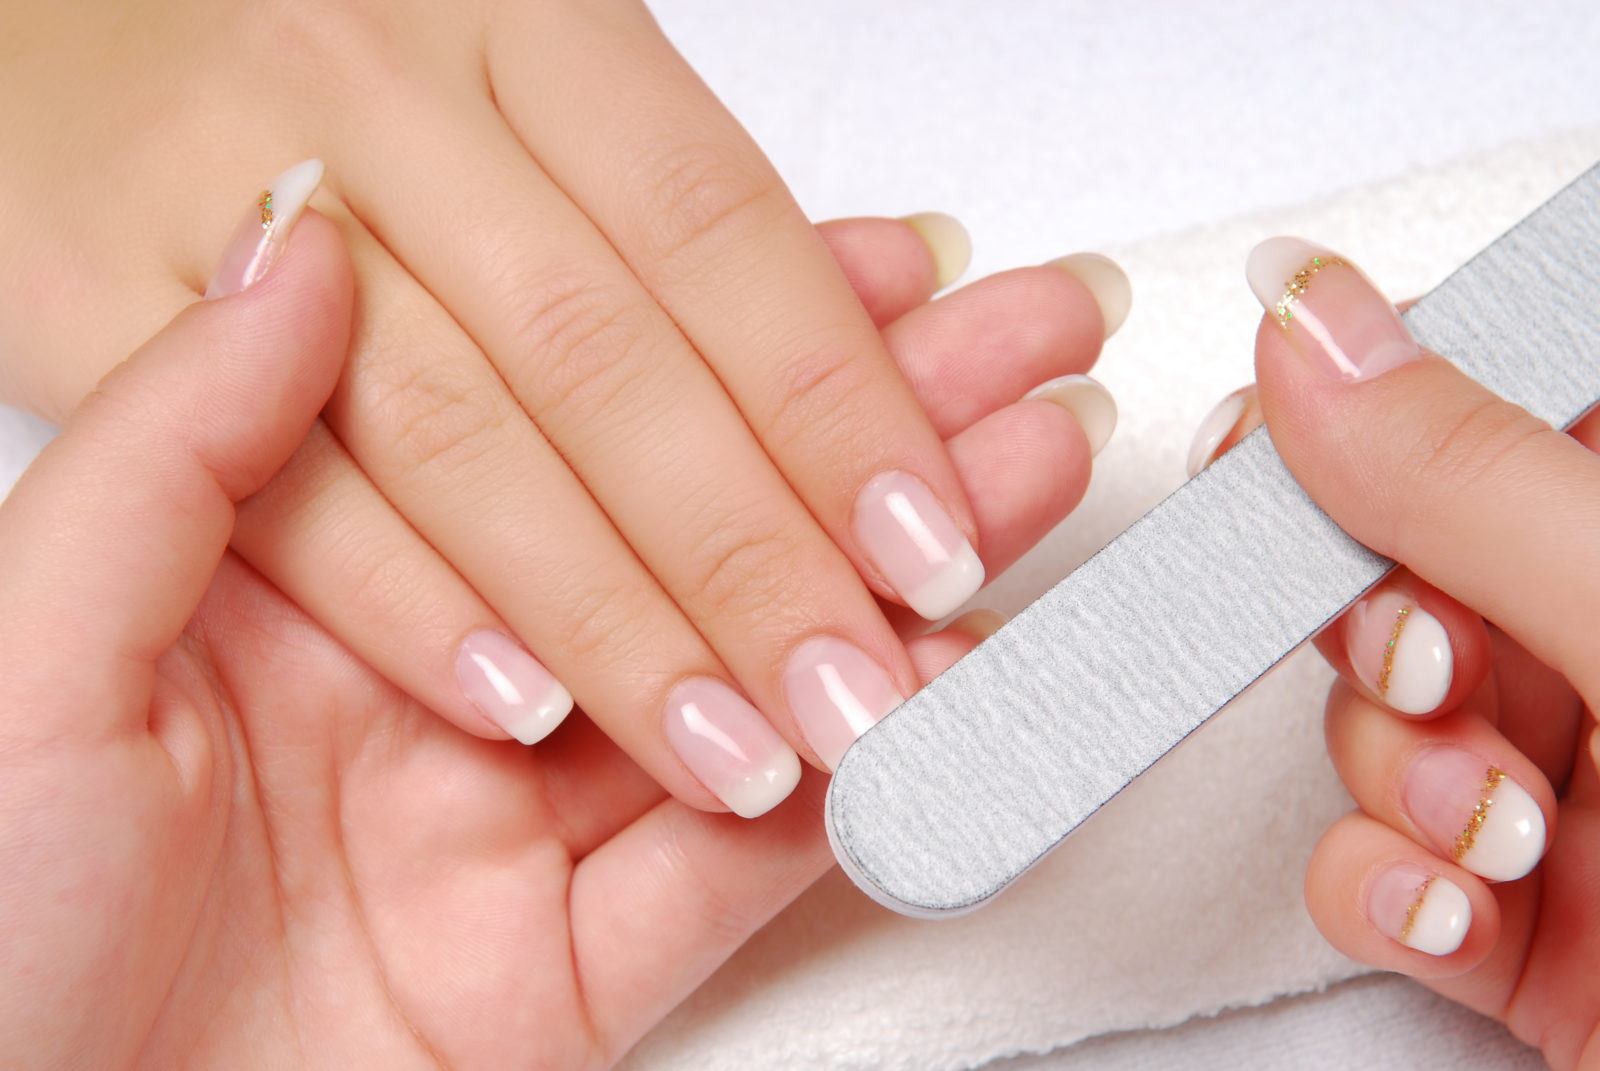
Under the conditions of the salon, liquid products are not used; craftsmen simply cut the material from the surface of the nail with a high-abrasive nail file. This procedure takes 5-10 minutes for each finger, but if you perform it at home with no experience, you can spend it all day.
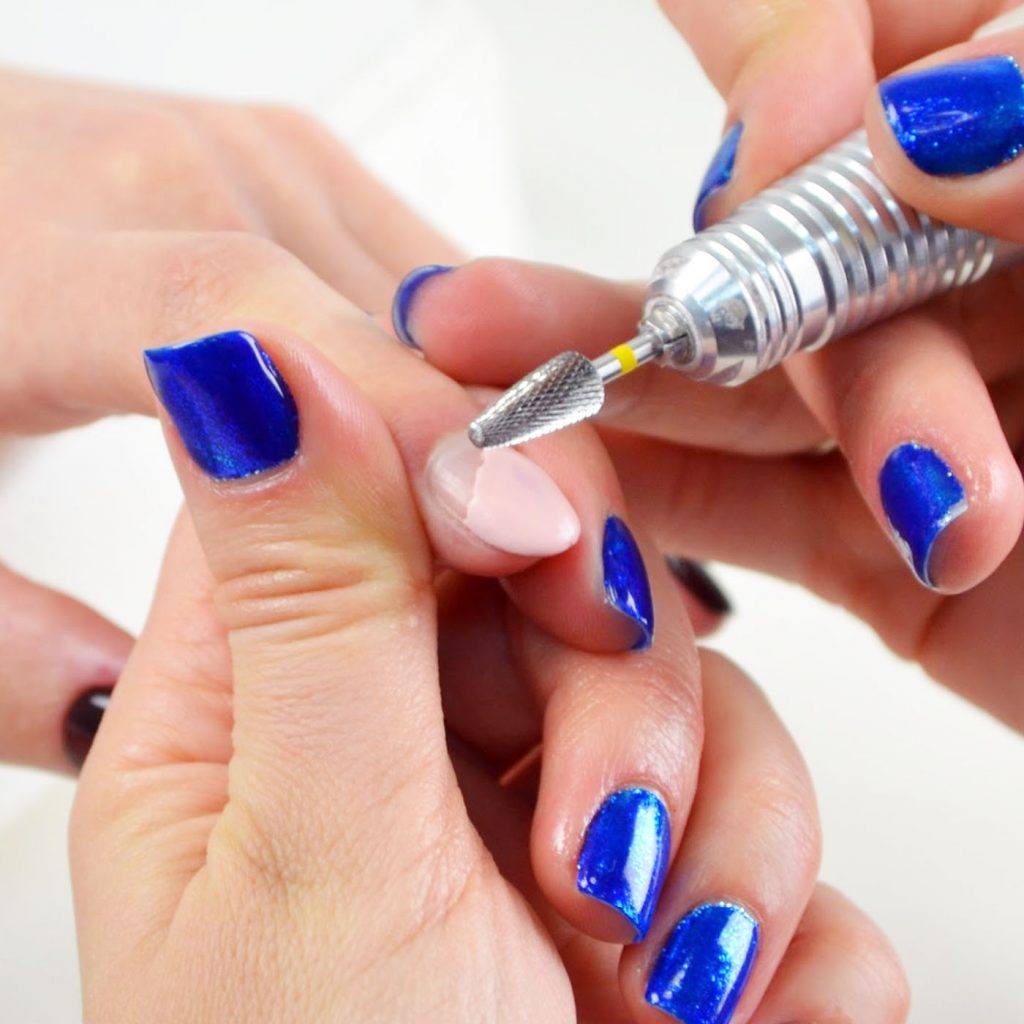
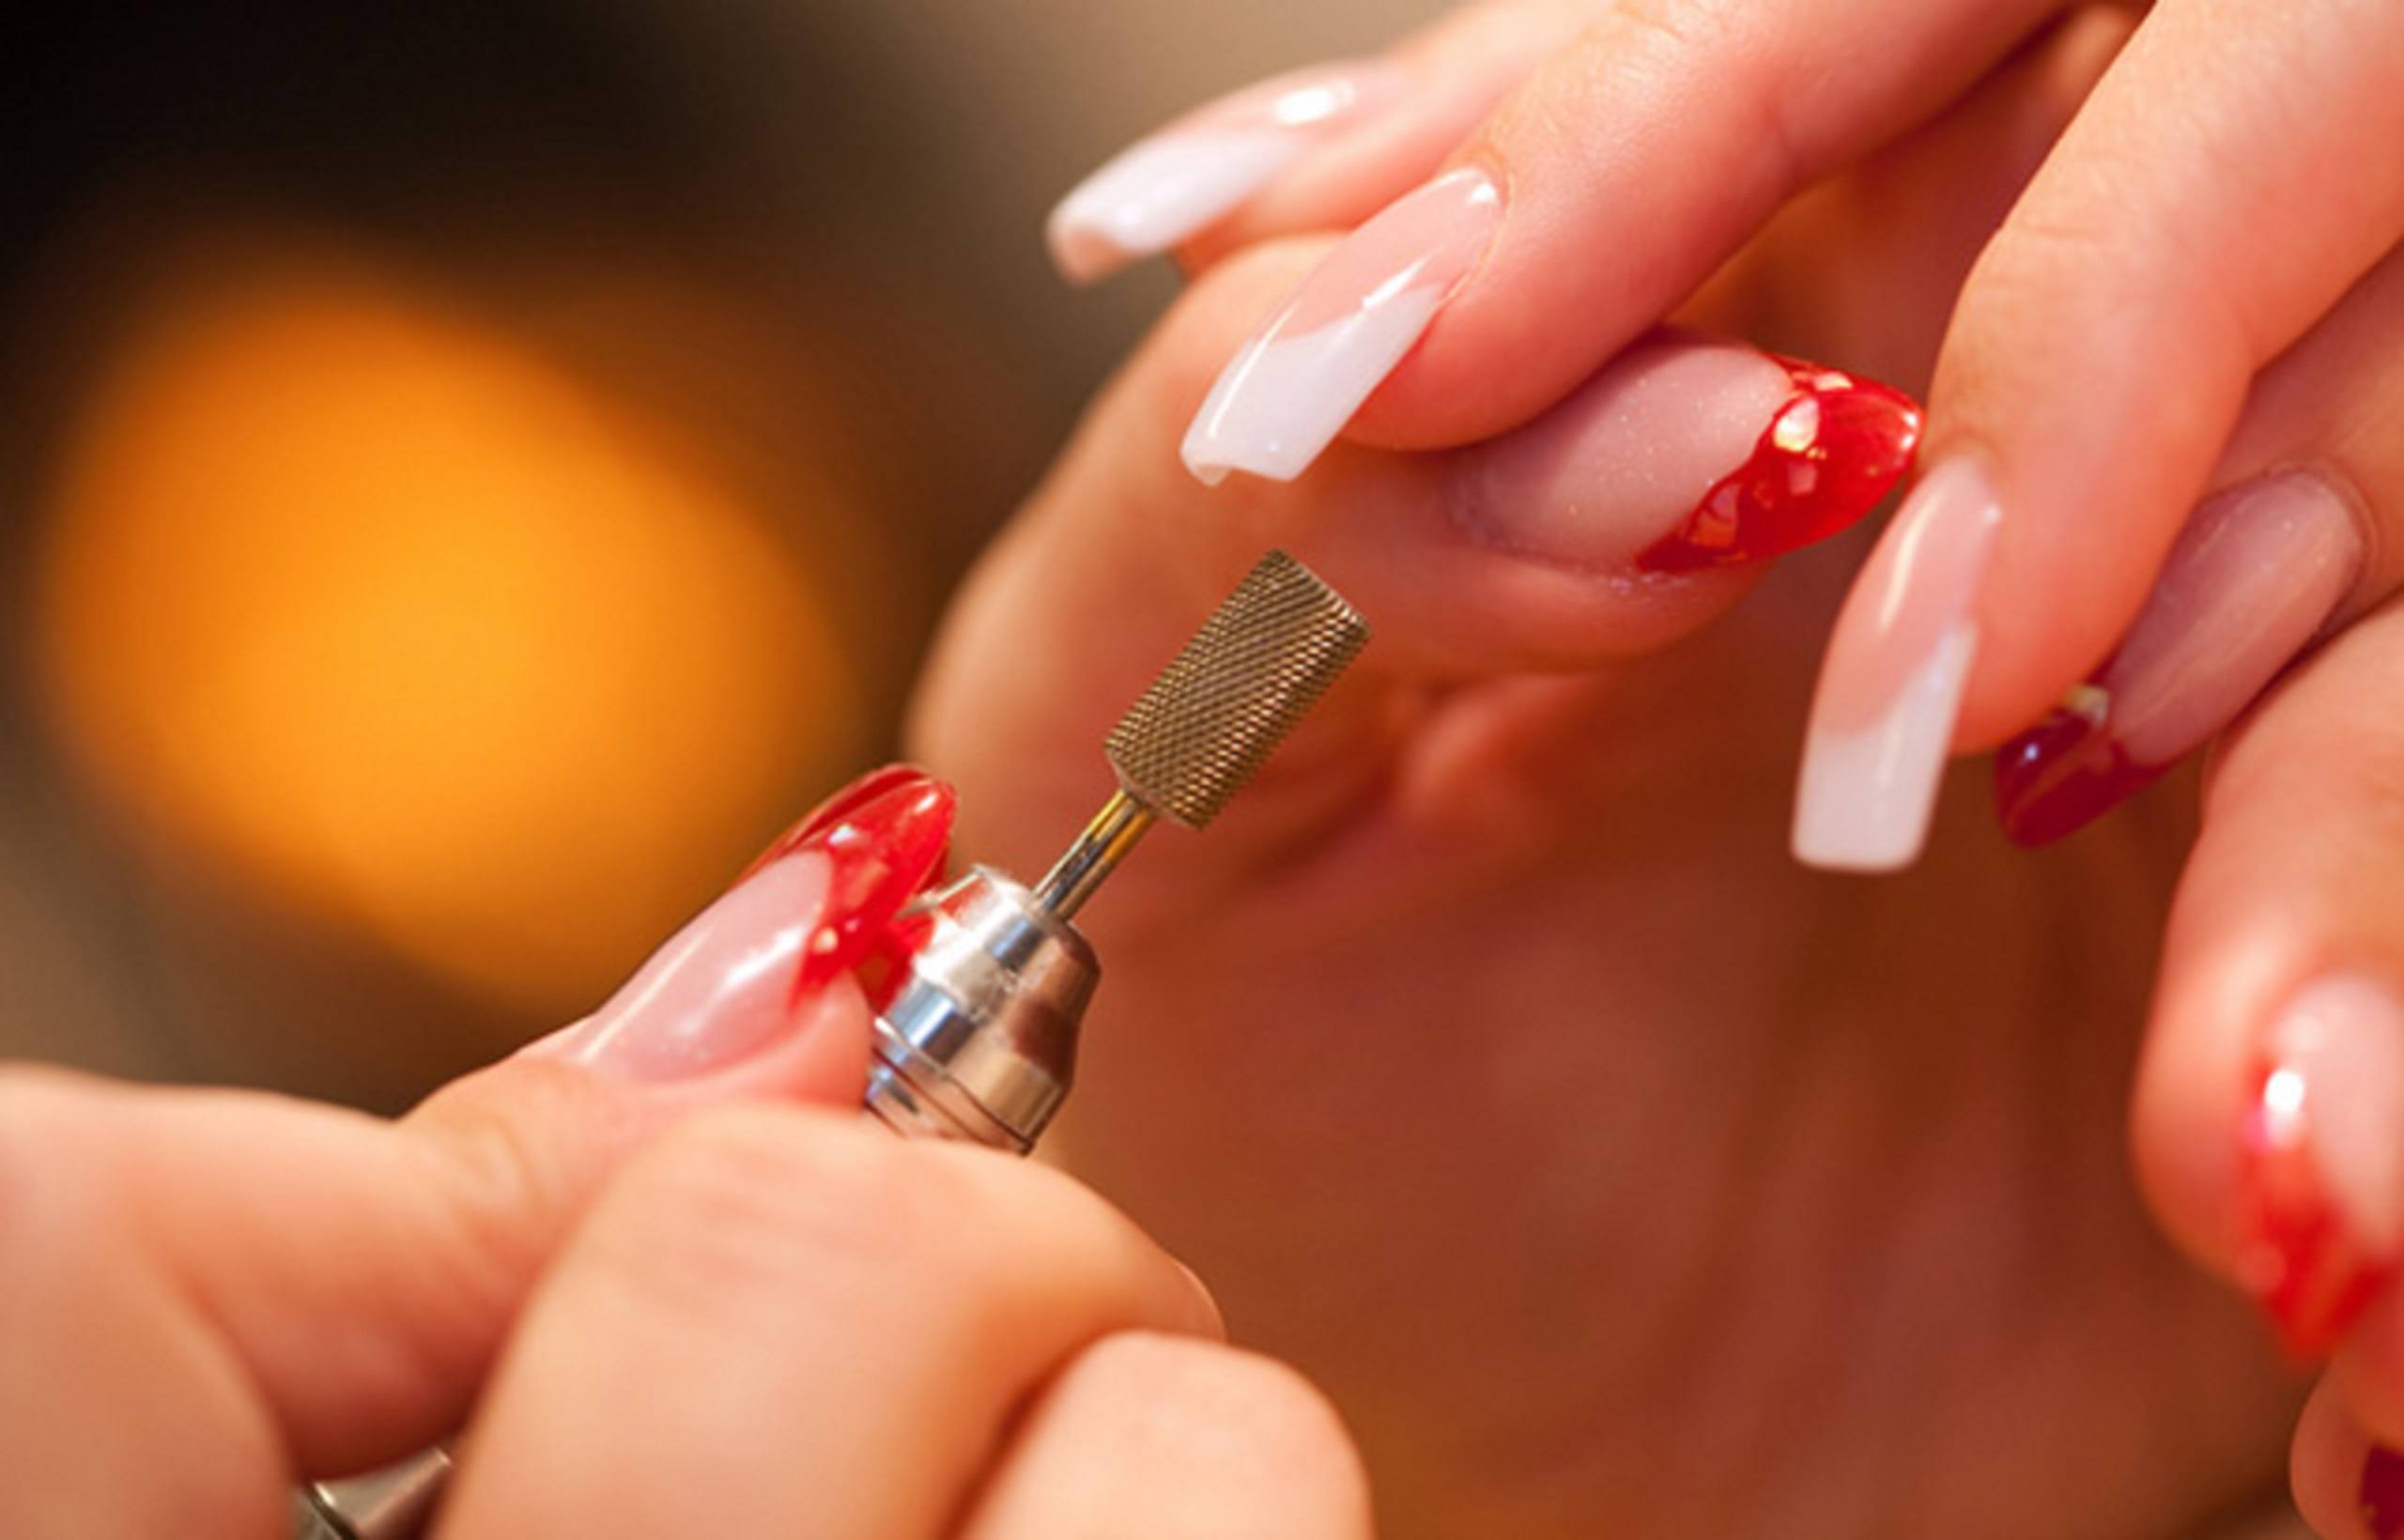
If there is a special machine for polishing and grinding nails, then this will significantly speed up the process, but if there is no device, use a regular nail file. Using a small file, remove the gel from the nails. Dusty, brush with a soft, dry brush.
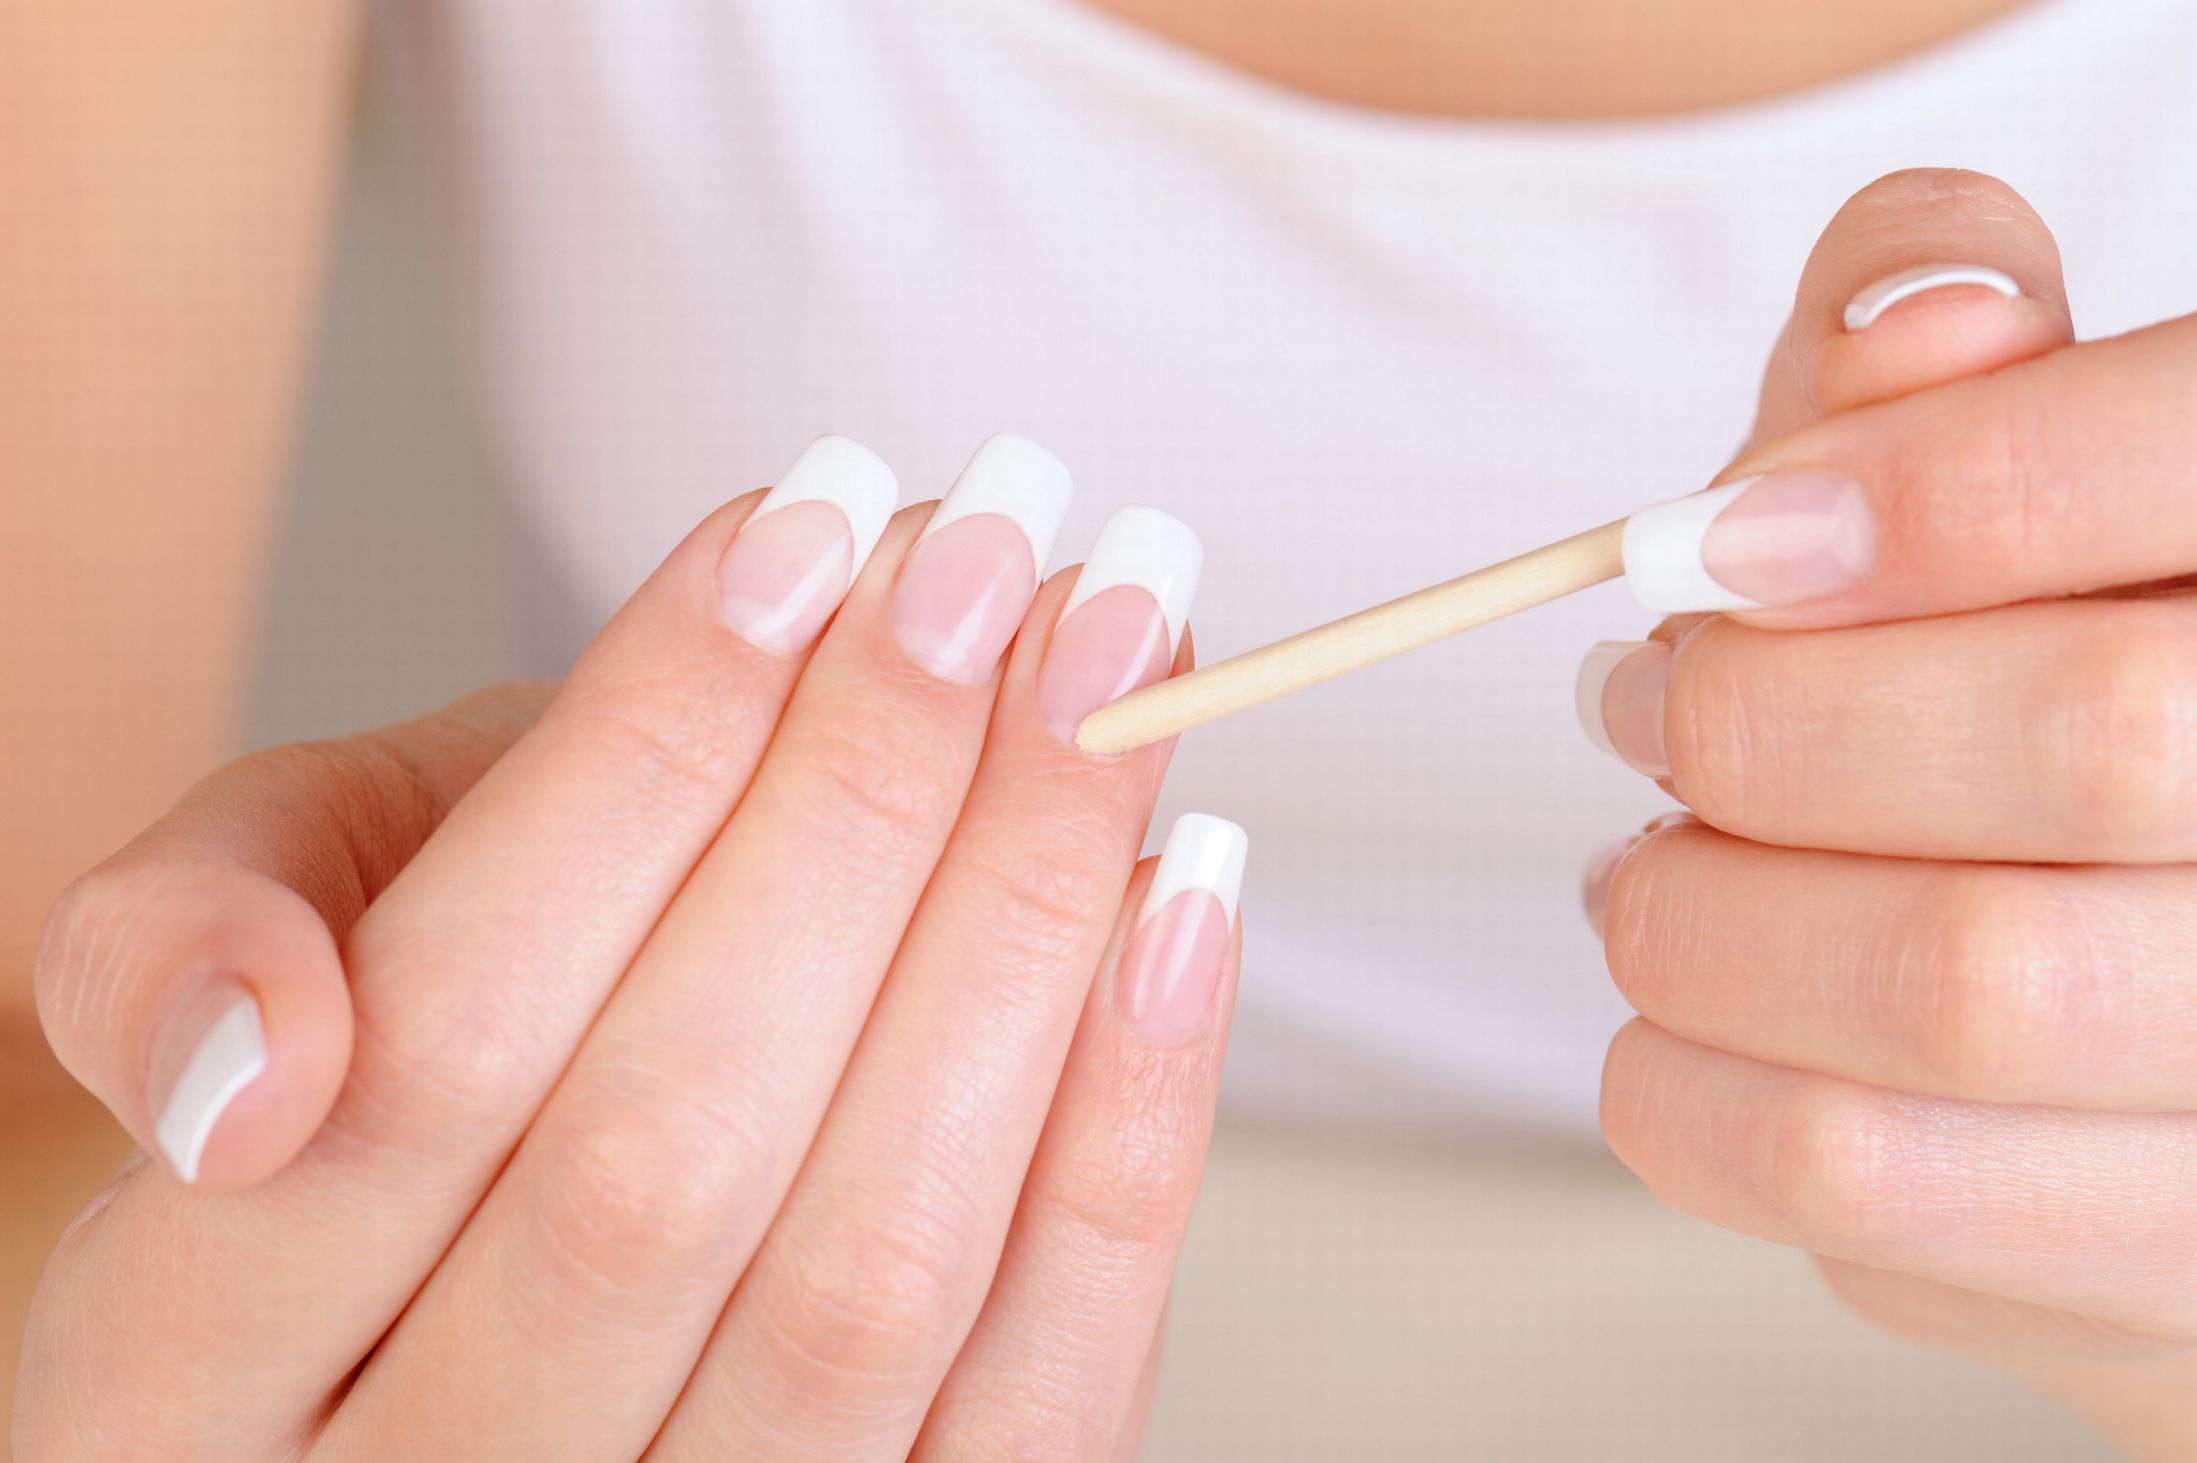
Dip a cotton pad or fleece in nail polish remover and wipe with a fingernail until the entire gel coat has dissolved. Next, apply a strengthening nail polish on your nails and brush your hands with cream.
How to remove acrylic coating at home
It is a little more difficult to cope with acrylic than with a gel. For the procedure in addition to the foil and nail file, you will need a special tool for removing acrylic tips. It is advisable to purchase a liquid of the same manufacturer as the acrylic itself, but if this is not possible, then use regular acetone.
- remove topcoat from nails using nail file or nail polish remover
- Dip cotton pads in liquid to remove acrylic and wrap the surface of the nail plates with them.
- fix the cotton pads tightly with foil, leave your fingers in this condition for 40 minutes
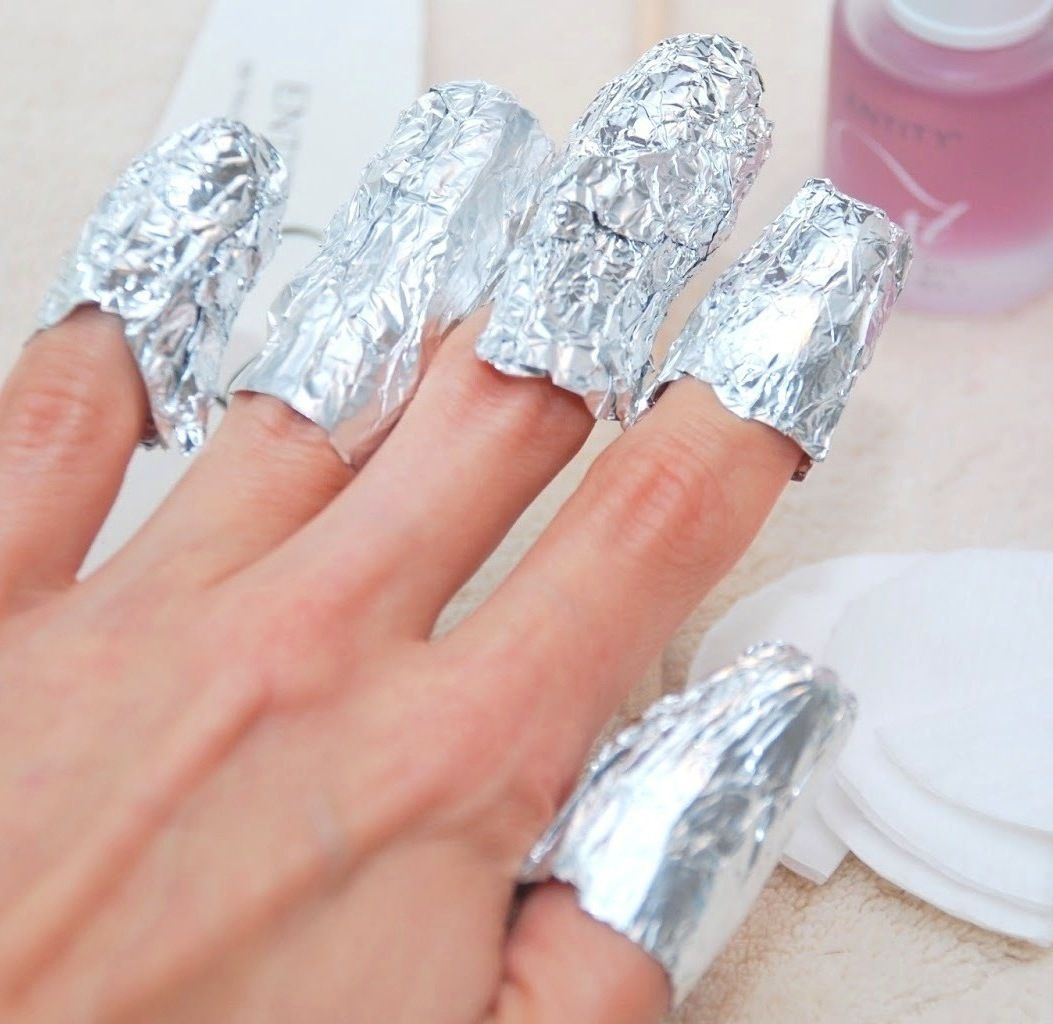
During this time, the acrylic under the influence of the liquid softens and becomes similar to jelly. In this state, it is easy to pick it up with a sharp thin object and remove it from the surface of the nail. Perform all actions quickly, otherwise the acrylic in the open air quickly grab and harden. After removing the main “jelly”, remove the remnants of the acrylic coating using a sponge soaked in a nail polish remover. After completing the procedure, wash your hands thoroughly and apply a nourishing cream on them.
Nail care after acrylic and gel coating
The main barrier to the use of acrylic coating is a significant damage to the health of nails. But with proper care, you can maintain the natural look of your hands even after prolonged wearing of extended nails.
Nails are damaged even after salon extension and removal of nails, what to say about the home procedure. In the manicure stores, you will eagerly be offered expensive means to restore the nail plate, however, it is not at all necessary to spend money and acquire questionable creams and masks.
You can restore nails after acrylic at home for mere pennies. You will need regular vegetable oil. For greater efficacy, use castor and almond oil. Heat a small amount of oil in a water bath and massage it into the nail plate with massage movements. Polish the surface of the nail with a piece of suede. This procedure will give them a well-groomed look and shine, save from fragility and delamination.

At the first stages, use the services of professional craftsmen who know the process thoroughly. As soon as you understand the main nuances of the removal of the enlarged nails and are confident in your abilities, then go on to home procedures, which are also more economical.


