


The popularity of handmade products is difficult to overestimate. After all, they often look quite original, unusual, and also have a special energy. In addition, if you wish, you can do absolutely anything you want with your own hands. Today we offer you several master classes, with the help of which you can make houses of different size and functionality.
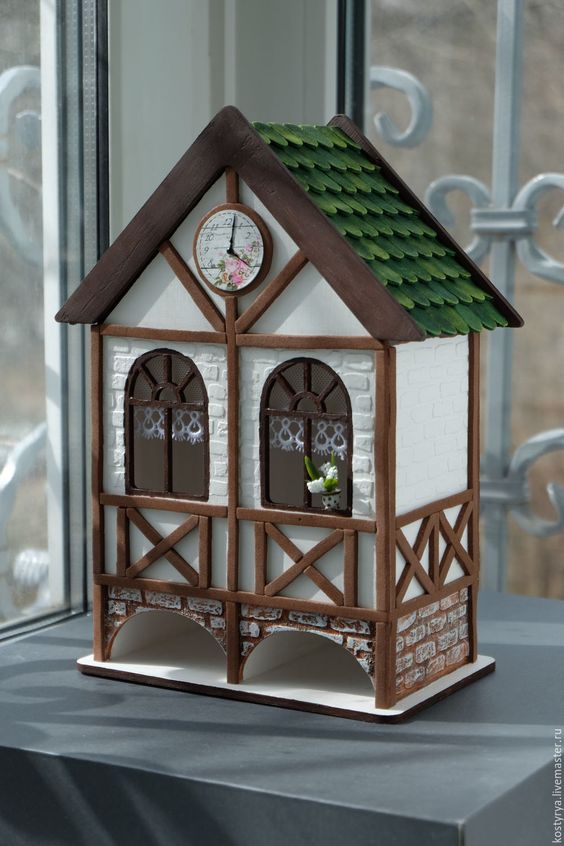

Dollhouse
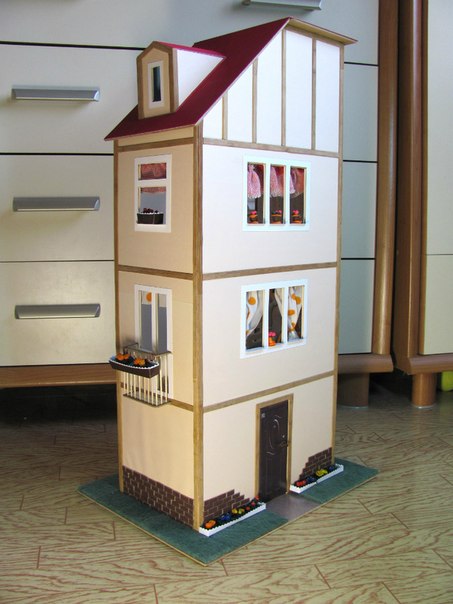
Almost all girls at a young age dream of a beautiful doll house. Its cost is often quite high, but this does not mean that it can not be done by hand. Believe me, your daughter will definitely appreciate such a long-awaited gift!
For work you will need:
- Hardboard;
- glue;
- colored cardboard white and brown;
- color paper;
- wallpaper;
- bamboo slats;
- scissors;
- corrugated board.
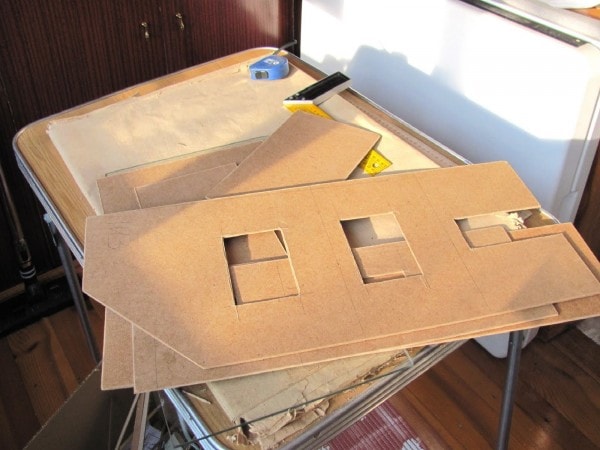
First you need to make blanks from fiberboard. To do this, draw a rough sketch and carefully cut them.
We connect all the parts together with glue. We cover the roof of the house with corrugated cardboard. 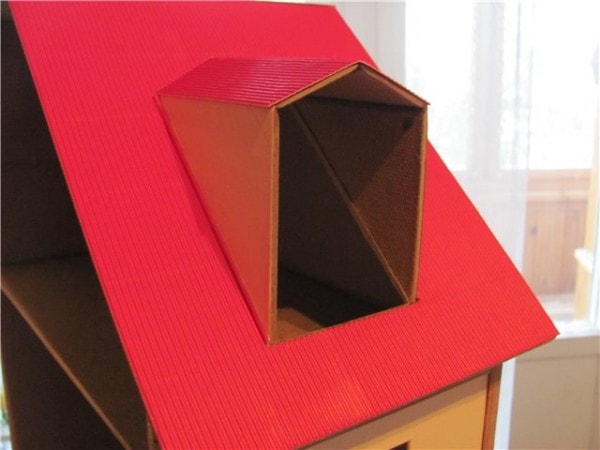
Outsides we paste over with colored paper, and also we do the marking with the help of bamboo slats. 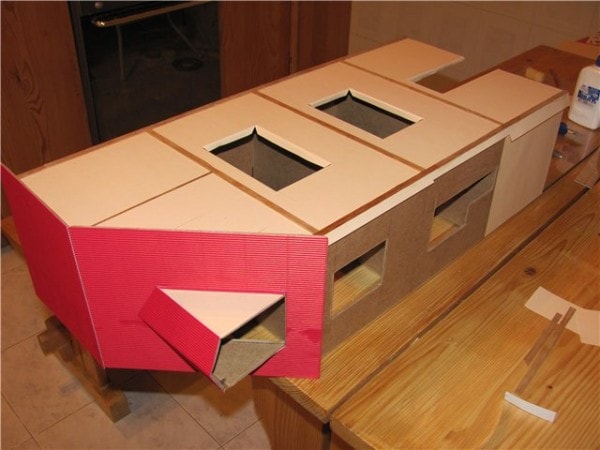
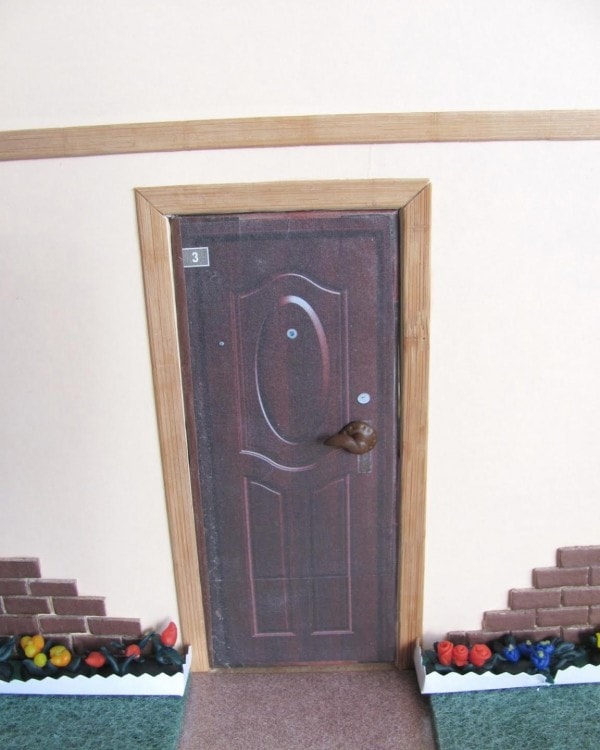
Getting to the additional decor. To do this, we cut out small rectangles in the form of bricks from brown cardboard. Glue them to the house, as shown in the photo.
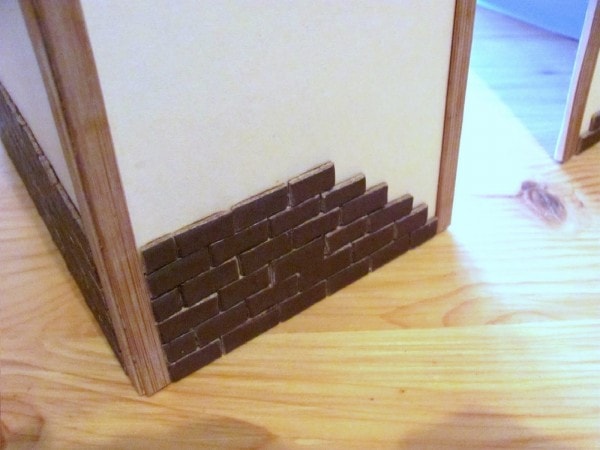
Glue the whole structure to the workpiece from fiberboard. Due to this, it will be better to stand on the surface.

From thick white cardboard cut frames for windows. 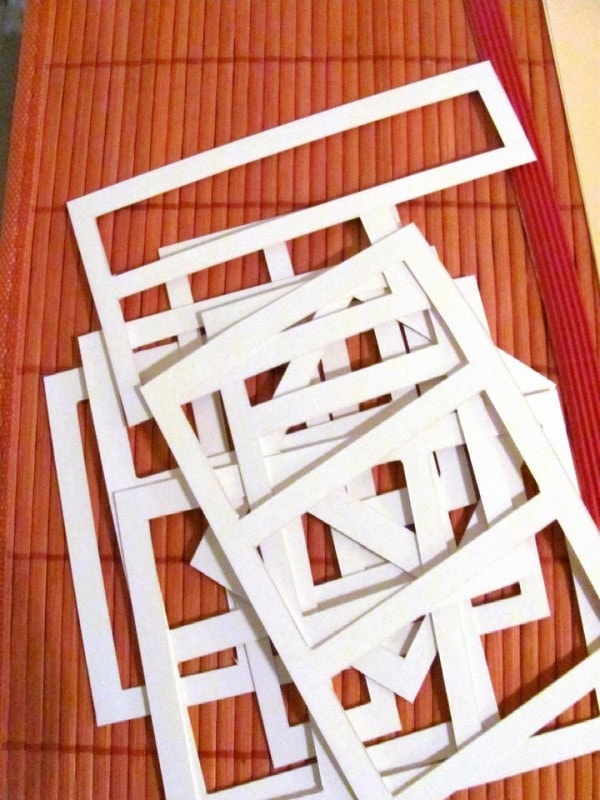
Paste them on two sides of each window. 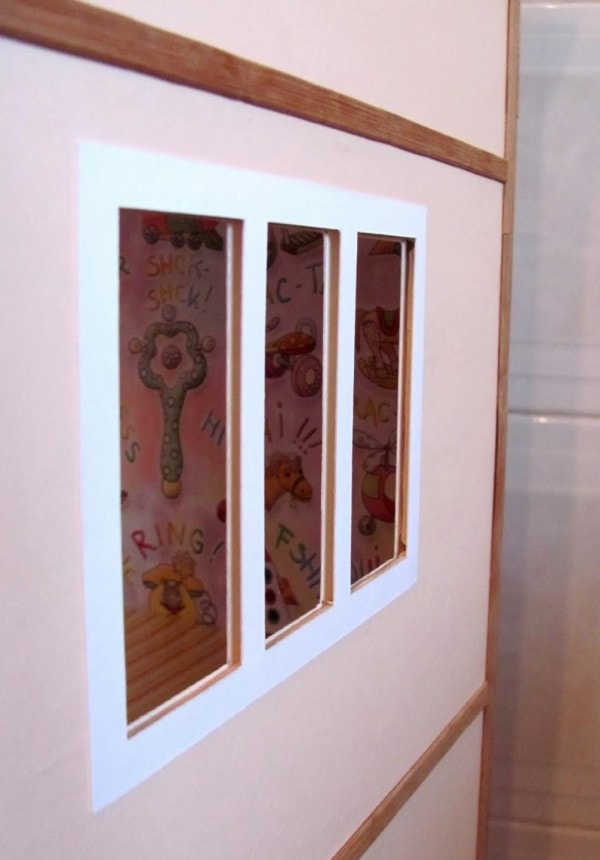
We make the same blank for the balcony and glue it. 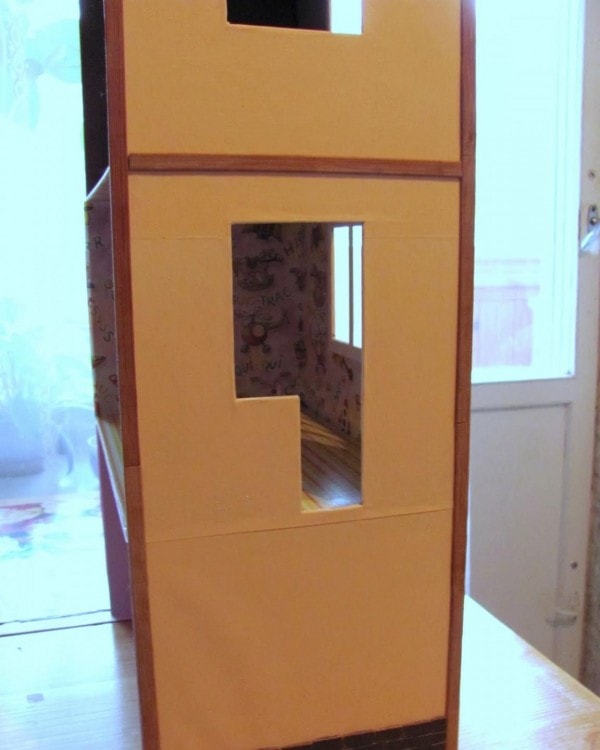
If desired, you can make a spacious balcony. To do this, you need a thick cardboard, toothpicks and wire.
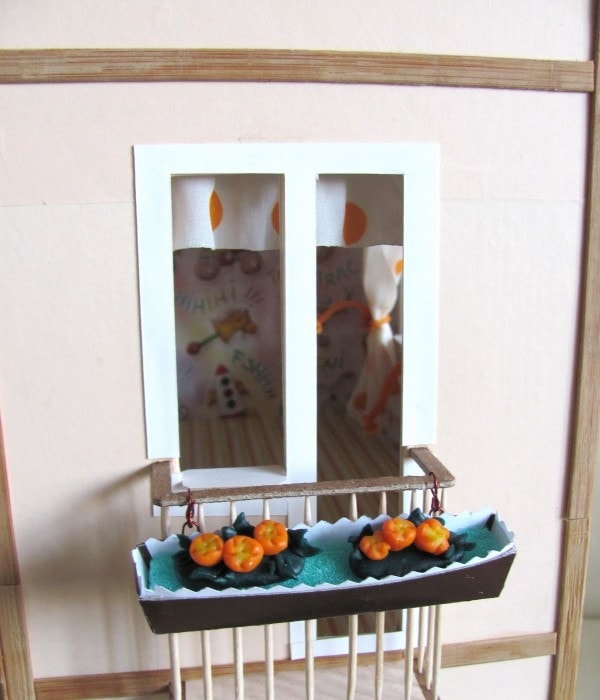
From two sides we glue the attic window. 
Cut out the door and the frame for it from brown cardboard. If desired, you can cut the image of the door from the advertising booklet or print it on the printer.
We paste the walls from the inside with wallpaper and colored paper. Beautiful house ready! 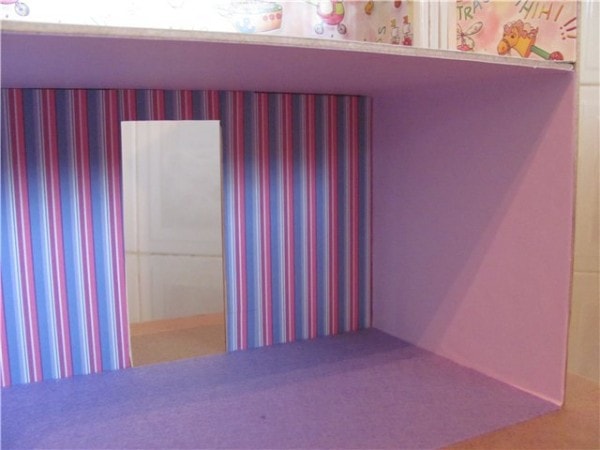
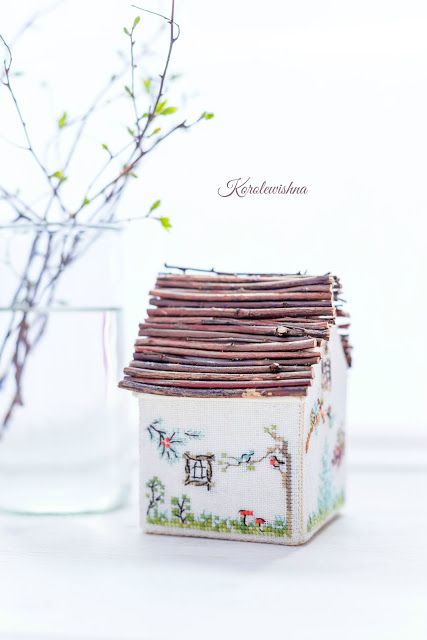
Decorative house
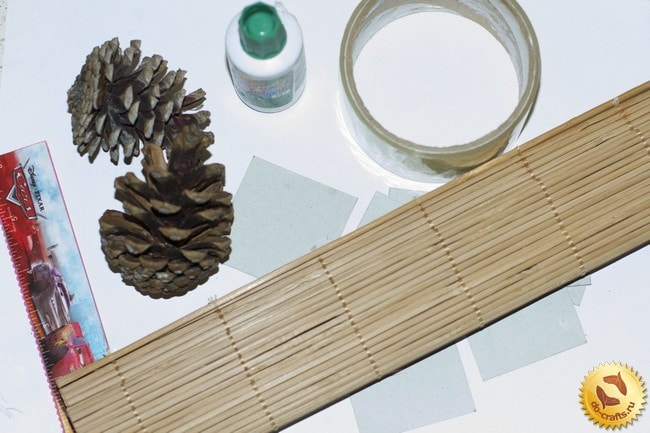
We will prepare such materials:
- thick cardboard;
- cones;
- transparent glue;
- Scotch;
- ruler;
- bamboo slats;
- scissors;
- pencil.
From thick cardboard cut five squares of the same size. It all depends on how big you want to make a house.

We glue them together with tape.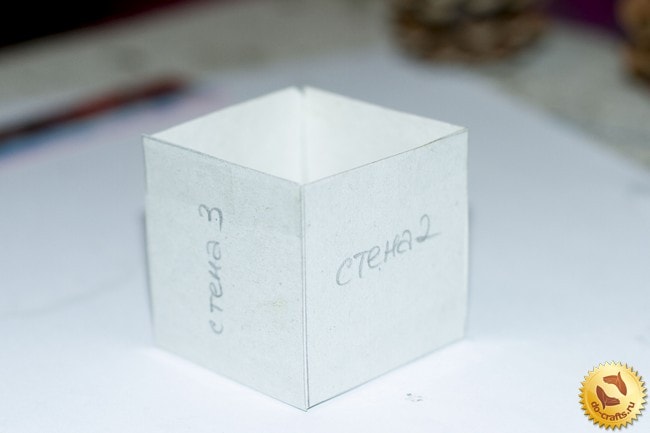
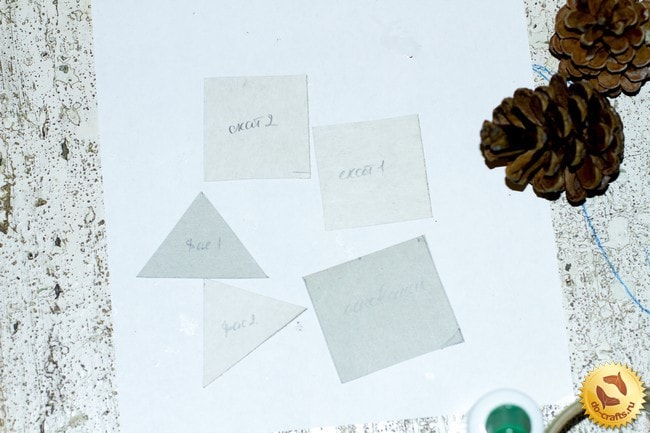
Getting to the creation of blanks for the roof. To do this, cut out two thick triangles from cardboard, two squares and one rectangle.
We glue the workpiece together.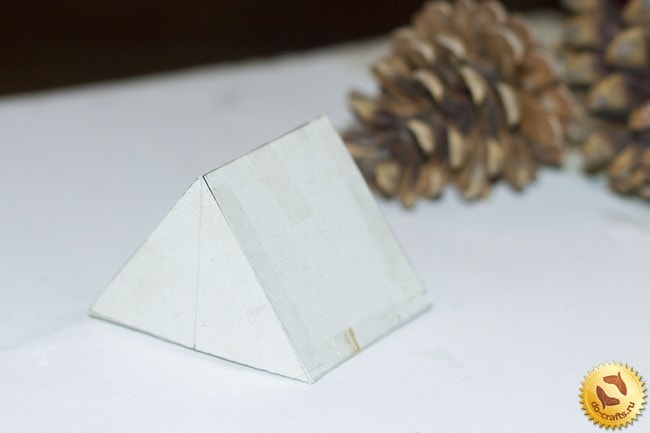
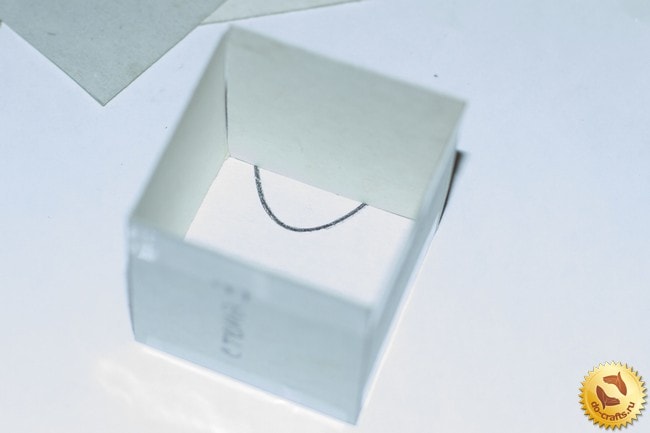
Cut off a strip of cardboard and glue it on the center of the base of the house.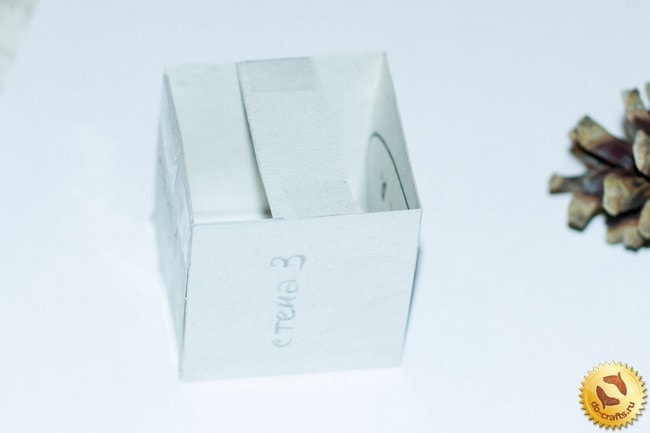
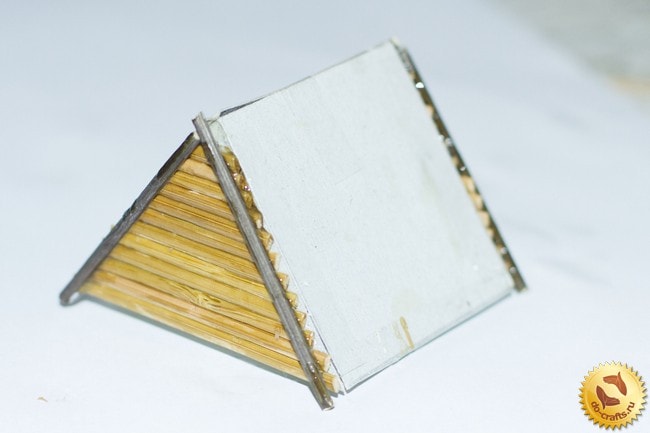
We take a napkin from bamboo slats and cut a square out of it, as shown in the photo. Separate the sticks from each other.
Apply glue to one side of the square blank.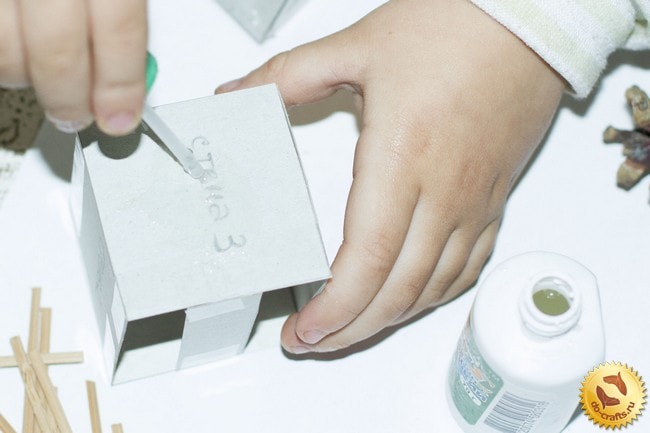
Alternately glue each stick, making small projections on both sides.
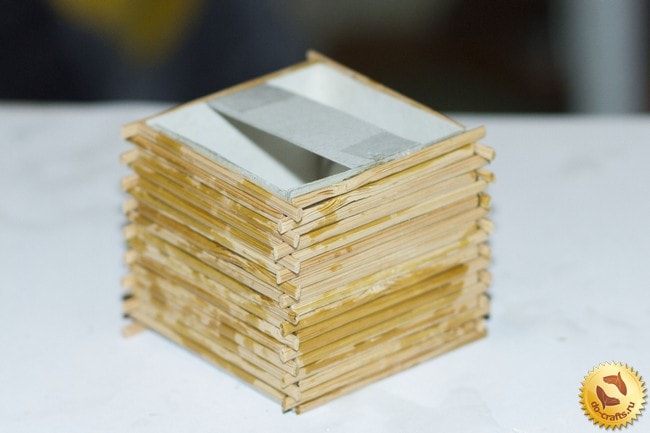
We continue to do the same with the rest of the house walls.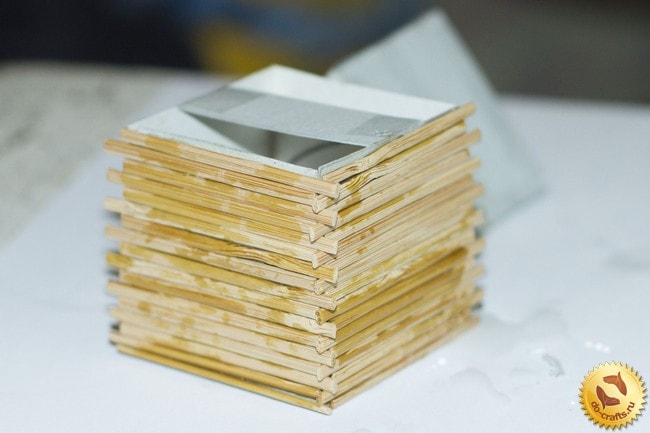
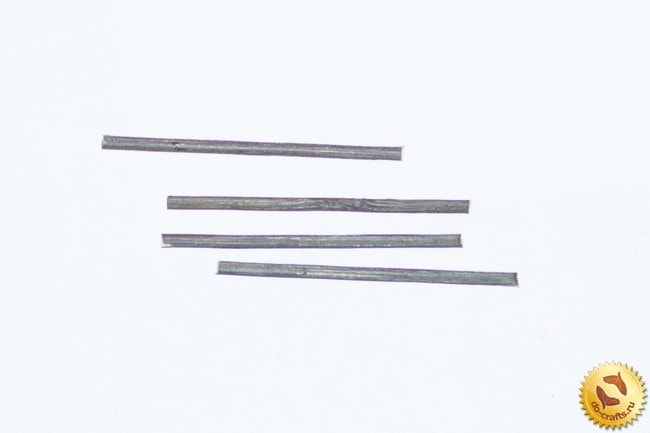
Getting to the finish of the roof. To do this, measure the length of the roof and glue the stick.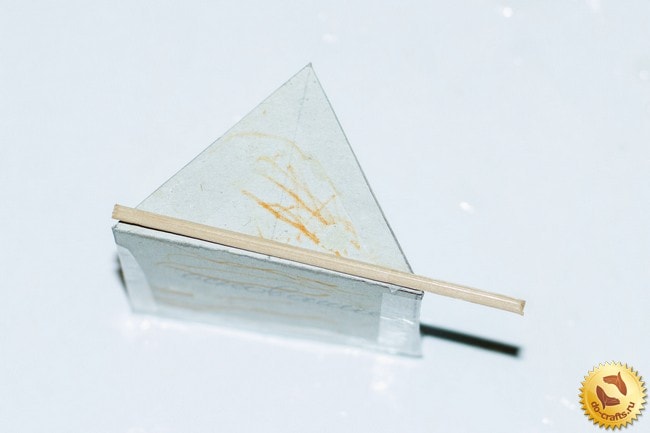
Repeat the same with the rest of the chopsticks. And also glue them on the other side of the roof.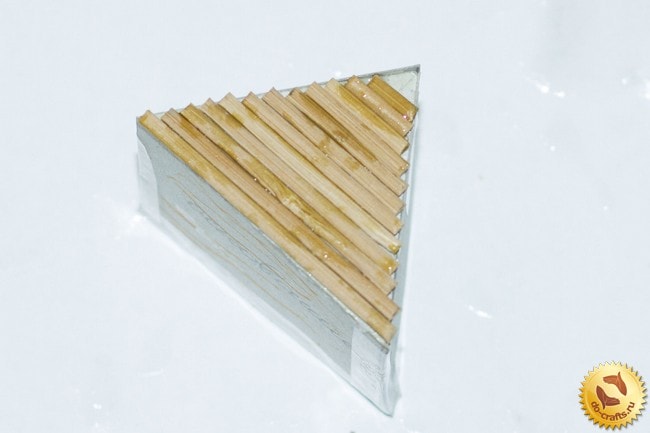

Cut off five small sticks.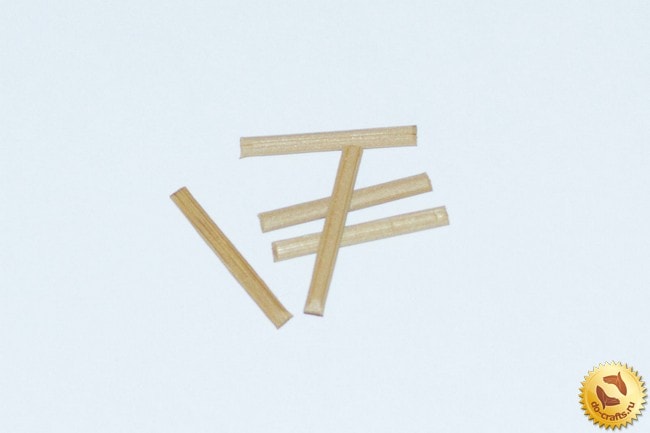
Glue them to the base of the house, forming the door.
Paste the door with darker chopsticks.
Making windows of dark sticks.
Cut off four dark sticks for the roof and glue them.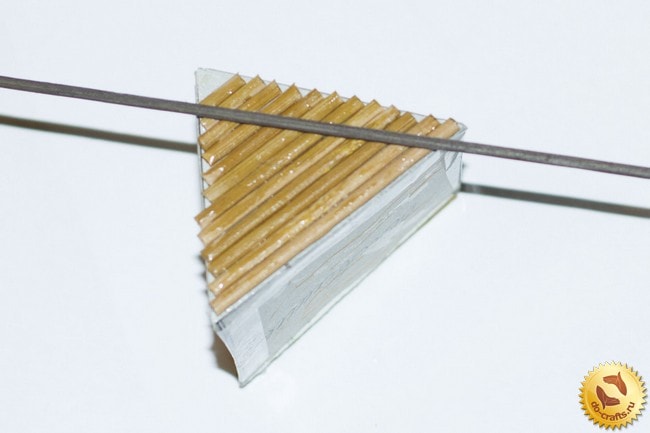

We take pre-harvested cones and carefully cut off each scale.
We cut them so that they have the shape of diamonds.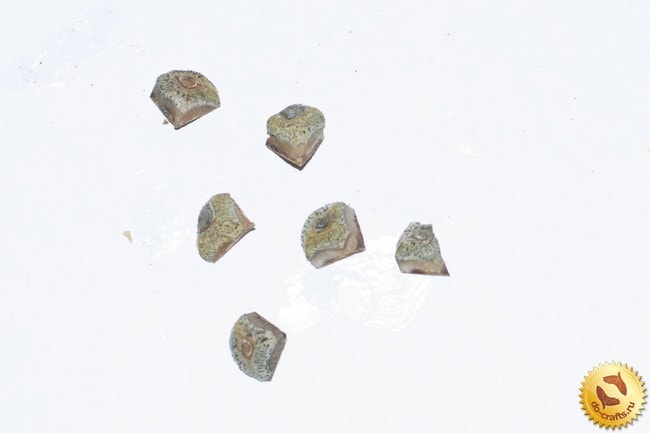
Apply glue to one of the sides of the roof and glue pieces of cones. Visually, they will look like shingles.
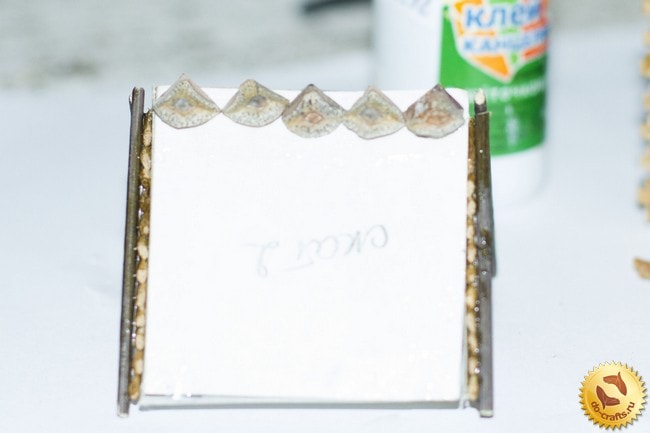
Repeat the same on the other side of the roof.
Glue a small piece of dark sticks on top of the roof.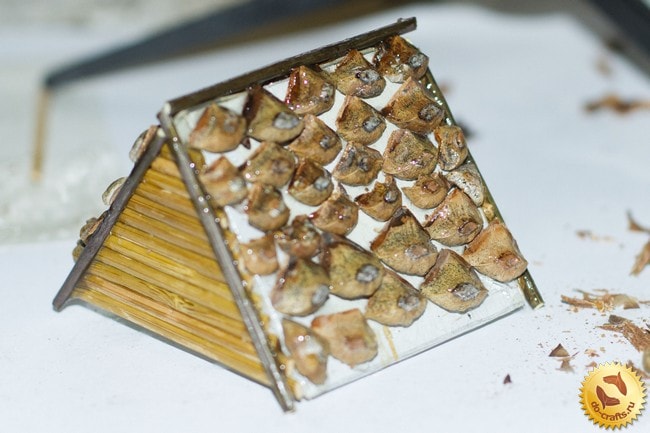
Glue the dark sticks on both sides at the bottom of the roof.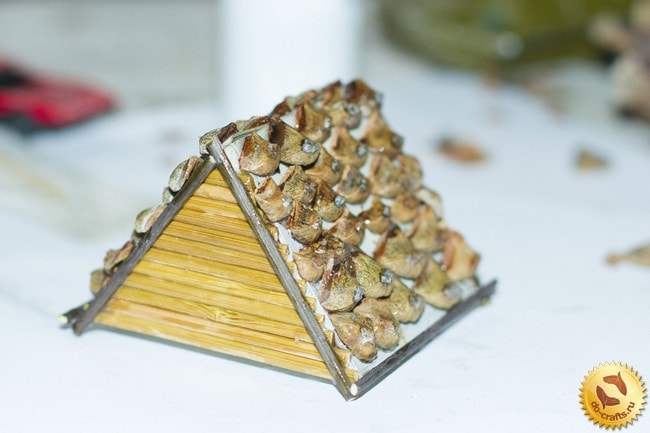
We take the base of the house and apply glue on a strip of cardboard.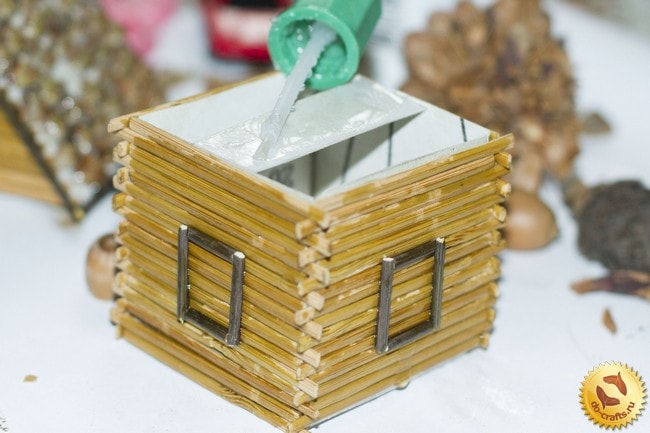
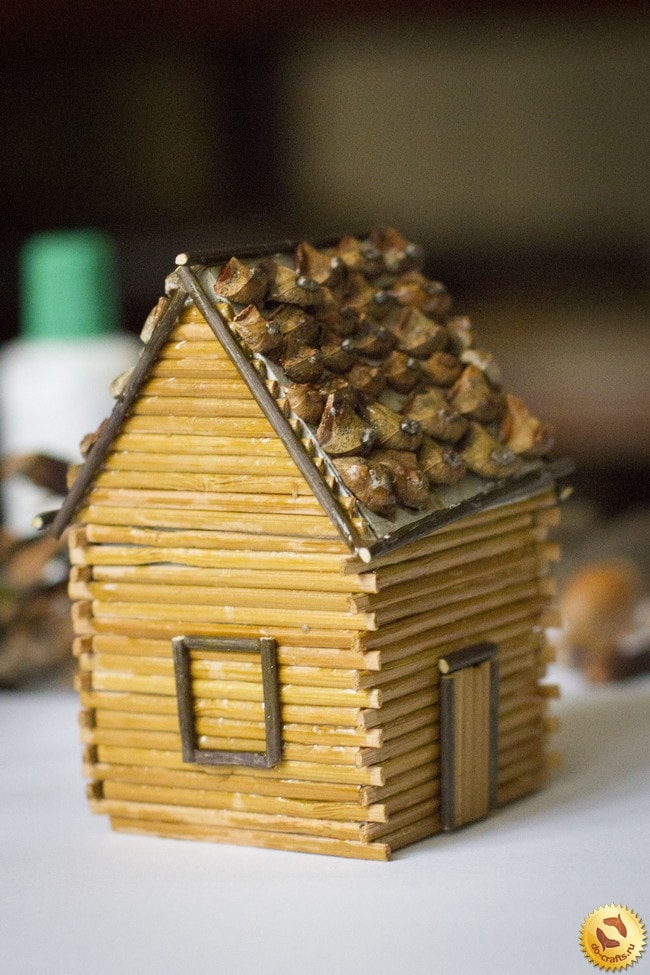
Gently glue to the base of the roof. Beautiful decorative house ready!
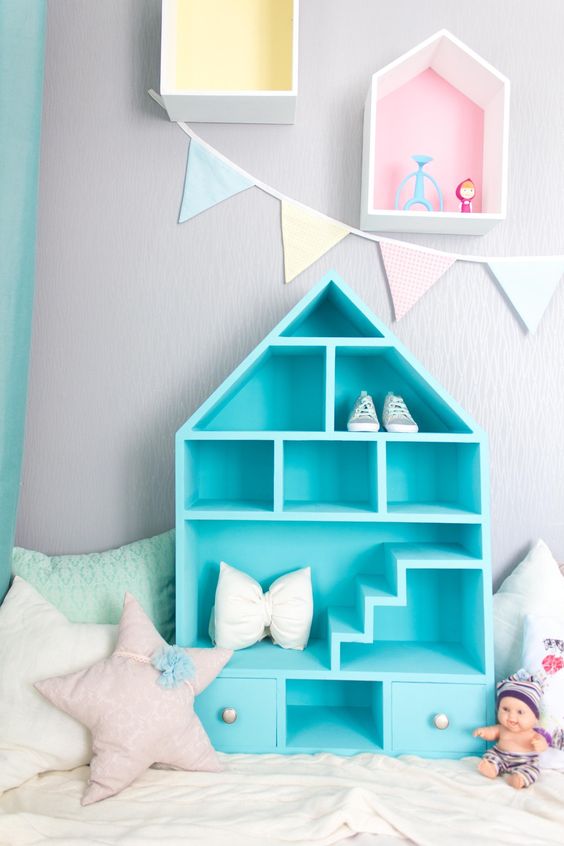
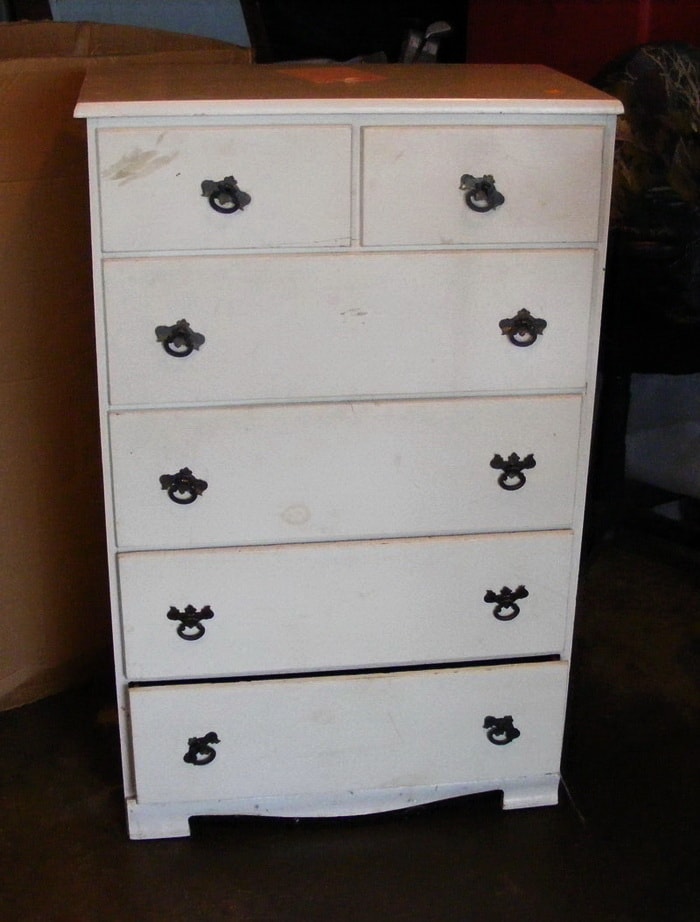
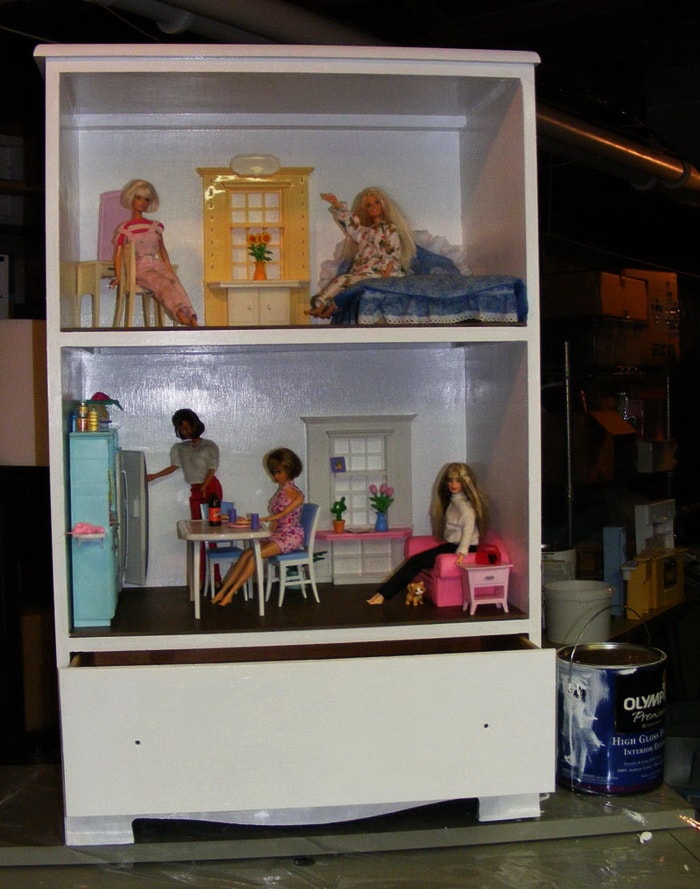
Dollhouse from the dresser
To make a dollhouse does not necessarily purchase expensive materials. After all, you can use unnecessary furniture and other designs. We suggest simply redoing the old dresser.
For work you will need the following:
- chest of drawers;
- saw for wood;
- brush;
- glue;
- putty;
- sandpaper;
- paint white;
- big brush.
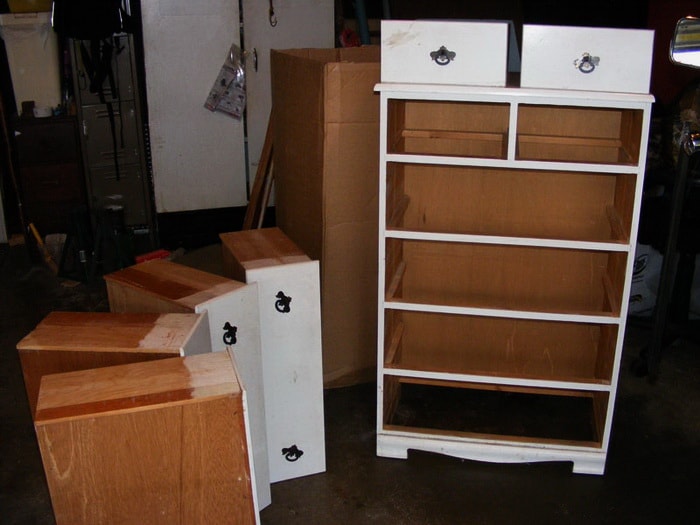
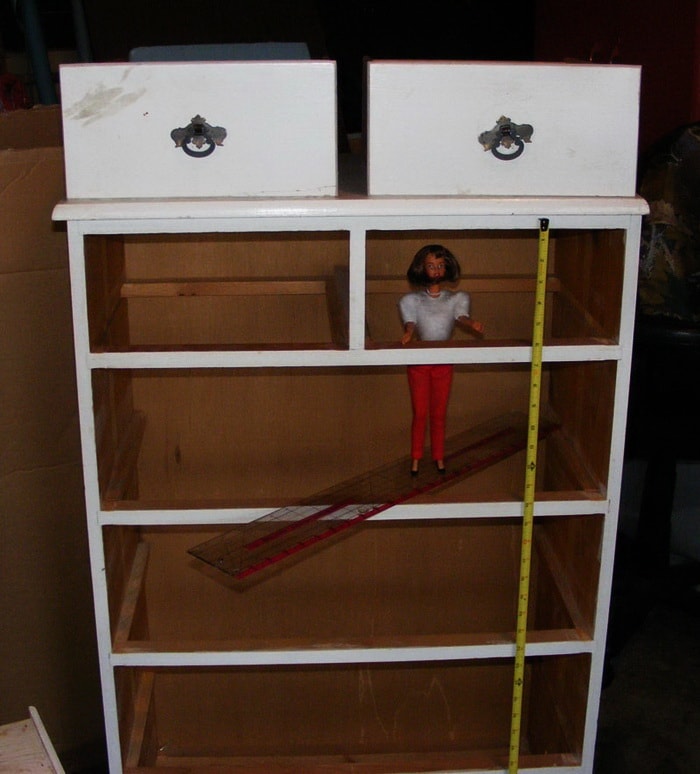
Before starting to work, we recommend that you determine the size of the dolls for which the house will be made. To do this, measure the height of the boxes.
In this case, it is best to leave only two floors. To do this, carefully remove excess partitions so as not to damage the walls.
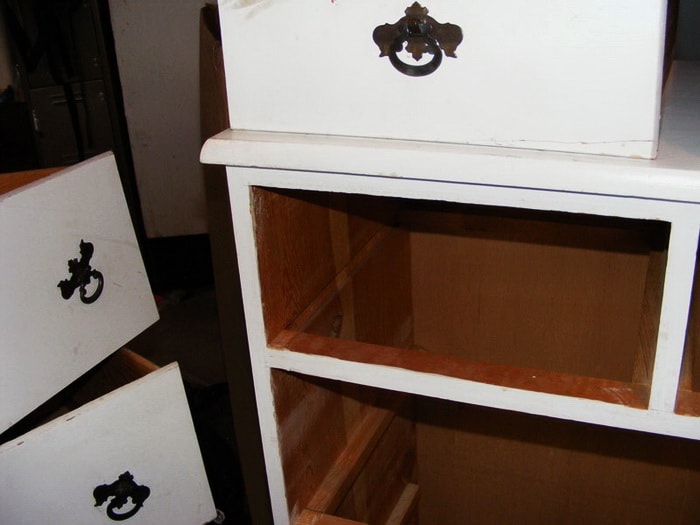

Since an empty space appeared on the site of the partitions, it must be filled. To do this, apply glue and put on top of suitable wooden slats. Leave the design to dry.

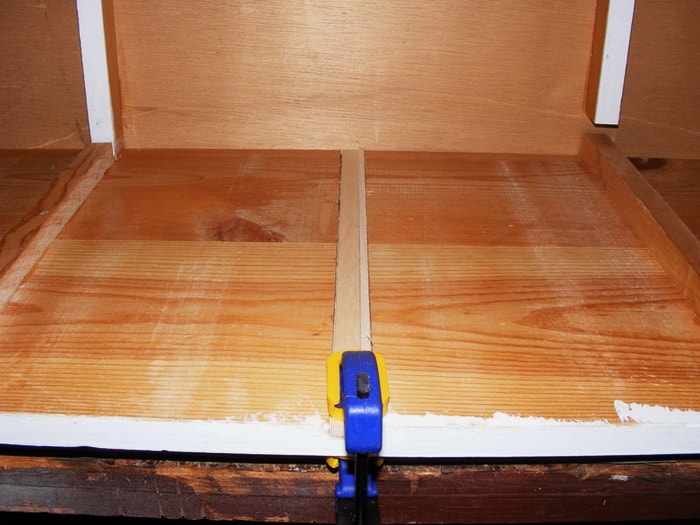
Fill the empty space and damage to the dresser putty. After the construction has dried, we grind the surface to make it smooth. We paint the house with white paint. 
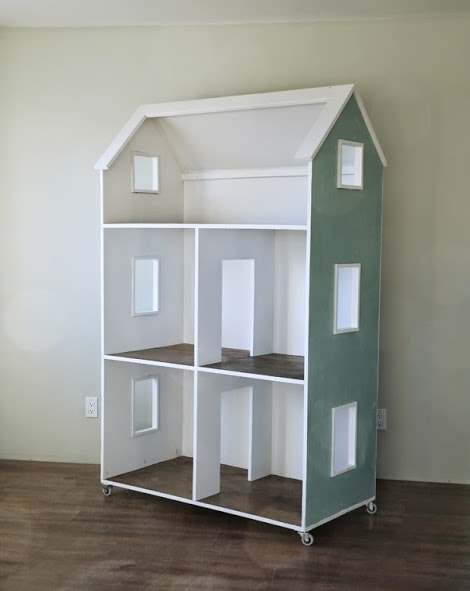
Three-story house on wheels
Prepare materials:
- plywood;
- saw;
- drill;
- pencil;
- ruler;
- construction stapler;
- glue;
- wheels;
- paint brown and gray;
- primer;
- laminate or linoleum;
- brush.
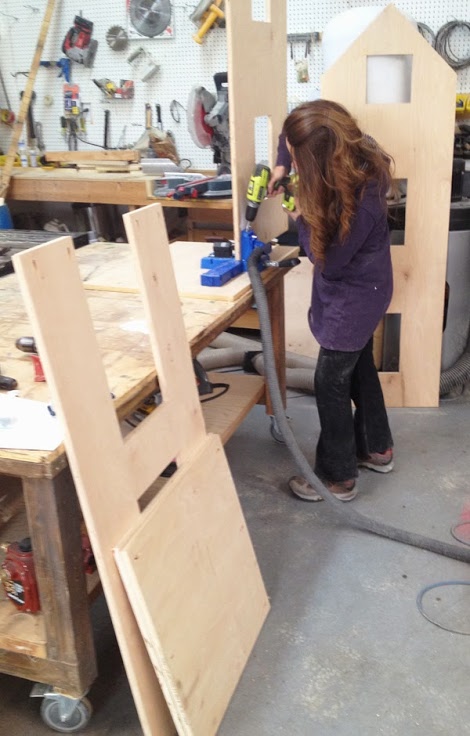
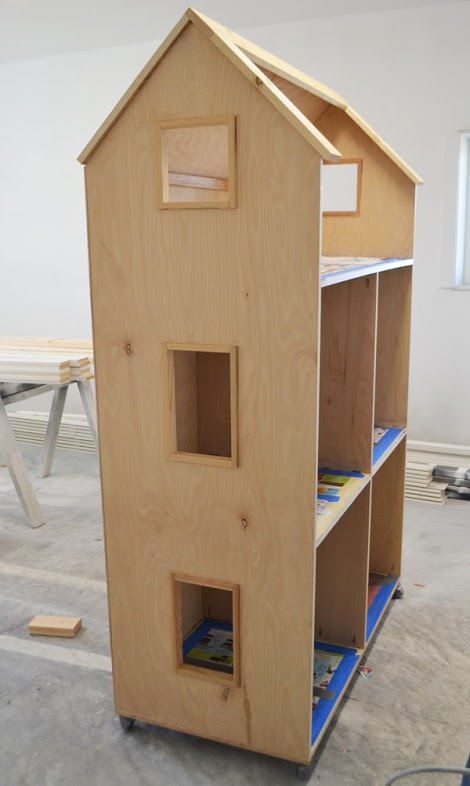
The process of creating a house is very exciting. But at first it is very important to make a sketch of it, taking into account the size that suits you. Use the saw to cut out the necessary parts.
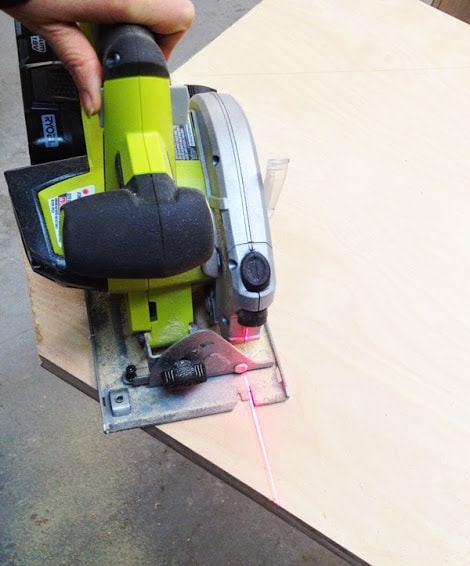
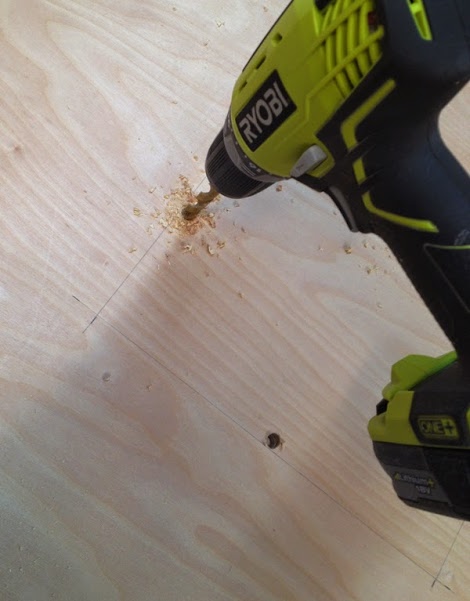
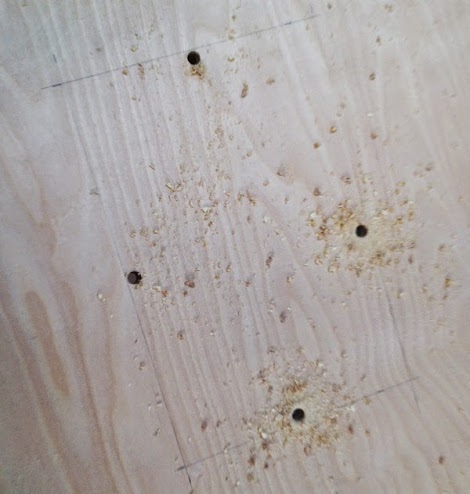
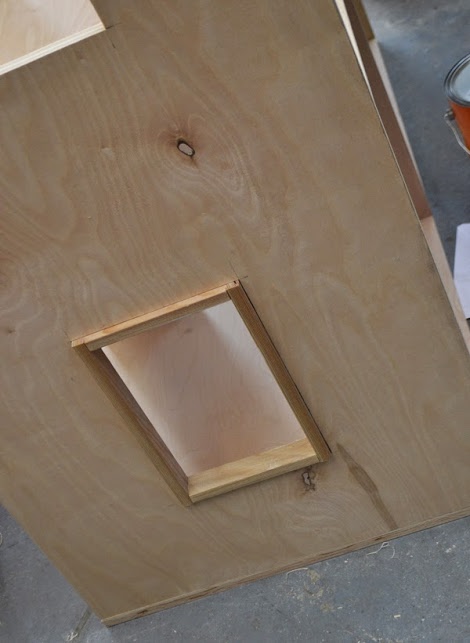
On some of the details we make the markup, where exactly the windows and doors will be located. Mark them with a drill.
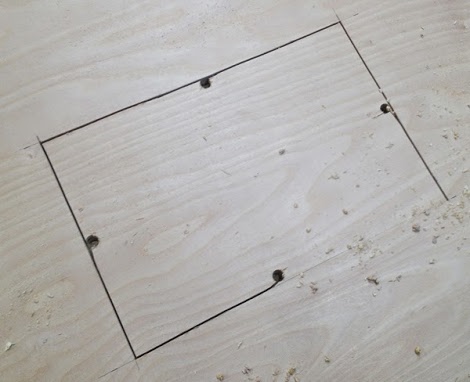
 Cut out the doors and every window. This is a laborious process, but the result is worth it.

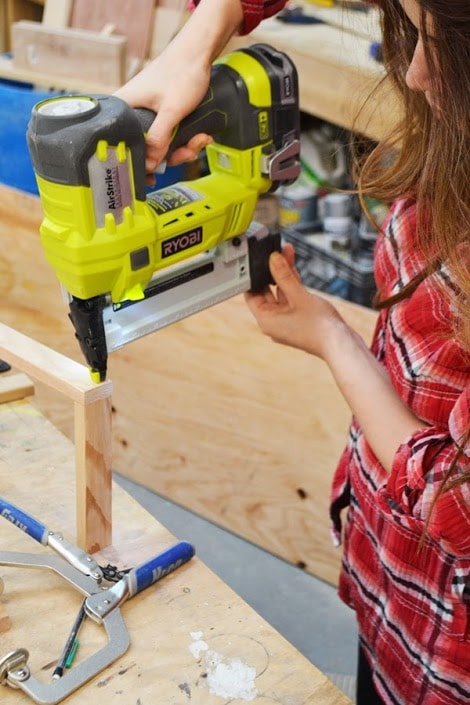
Cut the bars to make a frame on the windows. We connect the parts with a special stapler and fix with glue.
Add to the design of the wheel.

Paint the shelves with brown paint.
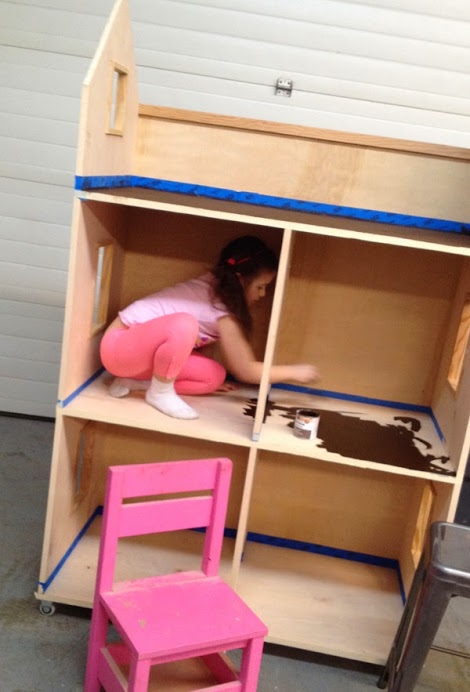
Apply a primer from the outside and leave to dry.

Put laminate or linoleum on the shelves. We paint the outside of the house with gray paint.
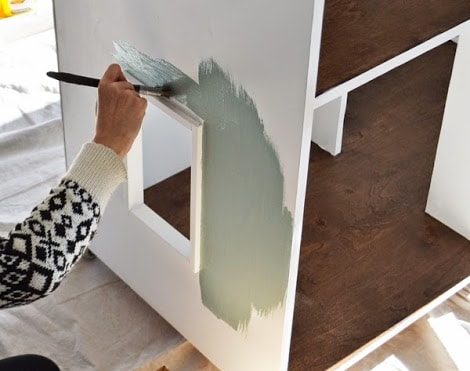
If you wish, you can paint the roof in a contrasting color so that it stands out more.
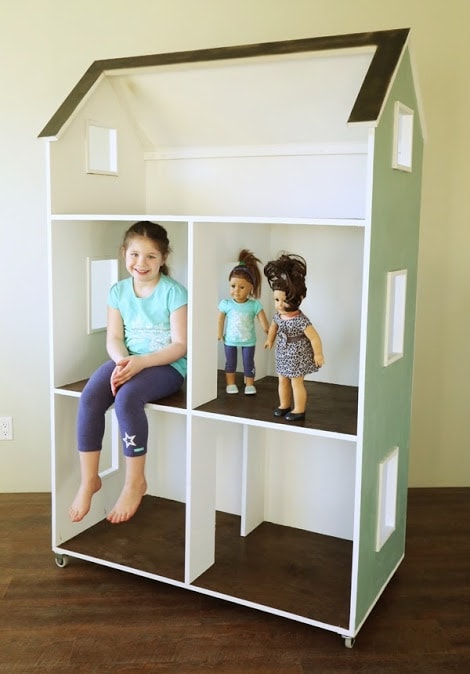
Each of the master classes will help to make interesting houses for both dolls and home decor. Do not be afraid to try to create something with your own hands. The result will be really worth.


